Articles
How To Store Yogurt Bark
Modified: February 27, 2024
Discover the best way to store yogurt bark and keep it fresh. Read our informative articles for tips and tricks on yogurt bark storage that will help you enjoy this delicious treat for longer.
(Many of the links in this article redirect to a specific reviewed product. Your purchase of these products through affiliate links helps to generate commission for Storables.com, at no extra cost. Learn more)
Introduction
Yogurt bark is a delicious and healthy treat that can be enjoyed as a snack or dessert. It is made by spreading a mixture of yogurt and various toppings onto a sheet pan and freezing it until it becomes firm. The end result is a tasty and refreshing treat that is perfect for hot summer days or anytime you’re craving something sweet.
One of the best things about yogurt bark is its versatility. You can customize it to suit your taste preferences and dietary needs. Whether you prefer a dairy-based yogurt or a plant-based alternative, there are endless possibilities when it comes to flavors and toppings. Plus, it’s a great way to use up leftover yogurt or add some extra nutrition to your snacks.
In this article, we will guide you through the process of making yogurt bark and provide tips on how to store it properly. So let’s gather our ingredients and get ready to indulge in this delectable treat!
Key Takeaways:
- Indulge in the delightful and nutritious treat of yogurt bark by customizing flavors, mixing toppings, and adjusting sweetness. Store it in airtight containers for up to 2-3 months of frozen freshness.
- Create your own signature combinations of yogurt bark with endless flavor possibilities. Enjoy this versatile and refreshing snack or dessert, perfect for any time of the year.
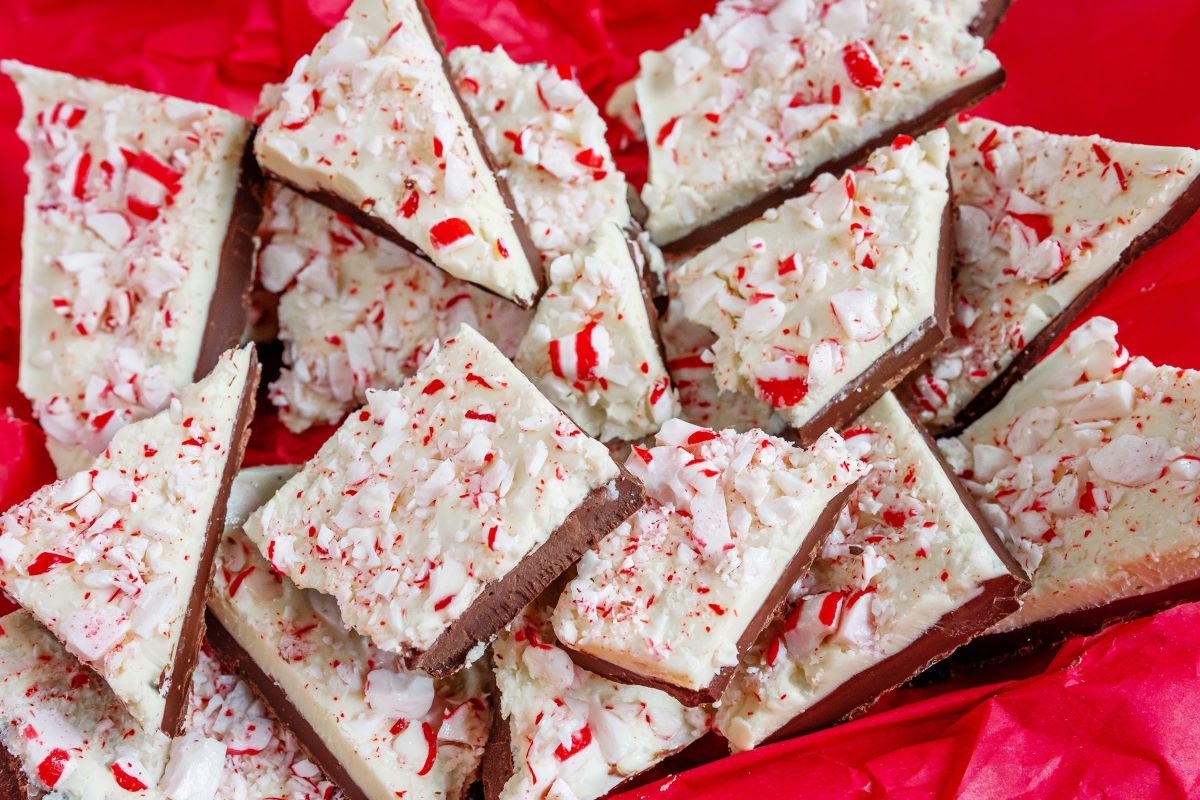
Read more: How To Store Chocolate Bark
Ingredients
To make yogurt bark, you will need the following ingredients:
- 2 cups of yogurt (dairy or plant-based)
- 3-4 tablespoons of honey or maple syrup (optional, for sweetness)
- 1 teaspoon of vanilla extract (optional, for flavor)
- Assorted toppings such as fresh fruit, nuts, granola, coconut flakes, chocolate chips, or any other toppings of your choice
When it comes to choosing your yogurt, you have a wide range of options. You can use plain yogurt or flavored yogurt, depending on your preference. Greek yogurt works well for its creamy texture, but you can also use regular yogurt or even a non-dairy yogurt alternative for a vegan-friendly option.
For the toppings, feel free to get creative and experiment with different combinations. Fresh berries like strawberries, blueberries, or raspberries add a burst of color and freshness. Nuts like almonds, walnuts, or pecans can add a satisfying crunch. Granola provides a wholesome texture, while coconut flakes and chocolate chips add a touch of indulgence. You can use a single topping or a mixture of different ones to create your own unique flavor combination.
It’s worth noting that you can adjust the sweetness of the yogurt bark by adding honey or maple syrup. If you prefer a sweeter treat, feel free to drizzle some on top of the yogurt mixture before freezing. Alternatively, you can omit the sweetener altogether if you prefer a more tangy flavor.
Equipment needed
To make yogurt bark, you will need the following equipment:
- A baking sheet or a rectangular pan
- Parchment paper or plastic wrap
- A mixing bowl
- A spatula or spoon for mixing
- A knife or pizza cutter for cutting the bark
- An airtight container or freezer bag for storage
When choosing a baking sheet or pan, it’s best to use one with sides to contain the yogurt mixture. A rectangular pan works well for creating an even layer of yogurt bark, but you can use any sheet pan that you have on hand.
Parchment paper or plastic wrap is essential for lining the pan and ensuring easy removal of the frozen yogurt bark. It prevents the mixture from sticking to the pan and makes clean-up a breeze.
A mixing bowl and a spatula or spoon are necessary for combining the yogurt and any optional ingredients such as honey or vanilla extract. Make sure to choose a bowl large enough to comfortably mix the ingredients.
A sharp knife or pizza cutter will come in handy for cutting the frozen yogurt bark into individual portions. It’s best to use a knife with a smooth and sharp blade to ensure clean cuts without crumbling the bark.
Lastly, you will need an airtight container or freezer bag to store the yogurt bark in the freezer. This will help prevent freezer burn and keep the bark fresh for longer. Make sure the container is the right size to fit the bark without squishing it.
With these basic kitchen tools, you’re ready to start making your own delicious and healthy yogurt bark!
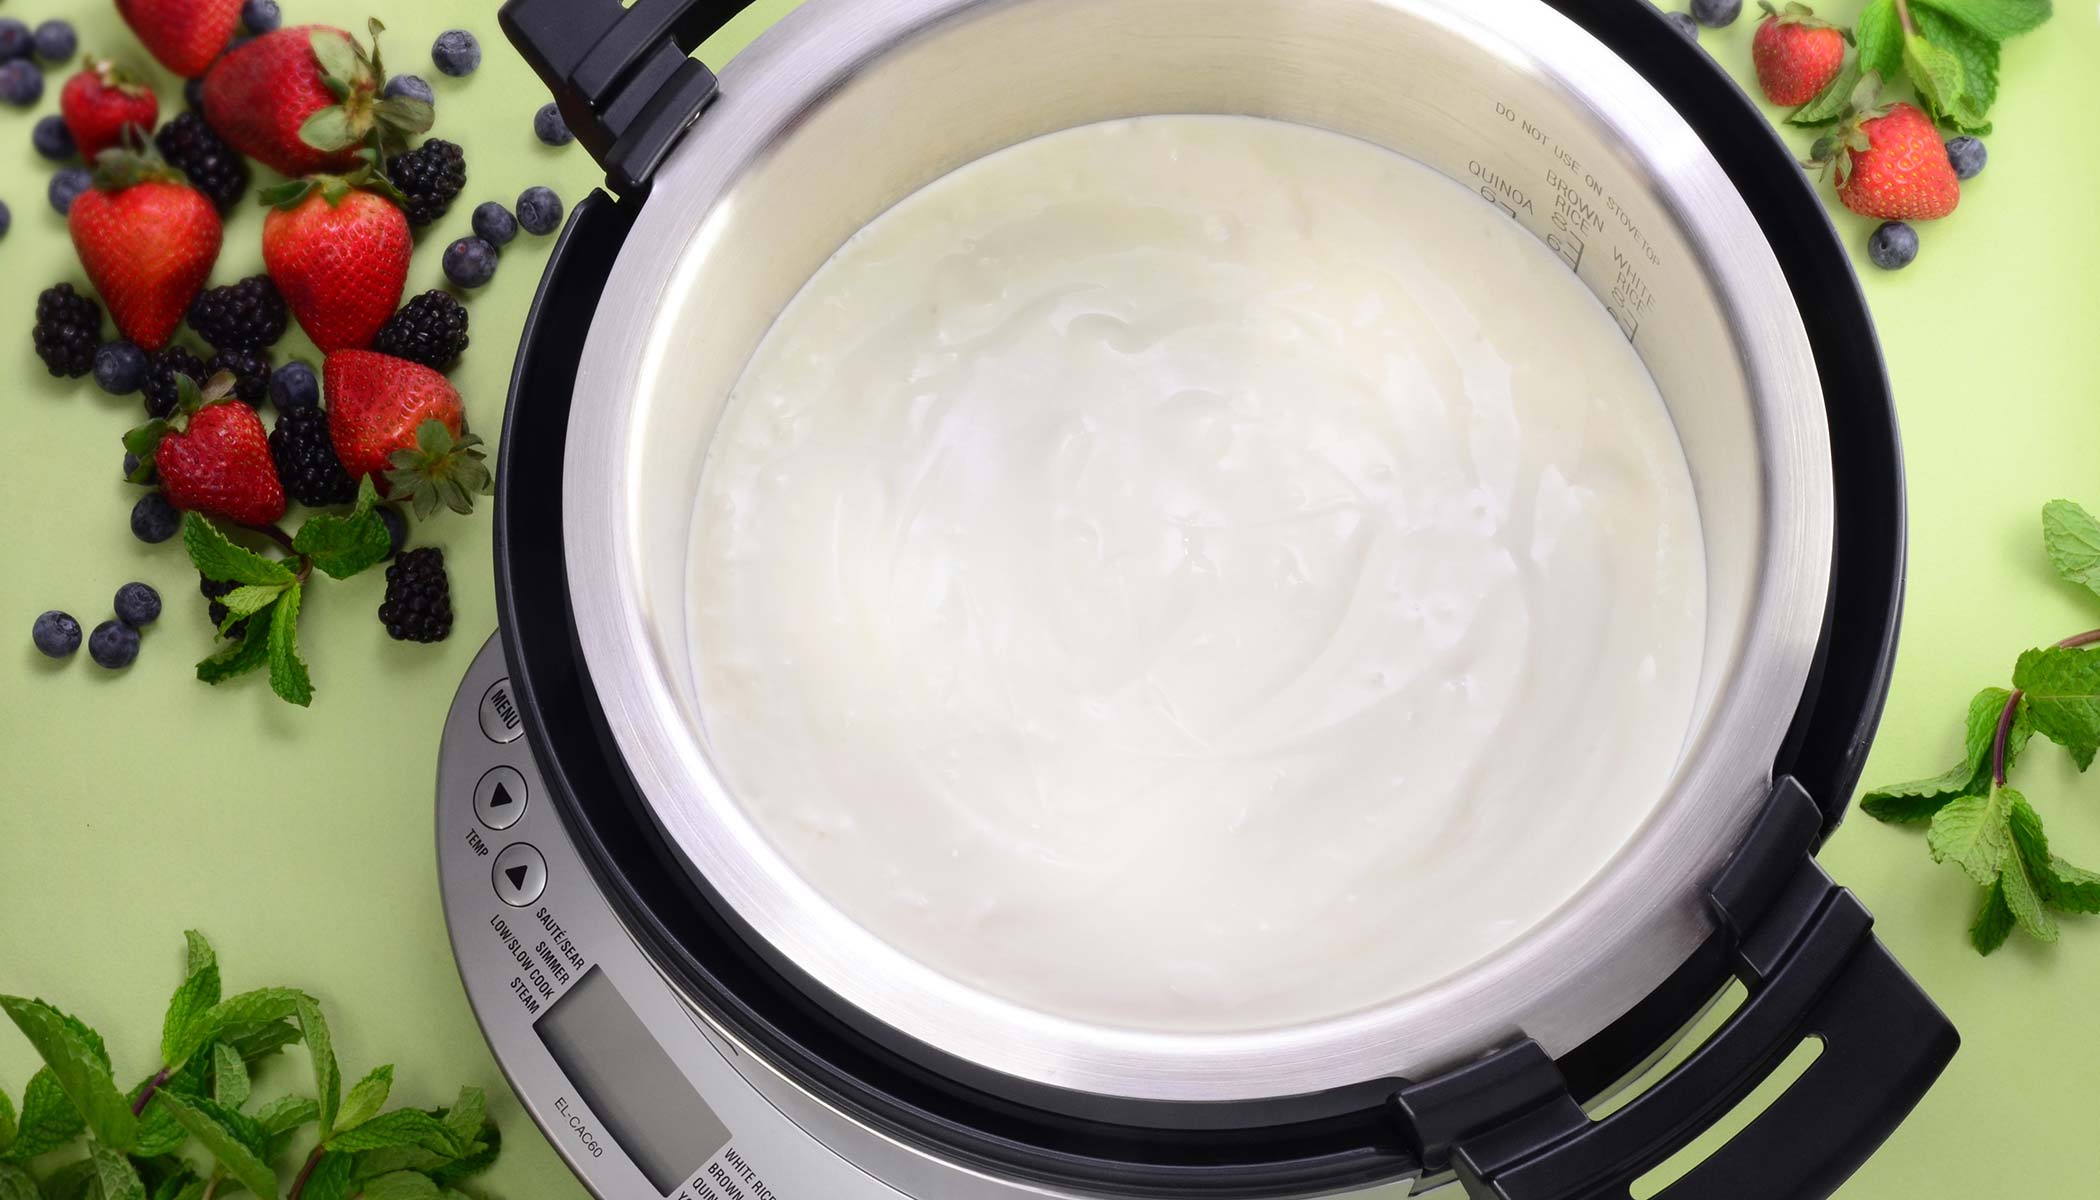
Step 1: Choosing Yogurt
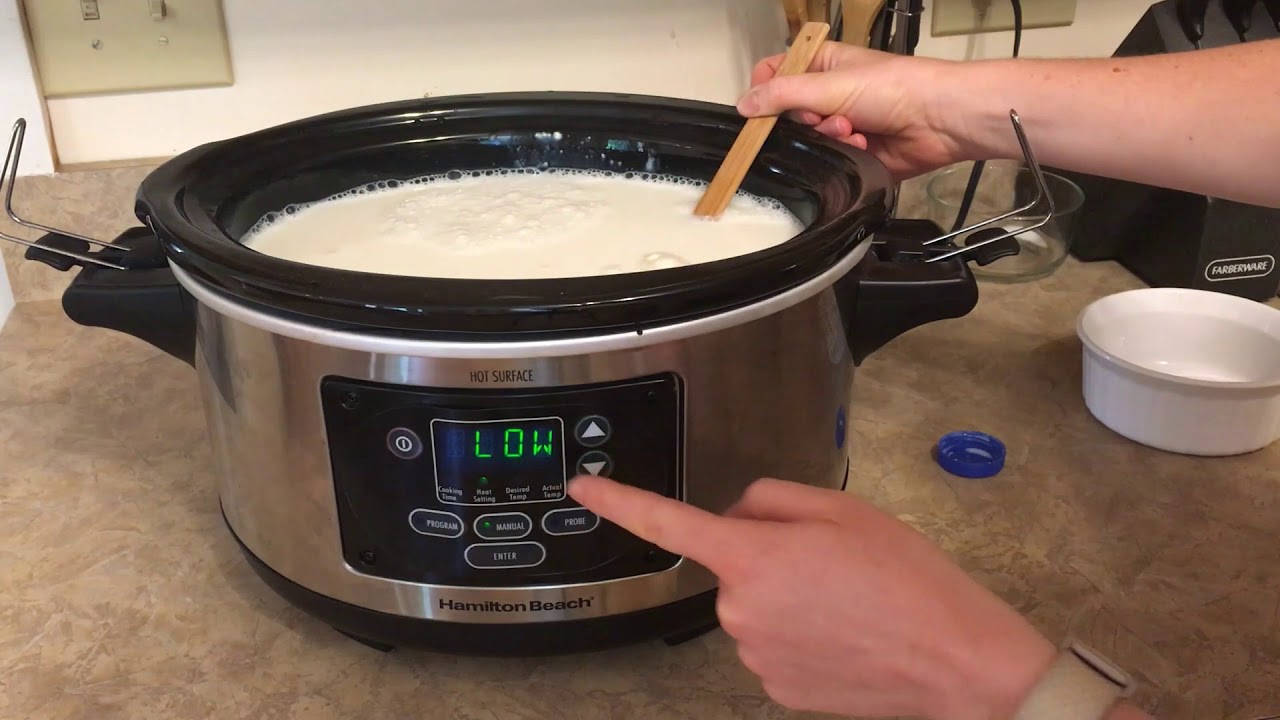
The first step in making yogurt bark is choosing the right yogurt for your recipe. You have a variety of options to consider, including dairy-based yogurts and plant-based alternatives.
If you prefer a dairy-based yogurt, you can choose between regular yogurt and Greek yogurt. Regular yogurt has a smooth and creamy texture, while Greek yogurt is thicker and tangier. Either option will work well for yogurt bark, so go with your personal preference.
For those following a plant-based or vegan diet, there are plenty of non-dairy yogurt alternatives available. You can find yogurts made from almond milk, coconut milk, soy milk, or other plant-based ingredients. These yogurts can offer a creamy and delicious base for your yogurt bark.
When selecting your yogurt, you can opt for plain yogurt or flavored varieties. Plain yogurt allows you to have control over the sweetness and flavor, as you can add your own sweeteners and extracts. Flavored yogurts, on the other hand, provide a convenient option with pre-added flavors. Choose a flavor that complements your choice of toppings or experiment with different combinations to find your favorite.
Additionally, it’s essential to ensure that the yogurt you choose is fresh and of good quality. Check the expiration date and inspect the container for any signs of spoilage. Fresh yogurt will have a pleasant aroma and a smooth consistency.
Keep in mind that yogurt bark is a great opportunity to use up any leftover yogurt you may have. It’s a creative way to give new life to yogurt that may otherwise go unused.
Once you’ve selected your yogurt, you’re ready to move on to the next step: preparing the pan for the yogurt bark.
Step 2: Preparing the Pan
Now that you’ve chosen your yogurt, it’s time to prepare the pan for the yogurt bark. This step is essential to ensure that the bark doesn’t stick to the pan and can be easily removed once it’s frozen.
Start by lining a baking sheet or rectangular pan with parchment paper or plastic wrap. This will create a non-stick surface and make it easier to remove the frozen yogurt bark later. Make sure to leave some overhang on the sides for easy lifting.
If using parchment paper, you may need to trim the edges to fit the size of your pan. Simply place the pan on top of the parchment paper and use a pair of scissors or a knife to cut along the edges, following the shape of the pan.
Alternatively, if you’re using plastic wrap, ensure that it covers the entire bottom of the pan, with some excess hanging over the sides. Smooth out any wrinkles or folds in the plastic wrap to create an even surface.
Once the pan is lined, you’re ready to move on to the next step: mixing in the toppings.
Note: It’s not recommended to skip the step of preparing the pan as the yogurt bark may stick to the pan and be difficult to remove. The parchment paper or plastic wrap provides an easy release surface and prevents any mishaps during the freezing process.
Store yogurt bark in an airtight container in the freezer to maintain its texture and prevent freezer burn. Layer parchment paper between the pieces to prevent sticking.
Read more: How To Store Yogurt
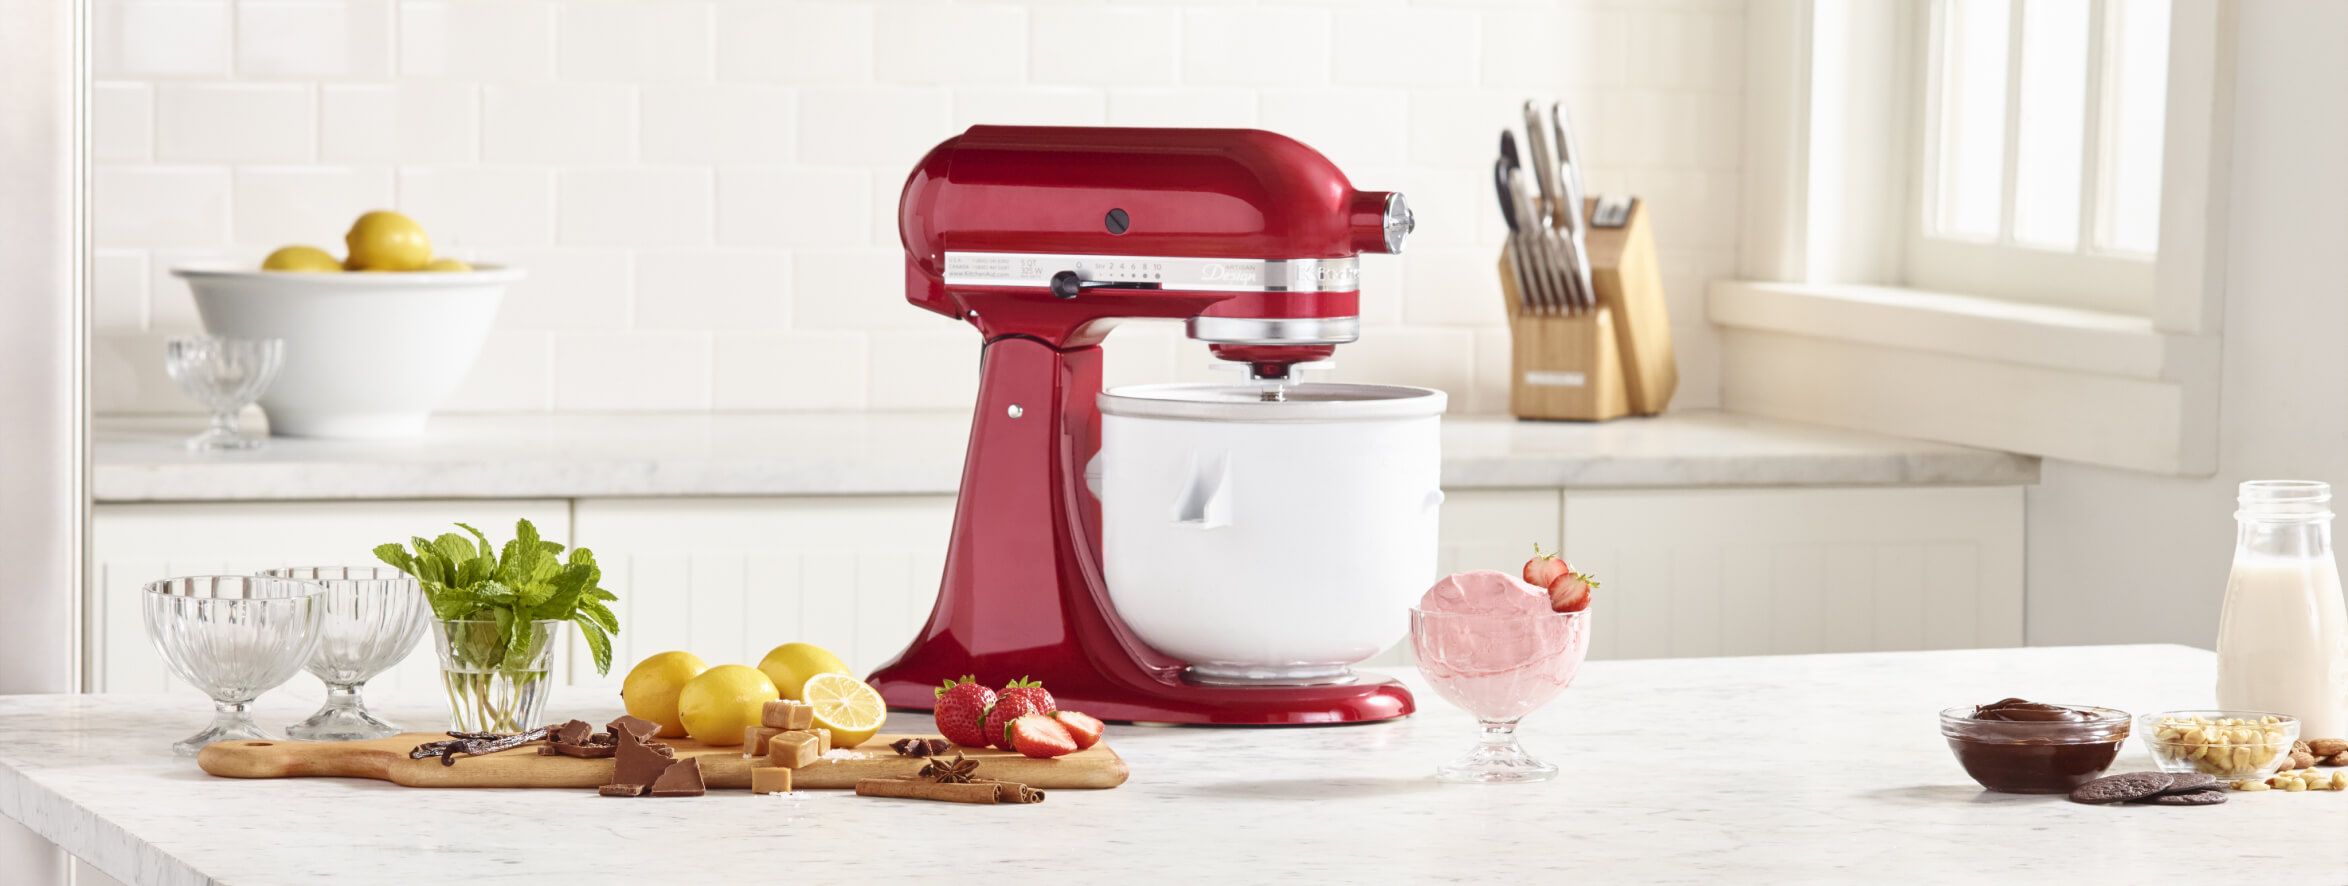
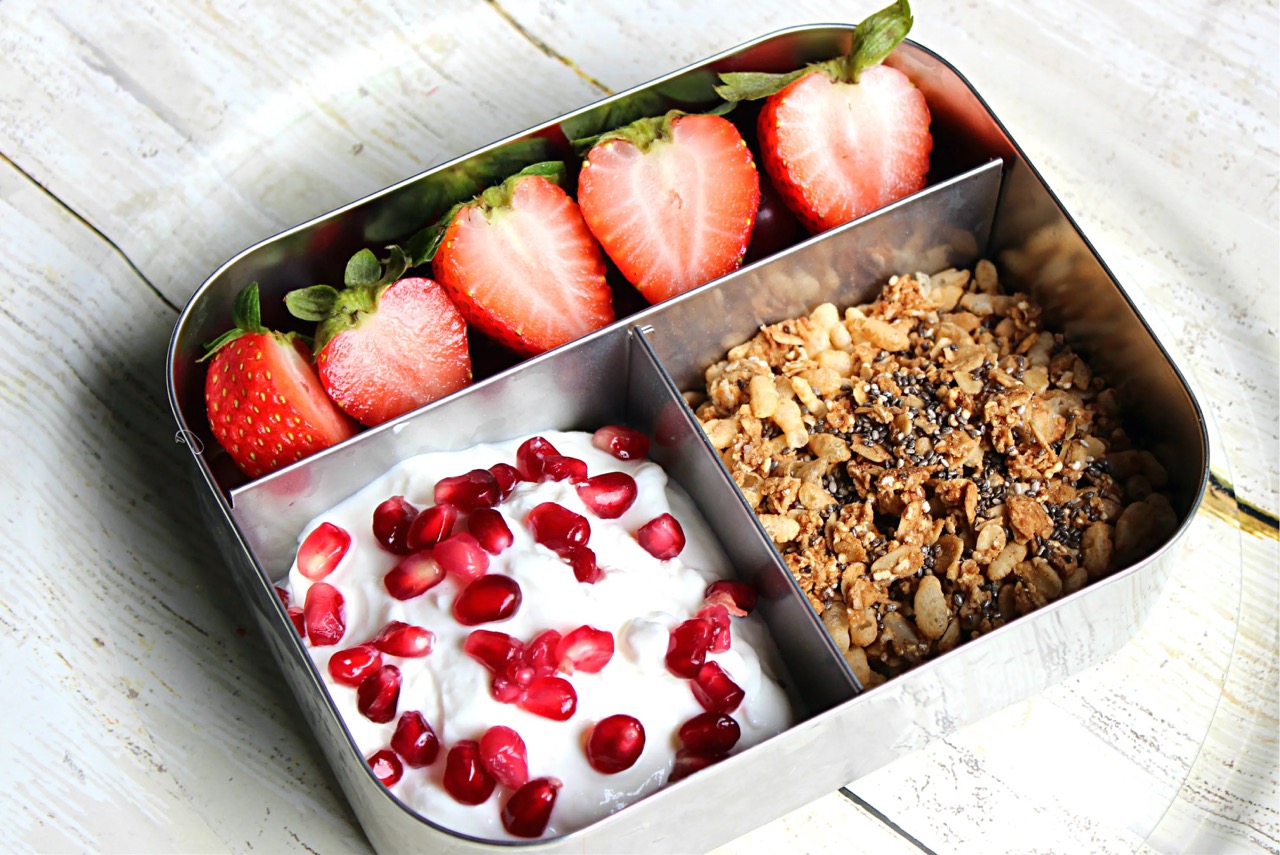
Step 3: Mixing in the Toppings
Now that you have prepared the pan, it’s time to get creative and mix in your favorite toppings to add flavor, texture, and visual appeal to your yogurt bark.
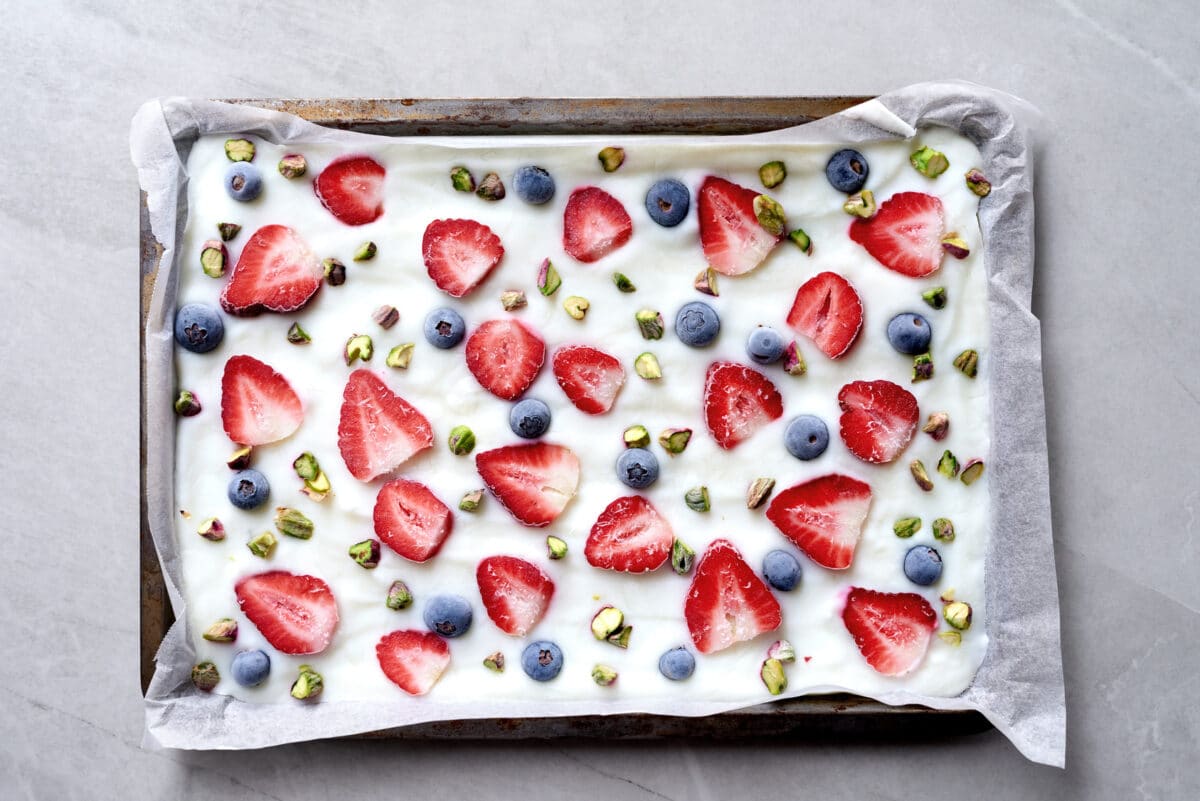
Start by gathering your chosen toppings. Fresh fruit like sliced strawberries, blueberries, or bananas add a burst of sweetness and vibrant colors to the bark. Nuts such as chopped almonds, walnuts, or pistachios provide a delightful crunch. Other options include granola, shredded coconut, chocolate chips, or dried fruit.
Once you have your toppings ready, pour the yogurt into a mixing bowl. If desired, you can add some additional sweetness by incorporating honey or maple syrup into the yogurt. Add a small amount at a time and mix well, tasting as you go to achieve the desired level of sweetness.
Next, it’s time to fold in the toppings. You can either sprinkle them directly onto the yogurt or gently fold them in using a spatula or spoon. Be sure to distribute the toppings evenly throughout the mixture, ensuring that each bite of yogurt bark will have a delightful combination of flavors and textures.
Feel free to get creative with your toppings and try different combinations. You can experiment with different fruits, nuts, or even incorporate spices like cinnamon or nutmeg for added flavor. The possibilities are endless!
Once the toppings are well-mixed, you’re ready to move on to the next step: pouring the yogurt mixture onto the prepared pan.
Note: If you prefer a smoother texture without chunks of toppings, you may choose to blend the yogurt and toppings together in a blender or food processor before pouring it onto the pan. This will result in a more uniform mixture.
Step 4: Pouring the Yogurt
With your yogurt mixture fully prepared and filled with delicious toppings, it’s time to pour it onto the prepared pan and start the freezing process.
Using a spatula or spoon, carefully pour the yogurt mixture onto the lined pan. Start from one end and slowly spread it evenly, ensuring that it reaches all corners of the pan. If necessary, gently shake or tilt the pan to help the mixture distribute evenly.
The thickness of the yogurt layer is up to your personal preference. If you prefer a thicker bark, pour a generous amount of yogurt onto the pan. For a thinner and more delicate bark, spread the yogurt into a thinner layer.
Make sure that the yogurt layer is relatively smooth and even. You can use the spatula to spread it out or make small adjustments as needed.
Once the yogurt is poured and spread, take a moment to admire the beautiful arrangement of colors and textures from the toppings. The yogurt bark is not only delicious but also visually appealing.
Now that the yogurt is in place, it’s time to move on to the next step: freezing the yogurt bark.
Note: If you have leftover yogurt mixture, you can pour it into smaller molds or containers for individual-sized yogurt bark treats.
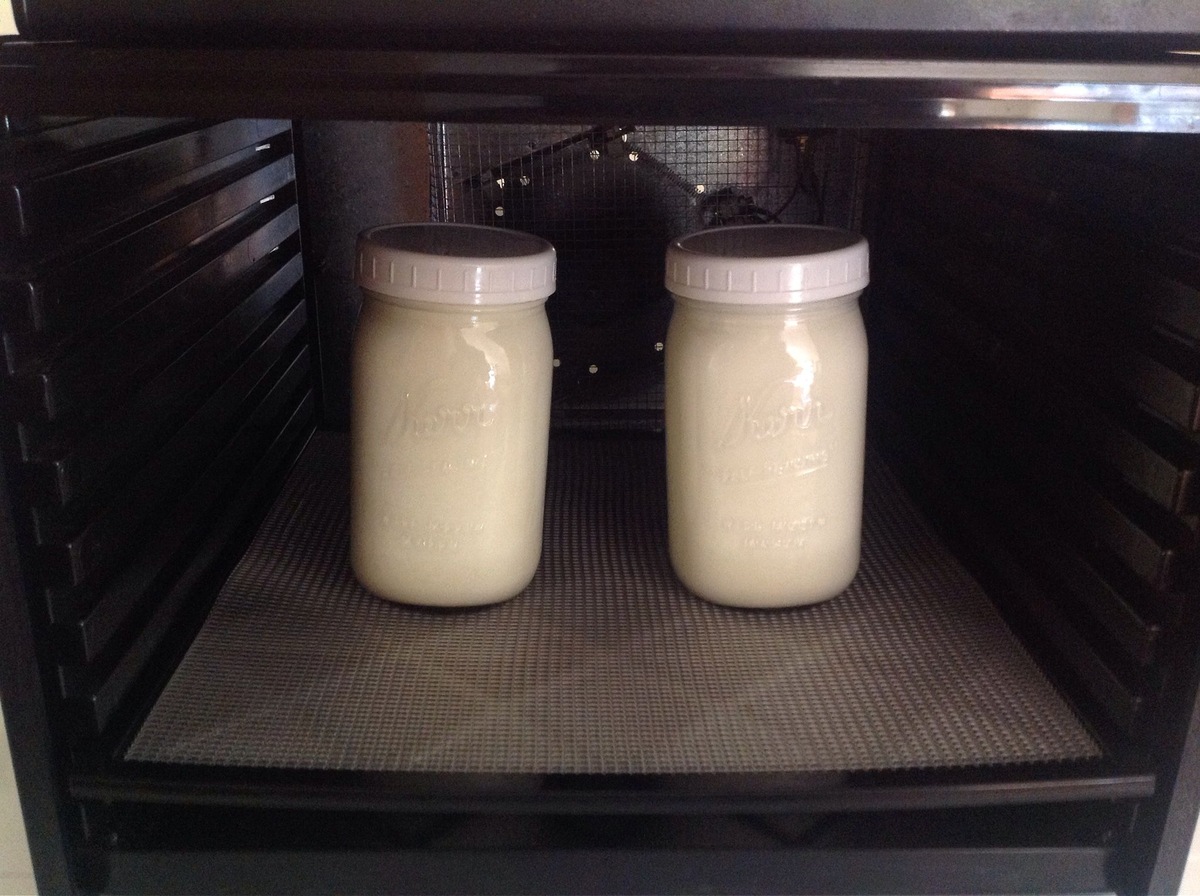
Step 5: Freezing the Yogurt Bark
Now that you have poured the yogurt mixture onto the prepared pan, it’s time to transfer it to the freezer to allow it to firm up and become solid.
Carefully place the pan in the freezer on a flat surface. Try to find a level spot where the pan won’t be disturbed while it’s freezing. Ensure that the pan is not overcrowded and has enough space to freeze evenly.
The freezing time can vary depending on the thickness of the yogurt layer and your freezer’s temperature. Generally, it needs at least 2-3 hours to freeze completely. However, it’s best to check the bark periodically to see if it has reached the desired firmness.
To check if the yogurt bark is frozen, gently touch the surface with your finger. It should be firm and not leave an indentation. If the yogurt layer is still soft, give it more time to freeze before proceeding to the next step.
It’s important to note that freezing times may differ depending on the freezer and the thickness of the yogurt layer. If you’re in a hurry and want to speed up the process, you can place the pan in the freezer for 30 minutes to an hour, then transfer it to the refrigerator to finish the freezing process.
Once the yogurt bark is completely frozen and firm, it’s time to move on to the final step: cutting and storing the yogurt bark.
Note: It’s crucial to avoid any temperature fluctuations during the freezing process. Opening and closing the freezer frequently or placing the pan in a warm environment may cause the yogurt bark to become icy or develop ice crystals.
Step 6: Cutting and Storing
After the yogurt bark has been frozen and is firm to the touch, it’s time to cut it into individual servings and store them properly.
First, remove the pan from the freezer and let it sit at room temperature for a few minutes. This will slightly soften the bark, making it easier to cut without cracking. If the bark is too hard to handle, you can also use a sharp knife to score the desired lines before cutting.
Using a knife or a pizza cutter, carefully cut the frozen yogurt bark into rectangular or square pieces. You can make them as large or as small as you prefer, depending on your snacking or serving size preference.
Once you have cut the yogurt bark into individual servings, transfer them to an airtight container or place them in freezer-safe bags. Make sure to place parchment paper or plastic wrap between the bark pieces to prevent them from sticking together. This will make it easier to take out and enjoy one serving at a time.
Label the storage container or bag with the date to keep track of its freshness. The yogurt bark can be stored in the freezer for up to 2-3 months, but it’s best to consume it within the first month for optimal taste and texture.
When you’re ready to enjoy the yogurt bark, simply take out the desired number of pieces from the freezer and let them thaw for a few minutes before serving. The bark will slightly soften and become more chewable, but it will still maintain its refreshing and delightful texture.
Note: If you plan to stack the yogurt bark in the storage container, make sure to place a layer of parchment paper or plastic wrap between each layer to prevent them from sticking together.
Now that you have learned how to make and store yogurt bark, you can indulge in this delicious and nutritious treat whenever you desire. Whether you enjoy it as a refreshing snack or a sweet dessert, yogurt bark is sure to be a hit!
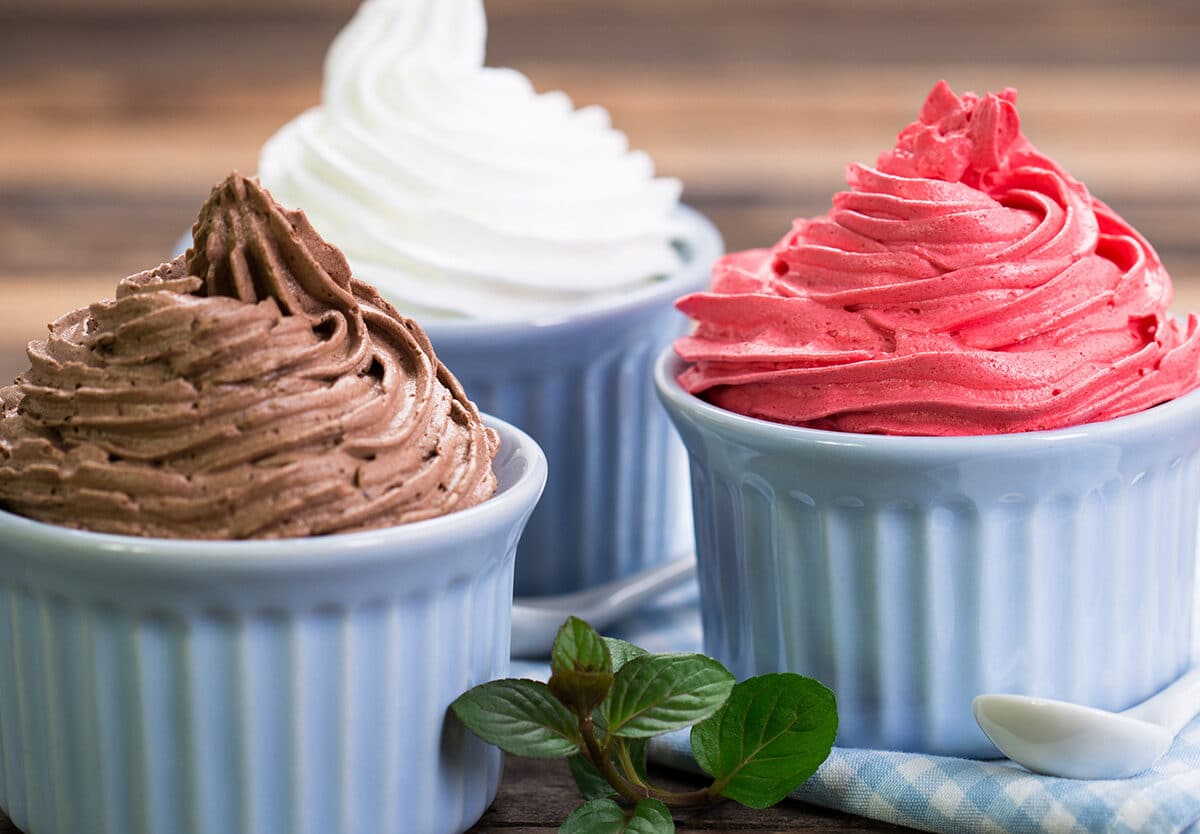
Read more: How To Store Frozen Yogurt
Conclusion
Yogurt bark is a versatile and delicious treat that can satisfy your cravings for something sweet while providing the benefits of yogurt and a variety of nutritious toppings. Making yogurt bark at home is not only simple but also allows you to customize the flavors and ingredients to suit your taste preferences.
By following the step-by-step guide we have provided, you can easily create your own yogurt bark masterpiece. From choosing the yogurt base to mixing in your favorite toppings, pouring it on a prepared pan, freezing, cutting, and storing, each step ensures a delightful and enjoyable experience.
Remember to get creative with your toppings, whether it’s adding fresh fruit for a burst of sweetness, crunchy nuts for textural contrast, or other delightful additions that truly make the yogurt bark your own. Don’t forget to personalize the sweetness level by adding honey or maple syrup, or keeping it tangy and refreshing by opting for a plain yogurt base.
Properly storing your yogurt bark in airtight containers or freezer bags will help maintain its freshness and allow you to enjoy it for weeks to come. Just make sure to label the container with the date and consume it within the recommended storage time for the best taste and quality.
So why not gather your ingredients, prepare your pan, and let your imagination run wild as you create your own delicious yogurt bark? It’s a delightful treat that can be enjoyed any time of the year, whether you want a cool and refreshing snack during the hot summer months or a guilt-free dessert after a satisfying meal.
Get ready to savor the creamy, frozen goodness bursting with flavors and textures. Treat yourself to this delightful and nutritious yogurt bark, and impress your family and friends with your culinary skills. Enjoy the process of making and storing yogurt bark, and let this tasty treat become a regular part of your snacking repertoire.
Remember, the possibilities are endless when it comes to yogurt bark, so don’t be afraid to mix and match flavors and toppings to create your own signature combinations. Have fun and indulge in this deliciously healthy treat!
Frequently Asked Questions about How To Store Yogurt Bark
Was this page helpful?
At Storables.com, we guarantee accurate and reliable information. Our content, validated by Expert Board Contributors, is crafted following stringent Editorial Policies. We're committed to providing you with well-researched, expert-backed insights for all your informational needs.

0 thoughts on “How To Store Yogurt Bark”