Articles
How To Caulk Stairs
Modified: December 7, 2023
Learn the step-by-step process of caulking stairs with our helpful articles. Discover tips, techniques, and guidance for a professional finish.
(Many of the links in this article redirect to a specific reviewed product. Your purchase of these products through affiliate links helps to generate commission for Storables.com, at no extra cost. Learn more)
Introduction
Welcome to this comprehensive guide on how to caulk stairs. Caulking stairs is a crucial step in maintaining their durability and preventing damage. Whether you have wooden, concrete, or metal stairs, regular caulking helps seal gaps, prevents moisture penetration, and provides a smooth and finished look.
This article will walk you through the step-by-step process of caulking your stairs, from preparing the surface to applying the caulk and achieving a professional finish. By the end of this guide, you’ll have the knowledge and tools to complete this project with confidence.
Caulking stairs not only improves their appearance but also helps prevent various issues such as squeaking, loose treads, and further damage to the stairs themselves. It’s a simple yet effective maintenance task that should be done periodically to ensure the longevity of your stairs.
Before we begin, it’s important to gather the necessary tools and materials for the job. Let’s take a look at what you’ll need.
Key Takeaways:
- Regularly caulking your stairs with the right materials and techniques not only enhances their appearance but also prevents issues like squeaking and loose treads, ensuring their longevity and durability.
- Properly preparing the stairs, choosing the right caulk, and applying it evenly and smoothly, followed by careful finishing and cleanup, are essential steps to achieve a professional and polished look for your caulked stairs.
Read more: How To Caulk Toilet
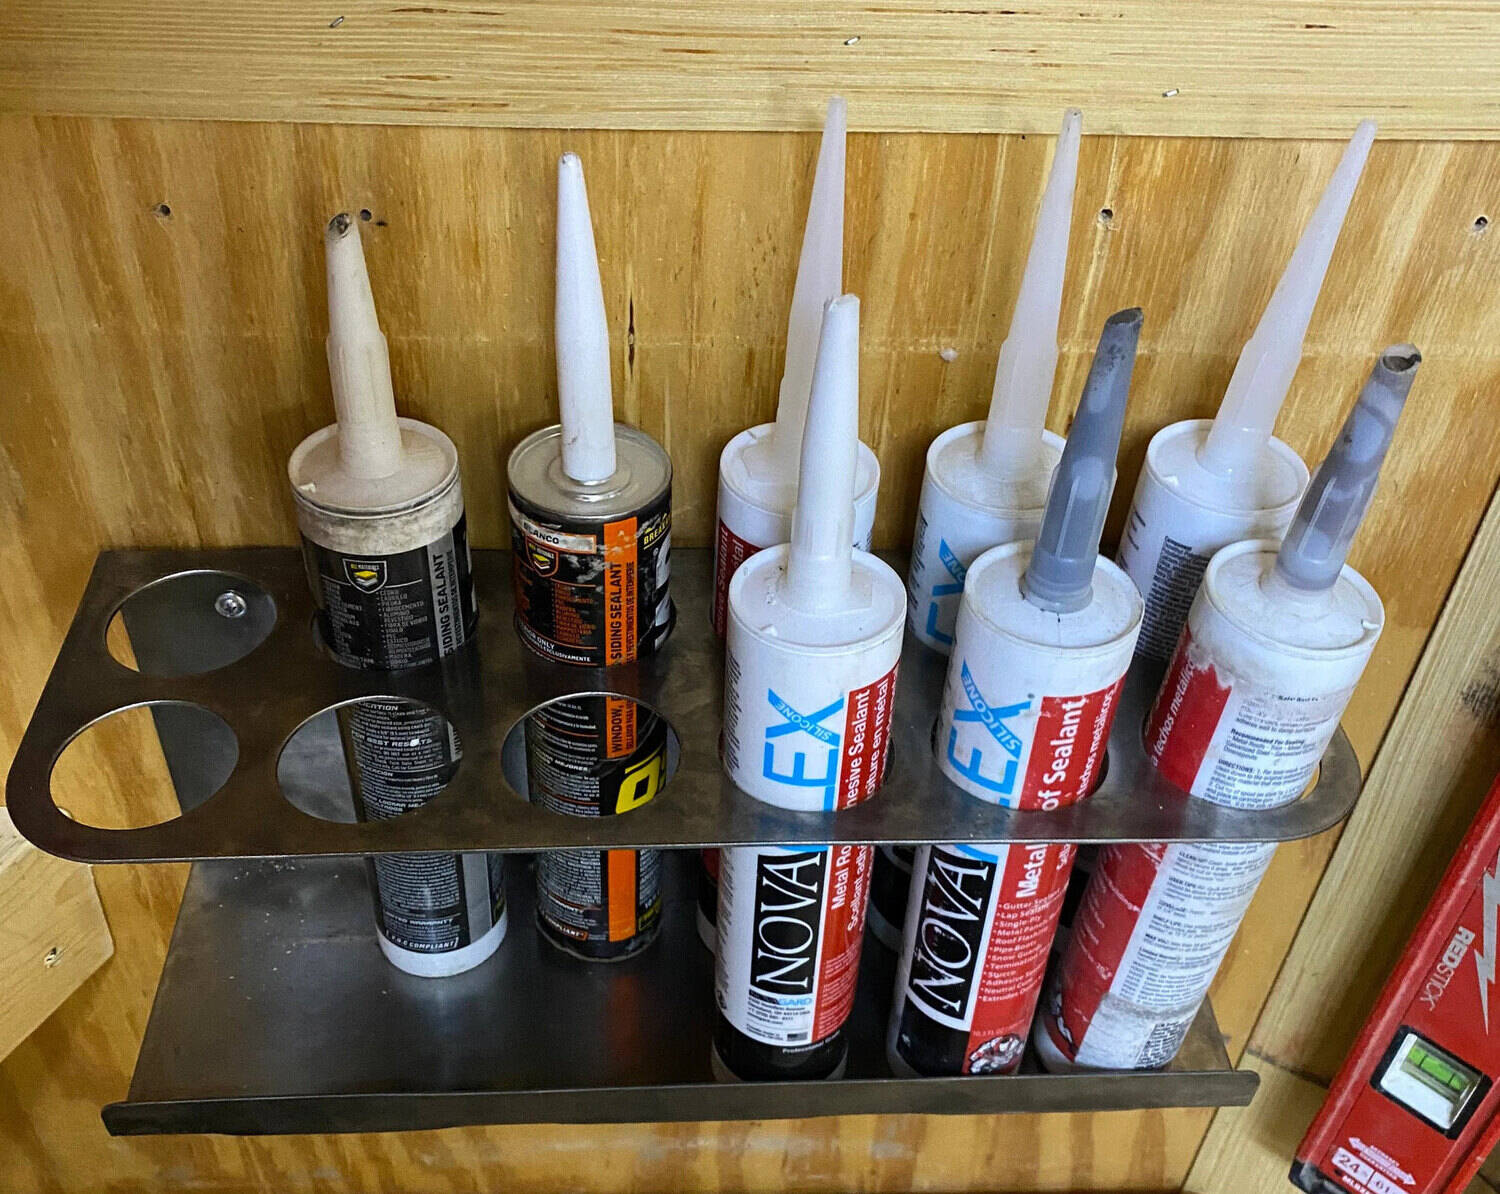
Tools and Materials Needed
Before you start caulking your stairs, make sure you have the following tools and materials:
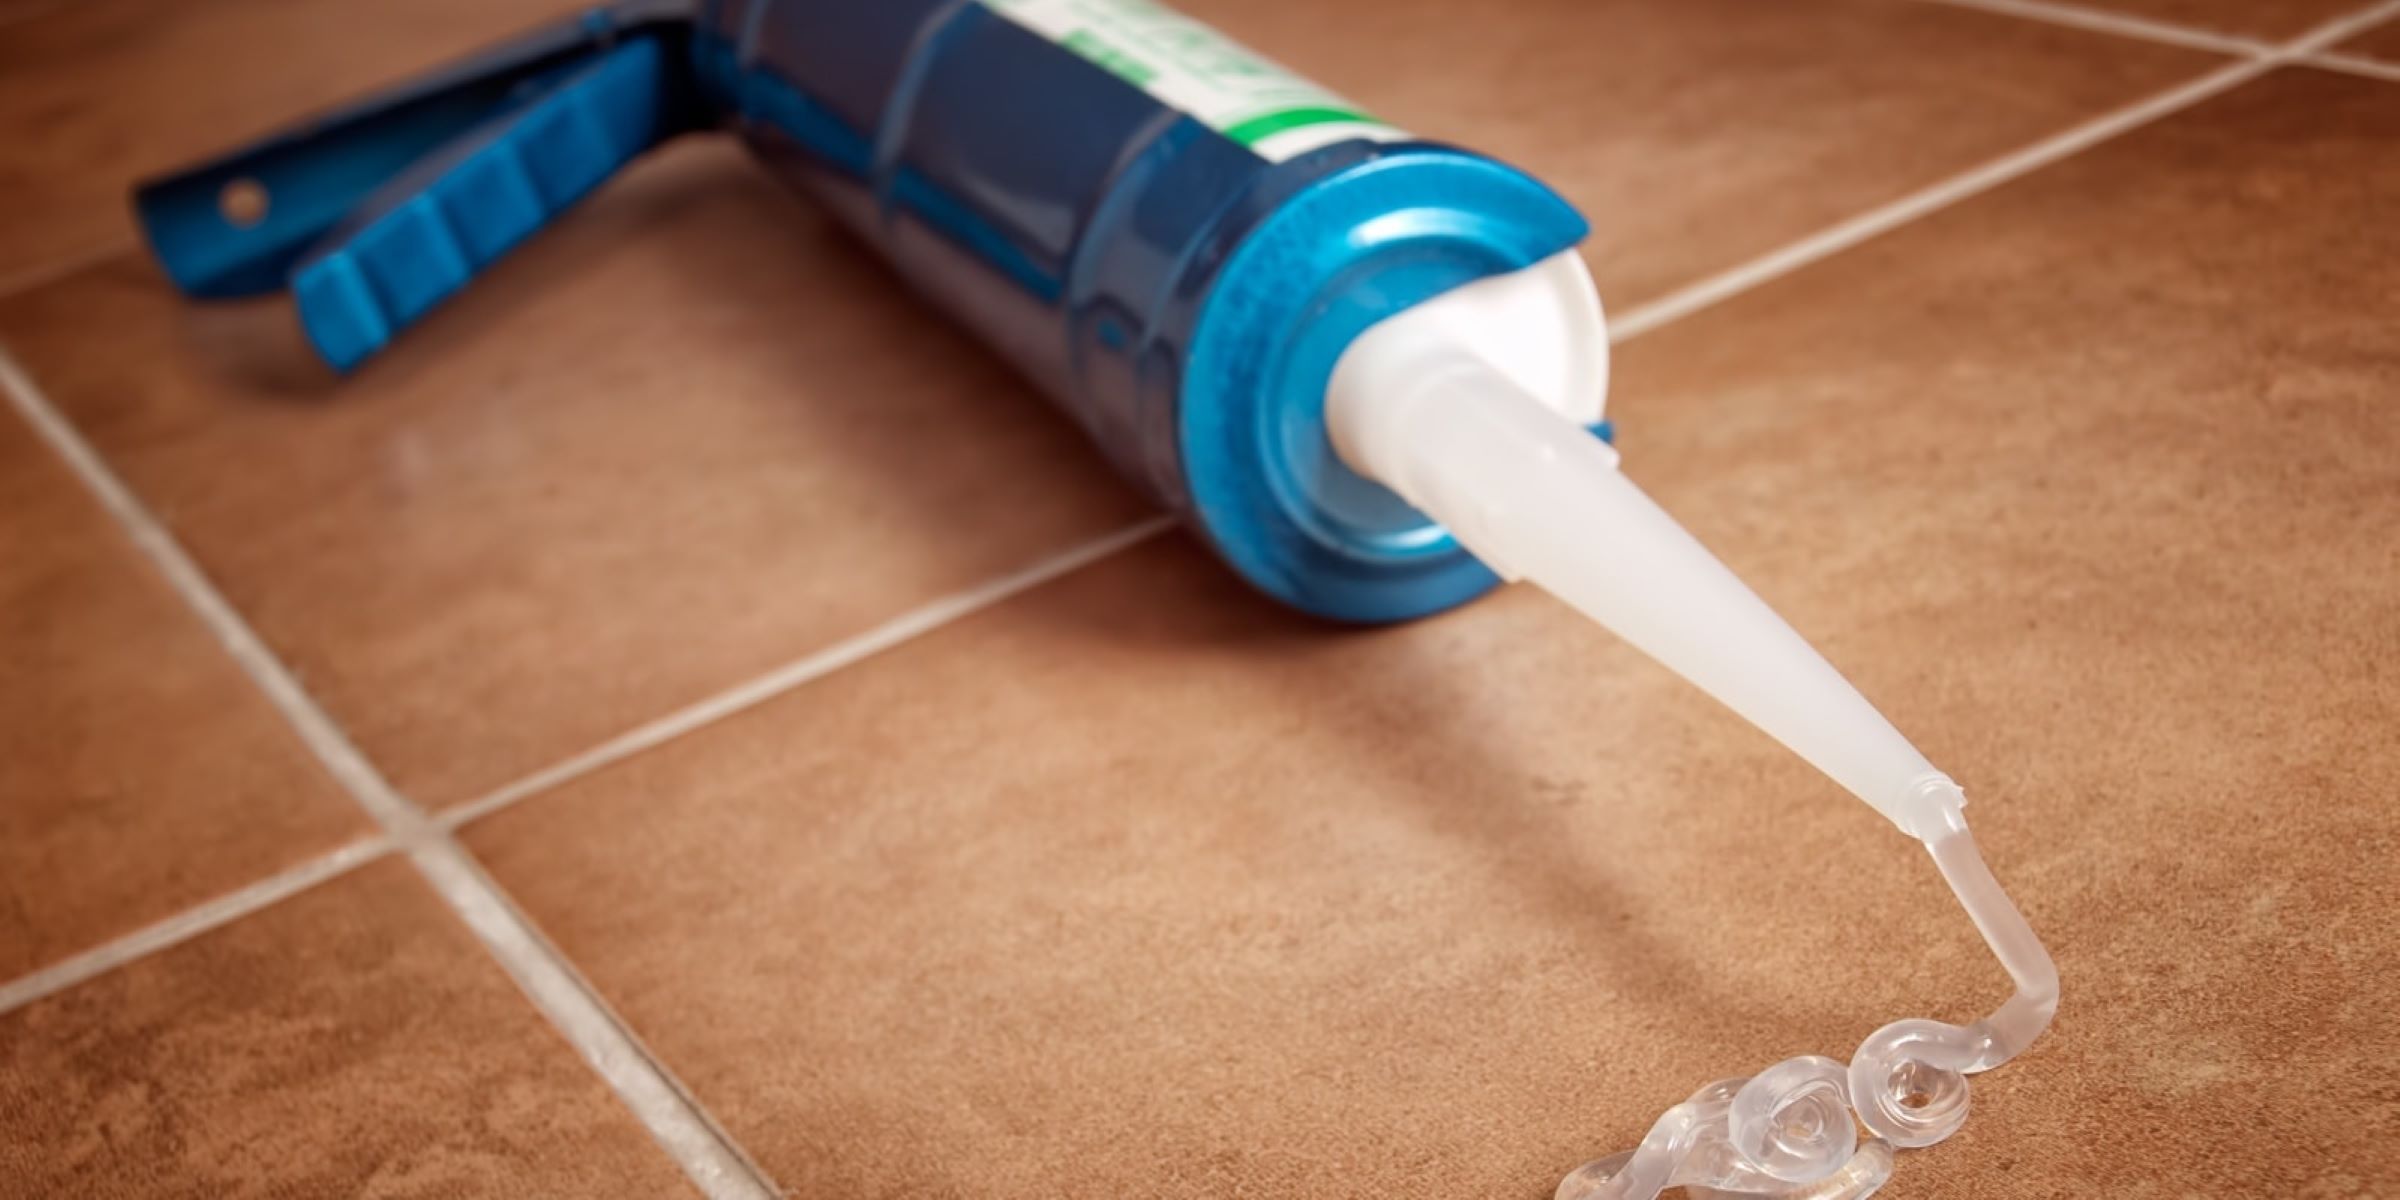
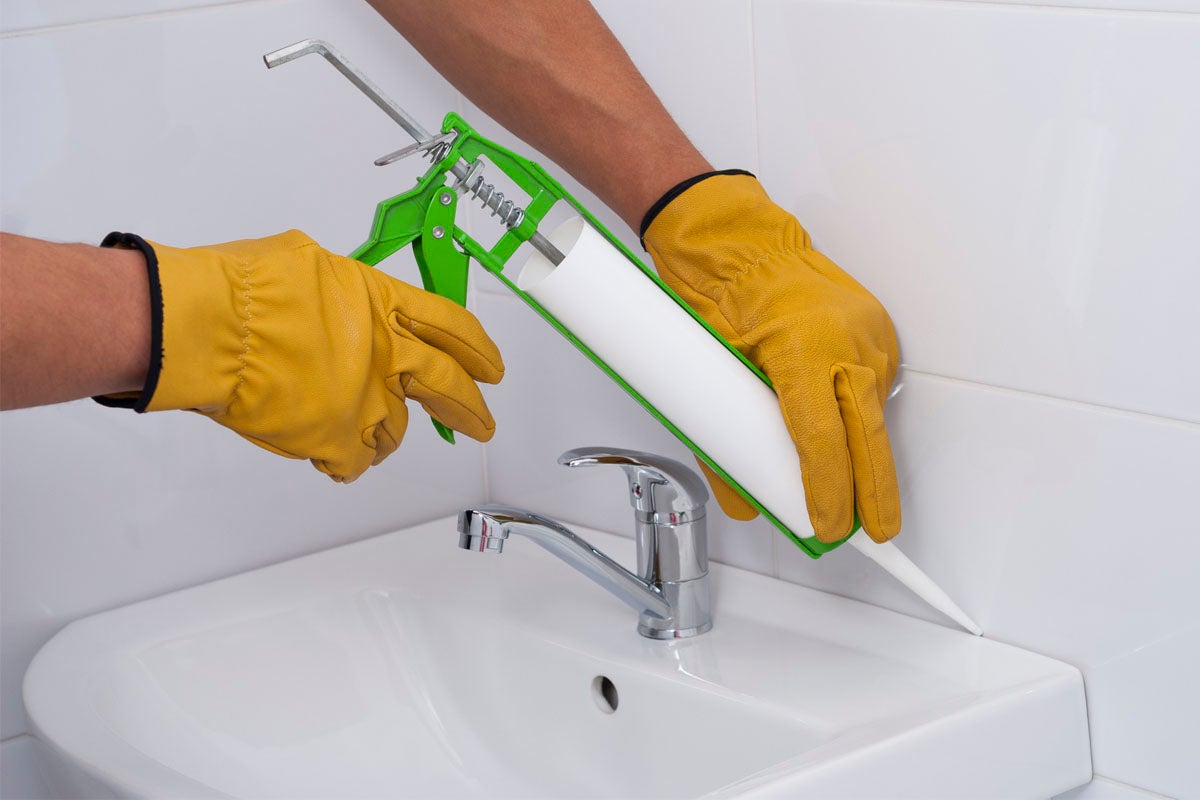
- Caulking gun: This handheld tool is used to apply the caulk.
- Caulk: Choose a caulk that is appropriate for your stair material. Silicone caulk is commonly used for its durability and flexibility.
- Caulk smoothing tool: This tool is essential for creating a smooth and neat finish.
- Utility knife: You’ll need a sharp utility knife to trim excess caulk and clean up any mistakes.
- Painter’s tape: This tape can be used to mask off areas adjacent to the stairs to prevent smearing.
- Clean cloth or sponge: You’ll need this to wipe away any excess caulk and clean the surface.
- Mild soap and water: Use this solution to clean the stairs before caulking, ensuring a clean and debris-free surface.
Having these tools and materials ready will make the caulking process easier and more efficient.
Now that you have everything you need, let’s move on to preparing the stairs before caulking.
Preparing the Stairs
Before you begin caulking, it’s important to properly prepare the stairs. This involves cleaning the surface and removing any old caulk or debris. Follow these steps to ensure the best results:
- Clean the stairs: Start by cleaning the stairs thoroughly. Use a mild soap and water solution to remove any dirt, dust, or grease. This will help the caulk adhere better to the surface.
- Remove old caulk: If there is any old caulk present, use a utility knife to carefully scrape it off. Make sure to remove all traces of old caulk before applying new caulk.
- Smooth any rough surfaces: Inspect the stairs for any rough or uneven areas. Sand down these spots with sandpaper to create a smooth surface for the caulk.
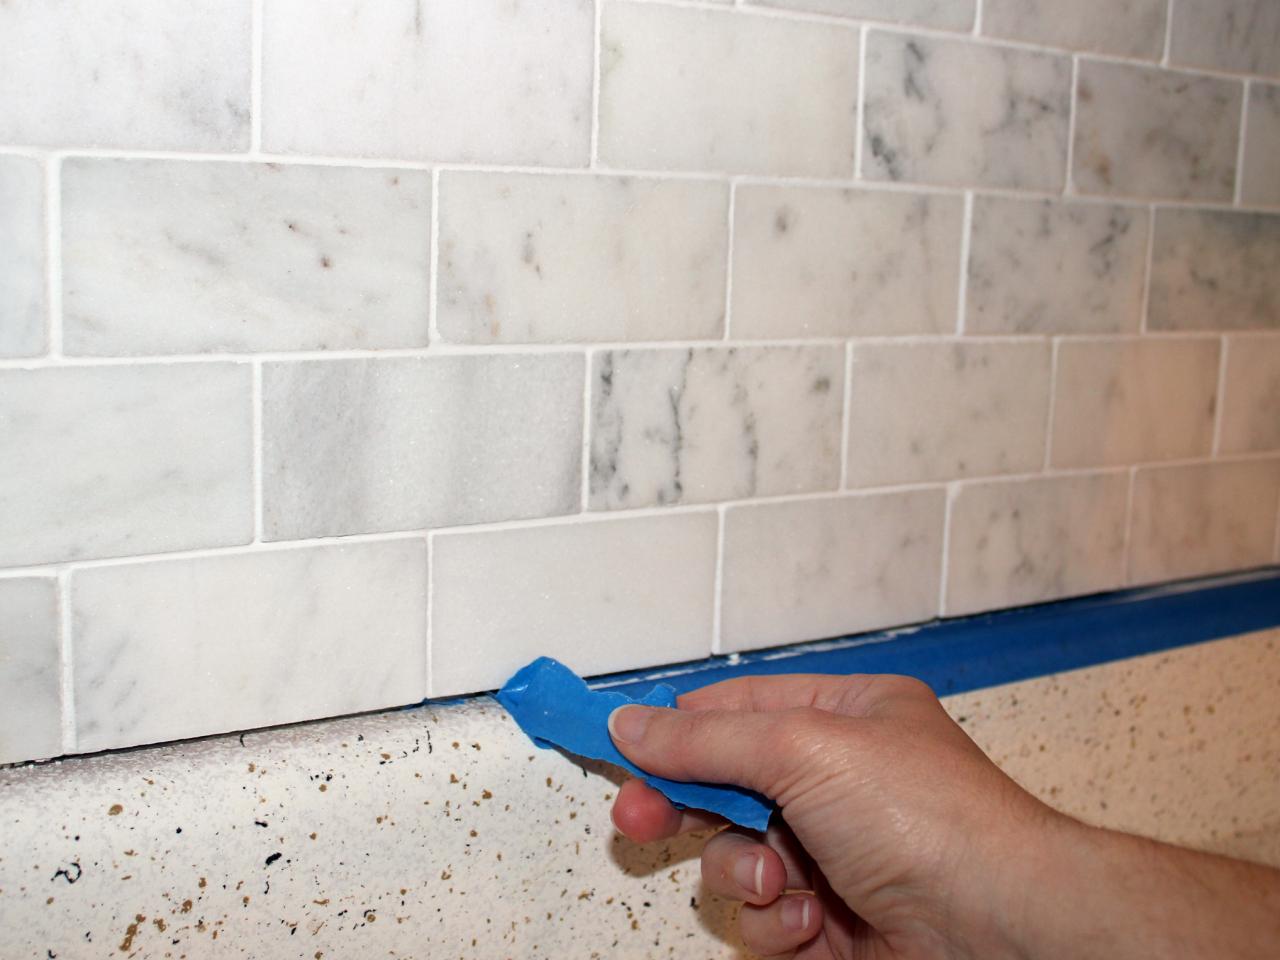
- Mask off adjacent areas: To prevent smearing caulk onto adjacent surfaces, use painter’s tape to mask off areas such as walls or skirting boards that are next to the stairs.
By properly preparing the stairs, you will ensure a clean and even surface for the caulk to adhere to. This will result in a better-looking finish and increased durability.
Next, we’ll discuss how to choose the right caulk for your stairs.
Choosing the Right Caulk
When it comes to caulking stairs, it’s important to select the right type of caulk that suits the material of your stairs and the specific needs of the project. Here are some factors to consider when choosing the right caulk:
- Stair material: Different stair materials require different types of caulk. For wooden stairs, a flexible caulk that can expand and contract with the wood is recommended. Silicone-based caulk is a popular choice for its durability and flexibility. For concrete or metal stairs, choose a caulk that is specifically designed for those materials.
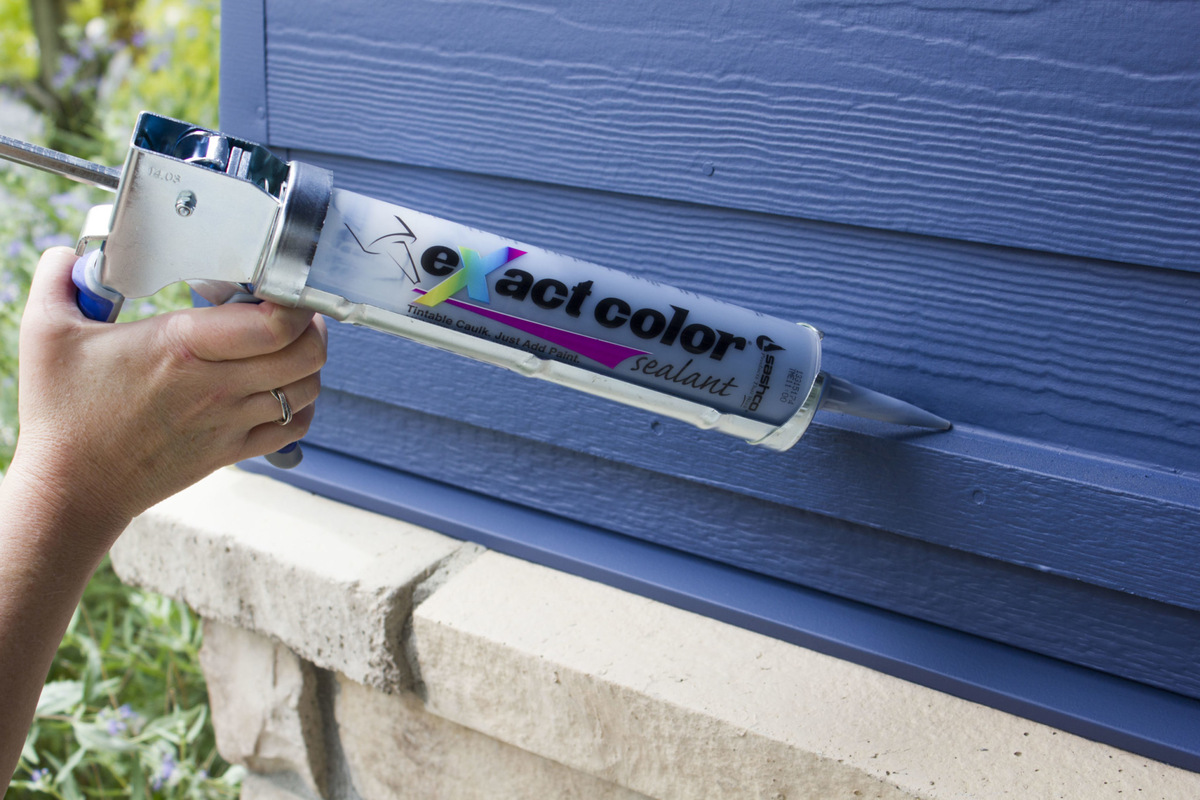
- Indoor or outdoor use: Consider whether the stairs are indoors or outdoors. Outdoor stairs require caulk that can withstand exposure to the elements, such as rain, sunlight, and temperature changes. Look for caulk labeled as “exterior” or “all-weather” for outdoor applications.
- Sealing properties: Determine the level of sealing properties you need. If you’re caulking to prevent moisture penetration and drafts, choose a caulk that is water-resistant and has good adhesion. Look for caulk labeled as “waterproof” or “weatherproof.”
- Caulk color: Consider the color of the caulk you want to use. You can choose a caulk color that matches the color of your stairs for a seamless finish, or you can opt for a contrasting color to make a design statement.
It’s important to read the labels and specifications of different caulk products to ensure they are suitable for your specific stair project. Don’t hesitate to ask for advice at your local hardware store if you’re unsure which caulk to choose.
Now that you have the right caulk, let’s move on to applying it to the stairs.
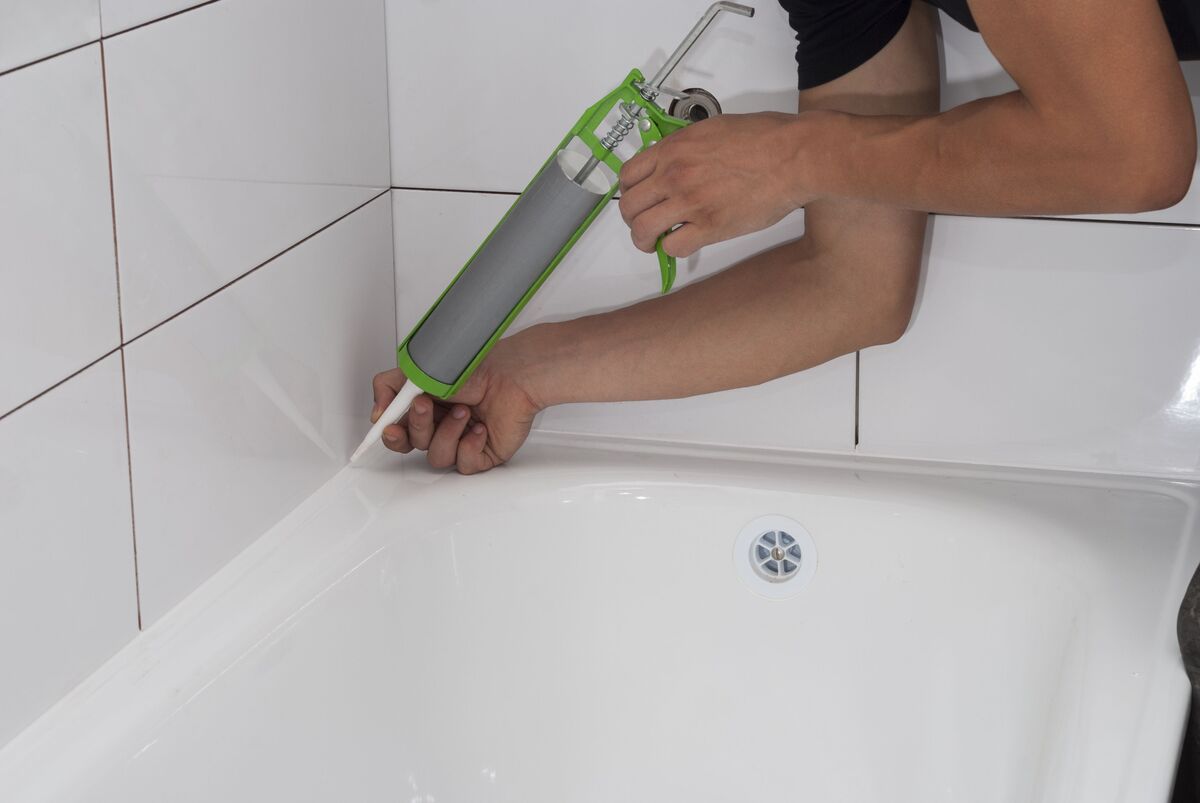
Applying the Caulk
Now that you have chosen the right caulk for your stairs, it’s time to start applying it. Follow these steps to ensure a smooth and successful application:
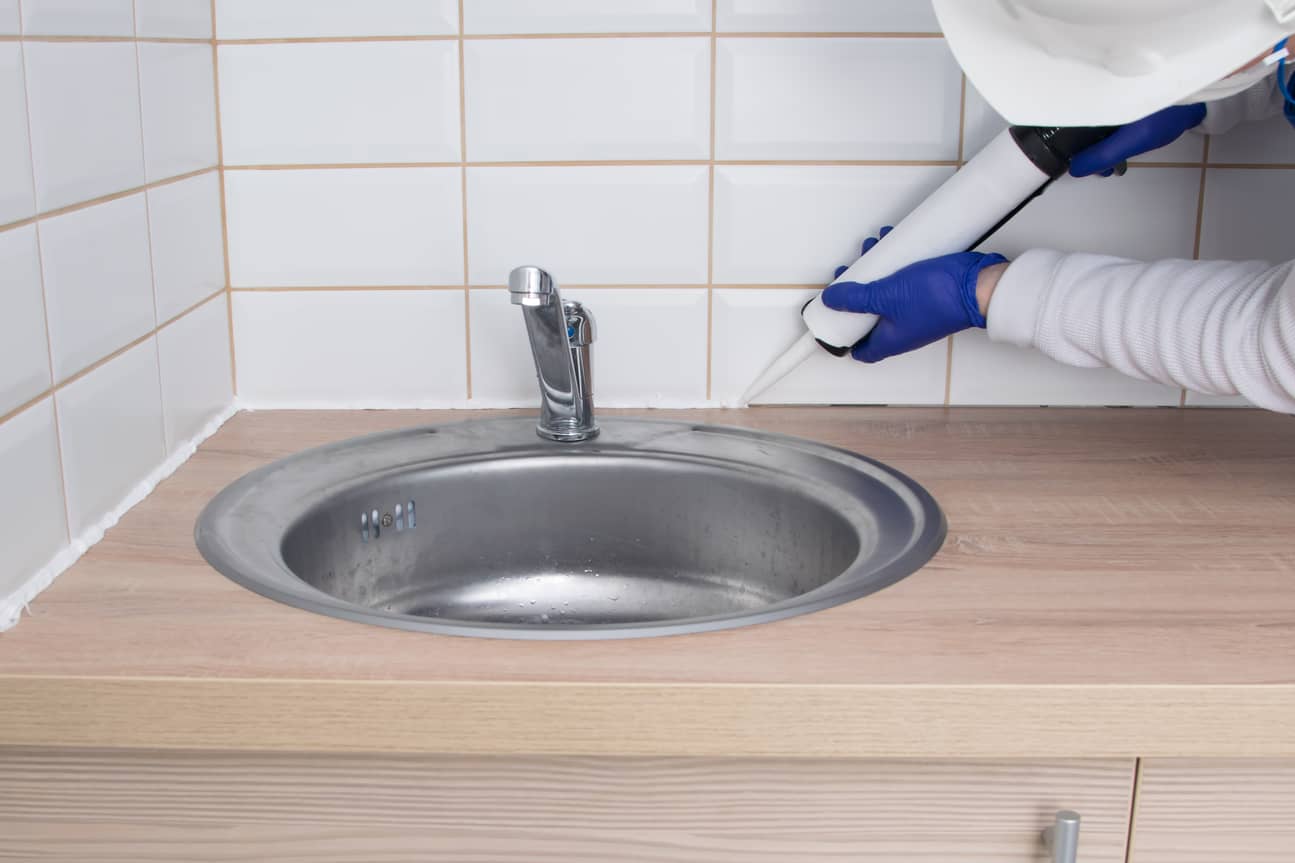
- Load the caulk: Load the caulk tube into the caulking gun. Cut off the tip of the caulk tube at a 45-degree angle, making sure to create a small opening.
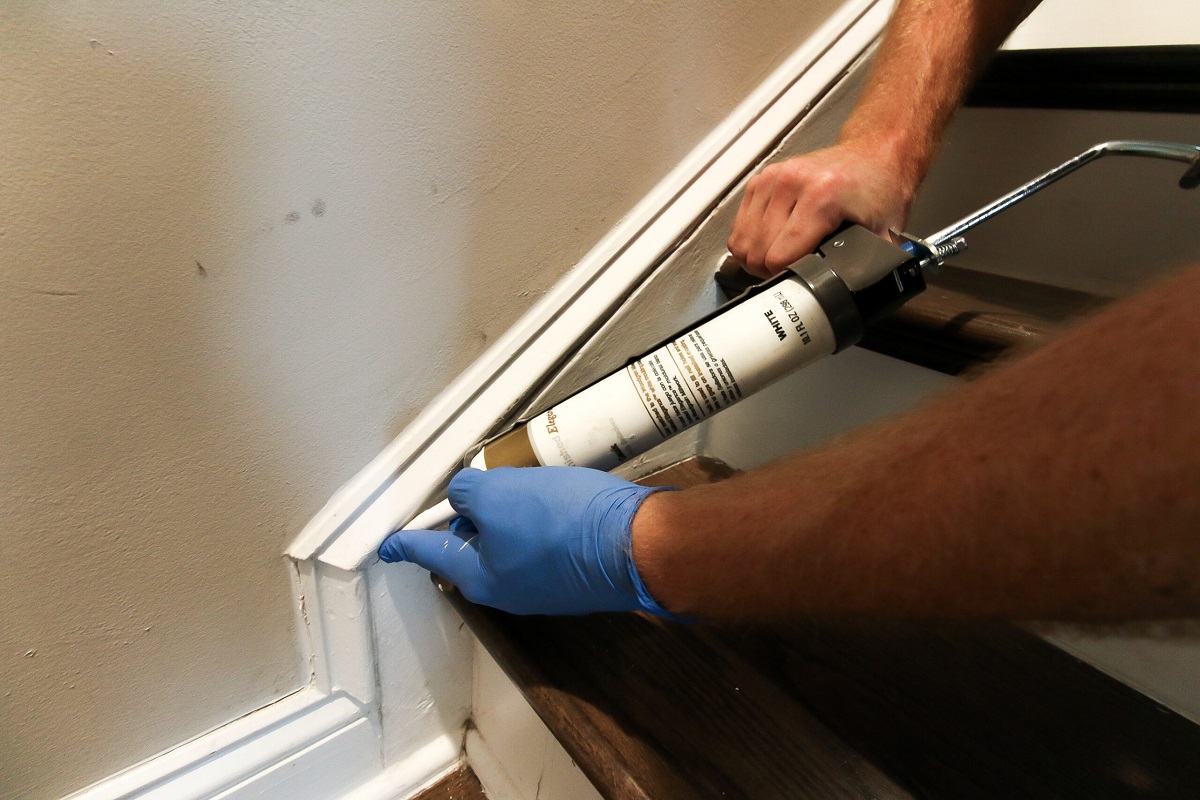
- Begin caulking: Start at one end of the stairs and work your way across. Apply a thin, even bead of caulk along the seam or gap, pressing the caulk gun trigger to release the caulk. Move steadily to maintain a consistent application.
- Avoid overfilling: It’s better to apply less caulk than too much. Overfilling can result in messiness and require additional smoothing and cleanup.
- Continue caulking: Move along the entire length of the stairs, applying caulk to each seam or gap. Pay attention to areas where the stairs meet the wall or other surfaces, as these are common areas for gaps to occur.
Remember to work in small sections at a time to ensure that the caulk doesn’t start to dry before you have a chance to smooth it out.
Next, we’ll discuss how to smooth and finish the caulk for a polished look.
Make sure to thoroughly clean and dry the stairs before applying caulk to ensure a strong bond. Use a caulk gun for precise application and smooth the caulk with a damp cloth for a professional finish.
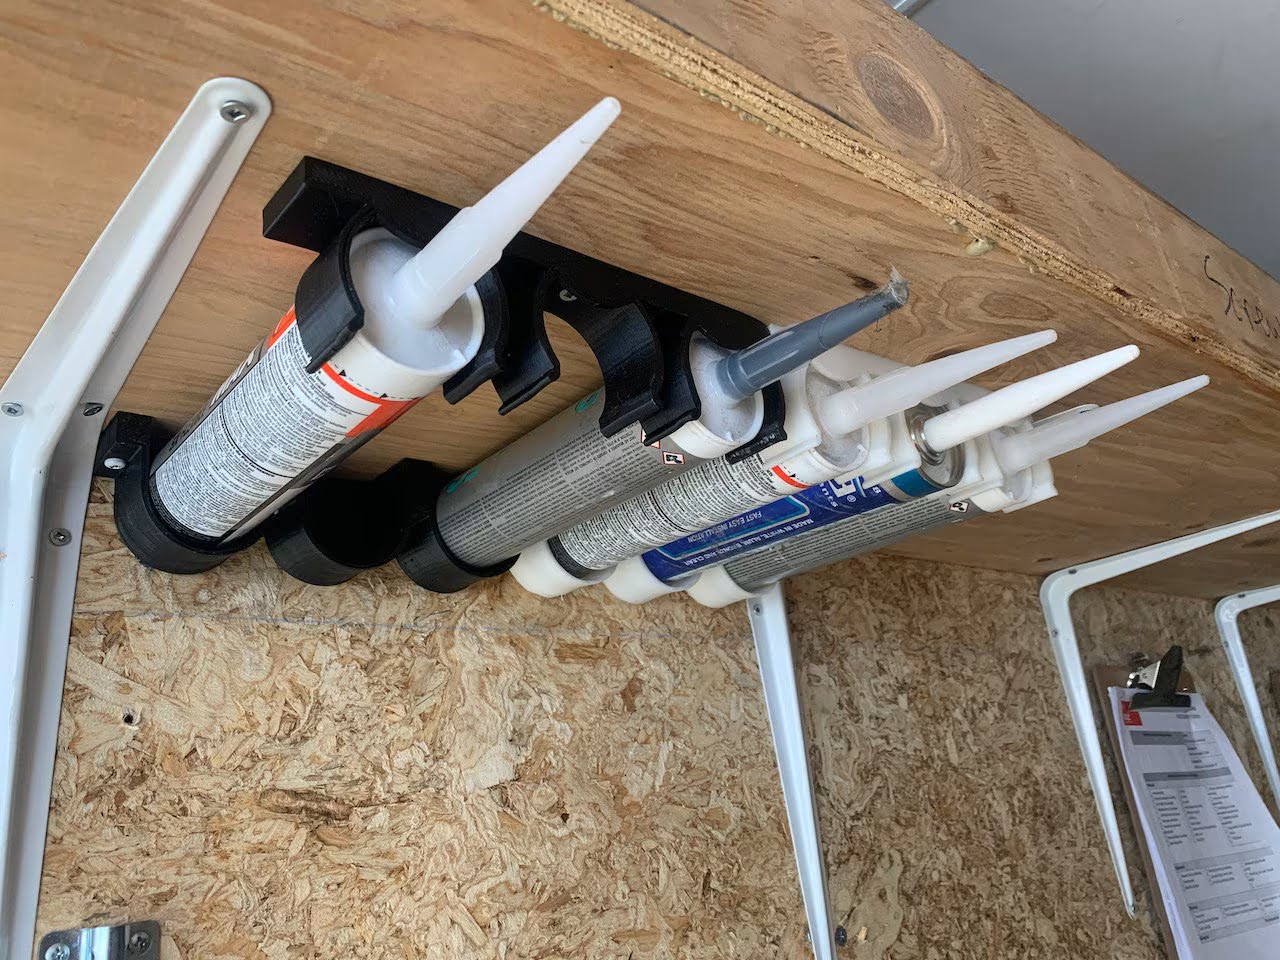
Read more: How To Store Unused Caulk
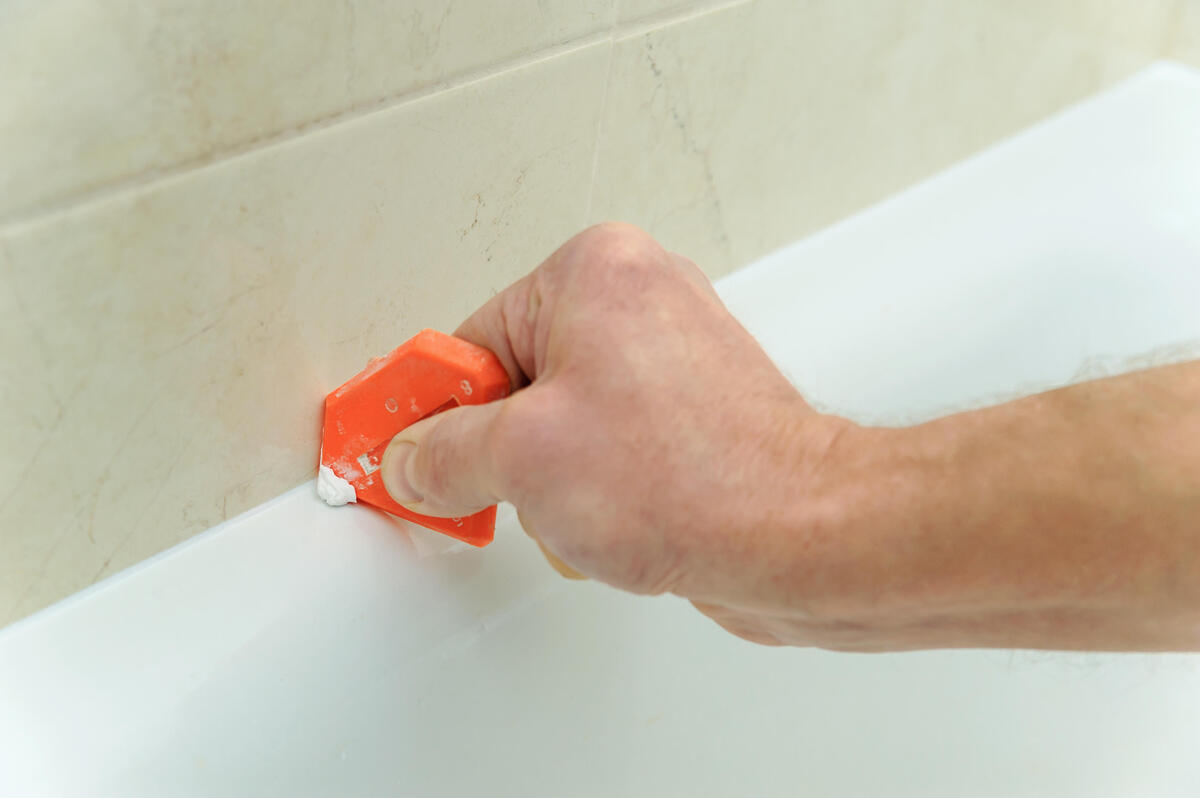
Smoothing and Finishing
Once you have applied the caulk to the stairs, it’s important to smooth and finish it for a professional look. Follow these steps to achieve a polished and clean finish:
- Use a caulk smoothing tool: Immediately after applying the caulk, use a caulk smoothing tool to smooth out the bead of caulk. Hold the tool at a 45-degree angle and gently run it along the caulk line to flatten and create a neat finish.
- Wipe away excess caulk: Use a clean cloth or sponge to wipe away any excess caulk. This will help to further smooth out the surface and remove any smears or smudges.
- Trim any excess caulk: If necessary, use a utility knife to carefully trim any excess caulk that may have squeezed out during the application process. Be cautious not to damage the stairs or the surrounding surfaces.
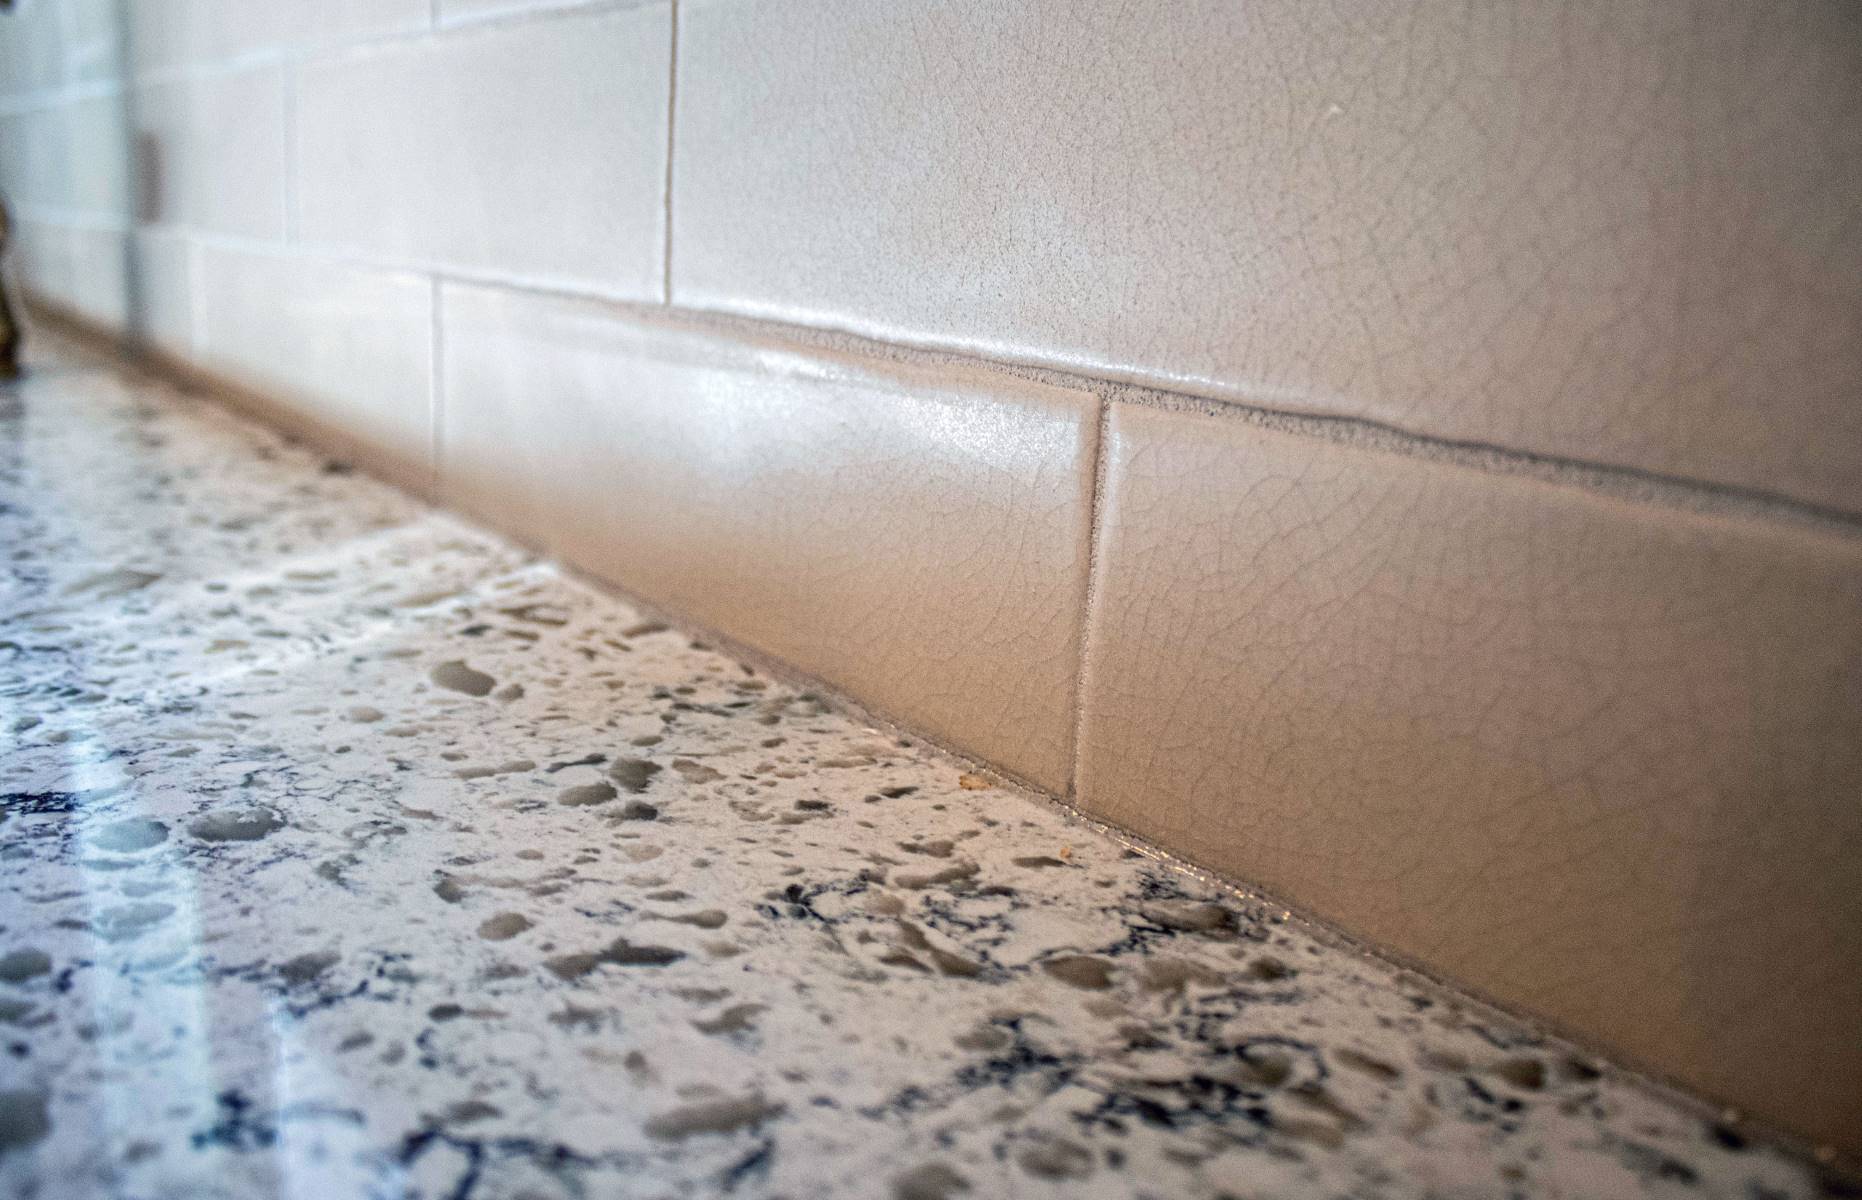
Take your time when smoothing and finishing the caulk to ensure a clean and professional appearance. The caulk should blend seamlessly with the stairs, filling in any gaps and creating a smooth surface.
Now that you’ve completed the caulking and achieved a smooth finish, it’s time to clean up any mess and make your stairs look their best.
Cleaning Up
After you have finished caulking your stairs, it’s important to clean up any excess caulk and leave the area looking neat and tidy. Follow these steps to properly clean up:
- Remove painter’s tape: If you used painter’s tape to protect adjacent surfaces, carefully remove it while the caulk is still wet. This will prevent the tape from tearing or leaving residue.
- Wipe away excess caulk: Use a damp cloth or sponge to wipe away any excess caulk from the stairs and surrounding areas. This will ensure a clean and professional finish.
- Dispose of caulk tubes and materials: Safely dispose of any used caulk tubes and other materials according to local regulations. Check with your local waste management facility for proper disposal methods.
By cleaning up after caulking, you’ll leave your stairs looking pristine and ready for use.
Before we conclude, here are some additional tips to help you achieve a professional finish when caulking your stairs.
Tips for a Professional Finish
Here are some additional tips to keep in mind while caulking your stairs to achieve a professional and polished finish:
- Work in small sections: It’s best to work in small sections at a time to ensure that the caulk doesn’t dry before you have a chance to smooth it out. This will help you achieve a consistent finish.
- Smooth the caulk immediately: Use a caulk smoothing tool to smooth the caulk immediately after applying it. This will help create a clean and even finish.
- Apply even pressure: When using the caulking gun, apply even pressure to ensure a steady flow of caulk. This will provide a consistent application and reduce the likelihood of gaps or uneven lines.
- Practice caution: Be careful not to overfill the gaps with caulk as excess caulk can be messy and difficult to clean up. Apply a thin and even bead of caulk for the best results.
- Keep a damp cloth or sponge nearby: Having a damp cloth or sponge on hand will allow you to quickly wipe away any excess caulk or smudges, resulting in a cleaner finish.
- Allow sufficient drying time: Follow the manufacturer’s instructions regarding drying time for the caulk. This will ensure that it is fully cured and ready for use before allowing foot traffic on the stairs.
By following these tips, you’ll be able to achieve a professional and flawless finish when caulking your stairs.
Congratulations! You now have the knowledge and guidance to confidently caulk your stairs. With regular maintenance and caulking, your stairs will not only look aesthetically pleasing but also remain sturdy and durable for many years to come.
Remember, proper caulking is an important part of stair maintenance, so be sure to inspect and recaulk your stairs periodically to keep them in optimal condition.
Happy caulking!
Conclusion
Caulking stairs is a vital step in maintaining their longevity and protecting them from damage. By following the step-by-step process outlined in this guide, you can effectively caulk your stairs and enjoy a professional and polished finish.
Remember to gather all the necessary tools and materials, clean and prepare the stairs, choose the right caulk for your specific needs, and apply it evenly and smoothly. Don’t forget to smooth and finish the caulk, clean up any mess, and follow the provided tips for a truly professional result.
Regularly inspecting and maintaining your stairs, including caulking when necessary, will not only enhance their aesthetic appeal but also prevent issues like squeaking, loose treads, and further damage. It’s a simple yet critical task that should be incorporated into your stair maintenance routine.
Now that you have the knowledge and confidence to caulk your stairs, take action and enjoy the benefits of a well-maintained and visually appealing staircase. So grab your caulking gun, choose the perfect caulk for your stairs, and start transforming and preserving your stairs today.
Happy caulking!
Frequently Asked Questions about How To Caulk Stairs
Was this page helpful?
At Storables.com, we guarantee accurate and reliable information. Our content, validated by Expert Board Contributors, is crafted following stringent Editorial Policies. We're committed to providing you with well-researched, expert-backed insights for all your informational needs.


0 thoughts on “How To Caulk Stairs”