Articles
How To Caulk Around A Sink
Modified: January 19, 2024
Learn how to caulk around a sink with this informative article. Find step-by-step instructions and tips for achieving a professional finish.
(Many of the links in this article redirect to a specific reviewed product. Your purchase of these products through affiliate links helps to generate commission for Storables.com, at no extra cost. Learn more)
Introduction
Welcome to our comprehensive guide on how to caulk around a sink. Caulking is an essential task when it comes to maintaining the cleanliness and functionality of your sink area. By sealing the gaps between the sink and the surrounding countertop or backsplash, you prevent water damage, mold growth, and the accumulation of dirt and debris. Additionally, proper caulking can enhance the aesthetic appeal of your sink by giving it a neat and finished look.
Whether you’re installing a new sink or refreshing the caulk around your existing one, this step-by-step guide will walk you through the process of caulking around a sink. We’ll cover everything from gathering the necessary materials to applying the caulk and achieving a professional-looking finish. So, let’s get started!
Key Takeaways:
- Properly caulking around your sink not only enhances its appearance but also prevents water damage, mold growth, and dirt accumulation. Regular maintenance ensures a long-lasting, professional finish.
- Choosing the right caulk, applying it smoothly, and achieving a polished finish are essential for a well-sealed sink. Regular cleaning and inspection maintain its longevity and aesthetic appeal.
Read more: How To Caulk A Kitchen Sink
Step 1: Gather Materials
Before you begin caulking around your sink, it’s important to gather all the necessary materials. Having everything on hand will make the process smoother and more efficient. Here’s what you’ll need:
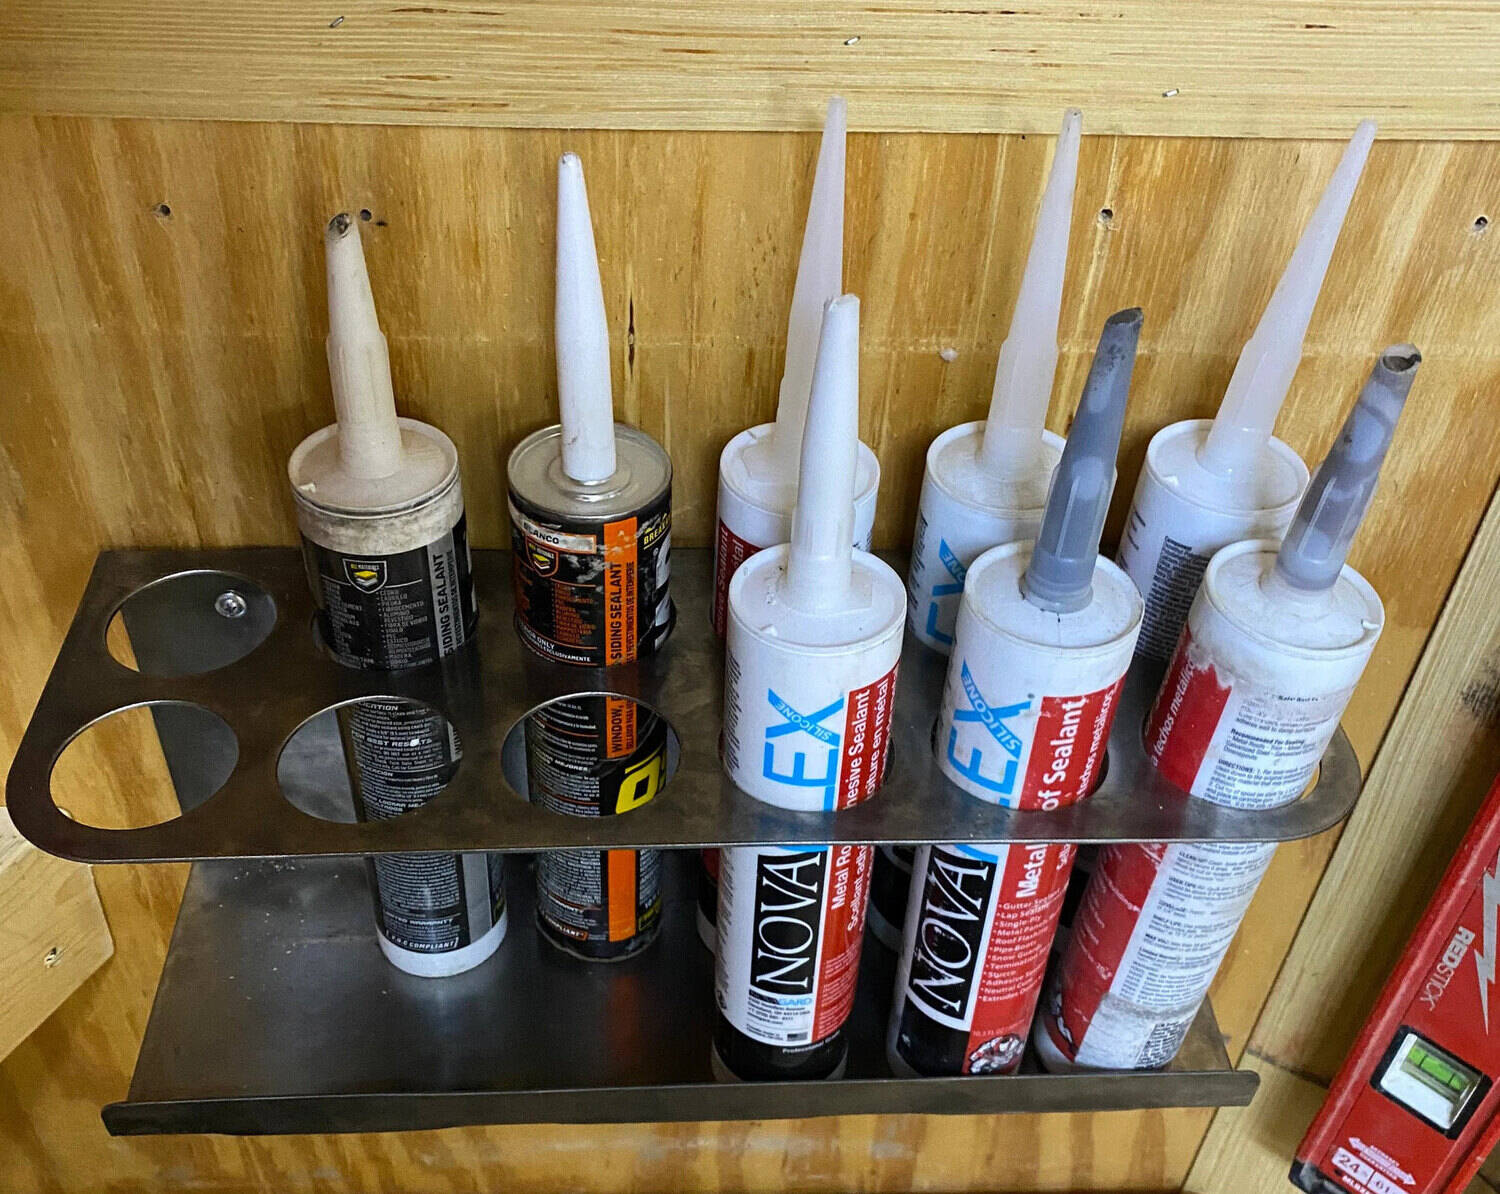
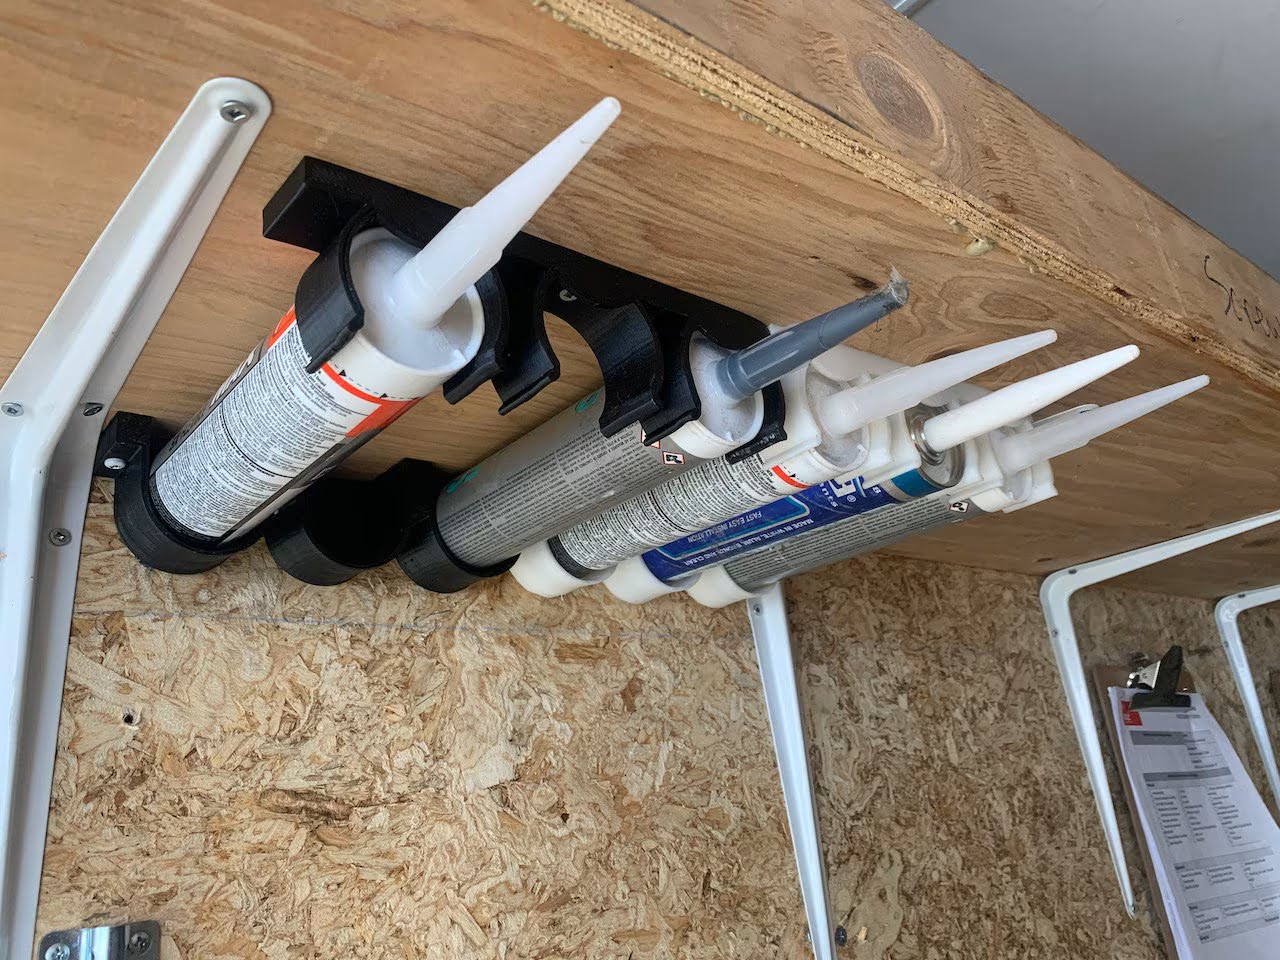
- Caulk Gun: A caulk gun is used to apply the caulk evenly. Make sure to choose a high-quality caulk gun that is comfortable to hold and easy to control.
- Caulk: Select a caulk that is specifically designed for use in kitchens and bathrooms. Look for a waterproof and mold-resistant caulk that will provide a durable seal.
- Caulk Remover: If you’re recaulking an existing sink, you may need a caulk remover to strip away the old caulk. This will ensure a clean surface for the new caulk to adhere to.
- Caulk Smoothing Tool: A caulking smoothing tool, also known as a caulk finishing tool or caulk spatula, is used to smooth and shape the caulk. This tool helps create a professional-looking finish.
- Rag or Paper Towels: Keep a rag or paper towels handy to wipe away any excess caulk or to clean up any spills.
- Painter’s Tape: Painter’s tape can be used to mask off areas around the sink that you don’t want to get caulk on, such as the countertop or backsplash.
- Cleaner and Degreaser: Before applying the caulk, ensure that the sink area is clean and free of grease or any other substances. Use a suitable cleaner or degreaser to thoroughly clean the surface.
- Safety Equipment: It’s always a good idea to wear protective gloves and safety glasses when working with caulk to prevent any skin irritation or eye injuries.
Once you have gathered all these materials, you’ll be well-prepared for the caulking process. With these tools in hand, you’ll be on your way to achieving a professional caulk job around your sink.
Step 2: Prepare the Sink and Surrounding Area
Before you start caulking, it’s crucial to properly prepare the sink and the surrounding area. Here’s how to do it:
- Clean the Surface: Begin by thoroughly cleaning the sink and the surrounding countertop or backsplash. Use a suitable cleaner or degreaser to remove any dirt, grime, or grease. Make sure the surface is completely dry before proceeding.
- Remove Old Caulk: If you’re recaulking an existing sink, check for any old caulk that needs to be removed. Use a caulk remover or a putty knife to carefully scrape away the old caulk. Clean the area again to ensure a smooth and clean surface.
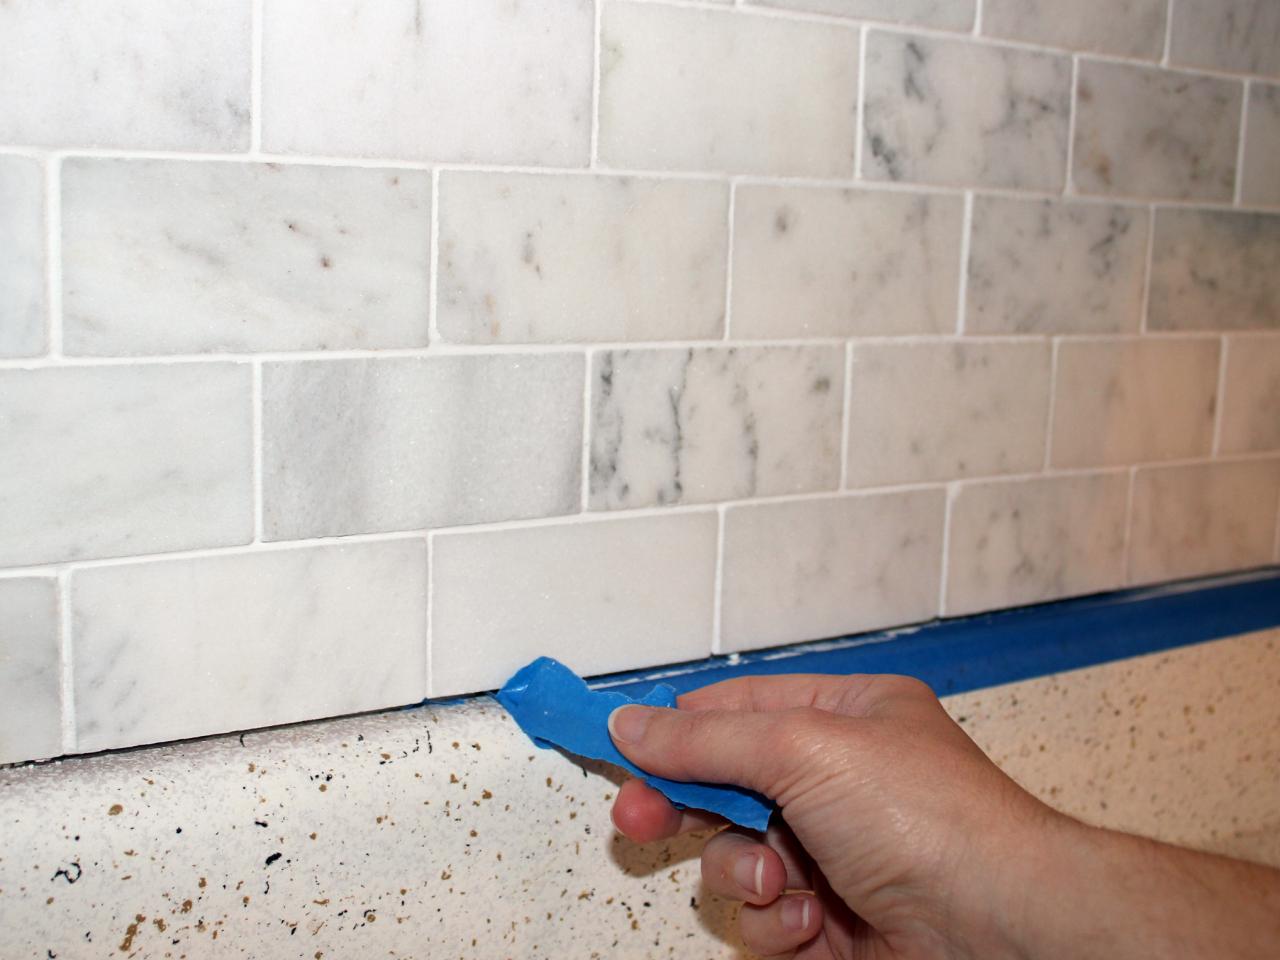
- Mask off Areas: Use painter’s tape to mask off areas around the sink that you don’t want to get caulk on. This could include the countertop, backsplash, or any other surfaces adjacent to the sink. This step will help ensure clean lines and prevent any accidental caulk smears.
- Apply Primer (If Necessary): In some cases, you may need to apply a primer to the surface before caulking. This is especially important if you’re caulking on a porous material such as natural stone. The primer helps improve the adhesion of the caulk.
By taking the time to properly prepare the sink and the surrounding area, you ensure that the caulk adheres well and provides a long-lasting seal. Cleanliness and thoroughness in this step will contribute to the overall success of your caulking project.
Step 3: Choose the Right Caulk
Choosing the right caulk is essential to ensure a proper seal and long-lasting results. Here are some factors to consider when selecting caulk for caulking around your sink:
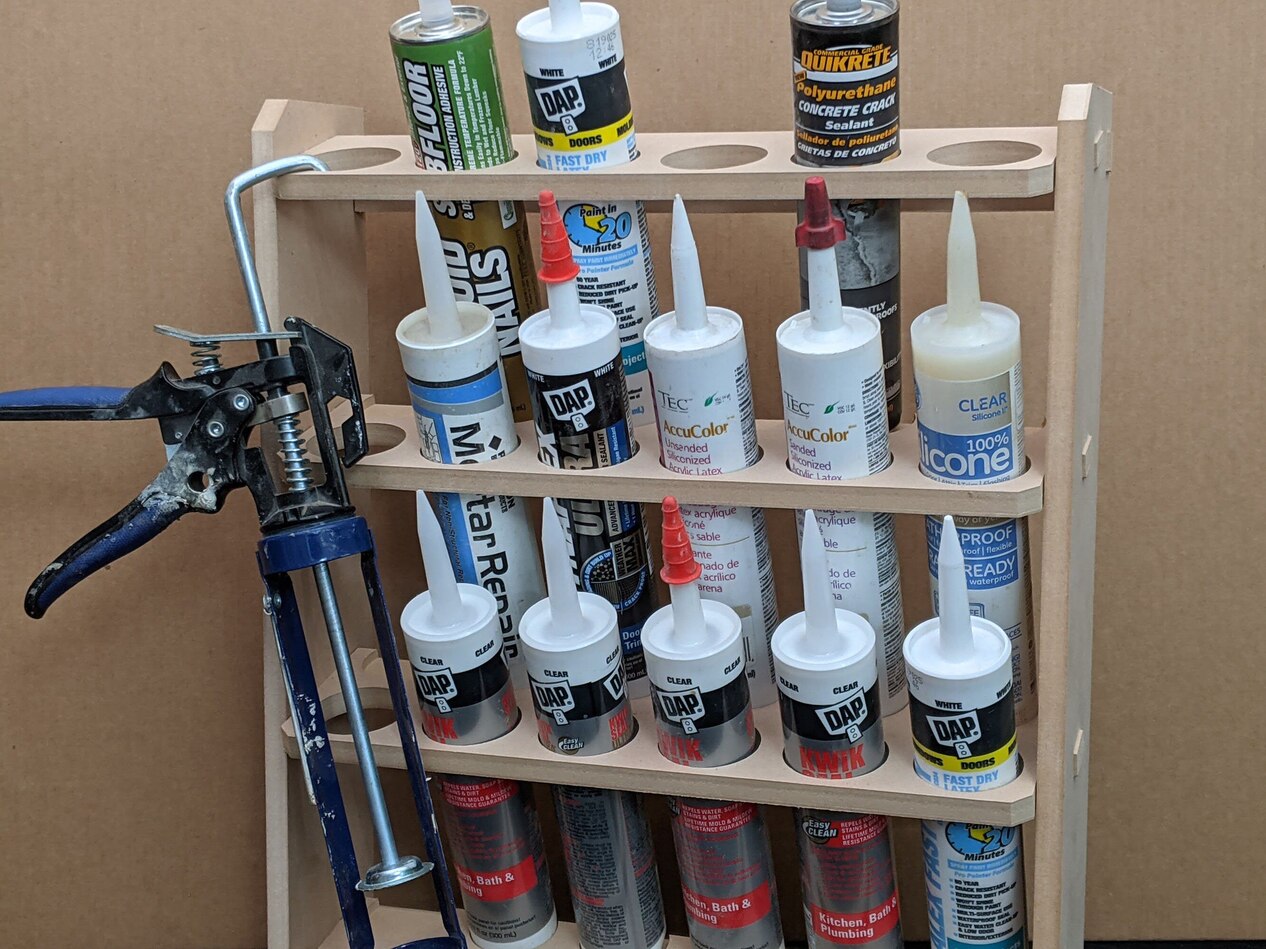
- Type of Caulk: Look for a caulk specifically designed for use in kitchens and bathrooms. These types of caulk are formulated to withstand moisture, heat, and frequent cleaning. Silicone-based caulk is a popular choice as it provides excellent durability and flexibility.
- Waterproof and Mold-Resistant: Ensure that the caulk you choose is waterproof and mold-resistant. This is especially important in sink areas where water exposure is high. Mold-resistant caulk helps prevent the growth of mold and mildew, keeping your sink area clean and hygienic.
- Color: Consider the color of the caulk that will blend well with your sink, countertop, and backsplash. Many caulk manufacturers offer a wide range of color options to match different kitchen and bathroom aesthetics.
- Application Method: Check if the caulk requires a caulk gun for application or if it comes in a squeeze tube. Choose the application method that you are comfortable with and suits the size of the project.
- Drying Time: Take note of the drying time mentioned on the caulk packaging. It’s important to allow enough time for the caulk to fully dry and cure before exposing it to water or cleaning.
- Brand and Quality: Opt for a reputable brand and high-quality caulk to ensure the best results. Higher-quality caulk tends to adhere better, resist cracking, and last longer.
Take your time to research and select the caulk that best meets your needs. It’s worth investing in a good-quality caulk that will provide a durable and professional finish around your sink.
When caulking around a sink, be sure to clean the area thoroughly before applying the caulk. Use a high-quality silicone caulk for best results and smooth the caulk with a wet finger for a clean finish.
Step 4: Apply the Caulk
Now that you have gathered your materials, prepared the sink, and chosen the right caulk, it’s time to start applying the caulk. Follow these steps for a successful caulk application:
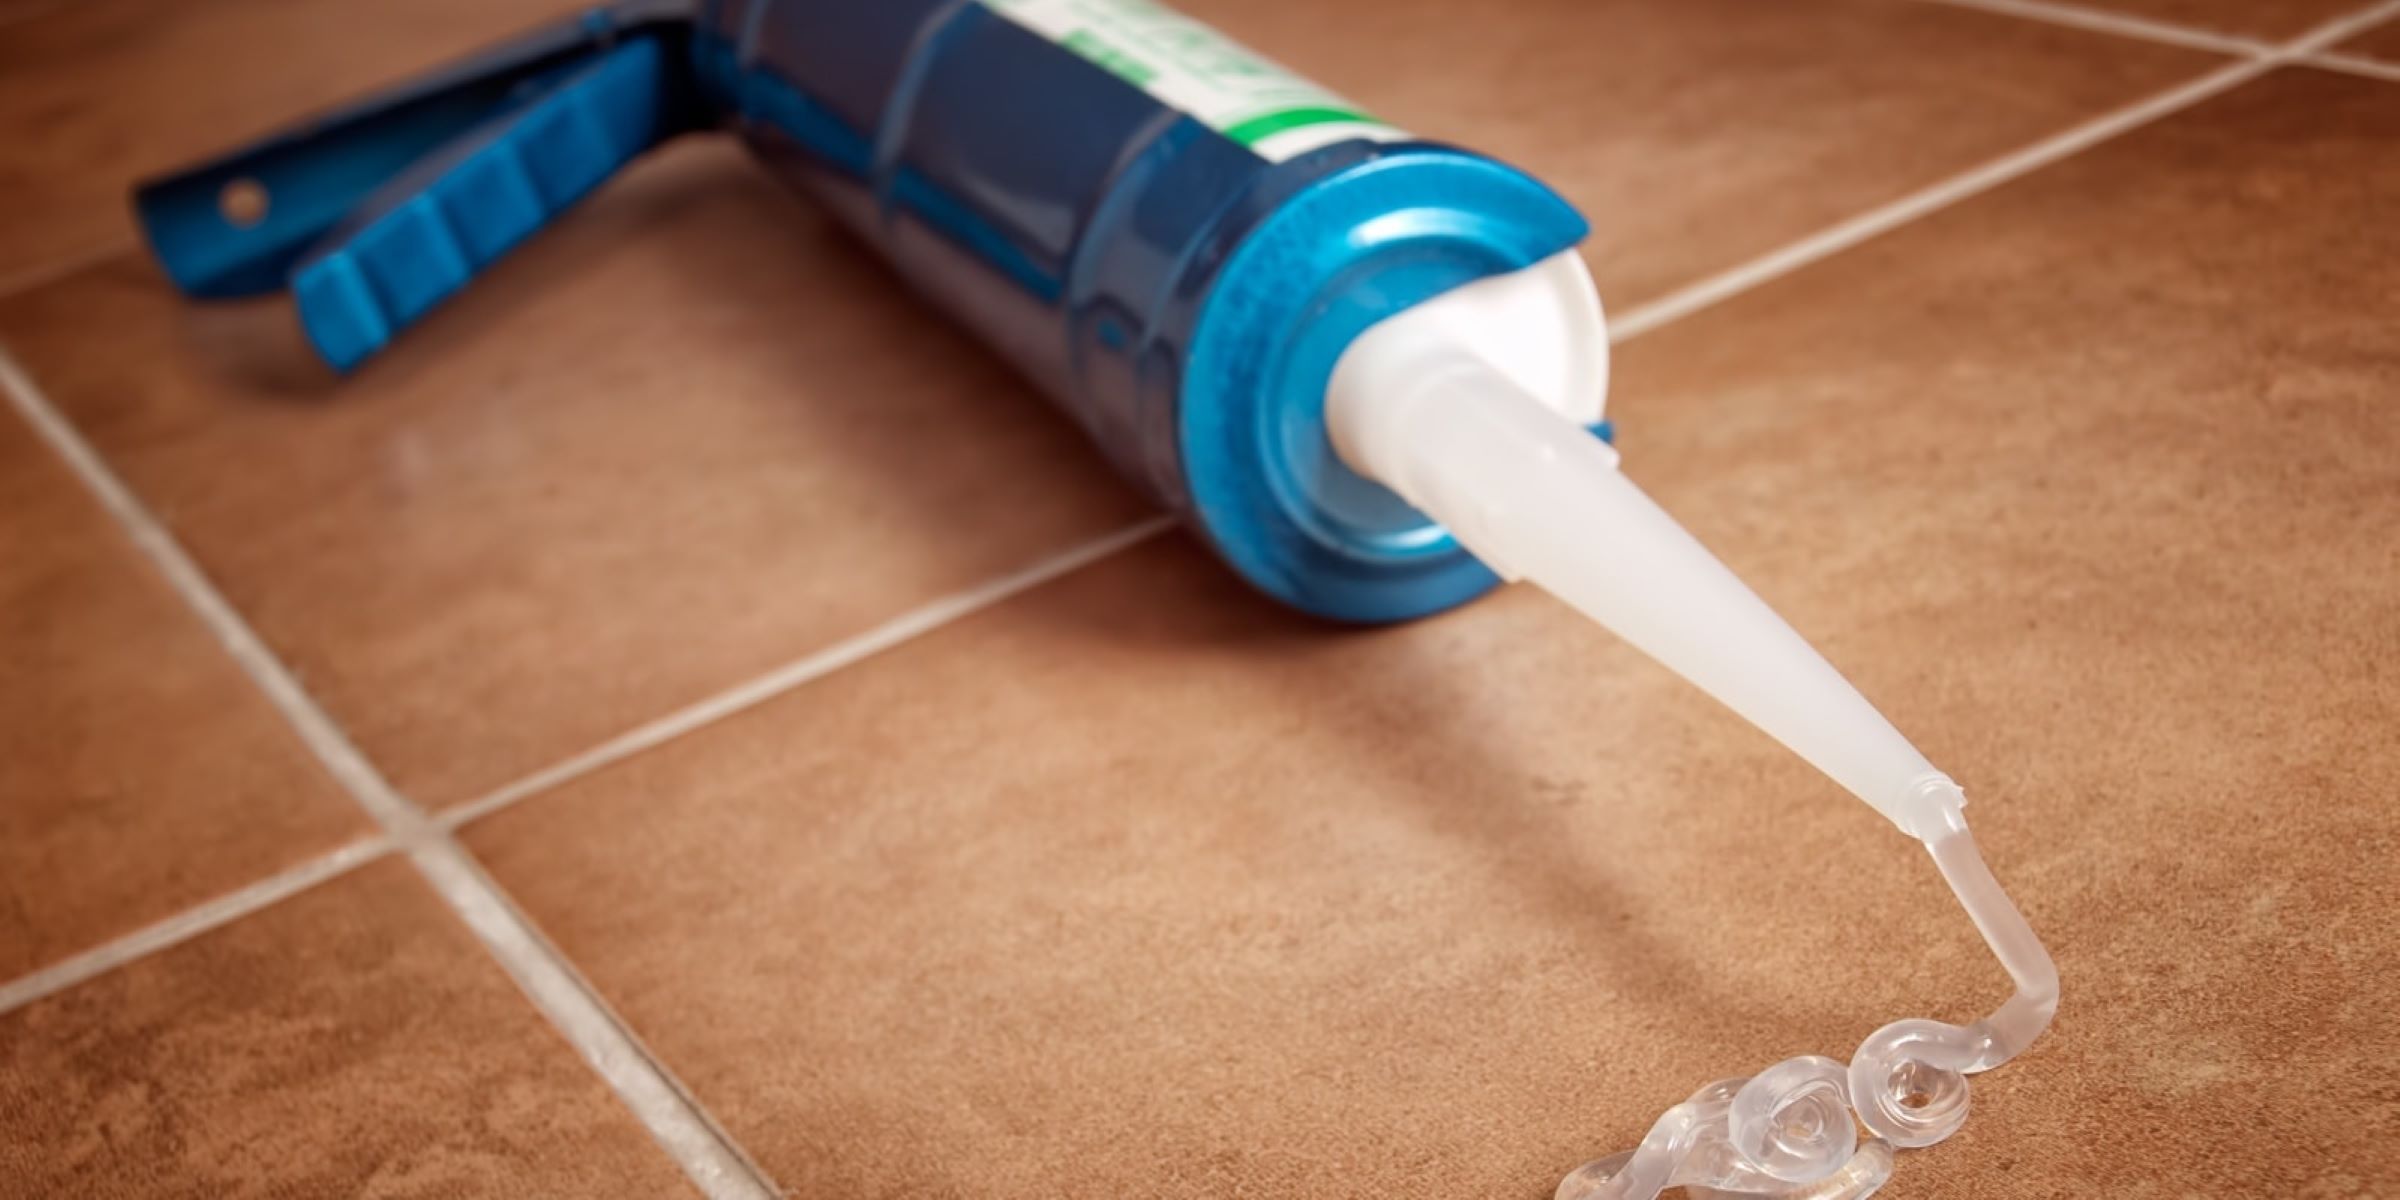
- Load the Caulk into the Caulk Gun: Remove the cap from the caulk tube and place it in the caulk gun. Push the plunger to secure the tube in place.
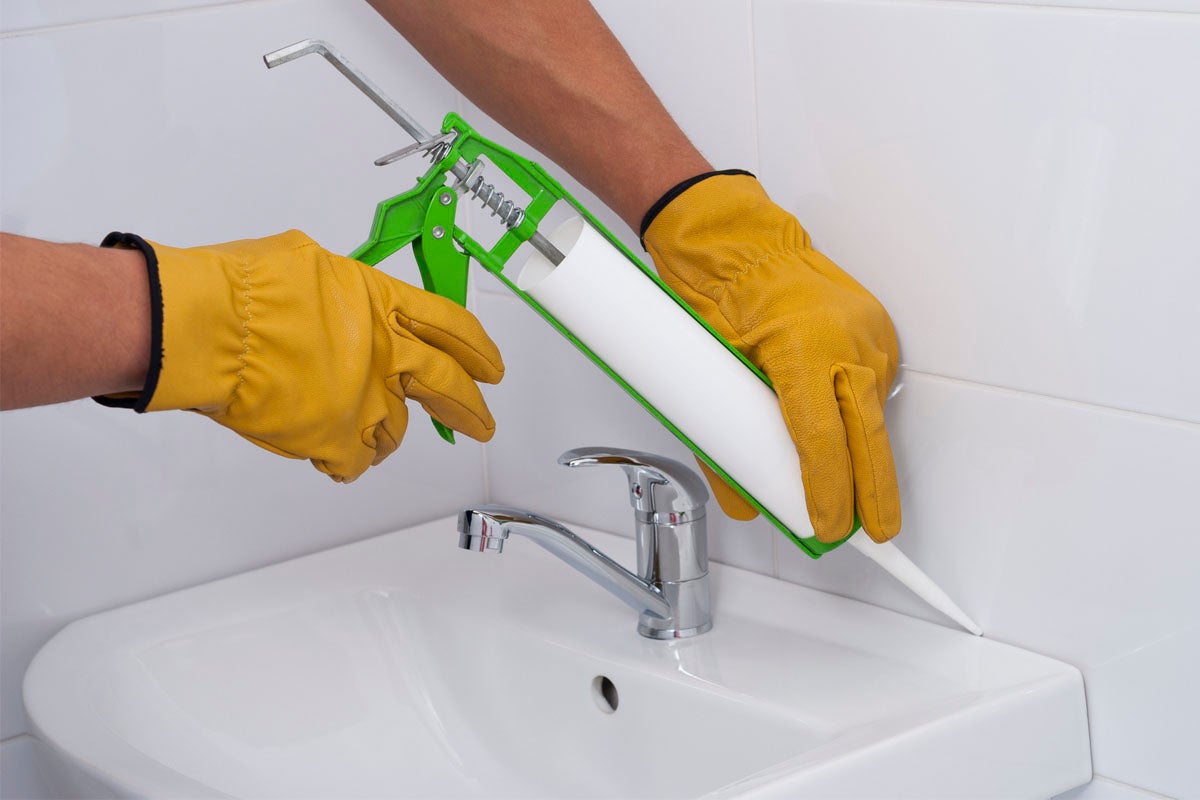
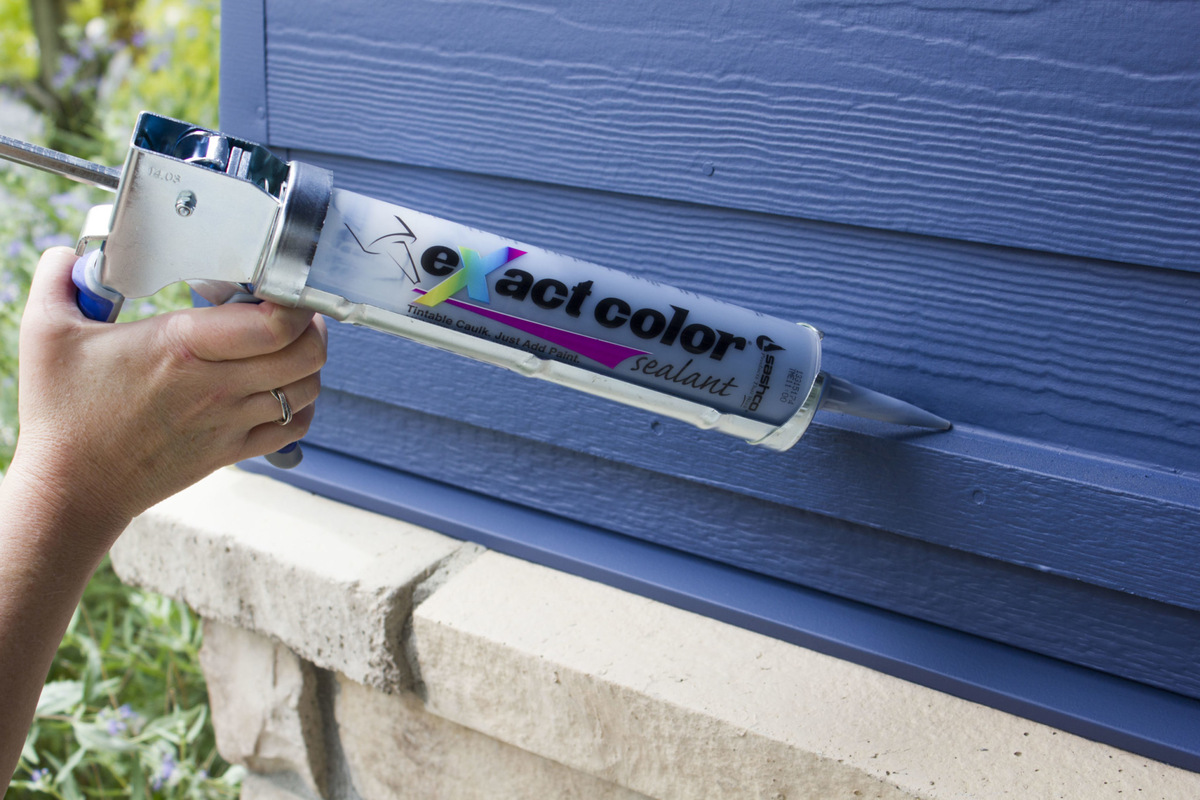
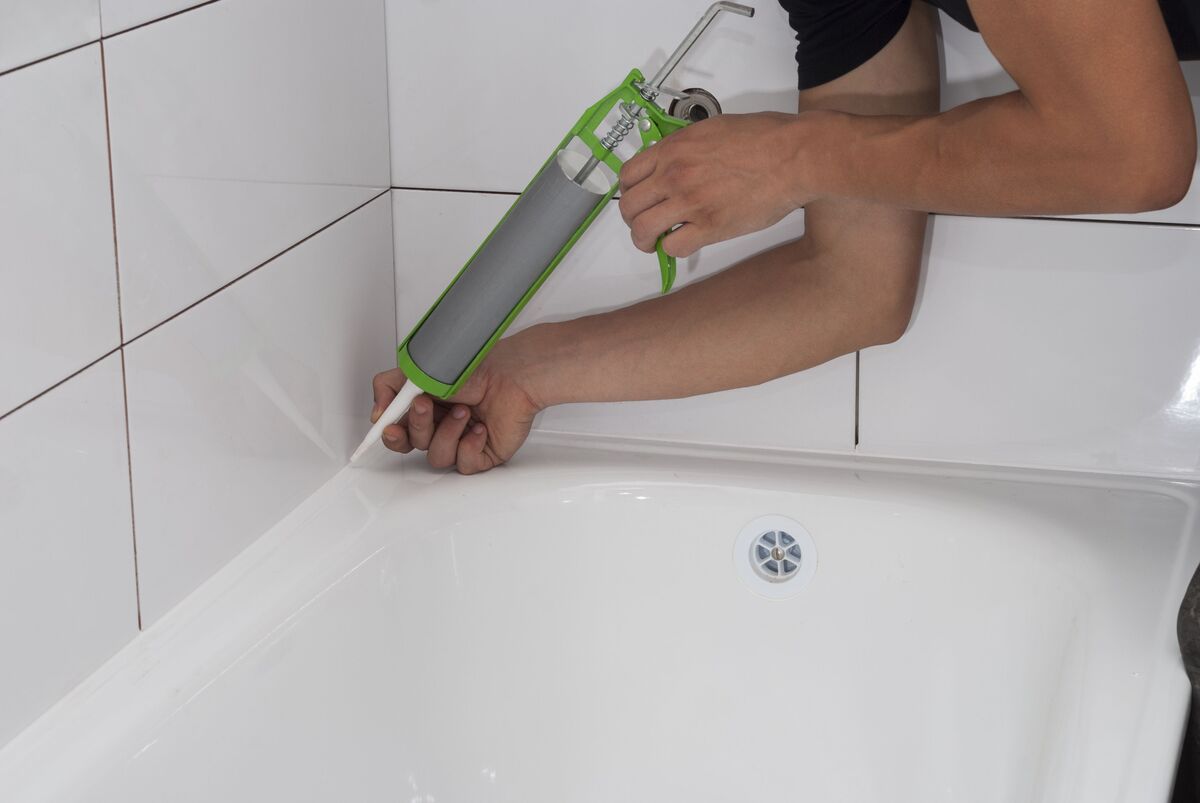
- Position the Caulk Gun: Hold the caulk gun at a 45-degree angle to the gap between the sink and the countertop or backsplash. Position the tip of the caulk tube at the starting point of the gap.
- Begin Applying the Caulk: Squeeze the trigger of the caulk gun steadily and apply an even bead of caulk along the entire length of the gap. Move the caulk gun smoothly and consistently to maintain a consistent flow of caulk.
- Fill the Gap: Continue applying caulk until the entire gap is filled. Be generous with the caulk to ensure a secure and watertight seal.
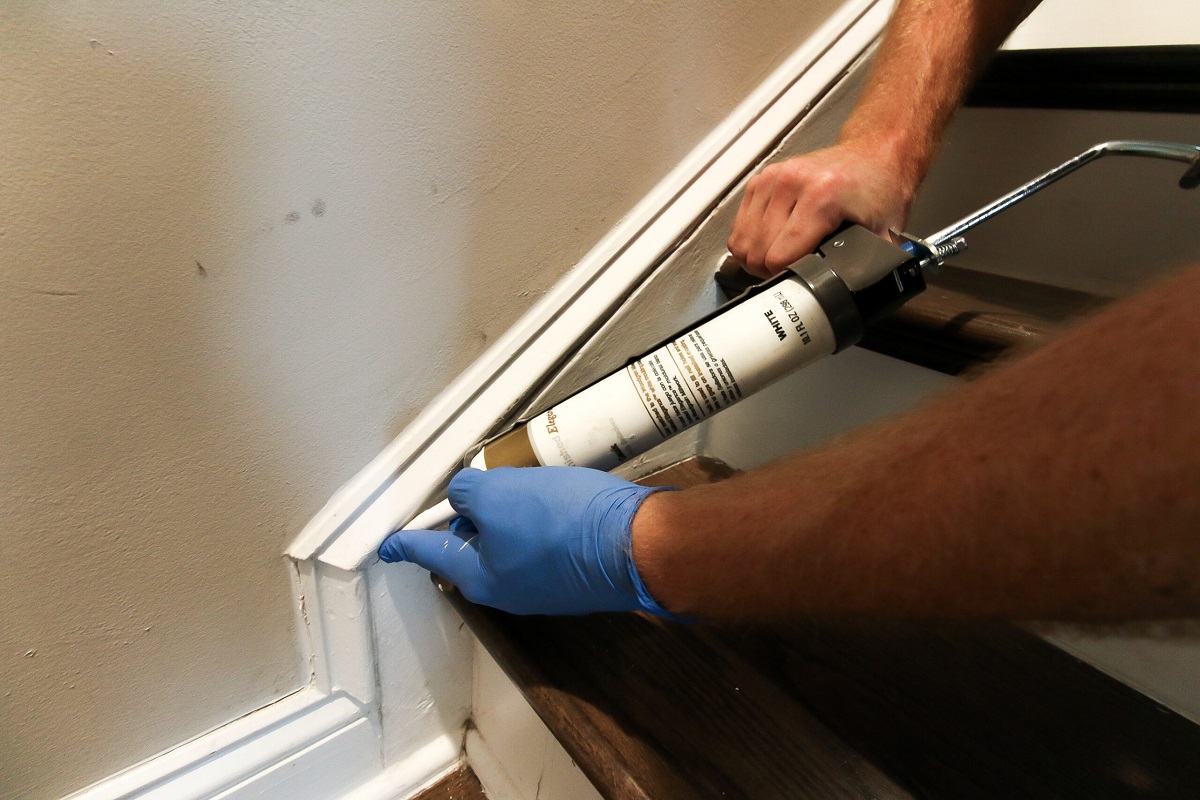
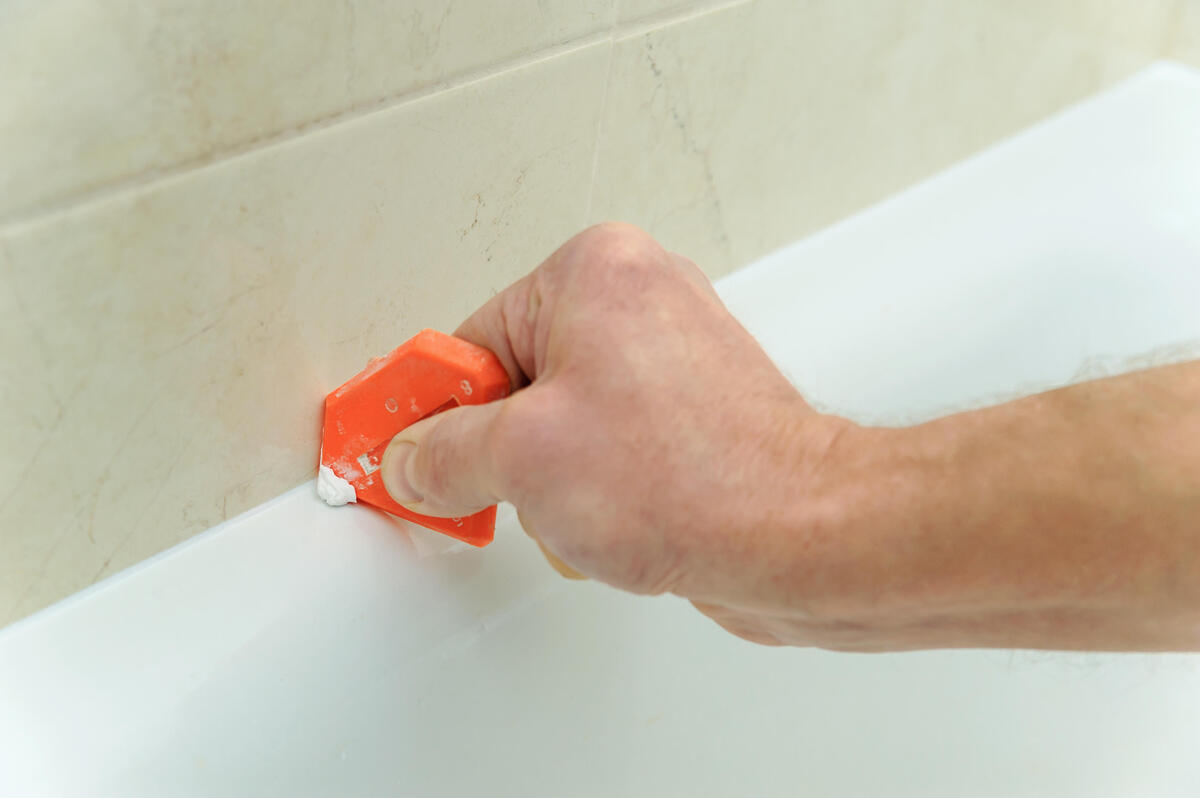
- Smooth the Caulk: After applying the caulk, use a caulk smoothing tool or your finger (in a latex glove) to smooth the caulk and remove any excess. Start at one end of the caulk line and run the smoothing tool or finger along the caulk, applying gentle pressure. This will create a clean and neat finish.
- Wipe Away Excess: Use a damp cloth or sponge to wipe away any excess caulk before it dries. This will help maintain clean lines and prevent the caulk from hardening in unwanted areas.
Remember to work steadily and confidently when applying the caulk. Take breaks if needed, but try to complete the entire caulking process without interruptions to maintain a seamless application.
Once you have applied the caulk, allow it to dry and cure completely according to the manufacturer’s instructions before exposing it to water or cleaning. This will ensure that the caulk forms a strong bond and provides an effective seal around your sink.
Read more: How To Caulk A Bathroom Sink
Step 5: Smooth and Shape the Caulk
After applying the caulk, it’s important to smooth and shape it to create an even and professional-looking finish. Follow these steps to achieve a smooth and neat caulk line:
- Prepare the Smoothing Tool: If you’re using a caulk smoothing tool, ensure that it is clean and free of any caulk residue. If you prefer to use your finger, put on a latex glove to protect your skin.
- Moisten the Smoothing Tool or Finger: Dampen the caulk smoothing tool or your finger slightly with water. This will prevent the caulk from sticking to the tool and allow for easier smoothing.
- Start Smoothing: Begin at one end of the caulk line and position the smoothing tool or your finger at a slight angle. Apply gentle pressure as you glide the tool or finger along the caulk line, smoothing it out and creating a uniform surface.
- Smooth in One Continuous Motion: Try to smooth the caulk in one continuous motion, without stopping and starting. This will help maintain a consistent finish and prevent visible lines or inconsistencies.
- Remove Excess Caulk: As you smooth the caulk, keep a damp cloth or sponge nearby to wipe away any excess caulk that may accumulate on the tool or in unwanted areas. This will help keep the caulk line clean and neat.
- Check for Smoothness and Consistency: Once you have smoothed the entire caulk line, step back and inspect it to ensure that it is smooth, even, and free of any bumps or inconsistencies. Make any necessary adjustments before the caulk begins to dry.
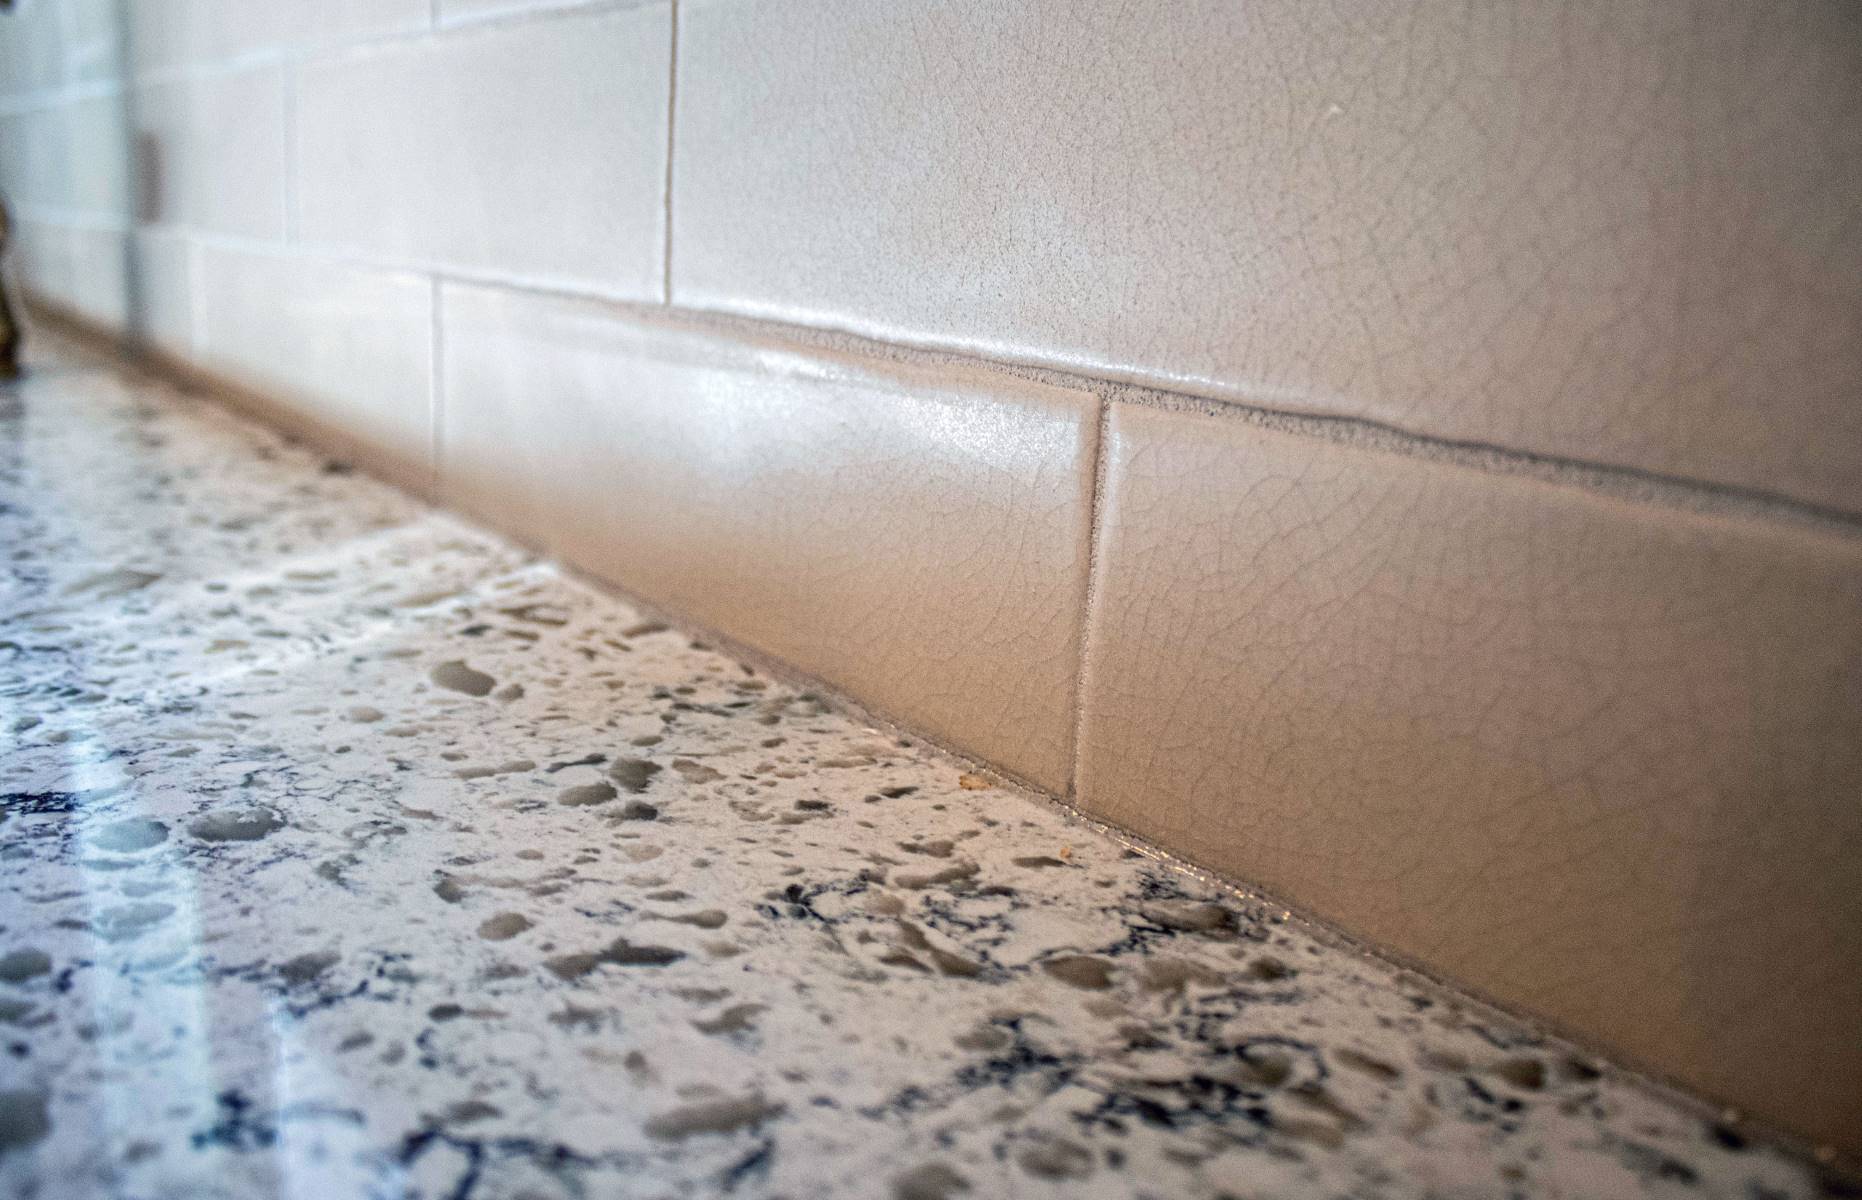
By taking the time to smooth and shape the caulk, you’ll achieve a professional finish that enhances the overall appearance of your sink area. A smooth and neat caulk line not only looks aesthetically pleasing but also provides a tighter seal and better protection against water damage.
Once you’re satisfied with the smoothness and shape of the caulk, allow it to dry and cure completely according to the manufacturer’s instructions before using the sink or exposing it to water.
Step 6: Clean up and Final Touches
Once you have applied and shaped the caulk, it’s time to clean up any mess and add the final touches to complete the caulking process. Follow these steps to ensure a tidy and polished result:
- Clean up Excess Caulk: Take a damp cloth or sponge and carefully wipe away any remaining excess caulk from the sink, countertop, backsplash, or any other surfaces. Pay close attention to the edges of the caulk line to create clean lines.
- Remove Painter’s Tape: If you used painter’s tape to mask off areas, remove it carefully while the caulk is still slightly wet. This will prevent the tape from pulling away any caulk or leaving residue behind.
- Check for Gaps or Incomplete Seals: Inspect the caulked area to ensure that there are no gaps or areas where the caulk did not fully adhere. If you notice any imperfections, add more caulk and smooth it out accordingly.
- Allow the Caulk to Dry: Give the caulk ample time to dry and cure according to the manufacturer’s instructions before using the sink or exposing it to water. This will ensure that the caulk forms a strong bond and provides an effective seal.
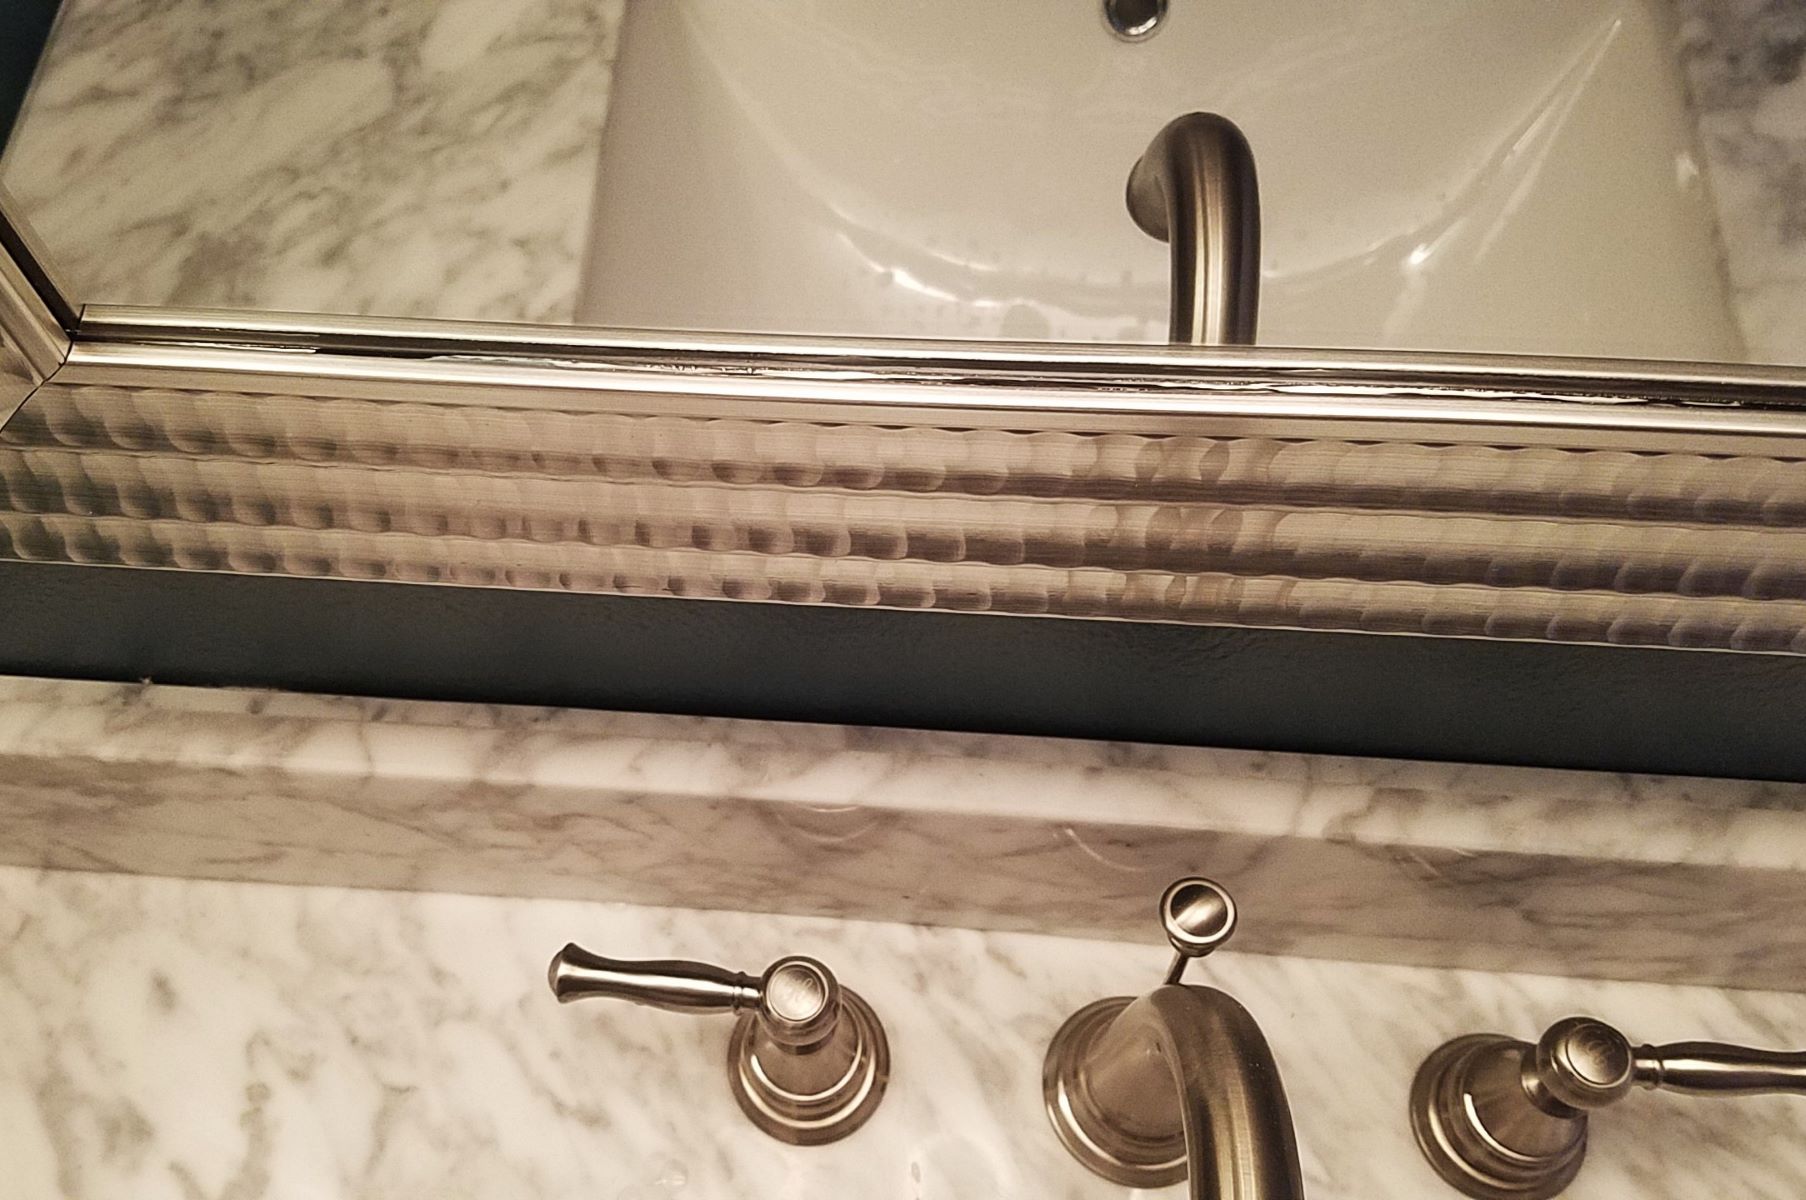
- Reinstall Fixtures and Accessories: If you had to remove any sink fixtures or accessories during the caulking process, now is the time to reinstall them. Be gentle when doing so to avoid disturbing the freshly caulked area.
- Enjoy Your Newly Caulked Sink: Once the caulk is fully dry and cured, you can enjoy the benefits of a clean, well-sealed sink area. Not only does it look more aesthetically pleasing, but it also provides added protection against water damage and mold growth.
By completing these final cleanup steps, you’ll achieve a polished and seamless caulk job around your sink. It’s important to maintain the caulked area by regularly cleaning and inspecting for any signs of wear or damage. This will ensure that your sink remains in excellent condition for a long time.
Remember, caulk may require occasional touch-ups or reapplication over time, especially in areas that experience heavy water exposure or frequent cleaning. Regular maintenance will help preserve the integrity of the caulking and prolong its effectiveness.
With the caulking process complete, step back and admire your work. You have successfully caulked around your sink and achieved a professional finish that not only enhances the appearance of your sink area but also provides functionality and protection.
Conclusion
Congratulations on completing the caulking process and achieving a beautifully finished sink area! Properly caulking around your sink not only enhances its appearance but also helps prevent water damage, mold growth, and the accumulation of dirt and debris. By following the steps outlined in this comprehensive guide, you have learned how to gather the necessary materials, prepare the sink and surrounding area, choose the right caulk, apply it smoothly, and achieve a polished finish.
Remember, maintaining the caulked area is key to its longevity. Regularly clean the sink and inspect the caulk for any signs of wear or damage. If needed, touch up or reapply caulk to ensure a tight seal and extend its lifespan.
By properly caulking around your sink, you have taken an important step in protecting your sink area and preserving its aesthetic appeal. Not only does a well-sealed sink contribute to the overall cleanliness and functionality of your kitchen or bathroom, but it also adds a touch of professionalism to the space.
Thank you for following this guide on how to caulk around a sink. We hope it has provided you with the necessary knowledge and guidance to successfully complete the caulking process. Enjoy your beautifully caulked sink and the benefits it brings!
Frequently Asked Questions about How To Caulk Around A Sink
Was this page helpful?
At Storables.com, we guarantee accurate and reliable information. Our content, validated by Expert Board Contributors, is crafted following stringent Editorial Policies. We're committed to providing you with well-researched, expert-backed insights for all your informational needs.


0 thoughts on “How To Caulk Around A Sink”