Articles
How To Build Your Own Bathroom Vanity
Modified: October 26, 2024
Learn how to build your own bathroom vanity with step-by-step articles. Discover expert tips and tricks for creating a custom vanity that fits your style and budget.
(Many of the links in this article redirect to a specific reviewed product. Your purchase of these products through affiliate links helps to generate commission for Storables.com, at no extra cost. Learn more)
Introduction
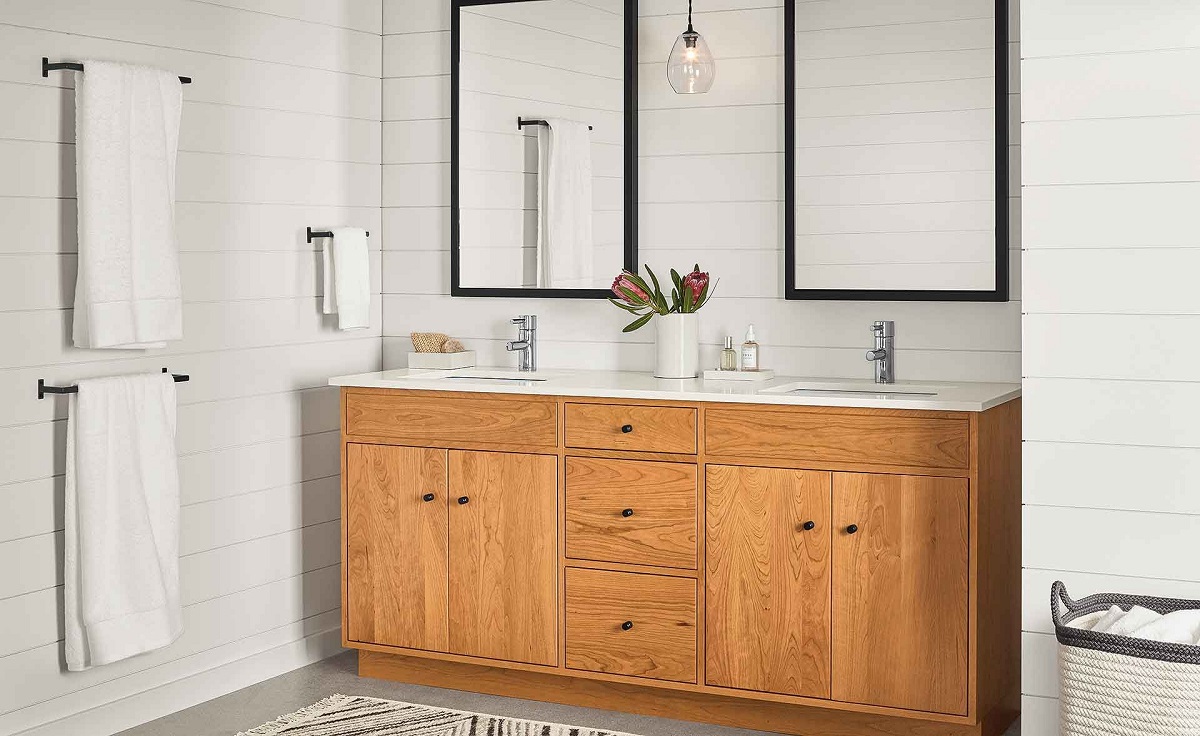
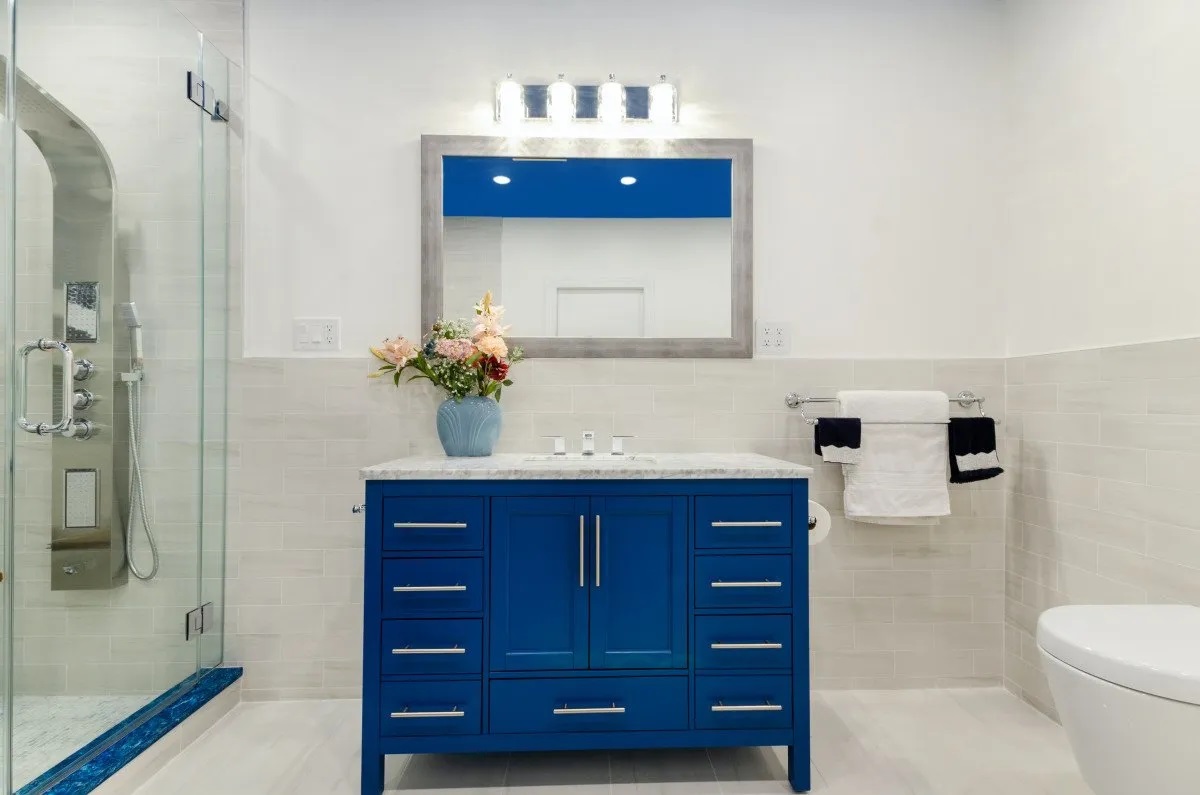
Building your own bathroom vanity can be a rewarding and cost-effective project that adds both functionality and style to your bathroom space. Whether you’re looking to upgrade your existing vanity or create a custom piece that perfectly fits your needs, this article will guide you through the process of building your own bathroom vanity.
By taking on this DIY project, you have the freedom to design a vanity that matches your personal taste and complements the overall aesthetic of your bathroom. Plus, you’ll have the satisfaction of knowing that you built it with your own hands.
In this article, we’ll cover all the steps you need to follow to build your own bathroom vanity. From planning and design to the final finishing touches, you’ll have a clear roadmap to create a beautiful and functional addition to your bathroom.
Before we get started, it’s important to note that building a bathroom vanity requires some basic woodworking skills and tools. If you’re new to DIY projects or don’t have the necessary tools, it may be helpful to consult with a professional or take a woodworking class to gain the skills and knowledge you need.
Now, let’s dive into the process of building your own bathroom vanity!
Key Takeaways:
- Building your own bathroom vanity allows for customization, functionality, and a sense of accomplishment. From planning and design to finishing touches, this DIY project offers a rewarding and personalized addition to your bathroom space.
- Careful preparation, precise construction, and attention to detail are essential for creating a durable and visually appealing DIY bathroom vanity. Embrace the process, enjoy the outcome, and admire your handiwork for years to come.
Read more: How To Build Vanity Table
Things You’ll Need
Before you begin building your own bathroom vanity, it’s important to gather all the necessary tools and materials. Here’s a list of the items you’ll need:
- Measuring tape: To accurately measure the available space in your bathroom.
- Wood: Choose a hardwood or plywood that fits your desired aesthetic. Make sure it’s suitable for bathroom use.
- Saw: A circular saw or table saw will be needed to cut the wood to the correct dimensions.
- Sander: To smooth out any rough edges or surfaces.
- Wood glue: To secure the pieces together.
- Clamps: To hold the pieces in place while the glue dries.
- Screws: For extra stability, you’ll need screws to attach certain parts of the vanity.
- Drill: To create pilot holes for the screws.
- Hinges: If you plan to include doors on your vanity, hinges will be necessary for installation.
- Drawer slides: If you want to have drawers in your vanity, drawer slides will be needed.
- Countertop: Choose a material that is suitable for bathroom use, such as granite, marble, or quartz.
- Sink: Select a sink that fits your design and plumbing requirements.
- Faucet: Choose a faucet that complements your sink and vanity design.
- Cabinet hardware: Handles or knobs to add the finishing touch to your vanity.
- Paint or stain: If you want to add color or finish to your vanity, you’ll need the appropriate paint or stain.
- Finishing materials: Sandpaper, wood filler, and varnish or polyurethane for the final touches.
- Safety equipment: Don’t forget safety goggles, gloves, and a dust mask to protect yourself during the construction process.
Having all of these supplies on hand will ensure that you have everything you need to successfully complete the project. Take the time to gather these items before you start building to avoid any unnecessary delays along the way.
Step 1: Planning and Design
The first step in building your own bathroom vanity is to carefully plan and design your project. This stage is crucial as it will determine the size, style, and functionality of your vanity. Follow these steps to ensure a successful planning and design process:
- Measure your space: Use a measuring tape to accurately measure the available space in your bathroom where the vanity will be installed. Consider the dimensions of the sink and countertop you plan to use, as well as any plumbing or electrical considerations.
- Consider your needs: Assess your storage needs and decide if you want drawers, shelves, or cabinets in your vanity. Think about how you’ll be using the vanity and what items you’ll need to store.
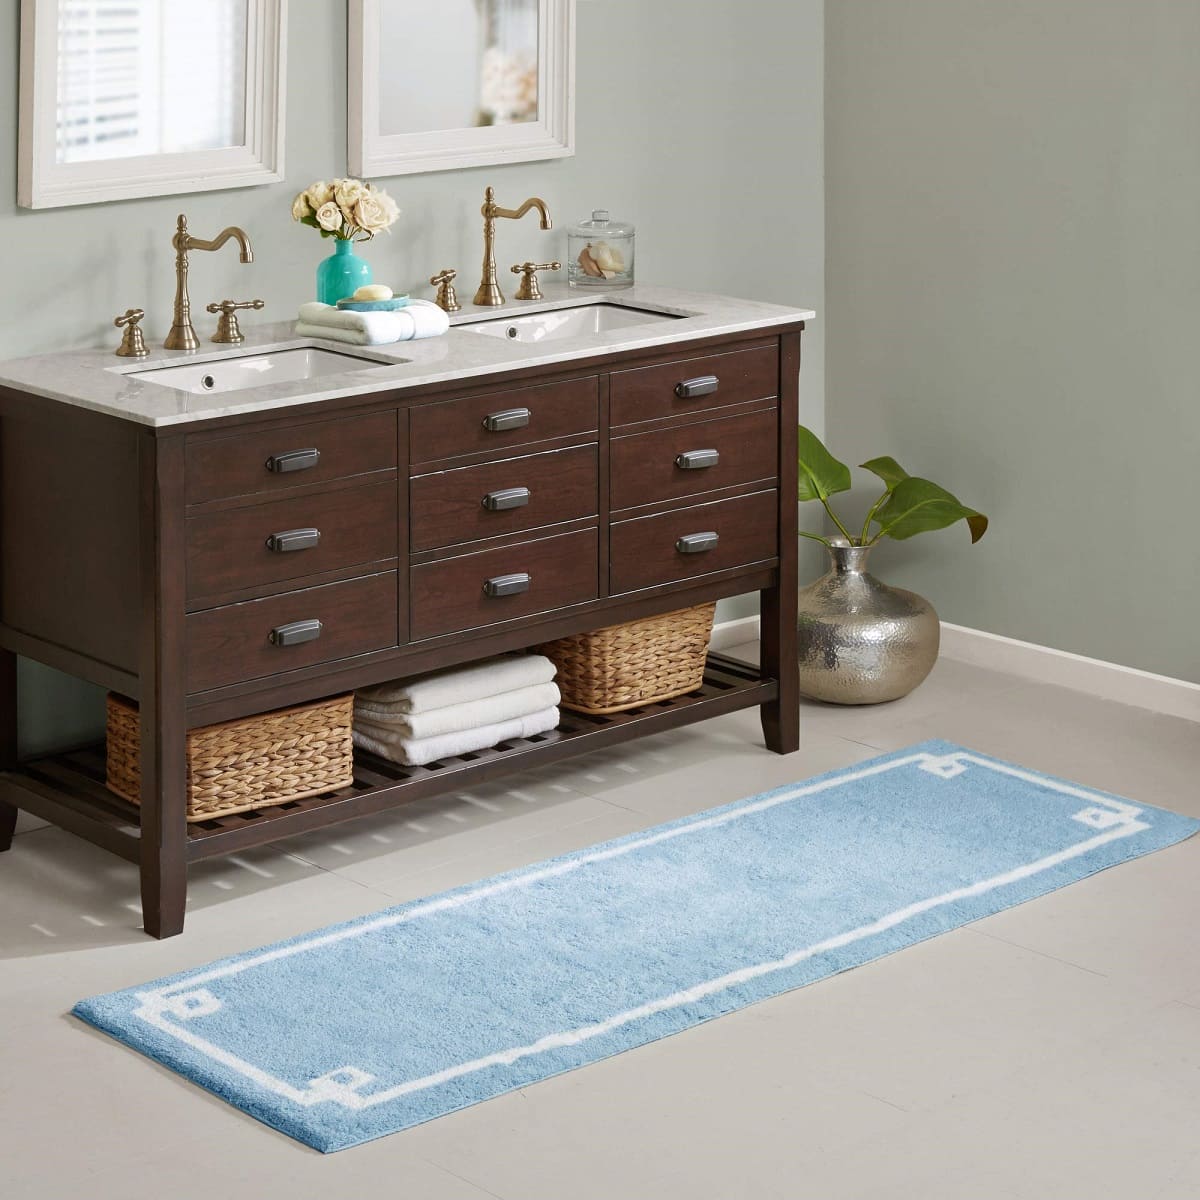
- Explore design options: Research different styles and designs to find inspiration for your vanity. Consider the overall aesthetic of your bathroom and choose a design that complements it. Look for inspiration online, in magazines, or visit home improvement stores for ideas.
- Create a design plan: Once you have a clear vision of your desired vanity, create a design plan. Sketch out the dimensions, layout, and features of your vanity. Include measurements for each component to ensure accuracy during the construction phase.
- Check for clearance: Make sure there is enough clearance around the vanity for easy movement and access to other bathroom fixtures. Consider the swing of doors and drawers, and ensure they won’t interfere with other elements in the bathroom.
- Consult with professionals: If you’re unsure about any aspect of the design or construction process, consider consulting with professionals such as interior designers or carpenters. They can provide valuable insights and help you avoid common pitfalls.
Remember, careful planning and design will save you time and effort later on. Take the time to brainstorm ideas, explore different options, and create a detailed plan that aligns with your vision and requirements.
Once you have your design plan in place, you’re ready to move on to the next step: gathering the necessary materials for your DIY bathroom vanity project.
Step 2: Gathering Materials
Once you have completed the planning and design phase, it’s time to gather all the necessary materials for your DIY bathroom vanity project. Here are the materials you’ll need:
- Wood: Choose a hardwood or plywood that fits your desired aesthetic. Make sure it’s suitable for bathroom use and its thickness is appropriate for the structure of your vanity.
- Countertop: Select a countertop material that is durable and suitable for bathroom use, such as granite, marble, or quartz.
- Sink: Choose a sink that fits your design and plumbing requirements. Consider the size, style, and shape that will best suit your vanity.
- Faucet: Select a faucet that complements your sink and vanity design. Consider the finish, style, and functionality of the faucet.
- Hinges: If you plan to include doors on your vanity, you’ll need hinges that fit your door design and will provide smooth and secure operation.
- Drawer slides: If you want to incorporate drawers in your vanity, choose drawer slides that are compatible with the size and weight of your drawers.
- Screws and nails: Gather screws and nails of different sizes to assemble the vanity frame and attach components securely.
- Wood glue: Use wood glue to bond pieces of wood together for added strength and stability.
- Paint or stain: If desired, select paint or stain to finish the wood surface and enhance the appearance of your vanity.
- Cabinet hardware: Choose handles or knobs that complement the design of your vanity. Consider the style, finish, and practicality of the hardware.
- Additional materials: Sandpaper, wood filler, and varnish or polyurethane for sanding, filling any gaps, and protecting the wood surface.
Take the time to research and gather the appropriate materials for your specific design and functionality needs. Ensure that the materials are of good quality and suitable for bathroom conditions to ensure the longevity of your DIY vanity.
Once you have all the necessary materials, you’re ready to move on to the next step: preparing the space for your bathroom vanity.
Step 3: Preparing the Space
Before you start building your DIY bathroom vanity, it’s important to properly prepare the space where it will be installed. This step involves clearing the area, making any necessary adjustments, and ensuring a solid foundation for your vanity. Follow these steps to prepare the space:
- Clear the area: Remove any items, fixtures, or furniture that may obstruct the installation of your vanity. Clear out the space to create a clean and empty area.
- Measure and mark: Use your design plan and measurements to mark the layout of your vanity on the floor or wall. Use a pencil or tape to mark the placement of the vanity components, including the base, legs, and sink.
- Check for level and adjust: Use a level to ensure that the marked lines and areas are straight and level. If necessary, adjust the legs or the placement of the vanity to ensure a level surface. This is crucial for the stability and functionality of your vanity.
- Modify plumbing and electrical: If your new vanity requires modifications to the existing plumbing or electrical connections, consult with a professional plumber or electrician to ensure proper installation. Make any necessary adjustments or installations before proceeding to the next steps.
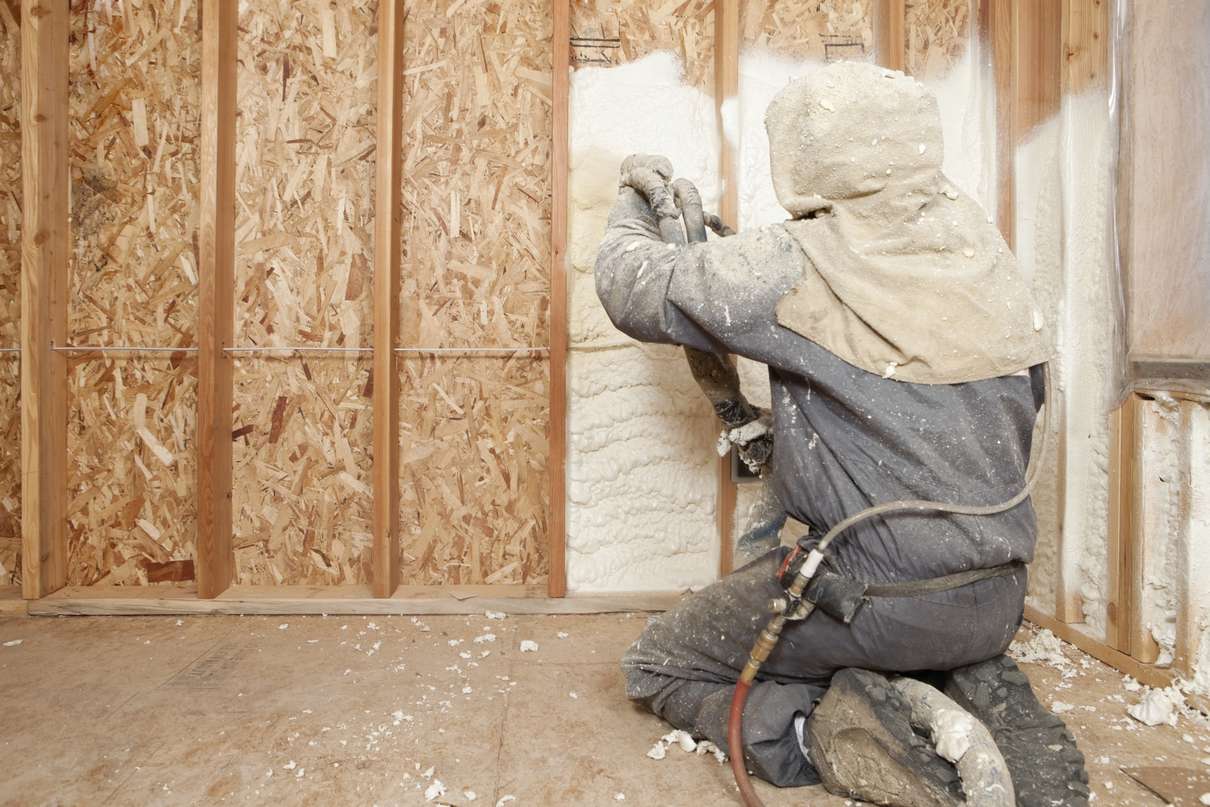
- Repair or reinforce the wall: If your vanity will be wall-mounted, inspect and repair any damaged or weakened parts of the wall. Reinforce the area with additional support or install a backer board if needed.
- Install backing or support: If your vanity will have a countertop, consider installing a backing or support to reinforce the weight of the countertop. This will ensure that it remains secure and stable.
By properly preparing the space, you’ll create a solid foundation for your DIY bathroom vanity. This will help ensure a smooth installation process and a long-lasting, functional addition to your bathroom.
Once the space is prepared, you’re ready to move on to the exciting part: building the frame of your bathroom vanity.
Read more: How To Build A Makeup Vanity
Step 4: Building the Frame
With the space prepared, it’s time to start building the frame of your DIY bathroom vanity. The frame provides the structure and stability for your vanity, ensuring that it can support the weight of the countertop, sink, and other components. Follow these steps to build the frame:
- Cut the wood: Using the measurements from your design plan, cut the wood pieces for the frame of your vanity. Use a circular saw or table saw to ensure clean and accurate cuts.
- Assemble the base: Start by assembling the base of the vanity frame. Use wood glue and screws to secure the pieces together. Ensure that the corners are square and the joints are tight.
- Add support beams: Depending on the size of your vanity, you may need to add support beams or braces to reinforce the structure. Measure and cut additional pieces of wood to create diagonal or horizontal support beams. Attach them securely to the base of the frame.
- Attach the side panels: Place the side panels of the vanity frame against the base and secure them with wood glue and screws. Make sure the panels are flush with the edges of the base.
- Insert dividers and shelves: Install dividers or shelves within the frame according to your design. Measure and cut the appropriate pieces of wood to fit securely within the frame. Use wood glue and screws to attach them.
- Check for stability: Once the frame is assembled, check for stability by gently shaking it. If there is any wobbling or instability, reinforce the joints and connections with additional screws or wood glue.
- Smooth the edges: Use sandpaper to smooth out any rough edges or surfaces on the frame. Pay attention to corners and edges that may come into contact with users or cause potential injuries.
Building the frame is a critical step in constructing your DIY bathroom vanity. Take your time to ensure that the pieces are properly aligned, sturdy, and well-secured. This will provide a solid foundation for the rest of the construction process.
With the frame completed, it’s time to move on to the next step: attaching the legs and base of your vanity.
When building your own bathroom vanity, make sure to measure the space accurately and consider the plumbing and electrical requirements before starting the construction.
Step 5: Attaching the Legs and Base
Once you have built the frame of your DIY bathroom vanity, it’s time to move on to attaching the legs and base. This step will provide stability and elevate your vanity off the floor to prevent water damage. Follow these steps to attach the legs and base:
- Measure and mark leg placement: Determine the desired height of your vanity and mark the placement of the legs on the base of the frame. Ensure that the legs are evenly spaced and aligned.
- Pre-drill holes: Use a drill and appropriate drill bit to pre-drill holes in the base for attaching the legs. This will prevent the wood from splitting when you screw in the legs.
- Attach the legs: Position the legs on the marked spots and secure them to the base using screws. Use a level to ensure that the legs are straight and level. Tighten the screws securely to provide stability.
- Check for stability: Once all legs are attached, check the stability of the vanity by gently rocking it. If there is any wobbling or instability, adjust the legs or reinforce the connections as needed.
- Attach the baseboard: Measure and cut a piece of wood to serve as the baseboard for your vanity. Attach it to the front of the vanity base using screws, making sure it aligns with the legs for a uniform look.
- Secure the baseboard: Use wood glue and screws to securely attach the baseboard to the vanity base. This will provide additional stability and support for the vanity structure.
Attaching the legs and base of your vanity is a crucial step in the construction process. It not only elevates and stabilizes the vanity but also adds a visually appealing element. Take your time to ensure that the legs are securely attached and the vanity stands firm.
With the legs and base in place, you’re one step closer to completing your DIY bathroom vanity. Next, we’ll move on to the installation of the sink.
Step 6: Installing the Sink
With the frame and base of your DIY bathroom vanity complete, it’s time to move on to installing the sink. The sink is not only a functional component of your vanity but also adds to its overall aesthetic appeal. Follow these steps to properly install the sink:
- Measure and mark the sink placement: Place the sink on top of the vanity base and position it in the desired location. Use a pencil to mark the outline of the sink on the countertop.
- Create an opening: Use a jigsaw or a hole saw to cut out the marked opening on the countertop. Follow the manufacturer’s instructions for the specific dimensions and requirements of your sink.
- Position the sink: Carefully lower the sink into the cutout, ensuring that it fits properly and aligns with the plumbing connections. Press the sink firmly to secure it in place and allow the sealant to adhere.
- Test for leaks: Once the plumbing connections are made, turn on the water supply and check for any leaks. Make any necessary adjustments or repairs to ensure a watertight connection.
- Seal the edges: Apply a thin bead of silicone sealant around the edges of the sink where it meets the countertop. This will provide an additional layer of protection against water damage and prevent any dirt or debris from getting trapped.
Installing the sink requires precision and careful attention to detail. Make sure to follow the manufacturer’s instructions and take the necessary precautions to ensure a proper and secure installation.
With the sink successfully installed, you’re almost finished with your DIY bathroom vanity. Next, we’ll move on to adding storage and drawers to complete the functional aspect of the vanity.
Step 7: Adding Storage and Drawers
Now that your DIY bathroom vanity is taking shape, it’s time to add storage and drawers to enhance its functionality. Adding storage will help you keep your bathroom organized and maximize the use of space. Follow these steps to incorporate storage and drawers into your vanity:
- Measure and mark drawer placement: Determine the desired size and location of the drawers within your vanity. Use a measuring tape and pencil to mark the placement of the drawer slides on the inside of the vanity frame.
- Install drawer slides: Attach the drawer slides according to the manufacturer’s instructions. Ensure that they are level and aligned with the markings on the vanity frame.
- Create the drawers: Measure and cut the pieces of wood for the drawer fronts, backs, and sides. Use wood glue and screws to assemble the drawers, ensuring that the corners are square and the joints are tight.
- Test the drawers: Slide the drawers into the installed drawer slides and test their movement. Ensure that they open and close smoothly. Make any necessary adjustments or alignments to improve their functionality.
- Add shelves or cabinets: If you prefer open shelves or cabinets instead of drawers, measure and cut the appropriate pieces of wood for the shelves or cabinets. Attach them securely within the vanity using wood glue and screws.
- Final touches: Sand any rough edges and surfaces of the drawers, shelves, or cabinets. Apply a finish of your choice, such as paint or stain, to match the overall aesthetic of your bathroom.
By incorporating storage and drawers into your DIY bathroom vanity, you’ll create a functional space for organizing bathroom essentials. Make sure to take accurate measurements, align the drawer slides properly, and secure everything firmly for optimal functionality and durability.
With the storage and drawers in place, your DIY bathroom vanity is nearing completion. Next, we’ll move on to the final step: adding the finishing touches.
Read more: How To Build A Bathroom Vanity With Drawers
Step 8: Finishing Touches
Congratulations! You are in the final step of building your own bathroom vanity. This step involves adding the finishing touches to enhance the overall look and functionality of your vanity. Follow these steps to complete your DIY project:
- Sand and smooth the vanity: Use sandpaper to smooth out any rough edges or surfaces of the vanity. Pay attention to corners, joints, and any imperfections in the wood. This will create a polished and professional look.
- Apply a finish: Choose a finish that suits your desired aesthetic and offers protection to the wood. You can use paint, stain, or varnish to add color and durability to the vanity. Apply multiple coats, following the manufacturer’s instructions, and allow ample drying time between each coat.
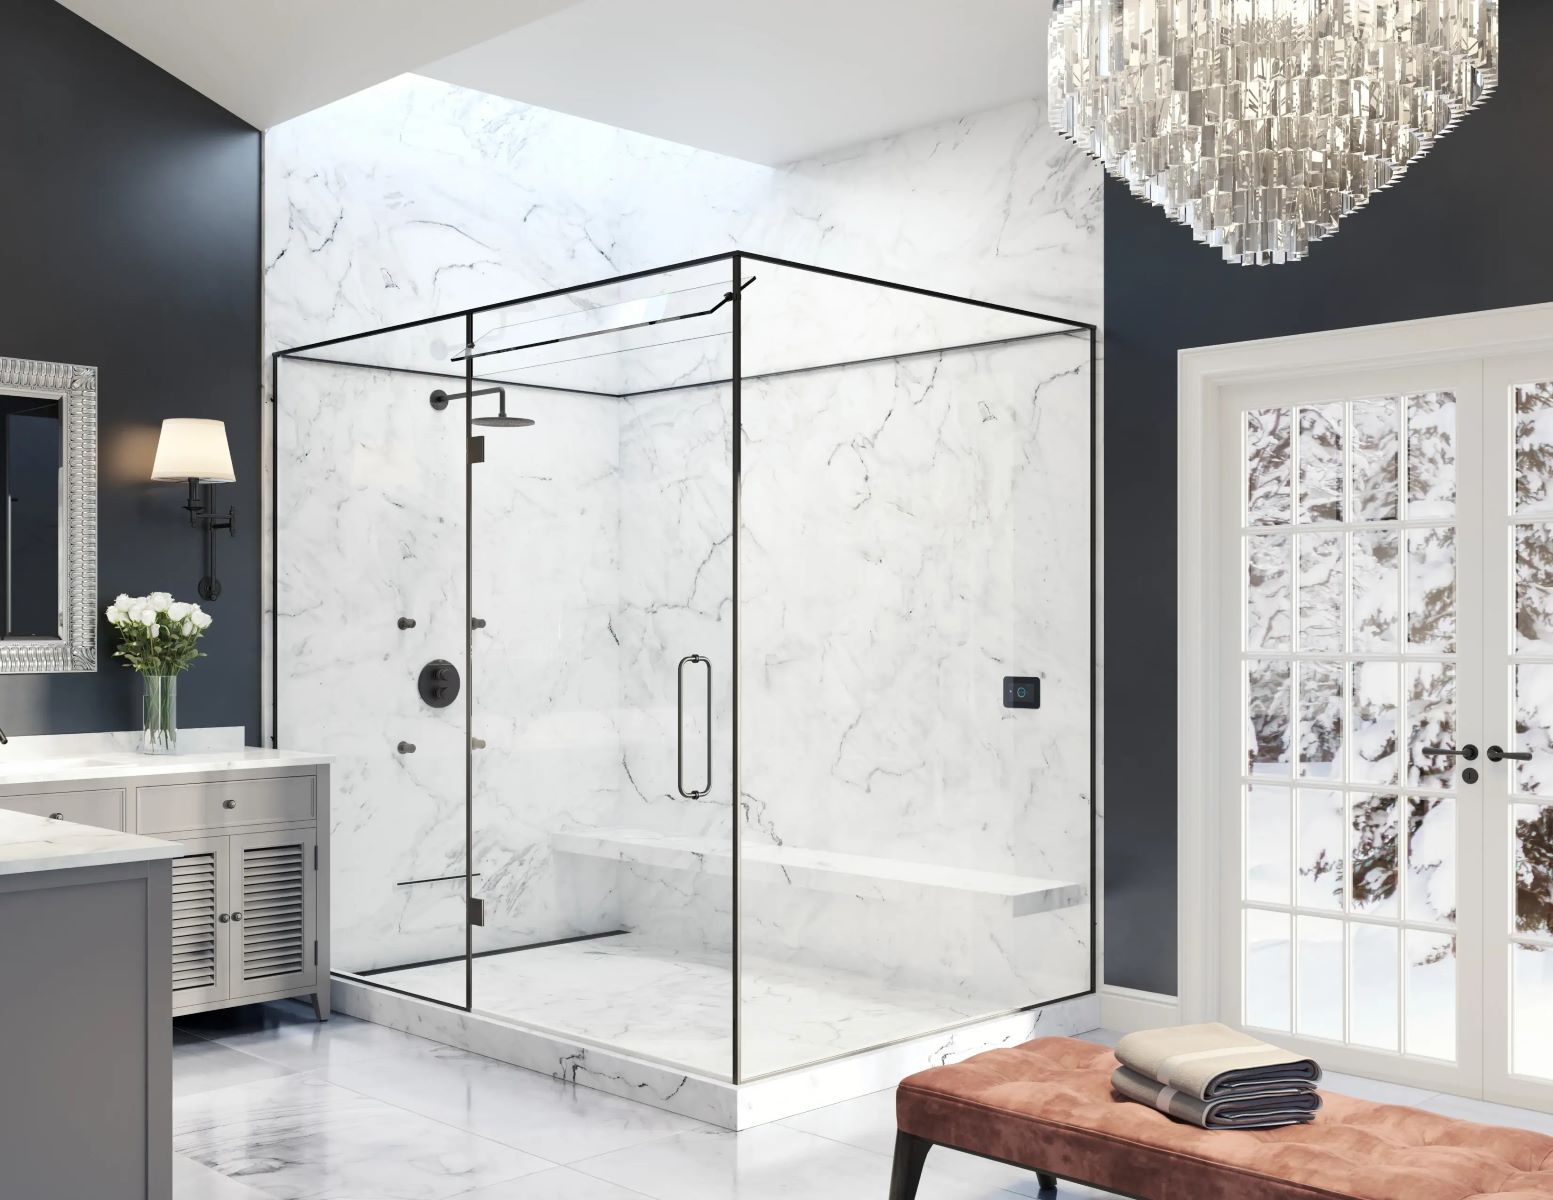
- Install the countertop: Place the chosen countertop material on top of the vanity base. Secure it according to the manufacturer’s instructions, whether it requires adhesive, brackets, or other installation methods. Ensure that it is level and properly aligned.
- Mount the faucet: Install the chosen faucet onto the sink according to the manufacturer’s instructions. Make sure to connect all necessary supply lines and fittings securely. Test the faucet and check for any leaks.
- Add cabinet hardware: Attach handles or knobs to the drawers and doors of your vanity. Choose hardware that enhances the overall design and provides ease of use. Align them properly and tighten securely.
- Clean and inspect: Give your vanity a thorough cleaning, removing any dust or debris. Inspect the entire construction, ensuring all connections are secure, hinges and slides work smoothly, and the vanity is level and stable.
- Enjoy your completed bathroom vanity: With the finishing touches complete, your DIY bathroom vanity is ready to be enjoyed! Admire your handiwork and appreciate the personalized and functional addition to your bathroom space.
Adding the finishing touches to your DIY bathroom vanity brings the project to its final stage. Take your time to ensure that every detail is complete, and the vanity looks and functions as desired. Once finished, step back and enjoy the satisfaction of your hard work and the beauty of your handmade creation.
Remember, building your own bathroom vanity is a labor of love and a testament to your DIY skills. Embrace the process and enjoy the outcome – a custom piece that adds both style and functionality to your bathroom for years to come.
Thank you for following this step-by-step guide. We hope you found it informative and helpful in your DIY project. Happy building!
Conclusion
Building your own bathroom vanity is a rewarding and fulfilling project that allows you to create a custom piece that perfectly fits your needs and style. Throughout this comprehensive guide, we have covered the step-by-step process of building your DIY bathroom vanity, from initial planning and design to adding the finishing touches.
By following each step, you have gained the knowledge and skills necessary to tackle this project with confidence. From measuring and gathering materials to assembling the frame, attaching the legs, installing the sink, adding storage and drawers, and applying the finishing touches, you have learned the intricacies of each stage of the construction process.
Throughout the project, it’s essential to balance functionality with aesthetics. Consider your storage needs, plumbing and electrical requirements, as well as the overall design of your bathroom. Take the time to plan, measure, and account for any necessary adjustments to ensure the end result is a functional and visually pleasing bathroom vanity.
Remember, safety is paramount during any DIY project. Always wear appropriate safety equipment, such as goggles and gloves, and follow best practices when working with tools and materials.
By building your own bathroom vanity, you have created a unique and personalized piece that adds value and charm to your bathroom space. You have the satisfaction of knowing that you took on a DIY challenge and succeeded in creating something truly special.
We hope that this guide has provided you with the knowledge and inspiration needed to embark on your own DIY bathroom vanity project. Now, it’s time to roll up your sleeves, gather your tools and materials, and get started on this exciting journey of building your very own bathroom vanity.
Good luck, have fun, and enjoy the process of creating a beautiful and functional addition to your bathroom!
Frequently Asked Questions about How To Build Your Own Bathroom Vanity
Was this page helpful?
At Storables.com, we guarantee accurate and reliable information. Our content, validated by Expert Board Contributors, is crafted following stringent Editorial Policies. We're committed to providing you with well-researched, expert-backed insights for all your informational needs.


0 thoughts on “How To Build Your Own Bathroom Vanity”