
Articles
How To Strengthen Attic Floor
Modified: May 6, 2024
Looking for articles on how to strengthen your attic floor? Find expert tips and guidance in this comprehensive guide to enhance the stability and durability of your attic floor.
(Many of the links in this article redirect to a specific reviewed product. Your purchase of these products through affiliate links helps to generate commission for Storables.com, at no extra cost. Learn more)
Introduction
Welcome to the ultimate guide on how to strengthen your attic floor. The attic is often overlooked in terms of maintenance and structural integrity, but it plays a crucial role in the overall stability of your home. Strengthening the attic floor not only ensures the safety of your living space but also allows for better storage and improved energy efficiency.
In this comprehensive article, we will explore the various steps involved in assessing and reinforcing your attic floor. From inspecting the existing structure to installing additional support and adding subflooring, we will cover everything you need to know to successfully strengthen your attic floor. So, let’s dive in!
Key Takeaways:
- Strengthening your attic floor involves assessing, reinforcing joists, adding support, installing subflooring, and insulating. Don’t forget the finishing touches for safety and functionality.
- Properly strengthening your attic floor not only ensures stability and safety but also improves energy efficiency and creates a valuable space for storage or living.
Read more: How To Strengthen Floor Joists
Assessing the Attic Floor
The first step in strengthening your attic floor is to thoroughly assess its current condition. This evaluation will help you identify any areas that require attention and determine the level of reinforcement needed. Here are some key aspects to consider during the assessment:
- Joist Spacing: Measure the distance between the joists to ensure they are properly spaced. Ideally, the joists should be spaced no more than 16 inches apart. If you notice any significant gaps, it may be necessary to add additional joists or support beams.
- Joist Deflection: Check for any noticeable sagging or bending in the joists. A slight amount of deflection is expected, but excessive movement can indicate a weakened structure. If you observe significant deflection, reinforcing the joists is necessary.
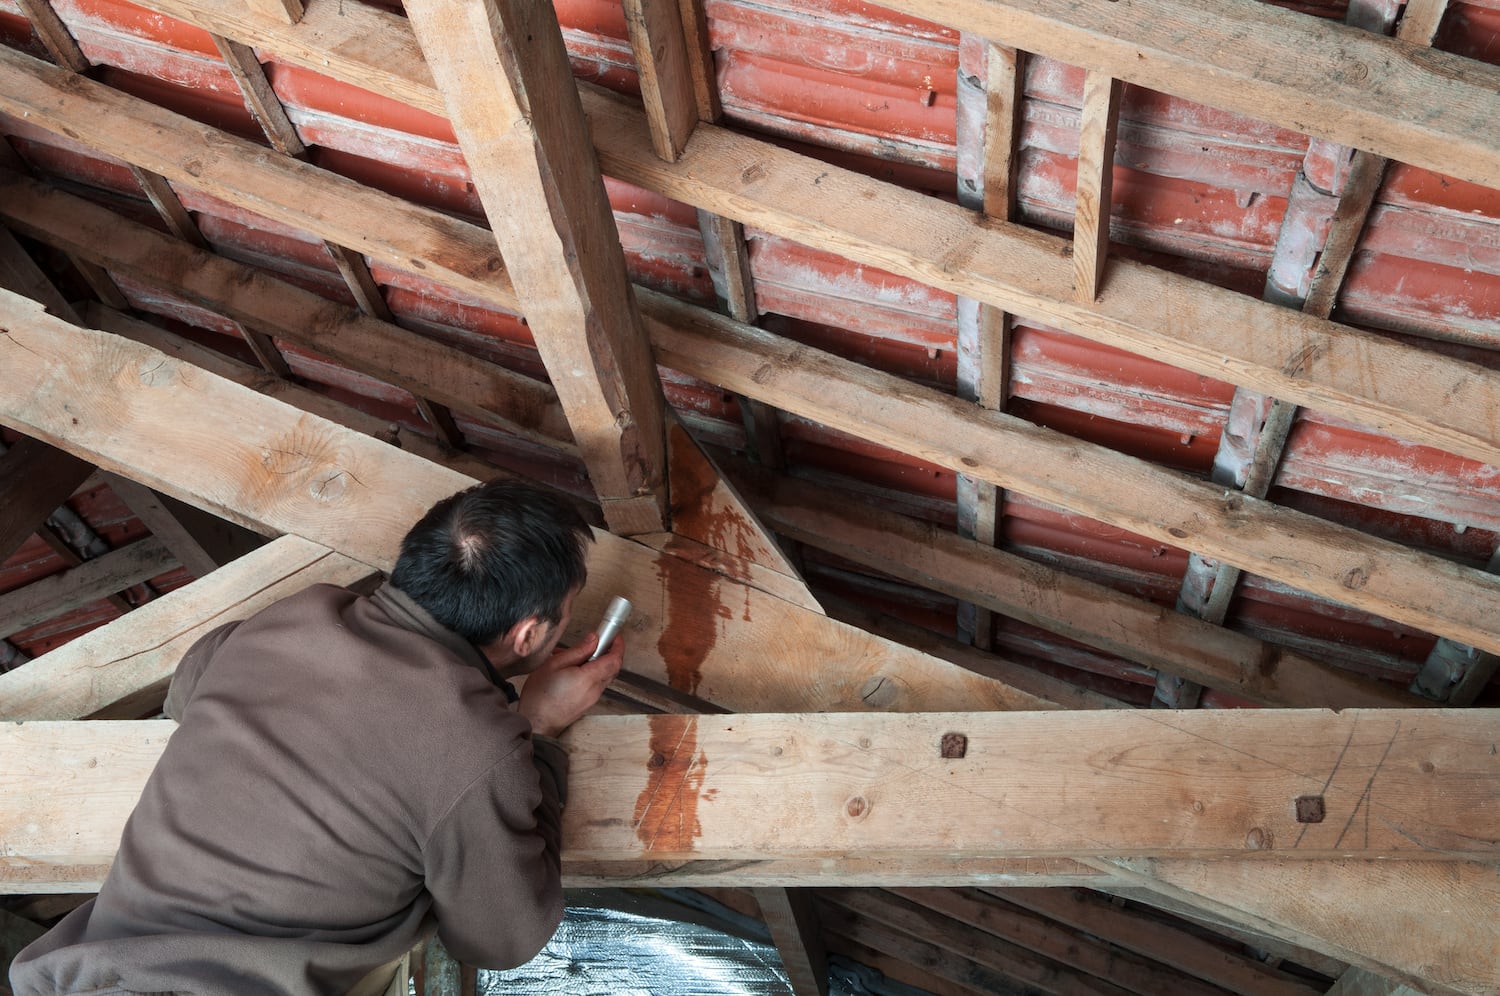
- Cracks or Damage: Inspect the attic floor for any cracks, splits, or deterioration in the wood. These issues can compromise the integrity of the floor and should be addressed before strengthening. If you come across any damaged areas, consider repairing or replacing the affected sections.
- Load Capacity: Determine the load capacity of your attic floor by considering its intended use. If you plan to use the attic for storage or as a living space, the floor should be able to support the weight. Consult a structural engineer if you are unsure about the load capacity of your attic floor.
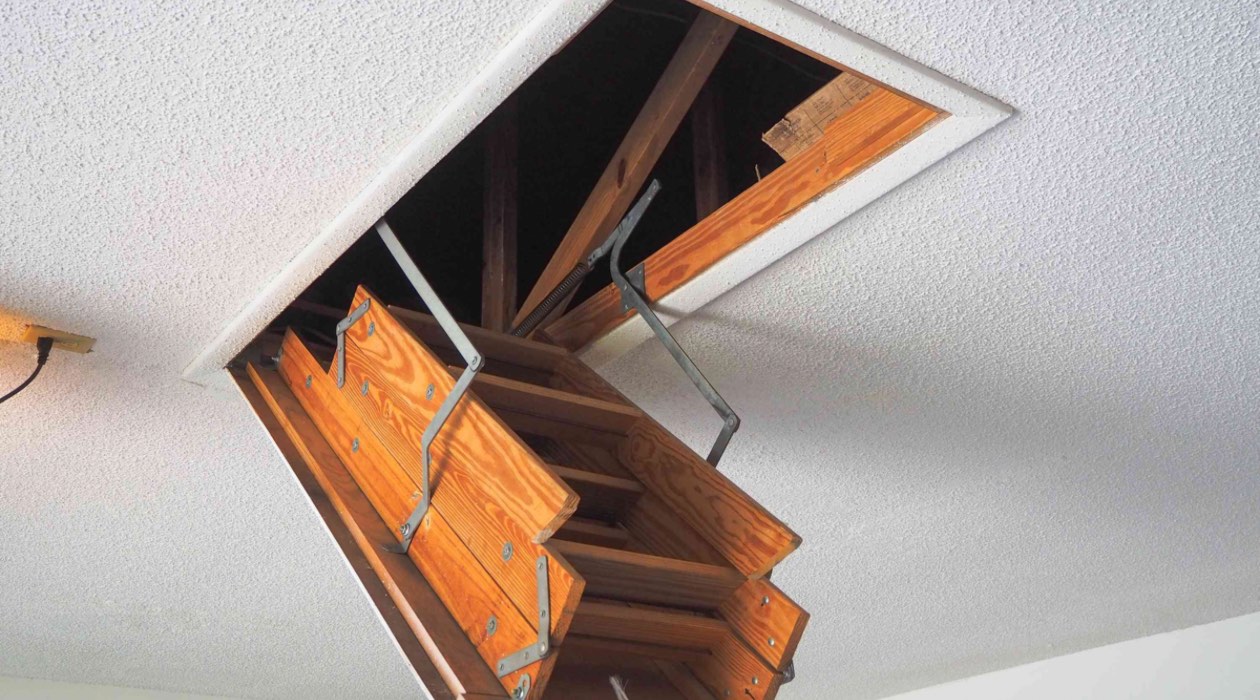
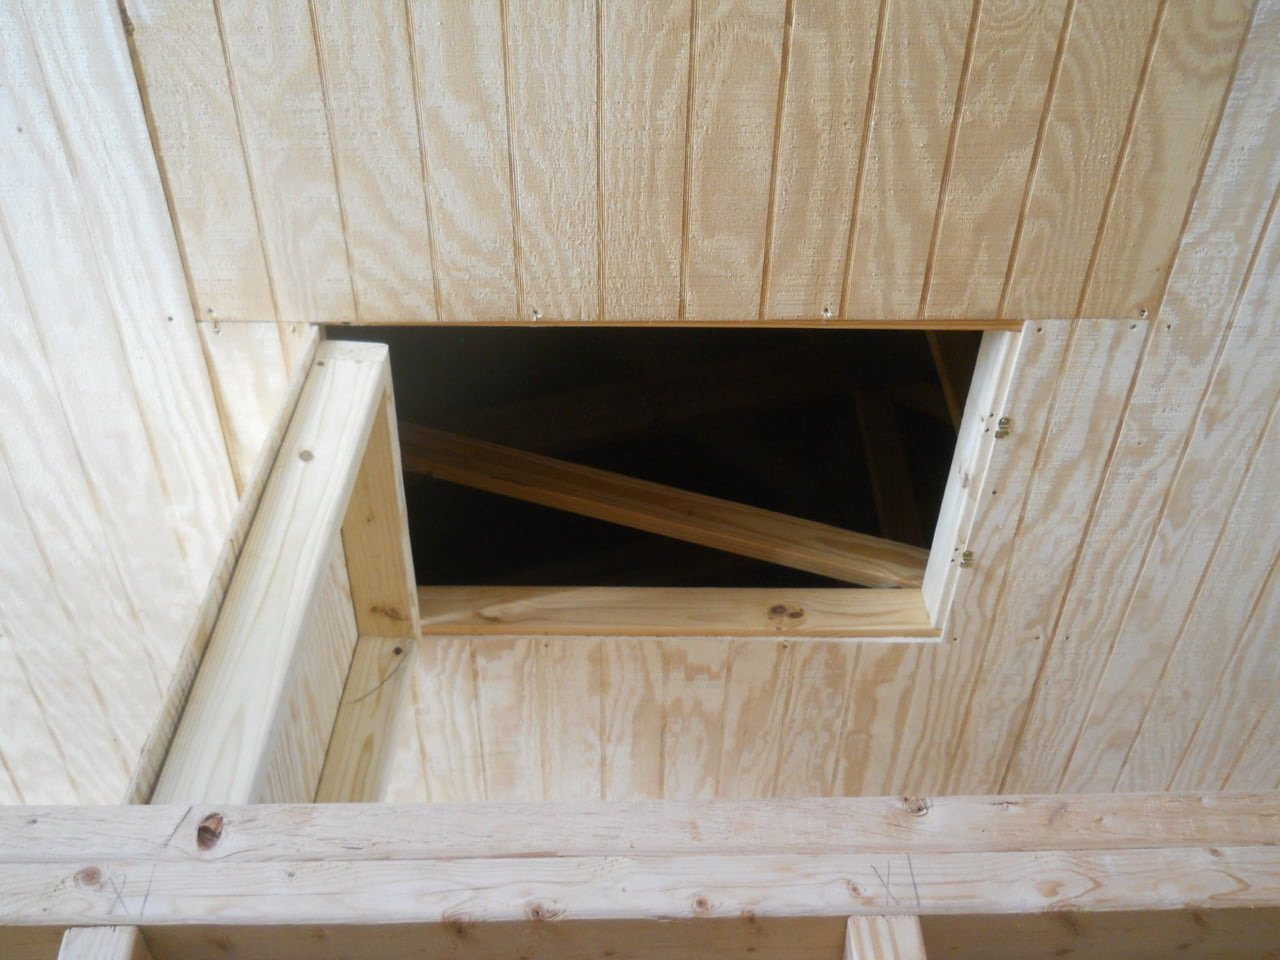
- Access Points: Take note of any access points such as stairs or hatches leading to the attic. Ensure that they are secure and functioning properly. If necessary, reinforce or replace any weak or damaged access points to maintain the safety and stability of the attic floor.
By thoroughly assessing the attic floor, you will have a clear understanding of its current condition and any areas that require attention. This information will guide you in determining the most suitable methods to strengthen your attic floor.
Reinforcing Joists
The joists in your attic floor provide the primary support and framework for the floor structure. Strengthening and reinforcing the joists is crucial to ensure the stability and load-bearing capacity of the attic floor. Here are some effective methods for reinforcing the joists:
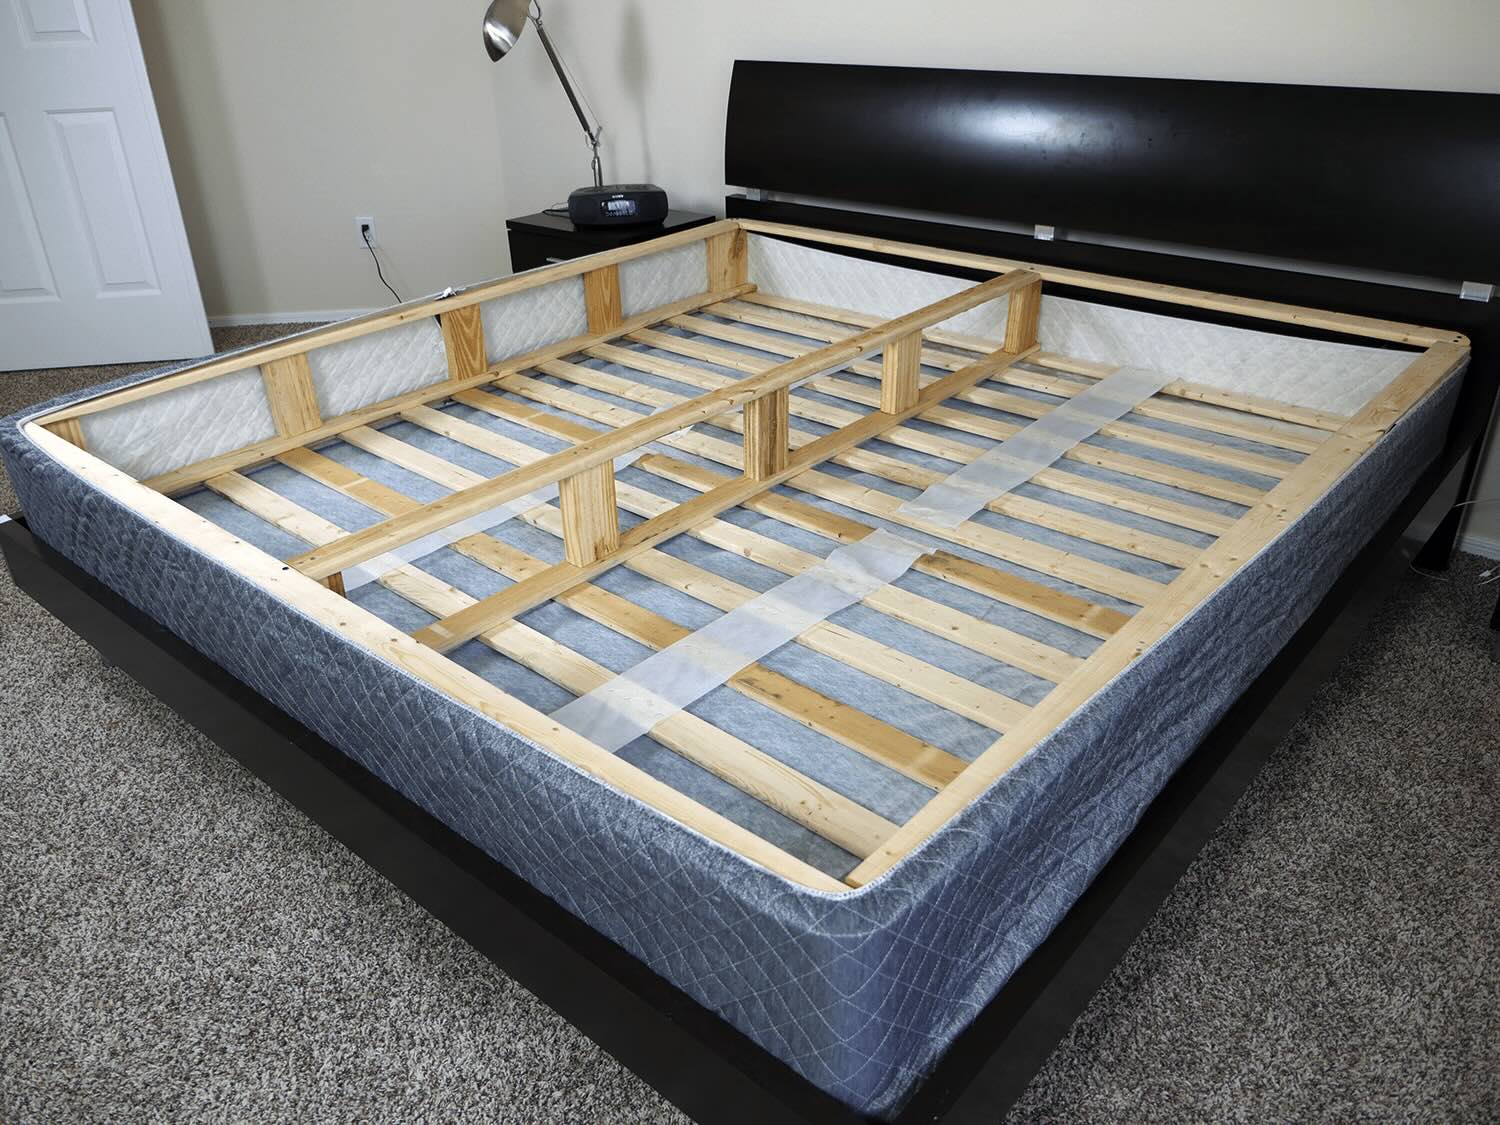
- Adding Sister Joists: One common method is to add sister joists, which involves attaching new lumber alongside the existing joists. This increases the overall strength and stiffness of the floor. The sister joists should be the same size and span as the existing ones, and they should be securely fastened using nails or bolts.
- Installing Blocking: Another way to reinforce the joists is by installing blocking between them. Blocking refers to short pieces of lumber placed perpendicular between the joists, providing additional support and preventing them from twisting or warping. Secure the blocking using nails or screws.
- Bracing with Metal Straps: Metal straps or ties can be used to reinforce the connection between the joists and the load-bearing walls. These straps provide extra stability and prevent the joists from separating or shifting. Install them at regular intervals along the length of the joists, following the manufacturer’s instructions.
- Using Adjustable Steel Columns: If you have severe joist sagging or deflection, adjustable steel columns can be used as a temporary or permanent solution. These columns are adjustable in length and can be installed under the joists to provide additional support and help level the floor. Consult a professional to ensure proper installation.
- Applying Epoxy Resin: In cases where the joists have minor cracks or splits, applying epoxy resin can help strengthen and stabilize them. Epoxy fills in the gaps and hardens, effectively bonding the wood fibers together. Follow the manufacturer’s instructions for proper application and allow sufficient curing time.
Each of these methods offers different benefits and considerations. The choice of reinforcement technique depends on the specific requirements of your attic floor. It is often recommended to consult a structural engineer or a professional contractor to determine the most suitable approach for reinforcing the joists in your attic.
Installing Additional Support
In some cases, reinforcing the existing joists may not be sufficient, especially if you plan to use the attic for heavy storage or as a living space. Installing additional support can provide the necessary reinforcement to ensure the strength and stability of the attic floor. Here are a few options for installing additional support:
- Load-Bearing Walls: If your attic is supported by load-bearing walls, consider adding new walls or reinforcing existing ones to distribute the weight more evenly. These walls should be properly designed and installed to transfer the load from the attic floor to the foundation or supporting beams of the house.
- Beams and Headers: Installing beams or headers can help carry the weight of the attic floor over larger spans. These structural elements are placed perpendicular to the joists and provide added support. Consult a professional to determine the appropriate size and placement of beams or headers based on the load requirements of your attic floor.
- Steel Support Posts: Steel support posts, also known as columns or posts, can be used to reinforce the attic floor and transfer the load to the foundation. These posts are typically adjustable in height, allowing for easy installation and leveling. Ensure that the posts are properly anchored to the floor and supported by a solid base.
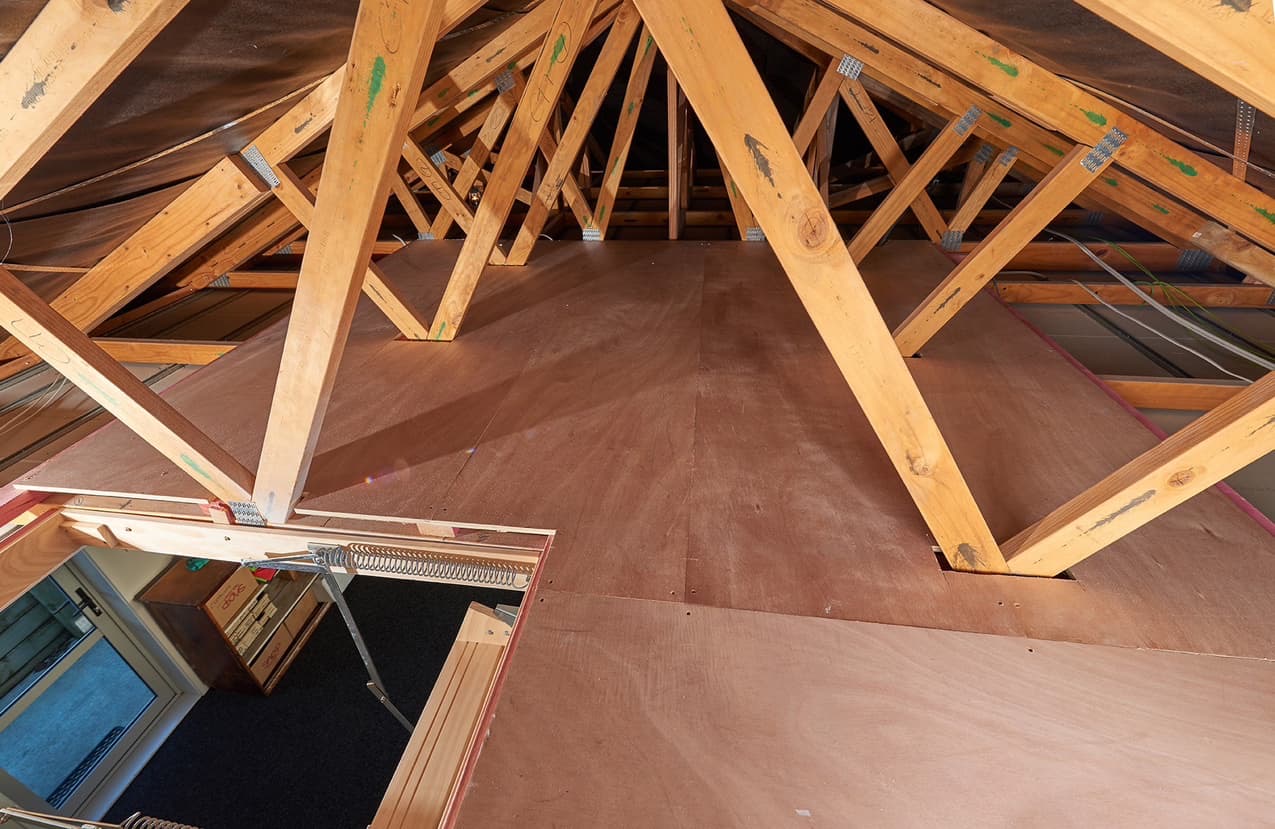
- Engineered Wood Trusses: If you are looking for a more comprehensive solution, consider using engineered wood trusses. These prefabricated truss systems are designed to provide maximum strength and stability while spanning long distances. Trusses are typically custom-made to fit the specific dimensions and load requirements of your attic floor.
Installing additional support structures requires careful planning and expertise. It is recommended to consult with a structural engineer or a qualified professional to assess the load requirements and determine the appropriate method of adding support to your attic floor. They will be able to provide guidance and ensure that the installation is done correctly and in compliance with local building codes.
Consider adding additional support beams or joists to the attic floor to increase its strength. This can help distribute weight more evenly and prevent sagging or damage.
Adding Subflooring
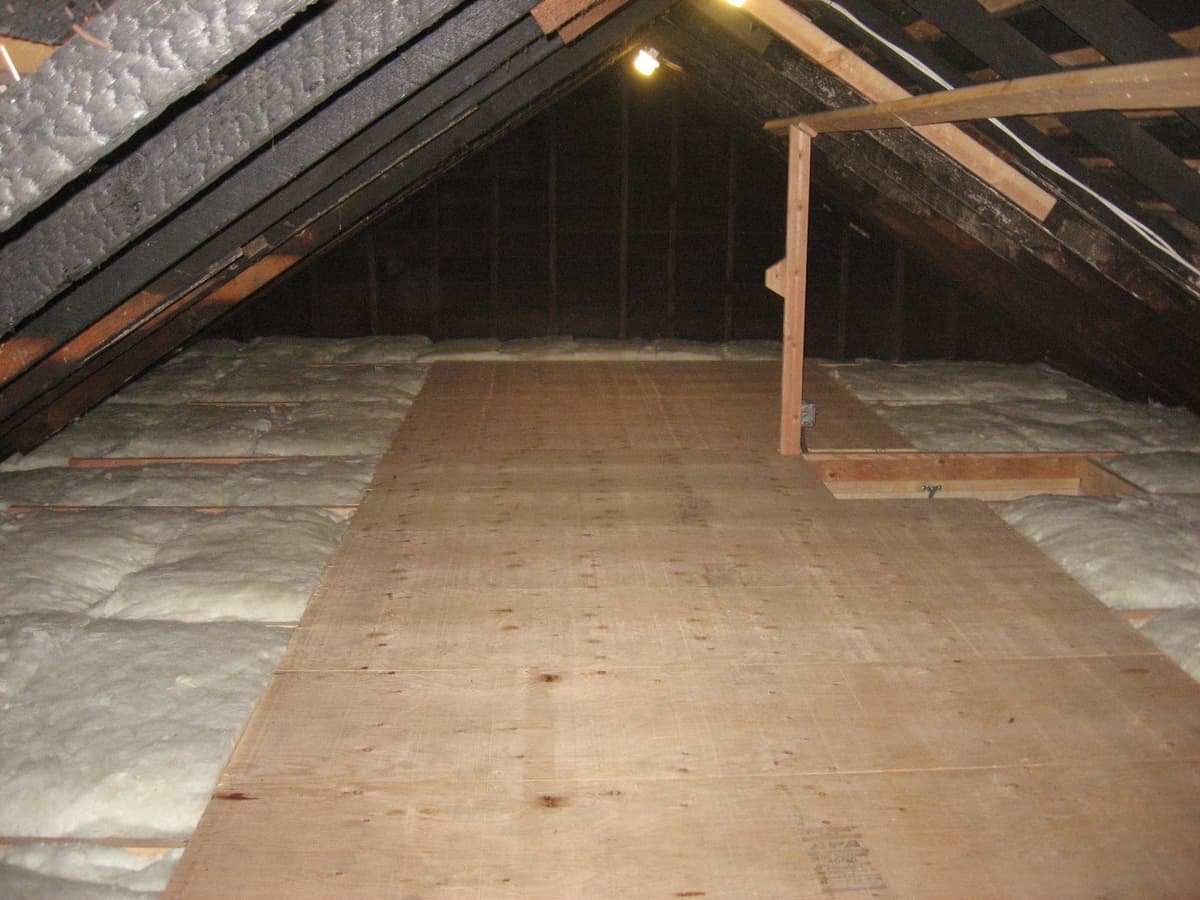
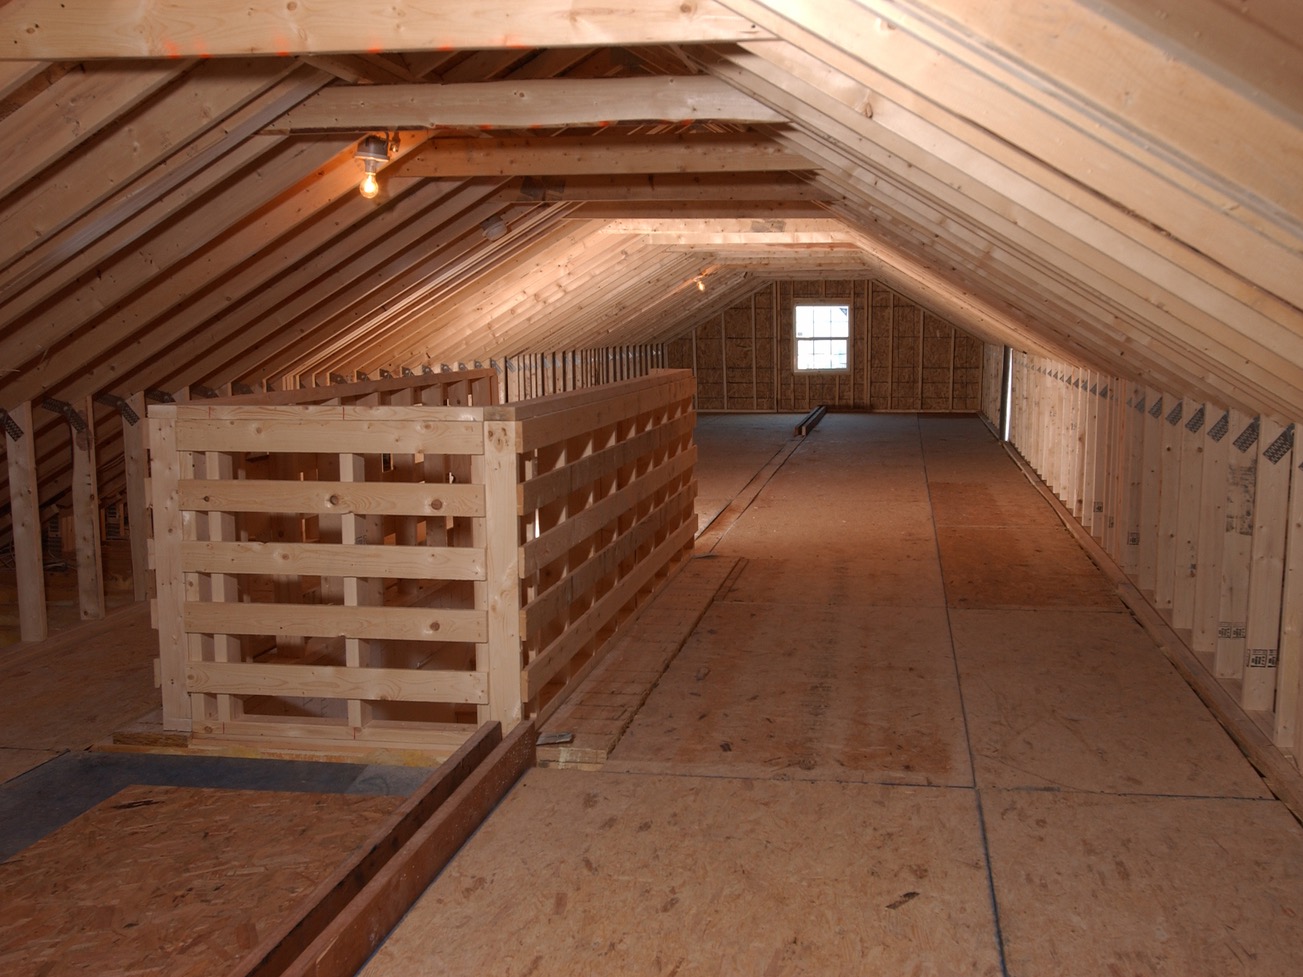
Once you have reinforced the joists and installed additional support structures, the next step in strengthening your attic floor is to add subflooring. Subflooring provides a solid and stable surface on which to install finished flooring materials. Here are the steps involved in adding subflooring to your attic floor:
- Measure and Cut: Start by measuring the dimensions of your attic floor and cutting the subfloor panels accordingly. Use a circular saw or a table saw to make clean and precise cuts. It is recommended to leave a small gap between the panels to allow for expansion.
- Position the Panels: Begin placing the subfloor panels on the joists, starting from one corner of the attic floor. Align the edges of the panels and leave a gap of about 1/8 inch between them to account for any natural fluctuations in the wood. Use construction adhesive or nails to secure the panels to the joists.
- Stagger the Joints: To enhance the strength and stability of the subfloor, stagger the joints of the panels. This means that the end joints of each panel should not line up with the joints of the adjacent panels. Staggering the joints helps distribute the load evenly and minimizes the risk of weak spots in the subfloor.
- Secure the Panels: Use construction adhesive or subfloor screws to secure the subfloor panels to the joists. Adhesive provides additional bonding strength, while screws offer a more secure and reliable connection. Follow the manufacturer’s instructions for proper installation and spacing of the fasteners.
- Fill and Sand: After the subfloor panels are securely installed, fill any gaps or seams with wood filler and sand the surface to create a smooth and level subfloor. This step helps to eliminate any unevenness in the panels and prepares the surface for the installation of the finished flooring materials.
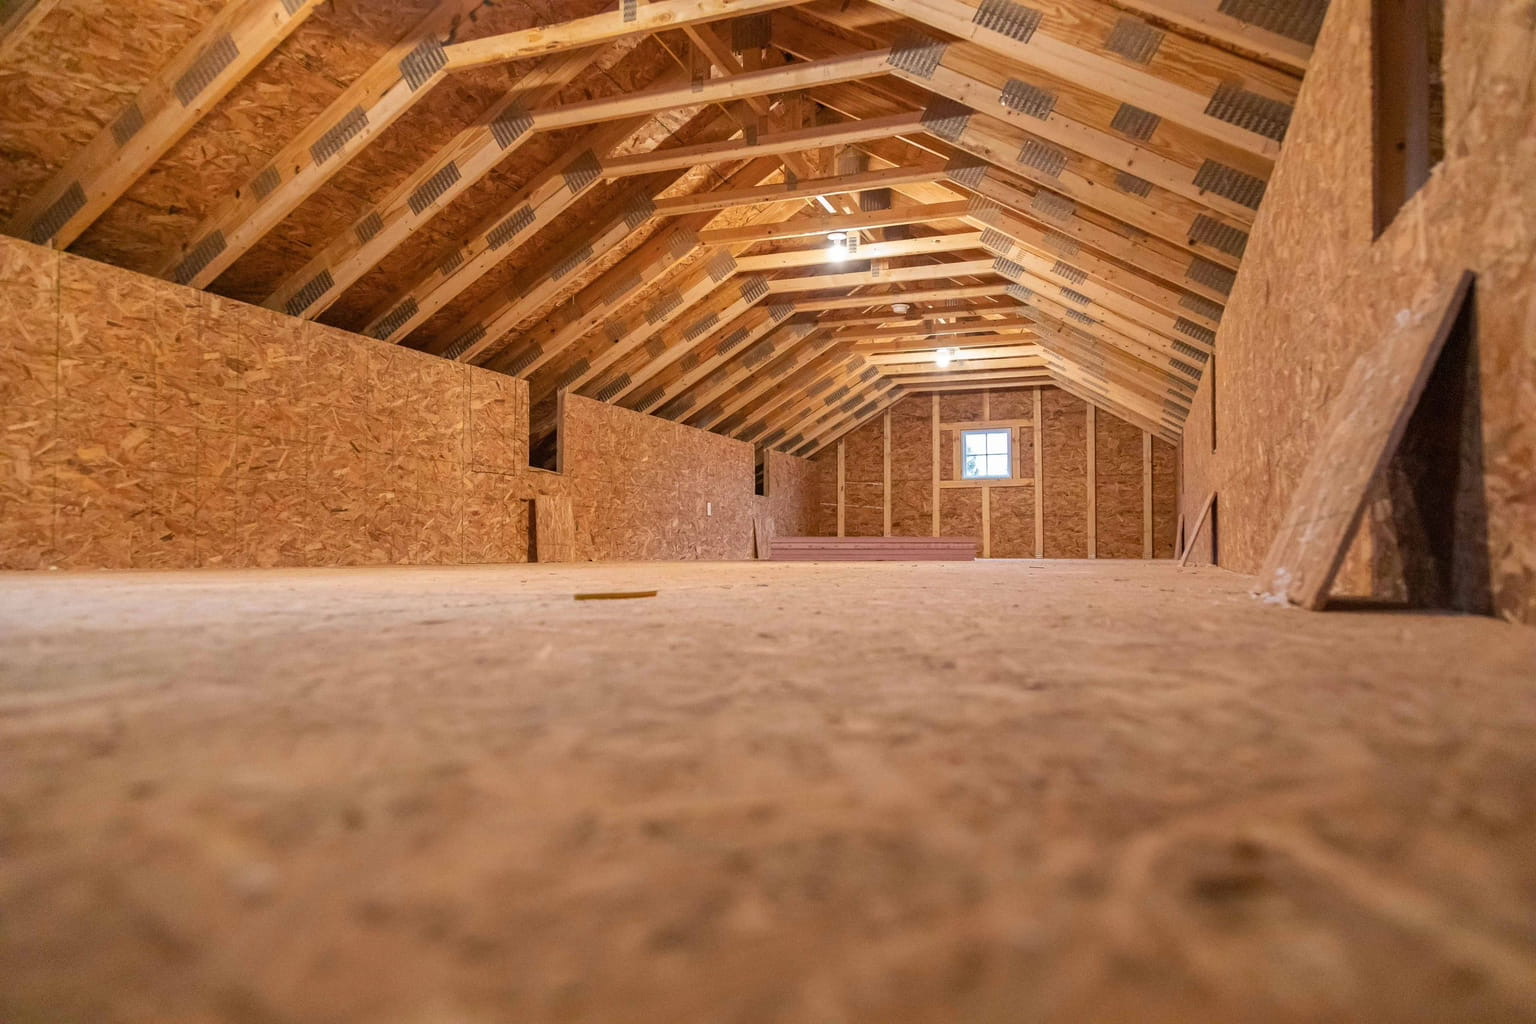
It is important to choose high-quality subflooring materials that are appropriate for your attic floor. Oriented Strand Board (OSB) and plywood are among the common options for subflooring. Consider factors such as moisture resistance, durability, and structural integrity when selecting the subflooring material.
Adding subflooring provides a solid foundation for the attic floor, ensuring stability and preventing sagging or flexing. It also helps to reduce noise transmission and improves the insulation of the space below. Once the subfloor is installed, you can proceed with the final steps of strengthening your attic floor.
Read more: How To Put A Floor In An Attic
Insulating the Attic Floor
Insulating the attic floor is an important step in strengthening your attic and improving the energy efficiency of your home. Proper insulation helps to regulate temperature, reduce heat loss, and prevent moisture buildup. Here are the steps to effectively insulate your attic floor:
- Clean and Prep: Before installing insulation, make sure the attic floor is clean and free from any debris or obstructions. Remove any existing insulation that may be damaged or inadequate.
- Select the Insulation Material: There are various types of insulation materials available, such as fiberglass batts, cellulose, or spray foam. Choose the appropriate insulation material based on factors like R-value (thermal resistance), air permeability, and any specific requirements for your climate zone.
- Measure and Cut: Measure the dimensions between the joists and cut the insulation material accordingly. Ensure a snug fit by trimming the insulation to the appropriate size. Be cautious not to compress the insulation, as proper thickness is important for optimal insulation performance.
- Install Vapor Barrier (if necessary): Depending on your climate and local building codes, you may need to install a vapor barrier to prevent moisture buildup. The vapor barrier should be placed on the warm side of the insulation, facing the interior of the living space. Consult a professional to determine the need for a vapor barrier in your attic.
- Lay the Insulation: Place the insulation material between the attic floor joists, ensuring full coverage and filling any gaps or voids. Lay the insulation perpendicular to the joists and use insulation supports or wire mesh to hold it in place. Avoid compressing the insulation, as it reduces its effectiveness.
- Seal Air Leaks: Inspect and seal any air leaks in the attic floor. Common areas for air leakage include gaps around electrical outlets, plumbing penetrations, and cracks in the floor. Use caulk or weatherstripping to seal these gaps and ensure a tight thermal envelope.
- Don’t Cover Attic Vents: It is important to ensure that any vents or soffit vents in the attic are not covered by insulation. These vents allow for proper ventilation, preventing moisture buildup and maintaining a healthy environment in the attic.
Properly insulating your attic floor not only strengthens the overall structure but also helps to reduce heating and cooling costs, improve comfort, and prevent potential issues such as ice dams or moisture-related problems. Follow local building codes and consult with insulation professionals for specific recommendations based on your climate and attic requirements.
Finishing Touches
After reinforcing the attic floor and insulating it, it’s time to add the finishing touches to complete the strengthening process. These final steps will ensure the durability, safety, and functionality of your attic floor. Here are some important finishing touches to consider:
- Seal Gaps and Cracks: Inspect the attic floor for any remaining gaps or cracks and seal them using a suitable sealing compound. This will help prevent air leakage, moisture intrusion, and the entry of pests into the attic space.
- Apply Protective Coating: Depending on the type of flooring material you plan to install, consider applying a protective coating to the subfloor. This can provide added resistance against moisture, mold, and mildew, extending the lifespan of the attic floor.
- Install Safety Features: Enhance the safety of the attic floor by installing handrails or guardrails along any staircases or access points. This will help prevent accidents and provide peace of mind when accessing the attic space.
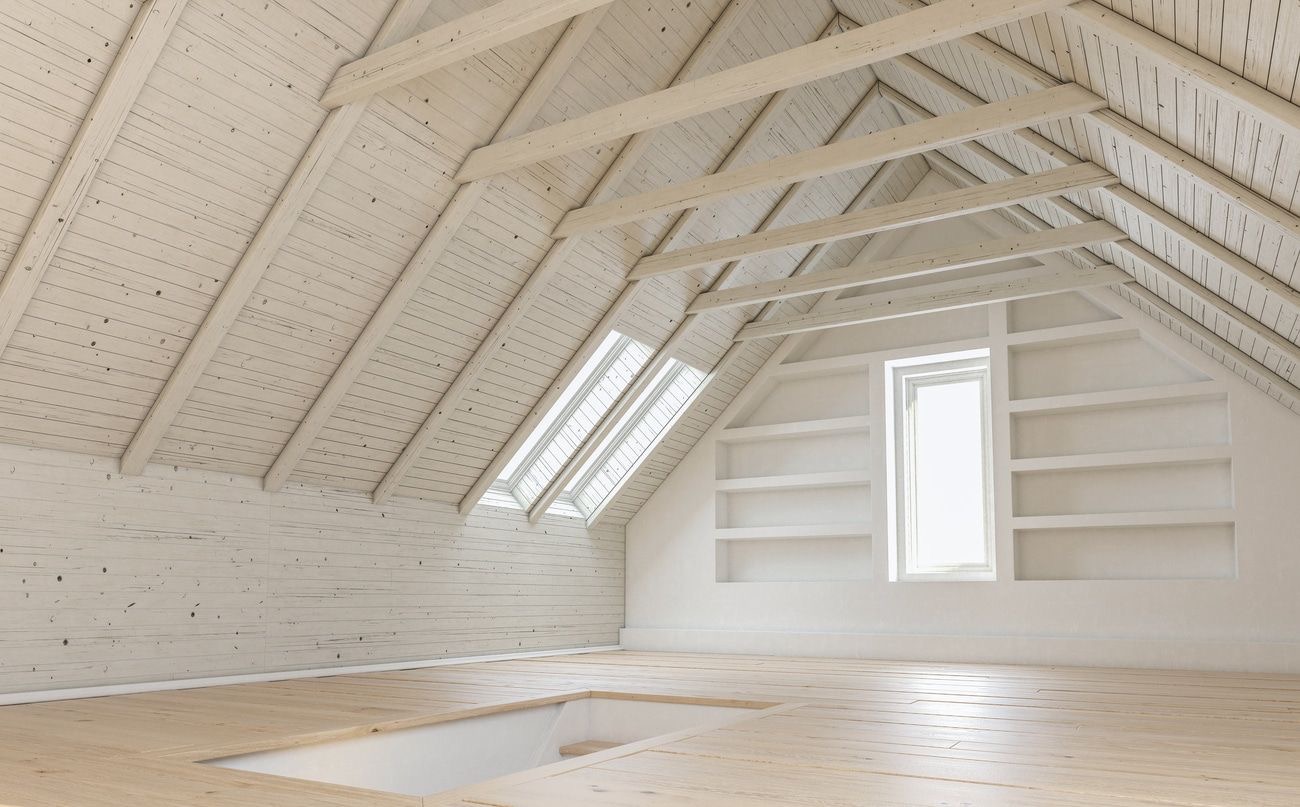
- Improve Lighting: Adequate lighting is crucial in the attic space for visibility and safety. Install suitable lighting fixtures and consider adding skylights or windows to bring in natural light, making the area more inviting and usable.
- Consider Access Solutions: If you frequently need to access your attic, consider installing a pull-down ladder, attic stairs, or even an attic lift system for convenience and ease of use. These solutions will make it more convenient to access the attic space while minimizing the risk of accidents or injuries.
- Regular Maintenance: Strengthening the attic floor is just the beginning. To ensure its long-term stability, regularly inspect the attic for any signs of damage, moisture, or pests. Perform necessary maintenance and address issues promptly to prevent further deterioration.
By paying attention to these finishing touches, you can enhance the overall functionality, safety, and durability of your attic floor. Take the time to thoroughly complete these steps, and you will have a strengthened attic floor that meets your needs while improving the overall value of your home.
Conclusion
Strengthening your attic floor is an essential aspect of maintaining the stability, safety, and energy efficiency of your home. By following the steps outlined in this guide, you can effectively reinforce your attic floor and create a solid foundation for storage or even living space. Assessing the condition of the attic floor, reinforcing the joists, adding additional support structures, installing subflooring, and insulating the floor are crucial steps in the process.
Assessing the attic floor allows you to identify any weak spots or damage that need attention. Reinforcing joists through techniques such as adding sister joists, blocking, or metal strapping helps to enhance strength and stability. Adding additional support structures like load-bearing walls or beams provides extra reinforcement for heavy loads. Installing subflooring creates a solid surface for finished flooring materials, while insulation ensures temperature regulation and energy efficiency.
Don’t overlook the importance of the finishing touches, such as sealing gaps, applying protective coatings, installing safety features, and improving lighting and access solutions. These details add the final touch to your strengthened attic floor, enhancing its functionality, durability, and overall value.
Remember, it is crucial to ensure that all reinforcement and strengthening efforts comply with local building codes and regulations. It is advisable to consult with professionals such as structural engineers or contractors to ensure proper installation and to address any specific requirements or concerns.
By taking the time and effort to strengthen your attic floor, you can create a space that provides not only stability but also peace of mind. Whether you plan to use it for storage, as a hobby room, or as an additional living area, a well-strengthened attic floor will serve you and your home for years to come.
Now that you've got the know-how to fortify your attic floor, why not tackle more projects around your house? If you're eager to roll up your sleeves for more hands-on tasks, our guide on DIY home projects is just what you need. Filled with practical advice and step-by-step instructions, this article will equip you with the skills to transform your home with your own two hands. So, grab your tools and let's get started on making your living space even more inviting and personalized.
Frequently Asked Questions about How To Strengthen Attic Floor
Was this page helpful?
At Storables.com, we guarantee accurate and reliable information. Our content, validated by Expert Board Contributors, is crafted following stringent Editorial Policies. We're committed to providing you with well-researched, expert-backed insights for all your informational needs.





0 thoughts on “How To Strengthen Attic Floor”