Articles
How To Put A Floor In An Attic
Modified: October 22, 2024
Discover step-by-step articles on how to put a floor in your attic, complete with tips and tricks for a successful renovation.
(Many of the links in this article redirect to a specific reviewed product. Your purchase of these products through affiliate links helps to generate commission for Storables.com, at no extra cost. Learn more)
Introduction
Welcome to our guide on how to put a floor in an attic! Turning your attic into a usable space can provide valuable square footage in your home and enhance the overall functionality and value of your property. Whether you’re looking to create a new bedroom, office, or hobby room, adding a floor to your attic is an essential first step.
However, the process of installing a floor in an attic can be quite challenging if you don’t have the proper knowledge and guidance. That’s where we come in! In this article, we will provide you with a step-by-step guide to help you navigate through the process and transform your attic into a functional and comfortable space.
Before we dive into the detailed steps, it’s important to note that putting a floor in an attic requires careful planning, preparation, and specific structural considerations. It’s crucial to ensure that your attic is suitable for conversion and can accommodate the additional weight and load of a floor. If you’re unsure about the structural integrity of your attic or need assistance with the process, consulting with a professional contractor or engineer is recommended.
Now that we’ve covered the general considerations, let’s jump into the detailed steps involved in putting a floor in an attic. By following these steps, you’ll be well on your way to transforming your attic into a functional and enjoyable space that adds value to your home.
Key Takeaways:
- Proper planning and preparation are essential for a successful attic floor installation. Assessing the space, determining the purpose, and adhering to building codes set the foundation for a functional and valuable attic transformation.
- Attention to detail and safety considerations are crucial in completing the attic floor installation. From measuring and marking the floor area to addressing safety concerns, each step contributes to a well-rounded and secure attic space.
Read more: How To Strengthen Attic Floor
Step 1: Planning and Preparation
Before you begin installing a floor in your attic, it’s important to spend some time on careful planning and preparation. This step will help you ensure that the project goes smoothly and meets your requirements. Here are the key aspects to consider during the planning and preparation phase:
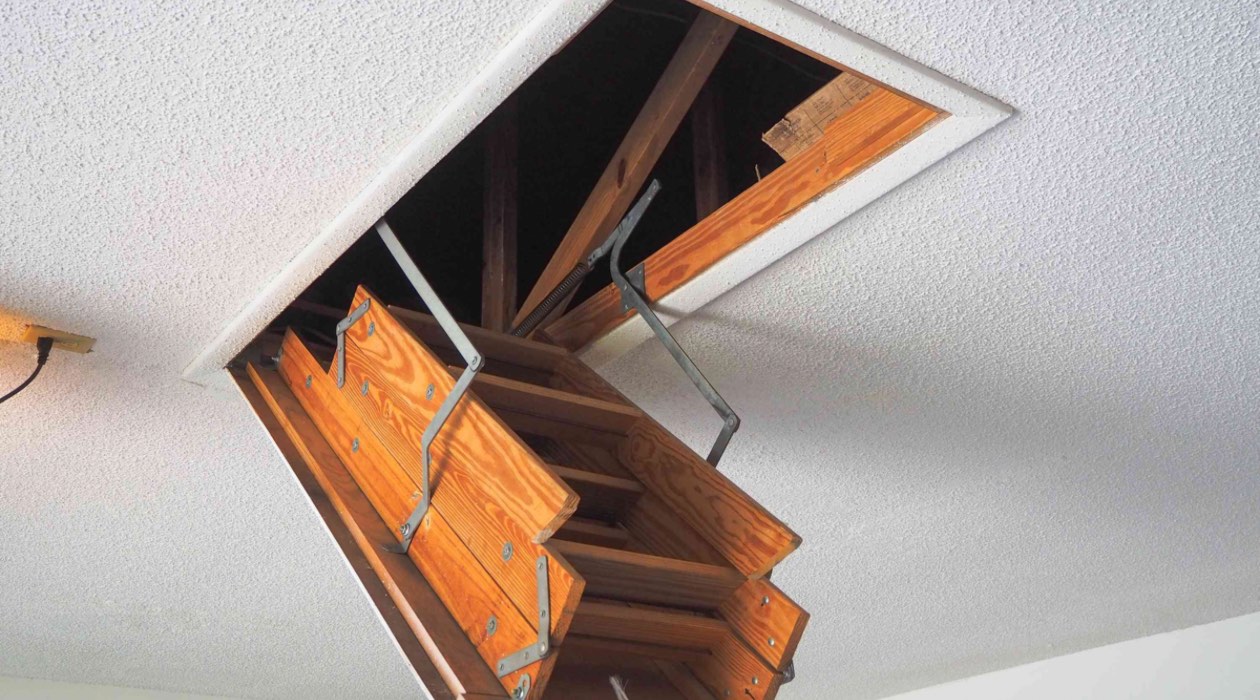
- Assess the attic: Start by assessing the attic space to determine its suitability for conversion. Check for any signs of structural issues such as sagging beams or water damage. Measure the height of the attic to ensure it meets the minimum ceiling height requirements for your intended use. Additionally, consider the accessibility of the attic and whether any modifications need to be made to accommodate stairs or a ladder.
- Decide on the purpose: Determine the purpose of the finished attic space. Are you planning to create a bedroom, office, or recreational area? Knowing the purpose will help you make decisions regarding the layout, insulation, and other essential elements of the project.
- Check local building codes: Familiarize yourself with the local building codes and regulations governing attic conversions. These codes may dictate requirements for insulation, fire safety, electrical wiring, and more. Ensure that you adhere to these guidelines to ensure a safe and compliant finished space.
- Create a budget: Evaluate your budget and determine how much you’re willing to invest in the attic floor installation. Consider costs for materials, tools, professional assistance, and any other necessary expenses. Factoring in these costs early on will help you make informed decisions throughout the project.
- Design the layout: Develop a detailed layout plan for the attic floor, taking into consideration the placement of walls, windows, electrical outlets, and other fixtures. This will help you visualize the finished space and ensure that it aligns with your vision and needs.
- Gather necessary tools and materials: Make a list of the tools and materials you’ll need for the project. This may include items like measuring tape, saws, nails, insulation, flooring material, and safety equipment. Having everything prepared in advance will save you time and ensure a smoother installation process.
By investing time and effort into thorough planning and preparation, you’ll set a solid foundation for the rest of the attic floor installation. With a clear understanding of the space, purpose, budget, and necessary tools, you’ll be ready to move forward with confidence.
Step 2: Clearing and Cleaning the Attic
Once you have completed the planning and preparation phase, it’s time to move on to the next step: clearing and cleaning the attic. This step is essential to create a clean and organized space for the floor installation. Follow these guidelines to ensure a smooth process:
- Remove any existing items: Start by removing any items or clutter that may be present in the attic. This includes old furniture, storage boxes, and any other items that may obstruct the installation process. Clearing out the space will give you a clean slate to work with.
- Dispose of unnecessary materials: Sort through the items you’ve removed and determine what can be discarded or donated. This will help create more space in the attic and make the cleaning process easier.
- Clean the attic: Thoroughly clean the attic space, including the walls, ceiling, and flooring. Sweep or vacuum up any dust, dirt, and debris. Use a damp cloth to wipe down surfaces, removing any accumulated grime or stains. Cleaning the attic will not only improve the overall aesthetic but also ensure better air quality within the space.
- Inspect for pests: Take this opportunity to inspect the attic for any signs of pests such as rodents, insects, or birds. Look for droppings, nests, or chewed insulation. If you notice any infestation, it’s important to address it before proceeding with the floor installation. Consult a professional pest control service for effective removal and prevention methods.
- Repair any damage: Check for any damage to the attic structure, such as rotting wood, water leaks, or cracks. Address these issues promptly to ensure a solid foundation for the floor installation. If you’re unsure about the extent of the damage or how to repair it, consult a professional contractor for guidance.
By clearing and cleaning the attic, you set the stage for a smooth and efficient floor installation process. A clean and well-prepared space will make it easier to work and ensure a satisfactory end result. Take the time to complete these steps thoroughly before moving on to the next phase of the attic transformation.
Step 3: Measuring and Marking the Floor Area
With the attic cleared and cleaned, it’s time to move on to the next crucial step: measuring and marking the floor area. Accurate measurements are essential to ensure that the floor fits properly and aligns with your intended design. Follow these steps to get the measurements right:
- Start with a scaled drawing: Begin by creating a scaled drawing of the attic space on graph paper. This will help you visualize the layout and accurately measure the dimensions. Determine the scale you want to use, such as 1/4 inch per foot, and apply it to your drawing. Include any structural elements or obstacles such as beams, vents, or windows.
- Measure the length and width: Use a measuring tape to determine the length and width of the attic space. Measure from wall to wall, ensuring you capture the overall dimensions accurately. Record these measurements on your scaled drawing.
- Account for any irregularities: Attics often have irregular shapes or angles due to the roofline. Measure and record these irregularities on your scaled drawing. Pay attention to any alcoves, corners, or protrusions that may affect the floor layout.
- Determine the height: Measure the height of the attic from the floor to the highest point of the ceiling. This will help you determine if there is sufficient clearance for the desired use of the space. Check building codes for minimum ceiling height requirements based on your intended purpose.
- Mark the floor layout: Use chalk or painter’s tape to mark the floor layout directly on the attic surface. Start by marking the corners and edges of the floor area. Use a straightedge or laser level to ensure straight lines and accurate measurements. Double-check your measurements and make any necessary adjustments before proceeding.
By taking precise measurements and marking the floor area, you lay the foundation for a successful attic floor installation. Accurate measurements will ensure that the floor fits properly and aligns with your intended design. Take your time during this step to avoid costly mistakes or adjustments later in the process. Once you’ve completed the measuring and marking phase, you’re ready to move on to the next step of installing floor joists.
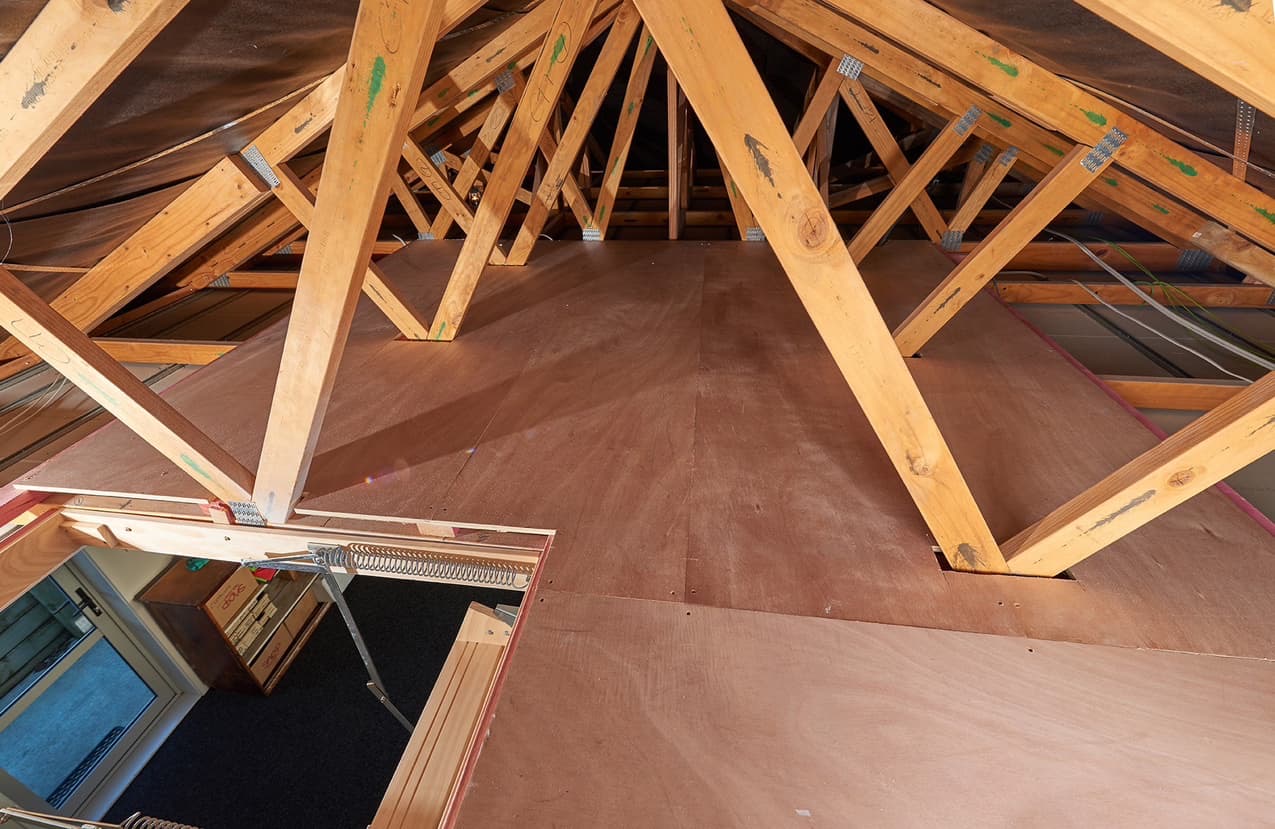
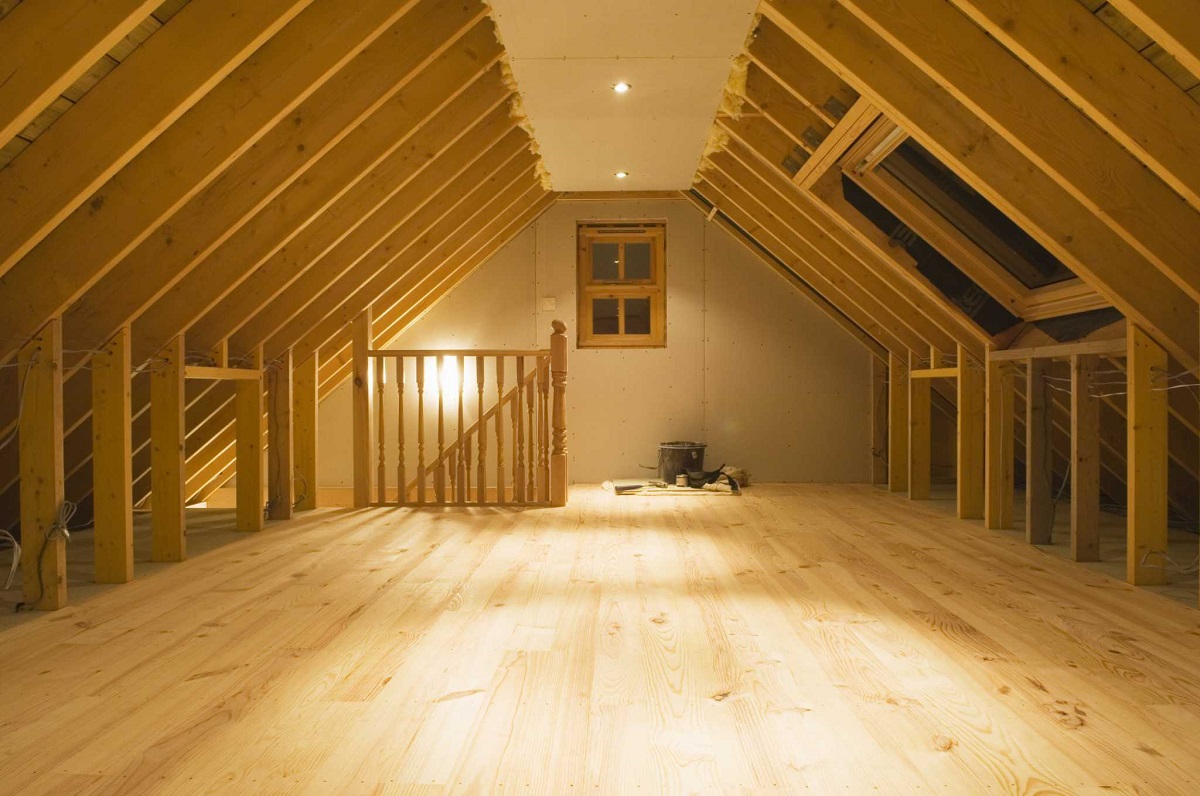
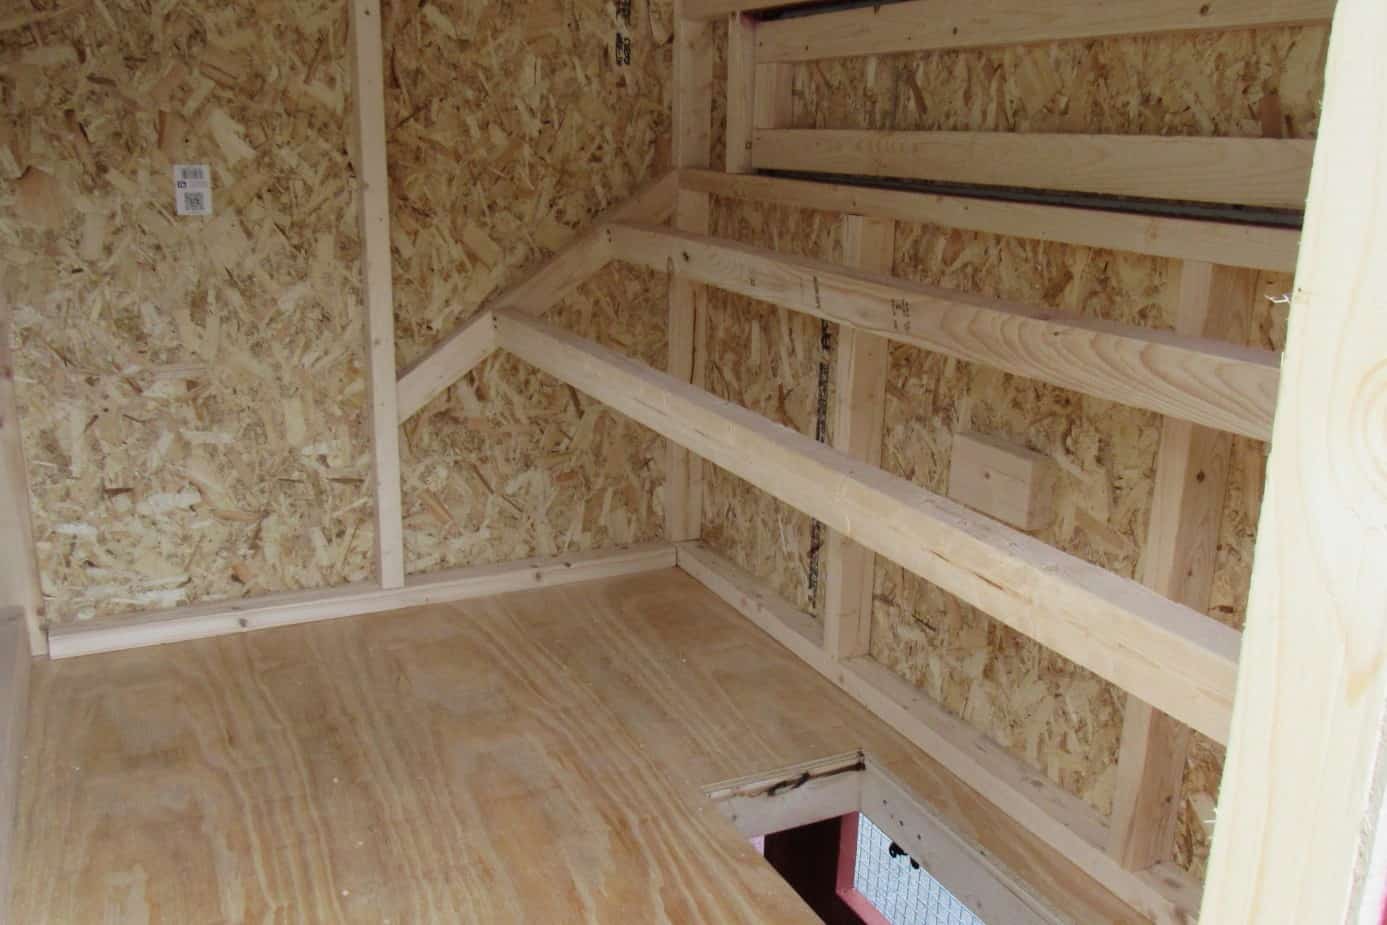
Step 4: Installing Floor Joists
After measuring and marking the floor area, it’s time to move on to the next step: installing floor joists. Floor joists provide the structural support for the attic floor and ensure its stability and strength. Follow these steps to properly install the floor joists:
- Determine the spacing: Consult the building codes and engineering guidelines to determine the appropriate spacing for the floor joists. Typically, joists are spaced 16 inches apart, but this may vary depending on the size and load-bearing capacity of the attic floor.
- Mark the joist layout: Use the marks you made during the floor area measurement phase to indicate where the joists will be placed. Draw lines on the attic surface to indicate the position of each joist. This will serve as a guide during the installation process.
- Prepare the joists: Cut the floor joists to the appropriate length using a saw. Apply a wood preservative to prevent rot and extend the lifespan of the joists. If necessary, notch the joists to accommodate any obstructions, such as beams or vents.
- Install the joists: Begin by attaching the first joist flush with one of the walls. Use construction adhesive and nails or screws to secure it in place. Continue installing the remaining joists according to the marked layout. Ensure that the joists are level and aligned. Use a level and shims if necessary.
- Attach the joists to the walls: Secure the ends of the joists to the walls using joist hangers. These metal brackets provide additional support and ensure that the joists are firmly anchored.
- Install blocking and bridging: Install blocking or bridging between the joists to provide lateral stability and prevent sagging or bouncing of the floor. Cut pieces of lumber to fit between the joists and secure them in place with nails or screws.
By properly installing the floor joists, you create a sturdy foundation for the attic floor. The spacing, alignment, and attachment of the joists are crucial to ensure a safe and stable structure. Take your time during this step to ensure that the floor joists are installed correctly. Once the floor joists are in place, you’re ready to move on to the next step of laying the flooring material.
Before putting a floor in an attic, make sure to check the attic’s structure and insulation. It’s important to ensure that the attic can support the weight of the new floor and that the insulation is properly installed.
Read more: How To Put Tile On Floor
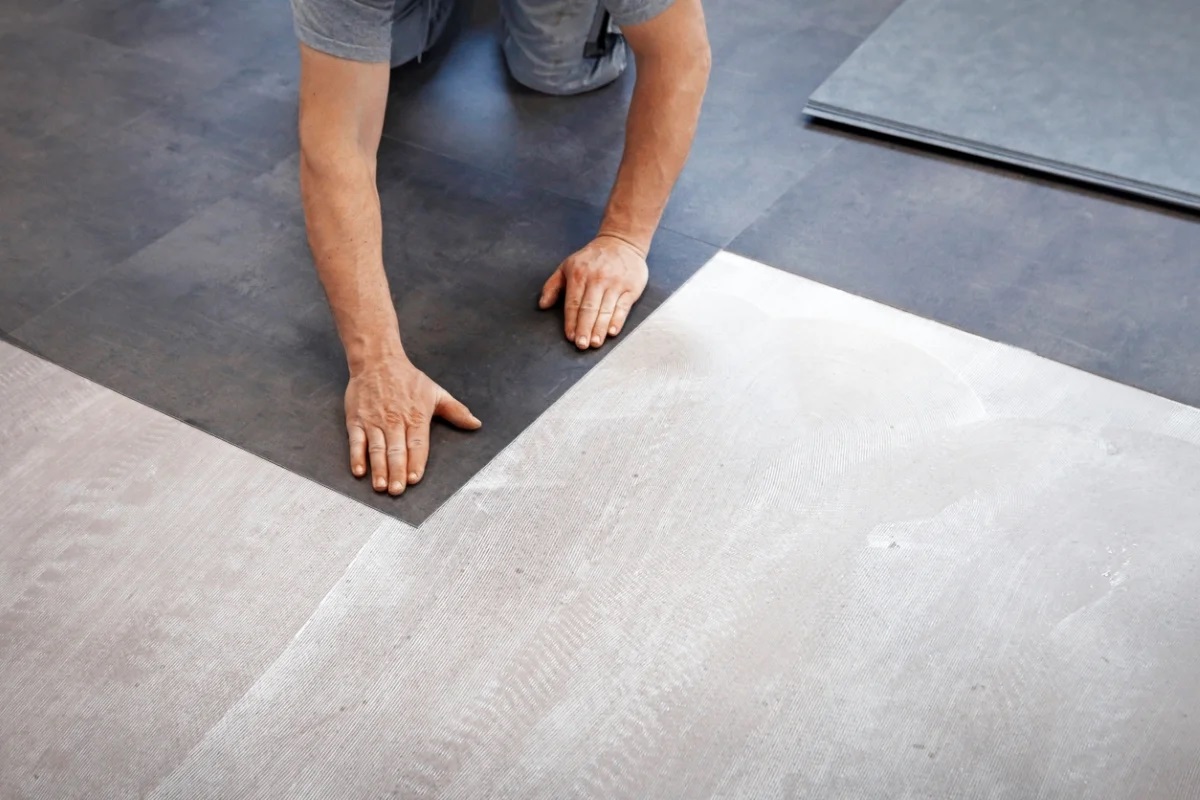
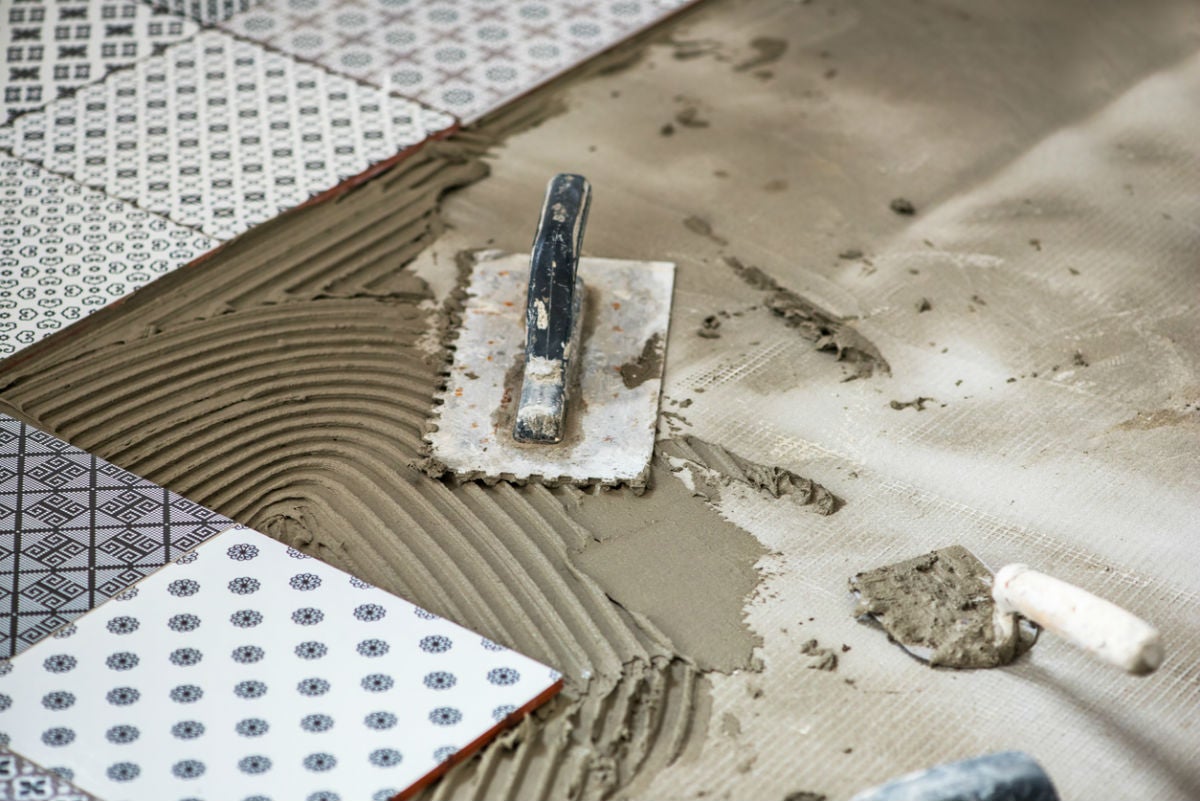
Step 5: Laying the Flooring Material
With the floor joists securely in place, it’s time to move on to the next step: laying the flooring material in your attic. The choice of flooring material will depend on your personal preference, budget, and the intended use of the space. Follow these steps to properly install the flooring material:
- Choose the flooring material: Select the flooring material that suits your needs and preferences. Common options for attic flooring include plywood, oriented strand board (OSB), laminate flooring, or engineered wood. Consider factors such as durability, moisture resistance, and ease of installation when making your decision.
- Prepare the attic floor: Ensure that the attic floor is clean and free of debris. Sweep or vacuum the space to remove any dust or dirt. Check for any protruding nails or screws and address them by hammering them down or removing them.
- Measure and cut the flooring material: Measure the dimensions of the attic floor space and transfer those measurements to the flooring material. Use a saw or appropriate cutting tool to cut the material to fit the desired size and shape. Take necessary precautions such as wearing safety goggles and gloves while cutting.
- Start laying the flooring material: Begin in one corner of the attic and lay the first piece of flooring material. Leave a small gap between the material and the wall to allow for expansion. Secure the piece in place using nails, screws, or appropriate adhesives depending on the type of flooring material. Repeat this process, working your way across the attic floor.
- Stagger the seams: If using multiple pieces of flooring material, stagger the seams to create a stronger and more visually appealing floor. Avoid aligning seams in a straight line, as this can weaken the structure. Aim for a random pattern to distribute weight and ensure stability.
- Trim the flooring material: Once you’ve laid all the full pieces of flooring material, you may need to cut smaller pieces to fit around obstacles such as vents or beams. Measure and cut these pieces carefully to ensure a precise fit.
- Secure the flooring material: Depending on the flooring material chosen, secure the pieces together as necessary. For tongue-and-groove style flooring, apply a suitable adhesive to the joints to prevent shifting or movement. Use fasteners or adhesive recommended by the manufacturer to ensure proper installation.
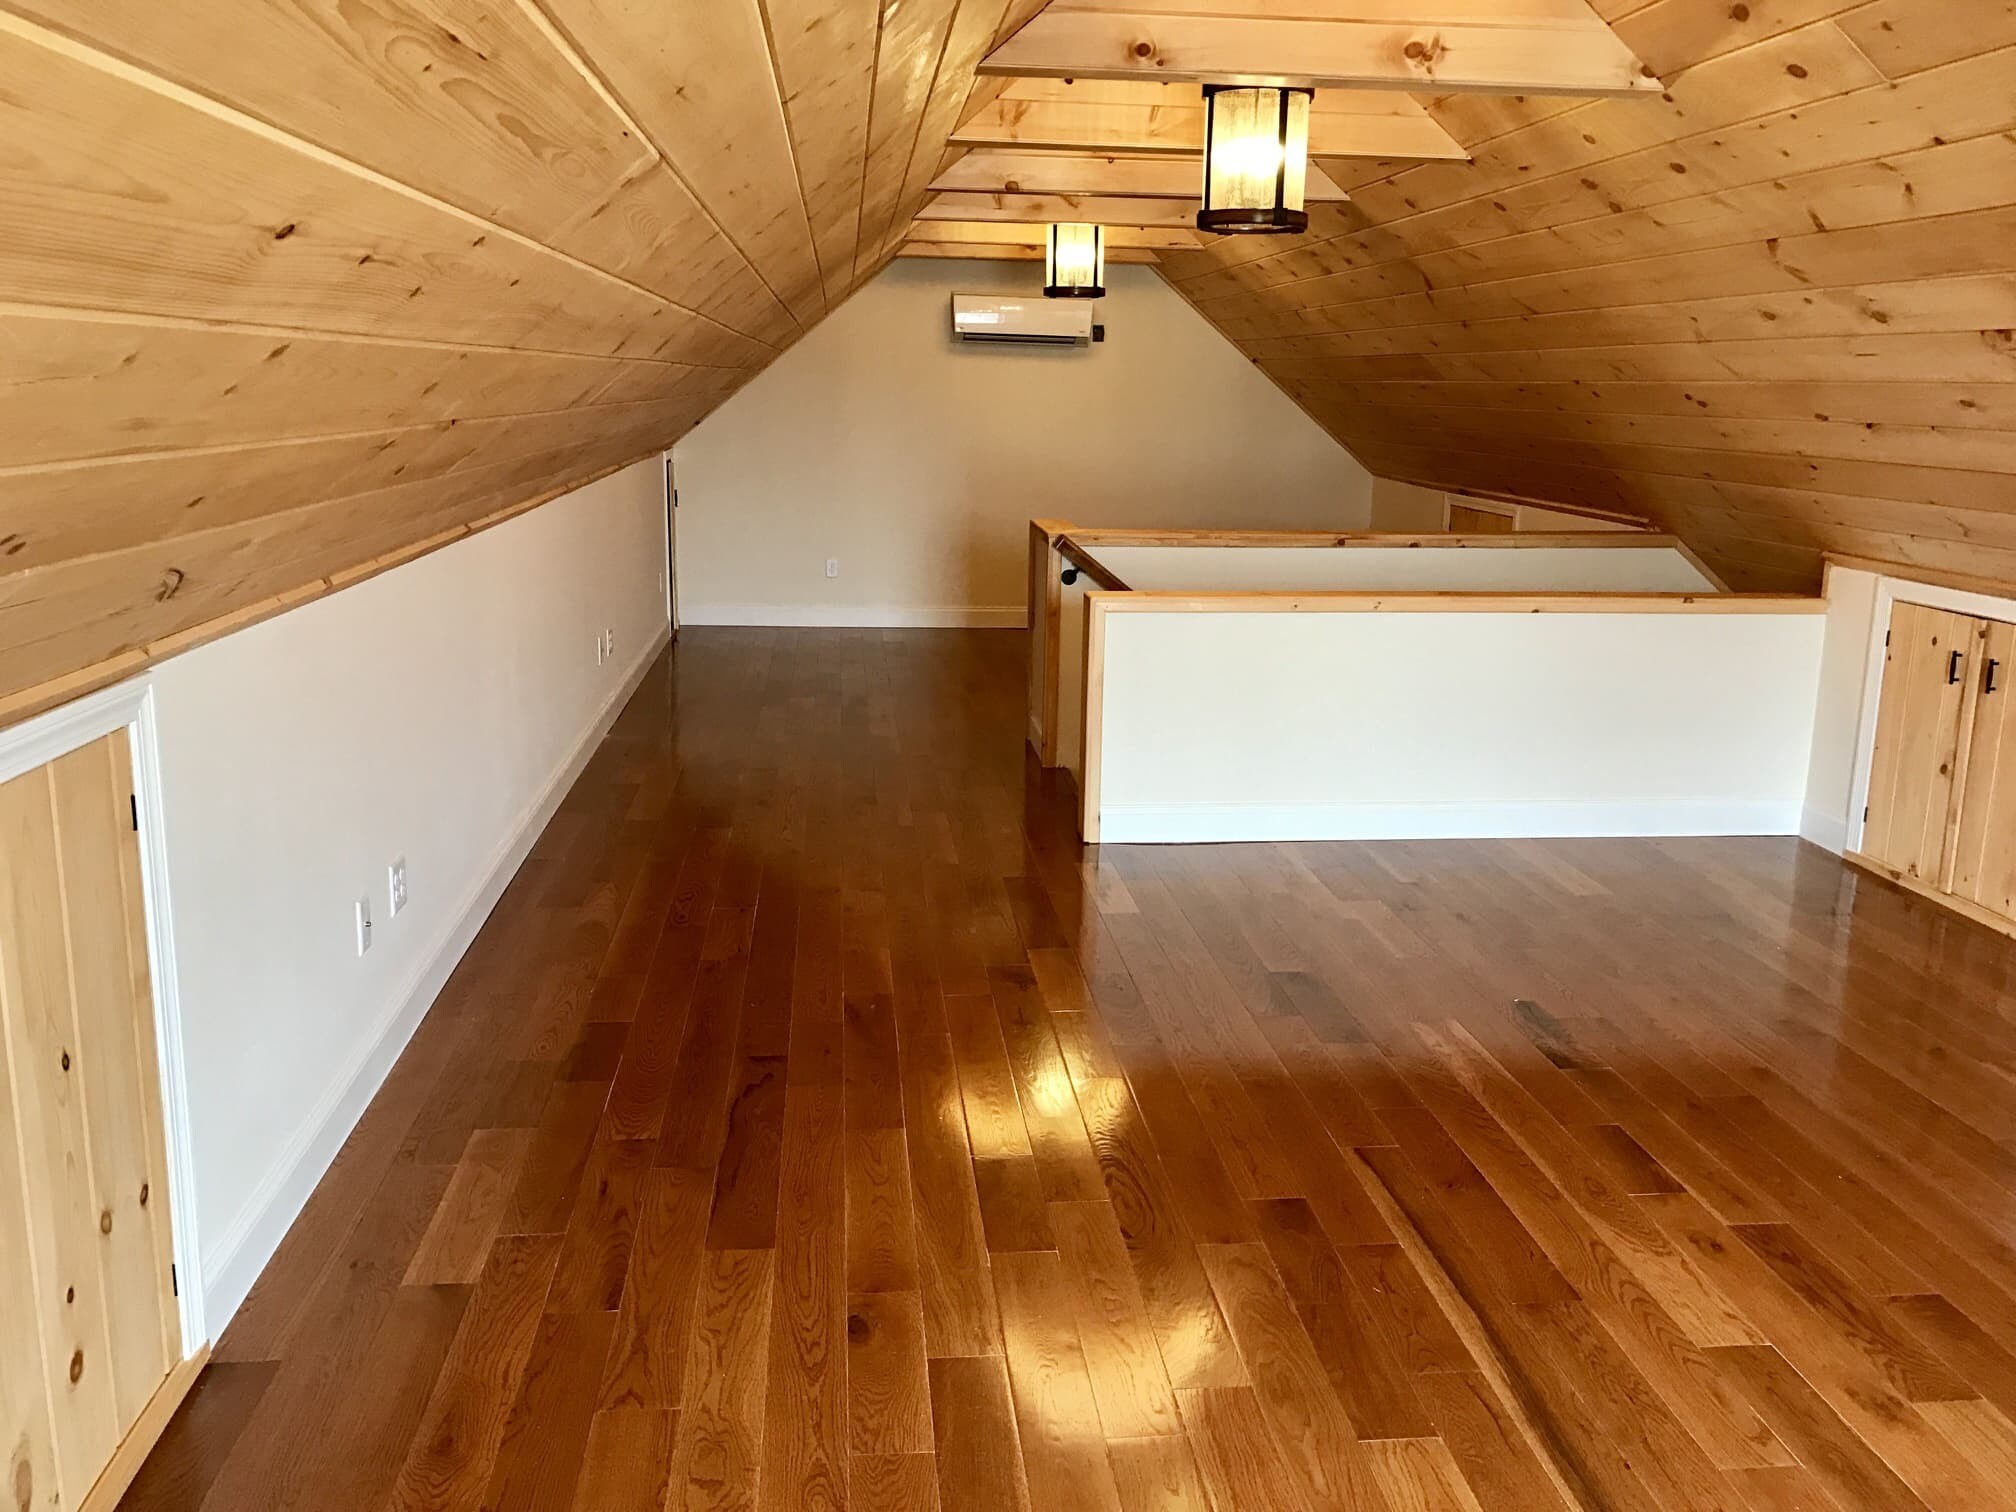
By following these steps, you’ll be able to lay the flooring material in your attic, creating a solid and functional surface. Take care to choose the appropriate material and ensure proper installation techniques to achieve the best results. With the flooring in place, you’re ready to move on to the next step: insulating the attic floor.
Step 6: Insulating the Attic Floor
Insulating the attic floor is a crucial step in creating a comfortable and energy-efficient space. Proper insulation helps regulate temperature, reduce energy consumption, and prevent heat loss or gain. Follow these steps to effectively insulate your attic floor:
- Determine the insulation type: Choose the appropriate insulation type for your attic floor. Common options include fiberglass batts, loose-fill insulation, or foam insulation boards. Consider factors such as R-value, moisture resistance, and fire safety when making your selection.
- Prepare the attic floor: Ensure the attic floor is clean and free from debris before installing the insulation. Remove any loose nails, screws, or other obstructions that may interfere with the installation process. Address any necessary repairs, such as sealing gaps or cracks, to provide a smooth and even surface.
- Measure and cut the insulation: Measure the dimensions of the attic floor space and cut the insulation material accordingly. Ensure the pieces fit snugly between the floor joists and cover the entire floor surface area. Use a utility knife or insulation cutter to make precise cuts.
- Install the insulation: Carefully place the insulation material between the floor joists, ensuring a tight fit. Avoid compressing or bunching the insulation, as this can reduce its effectiveness. Work your way across the attic, installing the insulation piece by piece until the entire floor area is covered.
- Secure the insulation: Use insulation supports or wire mesh to hold the insulation in place and prevent it from sagging over time. Install these supports at regular intervals across the attic floor, ensuring the insulation remains in position. Be careful not to compress or damage the insulation while securing it.
- Seal air gaps and penetrations: Inspect the attic floor for any gaps, cracks, or penetrations that could allow air leakage. Seal these areas with caulk, foam sealant, or weatherstripping to create an airtight barrier. This will help maintain the insulation’s effectiveness and improve energy efficiency.
- Insulate access points: Pay attention to attic access points, such as doors or hatches. Install insulation or weatherstripping around these areas to prevent heat loss or gain. Consider using an insulated attic access cover or hatch to further enhance the insulation at these points.
By properly insulating the attic floor, you’ll create a more comfortable and energy-efficient space. Insulation helps regulate temperature, reduce energy waste, and improve the overall efficiency of your home. Take your time during this step to ensure thorough insulation coverage and proper sealing. With the attic floor insulated, you’re one step closer to completing your attic transformation.
Step 7: Applying Finishing touches and Safety Considerations
As you near the completion of your attic floor installation, it’s important to focus on applying finishing touches and taking safety considerations into account. These final steps will help ensure the longevity, functionality, and safety of your newly transformed attic space. Follow these guidelines to finish the project with care:
- Trim and finish the edges: Use baseboards or trim to cover the edges of the flooring material and create a polished look. Install the trim securely and ensure a clean and precise finish. Consider painting or staining the trim to match the aesthetic of the space.
- Clean the attic space: Once the installation is complete, thoroughly clean the attic space again. Sweep or vacuum the floor to remove any dust or debris that may have accumulated during the installation process. Wipe down surfaces to ensure a clean and welcoming environment.
- Consider lighting: Assess the lighting needs of the attic space and install suitable lighting fixtures accordingly. Consider options such as recessed lights, ceiling fixtures, or wall sconces to provide ample illumination. Consult an electrician if you’re unsure about the electrical wiring and fixtures installation.
- Ensure proper ventilation: Adequate ventilation is important to prevent moisture buildup and maintain a comfortable environment. Install vents or fans as needed to promote air circulation and prevent condensation. Consult building codes and guidelines to determine the recommended ventilation requirements for your attic space.
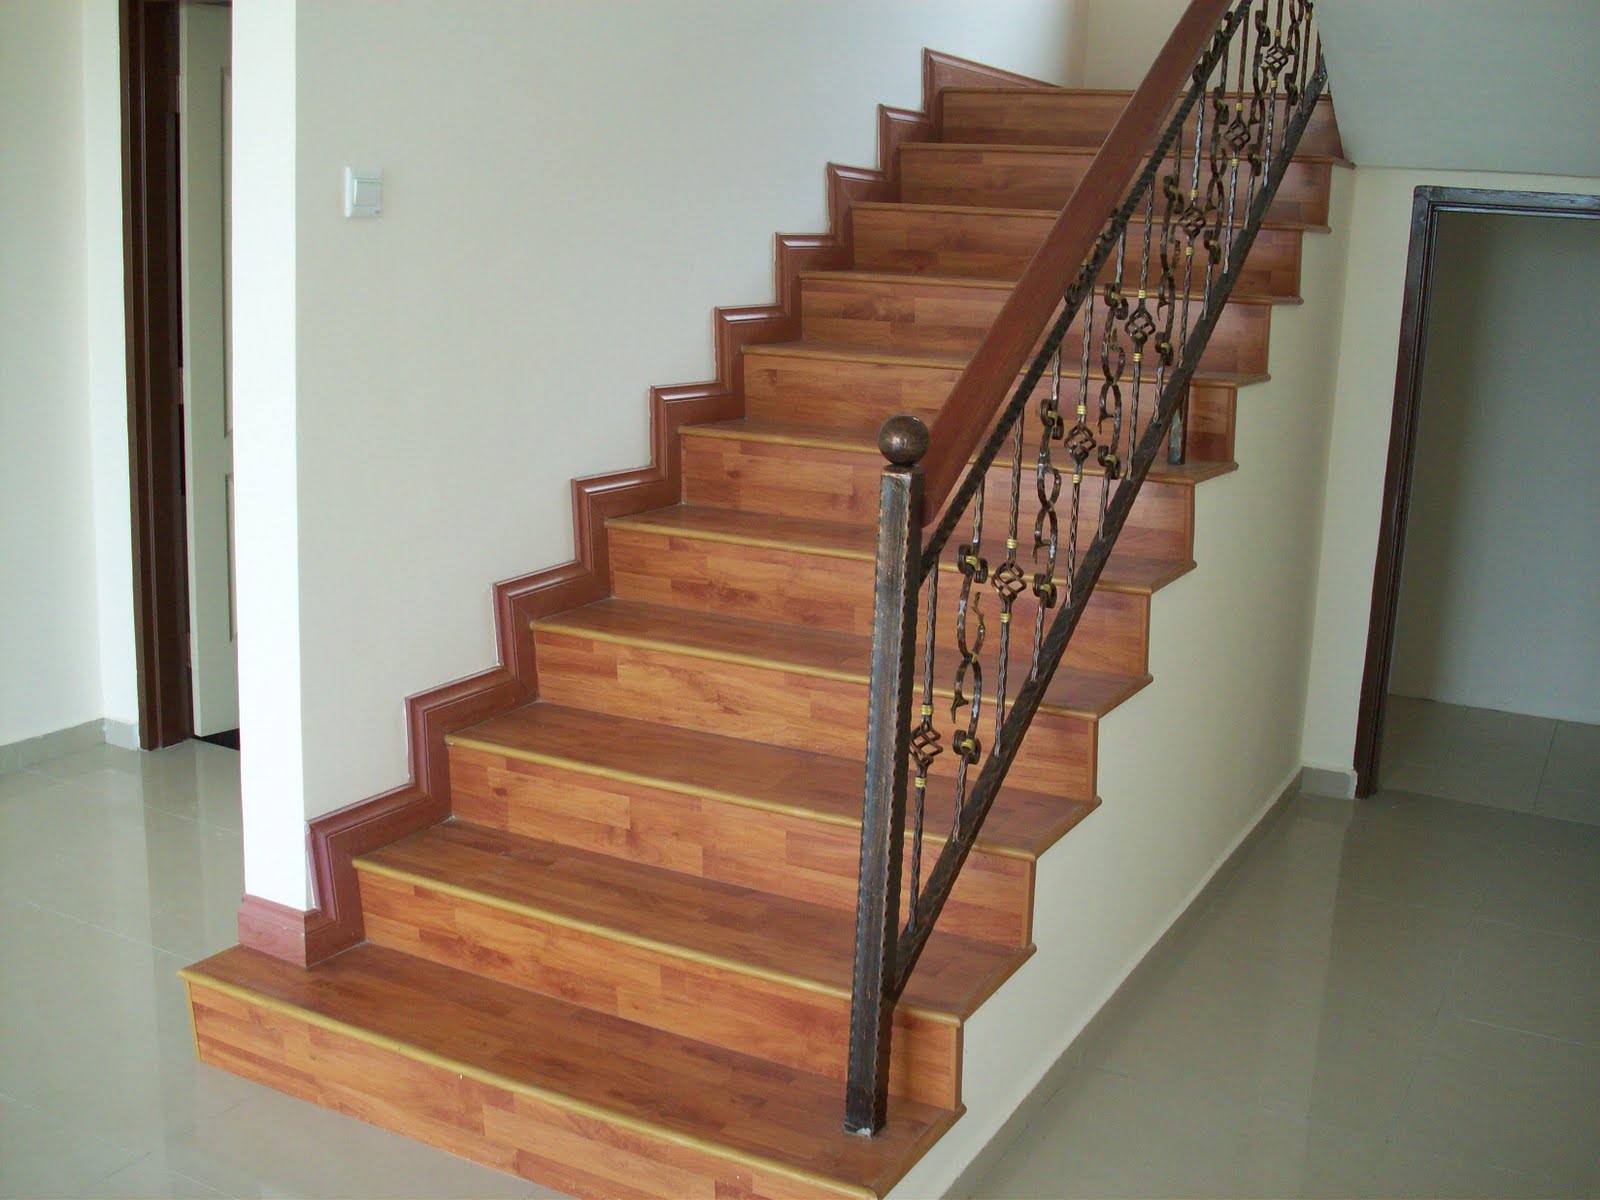
- Address safety concerns: Pay attention to safety considerations to create a secure attic space. Install handrails or guardrails if the attic has open edges or staircases. Consider installing smoke detectors and carbon monoxide detectors to enhance safety. Ensure that electrical wiring is properly installed and meets safety standards.
- Consider fire safety: Implement fire safety measures to protect your attic and the rest of your home. Install fire-rated doors in any access points from the attic to the rest of the house. Fireproof the attic with fire-resistant insulation and materials. Consult local fire safety regulations to make sure you comply with all necessary requirements.
- Inspect for any remaining issues: Conduct a final inspection of your attic floor installation to identify any remaining issues or concerns. Look for signs of gaps, creaking noise, or uneven flooring. Address these issues promptly by tightening screws, adding additional support, or adjusting flooring material if necessary.
By applying these finishing touches and addressing safety considerations, you’ll ensure a well-rounded and safe attic floor installation. Take the time to complete these final steps with care and attention to detail. Once everything is in place, you can step back and enjoy your transformed attic space.
Conclusion
Congratulations on successfully completing the process of putting a floor in your attic! By following the step-by-step guide outlined in this article, you have transformed your attic into a functional and valuable space within your home. Not only does a finished attic provide additional square footage, but it also enhances the overall aesthetics and functionality of your property.
Throughout the process, you’ve learned about the importance of planning and preparation, clearing and cleaning the attic, measuring and marking the floor area, installing floor joists, laying the flooring material, insulating the attic floor, and applying finishing touches. These steps have been crucial in ensuring a successful attic floor installation.
Remember to always prioritize safety throughout the project. Adhere to local building codes and guidelines, address any structural issues, and take the necessary precautions when working with tools and materials. Additionally, consider consulting with professionals if you have any concerns or uncertainties along the way.
With your newly installed attic floor, you now have a versatile space that can be used for a variety of purposes, whether it be a bedroom, office, hobby room, or simply for additional storage. Make sure to personalize the space to suit your needs, adding furniture, décor, and lighting to create a comfortable and inviting atmosphere.
Lastly, don’t forget to regularly maintain and inspect your attic floor to ensure its longevity and functionality. Keep an eye out for any signs of wear and tear, address any issues promptly, and continue to prioritize proper ventilation and ongoing cleanliness.
Now that you have completed the attic floor installation, take a moment to appreciate the hard work and effort you put into this project. Enjoy the additional space and the countless possibilities it brings to your home. Whether you’re using the attic as a functional living space or for storage, it’s an investment that adds value and utility to your property.
Thank you for joining us on this journey of putting a floor in an attic. We hope this guide has been informative, inspiring, and empowering. Best of luck with your newly transformed attic!
Now that you've mastered laying a new floor in your attic, why not tackle more rewarding projects around your home? If you're itching to get your hands dirty and save money, our article on the marvels of DIY projects is perfect for you. You'll learn why taking on these tasks not only enhances your living space but also boosts your skills and confidence. Don't miss out on turning every nook of your home into a reflection of your personal taste and craftsmanship!
Frequently Asked Questions about How To Put A Floor In An Attic
Was this page helpful?
At Storables.com, we guarantee accurate and reliable information. Our content, validated by Expert Board Contributors, is crafted following stringent Editorial Policies. We're committed to providing you with well-researched, expert-backed insights for all your informational needs.


0 thoughts on “How To Put A Floor In An Attic”