Articles
How To Smooth Ceiling
Modified: October 29, 2024
Learn the secrets of achieving a smooth ceiling with our informative articles. Get step-by-step instructions and expert tips for flawless results.
(Many of the links in this article redirect to a specific reviewed product. Your purchase of these products through affiliate links helps to generate commission for Storables.com, at no extra cost. Learn more)
Introduction
Welcome to our comprehensive guide on how to smooth a ceiling. Having a smooth, flawless ceiling can dramatically enhance the overall look and feel of a room. Whether you’re planning to paint the ceiling or just want to improve its appearance, this step-by-step tutorial will help you achieve professional-level results.
While smoothing a ceiling may seem like a daunting task, with the right tools, materials, and techniques, it can be a manageable DIY project. This guide will walk you through each stage, from preparing the ceiling to applying the smoothing compound and completing the finishing touches.
Before we dive into the details, it’s important to note that safety is crucial when working on any home improvement project. Ensure that you have the appropriate protective gear, such as safety goggles, gloves, and a dust mask. Additionally, make sure to follow all safety guidelines provided by the manufacturers of the tools and materials you will be using.
Now, let’s gather the necessary tools and materials to begin the process of smoothing your ceiling.
Key Takeaways:
- Achieving a flawlessly smooth ceiling is a manageable DIY project with the right tools and techniques. From preparation to finishing touches, follow the steps to transform your space.
- Prioritize safety, patience, and attention to detail when smoothing a ceiling. Enjoy the process and admire the professional-level results of your visually appealing and flawless ceiling.
Read more: How To Smooth A Spackle
Tools and Materials
Before you begin smoothing your ceiling, make sure you have the following tools and materials:
- Step ladder or scaffold: Depending on the height of your ceiling, you may need a step ladder or scaffold to safely reach the surface.
- Drywall joint compound: Also known as mud or filler, this is the main material used to smooth the ceiling.
- Taping knife: A taping knife with a flexible blade is essential for applying and spreading the joint compound.
- Sanding block or pole sander: These tools are used to sand down the ceiling after applying the joint compound.
- Drywall mud pan: A mud pan is used to hold the joint compound when you’re applying it to the ceiling.
- Drywall tape: This is used to reinforce seams and joints in the ceiling.
- Screwdriver: You may need a screwdriver to remove any loose screws or nails from the ceiling.
- Dust mask: Protect yourself from the dust generated during sanding by wearing a dust mask.
- Drop cloths or plastic sheets: To protect your furniture and flooring from dust and debris, lay down drop cloths or plastic sheets.
- Primer: A primer helps create a smooth surface and ensures better adherence of paint or wallpaper.
- Paint roller and brush: If you plan on painting the ceiling, have a roller and brush ready for application.
- Ceiling paint or wallpaper: Choose the desired paint or wallpaper to finish off the smoothed ceiling.
Having these tools and materials on hand will make the process of smoothing your ceiling much easier and more efficient. Now that you’re equipped with everything you need, let’s move on to preparing the ceiling for the smoothing process.
Preparing the Ceiling
Before you can start smoothing the ceiling, it’s essential to prepare the surface properly. Follow these steps to ensure a clean and debris-free work area:
- Clear the room: Remove all furniture, light fixtures, and any other items that may obstruct your work area. Cover the remaining items with drop cloths or plastic sheets to protect them from dust and debris.
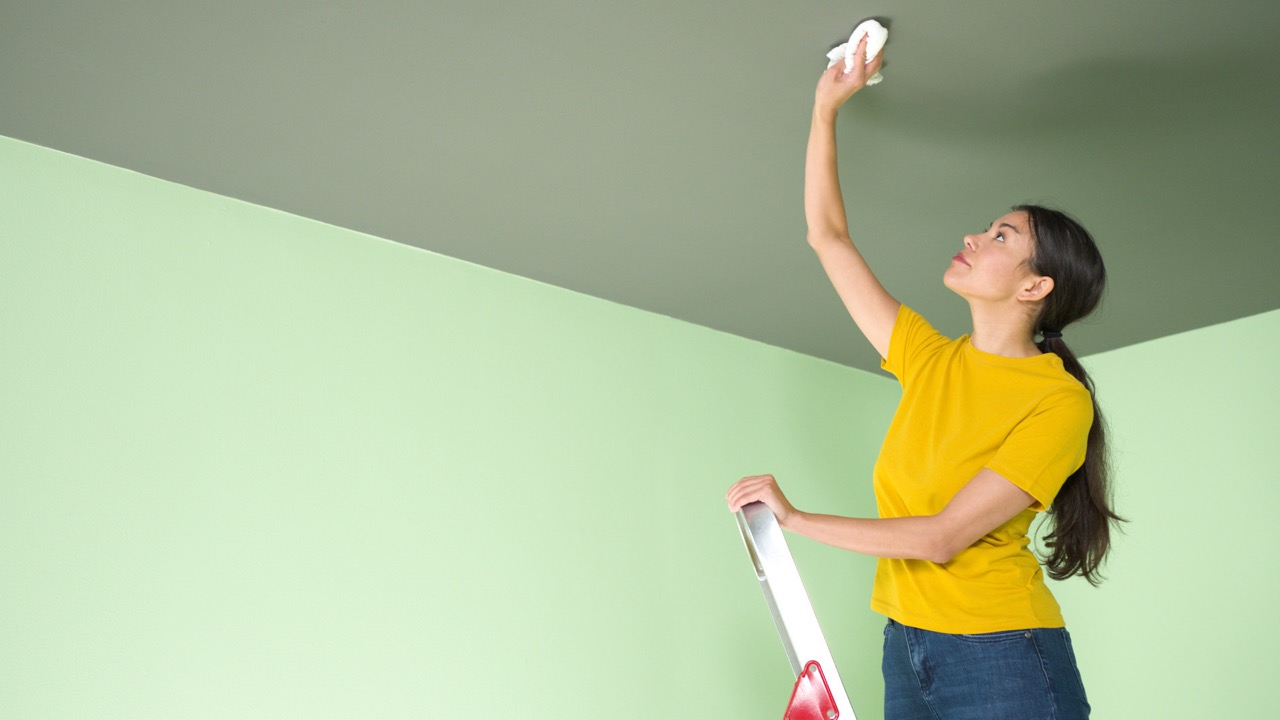
- Clean the ceiling: Use a broom or vacuum cleaner to remove any loose dust, cobwebs, or debris from the ceiling. Pay special attention to corners and edges where dirt tends to accumulate.
- Repair any damage: Inspect the ceiling for any cracks, holes, or loose sections. Use a scraper or putty knife to remove any loose or flaky paint. Fill in any cracks or holes with a suitable patching compound, following the manufacturer’s instructions.
- Secure loose screws or nails: Check for any screws or nails that may have come loose from the ceiling. Use a screwdriver or hammer to tighten or remove them.
- Smooth rough areas: If the ceiling has rough spots or texture, you may need to sand or scrape them down to create a more even surface. Use a sanding block or pole sander to gently smooth out any rough patches.
- Protect walls and floors: Use painter’s tape to cover the edges of the walls and any trim to prevent accidental smudging or damage. Lay down additional drop cloths or plastic sheets to protect the flooring.
By following these preparation steps, you’ll ensure that your ceiling is clean and ready for the smoothing process. Next, we’ll move on to filling in cracks and holes in the ceiling.
Filling in Cracks and Holes
Once the ceiling is clean and prepared, it’s time to address any cracks, holes, or imperfections before applying the smoothing compound. Follow these steps to fill in cracks and holes:
- Inspect the ceiling: Carefully examine the entire surface of the ceiling to identify any cracks, holes, or damaged areas that need to be repaired.
- Prepare the joint compound: Mix the drywall joint compound according to the manufacturer’s instructions. The consistency should be smooth and spreadable but not too runny.
- Apply compound to cracks and holes: Using a taping knife, apply the joint compound generously to fill in cracks and holes. Smooth it out with the flat edge of the knife, ensuring the compound is level with the surrounding ceiling.
- Reinforce with drywall tape: For larger cracks or holes, place a strip of drywall tape over the filled area while the compound is still wet. Smooth it out with the taping knife to ensure good adhesion.
- Allow the compound to dry: Give the joint compound ample time to dry, following the manufacturer’s instructions. This typically takes 24 to 48 hours, depending on the humidity and temperature.
- Sand the repaired areas: Once the compound is completely dry, use a sanding block or pole sander to carefully sand down the repaired areas until they are smooth and even with the rest of the ceiling. Wipe away any dust with a clean, damp cloth or sponge.
Remember to take your time during this step to ensure that all cracks and holes are properly filled and sanded. The smoother the surface, the better the final result will be. Now that the repairs are complete, it’s time to move on to sanding the ceiling to create an even surface.
Sanding the Ceiling
After filling in cracks and holes and allowing the joint compound to dry, the next step in smoothing a ceiling is sanding. Sanding helps create a level and smooth surface for the application of the smoothing compound. Follow these steps to sand the ceiling:
- Prepare the sanding area: Cover any furniture and flooring with drop cloths or plastic sheets to protect them from dust. Open windows and use fans for ventilation, or consider wearing a dust mask to prevent inhaling airborne particles.
- Select the appropriate sanding tool: Choose between a sanding block or pole sander depending on the size and accessibility of the ceiling. A sanding block is ideal for smaller areas, while a pole sander is useful for larger spaces or ceilings with high ceilings.
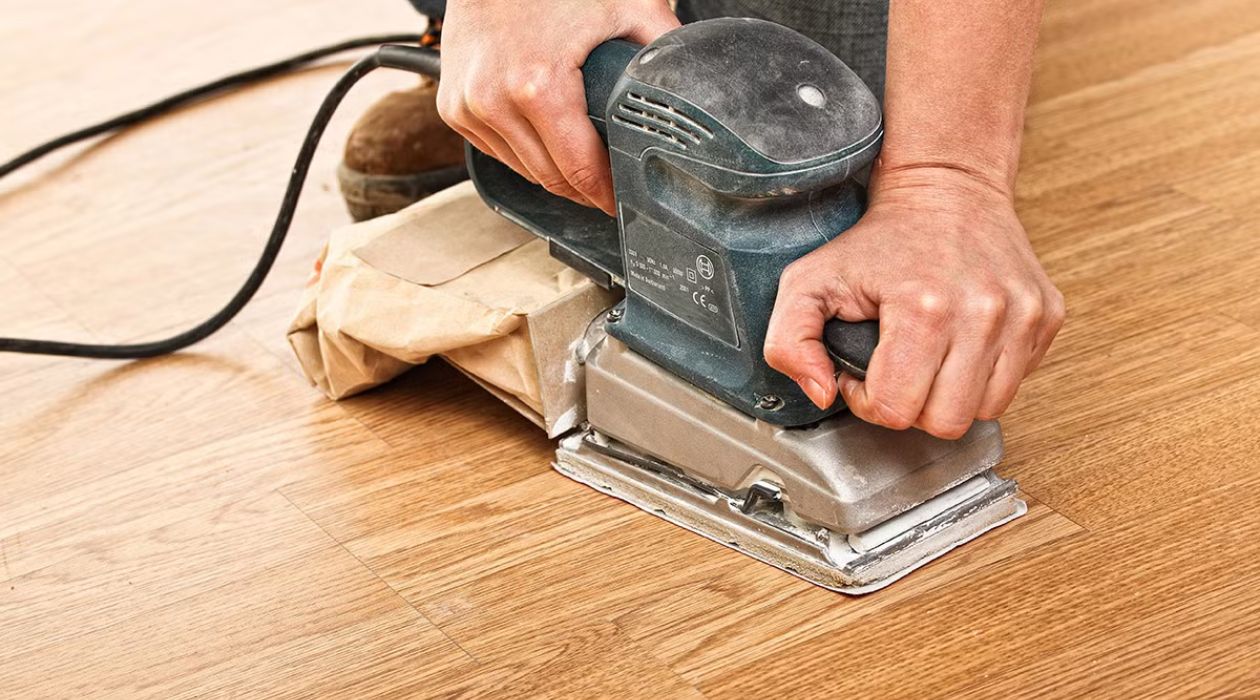
- Begin sanding: Hold the sanding block or pole sander firmly and start sanding the ceiling in smooth, even strokes. Work in one section at a time, overlapping the strokes slightly to avoid leaving visible lines or marks.
- Check frequently: Pause periodically to check the smoothness of the sanded area. Use a flashlight at a low angle to highlight any uneven spots, and continue sanding until the entire surface feels smooth to the touch.
- Clean up the dust: Once you have finished sanding, use a vacuum cleaner or a soft brush to remove the dust from the ceiling. Wipe down the area with a damp cloth to ensure all dust particles are removed.
It’s important to exercise caution and patience during the sanding process. Avoid applying excessive pressure, as this can result in uneven and damaged surfaces. Take breaks if needed to prevent fatigue and ensure a more accurate sanding result.
Now that you’ve sanded the ceiling, it’s time to prepare it for the application of the smoothing compound by applying a primer.
Use a long-handled roller with a thick nap to apply ceiling paint for a smooth finish. Work in small sections and use a light touch to avoid drips.
Read more: How To Smooth A Concrete Patio
Applying a Primer
Priming the ceiling is an important step in the process of smoothing a ceiling. Applying a primer helps create a smooth and uniform surface for the smoothing compound and provides better adhesion for paint or wallpaper. Follow these steps to apply a primer to the ceiling:
- Clean the sanded surface: Before applying the primer, make sure the ceiling is free from any dust or debris. Use a vacuum cleaner or a soft brush to remove any remaining dust from the sanded surface.
- Prepare the primer: Choose a high-quality primer specifically designed for ceilings. Follow the manufacturer’s instructions for mixing or shaking the primer, if necessary.
- Apply the primer: Use a paint roller with a medium-nap roller cover to apply the primer onto the ceiling. Start in one corner and work your way across the ceiling in overlapping strokes, ensuring even coverage. Use a paintbrush for corners or areas that the roller cannot reach.
- Allow the primer to dry: Follow the manufacturer’s recommended drying time for the primer. This typically takes about 24 hours, but it’s best to refer to the product instructions to be sure.
- Inspect the primed surface: Once the primer is dry, carefully examine the surface for any imperfections or areas that may require additional treatment. If necessary, lightly sand any rough spots and clean away any dust before proceeding.
Applying a primer helps create a smooth and consistent base for the final smoothing compound application. It also improves the adhesion of paint or wallpaper, ensuring a long-lasting and professional-looking finish.
Now that the ceiling is primed and ready, it’s time to move on to the next step: applying the smoothing compound.
Smoothing Compound Application
Applying the smoothing compound is the key step in achieving a smooth and flawless ceiling. The compound fills in any remaining imperfections and creates a level surface. Follow these steps to apply the smoothing compound:
- Prepare the smoothing compound: Choose a high-quality lightweight joint compound that is specifically formulated for smoothing ceilings. Mix the compound according to the manufacturer’s instructions, ensuring a smooth and creamy consistency.
- Use a mud pan: Pour the prepared compound into a mud pan for easier access during the application process.
- Apply the compound: Start in one corner of the ceiling and use a taping knife to scoop a generous amount of compound from the mud pan. Apply the compound to the ceiling in a thin, even layer, using long, sweeping motions. Work in small sections at a time, overlapping the edges slightly to ensure a seamless transition.
- Feather the edges: As you apply the compound, feather the edges to blend it with the surrounding surface. This will create a smooth transition from the compound to the existing ceiling.
- Continue applying and feathering: Repeat the process of applying and feathering the compound until the entire ceiling is covered. Take your time to ensure a consistent thickness and a seamless finish.
- Allow the compound to dry: Follow the manufacturer’s recommended drying time for the compound. It typically takes 24 to 48 hours for the compound to dry completely. Be sure to allow sufficient time for proper drying and curing.
During the application process, it’s essential to maintain a consistent thickness of the smoothing compound and to blend it seamlessly with the existing ceiling. Take breaks if needed to avoid fatigue and ensure a more accurate application.
With the smoothing compound applied and dried, the next step is sanding the smoothed ceiling to achieve a perfectly even and smooth surface.
Sanding the Smoothed Ceiling
Once the smoothing compound has dried, it’s time to sand the smoothed ceiling to achieve a perfectly even and smooth surface. Follow these steps to sand the ceiling:
- Prepare the sanding area: Protect furniture and flooring by covering them with drop cloths or plastic sheets. Open windows for ventilation or consider wearing a dust mask to prevent inhaling particles.
- Select the sanding tool: Choose a sanding block or pole sander depending on the size of the ceiling and your accessibility. A sanding block is suitable for smaller areas, while a pole sander is effective for larger spaces or high ceilings.
- Begin sanding: Hold the sanding tool firmly and start sanding the smoothed ceiling in smooth, circular or back-and-forth motions. Work in small sections at a time, overlapping slightly to ensure a consistent finish.
- Check the smoothness: Pause periodically to check the smoothness of the sanded area. Use a flashlight at a low angle to highlight any remaining rough spots or unevenness. Continue sanding until the entire surface feels smooth to the touch.
- Clean up the dust: Once you have finished sanding, use a vacuum cleaner or a soft brush to remove the dust from the ceiling. Wipe down the area with a clean, damp cloth or sponge to ensure all dust particles are removed.
It’s important to take your time and sand the ceiling carefully to achieve a smooth and even finish. Avoid applying excessive pressure, as this can result in uneven surfaces. Regularly check the smoothness of the sanded area to ensure a consistent result.
With the ceiling sanded to perfection, you’re almost ready to enjoy a beautifully smooth surface. The final step is to complete any finishing touches before applying the desired paint or wallpaper.
Finishing Touches
With the ceiling now smoothed and sanded, it’s time to add the finishing touches before applying the final coat of paint or wallpaper. Follow these steps to complete the process:
- Inspect the surface: Take a close look at the entire ceiling to ensure that it is smooth, free from imperfections, and ready for the final application. If you notice any rough spots or areas that need further attention, lightly sand them to achieve a seamless finish.
- Clean the ceiling: Use a vacuum cleaner or a soft brush to remove any dust or debris from the surface. Wipe down the ceiling with a clean, damp cloth or sponge to ensure it is clean and ready for the finishing touches.
- Apply a second coat of primer: If desired, you can apply a second coat of primer to further enhance the smoothness and durability of the surface. Follow the manufacturer’s instructions for the drying time between coats.
- Paint or wallpaper: Now it’s time to apply the final coat of paint or install the wallpaper. Choose the color or design that suits your style and the overall aesthetic of the room. Follow the proper techniques and guidelines for painting or wallpapering to achieve the desired result.
- Allow proper drying time: After painting or wallpapering, be patient and allow sufficient drying time before moving or placing furniture back in the room. Follow the manufacturer’s instructions for the recommended drying time.
- Enjoy your smooth ceiling: Once the finish is dry, step back and admire your newly smoothed and beautifully finished ceiling. The hard work and attention to detail have paid off, and you can now enjoy a visually appealing and flawless ceiling.
Remember to take your time and follow the necessary steps to ensure a high-quality result. A well-done finish will greatly enhance the overall look and feel of the space, adding a touch of elegance and sophistication.
By following these steps and implementing the necessary techniques, you can achieve professional-level results in smoothing a ceiling. Now you can sit back, relax, and enjoy the transformation of your room with a smooth and flawless ceiling.
Note: Before starting any home improvement project, always refer to the manufacturer’s instructions and consult with professionals if needed to ensure safety and proper usage of tools and materials.
Read more: How To Smooth Concrete Countertops
Conclusion
Smoothing a ceiling can have a significant impact on the overall appeal and aesthetics of a room. By following the steps outlined in this comprehensive guide, you can achieve a beautifully smooth and flawless ceiling that enhances the visual appeal of your space.
From preparing the ceiling and filling in cracks and holes to sanding and applying a primer, each step plays a crucial role in achieving professional-level results. By using the right tools and materials, exercising patience and precision, and paying attention to detail, you can transform your ceiling into a seamless and stunning feature.
Remember, safety should always be a priority when working on any home improvement project. Follow all safety guidelines and use appropriate protective gear to ensure your well-being throughout the process.
With a smooth ceiling as your canvas, you have the flexibility to choose the finishing touches that suit your personal style. Whether you opt for a fresh coat of paint or an elegant wallpaper, the final result will be a visually appealing space that you can proudly showcase.
So, gather your tools, prepare your workspace, and embark on the journey to achieve a smooth ceiling. The effort and attention to detail will be well worth it when you see the transformative results. Now, go ahead and create the ceiling of your dreams.
Frequently Asked Questions about How To Smooth Ceiling
Was this page helpful?
At Storables.com, we guarantee accurate and reliable information. Our content, validated by Expert Board Contributors, is crafted following stringent Editorial Policies. We're committed to providing you with well-researched, expert-backed insights for all your informational needs.


0 thoughts on “How To Smooth Ceiling”