Home>Construction & Tools>Building Materials>How To Remove Stucco Ceiling
Building Materials
How To Remove Stucco Ceiling
Modified: February 18, 2024
Learn the step-by-step process of removing a stucco ceiling using common building materials. Discover tips and tricks for a successful DIY project.
(Many of the links in this article redirect to a specific reviewed product. Your purchase of these products through affiliate links helps to generate commission for Storables.com, at no extra cost. Learn more)
Introduction
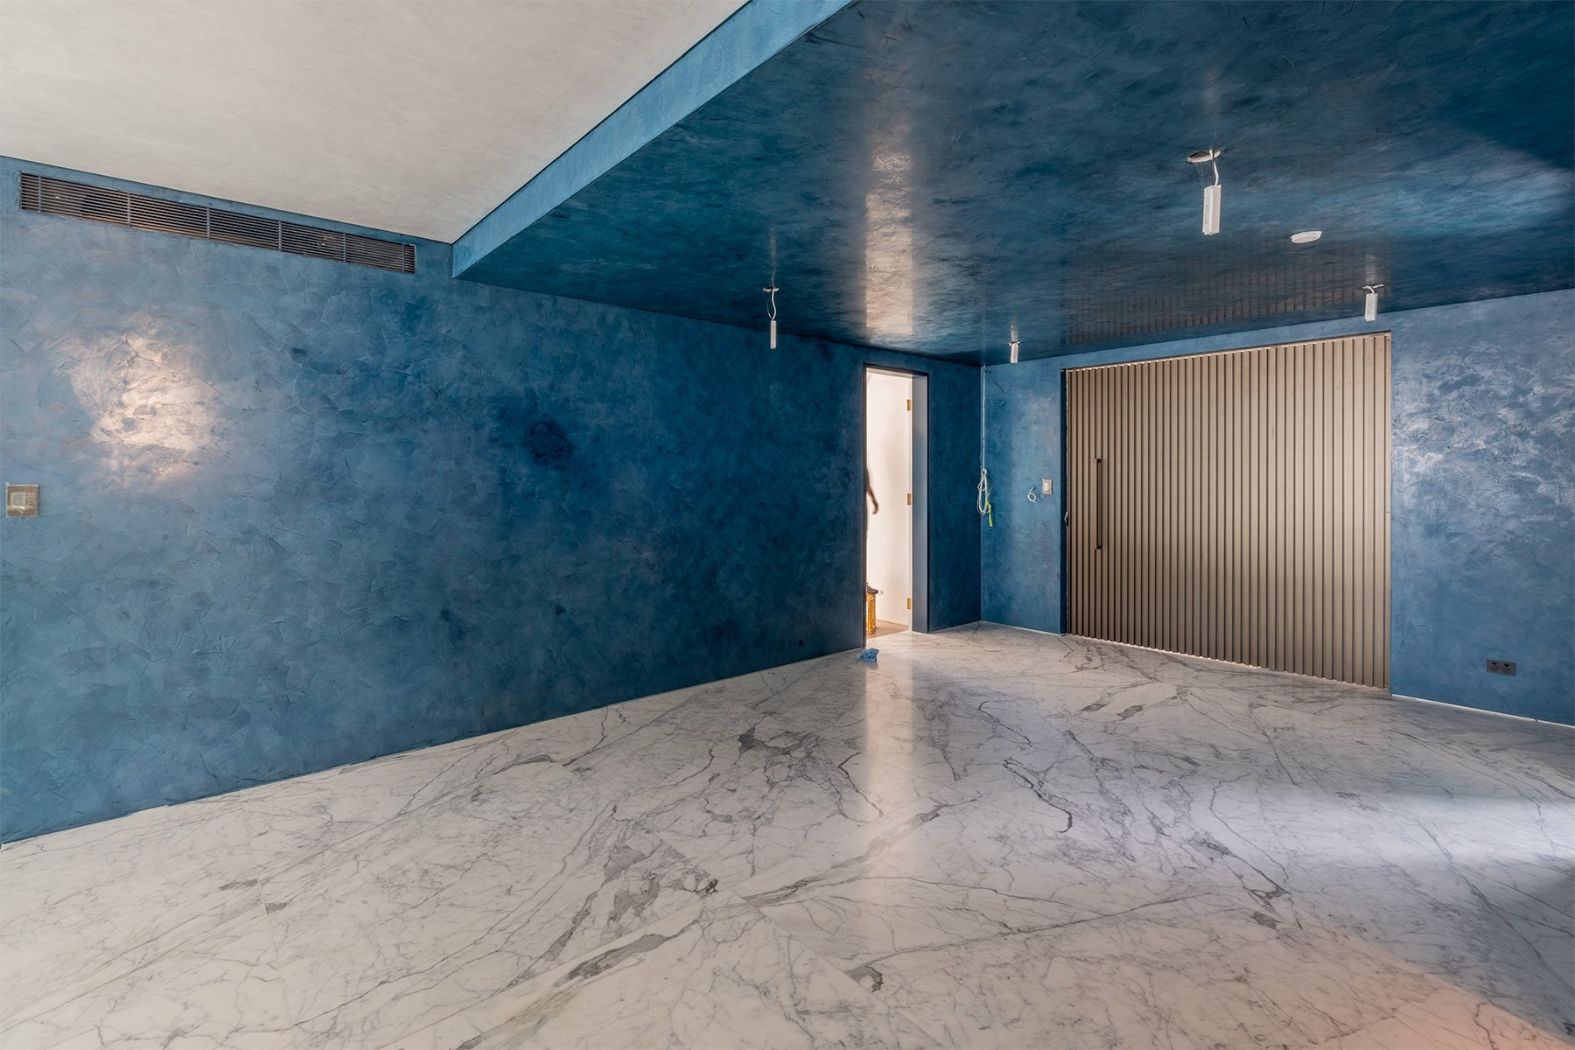
Removing a stucco ceiling can breathe new life into a space, transforming it from outdated to modern and sleek. Whether you're renovating an older home or simply looking to refresh the aesthetic of a room, this project can make a significant impact. Stucco, also known as popcorn or cottage cheese ceiling, was a popular choice in the mid-20th century due to its acoustic properties and ability to hide imperfections. However, as design trends have evolved, many homeowners now prefer a smooth, clean ceiling.
The process of removing a stucco ceiling can be labor-intensive, but with the right tools, materials, and techniques, it is entirely achievable for the average DIY enthusiast. By following the steps outlined in this guide, you can successfully tackle this project and create a more modern and visually appealing living space.
In the following sections, we will delve into the tools and materials needed for the job, as well as the essential steps to prepare the area, effectively remove the stucco ceiling, and ensure a thorough cleanup. With a bit of patience and attention to detail, you can achieve a smooth, flawless ceiling that revitalizes the entire room. Let's get started on transforming your space by bidding farewell to that outdated stucco ceiling.
Key Takeaways:
- Say goodbye to outdated stucco ceilings and hello to a modern, sleek space by following our guide. With patience and the right tools, you can achieve a smooth, flawless ceiling surface.
- Prepare for a stucco ceiling transformation by gathering the necessary tools and materials. Protect the area, remove the stucco, and clean up for a successful project completion.
Read more: How To Stucco A Ceiling
Tools and Materials Needed
Before embarking on the project of removing a stucco ceiling, it’s essential to gather the necessary tools and materials. Having the right equipment at your disposal will not only make the process more efficient but also contribute to a successful outcome.
Tools
- Step ladder: A sturdy, reliable step ladder is crucial for reaching the ceiling safely and comfortably.
- Putty knife: This tool will be used to carefully scrape away the stucco texture from the ceiling surface.
- Plastic sheeting: Covering the floor and walls with plastic sheeting will protect the surrounding area from debris and dust.
- Spray bottle: Filling a spray bottle with water will facilitate the process of moistening the stucco, making it easier to remove.
- Drywall joint compound: This will be used to smooth out the ceiling surface after the stucco has been removed.
- Sanding block or electric sander: After the stucco is removed, a sanding block or electric sander will help to further smooth the ceiling.
- Protective gear: Safety goggles, a dust mask, and gloves are essential for protecting yourself from debris and dust during the process.
Materials
- Drywall: In some cases, you may need to repair or replace sections of the ceiling with new drywall.
- Primer and paint: Once the stucco is removed and the ceiling is smooth, primer and paint will be needed to finish the project.
- Ceiling texture (optional): If you prefer a textured ceiling, you may choose to apply a new texture after removing the stucco.
- Ceiling fan or ventilation system: Proper ventilation is essential during the stucco removal process to ensure a safe and comfortable working environment.
By ensuring you have these tools and materials on hand, you can proceed with confidence, knowing that you are well-equipped to take on the task of removing the stucco ceiling.
Preparing the Area
Before diving into the process of removing the stucco ceiling, it’s crucial to prepare the surrounding area to minimize mess and streamline the project. Taking the time to prepare the space will contribute to a more efficient and organized work environment.
Read more: How To Paint A Stucco Ceiling
Cover and Protect
Begin by covering the entire floor with plastic sheeting to prevent stucco debris and dust from settling on the surface. It’s also advisable to cover the walls with plastic sheeting to safeguard them from any stray particles. Secure the sheeting in place with painter’s tape to ensure it remains in position throughout the project.
Remove Furniture and Fixtures
If possible, remove any furniture from the room to create ample space for maneuvering and working. For larger items that cannot be relocated, carefully cover them with additional plastic sheeting to shield them from dust and debris. Additionally, consider removing light fixtures or covering them securely to protect them during the stucco removal process.
Ventilation
Proper ventilation is essential during the stucco removal process. Open windows and doors to facilitate airflow, and if available, use a ceiling fan or set up additional ventilation to ensure a comfortable and well-ventilated workspace. If the room is equipped with a ventilation system, ensure that it is functioning optimally to minimize the concentration of dust in the air.
By meticulously preparing the area before commencing the stucco removal, you can create a controlled and organized environment that sets the stage for a successful project. With the space adequately protected and ventilated, you are ready to proceed with the process of removing the stucco ceiling.
Removing the Stucco Ceiling
Now that the area is meticulously prepared, it’s time to embark on the process of removing the stucco ceiling. This stage requires patience, precision, and attention to detail to achieve a smooth and flawless result. Follow these steps to effectively remove the stucco texture from the ceiling:
Read more: How To Do Stucco Ceiling
Moisten the Stucco
Using a spray bottle filled with water, lightly mist a small section of the stucco ceiling. Allow the water to penetrate the texture for a few minutes. Moistening the stucco will help to loosen it, making it easier to scrape away.
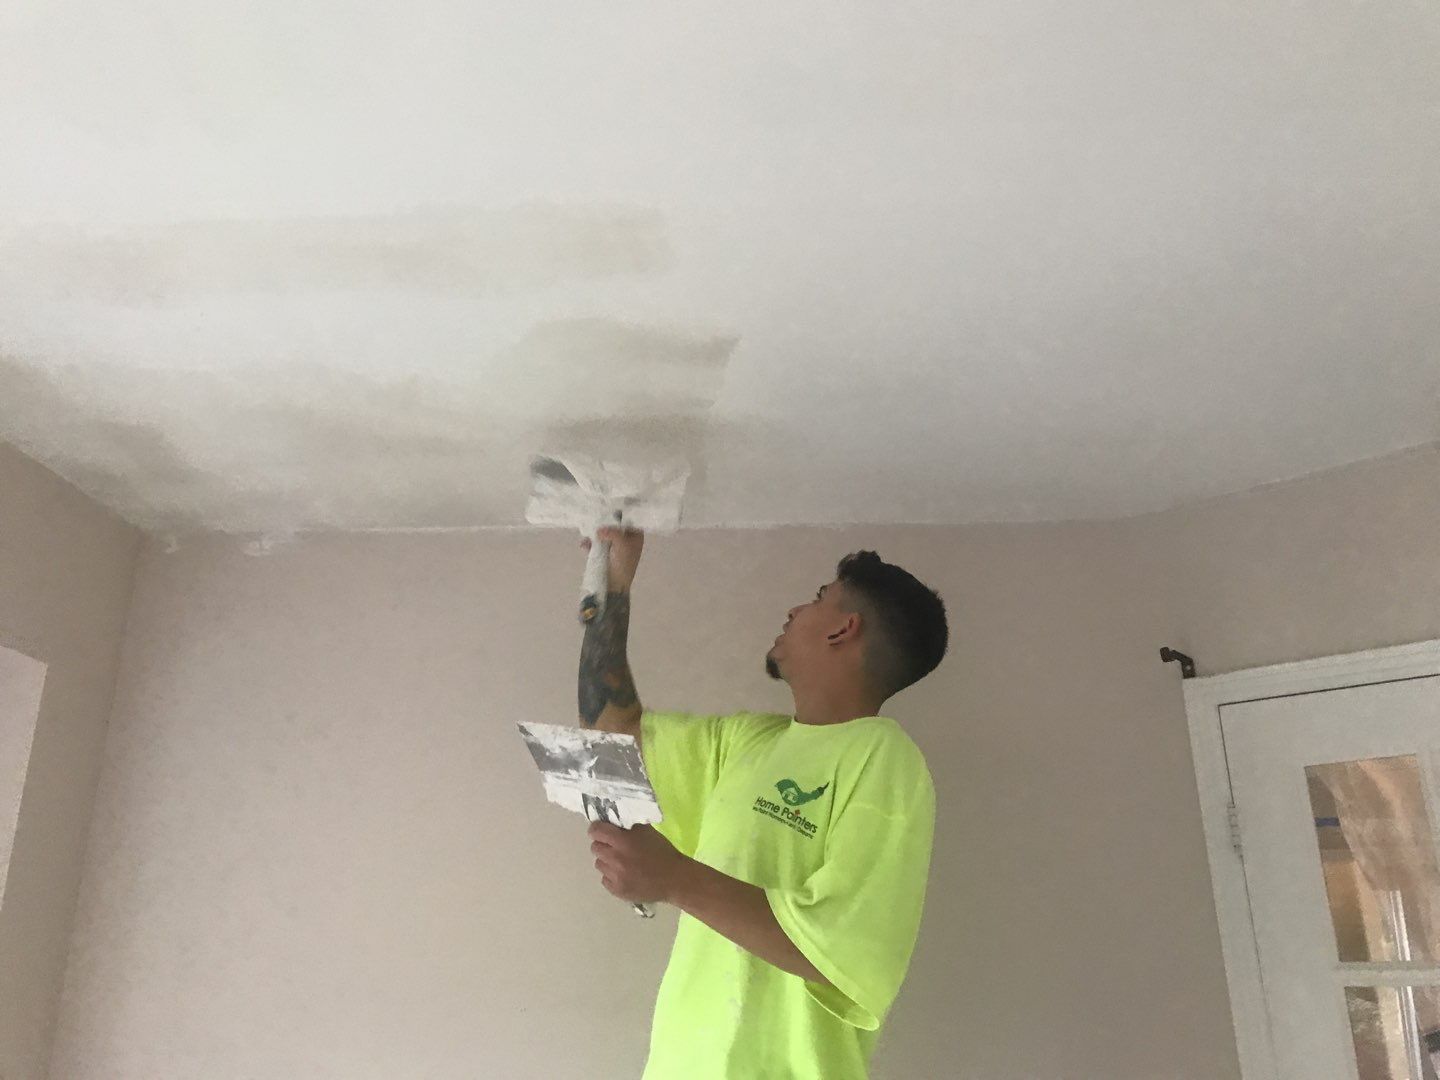
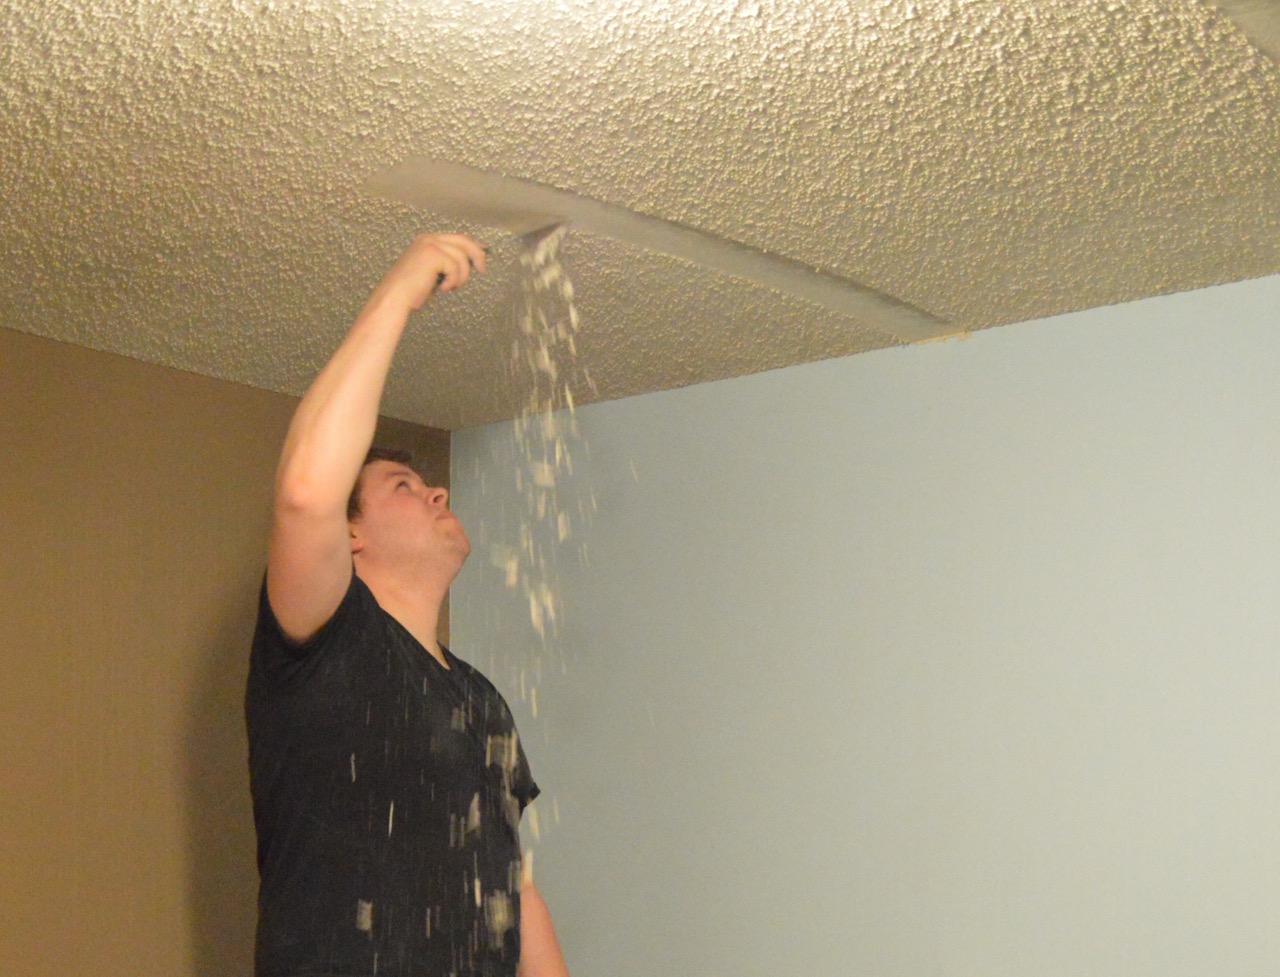
Scrape the Stucco
Armed with a putty knife, gently begin scraping away the moistened stucco texture. Work methodically, focusing on small sections at a time. Apply gentle pressure to avoid damaging the ceiling surface beneath the stucco. Continue this process, moistening and scraping section by section until the entire ceiling is free of stucco texture.
Smooth Out the Surface
Once the stucco texture has been removed, use a drywall joint compound to fill in any imperfections or uneven areas on the ceiling. Apply the compound with a putty knife and smooth it out to create a seamless surface. Allow the compound to dry according to the manufacturer’s instructions.
Sand the Ceiling
After the joint compound has dried, use a sanding block or electric sander to further smooth the entire ceiling surface. Take care to create an even and uniform texture in preparation for the finishing touches.
By meticulously following these steps, you can effectively remove the stucco ceiling and create a clean, smooth surface that sets the stage for the final phase of the project.
Read more: How To Fix Stucco Ceiling
Cleaning Up
With the stucco ceiling successfully removed and the surface smoothed, it’s time to shift the focus to the cleanup phase. This step is essential for restoring the room to its pre-project state and ensuring that any debris or dust is properly addressed. Follow these guidelines to efficiently clean up the work area:
Remove Plastic Sheeting
Begin by carefully removing the plastic sheeting from the floor and walls. Dispose of any debris that may have accumulated on the sheeting and fold it inward to contain the mess. Properly discard the used plastic sheeting and ensure that the underlying surfaces are free of any residual debris.
Clean the Floor and Surfaces
Thoroughly sweep and vacuum the entire room to eliminate any remaining dust and debris. Pay close attention to corners, baseboards, and other areas where particles may have settled. Use a damp cloth to wipe down surfaces and remove any lingering dust, ensuring that the room is clean and ready for the next phase of the project.
Inspect and Address Any Damage
After the cleanup, take the time to inspect the room for any potential damage that may have occurred during the stucco removal process. Look for dings or dents in the walls, and assess the condition of any furniture or fixtures that were covered during the project. Address any issues promptly to restore the room to its original state.
Read more: How To Clean A Stucco Ceiling
Dispose of Debris
Dispose of all debris, including used plastic sheeting, stucco texture, and any other waste materials generated during the project, in accordance with local regulations. Ensure that all waste is properly contained and disposed of responsibly to maintain a clean and organized work environment.
By diligently executing the cleanup phase, you can conclude the stucco ceiling removal project with a clean, well-maintained space. With the room restored to its original condition, you are now prepared to move on to the final steps of the renovation process.
Conclusion
Embarking on the journey to remove a stucco ceiling is a transformative project that can breathe new life into a space, creating a modern and visually appealing environment. By following the outlined steps and guidelines, you have successfully navigated the process of removing the stucco texture and preparing the room for the next phase of the renovation. As you conclude this project, reflect on the following key points:
Transformation and Modernization
By removing the stucco ceiling, you have initiated a significant transformation in the room, transitioning from a dated and textured surface to a sleek, modern ceiling. This change sets the stage for a refreshed and updated living space that reflects contemporary design trends.
Attention to Detail and Precision
The meticulous process of removing the stucco texture required patience, precision, and attention to detail. By following the steps outlined in this guide, you have effectively executed each phase of the project to achieve a smooth and flawless ceiling surface.
Read more: How To Remove Stucco Walls
Restoration and Cleanup
The thorough cleanup and restoration of the room mark the completion of the stucco removal project. By addressing any debris, dust, or potential damage, you have ensured that the space is clean, organized, and ready for the final touches of the renovation process.
Future Phases and Personalization
With the stucco ceiling removed and the room restored, you are now prepared to move forward with the next phases of the renovation. Whether it involves applying a fresh coat of paint, installing new fixtures, or personalizing the space to reflect your unique style, the possibilities for enhancing the room are endless.
As you conclude this project, take pride in the accomplishment of removing the stucco ceiling and setting the stage for a renewed and revitalized living space. By infusing your creativity and vision into the final phases of the renovation, you can truly make the room your own and enjoy the transformed ambiance for years to come.
Frequently Asked Questions about How To Remove Stucco Ceiling
Was this page helpful?
At Storables.com, we guarantee accurate and reliable information. Our content, validated by Expert Board Contributors, is crafted following stringent Editorial Policies. We're committed to providing you with well-researched, expert-backed insights for all your informational needs.

0 thoughts on “How To Remove Stucco Ceiling”