Home>Construction & Tools>Building Materials>How To Make Stucco Pillars
Building Materials
How To Make Stucco Pillars
Modified: October 27, 2024
Learn how to make stucco pillars using high-quality building materials. Our step-by-step guide will help you create durable and attractive pillars for your home. Discover the best techniques for a professional finish.
(Many of the links in this article redirect to a specific reviewed product. Your purchase of these products through affiliate links helps to generate commission for Storables.com, at no extra cost. Learn more)
Introduction
Read more: How To Make A Stucco Mailbox
Introduction
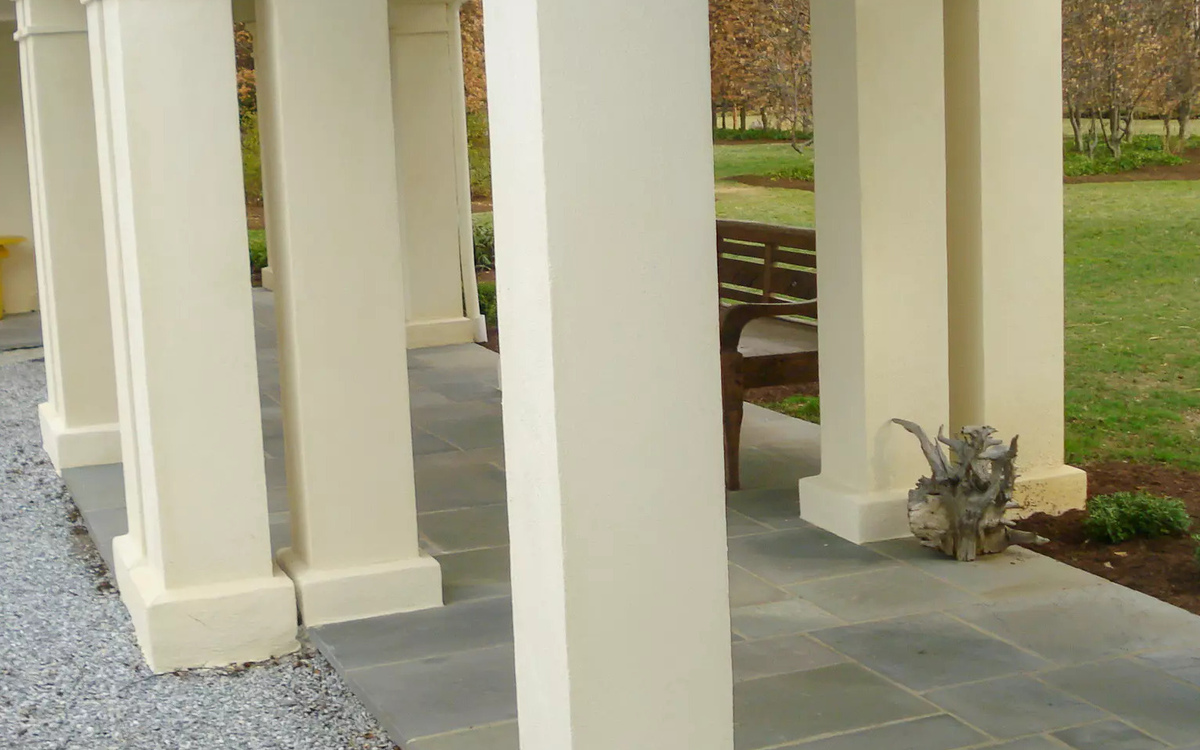
Creating stucco pillars can add a touch of elegance and charm to any home or garden. Stucco, a durable and versatile building material, has been used for centuries to beautify and protect structures. By following a few simple steps, you can craft stunning stucco pillars that will enhance the aesthetic appeal of your property.
Stucco pillars are not only visually appealing but also incredibly durable, able to withstand the elements and the test of time. In this comprehensive guide, we will walk through the process of creating stucco pillars, from preparing the base to adding the finishing touches.
Whether you are a seasoned DIY enthusiast or a novice looking to embark on your first stucco project, this guide will provide you with the knowledge and confidence to tackle this rewarding endeavor. So, roll up your sleeves, gather your materials, and let's dive into the art of crafting stucco pillars.
Materials and Tools
Key Takeaways:
- Crafting stucco pillars involves meticulous preparation, skillful application, and thoughtful detailing. Each step, from base preparation to finishing touches, transforms raw materials into enduring architectural assets.
- Stucco pillars are more than just structures; they are testaments to creativity, artistry, and the enduring charm of stucco. They serve as reminders of the transformative power of craftsmanship and architectural expression.
Materials and Tools
Before embarking on your stucco pillar project, it’s essential to gather the necessary materials and tools. Here’s a comprehensive list to ensure you’re well-prepared:
Materials:
- Portland cement
- Construction sand
- Acrylic bonding agent
- Wire mesh
- Water
- Stucco mix
- Masonry sand
- Pigment (optional for colored stucco)
Tools:
- Wheelbarrow
- Shovel
- Mixing drill attachment
- Hawk and trowel
- Stucco sprayer or hopper gun
- Scratch coat rake
- Plastic sheeting or tarp
- Protective gear (gloves, safety glasses, dust mask)
It’s crucial to use high-quality materials to ensure the longevity and structural integrity of your stucco pillars. Additionally, having the right tools at your disposal will streamline the construction process and contribute to a professional finish.
Now that you have your materials and tools assembled, it’s time to roll up your sleeves and prepare the pillar base.
Preparing the Pillar Base
Read more: How To Make A Stucco Fence
Preparing the Pillar Base
The foundation of any successful stucco project lies in the preparation of the base. For stucco pillars, this involves creating a sturdy and stable surface to support the layers of stucco that will be applied. Follow these steps to prepare the pillar base:
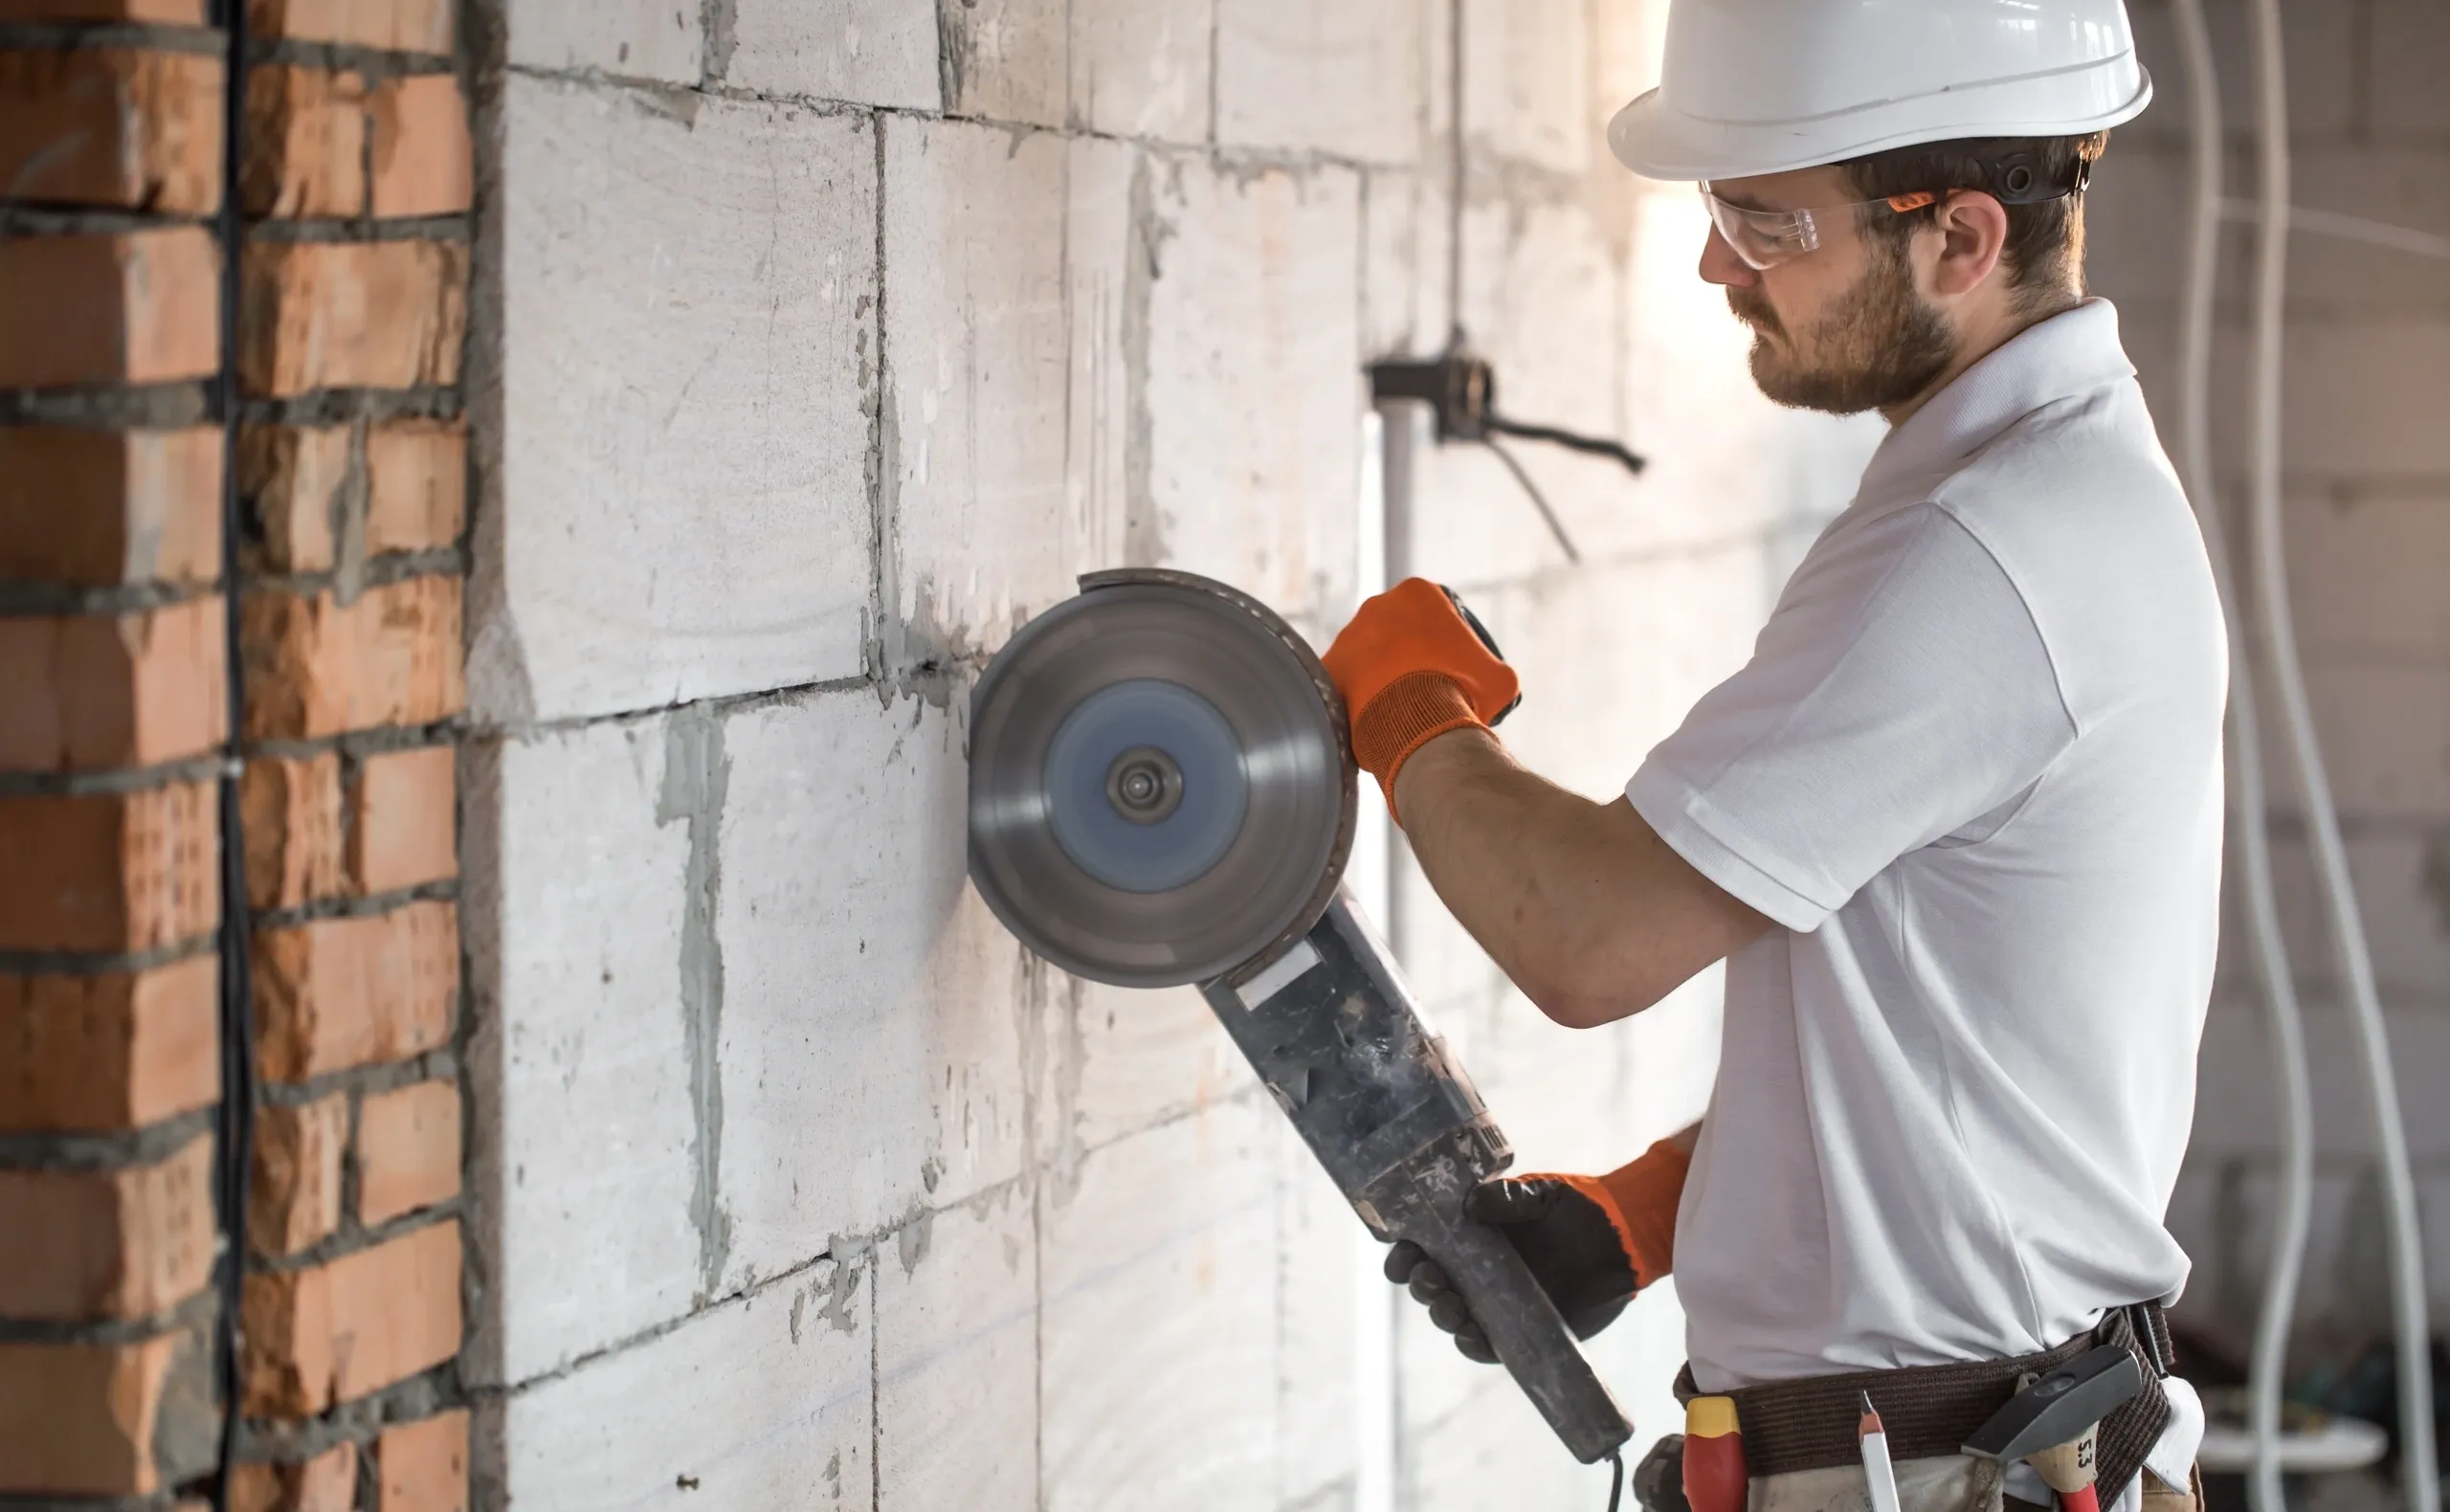
Step 1: Clean the Surface
Before applying stucco, ensure that the surface of the pillar is clean and free from any debris, dirt, or loose particles. Use a wire brush or pressure washer to thoroughly clean the pillar’s surface, allowing the stucco to adhere effectively.
Step 2: Apply Bonding Agent
Once the surface is clean and dry, apply a coat of acrylic bonding agent. This crucial step enhances the bond between the existing surface and the stucco, promoting adhesion and preventing delamination.
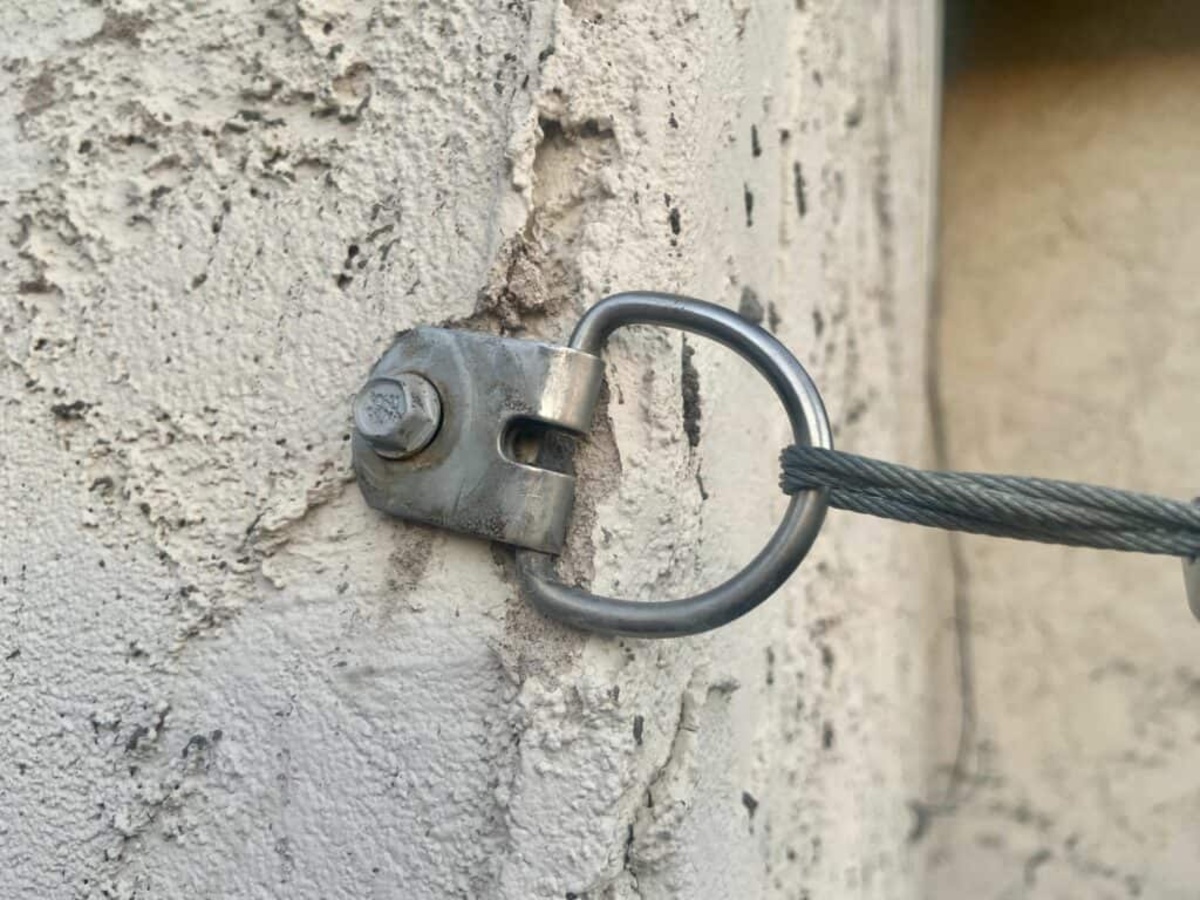
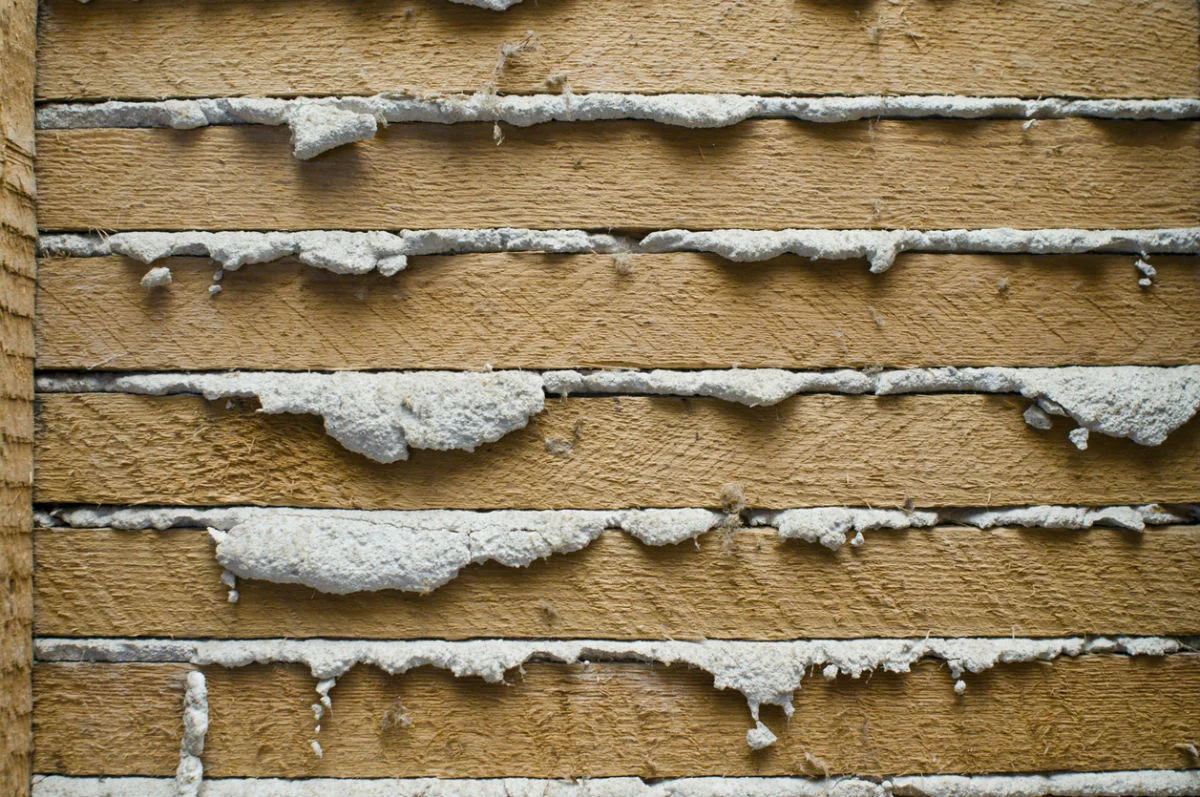
Step 3: Install Wire Mesh
To reinforce the stucco and minimize the risk of cracking, securely attach wire mesh to the pillar’s surface. Use galvanized nails or staples to affix the mesh, ensuring it is taut and properly anchored.
Step 4: Protect the Surrounding Area
Before proceeding, protect the surrounding area from potential splatter and mess. Cover adjacent surfaces with plastic sheeting or a tarp to safeguard against stray stucco and facilitate easier cleanup.
By diligently following these preparatory steps, you will establish a solid foundation for your stucco pillars, setting the stage for the subsequent application of the scratch coat.
Applying the Scratch Coat
Applying the Scratch Coat
Once the pillar base is prepared, it’s time to apply the scratch coat, the initial layer of stucco that provides the anchor for the subsequent coats. This foundational layer is essential for creating a strong and uniform surface for the stucco pillars. Follow these steps to apply the scratch coat:
Step 1: Mix the Scratch Coat
In a wheelbarrow or mixing container, combine Portland cement, construction sand, and water to create a workable scratch coat mixture. Aim for a consistency that is firm enough to adhere to the wire mesh but still malleable for application.
Step 2: Apply the Scratch Coat
Using a hawk and trowel, begin applying the scratch coat to the prepared pillar base. Work methodically, ensuring an even application and a uniform thickness of approximately 3/8 inch. Cover the entire surface with the scratch coat, maintaining a consistent texture.
Step 3: Score the Surface
Before the scratch coat sets, use a scratch coat rake or a combing tool to create horizontal and vertical grooves across the surface. This process, known as “scratching,” enhances the bond between the scratch coat and the subsequent layers, promoting adhesion and stability.
Step 4: Cure the Scratch Coat
Allow the scratch coat to cure for the recommended time, typically 48 to 72 hours, while keeping it moist to facilitate proper hydration. Protect the freshly applied scratch coat from direct sunlight and rapid drying, which can compromise its strength and integrity.
By diligently following these steps, you will successfully apply the scratch coat, laying the groundwork for the next phase of the stucco pillar construction: adding the brown coat.
Adding the Brown Coat
Read more: How To Make A Stucco House Look Modern
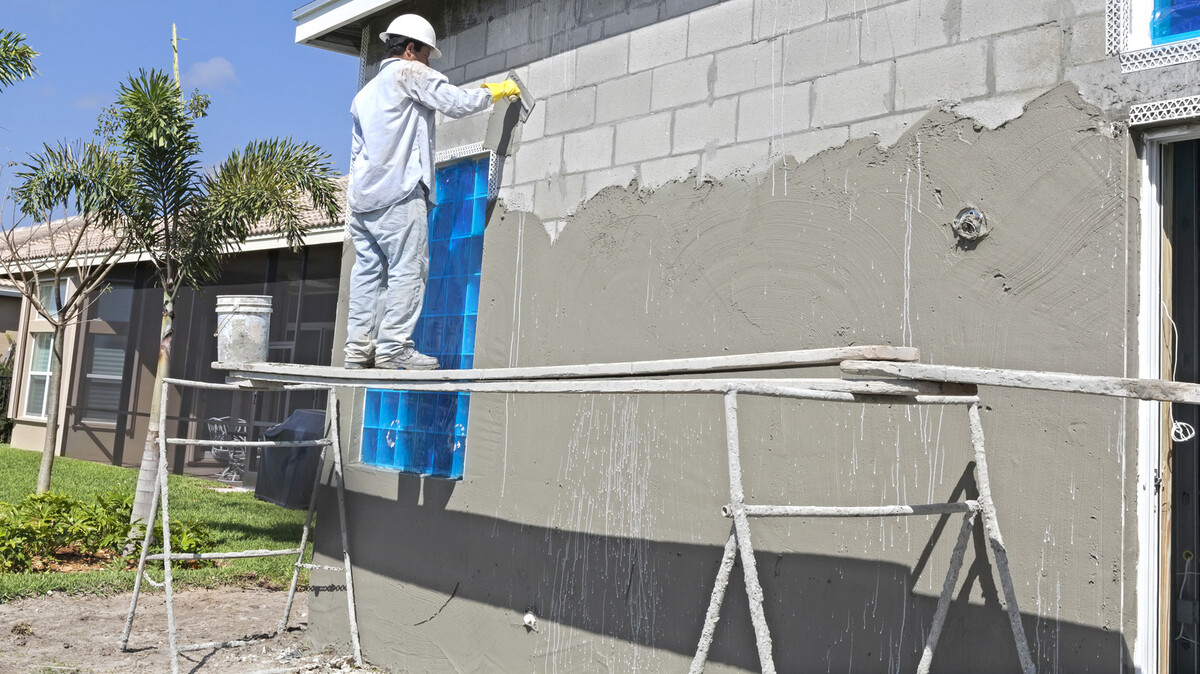
Adding the Brown Coat
With the scratch coat in place, it’s time to add the brown coat, the second layer of stucco that further reinforces the structure and sets the stage for the final texture and finish. The brown coat not only enhances the durability of the stucco pillars but also provides a smooth and even surface for the subsequent decorative treatments. Follow these steps to add the brown coat:
Step 1: Prepare the Brown Coat Mix
In a clean mixing container, combine stucco mix, masonry sand, and water to create a well-blended brown coat mixture. Aim for a consistency that is workable and cohesive, allowing for easy application and shaping.
Step 2: Apply the Brown Coat
Using a hawk and trowel, begin applying the brown coat to the cured scratch coat. Work methodically and evenly, ensuring that the brown coat is applied at a consistent thickness of approximately 3/8 inch. Smooth the surface as you progress, maintaining a uniform texture.
Step 3: Shape and Level the Surface
As you apply the brown coat, take the opportunity to shape and level the surface to achieve the desired contours and dimensions for your stucco pillars. Pay attention to detail, smoothing out any imperfections and refining the overall appearance of the pillars.
Step 4: Cure the Brown Coat
Allow the brown coat to cure thoroughly, typically for 48 to 72 hours, while keeping it moist to promote proper hydration and strength development. Shield the newly applied brown coat from direct sunlight and rapid drying to prevent premature drying and potential cracking.
With the brown coat successfully applied and cured, your stucco pillars are one step closer to completion. The next phase will involve creating the desired texture to add character and visual interest to the pillars.
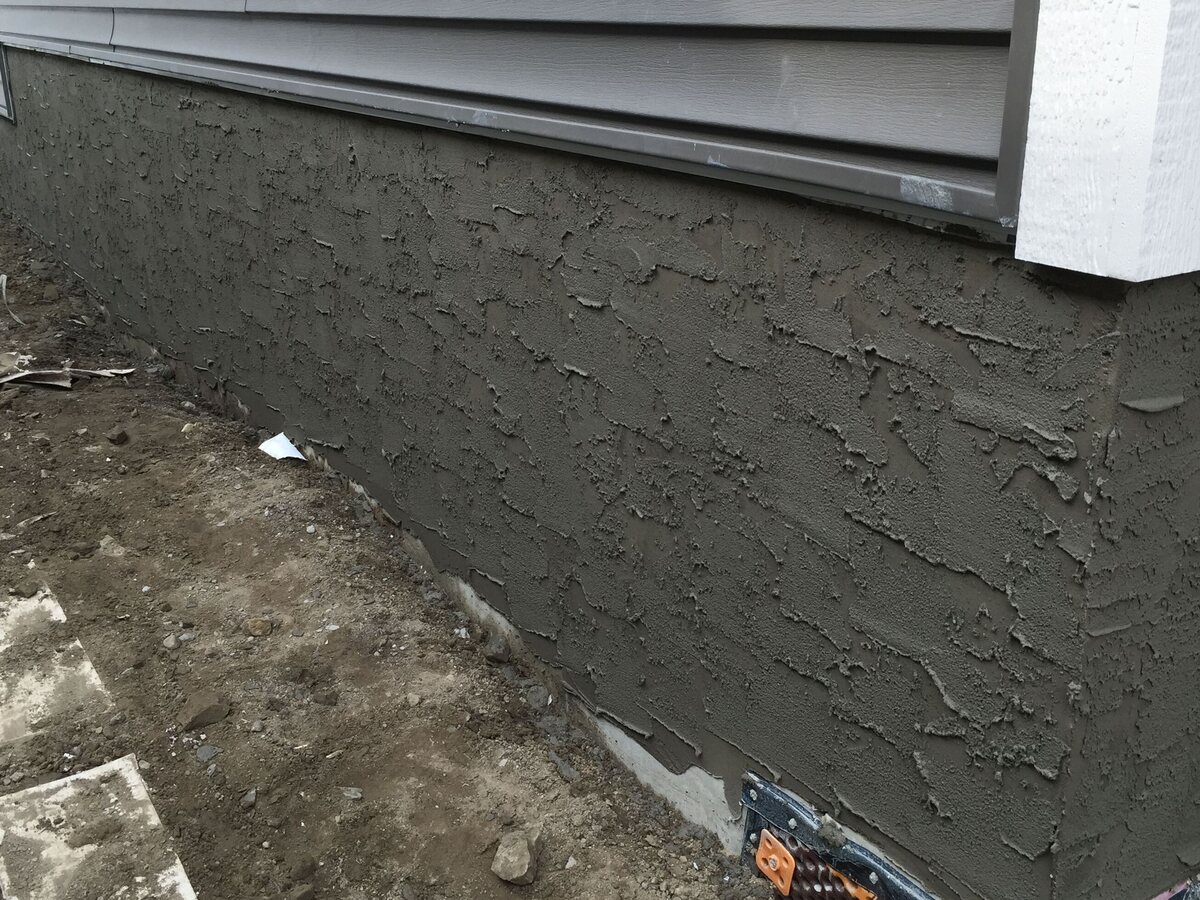
Creating Texture
Texture plays a pivotal role in defining the visual appeal and character of stucco pillars. By incorporating texture, you can infuse personality and depth into the pillars, elevating them from mere structural elements to captivating design features. Here’s how you can create texture on your stucco pillars:
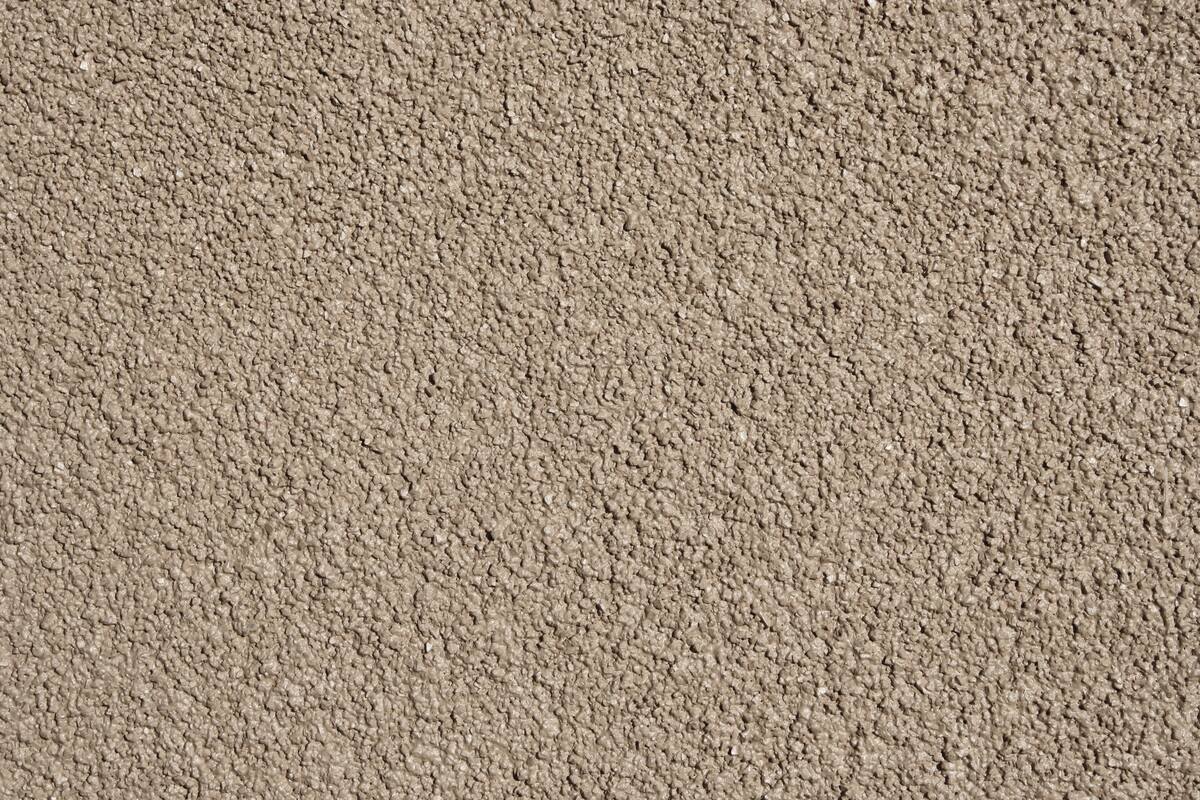
Step 1: Choose Your Texture Style
Before proceeding, decide on the desired texture style for your stucco pillars. Options range from a smooth, polished finish to a more rugged and rustic texture, offering a myriad of design possibilities to complement your architectural vision.
Step 2: Texture Application Techniques
Depending on the chosen style, various application techniques can be employed to achieve the desired texture. Common methods include using a trowel to create swirls, stippling the surface with a brush or sponge, or employing specialized texturing tools to imprint intricate patterns.
Step 3: Experiment and Refine
It's essential to experiment on a small, inconspicuous area of the pillar to test different texture application techniques and determine the most suitable approach. Take the time to refine the texture until you achieve the desired aesthetic effect, ensuring consistency across all the pillars.
Step 4: Consider Color Integration
Incorporating pigments or integral color additives into the stucco mixture can enhance the visual impact of the texture, adding depth and dimension to the pillars. Whether opting for earthy tones or vibrant hues, the integration of color can elevate the texture's allure.
Step 5: Finalize the Texture
Once you've perfected the texture application, proceed to replicate the chosen technique across all the stucco pillars. Consistency is key in ensuring a cohesive and harmonious appearance, contributing to the overall aesthetic cohesion of your architectural elements.
By thoughtfully crafting the texture of your stucco pillars, you can impart a distinct and captivating visual impression, transforming them into striking focal points within your architectural landscape. With texture in place, the final touches will bring your stucco pillars to completion, enhancing their allure and longevity.
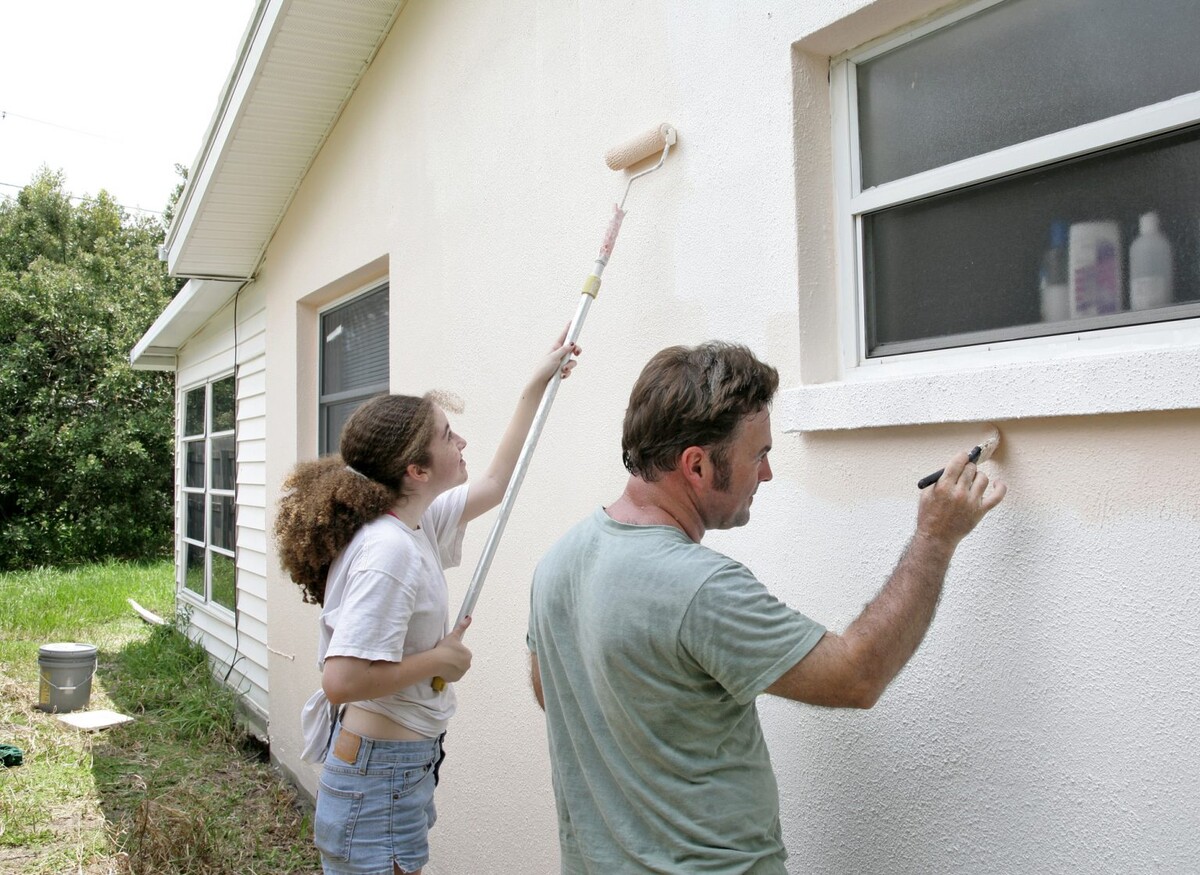
Finishing Touches
As you near the completion of your stucco pillar project, it’s time to focus on the finishing touches that will elevate the visual appeal and ensure the longevity of the pillars. Attention to detail during this phase will contribute to the overall aesthetic impact and structural integrity of the stucco pillars. Here’s how you can add the finishing touches:
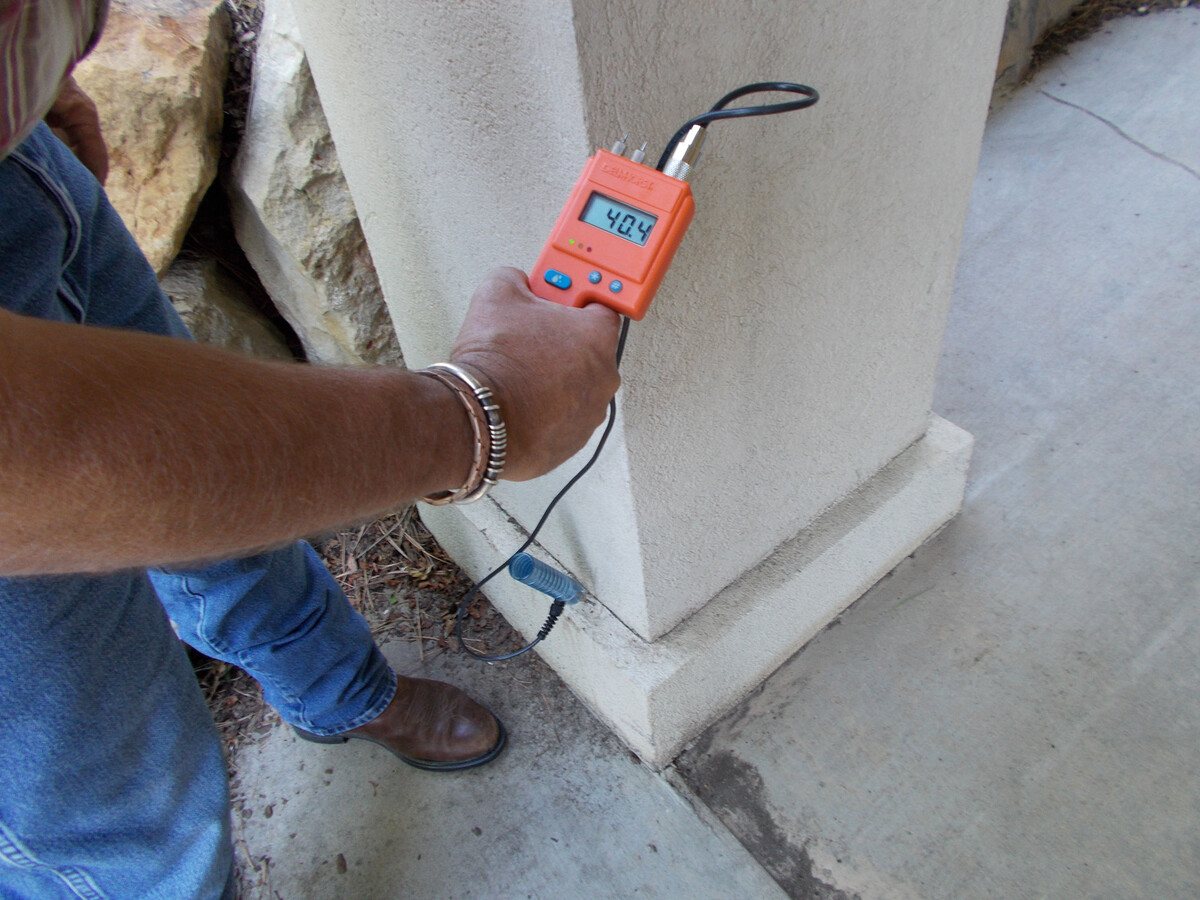
Step 1: Seal and Protect
Applying a high-quality sealant to the cured stucco surface is essential for safeguarding the pillars against moisture infiltration and environmental elements. Choose a sealant specifically formulated for stucco applications, and follow the manufacturer’s instructions for proper application and curing.
Step 2: Inspect for Imperfections
Thoroughly inspect the stucco pillars for any imperfections, such as cracks, uneven surfaces, or blemishes. Address any identified issues by carefully patching and smoothing the affected areas, ensuring a flawless and uniform appearance.
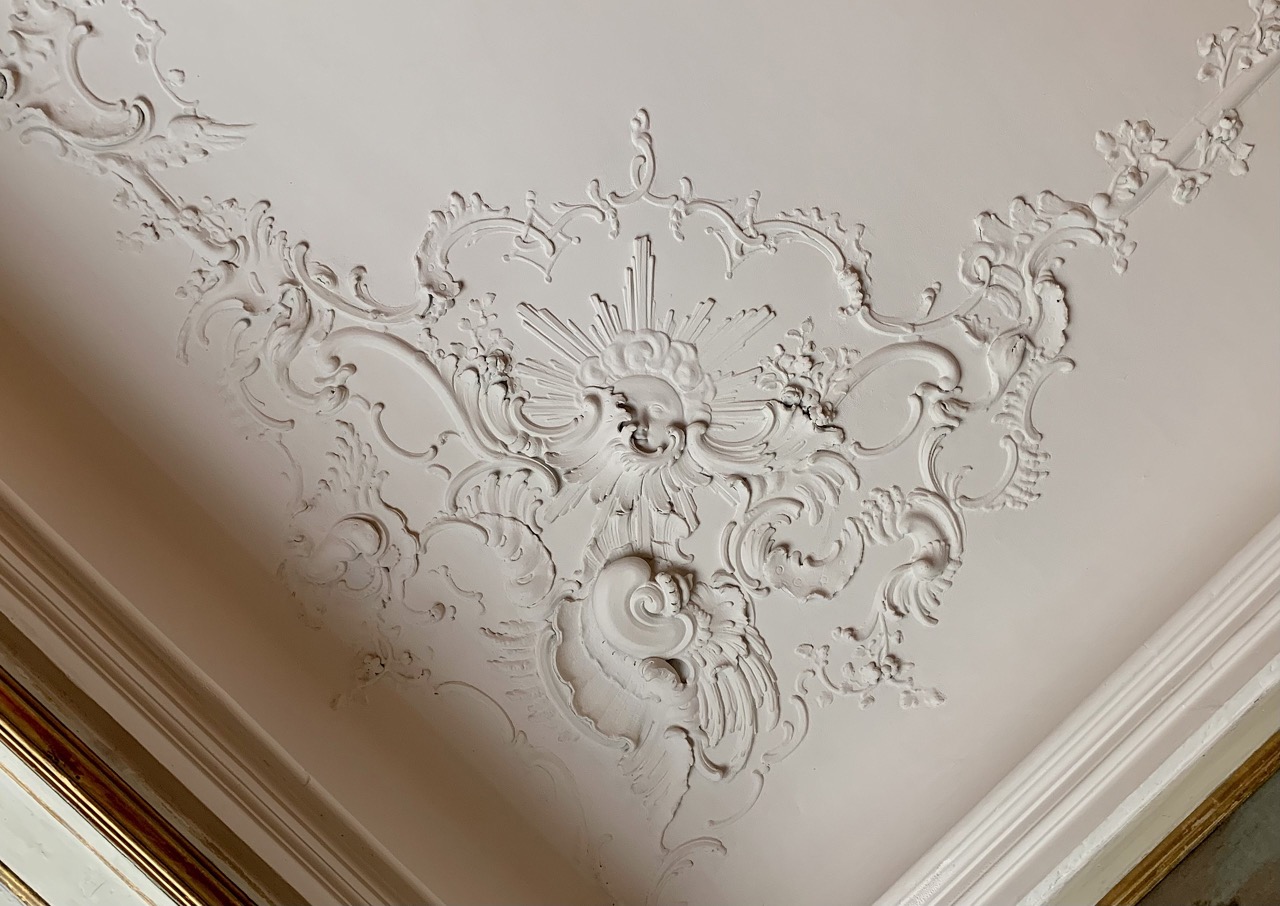
Step 3: Add Decorative Elements
Consider incorporating decorative elements, such as architectural moldings, medallions, or ornamental accents, to enhance the visual impact of the stucco pillars. These embellishments can infuse sophistication and character, further distinguishing your architectural features.
Step 4: Evaluate Lighting Options
Strategically placed lighting can accentuate the beauty of the stucco pillars, creating a captivating visual display during the evening hours. Explore lighting options, such as spotlights or integrated LED fixtures, to highlight the pillars and amplify their presence within the landscape.
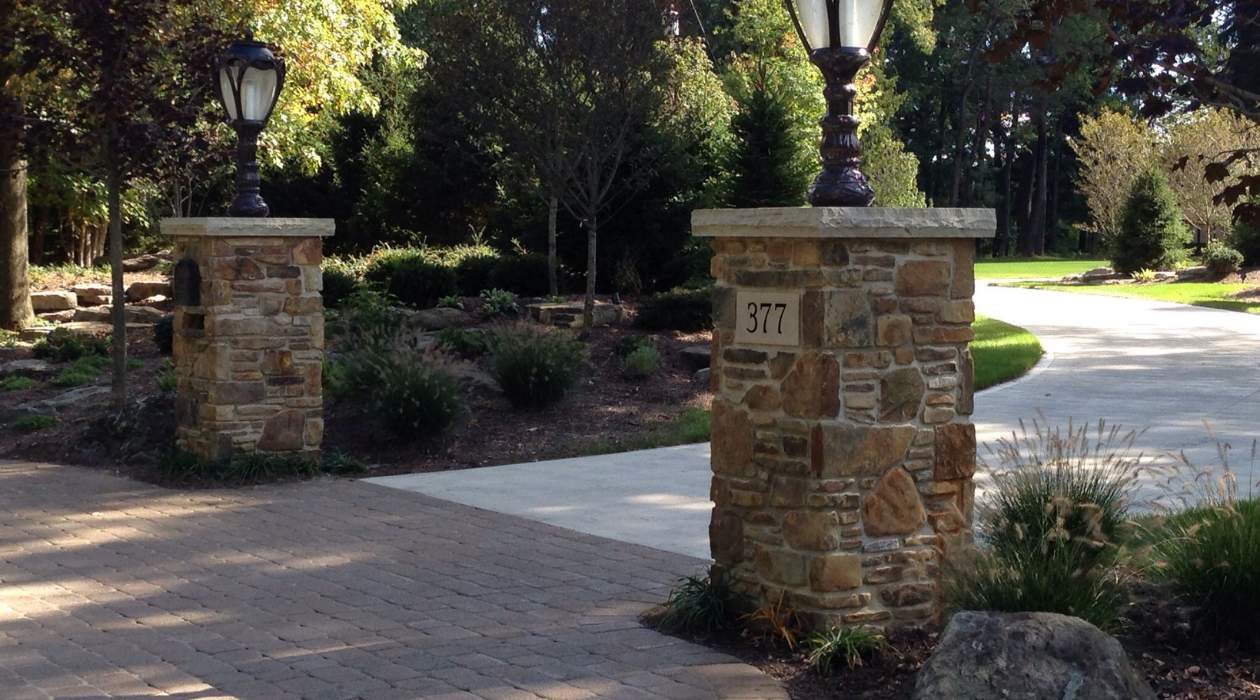
Step 5: Landscaping Integration
Integrate landscaping elements around the stucco pillars to harmonize them with the surrounding environment. Whether through lush greenery, flowering vines, or carefully curated hardscaping, the integration of landscaping will complement and frame the stucco pillars, enhancing their overall appeal.
By attending to these finishing touches, you will elevate the stucco pillars from functional structures to captivating design elements that enrich your architectural composition. With the completion of these final steps, your stucco pillars will stand as enduring testaments to craftsmanship and artistry, enhancing the visual allure of your property for years to come.
When making stucco pillars, be sure to properly prepare the surface by cleaning and roughening it to ensure good adhesion. Use a bonding agent before applying the stucco to improve its durability and strength.
Conclusion
Embarking on the journey of crafting stucco pillars is a testament to the enduring appeal and versatility of this time-honored building material. Through meticulous preparation, skillful application, and thoughtful detailing, you have transformed ordinary pillars into captivating architectural features that enrich your property’s aesthetic landscape.
As you reflect on the process, it’s evident that the creation of stucco pillars is not merely a construction endeavor but an artful expression of creativity and craftsmanship. Each step, from preparing the base to adding the finishing touches, has contributed to the transformation of raw materials into enduring structural and visual assets.
Moreover, the journey of crafting stucco pillars extends beyond the physical construction; it encompasses the fulfillment derived from creating something of beauty and substance. Your stucco pillars are not mere structures but expressions of your vision, dedication, and the timeless allure of stucco as a building material.
As these stucco pillars stand proudly, they symbolize the seamless integration of artistry and functionality, embodying the enduring charm and durability of stucco as a medium for architectural enhancement. They are more than mere pillars; they are testaments to your commitment to elevating your surroundings and leaving a lasting impression.
May these stucco pillars serve as enduring reminders of the transformative power of craftsmanship and the boundless potential of stucco as a medium for architectural expression. As you admire the beauty and resilience of your stucco pillars, may they inspire you to continue seeking opportunities to infuse creativity, artistry, and enduring quality into all your endeavors.
With your stucco pillars now poised as timeless elements within your architectural canvas, you have not only enriched your surroundings but also contributed to the legacy of stucco as a medium that transcends mere construction and emerges as a testament to enduring beauty and craftsmanship.
Frequently Asked Questions about How To Make Stucco Pillars
Was this page helpful?
At Storables.com, we guarantee accurate and reliable information. Our content, validated by Expert Board Contributors, is crafted following stringent Editorial Policies. We're committed to providing you with well-researched, expert-backed insights for all your informational needs.


0 thoughts on “How To Make Stucco Pillars”