
Articles
How To Style A Blanket Ladder
Modified: February 23, 2024
Learn how to style your blanket ladder with these helpful articles. Discover creative ways to use and display your favorite blankets and throws.
(Many of the links in this article redirect to a specific reviewed product. Your purchase of these products through affiliate links helps to generate commission for Storables.com, at no extra cost. Learn more)
Introduction
Are you looking for a stylish and functional piece of furniture to add to your home decor? A blanket ladder might just be the perfect solution. With its simple and rustic charm, a blanket ladder can not only serve as a practical way to store and display your cozy blankets, but it can also add a touch of warmth and character to any room.
Whether you live in a small apartment or a spacious house, a blanket ladder is a versatile piece that can fit into any space. It can be placed in the living room, bedroom, or even in a cozy reading nook. Its vertical design allows you to neatly hang and organize your blankets, making them easily accessible whenever you need to snuggle up and get cozy.
In this article, we will guide you through the process of styling a blanket ladder to suit your personal taste and home decor. We will discuss the materials needed, as well as the step-by-step instructions to create a stunning and functional piece that will elevate the ambiance of your living space.
So, let’s dive into the world of blanket ladders and discover how you can style one to add both beauty and convenience to your home.
Key Takeaways:
- Elevate your home decor with a stylish and functional blanket ladder, adding warmth and character to any room while providing practical storage for cozy blankets.
- Personalize your blanket ladder by choosing the right location, ladder type, and decorative touches, creating a visually appealing and organized display that reflects your individual style.
Read more: How To Decorate Blanket Ladder
Materials Needed
Before you begin styling your blanket ladder, it’s important to gather all the necessary materials. Here’s a list of items you will need:
- A wooden ladder: You can either purchase a pre-made ladder from a home improvement store or repurpose an old ladder for a more rustic look.
- Sandpaper: To smooth out any rough edges or imperfections on the ladder.
- Paint or stain: Depending on your personal preference, choose a paint or stain color that complements your home decor.
- Paintbrush or foam brush: For applying the paint or stain to the ladder.
- Decorative accents: This can include items such as rope, twine, or metal hooks to hang additional items like baskets or small decor pieces.
- Measuring tape: To measure and ensure proper placement of the ladder in your chosen location.
- Level: To make sure the ladder is straight and properly aligned on the wall.
- Screws or nails: To secure the ladder to the wall, ensuring it is stable and safe.
Optional materials:
- Wood glue: To reinforce the joints of the ladder.
- Painter’s tape: To create clean, straight lines if you are using multiple paint colors.
- Clear coat or sealant: To protect the ladder’s surface and add durability.
- Decorative baskets or blankets: To enhance the overall aesthetic and functionality of your blanket ladder.
Once you have gathered all the necessary materials, you’re ready to move on to the next step: choosing the right location for your blanket ladder.
Step 1: Choosing the Right Location
The first step in styling your blanket ladder is to choose the perfect location for it in your home. Consider the following factors when deciding on the placement:
- Room: Decide which room would benefit the most from having a blanket ladder. Common choices include the living room, bedroom, or even a cozy reading nook.
- Space: Determine the available space in the room and choose a spot where the ladder can fit without obstructing furniture or traffic flow.
- Aesthetics: Consider the overall aesthetic of the room and choose a location where the blanket ladder will enhance the decor. It could be against a bare wall or as part of a gallery wall arrangement.
- Accessibility: Ensure that the chosen location allows for easy access to the blankets on the ladder. You want it to be easily reachable without any inconvenience.
Once you have found the ideal location, measure the height and width of the space to determine the size of your ladder. This will help you choose the right ladder size or allow you to make adjustments if you are repurposing an old ladder.
Remember, the placement of your blanket ladder will significantly impact the overall look and functionality of the room, so take your time in selecting the perfect spot.
Now that you have chosen the location for your blanket ladder, it’s time to move on to step 2: selecting the type of ladder that suits your style and needs.
Step 2: Selecting the Type of Blanket Ladder
When it comes to selecting the type of blanket ladder for your home, there are a few options to consider. Each type offers its own unique style and functionality. Here are some popular choices:
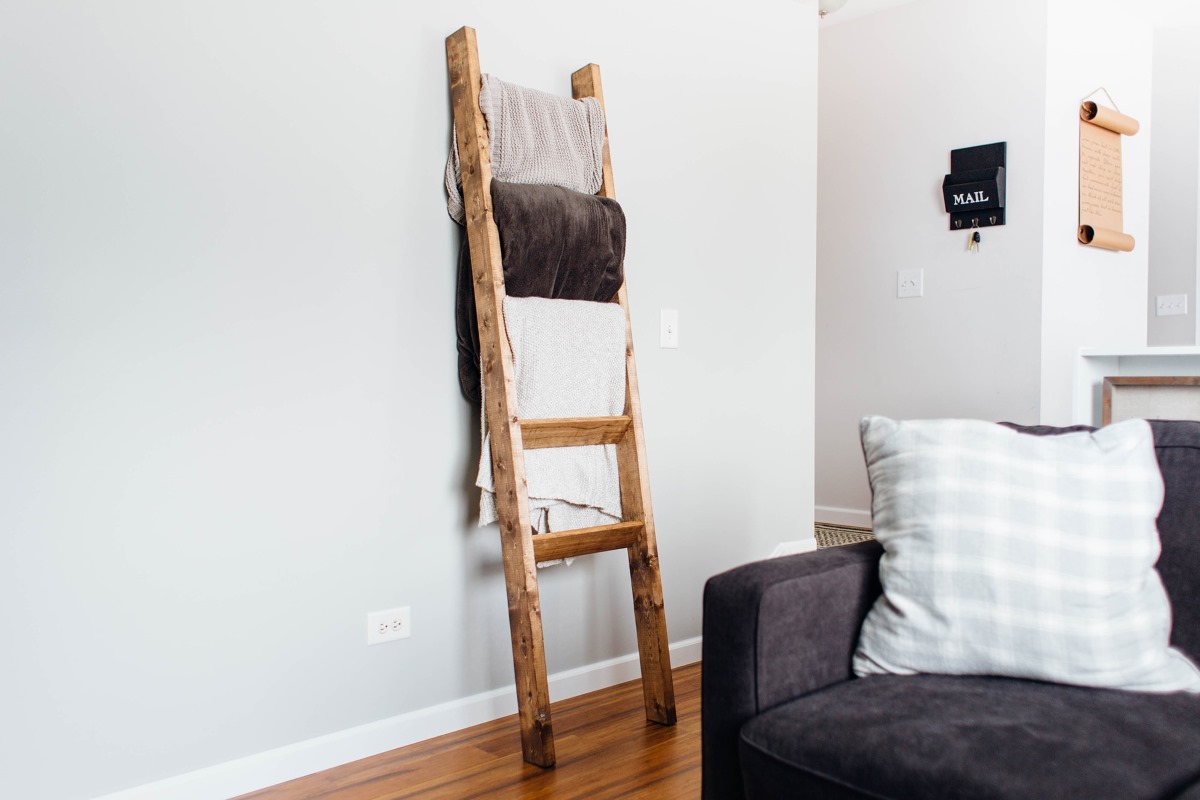
- Wooden ladder: A classic and versatile choice, a wooden ladder adds a rustic and cozy touch to any space. You can choose a ladder made from reclaimed wood for a more eco-friendly option or opt for a new wooden ladder that can be painted or stained to match your decor.
- Metal ladder: If you prefer a more industrial or contemporary look, a metal ladder might be the perfect choice. Metal ladders are often sleek and minimalist, fitting well in modern or minimalist interior designs.
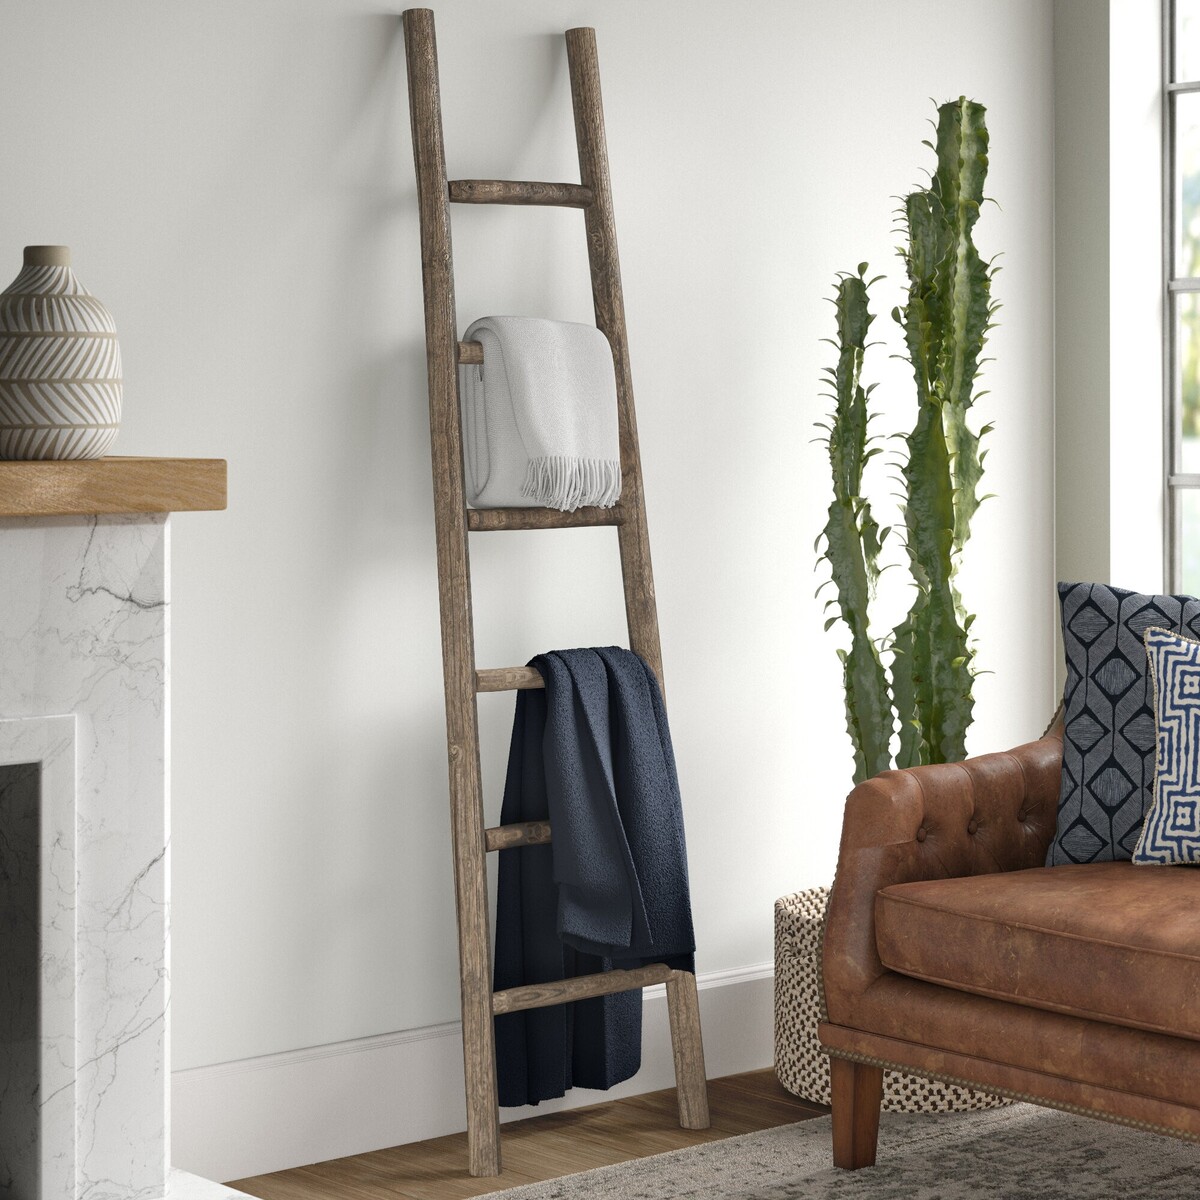
- Repurposed ladder: For those who love to upcycle and add a touch of uniqueness to their decor, consider repurposing an old ladder. It could be an antique wooden ladder with patina or a metal ladder with a distressed finish. This option adds character and history to your space.
- Ladder shelf: If you are looking for additional storage or display options, a ladder shelf is a great choice. It offers a combination of open shelves and ladder rungs for hanging blankets. This type of ladder can be especially useful in smaller spaces where maximizing storage is essential.
Consider the style and overall theme of your home when selecting the type of ladder. You want it to seamlessly blend in with your existing decor while also making a statement.
Once you have chosen the type of blanket ladder, you can move on to step 3: preparing the ladder for styling.
Step 3: Preparing the Ladder
Before you start styling your blanket ladder, it’s important to properly prepare it to ensure a smooth and polished finish. Follow these steps to prepare your ladder:
- Clean the ladder: Use a damp cloth or a brush to remove any dust, dirt, or debris from the ladder. This will create a clean surface for painting or staining.
- Sand the ladder: If your ladder has rough edges or splinters, lightly sand them down using sandpaper. This step will make the ladder surface smoother and more pleasant to touch.
- Repair any damage: Inspect the ladder for any damage or loose rungs. If you find any issues, use wood glue or nails to secure and repair them. It’s important to ensure that the ladder is sturdy and safe.
By properly preparing the ladder, you will achieve a professional and polished look once it’s styled and placed in your chosen location.
Now that your ladder is clean and repaired, you’re ready to move on to step 4: painting or staining the ladder to match your decor.
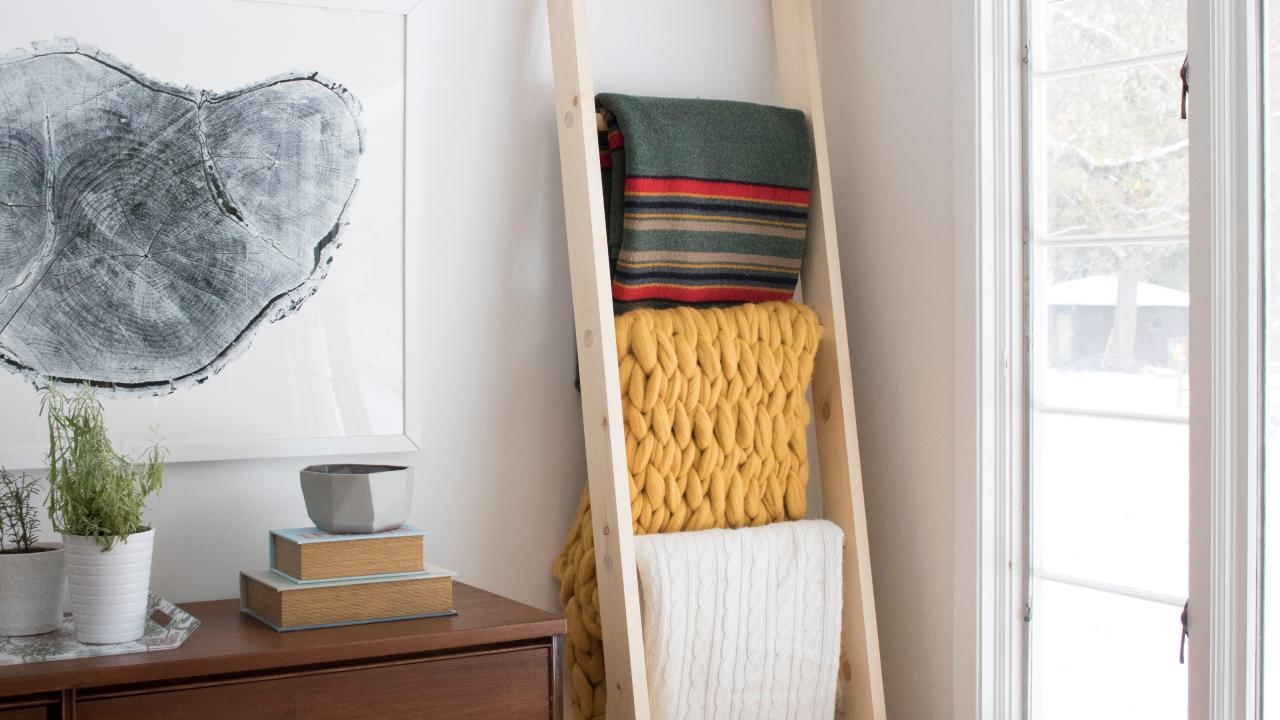
When styling a blanket ladder, consider using a mix of different textured blankets to add visual interest. You can also incorporate decorative items such as lanterns or plants to enhance the overall look.
Read more: How To Use Blanket Ladder
Step 4: Painting or Staining the Ladder
Painting or staining the ladder is an essential step in styling it to match your home decor. It allows you to personalize the ladder and create a cohesive look in the space. Follow these steps to paint or stain your ladder:
- Choose the right finish: Decide whether you want to paint the ladder in a solid color or stain it to enhance the natural wood grain. Consider the color scheme and overall aesthetic of the room when making this decision.
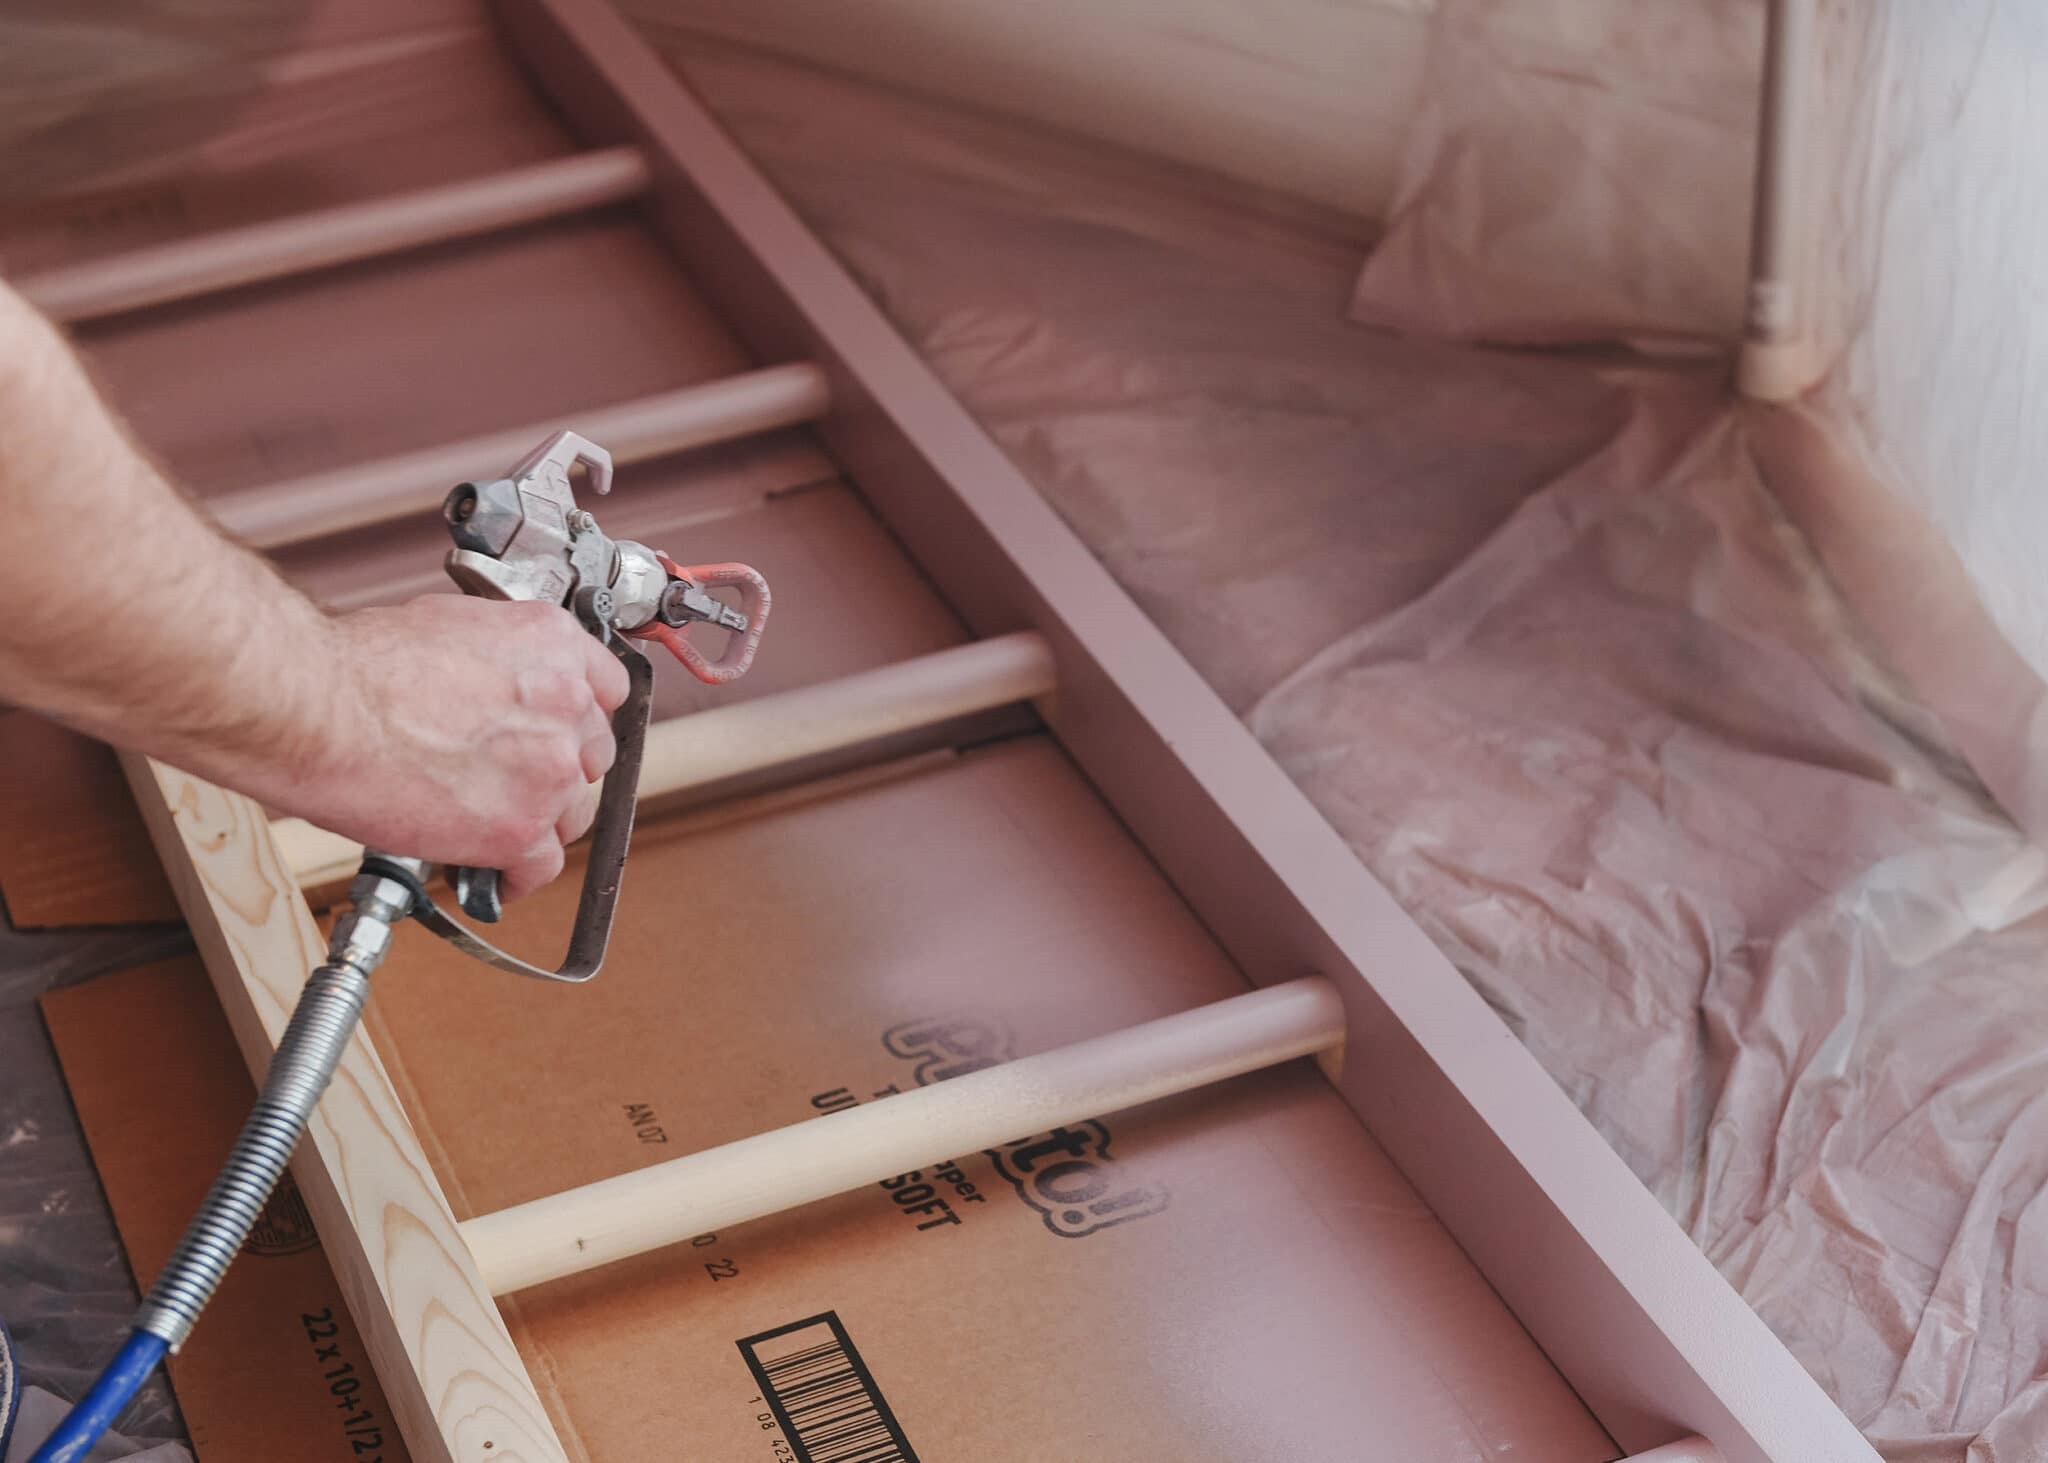
- Prepare the ladder: If you have opted for painting, apply a coat of primer to the ladder to create a smooth surface for the paint. For staining, ensure that the ladder surface is clean and free from any dust or debris.
- Pick your paint or stain: Select a high-quality paint or stain that is suitable for wood. Consider the type of wood your ladder is made of and choose a color or stain that complements your decor.
- Apply the paint or stain: Use a paintbrush or foam brush to apply the paint or stain to the ladder. Start with even strokes and make sure to cover all areas of the ladder evenly. Allow the first coat to dry before applying additional coats if necessary.
- Add decorative touches (optional): If you want to add a decorative touch, use painter’s tape to create patterns or stripes on the ladder before painting. You can also use stencils or decals to create unique designs.
- Seal the ladder (optional): Once the paint or stain has fully dried, consider applying a clear coat or sealant to protect the ladder’s finish and increase its durability.
Remember that the choice of paint or stain color plays a significant role in the overall aesthetic of your ladder, so take your time and select a color that complements your space.
Now that your ladder is painted or stained, you can move on to step 5: adding decorative touches to enhance its visual appeal.
Step 5: Adding Decorative Touches
Now that you have painted or stained your ladder, it’s time to elevate its visual appeal by adding decorative touches. These touches will enhance the overall look and ensure that your blanket ladder complements the style of your space. Here are some ideas:
- Add rope or twine: Wrap a piece of rope or twine around the ladder rungs to create a rustic and charming look. You can secure the ends with knots or small hooks for a more polished finish.
- Attach metal hooks: Install small metal hooks on the sides of the ladder to hang additional items such as baskets, small decor pieces, or even hats or scarves. This adds functionality and allows you to personalize the ladder further.
- Hang fairy lights: For a whimsical touch, drape fairy lights along the ladder or weave them in and out of the rungs. This creates a cozy and magical ambiance, especially during the evenings.
- Display plants or flowers: Place small potted plants or vases of fresh flowers on the ladder rungs to bring a touch of nature into your space. This adds a refreshing and lively element to the ladder.
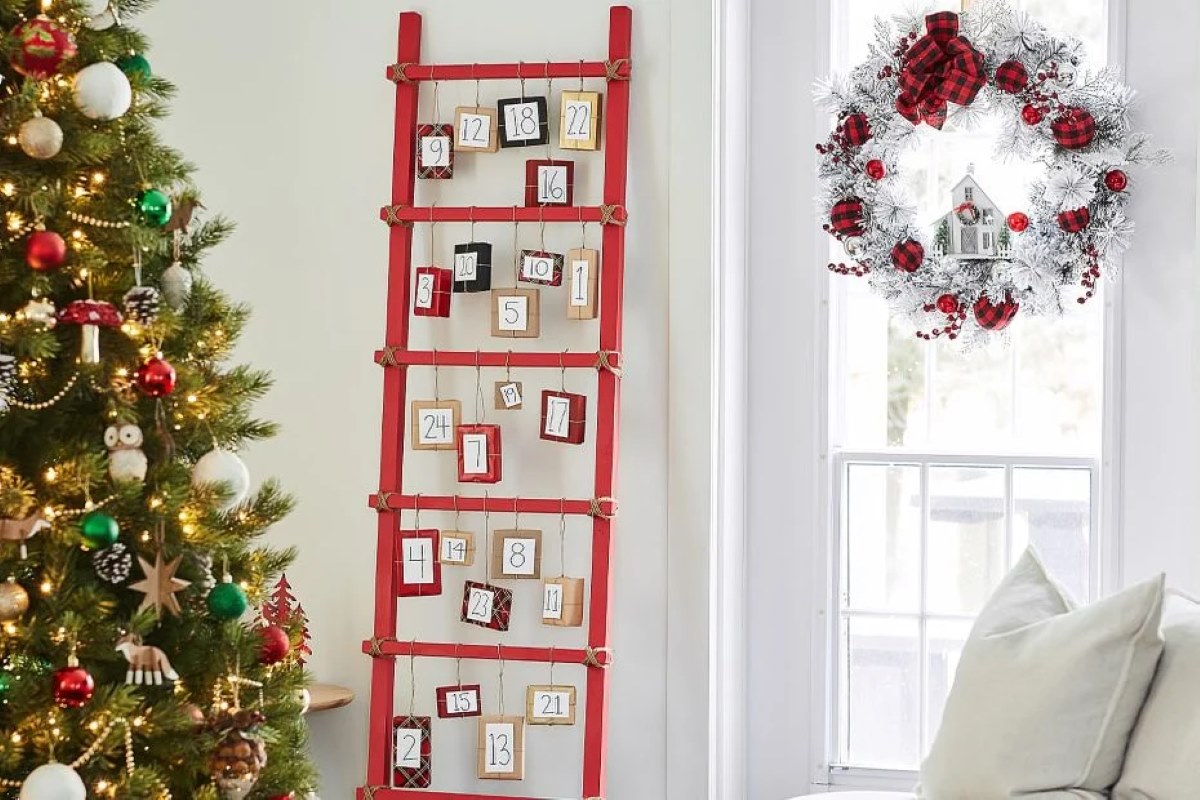
- Incorporate seasonal decor: Change up the decor on the ladder based on different seasons or holidays. For example, during Halloween, you can hang decorative pumpkins or a spooky garland, while during Christmas, you can drape it with garlands and ornaments.
Get creative and experiment with different decorative elements that resonate with your personal style and the overall theme of your space. The goal is to add unique and eye-catching features that make your blanket ladder stand out.
Now that you have added decorative touches, it’s time to move on to step 6: placing the blankets on the ladder to create a cozy and inviting display.
Step 6: Placing the Blankets
Now that your blanket ladder is adorned with decorative touches, it’s time to take advantage of its functionality by arranging your cozy blankets on it. Here are some tips for placing the blankets:
- Coordinate colors: Arrange your blankets in a way that complements the color scheme of the room. You can mix and match different shades or choose blankets that have similar tones.
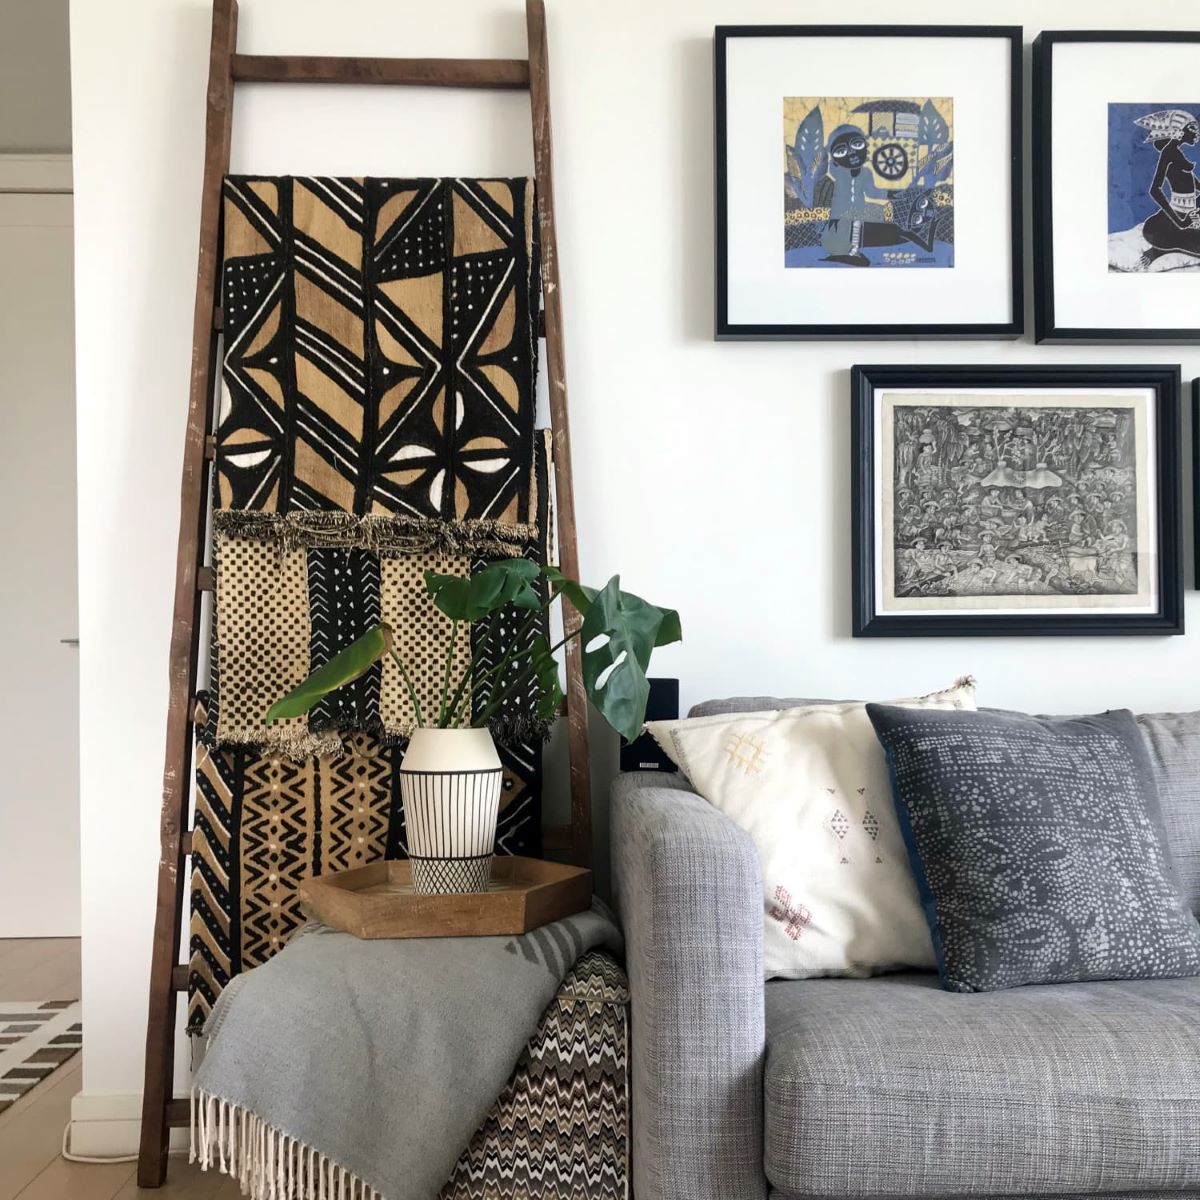
- Vary textures: To create visual interest, mix blankets with different textures. Consider including chunky knits, soft fleece, or woven throws for a cozy and inviting display.
- Layer blankets: Experiment with layering blankets of different sizes to create depth and dimension. This adds a touch of visual interest and makes the display more visually appealing.
- Position blankets strategically: Drape the blankets over the ladder rungs in a cascading or staggered manner to create a relaxed and effortless look. Ensure that each blanket is visible and easily accessible.
- Consider the length of the blankets: If you have blankets of varying lengths, position the longer ones at the bottom of the ladder and gradually decrease the length as you move upwards. This creates a visually balanced display.
- Display favorite blankets: Put your most cherished blankets on full display. Whether they have sentimental value or are simply your go-to favorites, showcasing them on the ladder adds a personal touch to the space.
By strategically placing and arranging the blankets, you can create a visually pleasing and inviting display that showcases your favorite throws and adds warmth and coziness to the room.
With the blankets in place, it’s time to move on to step 7: styling the blanket ladder to complete the overall look.
Step 7: Styling the Blanket Ladder
Now that your blanket ladder is fully prepared and the blankets are beautifully displayed, it’s time to put the finishing touches on your styling efforts. This final step will tie together the entire look and ensure that your blanket ladder becomes a focal point in the room. Here are some tips for styling the ladder:
- Balance the space: Position the ladder in a way that creates balance within the room. Consider the height and scale of nearby furniture, walls, and other decorative elements to achieve a visually pleasing arrangement.
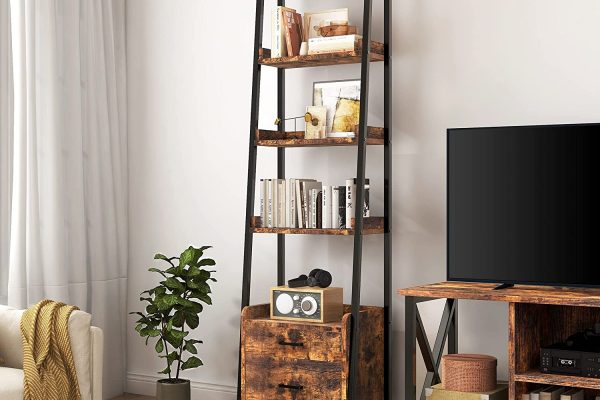
- Add complementary decor: Enhance the aesthetic appeal of the ladder by placing complementary decor items nearby. This could include decorative plants, candles, artwork, or small accessories that match the style and color scheme of the ladder.
- Create a vignette: Style the area around the ladder to create a cohesive vignette. Incorporate decorative elements such as books, vases, or small sculptures that harmonize with the ladder and blankets. Play around with different heights and arrangements to find what looks best.
- Utilize wall space: Consider utilizing the wall space above and around the ladder. You can hang a mirror, gallery wall, or a statement art piece that complements the ladder. This enhances the overall visual impact and creates a cohesive look in the space.
- Maintain an organized look: Regularly straighten and rearrange the blankets on the ladder to maintain an organized and visually appealing display. This ensures that the ladder continues to be a striking focal point in your room.
Remember, styling the blanket ladder is an ongoing process. Experiment with different decor pieces, switch out blankets seasonally, and make adjustments as needed to keep the ladder looking fresh and aesthetically pleasing.
By following these steps and adding your personal touch, you can create a beautifully styled blanket ladder that not only serves its practical purpose but also adds a touch of warmth and charm to your space.
With the styling complete, you can now sit back, relax, and enjoy the cozy atmosphere that your blanket ladder brings to your home.
Now that you’ve completed all the steps, take a moment to admire your work and enjoy the cozy and stylish addition to your home decor.
Congratulations!
Read more: How To Make A Blanket Ladder
Conclusion
Styling a blanket ladder is a rewarding project that can transform the look and feel of your home. By following the steps outlined in this article, you can create a beautiful and functional piece of furniture that adds a cozy and stylish touch to any room.
From choosing the right location and ladder type to preparing, painting, and adding decorative touches, each step plays a crucial role in creating a visually appealing and organized display. By strategically placing and styling your blankets, you can showcase your favorite throws while adding warmth and personality to your space.
Remember, the key to successful blanket ladder styling lies in personalization and attention to detail. Take the time to choose the right ladder size, paint or stain color, and decorative elements that match your home decor and reflect your individual style.
Don’t be afraid to experiment with different colors, textures, and arrangements. The beauty of a blanket ladder is its versatility, allowing you to change up the look with ease as your tastes and seasonal decor preferences evolve.
Lastly, ensure that the ladder is safely secured to the wall and periodically maintain and rearrange the blankets to keep the display fresh and organized.
Now that you have the knowledge and guidance to style a blanket ladder, it’s time to bring this cozy and stylish addition to your home. Enjoy the warmth, functionality, and visual appeal that your newly styled blanket ladder brings to your living space.
Frequently Asked Questions about How To Style A Blanket Ladder
Was this page helpful?
At Storables.com, we guarantee accurate and reliable information. Our content, validated by Expert Board Contributors, is crafted following stringent Editorial Policies. We're committed to providing you with well-researched, expert-backed insights for all your informational needs.
