
Articles
How To Make A Blanket
Modified: February 17, 2024
Learn how to make a cozy blanket with our informative articles. Find step-by-step instructions and helpful tips to create the perfect blanket at home.
(Many of the links in this article redirect to a specific reviewed product. Your purchase of these products through affiliate links helps to generate commission for Storables.com, at no extra cost. Learn more)
Introduction
Blankets are not just for keeping warm, they can also be a beautiful addition to your home decor. Whether you want to make a cozy fleece blanket for those chilly winter nights or a stylish throw to accent your living room, making a blanket is a rewarding and enjoyable DIY project. Plus, by making it yourself, you have the freedom to choose the fabric, size, and design that perfectly suits your taste.
In this article, we will guide you through the step-by-step process of making your own blanket. From choosing the fabric to adding decorative elements, we’ll cover everything you need to know to create a blanket that you’ll be proud to display or gift.
So, grab your sewing machine and let’s get started on this creative journey!
Key Takeaways:
- Making a blanket is a creative and rewarding DIY project that allows you to choose the fabric, size, and design to suit your personal style, resulting in a cozy and personalized addition to your home decor.
- Adding decorative elements such as fringe, appliques, embroidery, or quilting can elevate the look of your blanket, providing an opportunity to showcase your creativity and make it truly unique.
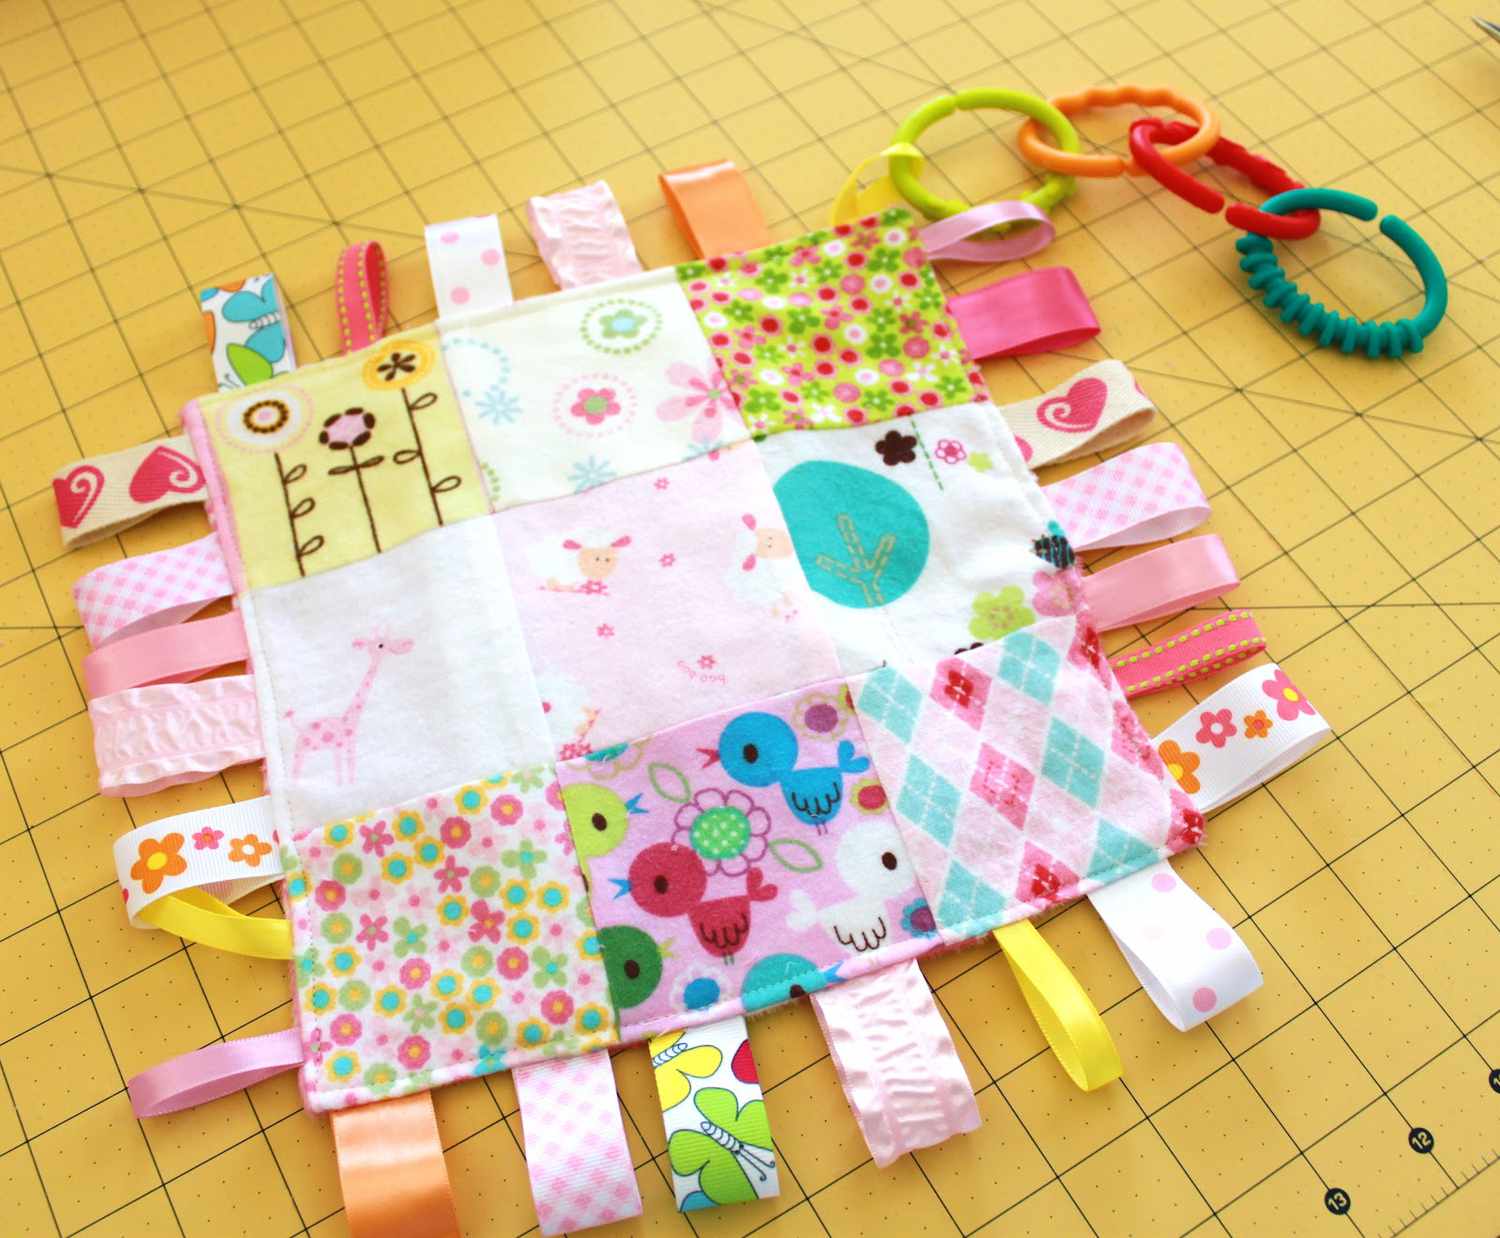
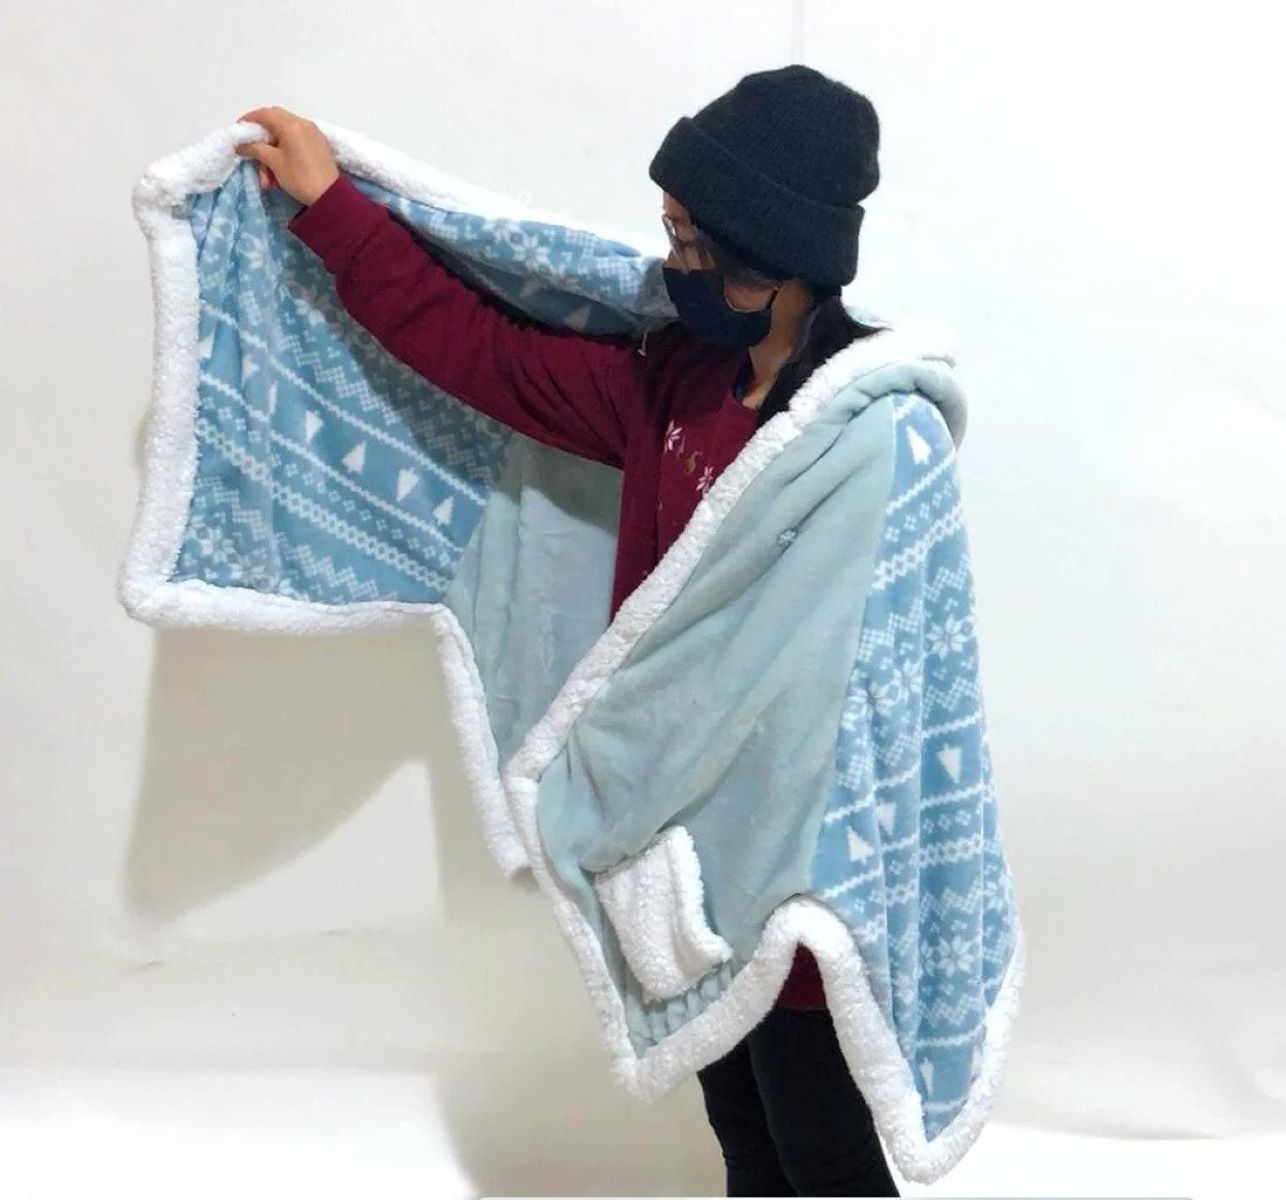
Read more: How To Make A Wearable Blanket
Step 1: Choosing the Fabric
The first step in making a blanket is choosing the right fabric. The fabric you select will determine the look, feel, and durability of your blanket. Here are a few factors to consider when choosing the fabric:
- Warmth: If you’re making a blanket for warmth, opt for fabrics like fleece, flannel, or wool. These materials are known for their excellent insulation properties.
- Comfort: For a blanket that feels soft and luxurious, consider fabrics like minky, velvet, or brushed cotton. These fabrics provide a cozy and plush texture.
- Durability: If you want a blanket that will withstand frequent use and washing, look for fabrics that are durable and easy to care for, such as cotton blends or polyester.
- Design: Think about the design and pattern you want for your blanket. Browse through different fabrics and choose one that aligns with your aesthetic preferences.
Before purchasing the fabric, it’s a good idea to check the width of the fabric to ensure it’s wide enough to create the size of the blanket you desire. Also, consider the amount of fabric needed based on your desired blanket dimensions.
Once you have chosen the fabric, don’t forget to wash and dry it before starting the sewing process. Pre-washing helps eliminate any shrinking or color bleeding that could occur during subsequent washes.
Now that you have selected your fabric, it’s time to move on to the next step.
Step 2: Measuring and Cutting
Now that you have your fabric, it’s time to measure and cut it to the desired size for your blanket.
Start by determining the dimensions you want for your blanket. Consider whether you want a small lap blanket, a standard throw blanket, or a larger size for a bed.
Once you have decided on the size, lay out your fabric on a flat surface, making sure it is wrinkle-free. Use a measuring tape to measure and mark the dimensions on the fabric. To ensure accuracy, you can use fabric chalk or pins to mark the cutting lines.
When cutting the fabric, be sure to use sharp fabric scissors or a rotary cutter. Follow the marked lines precisely to ensure clean and straight edges.
If you plan to add any decorative elements or trim to your blanket, such as fringe or pom-poms, consider leaving a bit of extra fabric around the edges. This will provide room for sewing or attaching the decorative elements later on.
Once the fabric is cut to the desired size, make sure to double-check the measurements and adjust if necessary.
Now that you have your fabric cut to size, it’s time to move on to the next step: preparing the edges.
Step 3: Preparing the Edges
Before sewing the blanket, it’s important to prepare the edges to prevent fraying and give it a polished finish. Here’s what you need to do:
1. Fold and Press
Start by folding the raw edges of the fabric towards the wrong side, about 1/2 inch to 1 inch wide. This will create a clean edge and minimize fraying. Use an iron to press the folded edges in place.
2. Pin or Clip
To ensure that the folded edges stay in place while sewing, you can use pins or fabric clips to secure them. Place the pins or clips evenly along the folded edges, making sure they don’t interfere with the sewing process.
3. Optional: Zigzag Stitch
If you want to further reinforce the edges and prevent fraying, you can use a zigzag stitch along the folded edges. Set your sewing machine to a zigzag stitch and sew along the folded edges, staying close to the edge.
4. Optional: Serger or Overlock Machine
If you have access to a serger or overlock machine, you can use it to finish the edges of the fabric. A serger creates a neat and professional-looking edge by trimming and encasing the fabric edges in one step.
Remember to remove any pins or clips as you sew along the edges to avoid damaging your sewing machine.
By preparing the edges of your fabric before sewing, you not only prevent fraying but also give your blanket a more polished and finished appearance.
Now that the edges are prepared, it’s time to move on to the next step: sewing the blanket.
When making a blanket, be sure to choose a soft and durable fabric. Consider using a sewing machine for a faster and more professional finish.
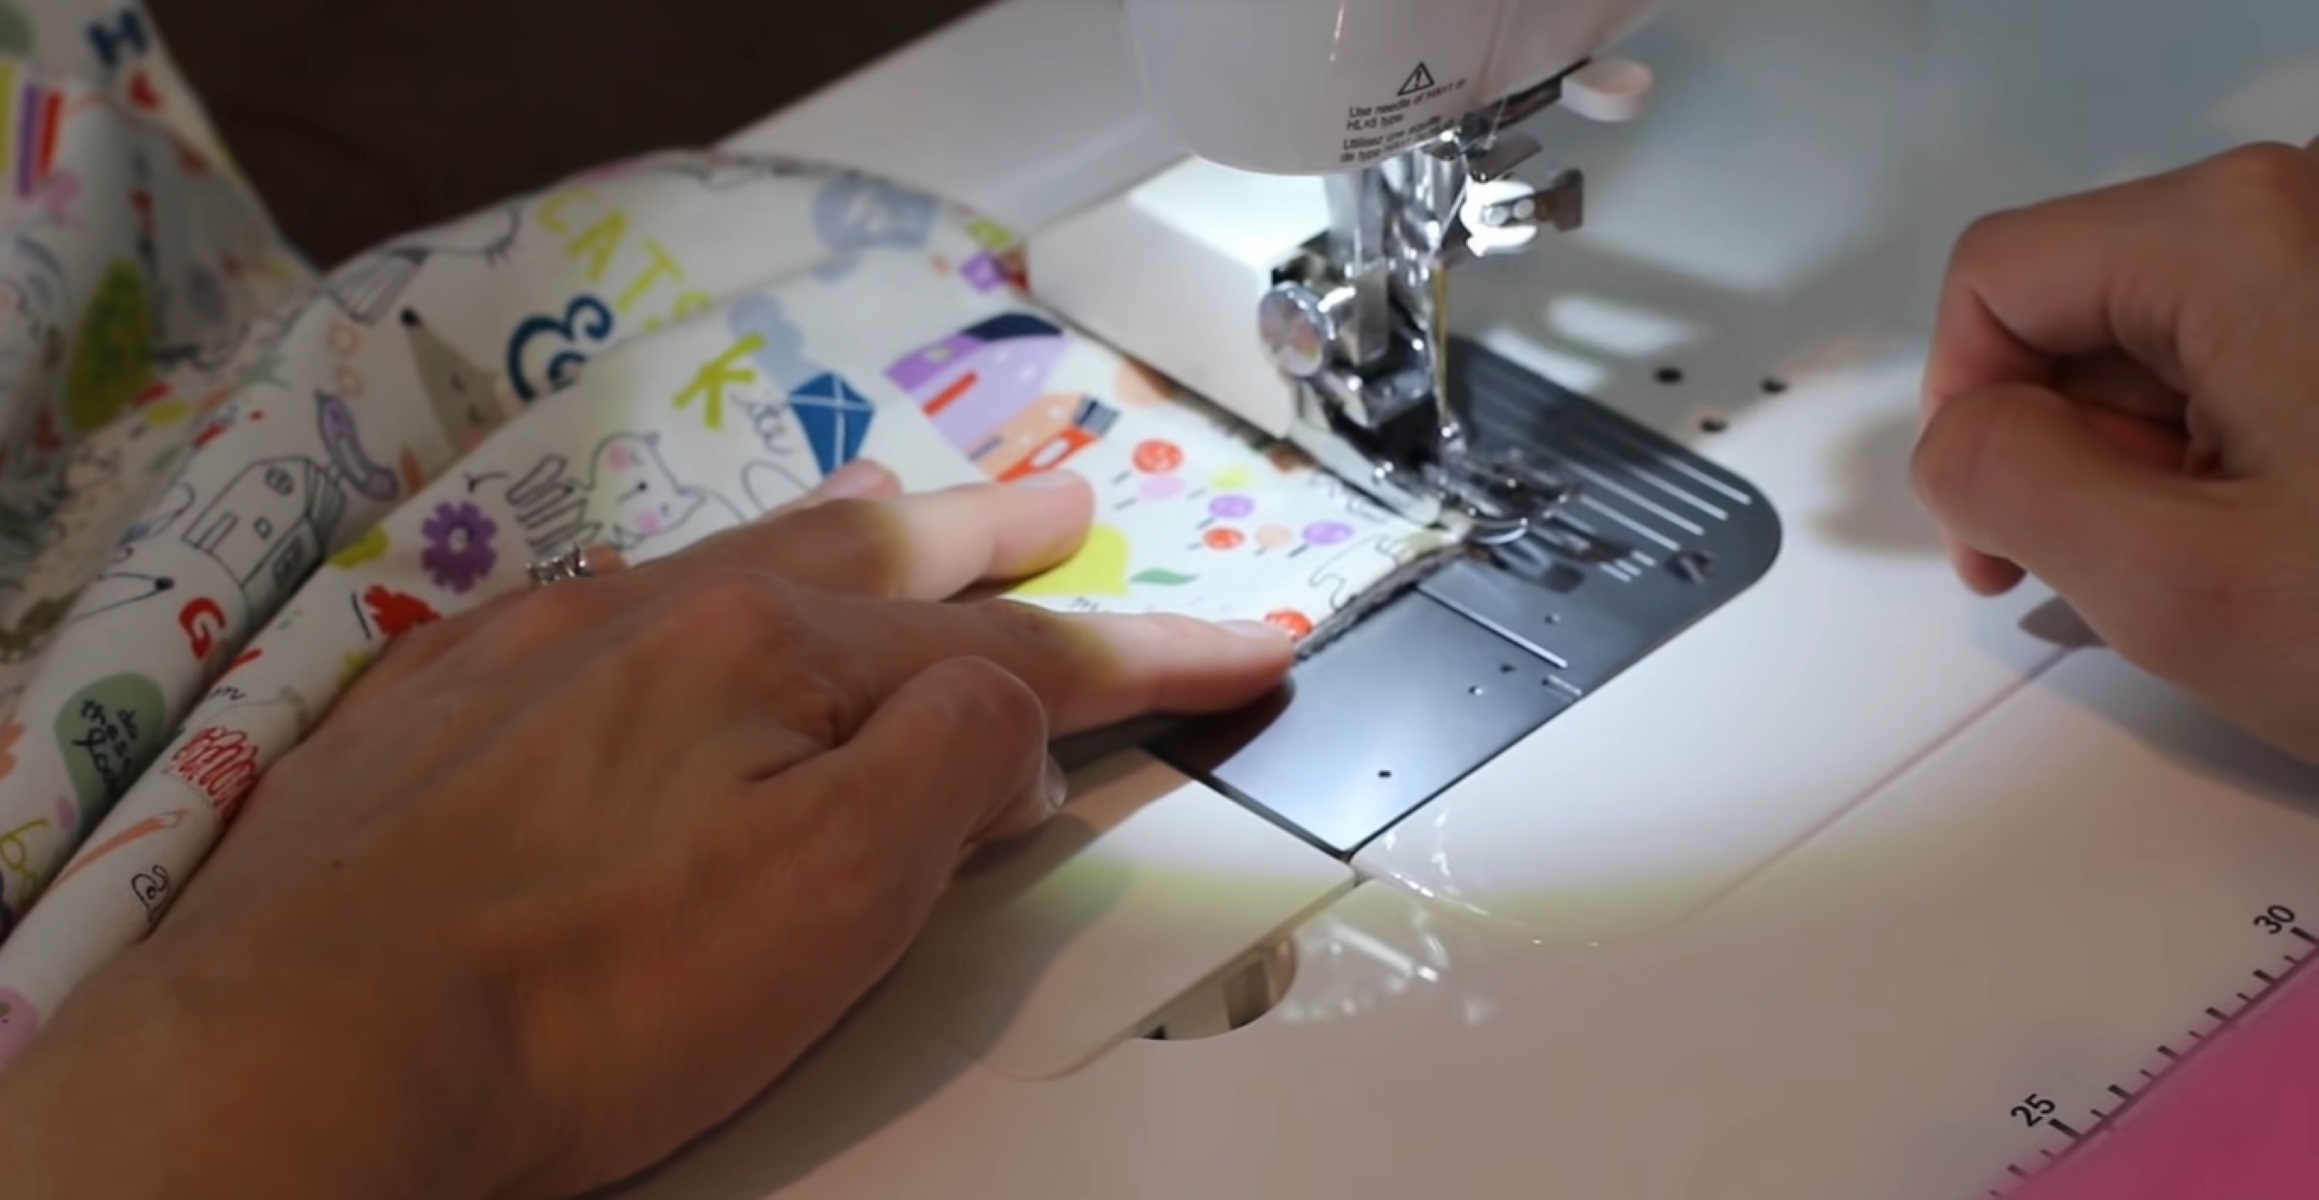
Step 4: Sewing the Blanket
Now that you have prepared the edges of your fabric, it’s time to sew the blanket together. Follow these steps to sew your blanket:
1. Set up your sewing machine:
Thread your sewing machine with a color that matches or complements your fabric. Set the stitch length and tension according to the fabric you’re using. If you’re unsure, it’s always a good idea to test the stitches on a scrap piece of fabric before starting.
2. Start sewing:
Begin sewing your blanket by placing the right sides of the fabric together. Align the edges and pin or clip them in place. Leave a small opening on one side to turn the blanket right side out later.
3. Sew along the edges:
Using a straight stitch, sew along the pinned edges of the fabric, leaving a 1/2 inch to 1 inch seam allowance, depending on your preference. Backstitch at the beginning and end of your sewing to secure the stitches.
4. Trim excess fabric:
Carefully trim any excess fabric or threads from the edges of your blanket, making sure not to cut into the stitched seam.
5. Turn the blanket right side out:
Gently pull the blanket through the small opening you left earlier, turning it right side out. Use a blunt tool, such as a knitting needle, to push out the corners and edges for a crisp finish.
6. Hand stitch the opening:
To close the opening, you can use a ladder stitch or slip stitch. Take care to make your stitches as invisible as possible for a seamless look.
Congratulations! You’ve successfully sewn your own blanket. Now, let’s move on to the next step: adding decorative elements.
Read more: How To Make A Blanket Scarf
Step 5: Adding Decorative Elements
Adding decorative elements to your blanket can elevate its look and make it truly unique. Here are a few ideas to consider:
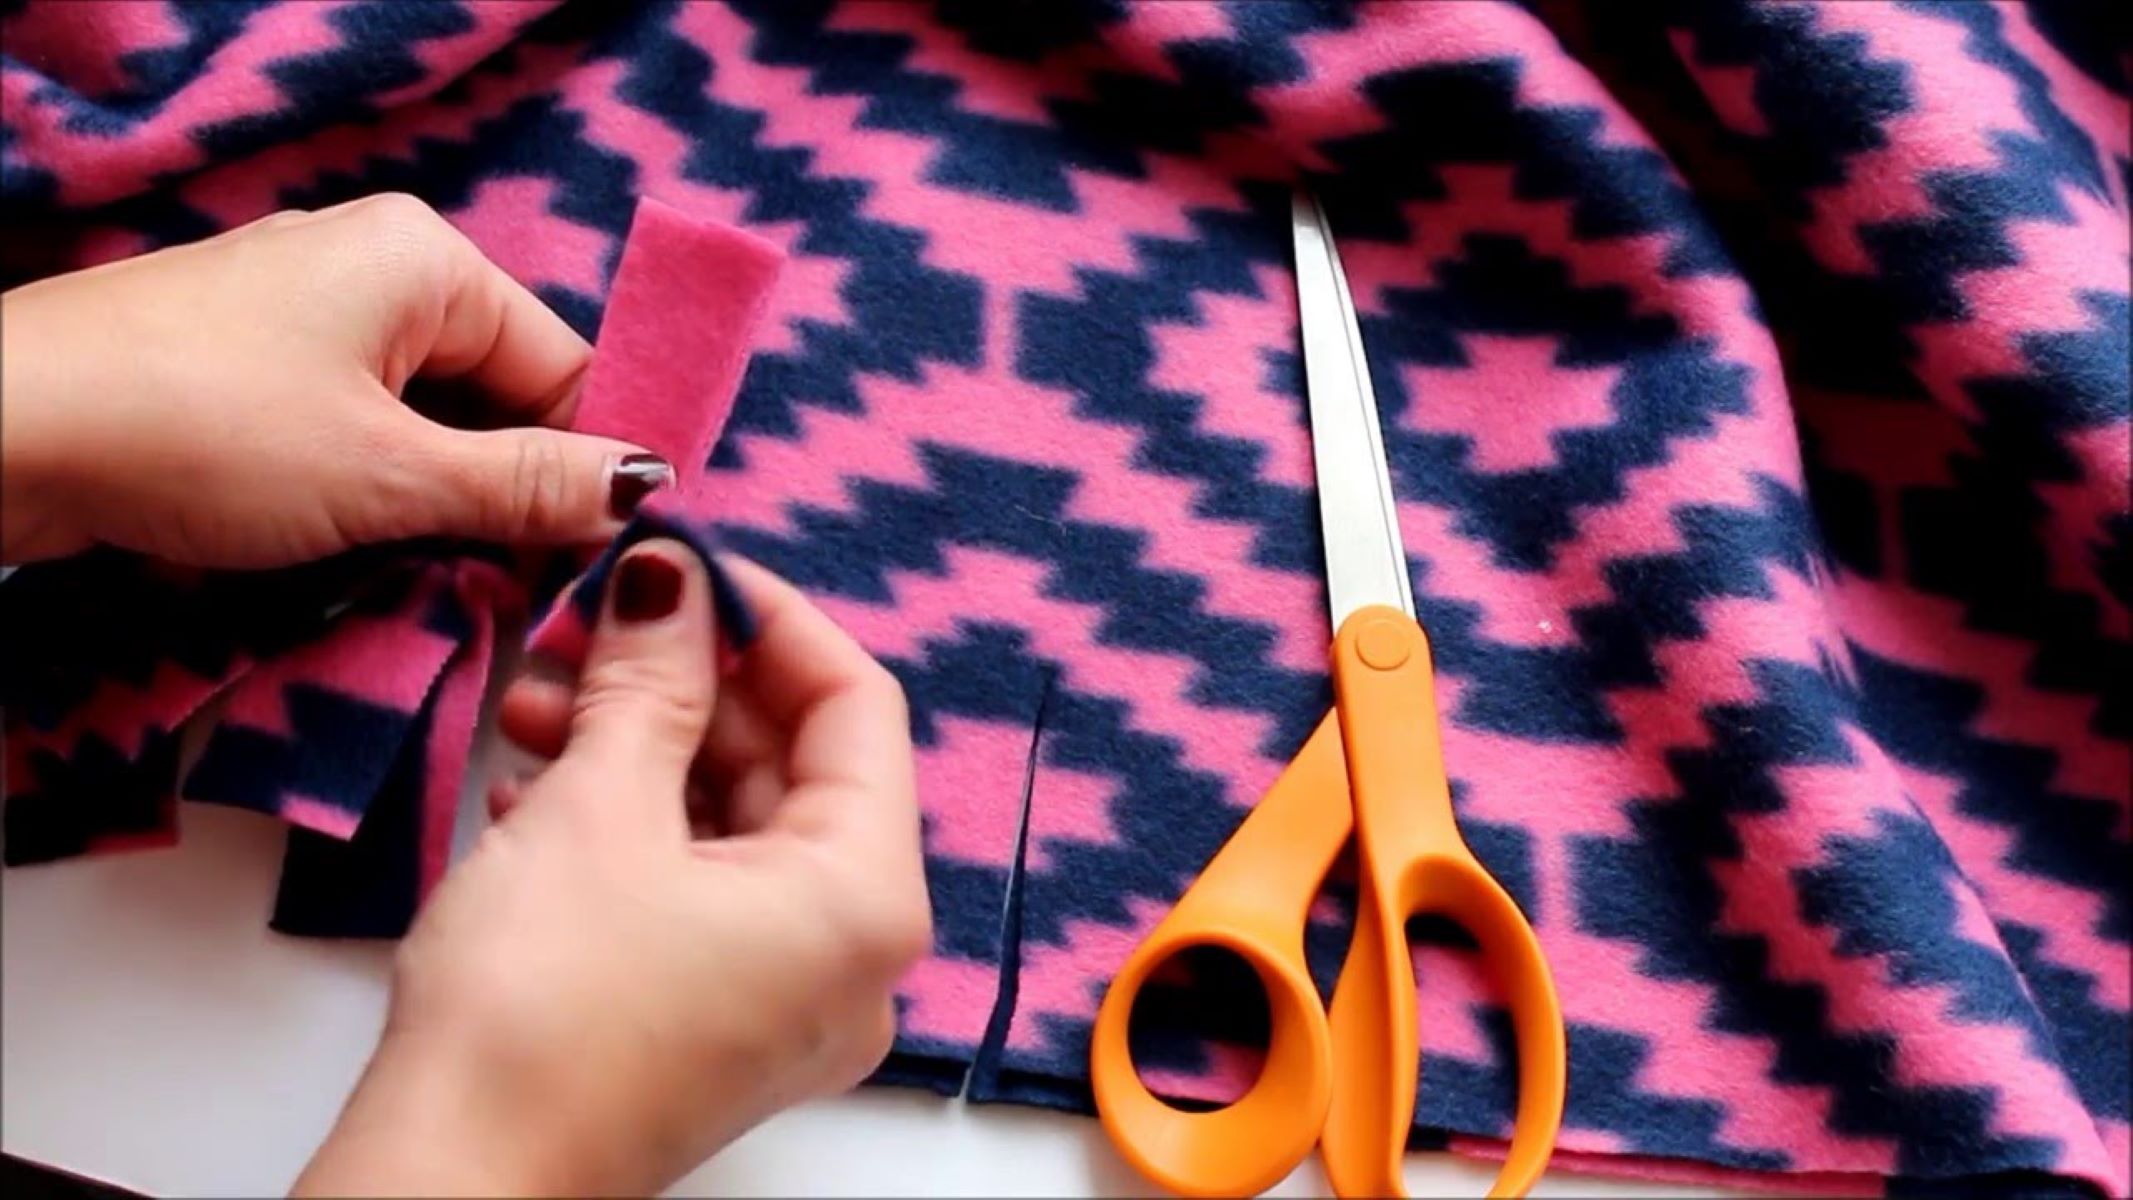
- Fringe: Adding fringe to the edges of your blanket can give it a bohemian or rustic touch. Cut strips of fabric or yarn and attach them to the edges using a needle and thread or by tying them in knots.
- Appliques: If you want to personalize your blanket, consider adding fabric appliques. Cut out shapes or designs from fabric scraps and sew or adhere them to the blanket using fabric glue or a sewing machine.
- Embroidery: Embroidery is a beautiful way to add intricate designs or monograms to your blanket. Use embroidery thread and a needle to create stunning patterns or personal messages.
- Pom-poms or tassels: Attach small pom-poms or tassels to the corners of your blanket for a fun and playful look. You can either make them yourself or purchase pre-made ones.
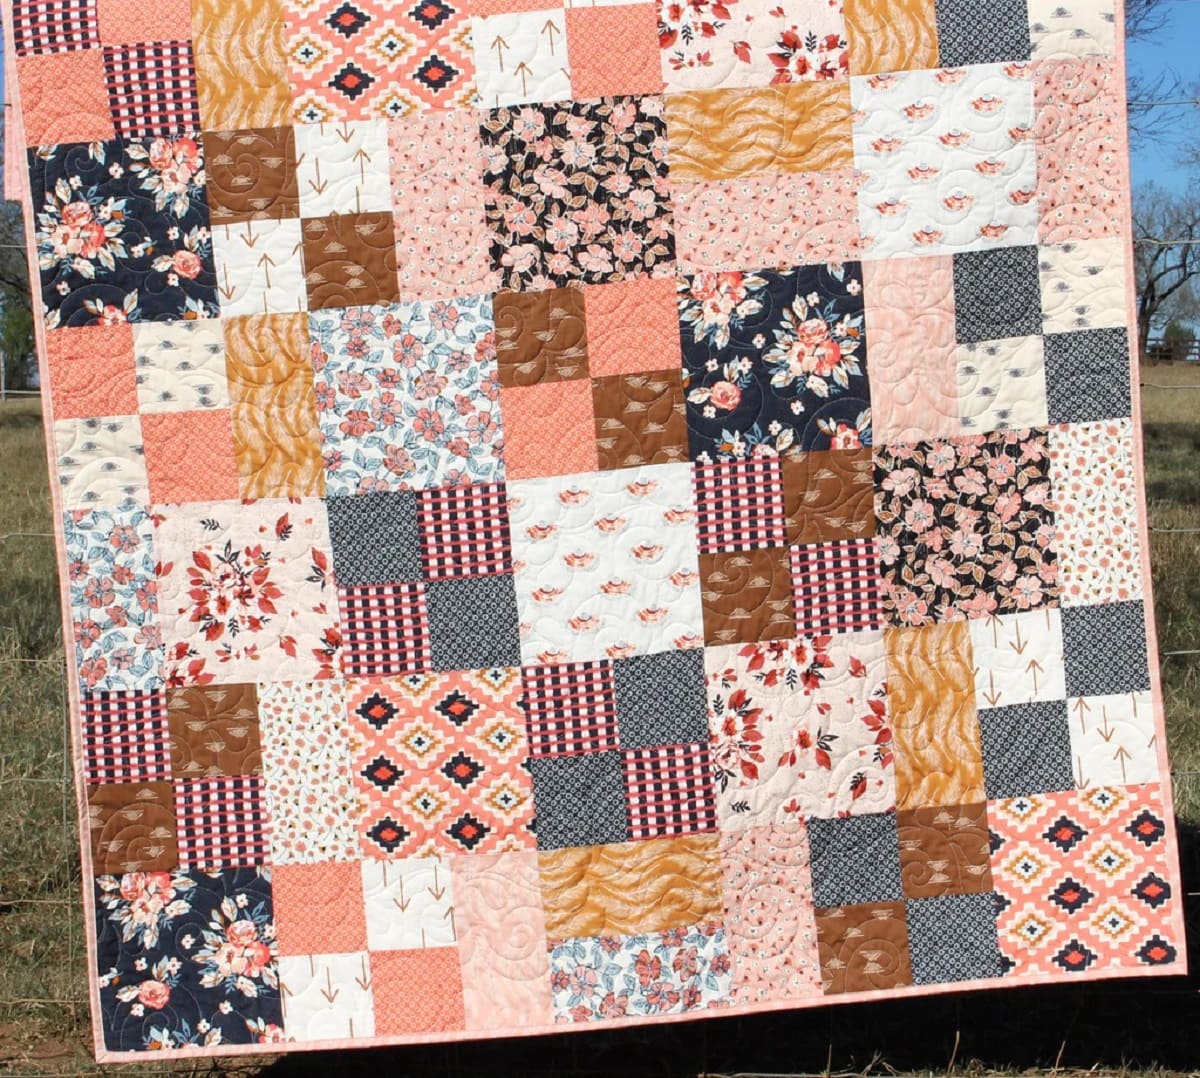
- Quilting: If you’re feeling adventurous, consider quilting your blanket. This involves stitching together multiple layers of fabric to create a quilted pattern. This technique adds warmth and texture to your blanket.
When adding decorative elements, take your time to ensure they are securely attached to the fabric. You can use hand-stitching, machine stitching, or even fabric glue, depending on the element and your preference.
Remember, adding decorative elements is an opportunity to let your creativity shine and make your blanket uniquely yours.
Now that you’ve added the desired decorative elements, it’s time for the final step: the finishing touches.
Step 6: Finishing Touches
Now that your blanket is almost complete, it’s time to add the finishing touches that will ensure its longevity and overall appearance.
1. Press and smooth:
Give your blanket a final press with an iron to smooth out any wrinkles and flatten the seams. This will give your blanket a professional finish and make it look more polished.
2. Trim any loose threads:
Inspect your blanket for any loose threads or stray fabric. Trim them carefully to maintain a clean and tidy appearance.
3. Give it a final inspection:
Take a few moments to inspect your blanket for any imperfections or areas that may require reinforcement. Check the edges, decorative elements, and seams. If needed, make any necessary adjustments or repairs.
4. Wash and care instructions:
Consider attaching a small fabric tag or label with washing and care instructions for your blanket. This will help the recipient know how to properly care for their new blanket, ensuring its longevity.
5. Enjoy your masterpiece:
Now that your blanket is complete and looking fabulous, it’s time to enjoy the cozy comfort it provides. Curl up with it on chilly nights, use it as a decorative accent on your couch or bed, or give it as a thoughtful handmade gift.
Remember, making a blanket is not only about the end result but also about the joy and satisfaction that comes from creating something by hand. Your blanket is a testament to your creativity and craftsmanship.
Congratulations on completing your beautiful blanket! It’s now ready to bring warmth and style to your home or make someone’s day with a heartfelt gift.
Thank you for following along with our step-by-step guide. We hope you enjoyed the process and feel inspired to continue exploring your creative side.
Happy crafting!
Conclusion
Making your own blanket is a rewarding and fulfilling DIY project that allows you to unleash your creativity and create a beautiful and functional piece for your home. From choosing the perfect fabric to adding unique decorative elements, each step in the process contributes to the final result: a blanket that is not only warm and cozy but also a reflection of your personal style.
Throughout this article, we have guided you through the step-by-step process of making a blanket. We started by helping you choose the right fabric based on factors such as warmth, comfort, durability, and design. Then, we walked you through measuring, cutting, and preparing the edges to ensure a clean and polished finish.
Next, we covered the sewing process, guiding you in setting up your sewing machine and sewing along the edges to create a secure and professional-looking blanket. We also discussed the option of adding decorative elements such as fringe, appliques, embroidery, pom-poms, or quilting to enhance the visual appeal and personalize your blanket.
To ensure the longevity and overall appearance of your blanket, we emphasized the importance of giving it the finishing touches it deserves. This includes pressing, trimming loose threads, inspecting for imperfections, and providing care instructions.
By following these steps, you have not only created a functional and beautiful blanket but also experienced the joy and satisfaction of crafting something unique with your own hands.
We hope this guide has inspired you to embark on more creative projects and explore different ways to infuse your personal touch into your home decor. Whether you make blankets to gift to loved ones or to adorn your own living space, the possibilities for creativity and self-expression are endless.
Thank you for joining us on this DIY journey. Happy crafting!
Frequently Asked Questions about How To Make A Blanket
Was this page helpful?
At Storables.com, we guarantee accurate and reliable information. Our content, validated by Expert Board Contributors, is crafted following stringent Editorial Policies. We're committed to providing you with well-researched, expert-backed insights for all your informational needs.
