Articles
How To Build Ladder
Modified: February 17, 2024
Learn how to build a ladder with our comprehensive articles. Discover step-by-step guides, tips, and techniques to create a sturdy and functional ladder.
(Many of the links in this article redirect to a specific reviewed product. Your purchase of these products through affiliate links helps to generate commission for Storables.com, at no extra cost. Learn more)
Introduction
Building a ladder can be a rewarding and practical DIY project. Whether you need a ladder for indoor use, outdoor maintenance, or even for decorative purposes, constructing your own ladder allows you to customize it to your specific needs and preferences. Plus, it can save you money compared to buying a pre-made ladder.
However, before you start hammering and sawing, it’s important to have a solid plan in place. Building a safe and sturdy ladder requires careful measurement, precise cutting, and attention to detail. In this article, we will guide you through the step-by-step process of building a ladder, from gathering materials to adding the finishing touches.
If you’re ready to take on this DIY challenge, let’s dive in and discover the art of ladder construction!
Key Takeaways:
- Building a ladder is a rewarding DIY project that requires careful planning, precise measurements, and secure attachments. Prioritize safety, gather materials, and follow the step-by-step process for a sturdy and reliable ladder.
- Consider optional bracket reinforcement for added stability, and don’t skip the crucial stability test before use. Enjoy the satisfaction of constructing your own ladder and prioritize safety for a successful DIY project.
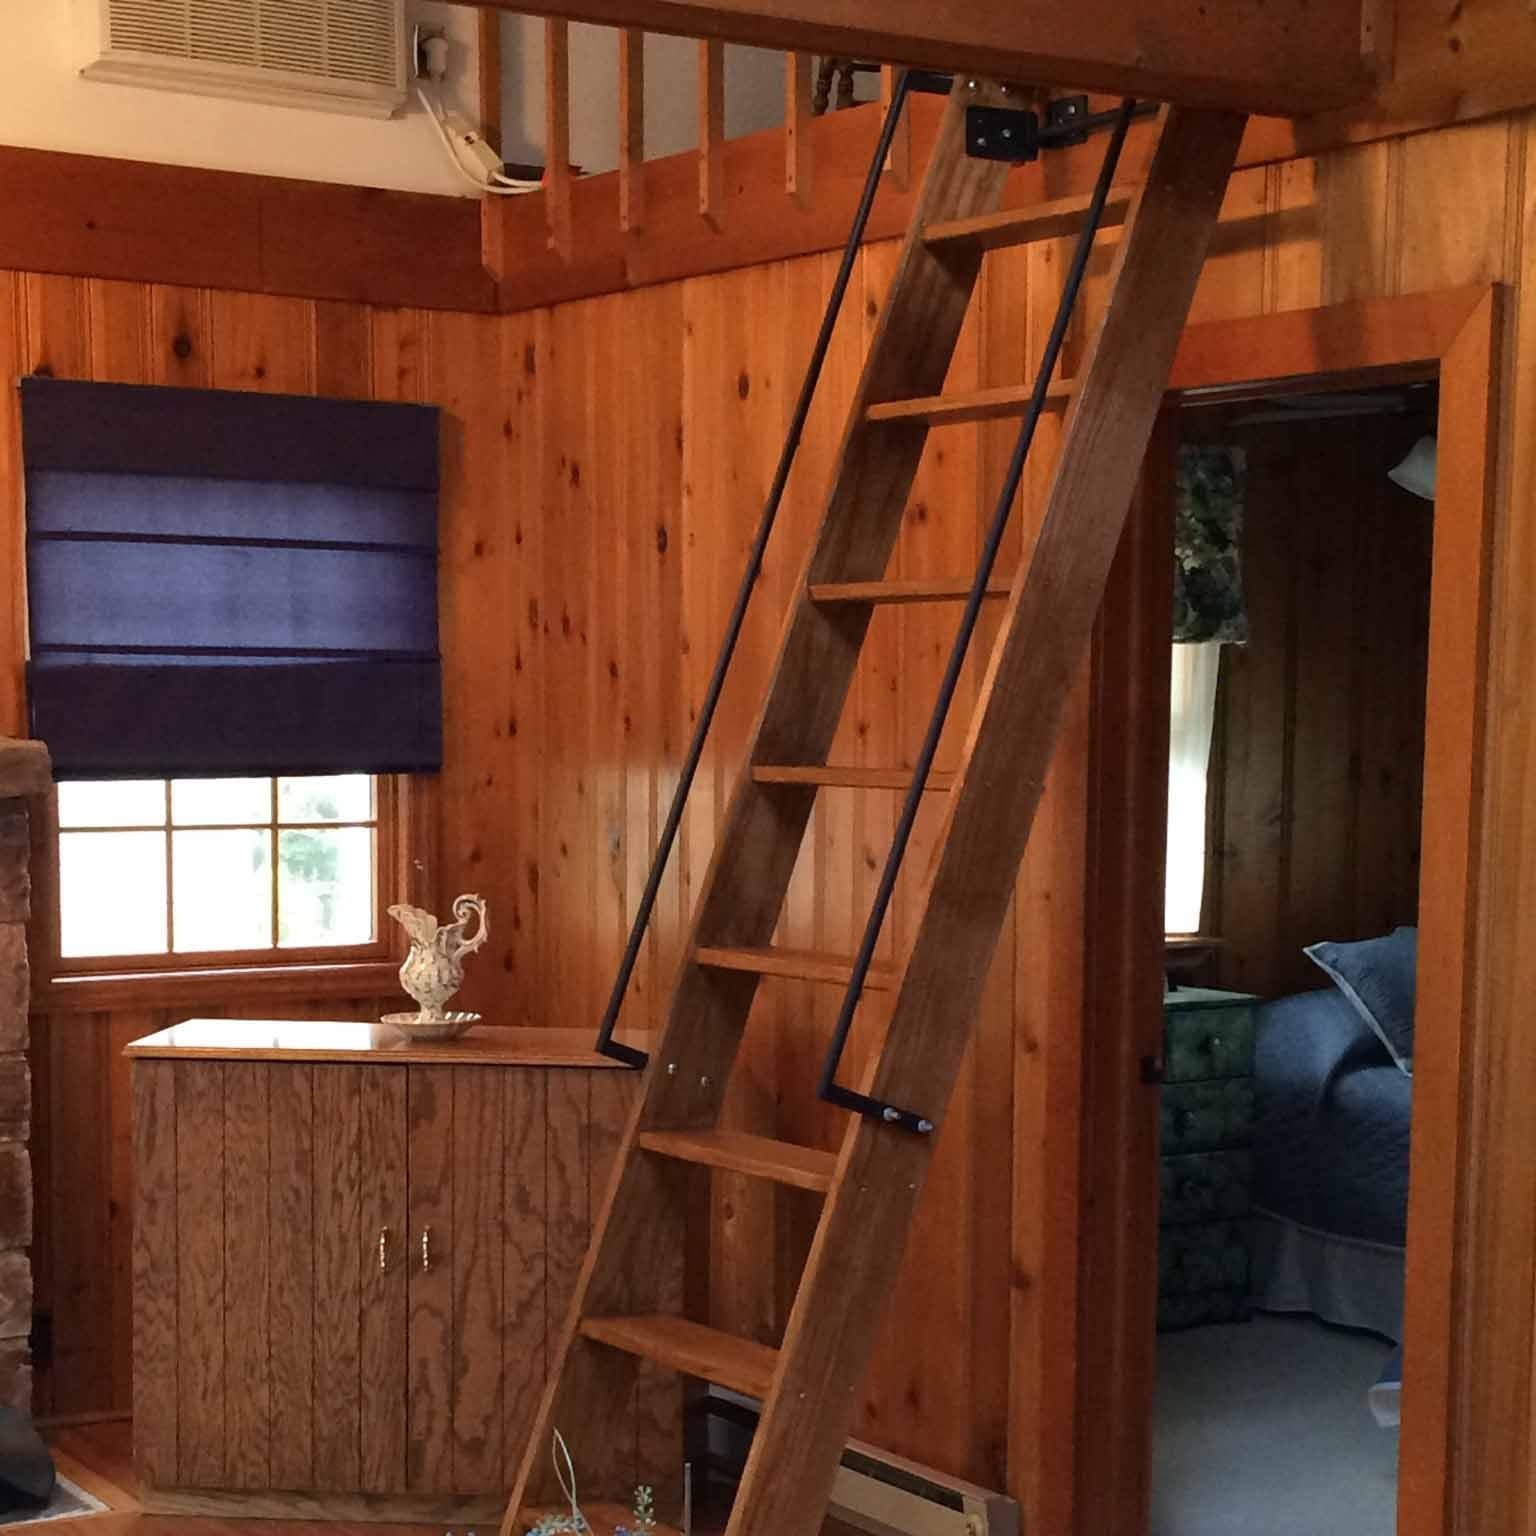
Read more: How To Build An Attic Ladder
Step 1: Gather Materials
Before you begin building your ladder, it’s essential to gather all the necessary materials. Having everything on hand will save you time and ensure a smoother construction process. Here are the materials you will need:
- Wood: Choose a sturdy and durable wood for the main components of the ladder, such as the side rails and rungs. Popular choices include hardwoods like oak or maple, or softwoods like pine or cedar. Make sure the wood is of good quality and free from defects.
- Screws or Nails: Select appropriate fasteners to secure the different parts of the ladder. For wooden ladders, wood screws or galvanized nails are commonly used. Make sure they are long enough to provide a strong hold.
- Measuring Tape: Accurate measurements are crucial for a properly built ladder. Invest in a reliable measuring tape to ensure precision throughout the construction process.
- Saw: A saw is necessary for cutting the wood to the desired lengths. A handsaw or a power saw, such as a circular saw or miter saw, can be used depending on your comfort and skill level.
- Drill: A drill will be needed to create holes for attaching the rungs to the side rails. Choose a drill appropriate for the size of screws or nails you will be using.
- Sandpaper: Smooth out any rough edges or surfaces with sandpaper. This will not only enhance the ladder’s appearance but also prevent splinters.
- Paint or Finish: If you prefer a finished look or want to add a layer of protection to your ladder, consider using paint or a wood finish. This can also help match the ladder to your home’s decor.
- Safety Equipment: Don’t forget to prioritize your safety. Have safety glasses, gloves, and a dust mask on hand to protect yourself while working with tools and materials.
Once you have gathered all the materials, you’re ready to move on to the next step: measuring and cutting the rungs.
Step 2: Measure and Cut the Rungs
The rungs are the horizontal steps of the ladder, and their length will depend on the height and spacing you desire. Before making any cuts, carefully measure and mark the desired length of each rung on the wooden board. Keep in mind that the rungs should be evenly spaced for safe and comfortable climbing.
Use a measuring tape to mark the length of each rung on the board, ensuring they are uniformly sized. Once the measurements are marked, it’s time to make the cuts. If you feel comfortable using a power saw, a circular saw or miter saw can make the process quicker and more precise. However, a handsaw will also do the job if that is your preferred tool.
Before cutting, secure the board to a stable surface to prevent any movement or accidents. Follow the marked lines and make straight, clean cuts. It is essential to be accurate with your cuts to ensure the rungs fit snugly into the side rails.
Once you have cut all the rungs to the desired length, sand the edges and surfaces to remove any roughness or splinters. This will add a polished and comfortable feel to the ladder. Be sure to remove any sawdust generated during the sanding process to keep your work area clean and safe.
With the rungs successfully cut and smoothed, you are ready for the next step: measuring and cutting the side rails.
Step 3: Measure and Cut the Side Rails
The side rails are the vertical support beams of the ladder. They provide stability and strength to the overall structure. To ensure a well-built ladder, accurate measurement and precise cutting of the side rails is essential.
Start by determining the desired height of your ladder. Consider the purpose of the ladder and the maximum height you will need to reach. Measure and mark this height on the wooden boards that will serve as the side rails.
Remember to account for the thickness of the rungs when measuring the length of the side rails. It is recommended to leave a small gap between the top of each rung and the top of the side rail to ensure a secure fit.
After marking the measurements, use a measuring tape and a straight edge to create a straight line for cutting. A circular saw or a handsaw can be used to make the cuts, depending on your preference and available tools. If using a circular saw, ensure you are working on a stable surface and follow safety precautions.
Once the cuts are complete, check the side rails for any rough edges or splinters. Use sandpaper to smooth out the surfaces and round the corners, which will make handling the ladder more comfortable and prevent any potential injuries.
With the side rails accurately measured and cut, it’s time to move on to the next step: marking and drilling the holes for attaching the rungs.
Step 4: Mark and Drill the Holes
To securely attach the rungs to the side rails, you will need to mark and drill holes in the proper locations. This step is crucial for the ladder’s stability and durability.
Start by measuring and marking the desired placement of each rung on the side rails. Ensure that the spacing between the rungs is consistent to provide a comfortable climbing experience. Use a pencil or a marking tool to make accurate markings on the side rails.
Next, choose an appropriate drill bit size that matches the diameter of the screws or nails you will be using. The holes should be slightly smaller than the fasteners to ensure a tight fit. It is a good practice to use a countersink drill bit to create recessed holes, allowing the screws or nails to sit flush with the surface of the ladder.
Line up the drill bit with the marked locations on the side rails, and carefully drill the holes. Make sure to drill straight and avoid going too deep, as this can weaken the structural integrity of the ladder. Repeat this process for each rung on both side rails.
After drilling the holes, remove any wood debris or sawdust from the surface of the ladder. This will ensure a clean and smooth finish and prevent any issues during the assembly process.
With the holes successfully drilled, you are now ready to move on to the next step: attaching the rungs to the side rails.
When building a ladder, make sure to use high-quality, durable materials such as hardwood or aluminum for the rungs and sides to ensure stability and safety. Double-check all measurements and angles before cutting or assembling to avoid any mistakes.
Read more: How To Build Blanket Ladder
Step 5: Attach the Rungs to the Side Rails
Now that you have marked and drilled the holes on the side rails, it’s time to assemble the ladder by attaching the rungs. This step will bring your ladder closer to completion and provide the actual structure for climbing.
Begin by applying a small amount of wood glue to the ends of each rung. This will help strengthen the joints and prevent any unwanted movement or loosening of the rungs over time. Align the rung with the corresponding holes on the side rails and insert it into place.
Insert screws or nails through the pre-drilled holes and into the rungs. Use a screwdriver or a hammer to secure them tightly. Make sure the fasteners are flush with the surface of the side rails to avoid any potential snags or accidents while climbing.
Repeat this process for each rung, ensuring that they are evenly spaced and properly aligned. Double-check the tightness of the fasteners and make any adjustments as necessary. It is important to ensure that the ladder is securely assembled and solid for safe use.
Once all the rungs are attached to the side rails, give the ladder a gentle shake to test its stability. If it feels wobbly or insecure, double-check the fasteners and make necessary adjustments. It’s crucial to ensure that the ladder is stable and can withstand the weight and movement of a person while climbing.
With the rungs successfully attached, you have completed a significant part of the ladder construction. Now, you can choose to reinforce the ladder further with brackets or move on to the next step: sanding and finishing.
Step 6: Reinforce with Brackets (Optional)
If you want to add extra stability and strength to your ladder, you can choose to reinforce it with brackets. This step is optional but recommended, especially if you plan to use the ladder for heavy-duty tasks or if you want to ensure maximum durability.
To reinforce the ladder, you will need brackets specifically designed for ladder construction. These brackets are typically made of metal and are designed to provide additional support at the junction between the rungs and side rails.
Start by positioning the brackets over the joint where the rungs and side rails meet. Make sure they are aligned properly and will not interfere with the ladder’s functionality or climbing space. Mark the positions of the screw holes on both the brackets and the ladder components.
Next, remove the rungs that are near the bracket locations in order to provide access for attaching the brackets. Use a screwdriver or drill to attach the brackets securely to the side rails using screws. Ensure that the brackets are tightly fastened for maximum reinforcement.
Once the brackets are in place, reattach the rungs over the brackets, ensuring that they fit snugly. Use screws or nails to secure the rungs back into position.
Reinforcing the ladder with brackets can significantly enhance its stability and load-bearing capacity. This is particularly useful if you anticipate heavy use or if you want a ladder that can withstand rigorous tasks.
After reinforcing the ladder with brackets, you can move on to the next step: sanding and finishing to add a polished touch to your ladder.
Step 7: Sand and Finish
After constructing the main structure of the ladder, it’s time to give it a smooth and finished appearance. Sanding and finishing the ladder will not only improve its aesthetics but also provide a protective layer against wear and tear.
Start by using sandpaper to smooth out any rough edges, splinters, or imperfections on the ladder. Begin with a coarse-grit sandpaper to remove any large bumps or uneven surfaces. Gradually switch to finer-grit sandpaper to achieve a smoother finish.
Pay special attention to the edges of the rungs and side rails, as these areas are more prone to roughness. Sand in the direction of the wood grain to ensure a professional-looking result.
Once you have finished sanding, remove any sawdust or debris from the ladder using a brush or a clean cloth. This will prepare the surface for finishing.
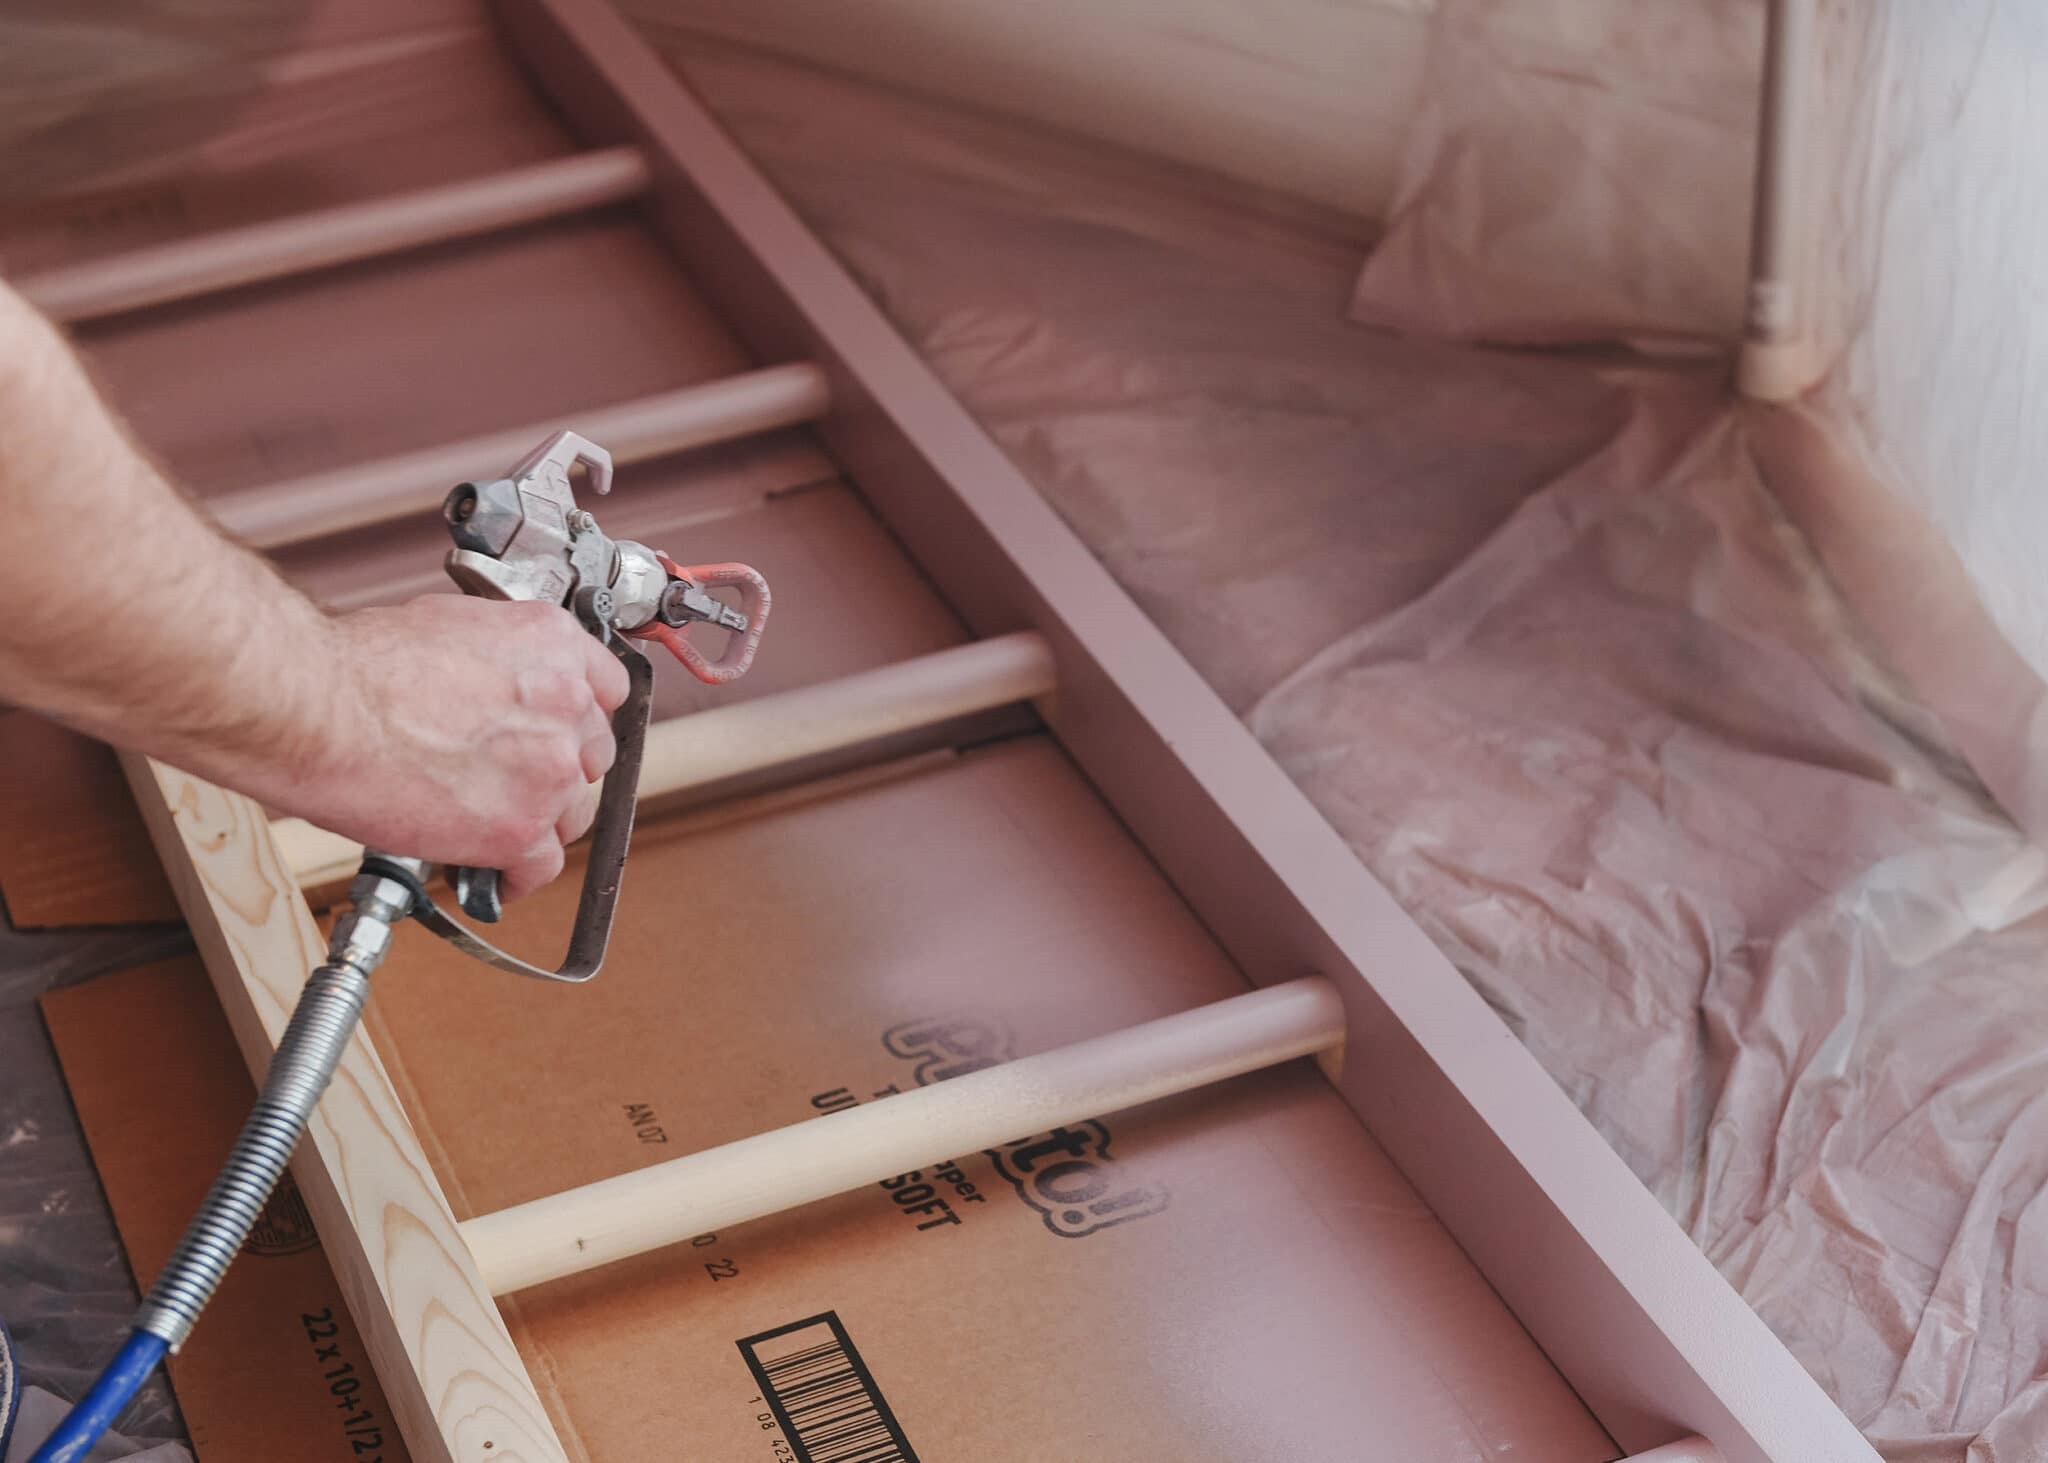
Next, apply a wood finish or paint to the ladder. This step is optional, but it can provide added protection and enhance the ladder’s appearance. Choose a finish that is suitable for the type of wood used in your ladder. For outdoor ladders, consider using a weather-resistant finish to protect against the elements.
Carefully follow the instructions on the finish or paint product, including the drying time and application techniques. Apply the finish evenly to all exposed surfaces of the ladder, including the rungs, side rails, and any other components.
Allow the finish to dry completely before handling or using the ladder. This will ensure that the finish sets properly and provides the desired level of protection.
With sanding and finishing complete, your ladder is now nearly ready to be put to use. But first, it’s important to perform a final step: testing the ladder’s stability.
Step 8: Test for Stability
Before using your ladder, it’s crucial to perform a thorough stability test to ensure it can safely support your weight and withstand the intended use. Testing the ladder will give you peace of mind and help prevent any accidents or injuries while using it.
Start by placing the ladder on a level and stable surface. Make sure all the rungs are securely attached, and the ladder is free from any debris or obstructions. Double-check that any paint or finish on the ladder is fully dried and cured.
Climb a few steps up the ladder and test its stability. Make sure it feels secure and doesn’t wobble or shift. Hold onto the side rails and put some weight on different rungs to assess their strength. Pay attention to any signs of weakness or movement in the ladder.
If you notice any instability or feel unsure about the ladder’s safety, do not continue using it. Address the issues identified during the stability test by reinforcing the joints, tightening the fasteners, or seeking professional assistance if needed.
It is always better to be cautious and address any stability concerns before relying on the ladder for any task. Taking the time to test and ensure its stability will go a long way in maintaining your safety and protection.
Congratulations! You have successfully completed the process of building your ladder. With proper care and maintenance, your ladder can serve you well for various tasks and projects in the future.
Remember to always follow proper ladder usage guidelines and safety precautions while using it. Take care of your ladder by storing it in a dry and secure location when not in use, inspecting it periodically for any signs of damage, and repairing any issues promptly.
Enjoy the satisfaction of having constructed your own ladder and the convenience it brings for your home improvement projects, maintenance tasks, or any climbing needs.
Happy climbing!
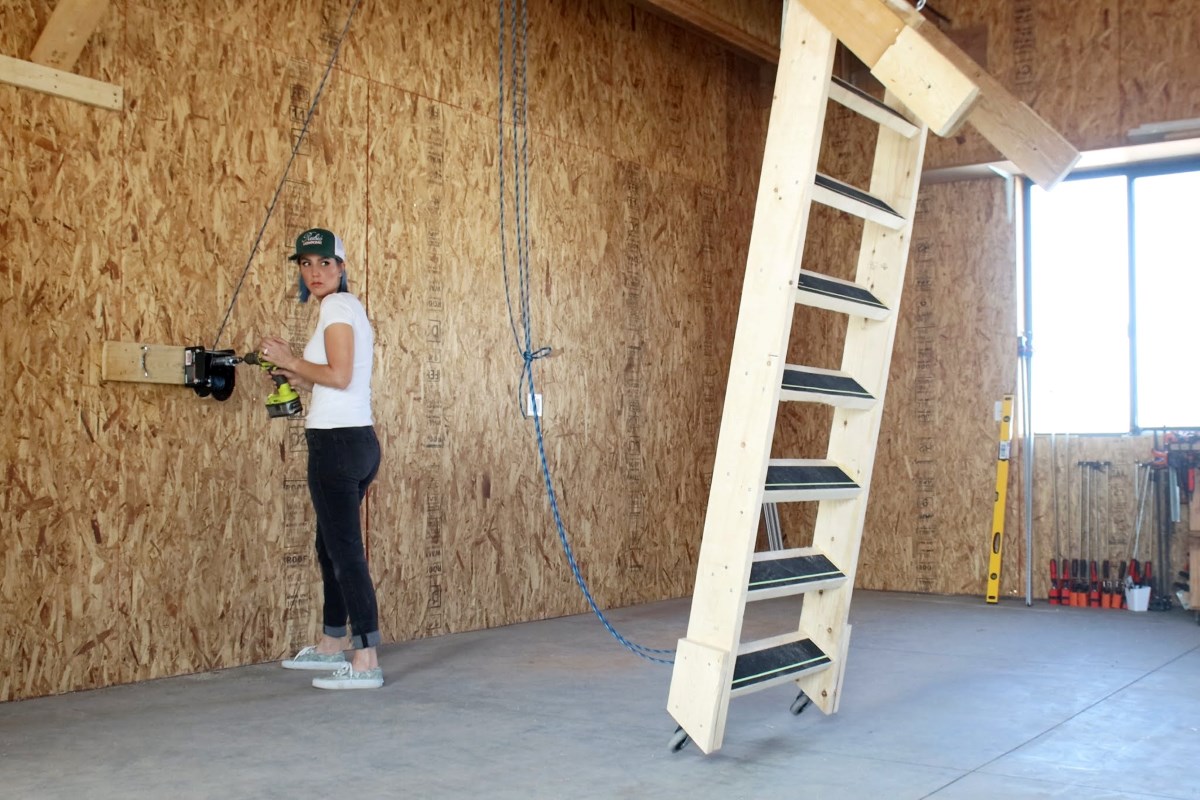
Read more: How To Build Wooden Ladder
Conclusion
Building your own ladder can be a rewarding and cost-effective project that allows you to customize a vital tool for your specific needs. By following the step-by-step process outlined in this article, you can construct a sturdy and reliable ladder that will serve you well for years to come.
Throughout the construction process, we emphasized the importance of proper measurements, precise cuts, and secure attachments. Ensuring the ladder’s stability and strength is paramount to your safety and the ladder’s longevity.
By gathering the necessary materials, measuring and cutting the rungs and side rails, marking and drilling the holes, attaching the rungs, considering optional bracket reinforcement, sanding and finishing, and conducting a thorough stability test, you have taken the necessary steps to create a safe and reliable ladder.
Remember, when working with tools and materials, always prioritize your safety. Wear appropriate protective gear, follow proper safety guidelines, and use caution to prevent accidents or injuries.
Now that you have completed your ladder, make sure to use it responsibly. Follow proper ladder usage guidelines, such as maintaining three points of contact, using the ladder on stable ground, and avoiding overreaching.
Additionally, don’t forget to periodically inspect your ladder for any signs of wear and tear. Repair any issues promptly to maintain its functionality and safety.
Embarking on the journey of building your ladder is not only a practical endeavor but also a chance to showcase your DIY skills and creativity. The sense of accomplishment and satisfaction that comes from using a ladder you built with your own hands is truly unparalleled.
We hope that this article has provided you with the guidance and inspiration you need to successfully build your own ladder. Now, go ahead and take on your next project with confidence, knowing that you have a reliable ladder by your side.
Happy building and stay safe!
Frequently Asked Questions about How To Build Ladder
Was this page helpful?
At Storables.com, we guarantee accurate and reliable information. Our content, validated by Expert Board Contributors, is crafted following stringent Editorial Policies. We're committed to providing you with well-researched, expert-backed insights for all your informational needs.


0 thoughts on “How To Build Ladder”