Articles
How To Sublimate A Blanket
Modified: October 18, 2024
Looking for articles on how to sublimate a blanket? Learn the step-by-step process to create stunning designs on blankets with our comprehensive guide.
(Many of the links in this article redirect to a specific reviewed product. Your purchase of these products through affiliate links helps to generate commission for Storables.com, at no extra cost. Learn more)
Introduction
Welcome to our guide on how to sublimate a blanket! Sublimation is a popular method for transferring high-quality, full-color designs onto various surfaces – and blankets are no exception. Whether you want to create a personalized gift or add a unique touch to your home decor, sublimating a blanket allows you to unleash your creativity and create stunning, custom designs.
In this article, we will walk you through the step-by-step process of sublimating a blanket. From preparing the design to printing and sublimating, we’ll cover all the essential aspects to help you achieve impressive results. So, let’s dive in and discover how you can transform an ordinary blanket into a one-of-a-kind masterpiece!
But first, let’s briefly explore what sublimation is and why it’s such a popular method for personalized printing projects.
Key Takeaways:
- Sublimating a blanket involves transferring vibrant, long-lasting designs onto polyester-based materials using a specialized printing technique. With the right materials and step-by-step process, you can create personalized, durable masterpieces.
- From preparing the design to sublimating the blanket, attention to detail and proper techniques are crucial for achieving impressive results. Embrace the creative possibilities of sublimation and enjoy the journey of personalized printing projects.
Read more: How To Convert A Printer To Sublimation
What is Sublimation?
Sublimation is a printing technique that involves transferring dye onto a substrate using heat. Unlike traditional printing methods that rely on ink sitting on top of a surface, sublimation ink actually becomes a part of the material it is applied to. This results in vibrant, long-lasting, and photo-realistic prints that are resistant to fading or peeling.
The process of sublimation starts with a special type of ink known as sublimation ink. This ink is made up of solid particles that have the ability to transform into gas when exposed to heat. Through a combination of heat and pressure, these ink particles sublimate and penetrate the surface of the material, becoming permanently fused with it.
Sublimation is particularly effective on polyester-based materials because the ink bonds well with the polyester fibers. This makes it an excellent choice for sublimating blankets, as many blankets are made from polyester blends. However, it’s important to note that sublimation cannot be done on natural fabrics like cotton or silk, as the ink will not adhere properly to these surfaces.
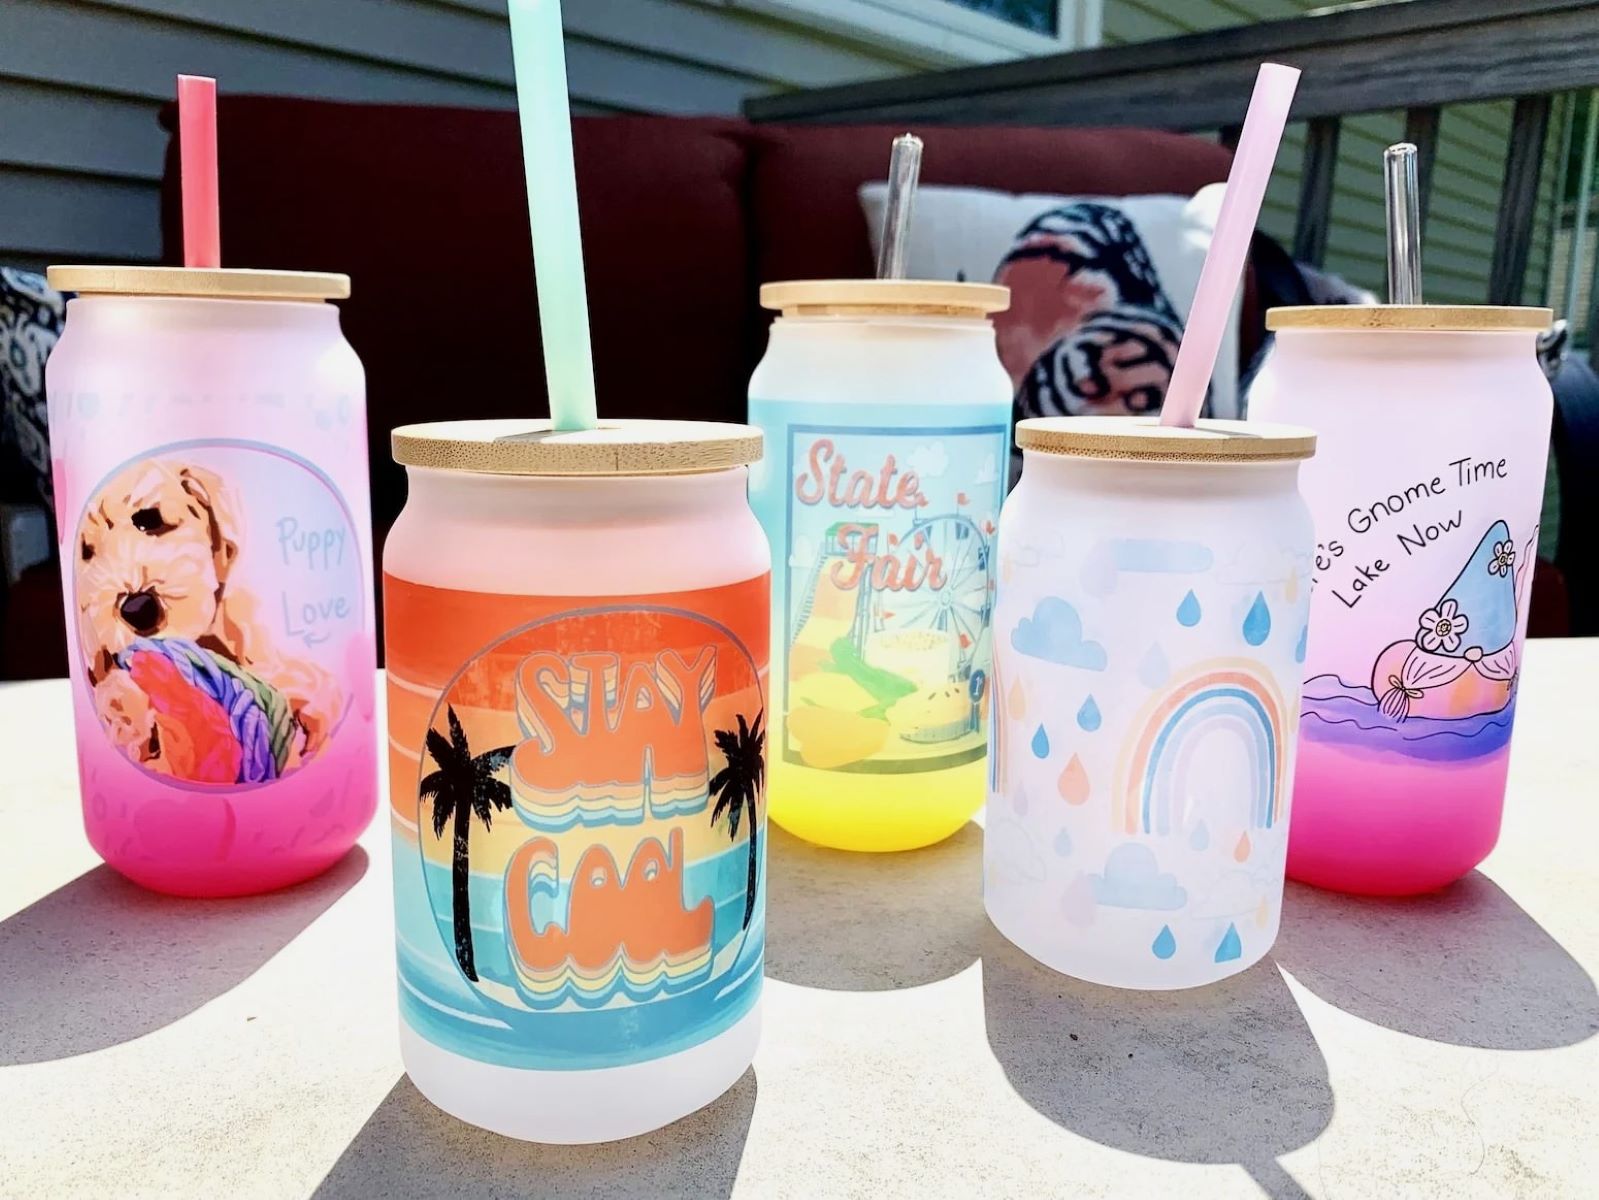
One of the key advantages of sublimation is the ability to achieve full-color, high-resolution prints. Unlike other methods that are limited by the number of ink colors or color separations, sublimation allows for an unlimited color palette. This makes it perfect for reproducing intricate designs, photographs, or artwork with exceptional detail and accuracy.
Additionally, sublimation prints are incredibly durable. The ink is deeply embedded within the fabric, resulting in prints that can withstand regular use, washing, and exposure to sunlight without fading or deteriorating. This makes sublimated blankets a great option for gifting, home decor, or even promotional items.
Now that you understand the basics of sublimation, let’s move on to the materials you’ll need to get started on your blanket sublimation project.
Materials Needed
Before you begin sublimating a blanket, it’s important to gather all the necessary materials. Here’s a list of items you’ll need:
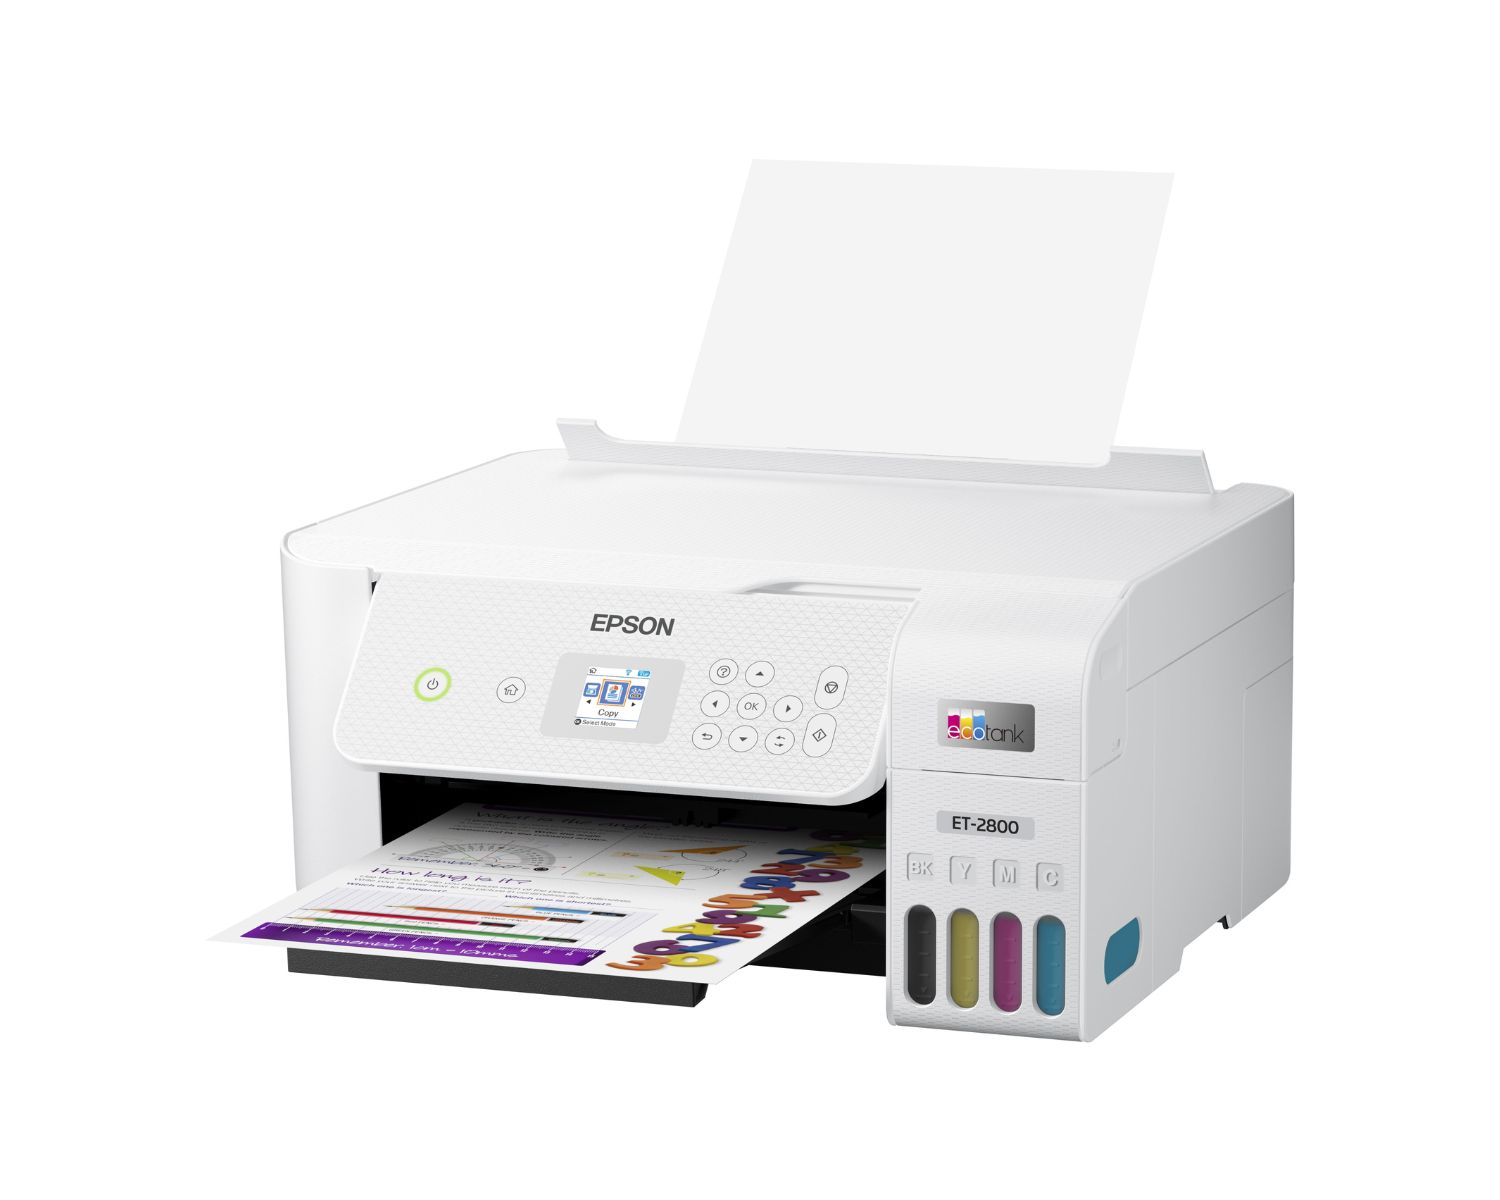
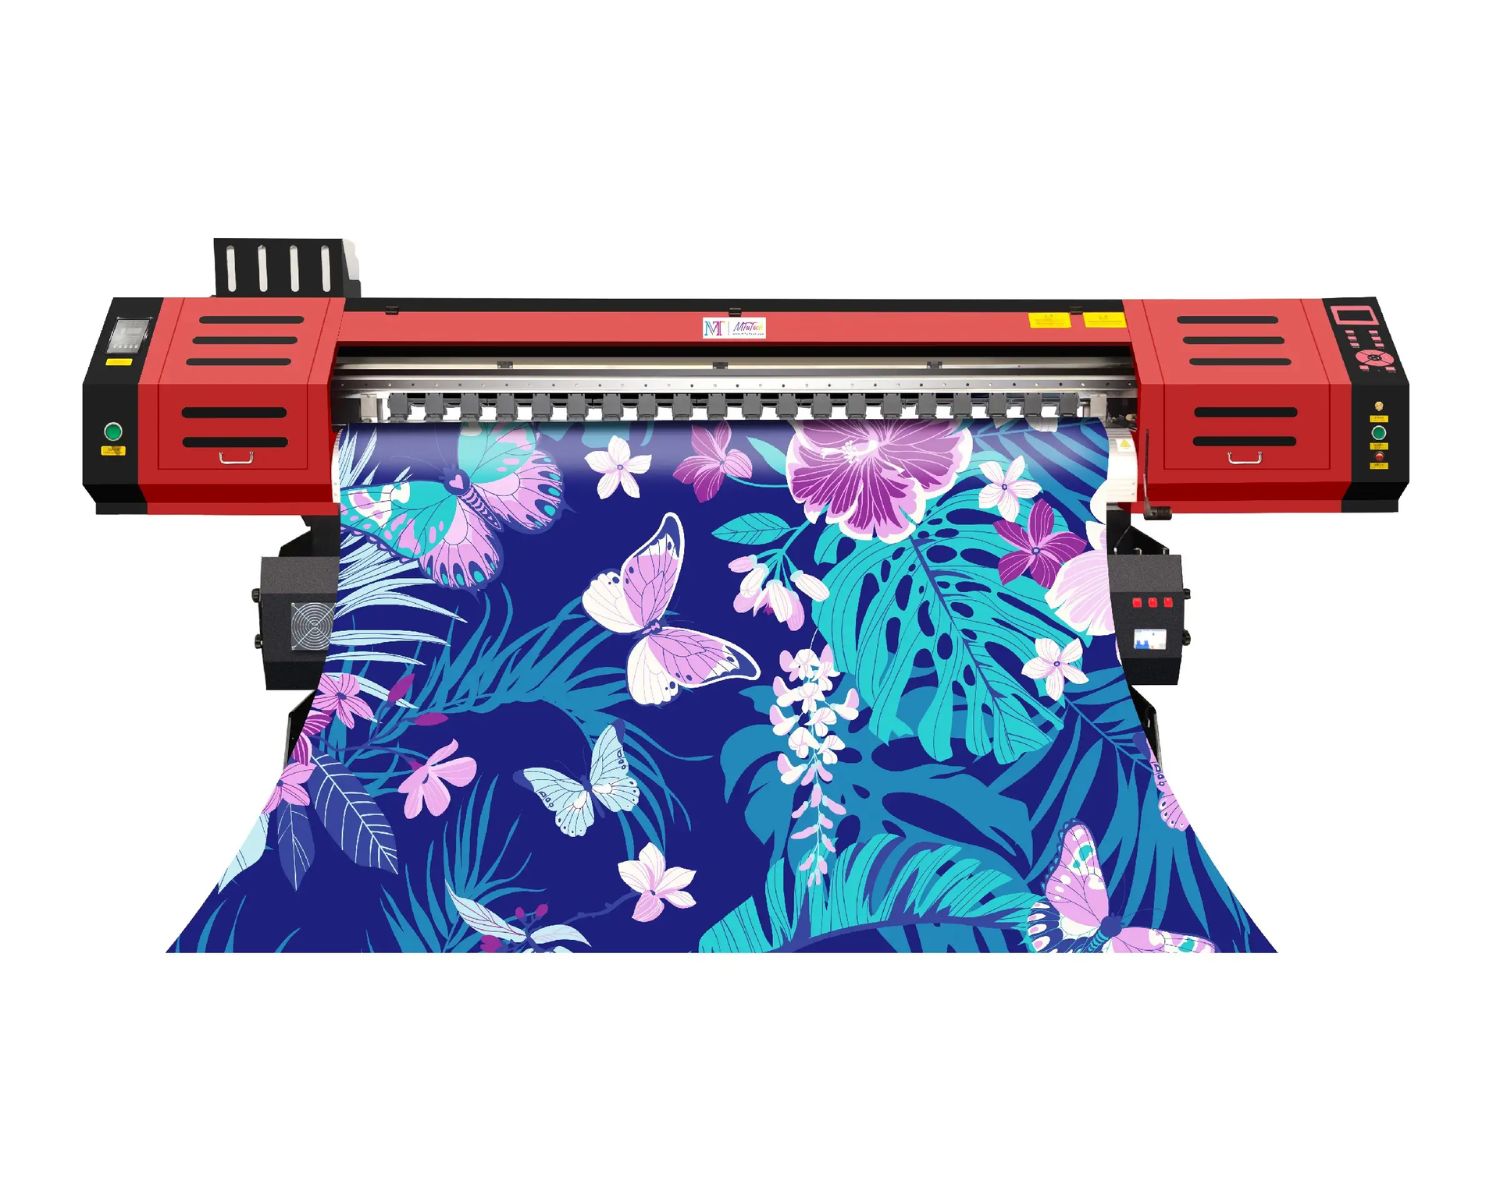
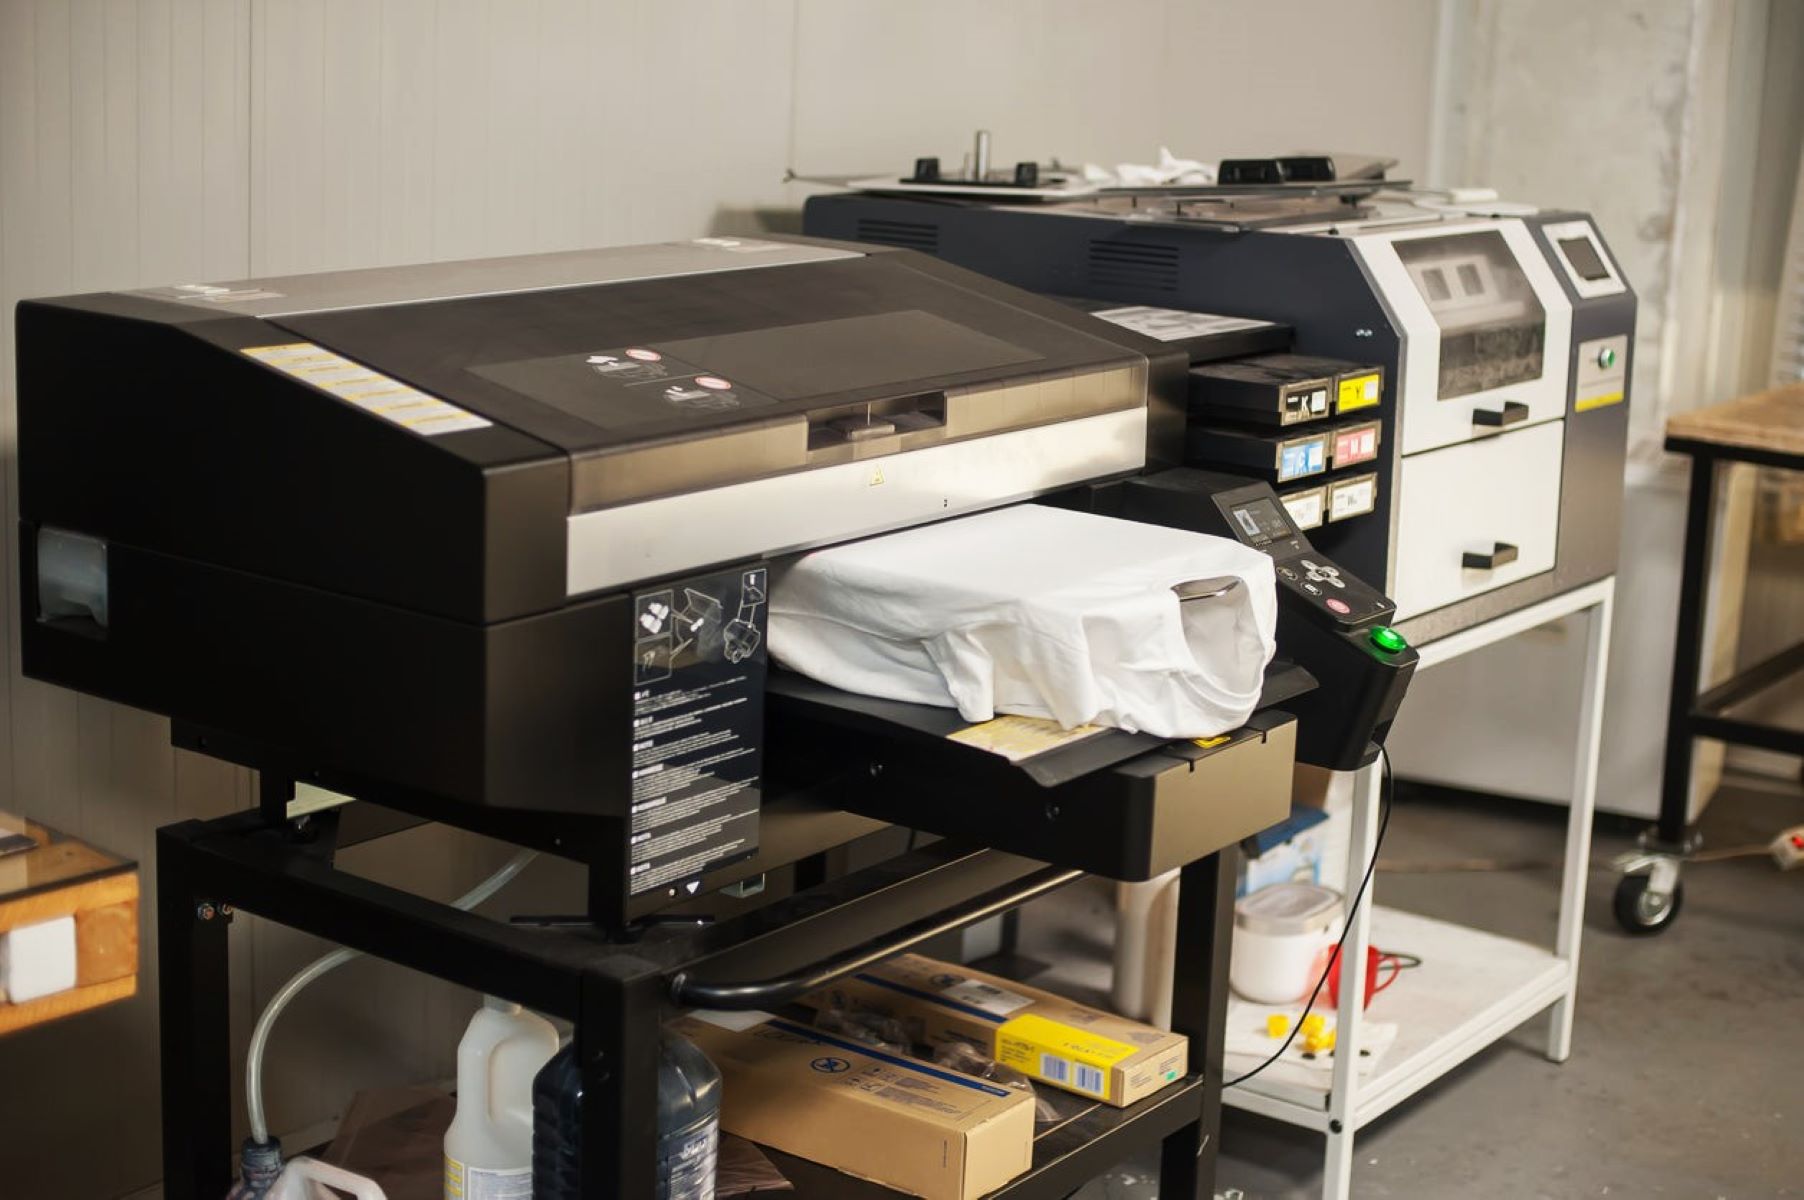
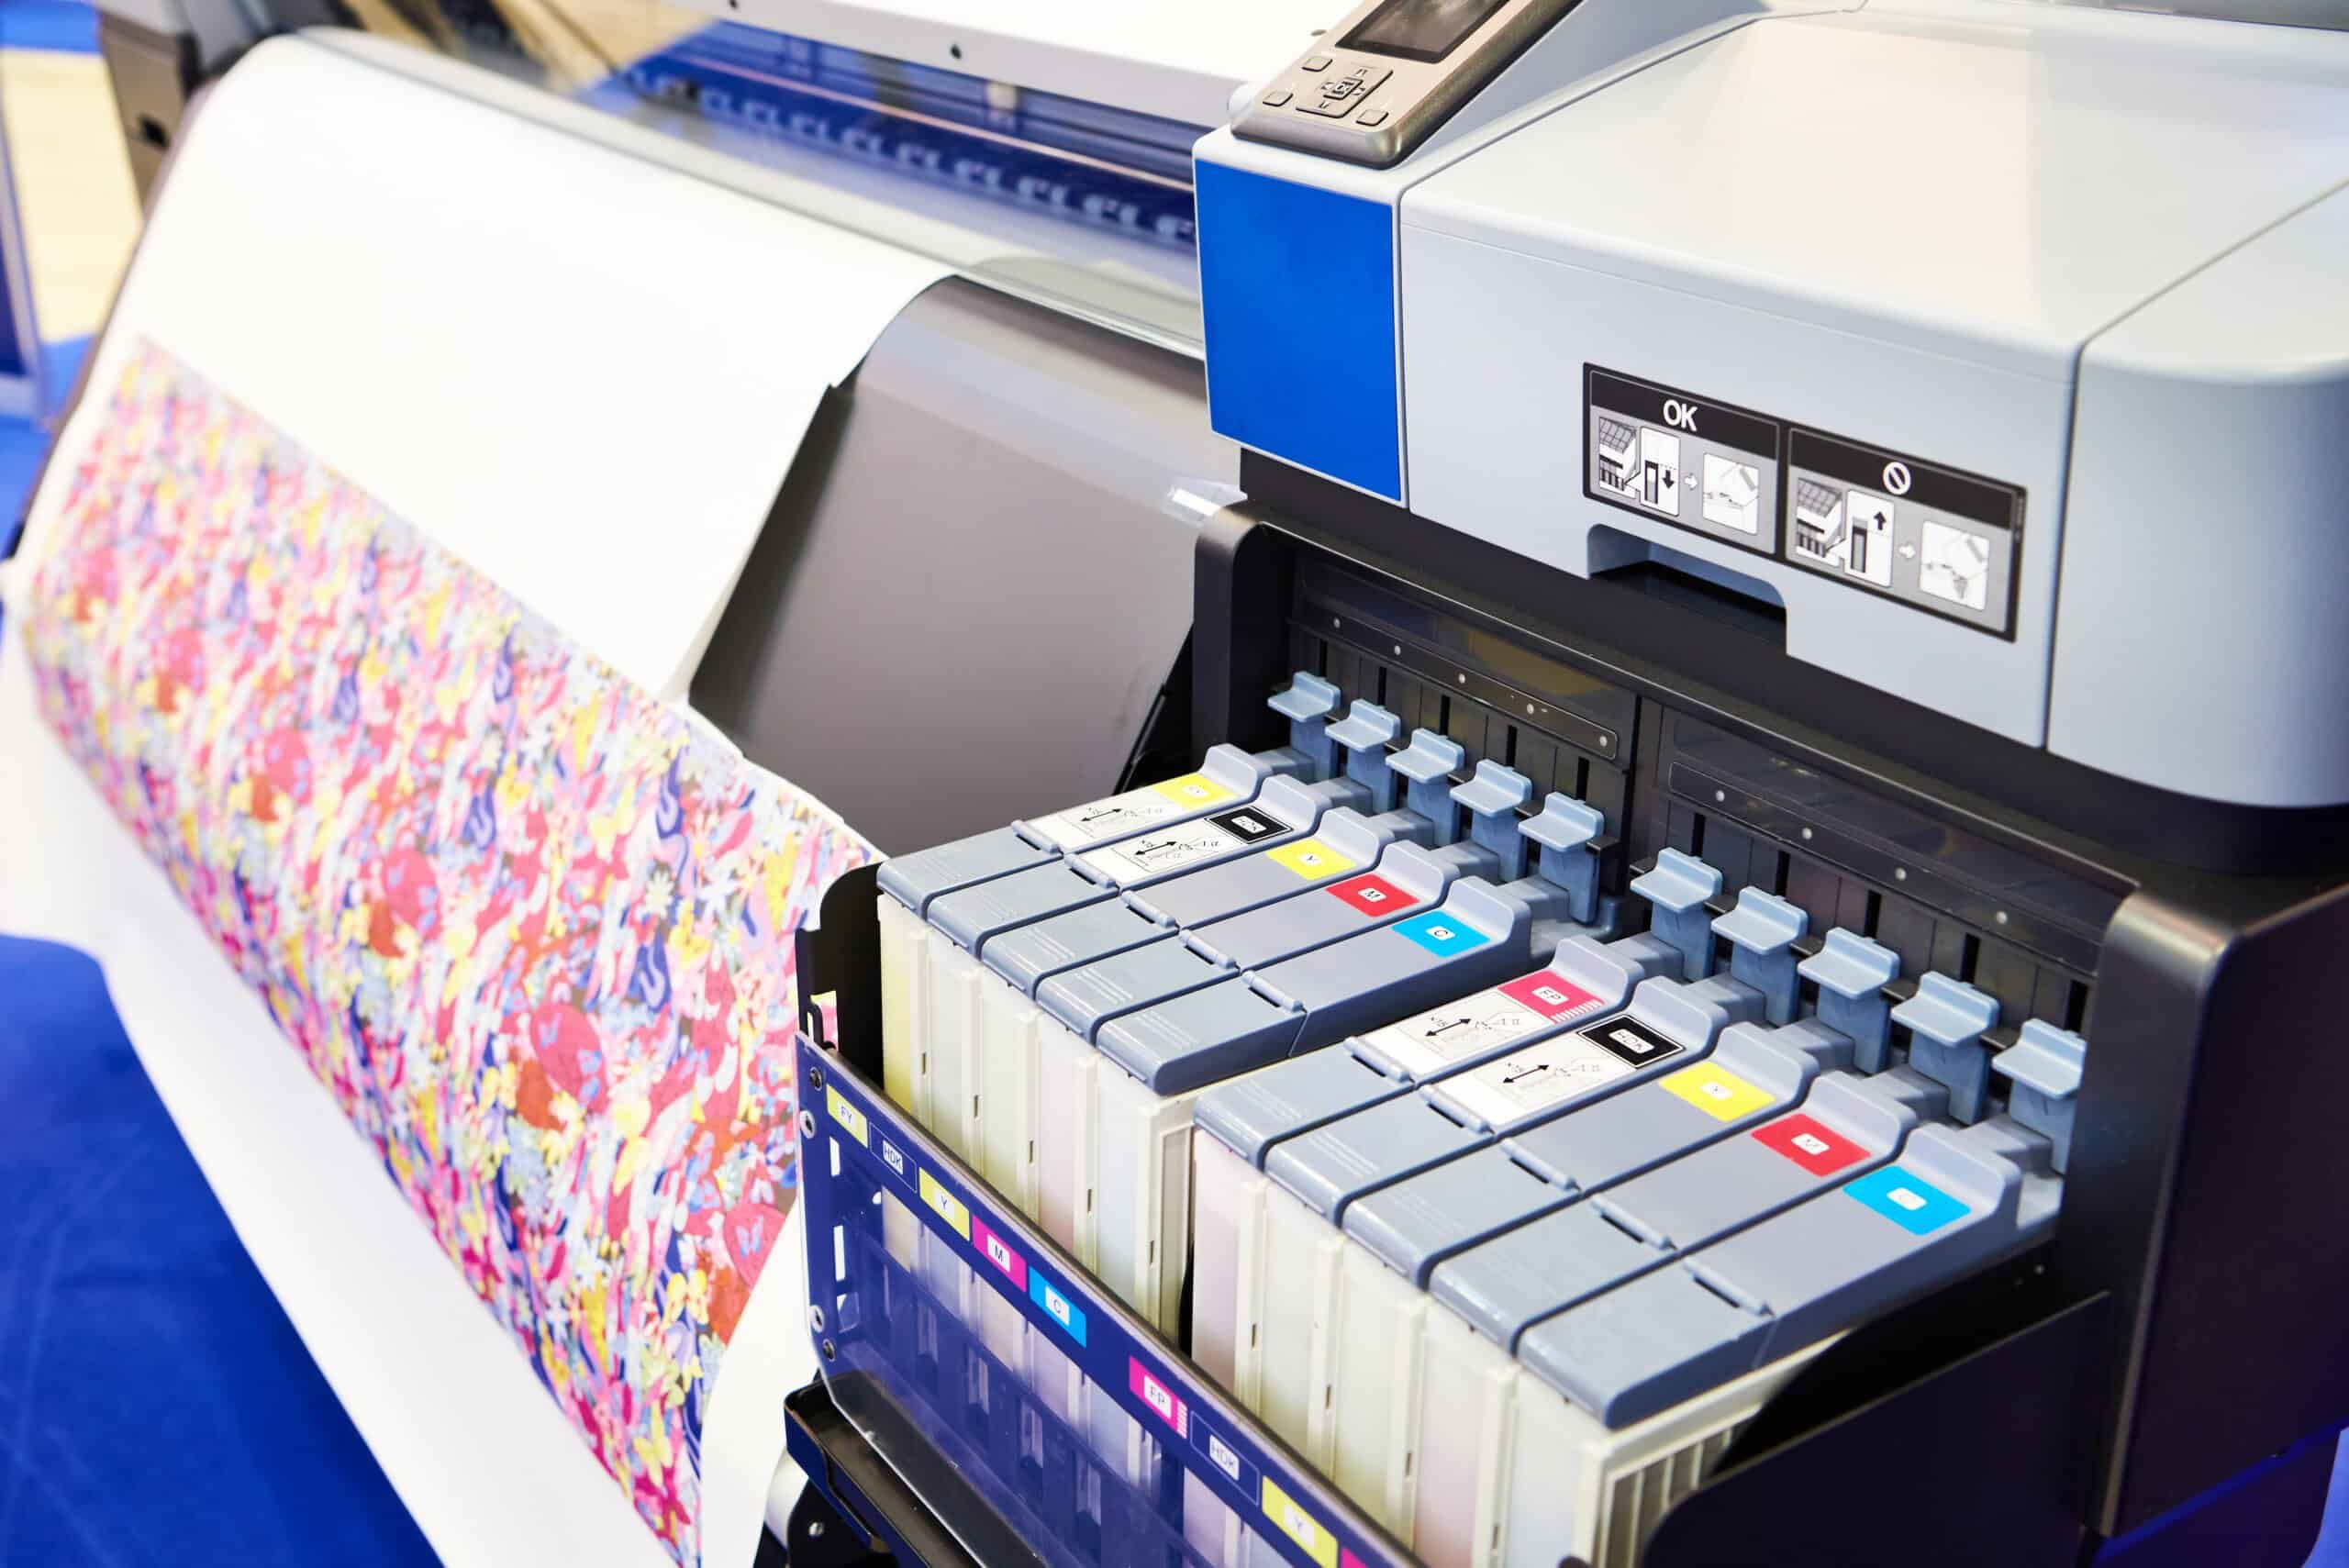
- Sublimation Printer: A specialized printer that uses sublimation ink cartridges. Make sure you choose a printer that is compatible with sublimation inks.
- Sublimation Ink: High-quality sublimation ink cartridges in the required colors. Ensure that the ink is compatible with your printer model.
- Blanket: Choose a polyester-based blanket for best results. Make sure the blanket is smooth and does not have any seams or texture that could interfere with the printing process.
- Heat Press: A heat press is used to apply heat and pressure to the sublimation paper and blanket, allowing the ink to transfer effectively.
- Sublimation Paper: Special paper designed for sublimation printing. It has a special coating that allows the ink to transfer onto the blanket.
- Protective Paper: Non-stick paper or tissue paper to protect the heat press and the blanket from any residual ink or transfer marks.
- Tape: Heat-resistant tape to secure the sublimation paper onto the blanket and prevent any movement during the printing process.
- Heat-Resistant Gloves: To protect your hands from the heat of the press.
- Lint Roller: To remove any loose fibers or debris from the blanket surface before printing.
- Design Software: Graphic design software such as Adobe Photoshop or CorelDRAW to create or prepare your design for printing.
Ensure that you have all these materials ready before starting the sublimation process. Having everything on hand will make the workflow smoother and more efficient.
In the next section, we’ll walk you through the first step of the sublimation process: preparing the design.
Step 1: Preparing the Design
Before you can start sublimating your blanket, you need to create or prepare the design that you want to transfer onto the fabric. Here are the steps to follow:
- Choose Your Design: Consider the purpose of the blanket and the style you want to achieve. You can create a custom design using graphic design software, or you can choose from pre-made designs available online.
- Design Size: Determine the ideal size for your design and ensure that it fits within the printable area of your sublimation printer. Keep in mind any specific dimensions or limitations of the blanket you’re using.
- Image Resolution: Use high-resolution images for the best results. Aim for a resolution of at least 300 DPI (dots per inch) to ensure sharpness and clarity in the final print.
- Color Mode: Set your design to the appropriate color mode. For sublimation printing, it’s recommended to use CMYK color mode to ensure accurate color representation.
- Editing and Enhancements: Adjust your design, if necessary, by applying any edits, filters, or enhancements to achieve the desired look. This could include adjusting brightness/contrast, adding text, or applying artistic effects.
- Mirror the Design: For sublimation printing, it’s important to mirror the design horizontally before printing. This ensures that the design transfers onto the fabric in the correct orientation when sublimated.
- Check for Mistakes: Review your design carefully for any errors, spelling mistakes, or elements that might look distorted when transferred onto the blanket. It’s always a good idea to get a second pair of eyes to check for accuracy.
Once you have your design ready, save it in a compatible file format, such as JPEG or PNG. Remember to save a copy of your design file for future use or modifications.
In the next step, we’ll guide you on how to prepare the blanket for sublimation.
Step 2: Preparing the Blanket
Now that your design is ready, it’s time to prepare the blanket for sublimation. Follow these steps to ensure the best results:
- Wash and Dry: Before sublimating, it’s important to wash and dry the blanket to remove any dirt, lint, or chemicals that might affect the printing process. Use a gentle cycle and mild detergent, and avoid using fabric softeners or dryer sheets.
- Smooth Out the Blanket: Lay the blanket flat on a clean, smooth surface, ensuring there are no wrinkles, creases, or folds. Smooth it out as much as possible to create an even surface for the printing process.
- Remove Loose Fibers: Use a lint roller or lint brush to remove any loose fibers or debris from the surface of the blanket. This step helps ensure a clean and smooth printing surface, preventing any unwanted marks or blemishes on the final print.
- Tape the Edges: Secure the edges of the blanket using heat-resistant tape. This helps to keep the blanket taut and prevents it from moving during the printing process. Make sure the tape is not covering any part of the design area.
- Pre-Heat the Heat Press: If your heat press requires preheating, follow the manufacturer’s instructions to ensure it reaches the recommended temperature for sublimation.
By properly preparing the blanket, you create the ideal foundation for a successful sublimation process. Once the blanket is fully prepared, you are ready to move on to the next step: printing the design onto sublimation paper.
When sublimating a blanket, ensure the fabric is polyester for best results. Use a heat press with even pressure and temperature to transfer the design onto the blanket.
Read more: How To Clean A Sublimation Printer
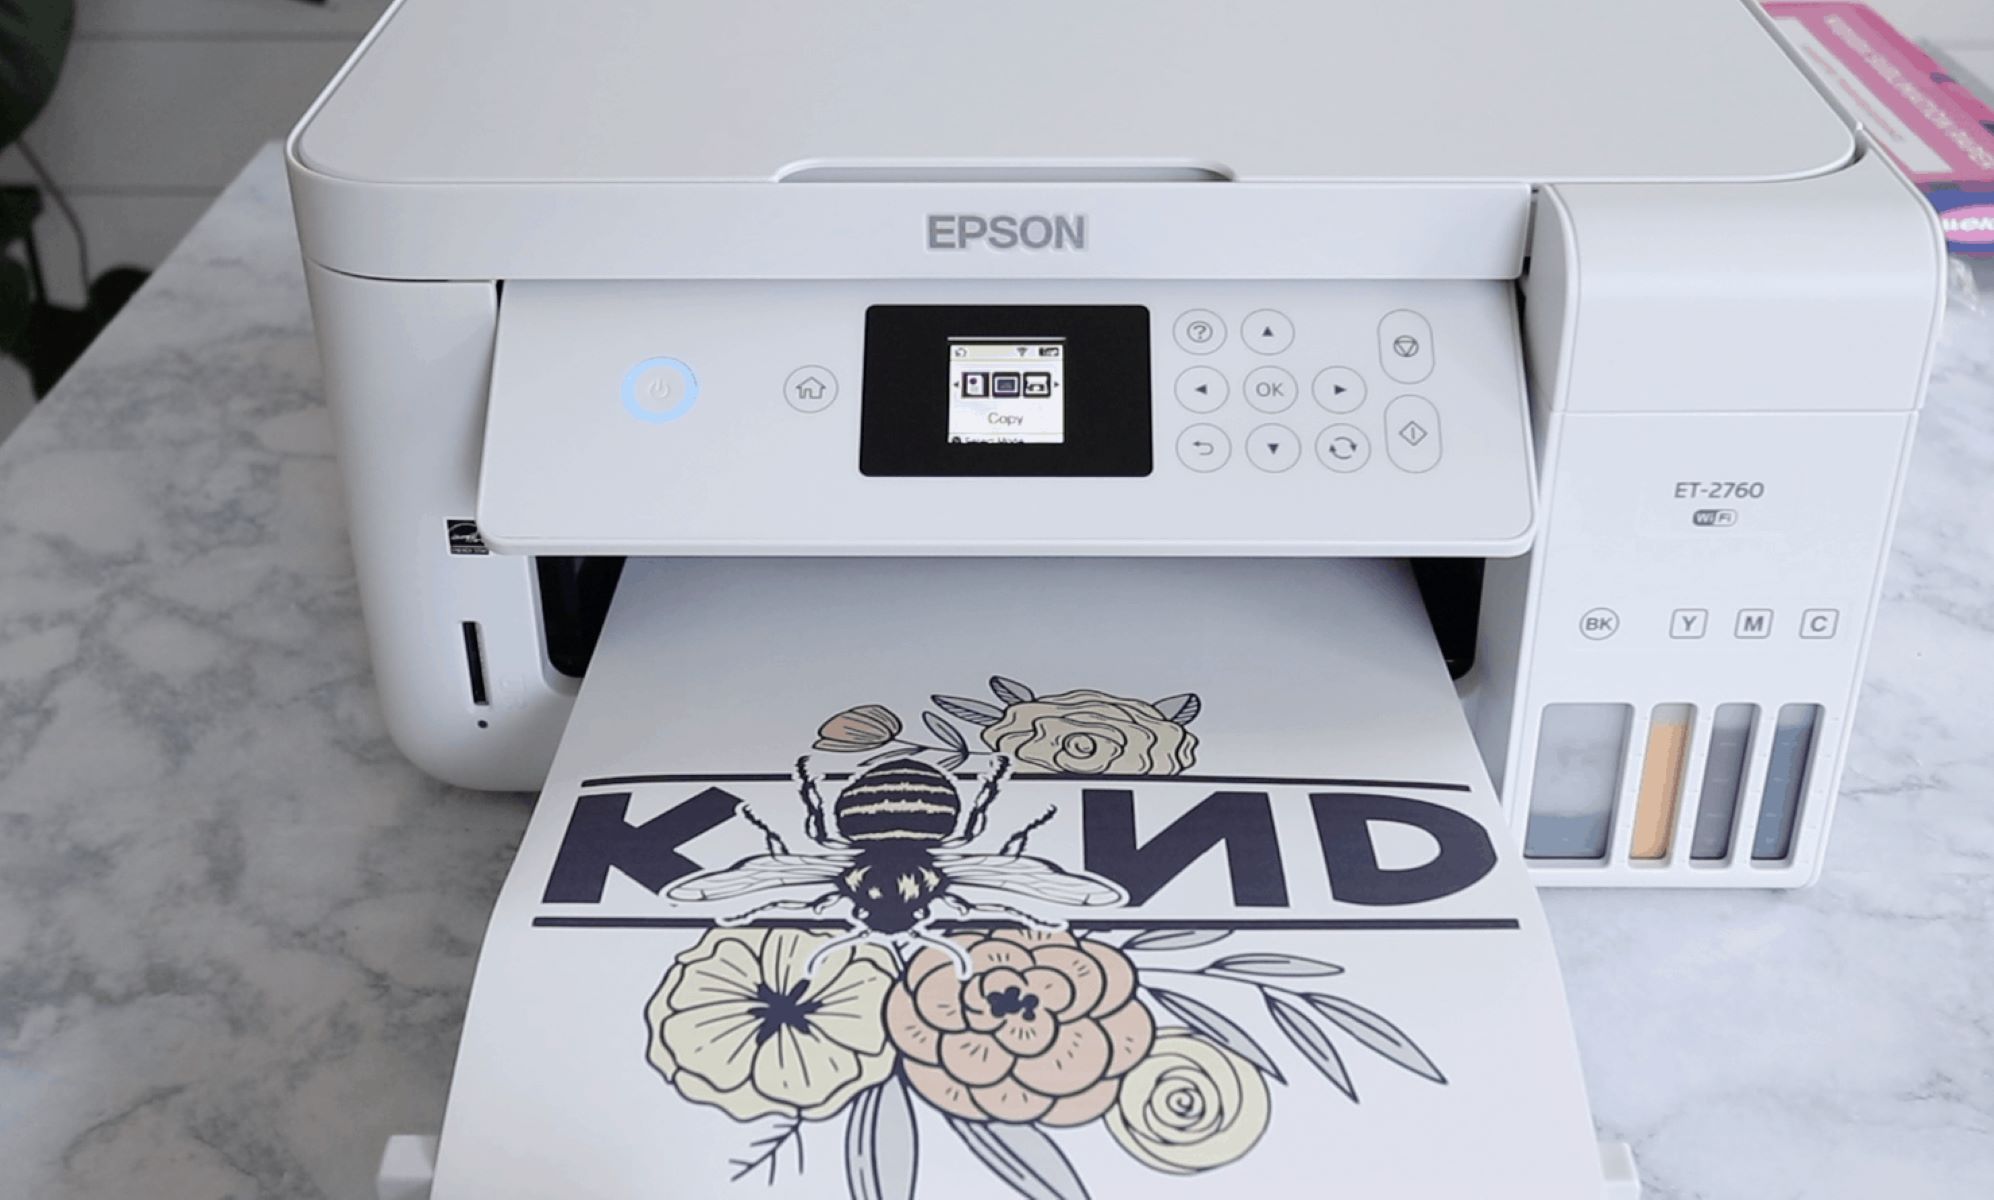
Step 3: Printing the Design
With the blanket prepared, it’s time to print your design onto sublimation paper. Follow these steps to ensure a successful printing process:
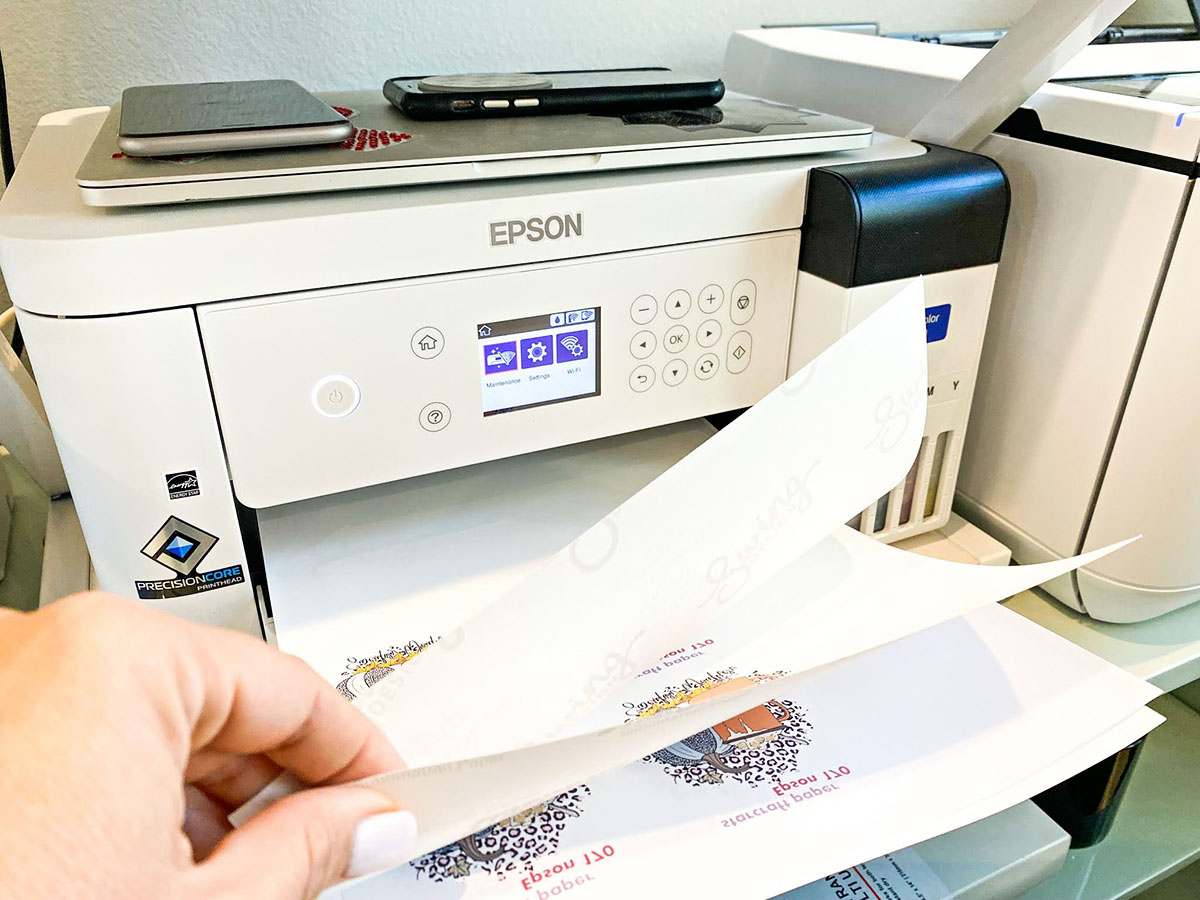
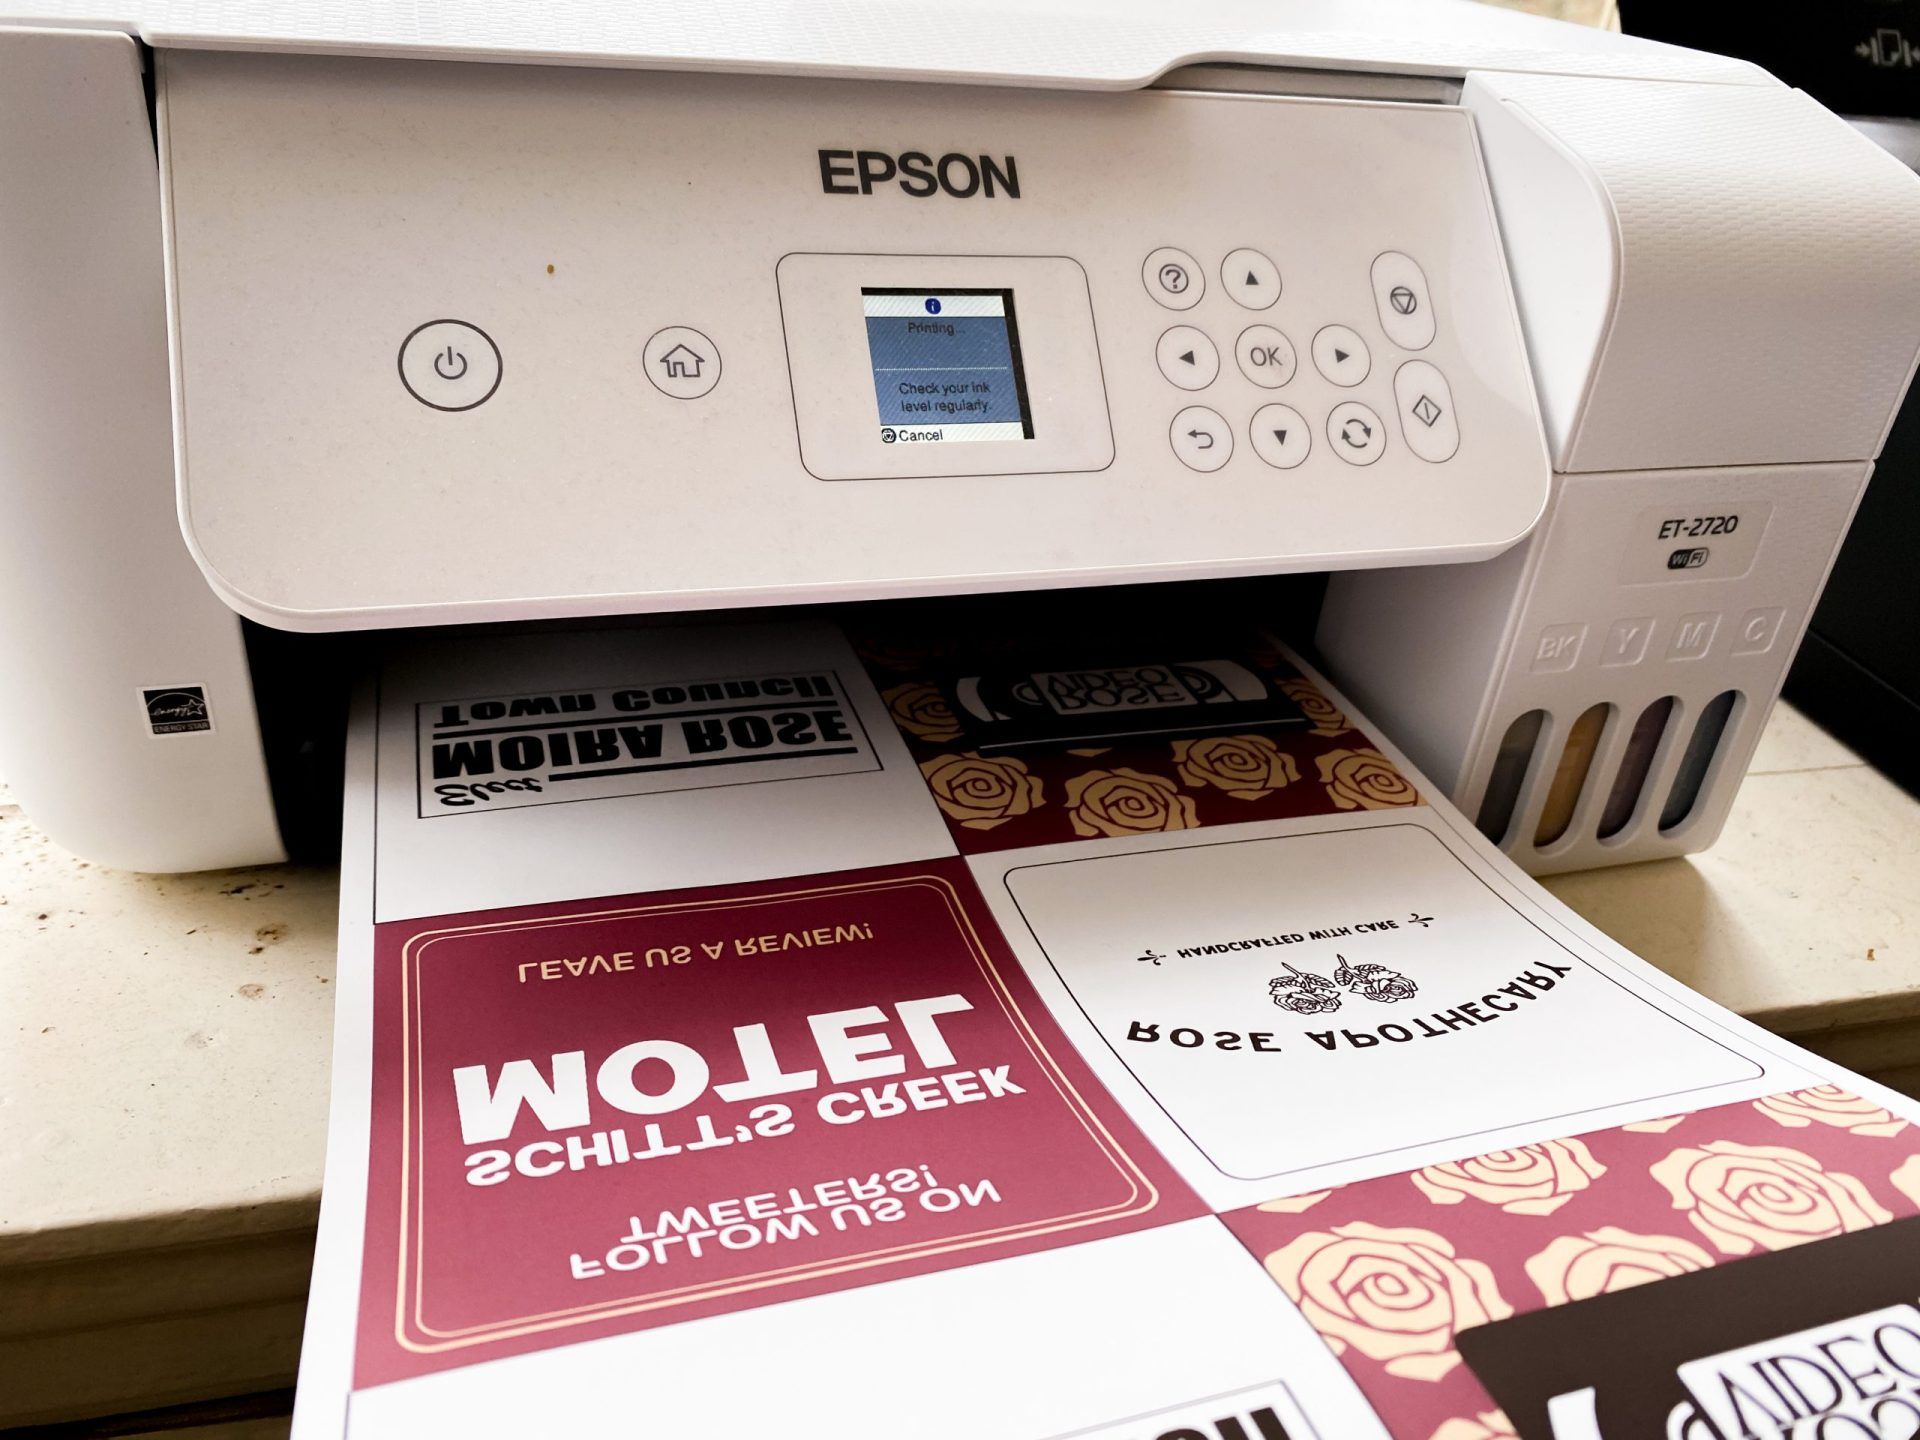
- Load Sublimation Paper: Load the sublimation paper into your printer according to the manufacturer’s instructions. Make sure you’re using the appropriate paper size and that it’s placed correctly in the tray.
- Printer Settings: Adjust the printer settings to ensure optimal print quality. Set the printer to the highest resolution available and choose the appropriate color profile for sublimation printing.
- Print Test Page: Before printing your actual design, it’s a good idea to print a test page on regular paper. This allows you to check the placement, colors, and overall quality of the design before using the sublimation paper.
- Print the Design: Once you’re satisfied with the test print, carefully load the sublimation paper into the printer and print your design. Make sure the design is correctly mirrored to ensure the final image appears in the correct orientation after sublimation.
- Dry the Sublimation Paper: Allow the printed sublimation paper to dry completely before handling it. This prevents any smudging or smearing of the ink during the transfer process.
Pay attention to the printing quality, ensuring that the colors are vibrant and the details are clear. If you encounter any printing issues, double-check the printer settings and make sure you’re using high-quality sublimation ink.
In the next step, we’ll guide you through the process of sublimating the design onto the blanket.
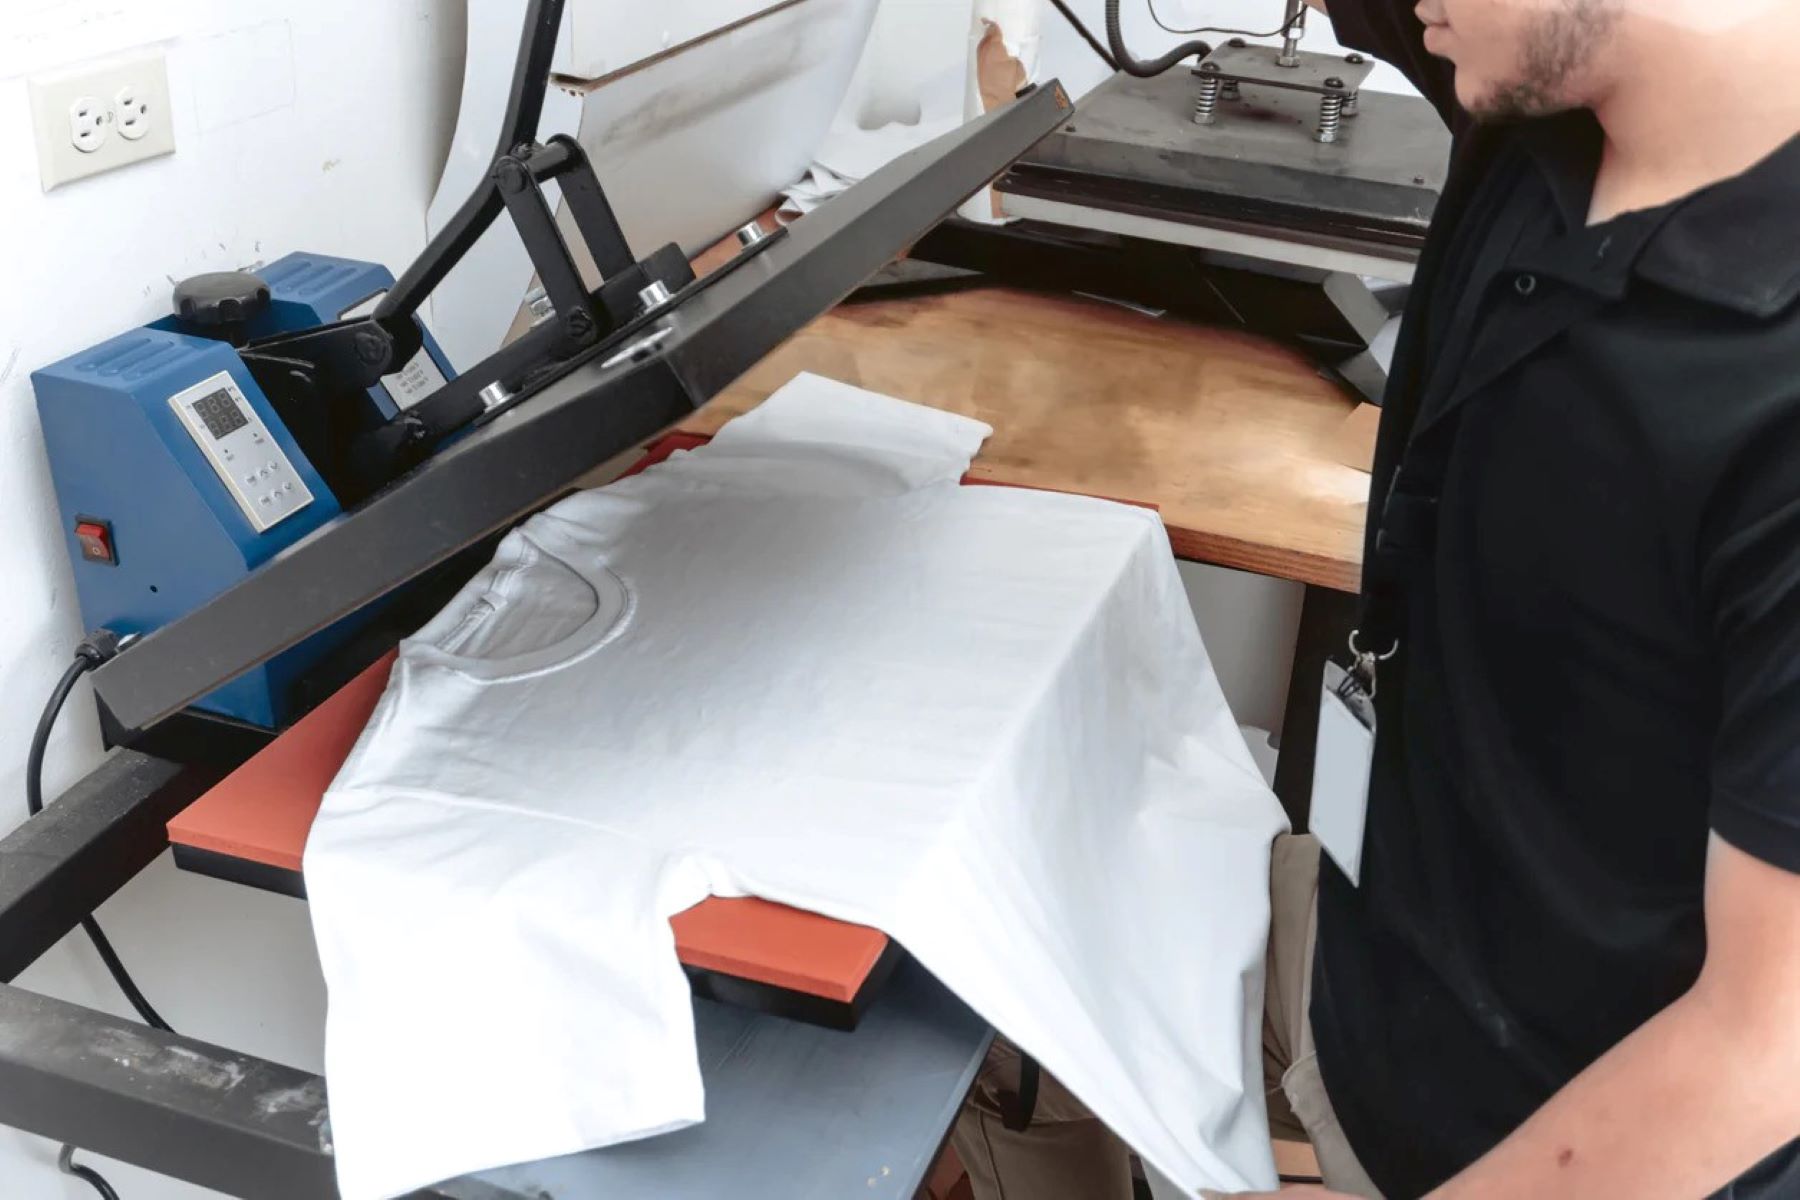
Step 4: Sublimating the Blanket
Now that you have your design printed on sublimation paper, it’s time to transfer the design onto the blanket using a heat press. Follow these steps for a successful sublimation process:
- Preheat the Heat Press: Set your heat press to the recommended temperature for sublimation, usually around 380-400 degrees Fahrenheit (193-204 degrees Celsius). Allow the heat press to fully preheat.
- Place the Blanket: Carefully position the prepared blanket on the heat press bed, ensuring that the taped edges are secure and the blanket is smooth and wrinkle-free.
- Place the Sublimation Paper: Position the sublimation paper with the printed design facing downward onto the blanket. Make sure the design is aligned properly with the surface of the blanket.
- Apply Heat and Pressure: Close the heat press and apply firm pressure to the sublimation paper and blanket. Follow the manufacturer’s recommendations for pressure and timing, usually around 45-60 seconds.
- Wait for Cooling: Once the sublimation process is complete, carefully remove the heat press and allow the blanket to cool down completely. The cooling process ensures that the ink fully adheres to the fabric.
- Peel Sublimation Paper: Peel off the sublimation paper from the blanket, starting from one corner and pulling slowly and evenly. Be careful not to smudge or scratch the printed design.
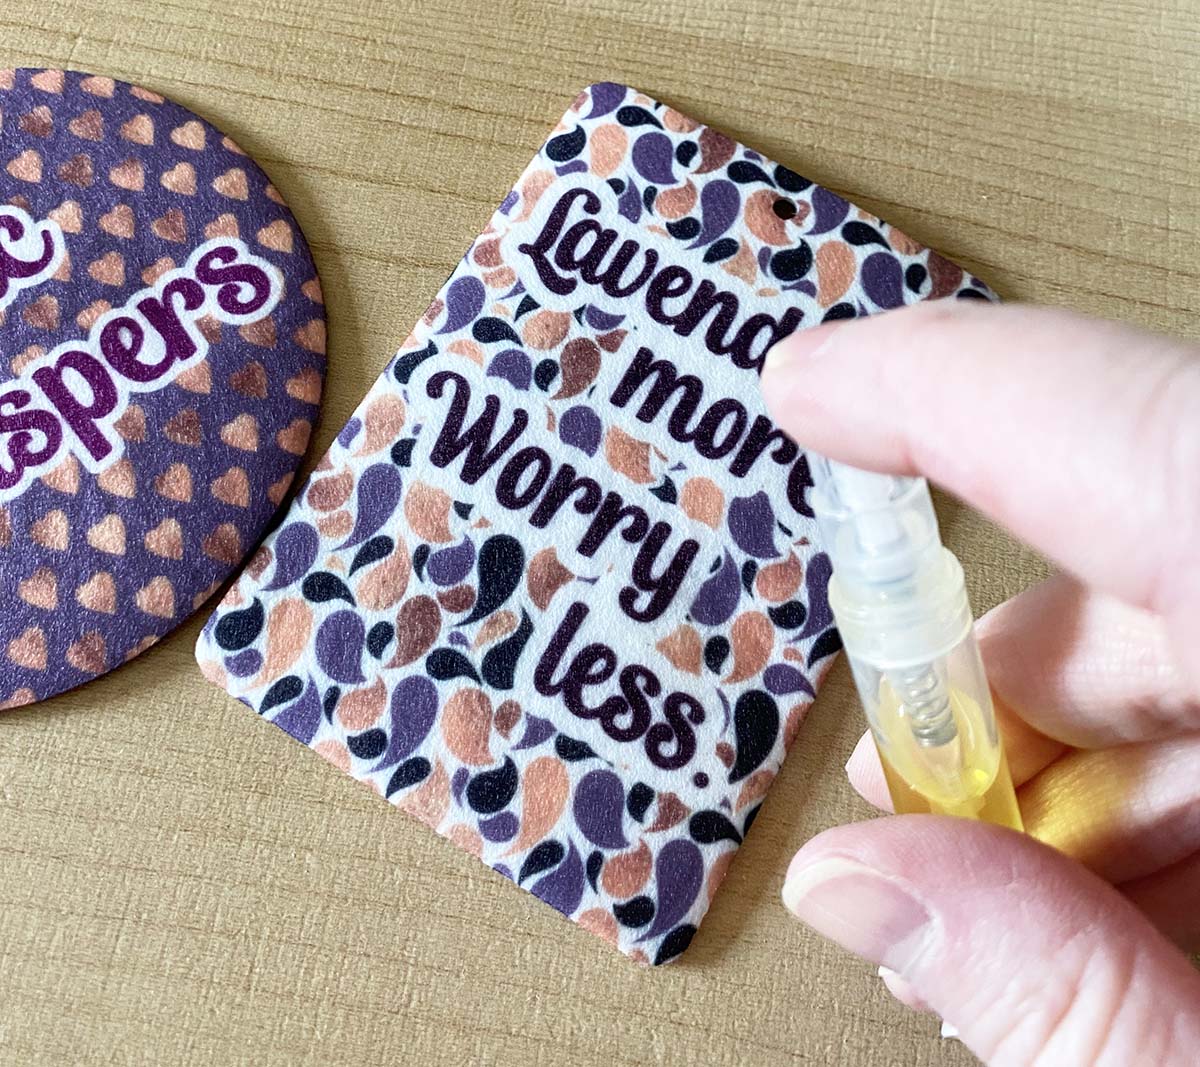
After sublimation, you should see your design beautifully transferred onto the blanket, with vivid colors and crisp details. Take a moment to admire your work, but make sure to handle the blanket with care, as the print is still vulnerable to damage.
Now that the design is successfully sublimated onto the blanket, we’re almost done! In the final step, we’ll cover some finishing touches to complete the process.
Step 5: Finishing Touches
With the sublimation process complete, it’s time to add some finishing touches to your sublimated blanket. Follow these steps to ensure a polished final product:
- Trim Excess Threads: Inspect the edges of the blanket and trim any loose or excess threads using sharp scissors. This helps to enhance the overall appearance of the blanket and gives it a clean, professional finish.
- Inspect the Print: Take a close look at the sublimated design on the blanket. Ensure that the colors are vibrant, the details are clear, and there are no visible smudges or imperfections. If needed, gently clean any minor blemishes with a soft, damp cloth.
- Allow Proper Curing Time: It’s important to allow the sublimated blanket to cure for a recommended period to ensure the ink fully sets and bonds with the fabric. Follow the manufacturer’s guidelines for curing time, typically 24-48 hours.
- Fold or Package: Once the blanket is fully cured, fold it neatly or package it in a protective cover or gift box, if you plan to give it as a gift or store it for later use. This step helps to keep the blanket clean and protected until it’s ready to be used or displayed.
By following these finishing touches, you’ll ensure that your sublimated blanket looks its best and is ready to be enjoyed or presented to someone special.
Congratulations! You have successfully completed the process of sublimating a blanket. Each step, from preparing the design to printing and sublimating, has come together to create a unique and personalized masterpiece.
Remember, practice makes perfect, so don’t be discouraged if your first attempt is not flawless. With time and experience, you’ll become more proficient in sublimating blankets and be able to create even more impressive designs.
Enjoy your sublimated blanket and unleash your creativity to make more personalized and unique creations using the art of sublimation!
If you have any questions or need further assistance, don’t hesitate to reach out for help. Happy sublimating!
Conclusion
Sublimating a blanket is a fantastic way to unleash your creativity and create custom, high-quality designs that truly stand out. Through the sublimation process, you can transform an ordinary blanket into a one-of-a-kind masterpiece that makes a statement in any home or serves as a thoughtful personalized gift.
Throughout this guide, we’ve covered the step-by-step process of sublimating a blanket, from preparing the design to printing and sublimating. By following these steps and using the right materials and techniques, you can achieve impressive results and create stunning sublimated blankets.
We discussed the basics of sublimation, including the process of transferring dye onto a substrate through heat and the advantages of this method, such as vibrant colors, durability, and photo-realistic prints. We also emphasized the importance of using polyester-based materials for sublimation and ensuring that the design is correctly mirrored before printing.
Additionally, we provided a detailed list of materials needed for sublimating a blanket, such as a sublimation printer, sublimation ink, a heat press, sublimation paper, and various other tools and materials to prepare the design and the blanket.
We walked you through the step-by-step process, which included preparing the design, preparing the blanket, printing the design onto sublimation paper, and sublimating the design onto the blanket using a heat press. We also highlighted the importance of finishing touches, such as trimming excess threads and allowing proper curing time for the sublimated ink to fully set.
By following these steps and paying attention to detail, you’ll be able to create sublimated blankets that are vibrant, long-lasting, and personalized to your liking. Remember to practice and refine your techniques to improve your sublimation skills over time.
Sublimation opens up a world of creative possibilities, allowing you to turn ordinary blankets into extraordinary works of art. So, why wait? Start gathering your materials, unleash your imagination, and embark on your sublimation journey today!
If you have any questions or need further assistance, don’t hesitate to seek guidance or reach out to experts in the field. Happy sublimating!
Frequently Asked Questions about How To Sublimate A Blanket
Was this page helpful?
At Storables.com, we guarantee accurate and reliable information. Our content, validated by Expert Board Contributors, is crafted following stringent Editorial Policies. We're committed to providing you with well-researched, expert-backed insights for all your informational needs.