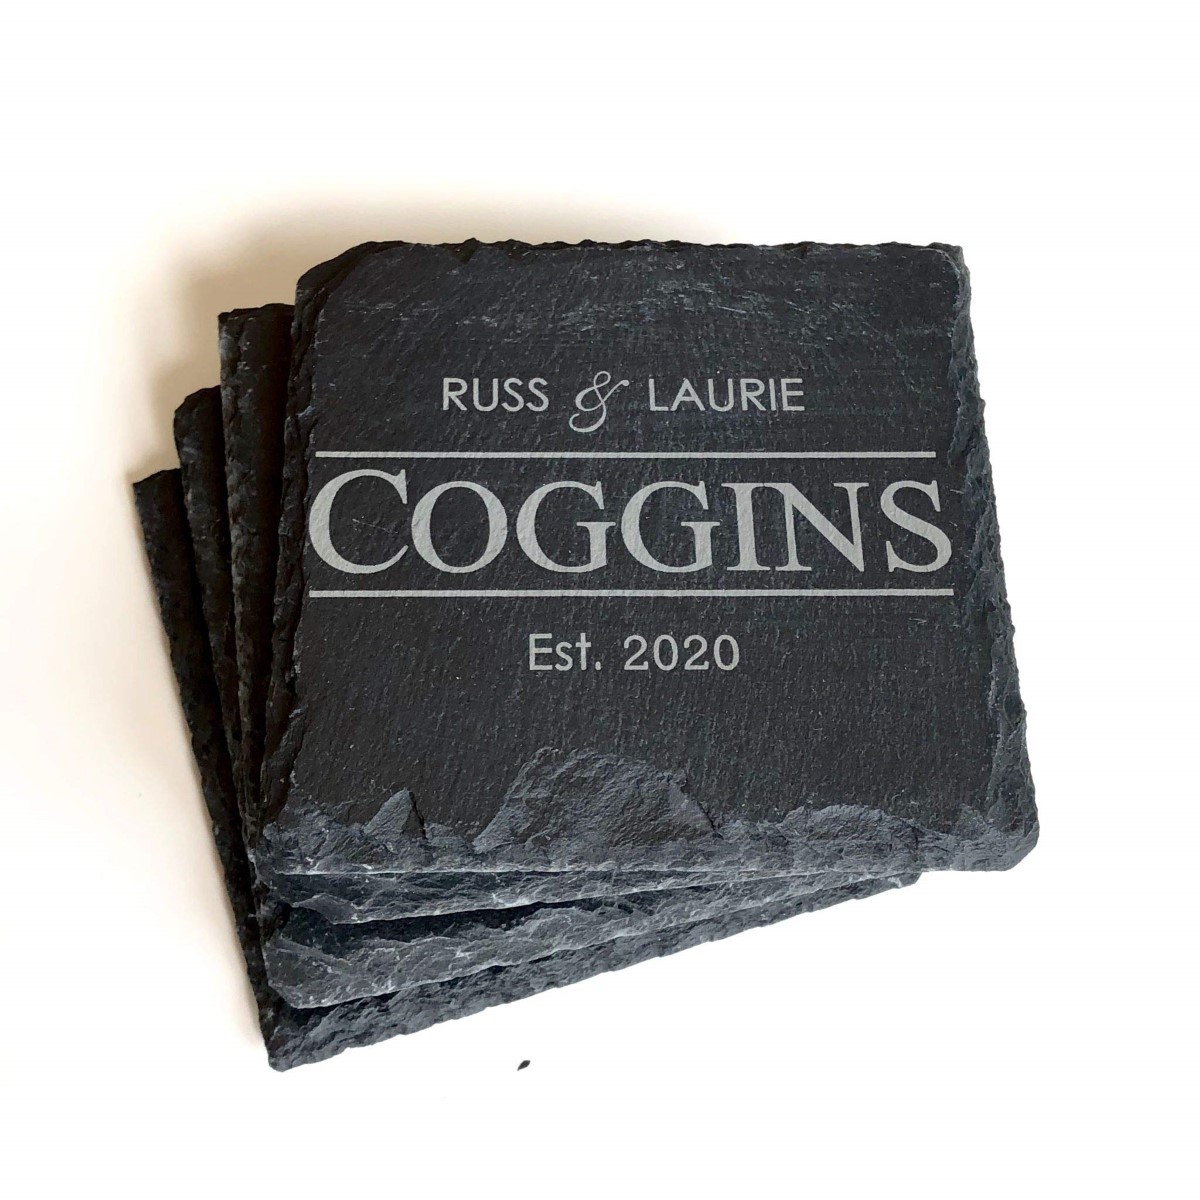
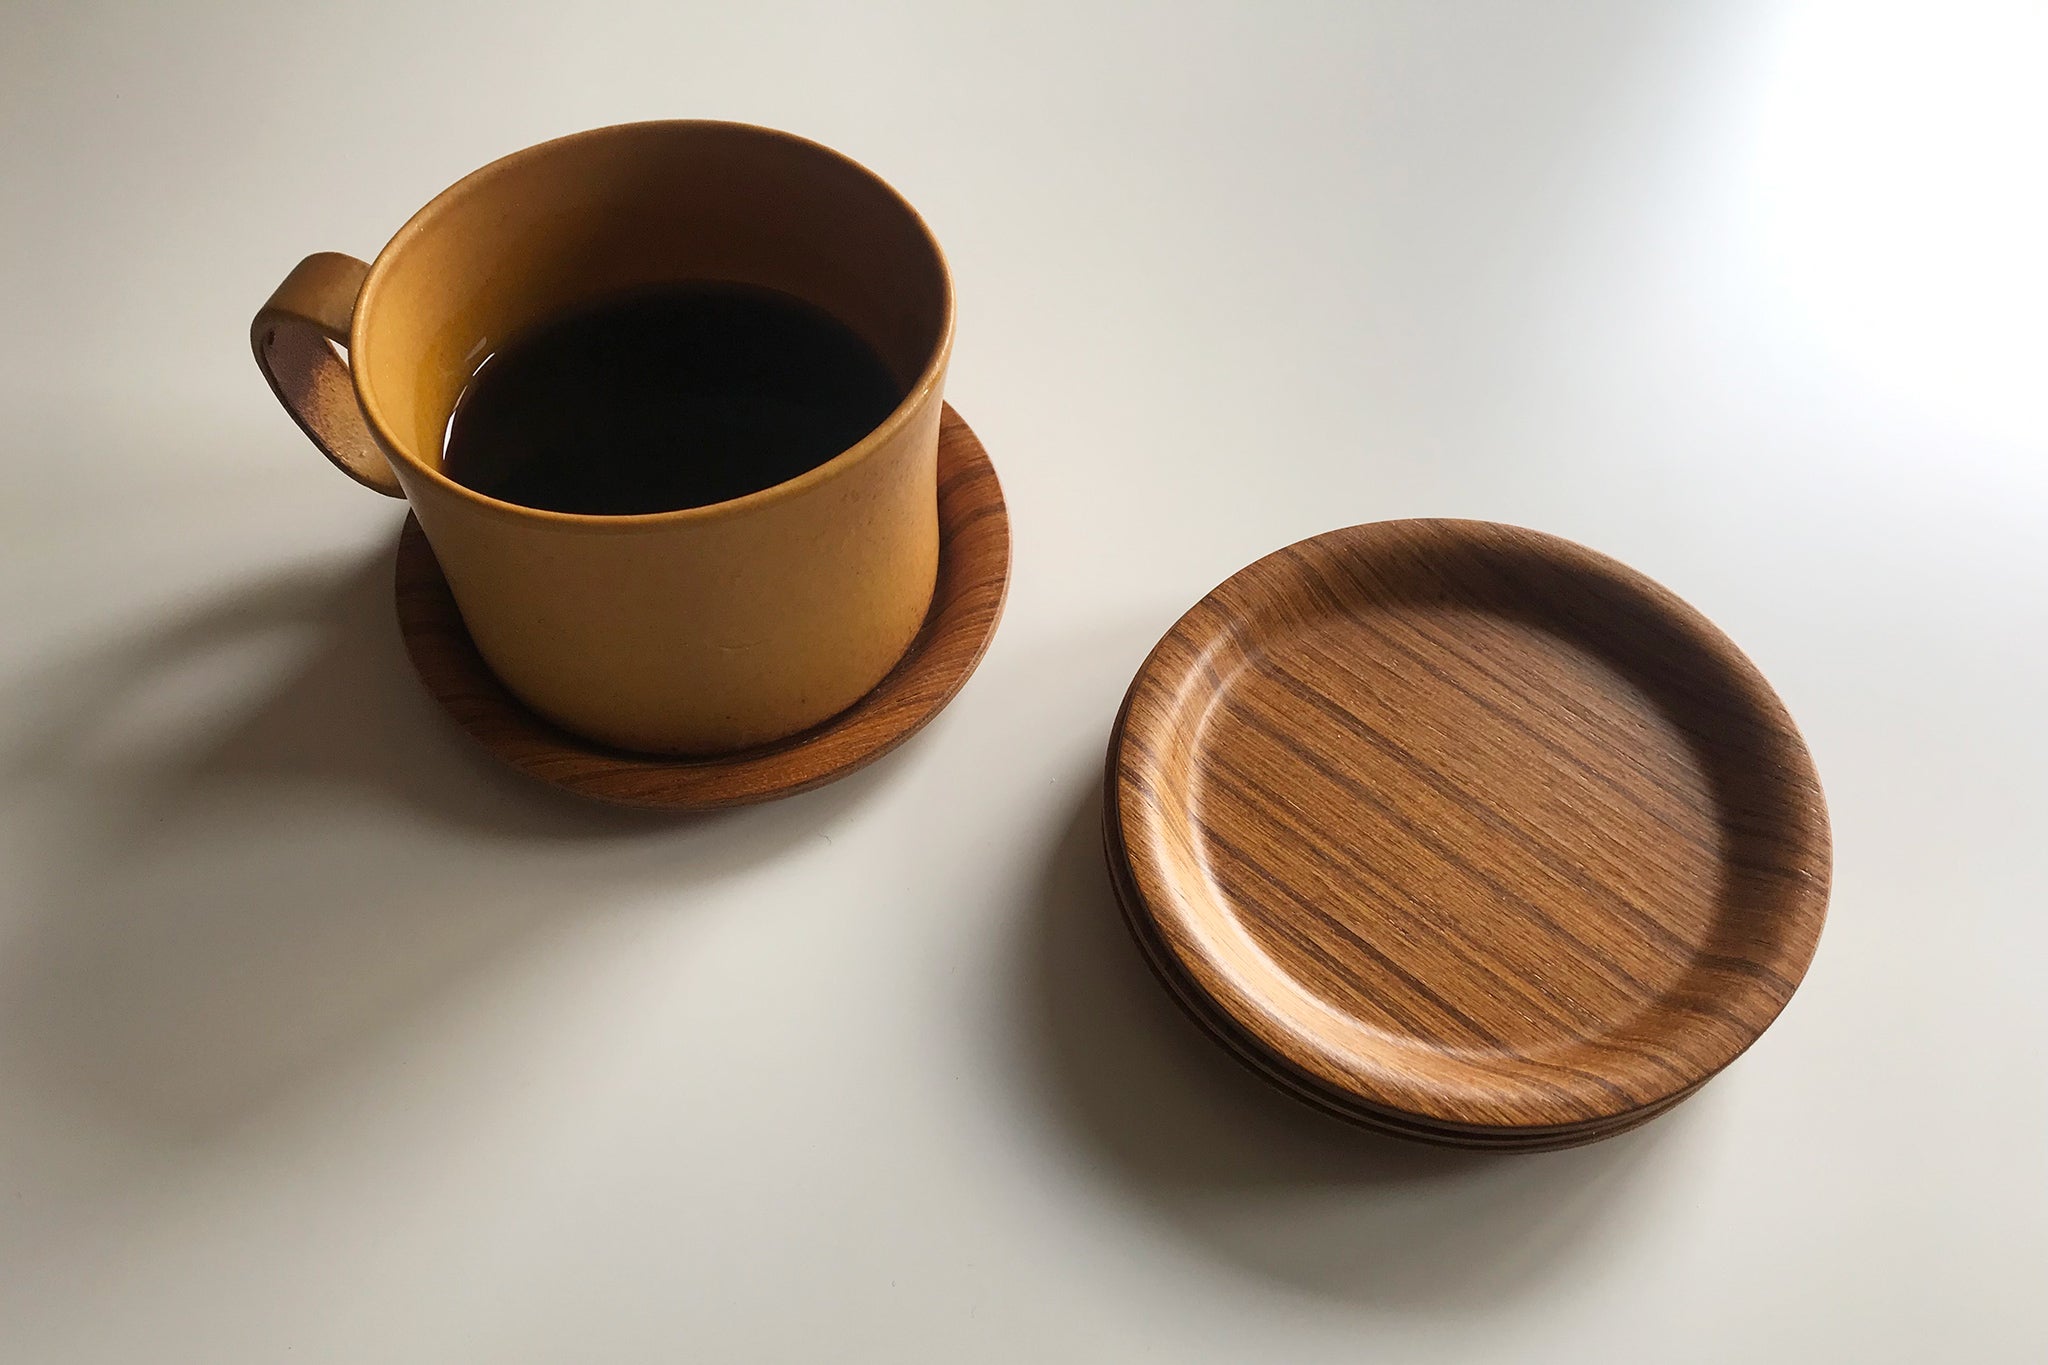
Tableware
How To Sublimate Car Coasters
Modified: October 20, 2024
Learn how to sublimate car coasters and personalize your tableware with this step-by-step guide. Create unique designs and protect your surfaces.
(Many of the links in this article redirect to a specific reviewed product. Your purchase of these products through affiliate links helps to generate commission for Storables.com, at no extra cost. Learn more)
Introduction
Welcome to the world of sublimation, where you can unleash your creativity and transform ordinary car coasters into personalized works of art. Car coasters not only protect the surfaces in your car, but they also add a touch of style and personality. Sublimation is a process that allows you to transfer vibrant designs onto various materials, and with a few simple steps, you can create unique and eye-catching car coasters that will make a statement.
In this article, we will guide you through the process of sublimating car coasters, from preparing the design to adding the finishing touches. Whether you’re a DIY enthusiast looking to personalize your own car coasters or a business owner interested in offering custom coasters to your customers, this article is for you. So, gather your materials and let’s get started!
Key Takeaways:
- Personalize your car coasters with vibrant designs using sublimation, adding a touch of style and personality to your vehicle while protecting its surfaces.
- With the right materials and step-by-step process, transform ordinary car coasters into unique and eye-catching accessories, whether for personal use or as customized products for customers.
Read more: How To Convert A Printer To Sublimation
Materials Needed
Before you begin the sublimation process, make sure you have the following materials:
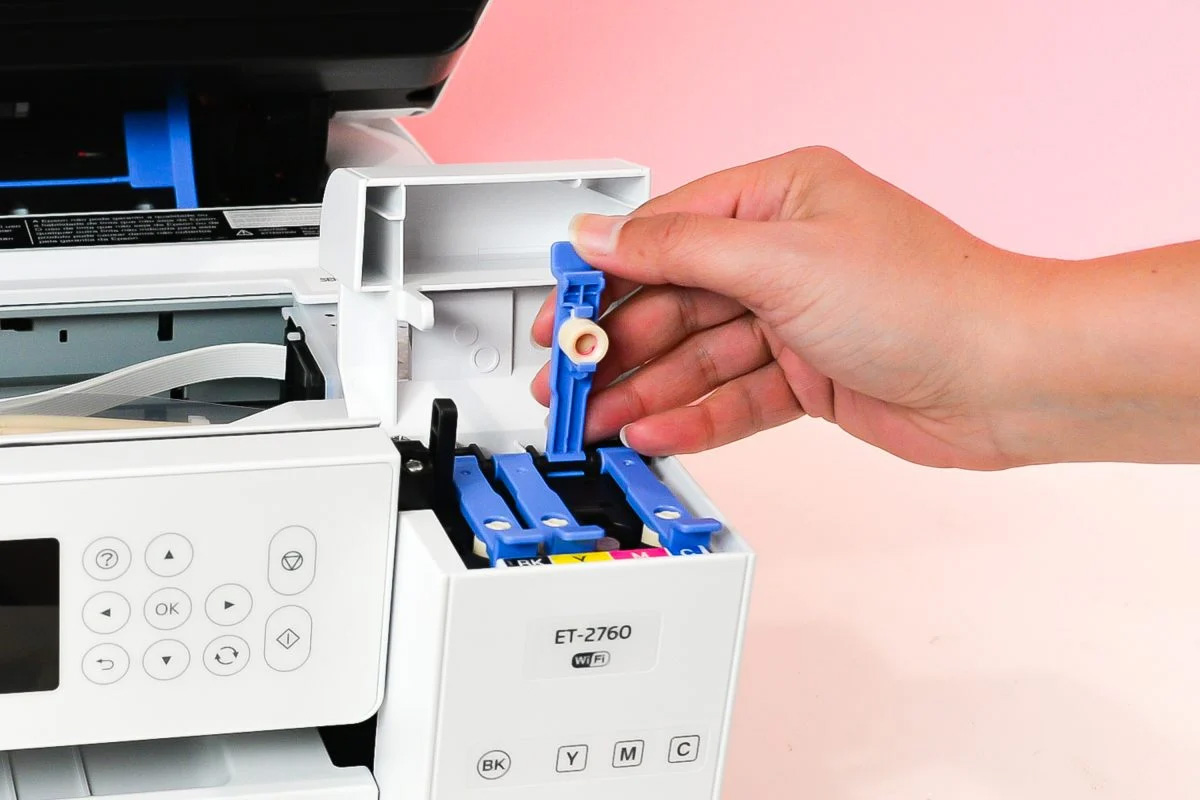
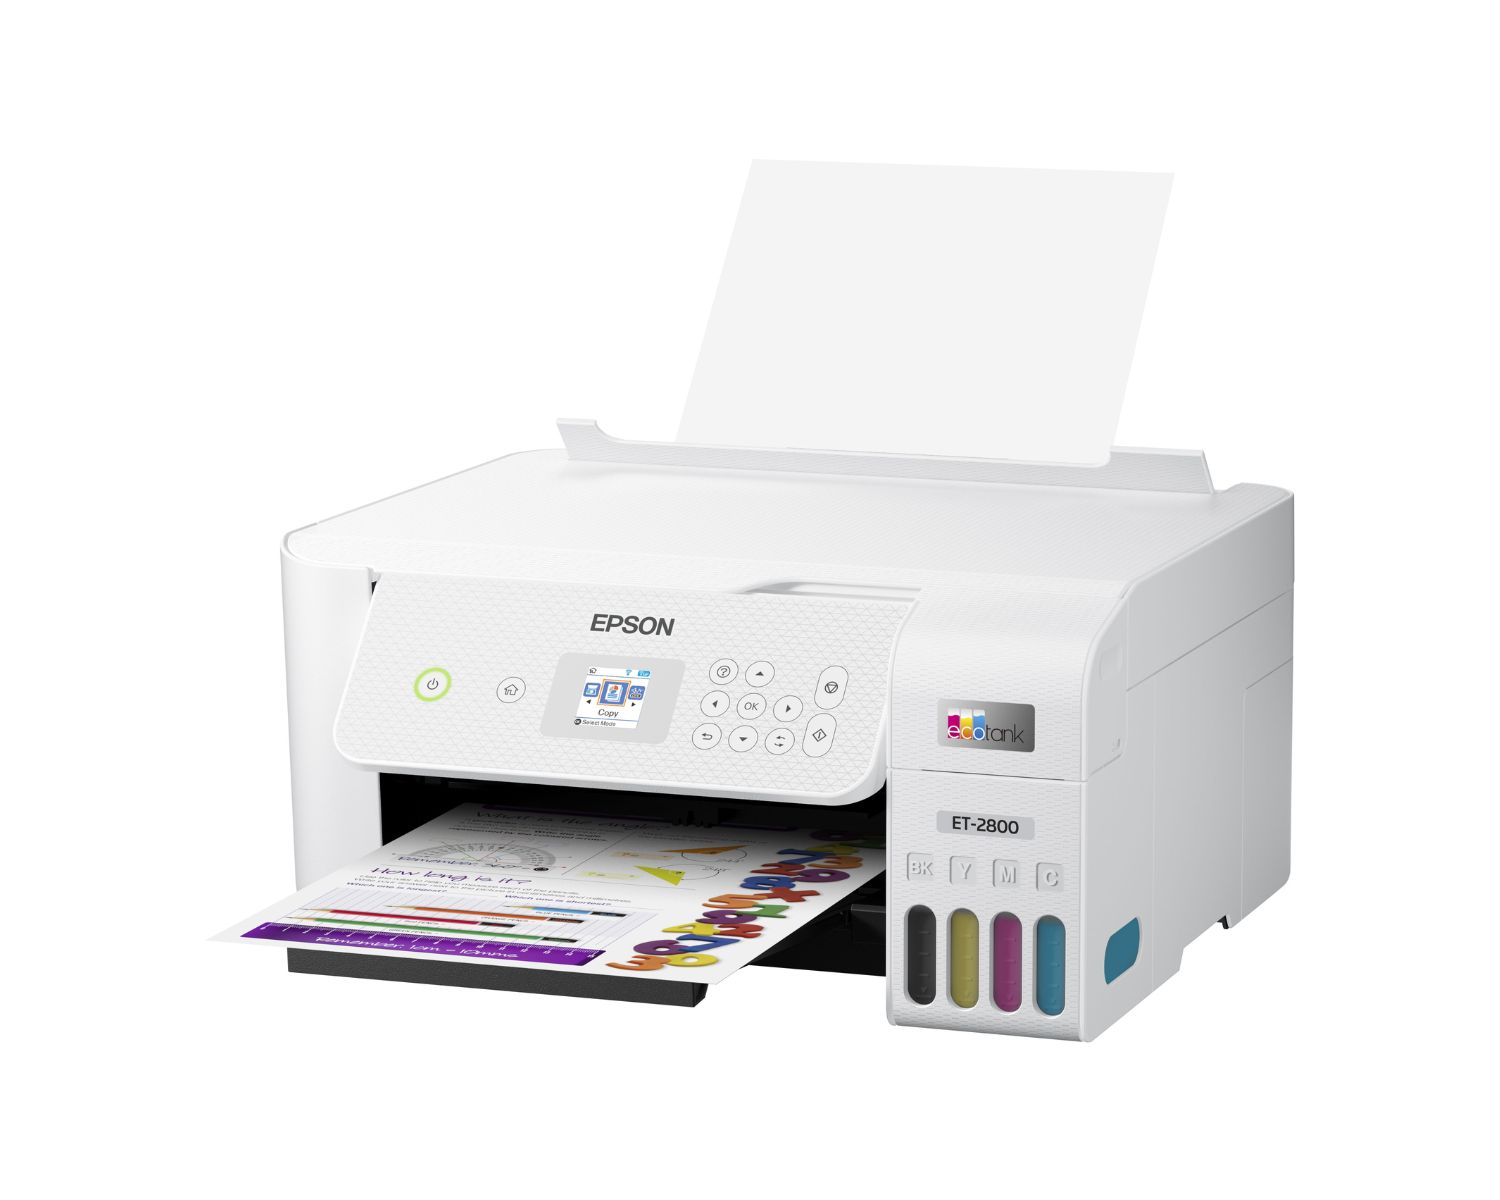
- Sublimation printer: This specialized printer uses heat to transfer the design onto the coaster. Make sure it is compatible with sublimation ink and paper.
- Sublimation ink: These inks are specifically designed for sublimation printing and will produce vibrant and long-lasting colors.
- Sublimation paper: This special paper holds the ink and releases it onto the coaster during the sublimation process.
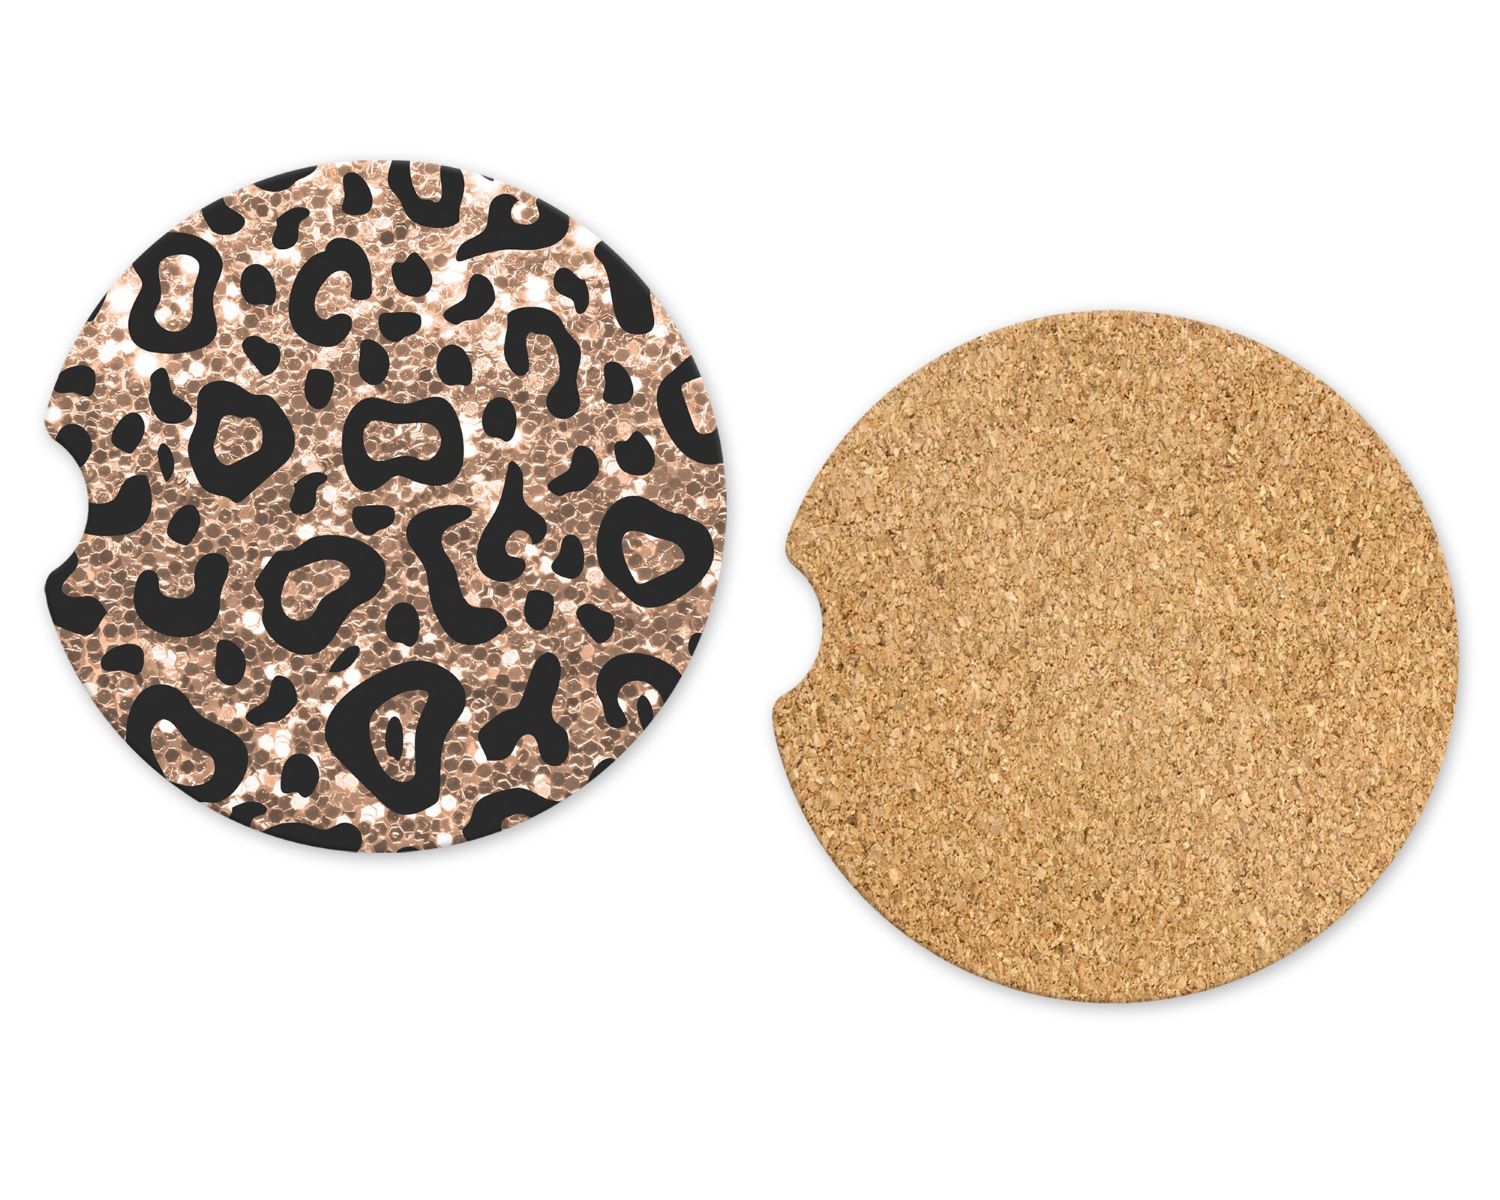
- Car coasters: These can be made of neoprene, rubber, or fabric. Choose ones that are suitable for sublimation.
- Heat press: This machine is used to apply heat and pressure to transfer the design from the paper to the coaster. Make sure it has adjustable temperature and pressure settings.
- Protective sheet: This non-stick sheet is placed on top of the coaster during the heat press process to protect the design from direct contact with the heating element.
- Design software: Use graphic design software like Adobe Photoshop or CorelDRAW to create or edit your designs.
- Heat-resistant tape: This tape is used to secure the sublimation paper onto the coaster during the transfer process.
- Clean cloth: Use a lint-free cloth to clean the coasters before sublimating to ensure a smooth surface for the design.
- Protective gloves: It’s always a good idea to wear gloves when handling the sublimation ink and using the heat press to protect your hands.
Having these materials ready will ensure a smooth sublimation process and help you achieve professional-looking results.
Step 1: Preparing the Design
The first step in sublimating car coasters is to prepare the design that you want to transfer onto the coasters. Here’s how to do it:
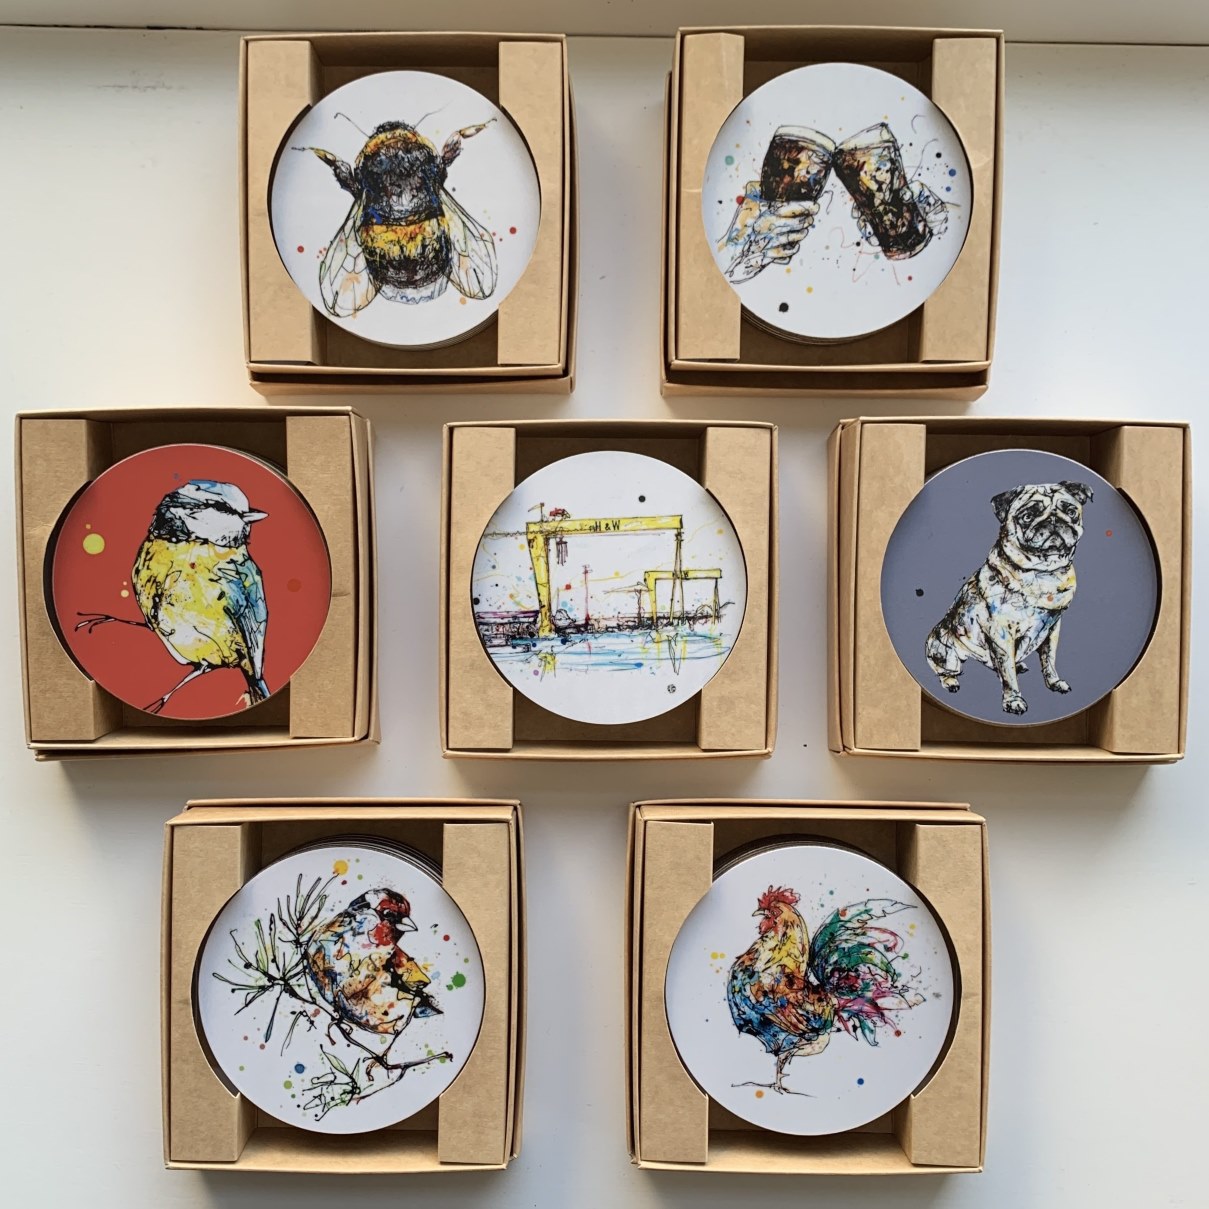
- Select your design: Decide on the design or artwork that you want to showcase on your car coasters. It can be a logo, a pattern, a monogram, or a custom design that reflects your personal style.
- Create or edit the design: Use your preferred graphic design software to create the design or edit an existing design. Ensure that the dimensions of your design match the size of the coaster. For car coasters, a square design with a dimension of 2.5″ x 2.5″ is common, but you can adjust the size based on your preference and the size of your coasters.
- Enhance the design: Consider adding vibrant colors, gradients, text, or other elements that will make your design visually appealing. Keep in mind that sublimation printing produces vivid and detailed results, so take advantage of this capability.
- Finalize and save the design: Once you’re satisfied with your design, save it in a format that is compatible with your sublimation printer and software, such as JPEG, PNG, or PDF.
Remember, the design is the key to creating a unique and personalized car coaster, so take your time to craft something that truly represents your style or brand.
Step 2: Printing the Design
Once your design is ready, it’s time to print it onto the sublimation paper. Follow these steps:
- Set up your sublimation printer: Ensure that your sublimation printer is properly connected to your computer and that the sublimation ink cartridges are installed correctly. Refer to your printer’s manual for specific instructions.
- Load the sublimation paper: Insert the sublimation paper into the printer’s paper tray. Make sure to load it with the printable side facing up. Consult your printer’s manual to locate the correct tray and loading orientation.
- Adjust printer settings: Open your design file in the graphic design software or image editor. Set the printing preferences to match your desired print quality, paper type, and size. Ensure that you select the correct tray and adjust any other necessary settings, such as color management.
- Print the design: Click the “Print” button to start the printing process. Make sure that your printer is set to portrait mode and that it’s using the appropriate color profile for sublimation printing. Be patient as the printer transfers the design onto the sublimation paper.
Once the printing is complete, take a moment to double-check the quality and clarity of the design on the sublimation paper. Any imperfections or smudges could affect the final result on the coaster, so it’s important to ensure a clean and crisp print.
With the design successfully printed onto the sublimation paper, you’re now ready to move on to the next step: cutting and trimming the design.
Step 3: Cutting and Trimming
Now that you have the design printed on the sublimation paper, it’s time to cut and trim it to fit the size of your car coasters. Follow these steps:
- Measure the size of the coaster: Take precise measurements of your car coasters using a ruler or measuring tape. This will help you determine the exact dimensions you need to cut the design.
- Place the design on a cutting mat: Lay the sublimation paper with the printed design on a cutting mat to protect your work surface and ensure clean cuts.
- Use a craft knife or scissors: Carefully cut along the outline of your design using a sharp craft knife or pair of scissors. Follow the measured dimensions to make sure the design fits perfectly on the coaster.
- Trim any excess paper: If there are any empty spaces or unnecessary white borders around your design, trim them off with the craft knife or scissors. This will ensure a precise and professional look.
Take your time during this step to ensure accuracy and precision. Clean, well-cut designs will result in a final product that looks polished and visually appealing.
Once you have cut and trimmed the design, you’re now ready to proceed to the next step: prepping the coasters for sublimation.
When sublimating car coasters, make sure to use a heat-resistant tape to secure the design in place and prevent any movement during the sublimation process. This will help ensure a crisp and clear transfer onto the coaster.
Read more: What Are Coasters For
Step 4: Prepping the Coasters
Before you can apply the design onto the car coasters, it’s important to properly prepare them. Follow these steps to ensure the best results:
- Clean the coasters: Use a clean cloth to wipe down the car coasters and ensure that they are free of any dust, dirt, or debris. This will create a smooth and clean surface for the design to adhere to.
- Remove any protective film or coating: Some car coasters may come with a protective film or coating. If this is the case, carefully remove it to expose the bare surface of the coaster. This will allow the sublimation ink to penetrate and bond with the coaster material effectively.
- Position the design: Place the trimmed sublimation paper with the design on top of the coaster to ensure proper alignment and positioning. Use heat-resistant tape to secure the paper in place and prevent it from shifting during the sublimation process.
Preparing the coasters ensures that the design adheres smoothly and produces vibrant and sharp results. Any debris or uneven surface could interfere with the sublimation transfer, so it’s important to have a clean and well-prepared coaster.
With the coasters prepped and ready, you’re now ready to move on to the exciting part: the sublimation process. Read on to learn how to transfer the design onto the car coasters.
Step 5: Sublimating the Coasters
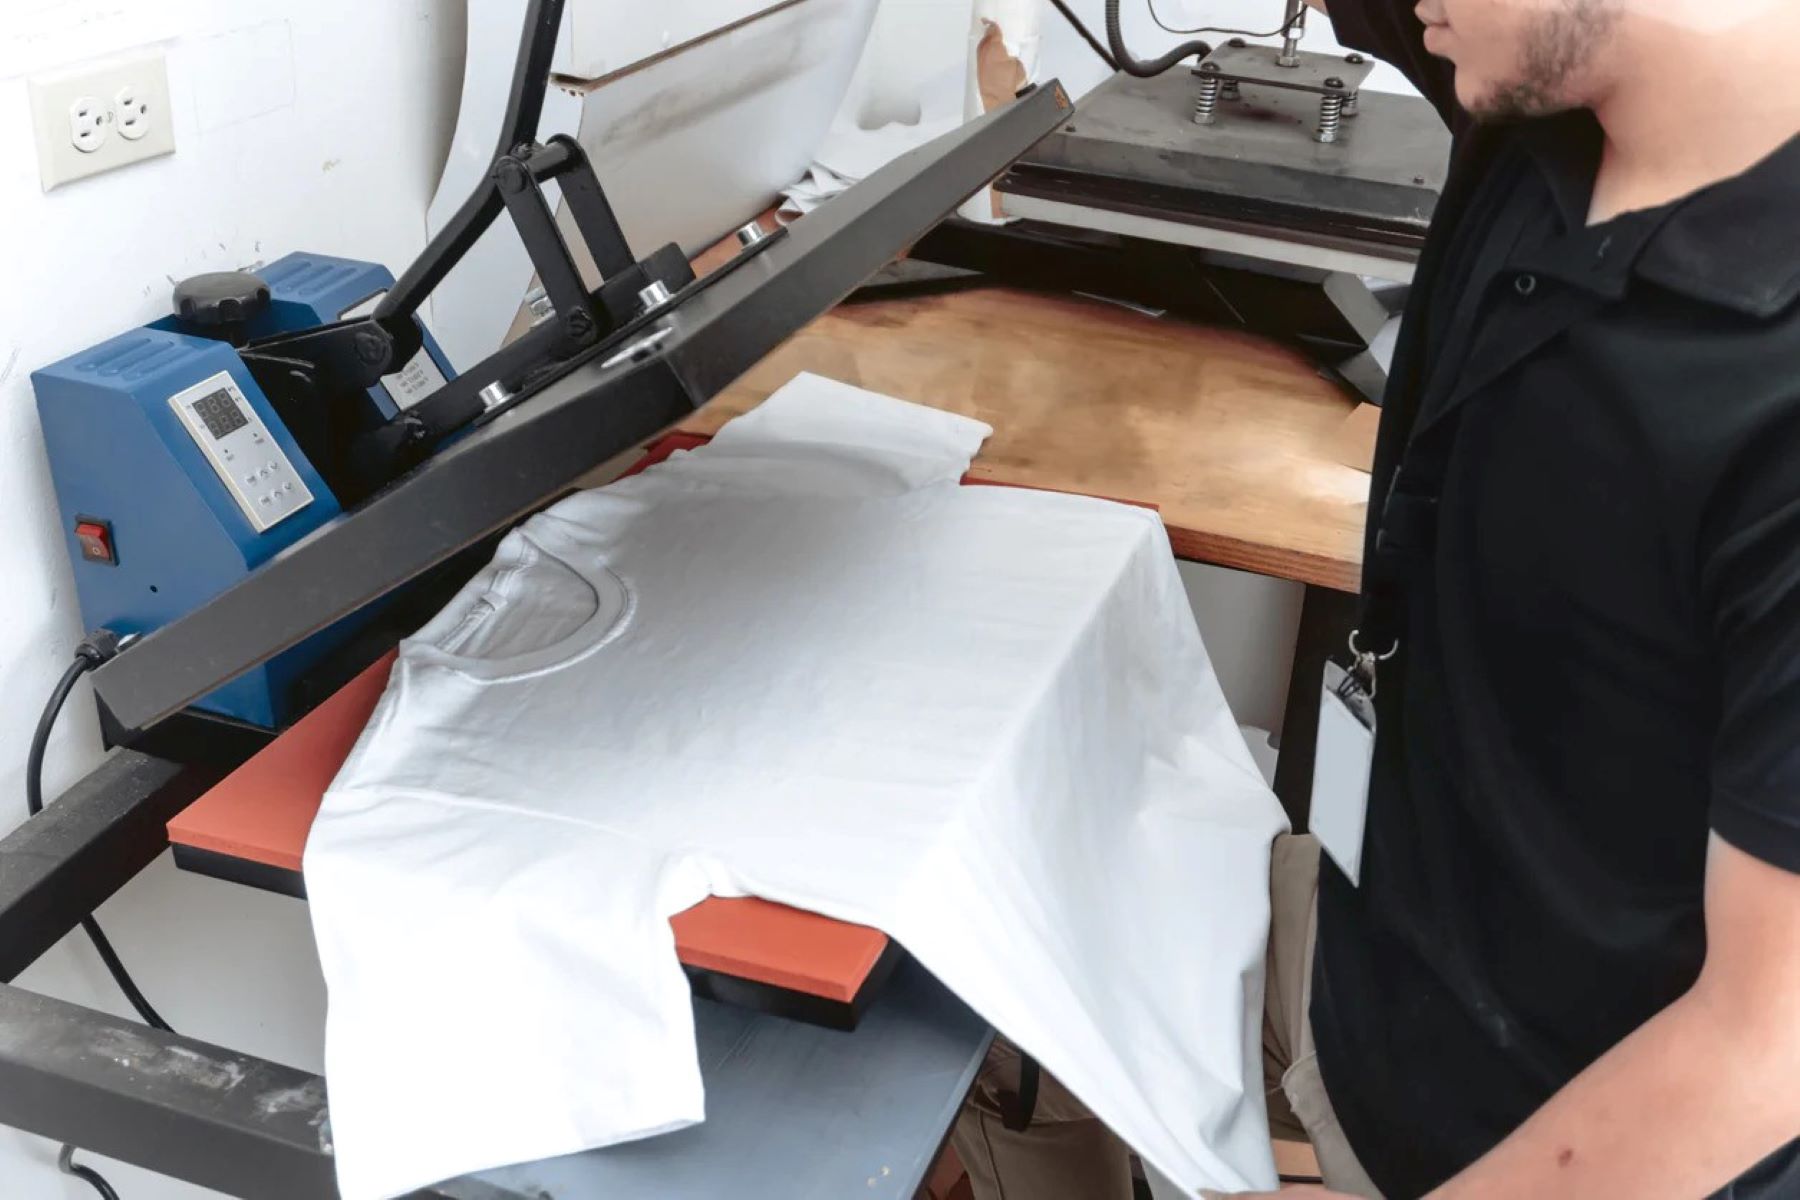
Sublimating the car coasters is where the magic happens. This process involves transferring the design from the sublimation paper onto the coasters using heat and pressure. Follow these steps to achieve professional and vibrant results:
- Preheat your heat press: Set your heat press to the recommended temperature for sublimation, typically around 400°F (204°C). Allow it to preheat for a few minutes to ensure it reaches the desired temperature.
- Place the coaster and design in the heat press: Carefully place the coaster, with the sublimation paper and design facing up, onto the heat press platen. Ensure that the design is centered and aligned properly on the coaster.
- Cover the coaster with a protective sheet: Place a heat-resistant protective sheet on top of the coaster and design. This sheet will prevent the design from coming into direct contact with the heating element of the press, ensuring a smooth and even transfer.
- Apply heat and pressure: Close the heat press and apply firm pressure to the coaster. Follow the manufacturer’s instructions for the recommended time and pressure settings for sublimation. Typically, sublimation requires about 45 seconds to 1 minute of heat and pressure.
- Remove the coaster from the heat press: Once the designated time has elapsed, carefully lift the heat press platen and remove the coaster. Be cautious as it will be hot. Quickly remove the sublimation paper from the coaster.
- Cool the coaster: Allow the coaster to cool completely before handling or applying any additional finishing touches. This will ensure that the design fully adheres to the coaster’s surface.
Sublimation is a beautiful process that transforms the design into a permanent part of the coaster, resulting in vibrant colors and exceptional clarity. Take your time and follow the instructions carefully to achieve the best results.
Now that you’ve successfully sublimated the coasters, it’s time to add some finishing touches to make them truly stand out.
Step 6: Finishing Touches
After the sublimation process, you can add some finishing touches to further enhance the appearance and durability of the car coasters. Follow these steps to complete your customized coasters:
- Inspect the design: Examine the transferred design on the coasters to ensure that it is vibrant, clear, and free from any imperfections. If needed, use a clean cloth to gently wipe away any residual ink or debris.
- Apply a protective coating: To protect the design and extend its lifespan, consider applying a clear coating or sealant specifically designed for sublimated products. This will provide a protective layer against scratches, UV rays, and everyday wear and tear.
- Allow the coating to dry: Follow the manufacturer’s instructions on the coating product to determine the drying time. It’s important to let the coating fully dry to ensure its effectiveness and longevity.
By adding a protective coating, you can ensure that your car coasters will maintain their vibrant colors and withstand the test of time. Plus, it adds a professional finish to your customized creations.
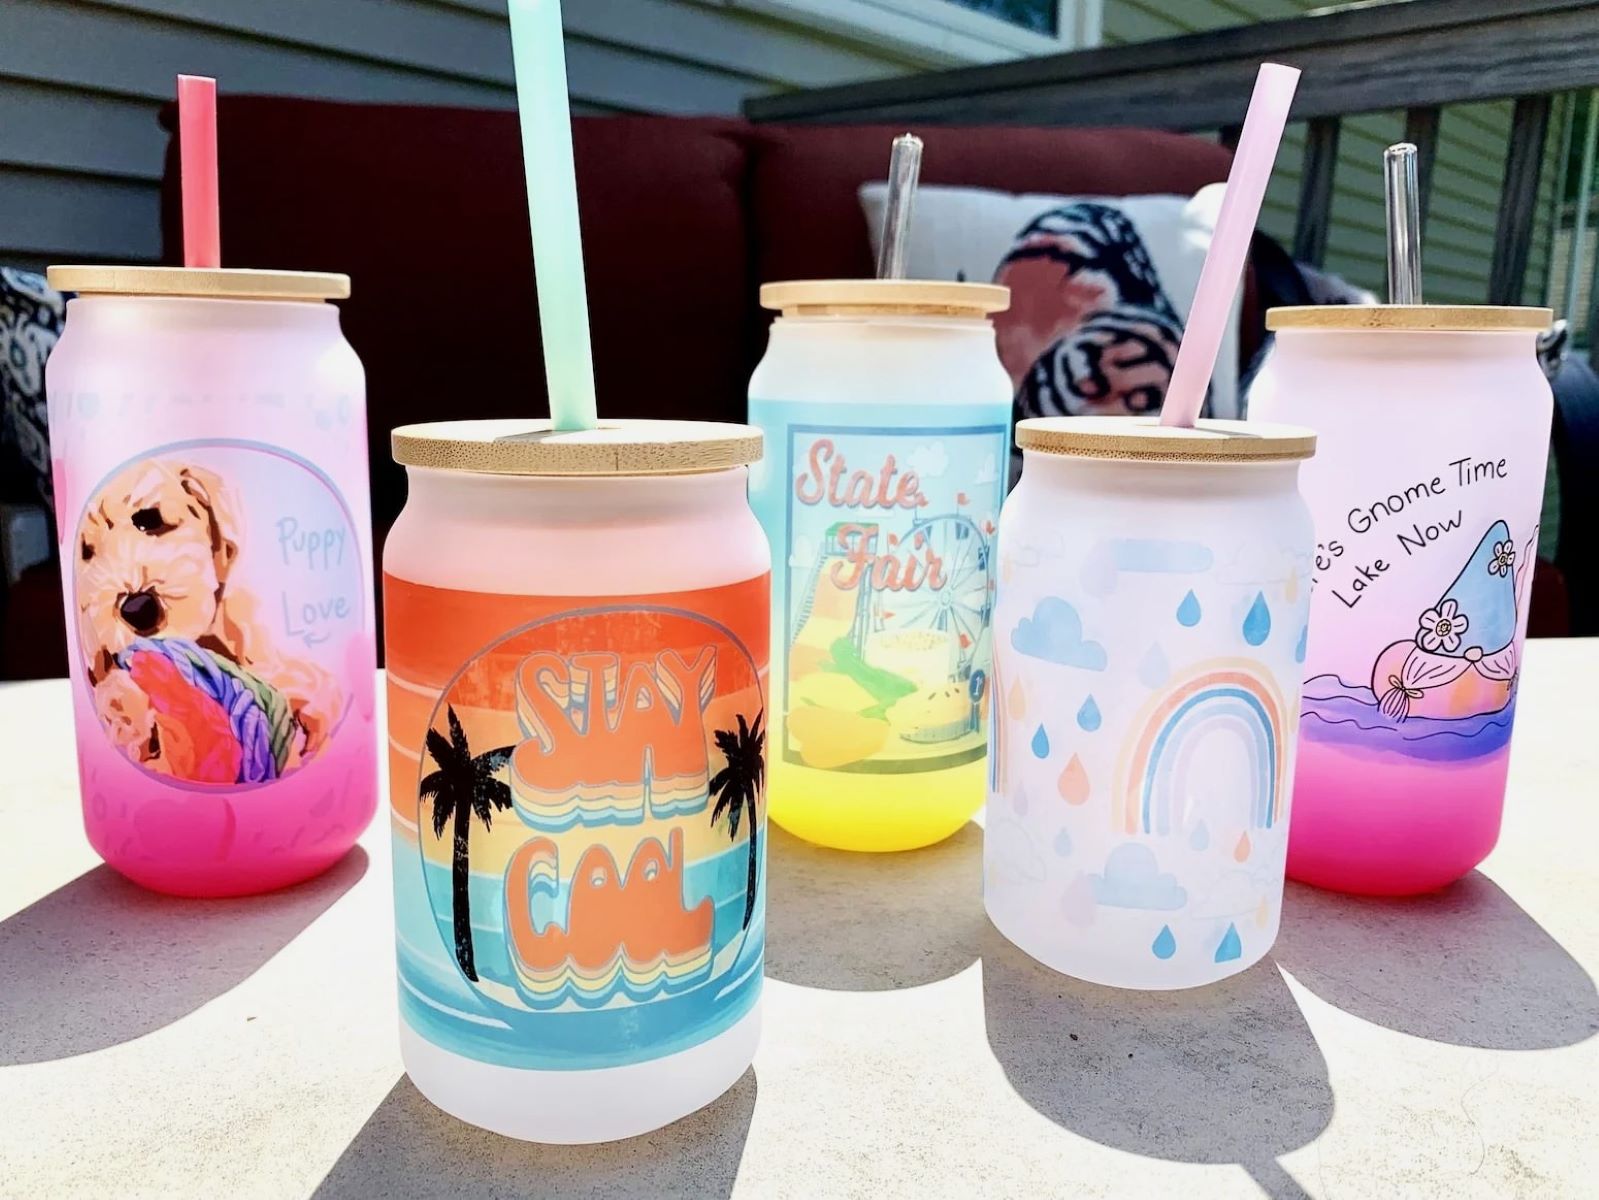
Once the finishing touches are complete, your car coasters are ready to be showcased and used in your vehicle or offered to customers. These personalized coasters can also make great personalized gifts or promotional items.
Congratulations! You’ve successfully sublimated and finished your car coasters, turning them into unique and eye-catching accessories for your vehicle or business. Enjoy the satisfaction and admiration that comes with showcasing your own personalized designs.
Tips and Tricks
Here are some useful tips and tricks to keep in mind when sublimating car coasters:
- Test your design and settings: Before diving into the actual sublimation process, it’s a good idea to do test runs on a few coasters to ensure that your design, printer settings, and heat press settings are producing the desired results.
- Use high-resolution designs: To achieve the best print quality, use high-resolution images or vector graphics for your designs. This will ensure sharp and detailed results on the coasters.
- Be mindful of bleed areas: Keep in mind that during the sublimation process, the ink may spread slightly. To avoid any white edges, make sure that your design extends slightly beyond the edges of the coaster.
- Clean the heat press regularly: Over time, residue from sublimation ink can build up on the heat press platen. Clean it regularly using a non-abrasive cleaner to prevent any color transfer or smudging on future projects.
- Experiment with different coaster materials: While neoprene, rubber, and fabric are common choices for car coasters, feel free to experiment with different materials to achieve unique textures and finishes. Just make sure the material is suitable for sublimation.
- Provide care instructions: If you’re selling or gifting the car coasters, include care instructions to help the recipient preserve the longevity and appearance of the design. This may include hand-washing, avoiding harsh chemicals, or not exposing the coasters to excessive heat or sunlight.
- Stay organized: As you work on multiple coaster designs, keep track of your files, dimensions, and settings to maintain consistency and efficient workflow.
These tips and tricks will help you achieve the best results while sublimating car coasters. Remember, practice makes perfect, so don’t be discouraged if your initial attempts aren’t flawless. Keep experimenting, honing your skills, and soon you’ll be creating stunning and personalized car coasters with ease.
Read more: How To Clean A Sublimation Printer
Conclusion
Sublimating car coasters is a fantastic way to add a personal touch to your vehicle or offer customized products to your customers. With the right materials and a step-by-step process, you can transform ordinary coasters into vibrant and eye-catching accessories.
In this article, we covered the essential steps involved in sublimating car coasters, including preparing the design, printing it onto sublimation paper, cutting and trimming the design, prepping the coasters, sublimating the design, and adding finishing touches. By following these steps and incorporating the provided tips and tricks, you can achieve professional and stunning results.
Remember to select high-quality materials, create or choose designs that reflect your style or brand, and take your time during each step of the sublimation process. Experiment with different coaster materials and designs to create unique and personalized coasters that stand out.
Whether you’re making coasters for yourself, as gifts, or as a business venture, sublimating car coasters allows you to unleash your creativity while bringing joy and style to your everyday life. So, gather your materials, get creative, and start sublimating those coasters!
Frequently Asked Questions about How To Sublimate Car Coasters
Was this page helpful?
At Storables.com, we guarantee accurate and reliable information. Our content, validated by Expert Board Contributors, is crafted following stringent Editorial Policies. We're committed to providing you with well-researched, expert-backed insights for all your informational needs.
0 thoughts on “How To Sublimate Car Coasters”