Articles
How To Test An LED Bulb With A Multimeter
Modified: August 19, 2024
Learn how to test a LED bulb using a multimeter and find helpful articles on LED bulb testing techniques and troubleshooting tips.
(Many of the links in this article redirect to a specific reviewed product. Your purchase of these products through affiliate links helps to generate commission for Storables.com, at no extra cost. Learn more)
Introduction
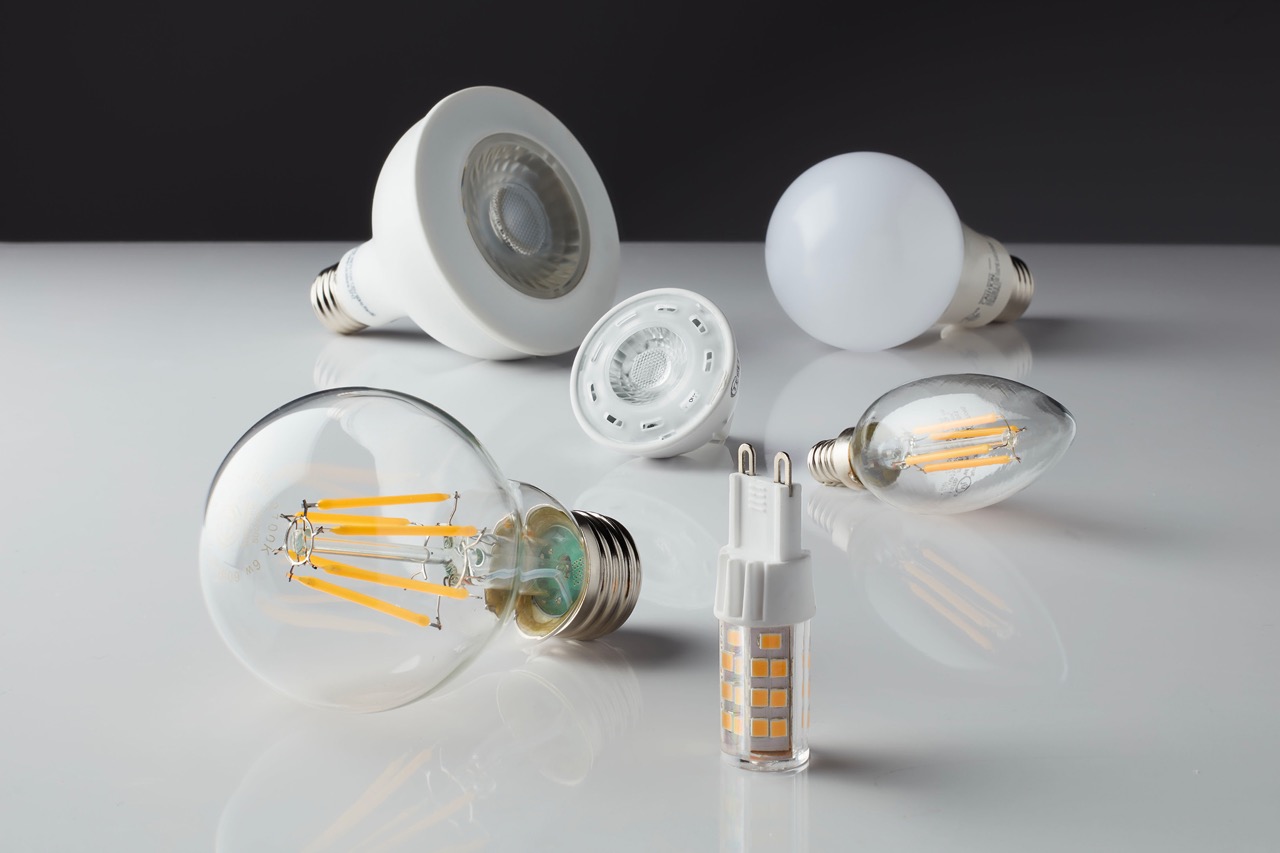
Welcome to this guide on how to test a LED bulb with a multimeter. LED (Light Emitting Diode) bulbs have become increasingly popular due to their energy efficiency and long lifespan. However, just like any other electronic component, LED bulbs can sometimes fail or malfunction. Testing a LED bulb with a multimeter is a simple and effective way to determine if it is functioning properly. This article will provide you with step-by-step instructions on how to test a LED bulb using a multimeter.
Before we dive into the testing process, it’s important to understand the purpose of testing LED bulbs with a multimeter and the benefits it offers. The main purpose of this test is to check the continuity and voltage of the LED bulb. Continuity testing helps to determine whether the internal circuitry of the LED bulb is intact or if there is a break in the circuit. Voltage testing, on the other hand, helps to measure the amount of voltage supplied to the LED bulb. By conducting these tests, you can identify any issues with the LED bulb and decide whether it needs to be replaced or repaired.
Key Takeaways:
- Testing LED bulbs with a multimeter ensures safety, energy efficiency, and cost savings. By checking continuity and voltage, you can detect faults, prevent hazards, and make informed decisions about bulb replacement.
- Follow step-by-step instructions and safety precautions when testing LED bulbs with a multimeter. Document your findings, observe bulb behavior, and consult professionals if needed for accurate and reliable results.
Purpose of Testing LED Bulbs with a Multimeter
The primary purpose of testing LED bulbs with a multimeter is to ensure their proper functioning and identify any potential issues. Here are a few key reasons why testing LED bulbs with a multimeter is important:
- Detecting Faulty Connections: LED bulbs consist of complex electronic circuits, and any loose or faulty connections can lead to flickering, dimming, or complete failure of the bulb. By testing the LED bulb with a multimeter, you can easily identify any continuity issues in the circuit and address them before they worsen.
- Verifying Voltage Supply: LED bulbs require a specific voltage range to operate efficiently. By testing the voltage supplied to the LED bulb, you can ensure that it is within the acceptable range. If the voltage is too high or too low, it can lead to premature failure or reduced lifespan of the bulb.
- Ensuring Energy Efficiency: LED bulbs are known for their energy efficiency, but if there are any internal faults or circuitry issues, they may consume more power than intended. Testing the LED bulb with a multimeter can help identify such issues and ensure that the bulb is performing optimally in terms of energy efficiency.
- Preventing Safety Hazards: Faulty LED bulbs can pose safety hazards such as overheating, electrical shocks, or even fire. By testing the LED bulb with a multimeter, you can identify any potential safety risks and take necessary steps to address them, thereby ensuring a safe environment.
- Saving Money: LED bulbs can be expensive, and replacing them unnecessarily can be costly. By accurately testing the LED bulb with a multimeter, you can determine whether it is functioning properly or if it requires replacement. This can help you save money by avoiding unnecessary expenses on new bulbs.
Overall, testing LED bulbs with a multimeter helps ensure their reliability, safety, and maximum lifespan. It empowers you to identify and address any issues early on, thereby optimizing the performance and efficiency of your LED bulb.
Required Tools and Equipment
Before you begin testing LED bulbs with a multimeter, it’s important to gather the necessary tools and equipment. Here is a list of items you will need:
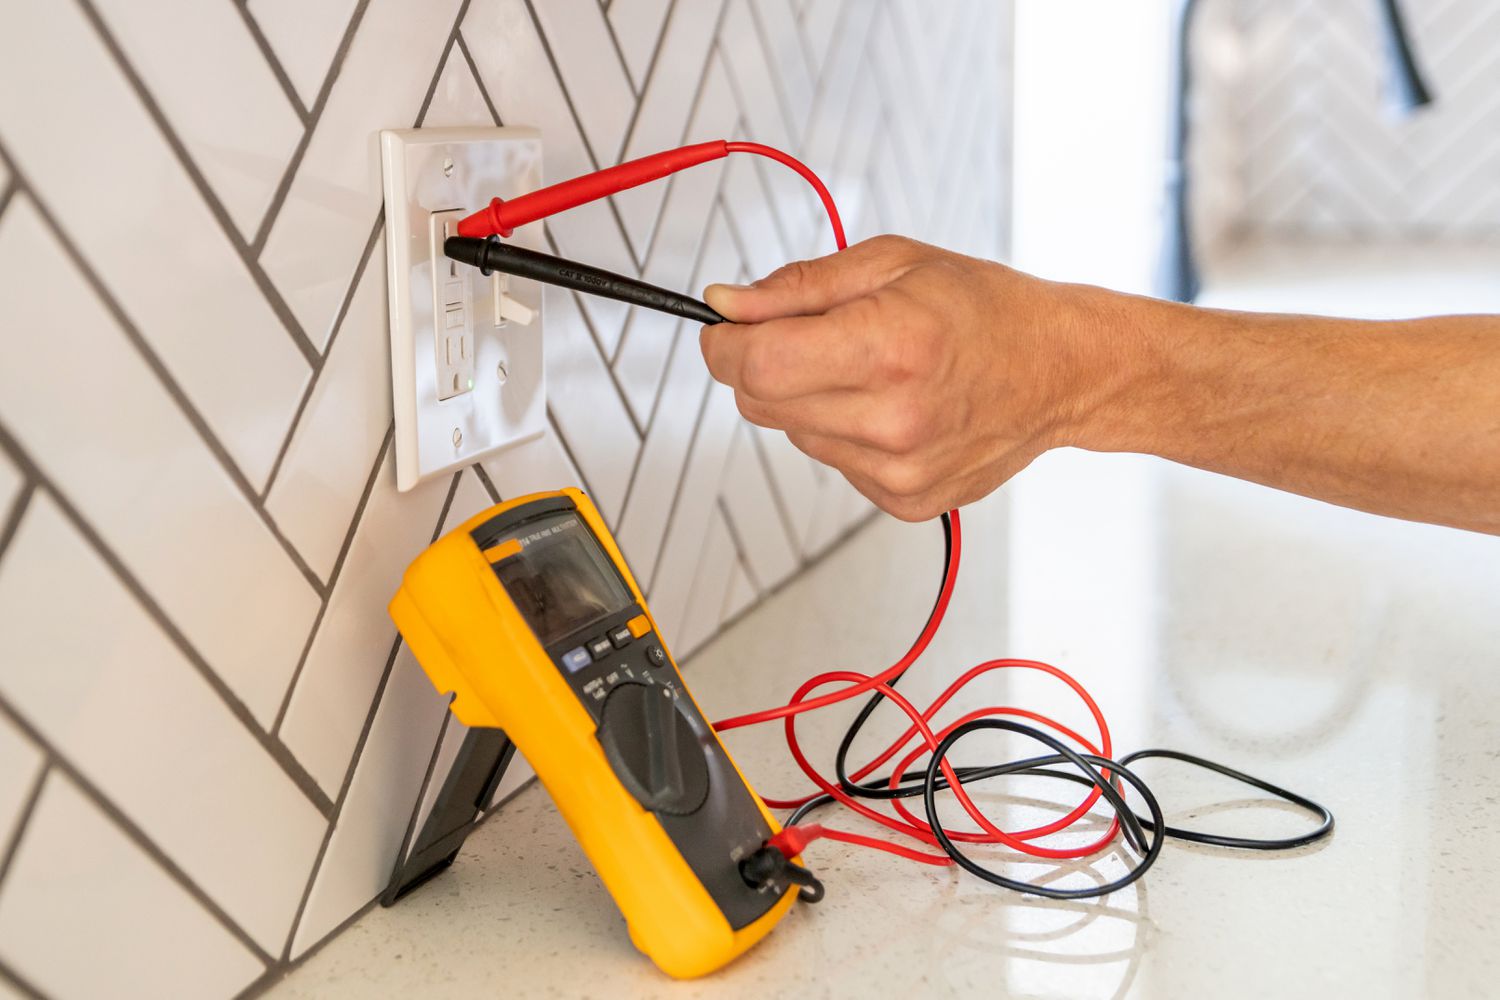
- Multimeter: The multimeter is the main tool used to test the LED bulb. It is a versatile device that can measure various electrical properties such as voltage, current, and resistance. Make sure you have a digital multimeter with a range suitable for measuring the voltage and continuity of the LED bulb.
- Test Leads: Test leads are the cables that connect the multimeter to the LED bulb for testing. Ensure that you have a set of high-quality test leads with suitable connectors that can be easily attached to the multimeter and the LED bulb.
- Alligator Clips: Alligator clips can be helpful for holding test leads securely in place during the testing process. They provide a hands-free approach and prevent accidental disconnects or slips.
- Bench Power Supply (optional): In some cases, it may be useful to have a bench power supply to supply a constant voltage to the LED bulb while testing. This can be particularly helpful when testing for continuity and observing the behavior of the bulb under different voltage levels.
- Safety Equipment: Whenever working with electrical components, it’s important to prioritize safety. Make sure you have safety goggles and insulated gloves to protect yourself from any potential hazards. It’s also a good practice to have a fire extinguisher nearby, especially if you are testing high-powered LED bulbs.
By having these tools and equipment at hand, you’ll be fully prepared to test LED bulbs with a multimeter effectively and safely.
Step-by-Step Instructions for Testing LED Bulbs with a Multimeter
Now let’s walk through the step-by-step process of testing LED bulbs with a multimeter:
- Ensure safety: Before you begin testing, it’s important to ensure your safety. Wear safety goggles and insulated gloves, and make sure you are working in a well-ventilated area.
- Set up your multimeter: Set your multimeter to the appropriate settings for measuring voltage and continuity. Refer to the user manual of your multimeter for specific instructions on how to do this.
- Turn off the power: If the LED bulb is connected to an electrical circuit, make sure to turn off the power at the circuit breaker or unplug it from the socket before proceeding.
- Connect the test leads: Connect one end of the test leads to the multimeter. If your multimeter has specific ports for testing voltage and continuity, ensure that you connect the test lead to the correct port.
- Test for continuity: To test for continuity, touch the two test leads together and check if the multimeter displays zero resistance or beeps. This ensures that the multimeter is functioning properly.
- Test the LED bulb for continuity: Touch one of the test leads to the base or metal portion of the LED bulb. Touch the other test lead to the LED bulb’s positive terminal or any exposed metal on the bulb. If the multimeter displays zero resistance or beeps, it indicates that there is continuity in the LED bulb’s circuitry.
- Test for voltage: Carefully reconnect the LED bulb to the power source or power supply, making sure not to touch any exposed metal parts. Touch one test lead to the LED bulb’s positive terminal and the other to the negative terminal or any exposed metal. The multimeter should display the voltage reading supplied to the LED bulb.
- Interpret the voltage reading: Compare the voltage reading obtained with the recommended voltage range for the LED bulb. If the reading falls within the acceptable range, it indicates that the LED bulb is receiving the proper voltage supply.
- Make a replacement decision: Based on the continuity and voltage test results, evaluate the functionality of the LED bulb. If there are any issues with continuity or if the voltage reading is outside the acceptable range, it may be an indication that the LED bulb is faulty and needs to be replaced.
By following these step-by-step instructions, you can confidently test LED bulbs with a multimeter and assess their functionality.
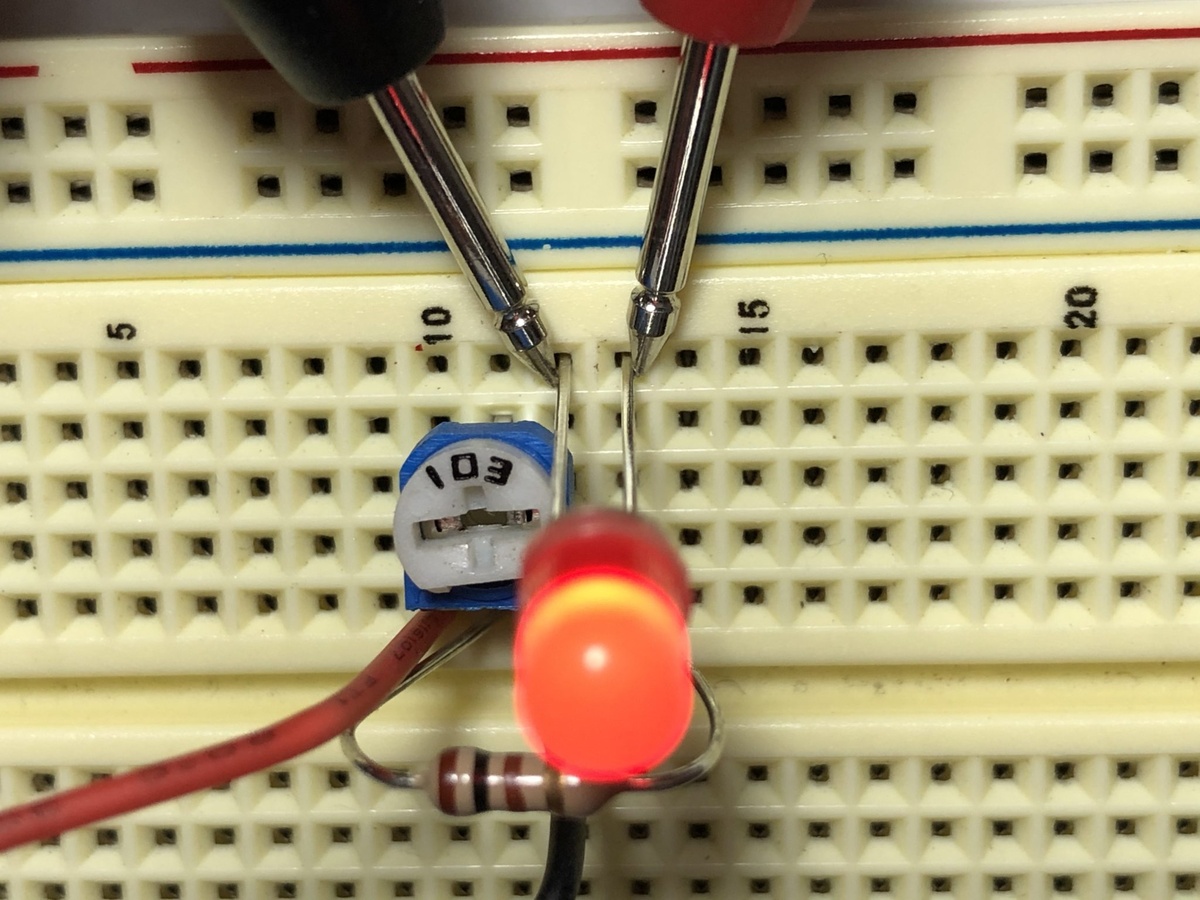
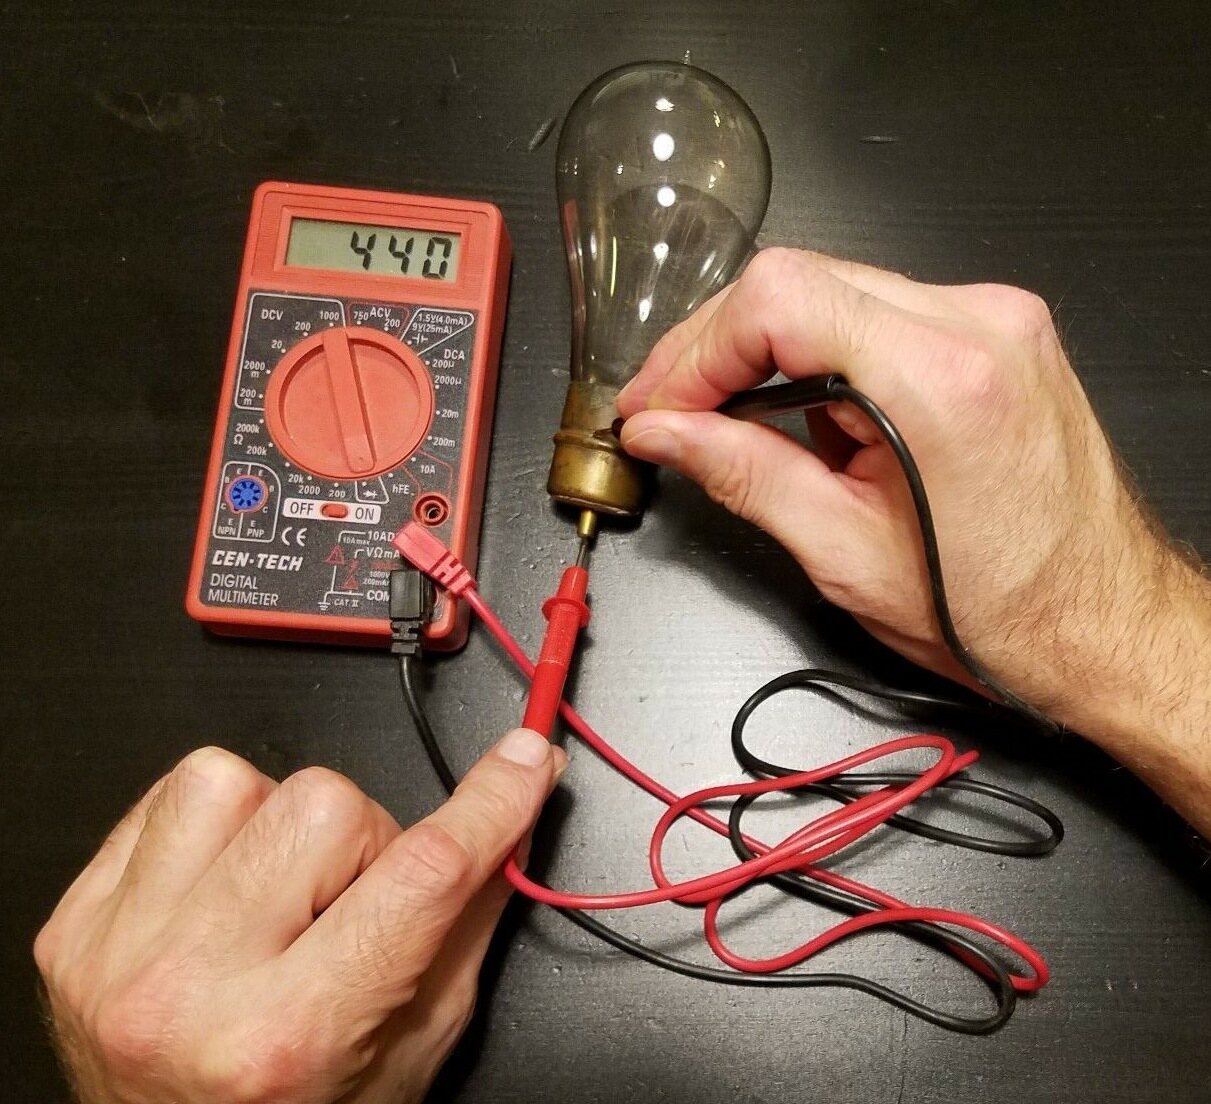
When testing a LED bulb with a multimeter, set the multimeter to the diode test mode. Place the positive probe on the LED’s anode and the negative probe on the cathode. If the LED is working, the multimeter should display a voltage drop.
Method 1: Testing for Continuity
Continuity testing is a crucial step in determining the integrity of the internal circuitry of a LED bulb. Follow these steps to test the LED bulb for continuity:
- Prepare your multimeter: Set your multimeter to the continuity testing mode. This mode is usually represented by a symbol that looks like a sound wave or a diode.
- Turn off the power: If the LED bulb is connected to a power source, turn off the power before proceeding with the test.
- Connect the test leads: Connect one end of the test leads to the multimeter. Make sure you have a test lead connected to the continuity port or COM port, depending on the model of your multimeter.
- Touch the test leads together: To ensure that the multimeter is functioning properly, touch the two test leads together. If the multimeter emits a beep or displays zero resistance, it means that the continuity function is working.
- Test the LED bulb: Touch one end of the test lead to the base or metal portion of the LED bulb. Touch the other end of the test lead to the LED bulb’s positive terminal or any exposed metal on the bulb.
- Observe the multimeter reading: If the multimeter emits a beep or displays zero resistance, it indicates that there is continuity in the LED bulb’s circuitry. This means that the internal connections are intact, and the LED bulb is likely functioning properly.
- No beep or infinite resistance: If the multimeter does not emit a beep or displays infinite resistance, it indicates that there is a break in the circuit of the LED bulb. This suggests that the LED bulb may be faulty and needs to be replaced.
Testing for continuity helps determine if the LED bulb’s internal circuitry is intact. If there is continuity, it is an indicator that the LED bulb is functioning properly. However, if there is no continuity, it may indicate a fault in the circuitry and the need for a replacement.
Read more: How To Test An Ac Adapter With A Multimeter
Method 2: Testing for Voltage
Testing the voltage supply to a LED bulb is important to ensure that it is receiving the correct amount of power. Follow these steps to test the LED bulb for voltage:
- Prepare your multimeter: Set your multimeter to the voltage testing mode. This mode is usually represented by a symbol that looks like a V with a straight line on top.
- Turn off the power: If the LED bulb is connected to a power source, turn off the power before proceeding with the test.
- Connect the test leads: Connect one end of the test leads to the multimeter. Make sure you have a test lead connected to the voltage port or COM port, depending on the model of your multimeter.
- Connect the LED bulb: Reconnect the LED bulb to the power source or power supply, ensuring that it is properly secured.
- Touch the test leads to the LED bulb: Touch one end of the test lead to the LED bulb’s positive terminal and the other end to the negative terminal or any exposed metal on the bulb.
- Read the multimeter: The multimeter should display the voltage reading supplied to the LED bulb. Take note of this reading.
- Compare the voltage reading: Compare the voltage reading obtained with the recommended voltage range for the LED bulb. If the reading falls within the acceptable range, it indicates that the LED bulb is receiving the proper voltage supply.
- Voltage outside acceptable range: If the voltage reading is significantly higher or lower than the recommended range, it may indicate that the LED bulb is not receiving the appropriate power. This can be a sign of a faulty LED bulb or an issue with the power supply.
- Make a replacement decision: Based on the voltage test results, evaluate the functionality of the LED bulb. If the voltage reading is within the acceptable range, it indicates that the LED bulb is likely receiving the proper power. However, if the voltage reading is outside the acceptable range, it may be an indication that the LED bulb is faulty and needs to be replaced.
Testing for voltage helps ensure that the LED bulb is receiving the correct amount of power. By comparing the voltage reading with the recommended range, you can determine whether the LED bulb is functioning properly and receiving the optimal power supply.
Tips and Precautions
When testing LED bulbs with a multimeter, it’s important to follow certain tips and precautions to ensure accurate testing and maintain your safety. Here are some helpful tips to keep in mind:
- Read the manufacturer’s instructions: Before testing a LED bulb, refer to the manufacturer’s instructions for any specific guidelines or warnings regarding testing procedures.
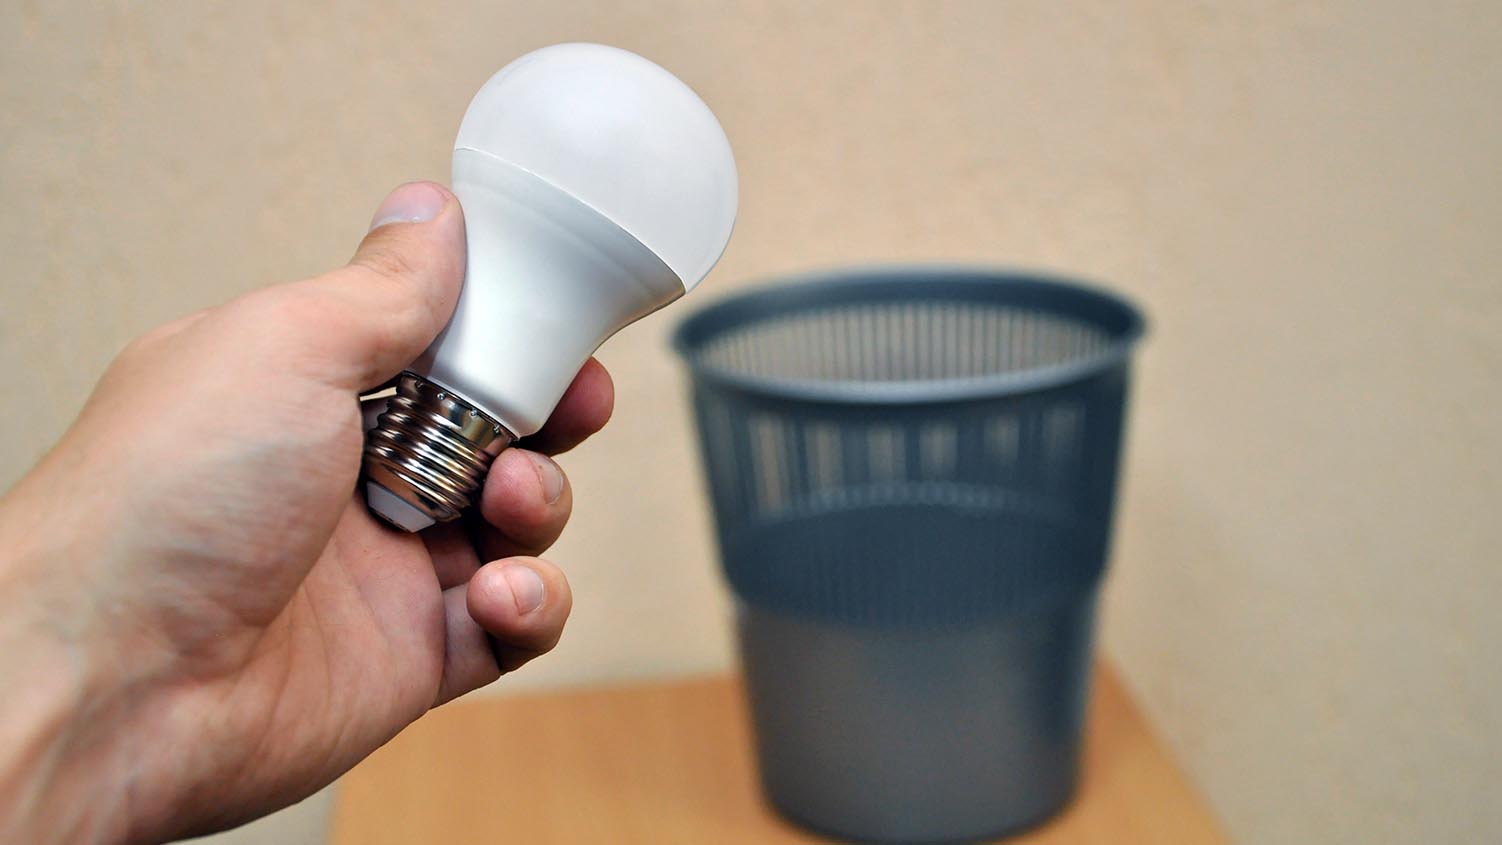
- Handle the LED bulb carefully: LED bulbs are delicate electronic devices, so handle them with care to avoid causing any damage. Avoid dropping or subjecting them to excessive force.
- Ensure proper connections: When connecting the test leads to the LED bulb, make sure they have a good, secure connection. Loose connections can cause inaccurate readings and affect the testing process.
- Take safety precautions: Always prioritize your safety when working with electrical components. Wear safety goggles and insulated gloves to protect yourself from potential hazards. Additionally, make sure the power is turned off before touching any components.
- Check the multimeter’s functionality: Before using the multimeter, test its continuity function by touching the test leads together. This ensures that the multimeter is working properly before proceeding with testing the LED bulb.
- Use alligator clips for stability: If possible, use alligator clips to secure the test leads in place during testing. This provides a hands-free operation, allowing you to focus on observing the multimeter readings and the behavior of the LED bulb.
- Observe the LED bulb’s behavior: While testing for continuity and voltage, pay attention to the LED bulb’s behavior. Note if it flickers, dims, or exhibits any unusual characteristics, as this can provide additional insights into its condition.
- Document your findings: Keep a record of your test results and observations for future reference. This can help in troubleshooting any issues and comparing test results with previous or future LED bulbs.
- Consult a professional if needed: If you are unsure about any aspect of testing LED bulbs or if you encounter complex issues, consider consulting a qualified electrician or professional for guidance.
By following these tips and precautions, you can ensure accurate testing, minimize the risk of accidents, and get reliable results when testing LED bulbs with a multimeter.
Conclusion
Testing LED bulbs with a multimeter is a valuable skill that allows you to assess the functionality and performance of these energy-efficient lighting solutions. By following the step-by-step instructions outlined in this article, you can effectively test LED bulbs for continuity and voltage to identify any potential issues.
Continuity testing helps you determine if the internal circuitry of the LED bulb is intact, while voltage testing ensures that the bulb is receiving the correct amount of power. These tests enable you to detect faulty connections, verify voltage supply, ensure energy efficiency, prevent safety hazards, and ultimately save money by avoiding unnecessary replacements.
Remember to gather the required tools and equipment, including a multimeter, test leads, and alligator clips, to ensure a smooth testing process. Take necessary precautions by wearing safety goggles and insulated gloves, and always double-check that the power is turned off before handling the LED bulb.
Throughout the testing process, it’s important to document your findings, observe the behavior of the LED bulb, and interpret the multimeter readings accurately. If you encounter any difficulties or uncertainties, consult professional assistance to ensure accurate results and maintain safety.
Testing LED bulbs with a multimeter empowers you to diagnose faults, troubleshoot issues, and make informed decisions about the condition of your LED bulbs. By conducting these tests regularly, you can prolong the lifespan of your LED bulbs, optimize their performance, and enjoy the benefits of energy-efficient lighting for years to come.
Frequently Asked Questions about How To Test An LED Bulb With A Multimeter
Was this page helpful?
At Storables.com, we guarantee accurate and reliable information. Our content, validated by Expert Board Contributors, is crafted following stringent Editorial Policies. We're committed to providing you with well-researched, expert-backed insights for all your informational needs.


0 thoughts on “How To Test An LED Bulb With A Multimeter”