Articles
How To Test Electrical Wire For Continuity
Modified: August 16, 2024
Learn how to test electrical wires for continuity with this informative article. Find out the best methods and tools to ensure proper electrical connections.
(Many of the links in this article redirect to a specific reviewed product. Your purchase of these products through affiliate links helps to generate commission for Storables.com, at no extra cost. Learn more)
Introduction
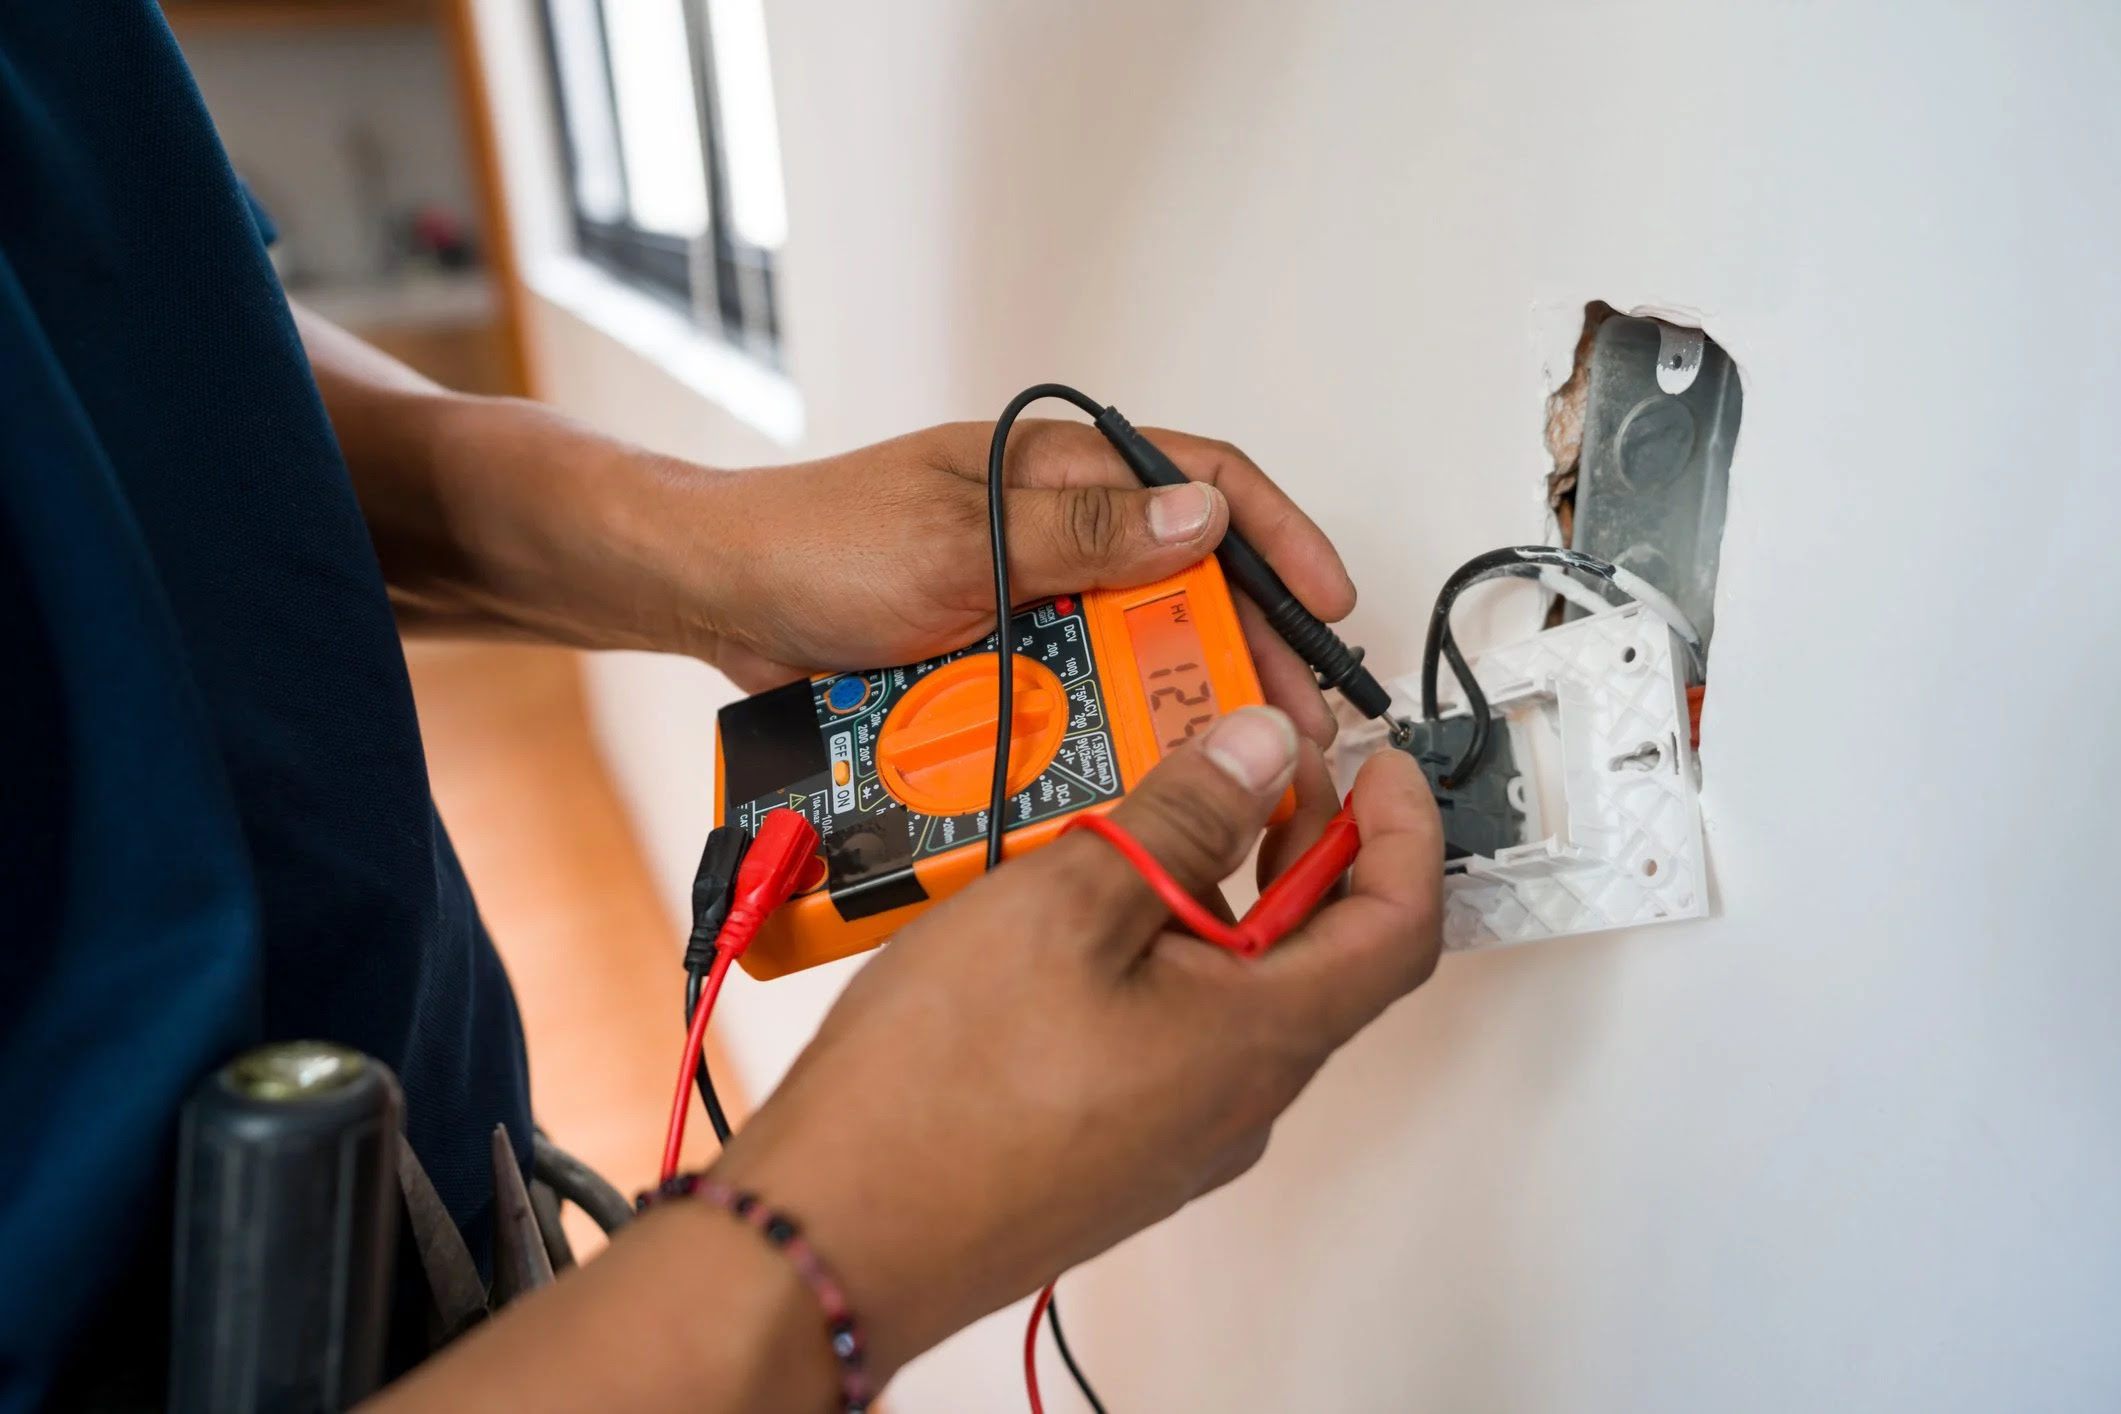
Welcome to the world of electrical wiring! Whether you’re a DIY enthusiast or a professional electrician, understanding how to test electrical wire for continuity is a crucial skill. Continuity testing allows you to identify any breaks or interruptions in the wire, ensuring that electricity can flow through the circuit properly. In this article, we’ll explore the importance of continuity testing, the tools needed, and provide you with a step-by-step guide to successfully test electrical wire continuity.
Electrical wire continuity refers to the unbroken path of electrical current flow in a wire. A wire with continuity ensures that electricity can flow through it without any disruptions or breaks. It is essential to test for continuity to ensure the safe and efficient operation of electrical circuits. By verifying that the wire is intact and free from breaks, you can prevent potential hazards like electrical shocks or short circuits.
Before diving into the testing process, it’s important to gather the necessary tools. You’ll need a few items to conduct the continuity testing accurately:
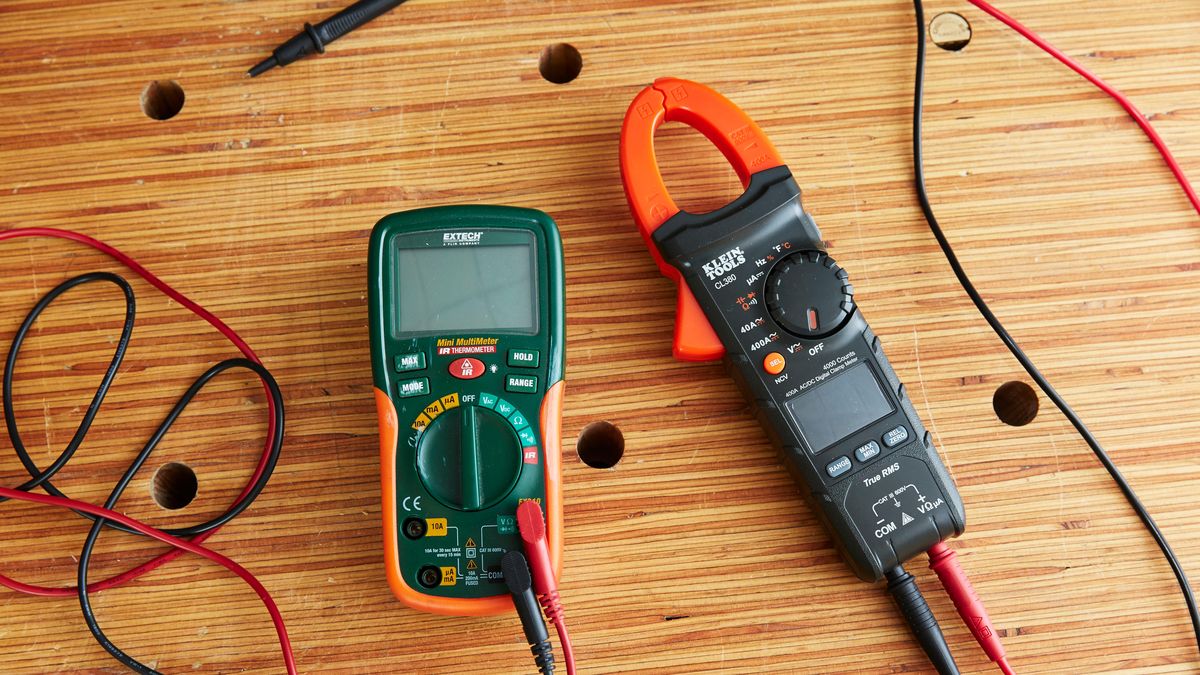
- Multimeter: A versatile tool used to measure voltage, current, and resistance. It is essential for continuity testing as it can detect an uninterrupted flow of current through a wire.
- Test leads: These are the attached wires that allow you to connect the multimeter to the wire being tested. They come in different varieties, such as alligator clips or probe tips.
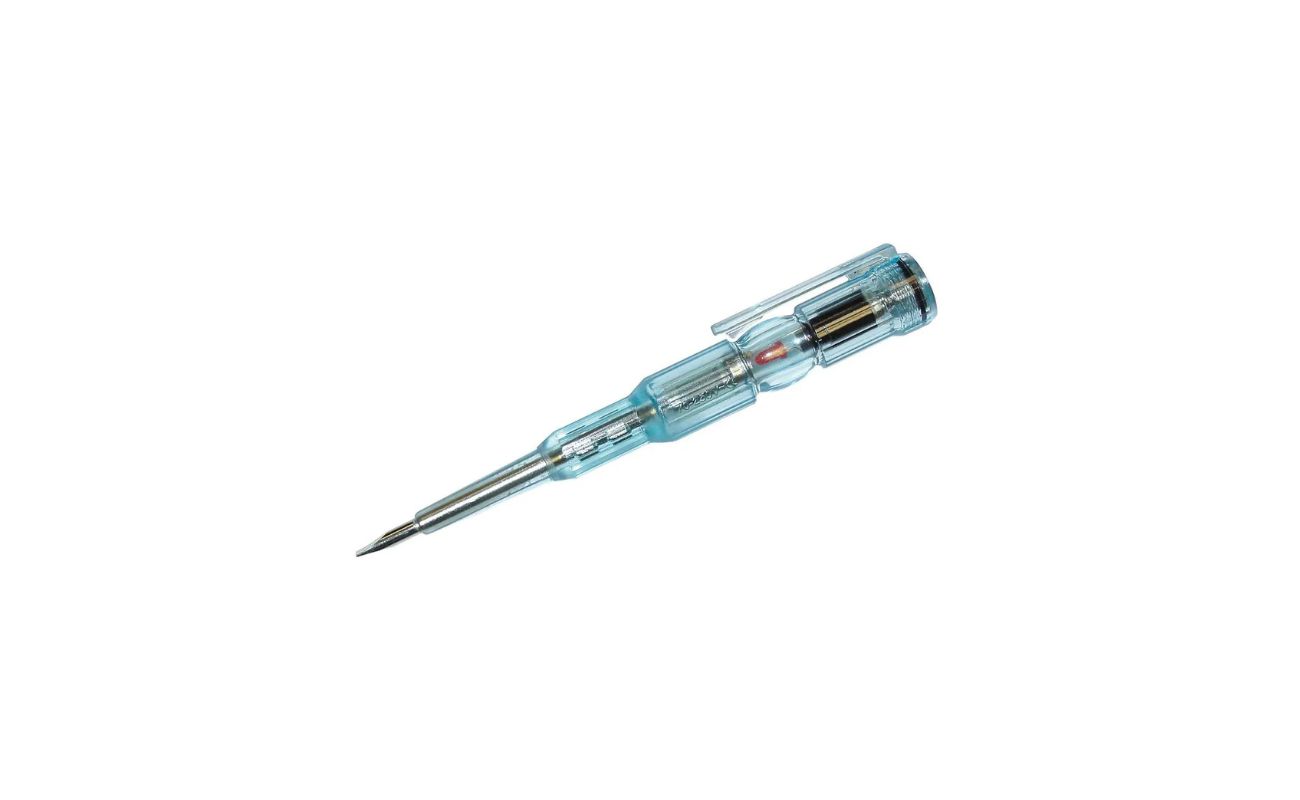
- Probe tips: These sharp-pointed accessories are connected to the test leads and facilitate the precise contact with the wire being tested.
Now that you have your tools ready, let’s dive into the step-by-step guide on how to test electrical wire for continuity.
Key Takeaways:
- Continuity testing is crucial for identifying breaks or interruptions in electrical wires, preventing potential hazards like electrical shocks or short circuits. It ensures the safe and efficient operation of electrical circuits.
- By mastering the skill of testing electrical wire continuity, you can confidently troubleshoot and maintain electrical circuits, ensuring the safety and efficiency of electrical systems. Remember, safety is paramount in electrical work.
Read more: How To Test An Electric Fence
Understanding Electrical Wire Continuity
Electrical wire continuity refers to the unbroken path of electrical current flow in a wire. It is crucial to ensure that there are no disruptions or breaks in the wire for the proper functioning of electrical circuits. By testing for continuity, you can identify any faults in the wire and take necessary actions to rectify them.
Continuity testing involves verifying if there is a complete electrical path between two points of a wire or a circuit. It allows you to determine whether electricity can flow freely through the wire without any interruptions. A wire with continuity will have low resistance, indicating a clear path for the current to flow.
If a wire lacks continuity, it means that there is a break or an open circuit in the wire. This can occur due to various reasons, such as physical damage, loose connections, or faulty wiring. Identifying these interruptions is crucial to prevent potential hazards like electrical shocks, short circuits, or equipment malfunction.
By conducting continuity tests, you can also verify the integrity of wire insulation. Insulation acts as a protective layer around the wire, preventing it from coming into contact with other conductive surfaces. If the insulation is damaged or worn out, it can lead to electrical faults or hazards. Continuity testing helps identify such issues by ensuring that current flows only through the wire and not through the insulation.
Understanding electrical wire continuity is important not only for troubleshooting existing electrical issues but also for conducting routine maintenance and inspections. Regular continuity testing can help diagnose potential problems before they escalate, ensuring the safety and efficiency of electrical systems.
Now that you have a basic understanding of electrical wire continuity, let’s move on to the tools needed for testing and the step-by-step guide to effectively conduct this test.
Tools Needed for Testing Electrical Wire Continuity
Before you begin testing electrical wire continuity, it’s important to gather the necessary tools. Having the right equipment ensures accurate readings and a smooth testing process. Here are the essential tools you’ll need:
- Multimeter: A multimeter is a versatile device that combines several essential electrical measuring functions into one unit. It measures voltage, current, resistance, and continuity. A digital multimeter is preferred for its ease of use and precise readings.
- Test Leads: Test leads are the cables or wires that connect the multimeter to the wire being tested. They typically have two probe tips at one end and connectors, such as alligator clips or banana plugs, at the other end. Ensure that the test leads are in good condition and properly connected to the multimeter.
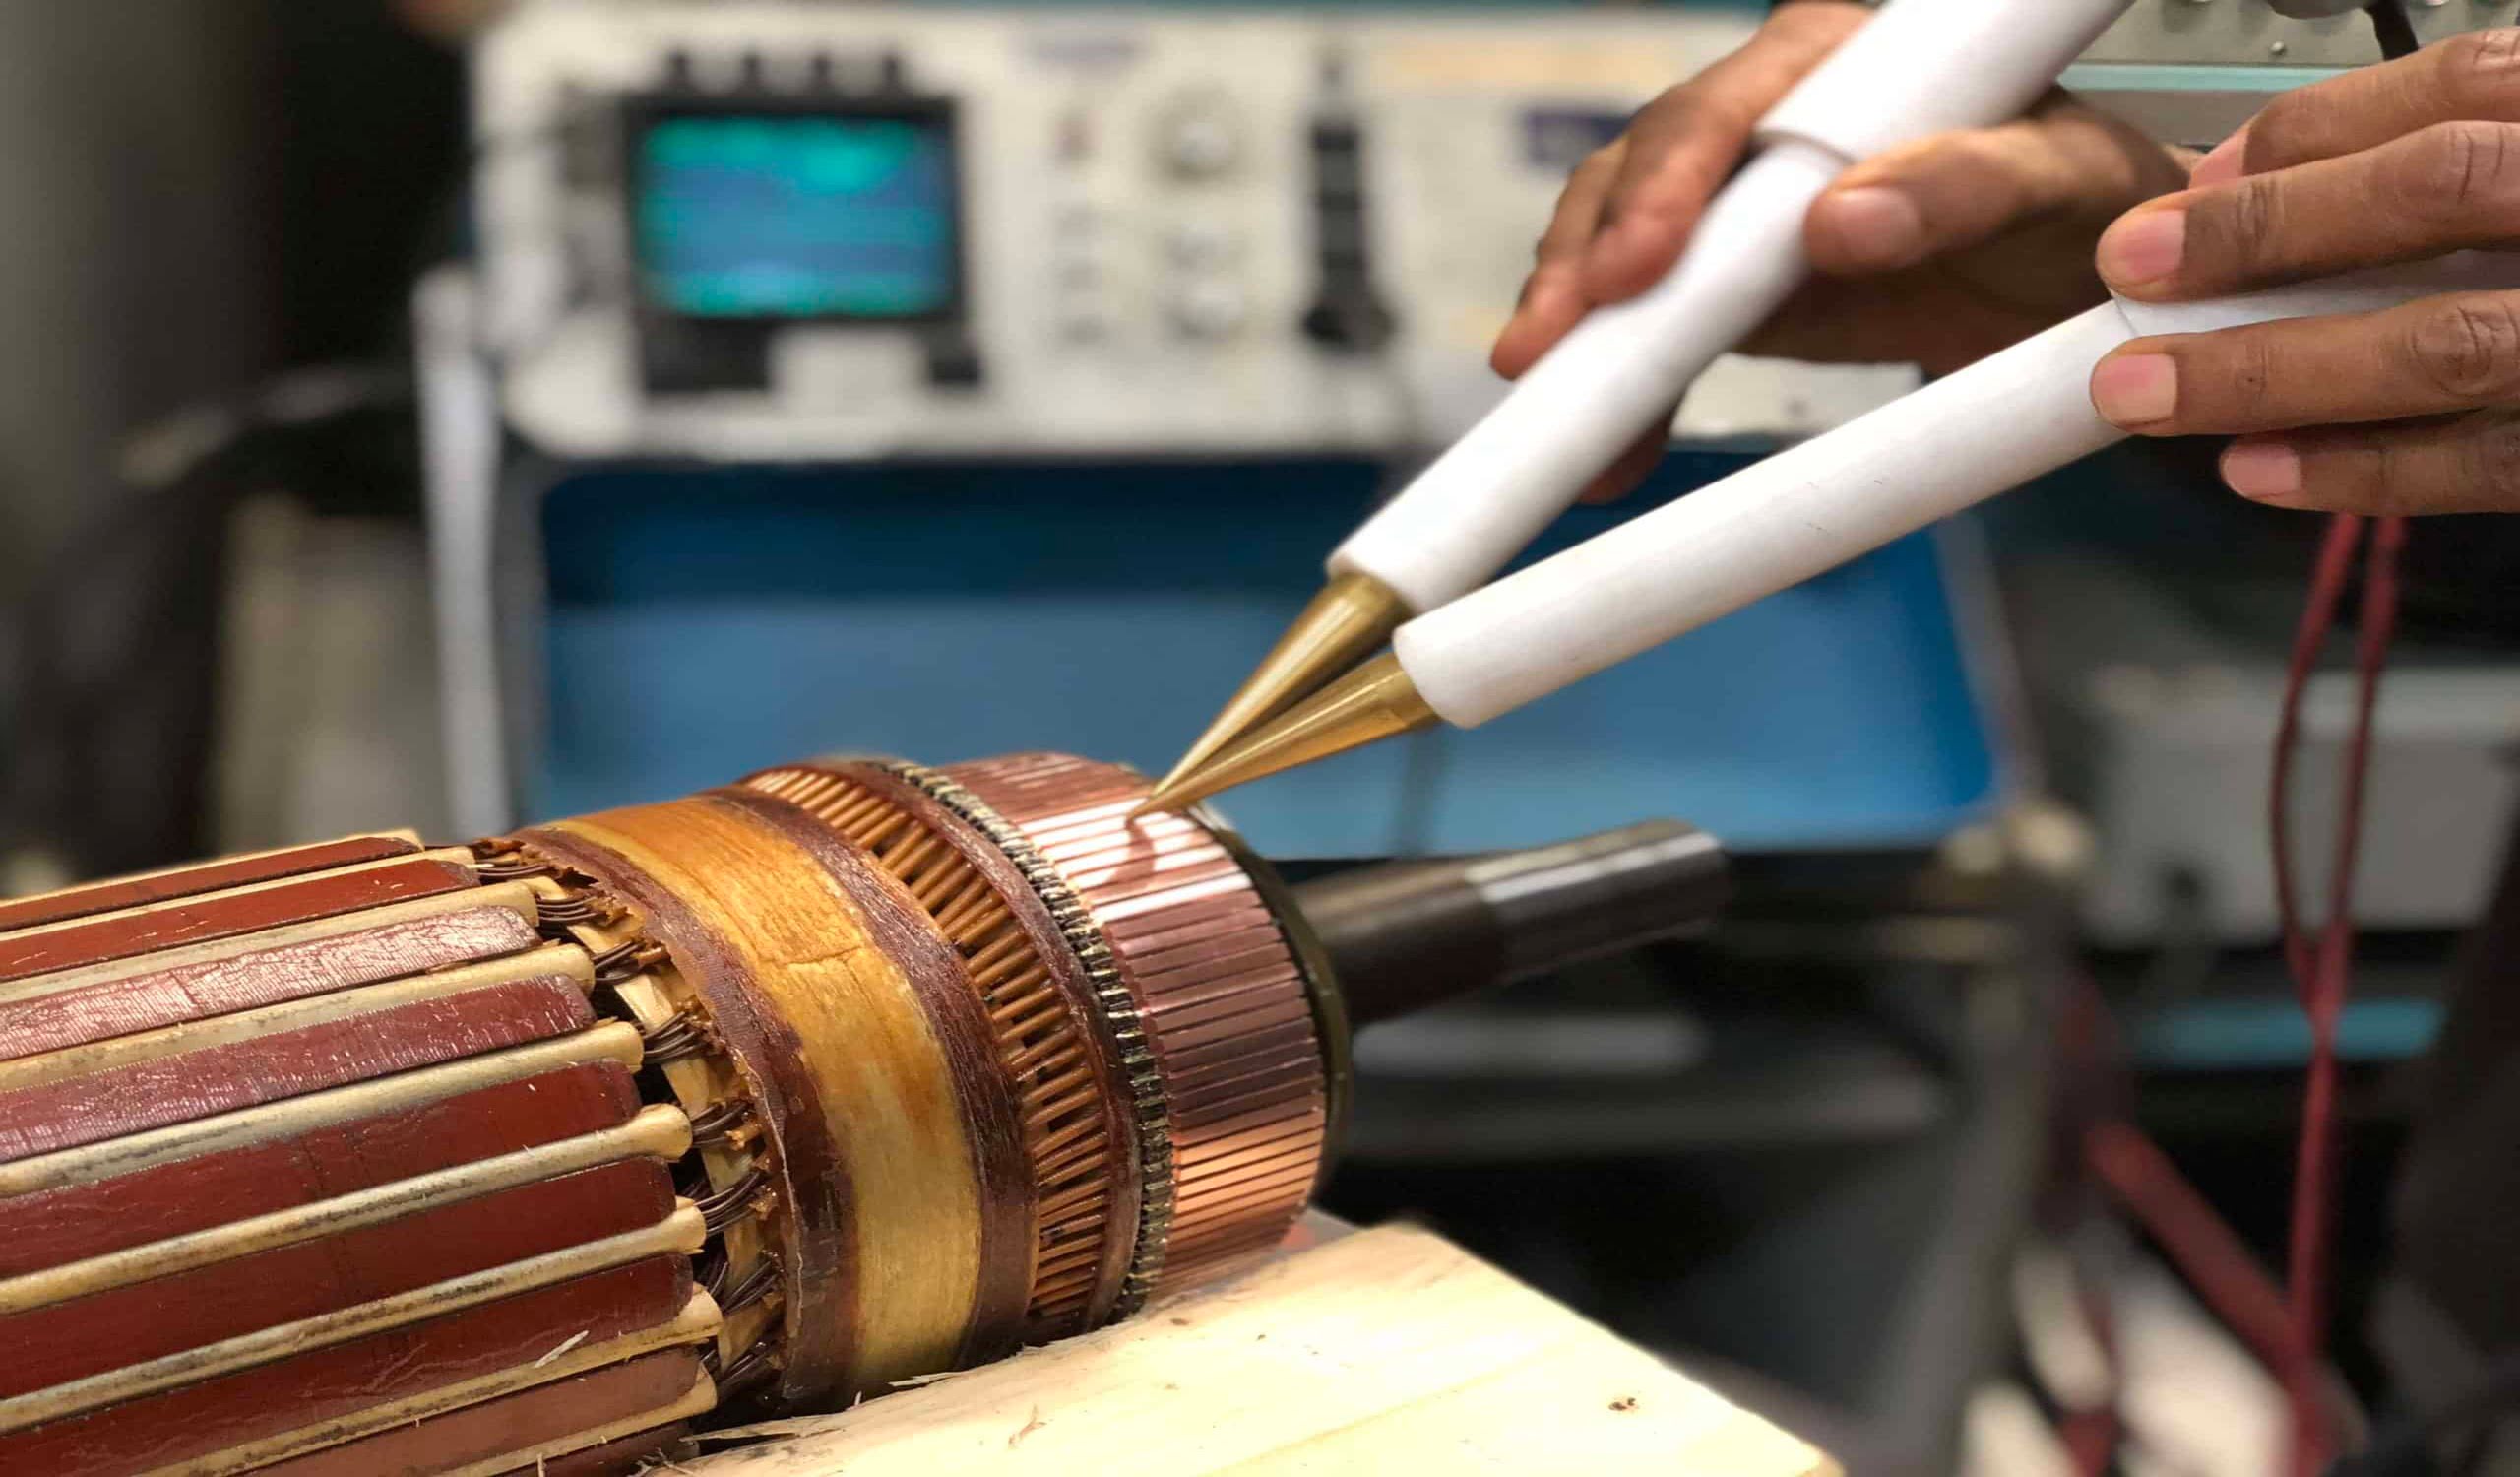
- Probe Tips: Probe tips are the accessories that you attach to the end of the test leads. They are used to make contact with the wire being tested. The probe tips should be sharp, allowing for precise and secure connections.
- Batteries: Check that the batteries in your multimeter are fully charged. Low battery power can affect the accuracy of the readings and lead to unreliable continuity test results. Replace the batteries if needed to ensure reliable performance.
- Safety Equipment: Safety should always be a top priority when working with electrical systems. Wear personal protective equipment such as safety goggles and gloves to protect yourself from any potential hazards. Additionally, ensure that you are working in a well-ventilated area and have a fire extinguisher nearby as a precaution.
Once you have gathered these tools and ensured their proper functioning, you are ready to move on to the step-by-step guide on testing electrical wire continuity. It’s important to read and understand the equipment’s user manual for specific instructions and safety guidelines.
Remember, electrical work can be dangerous, especially if you are not experienced or trained. If you are unsure or uncomfortable with performing continuity tests, it’s best to seek the assistance of a licensed electrician. Your safety and the safety of others should always be the top priority when dealing with electrical systems.
Now that we have covered the essential tools, let’s proceed to the next section, where we will provide a detailed step-by-step guide on testing electrical wire continuity.
Use a multimeter set to the continuity test mode. Touch one probe to one end of the wire and the other probe to the opposite end. If the multimeter beeps, the wire has continuity. If it doesn’t beep, there is a break in the wire.
Step-by-Step Guide to Testing Electrical Wire Continuity
Now that you have gathered the necessary tools, let’s walk through the step-by-step process of testing electrical wire continuity:
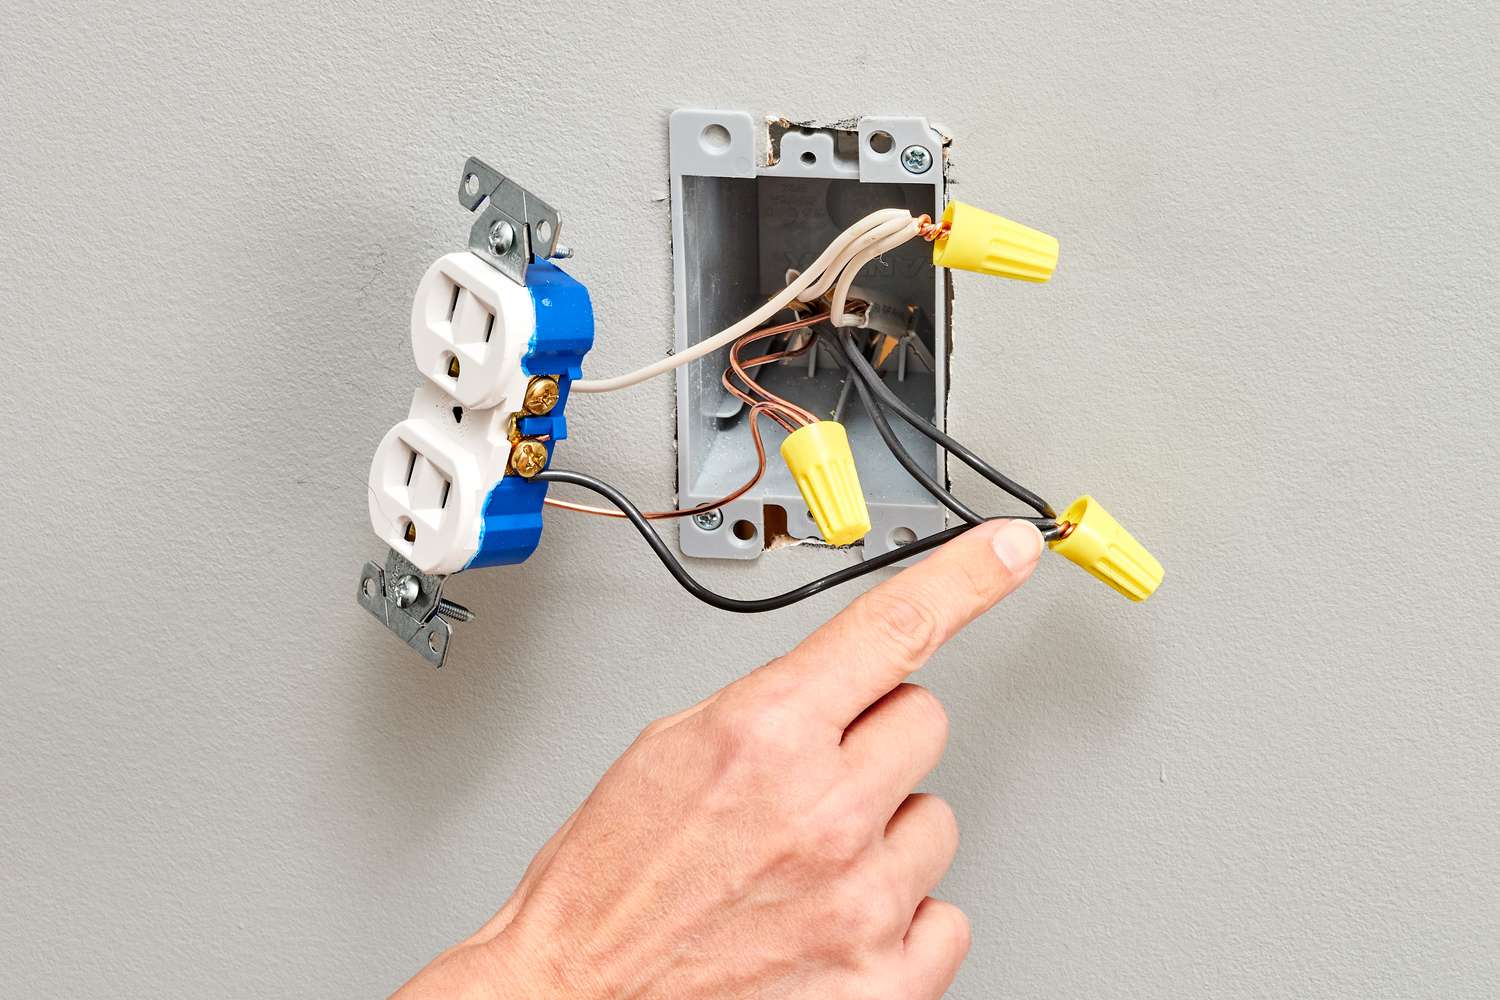
- Ensure Safety: Before starting any electrical work, ensure that the power is turned off to the circuit you’ll be testing. This will prevent any electrical accidents or shocks during the testing process.
- Set Up the Multimeter: Turn on your multimeter and set it to the continuity or resistance mode. This mode is usually denoted by a symbol that looks like a sound wave or a diode. Consult the instruction manual if you’re unsure of the specific settings on your multimeter.
- Connect the Test Leads: Attach the test leads to the multimeter. The black lead should be connected to the COM (common) port, and the red lead should be connected to the port labeled for continuity or resistance measurements.
- Test the Multimeter: To ensure that your multimeter is functioning correctly, touch the probe tips together. You should hear a continuous beep or see a reading on the display indicating low resistance. If you don’t get a reading, check the connections and try again.
- Disconnect the Power: Double-check that the power is disconnected from the circuit you’re testing. This is a crucial safety step to avoid any potential accidents.
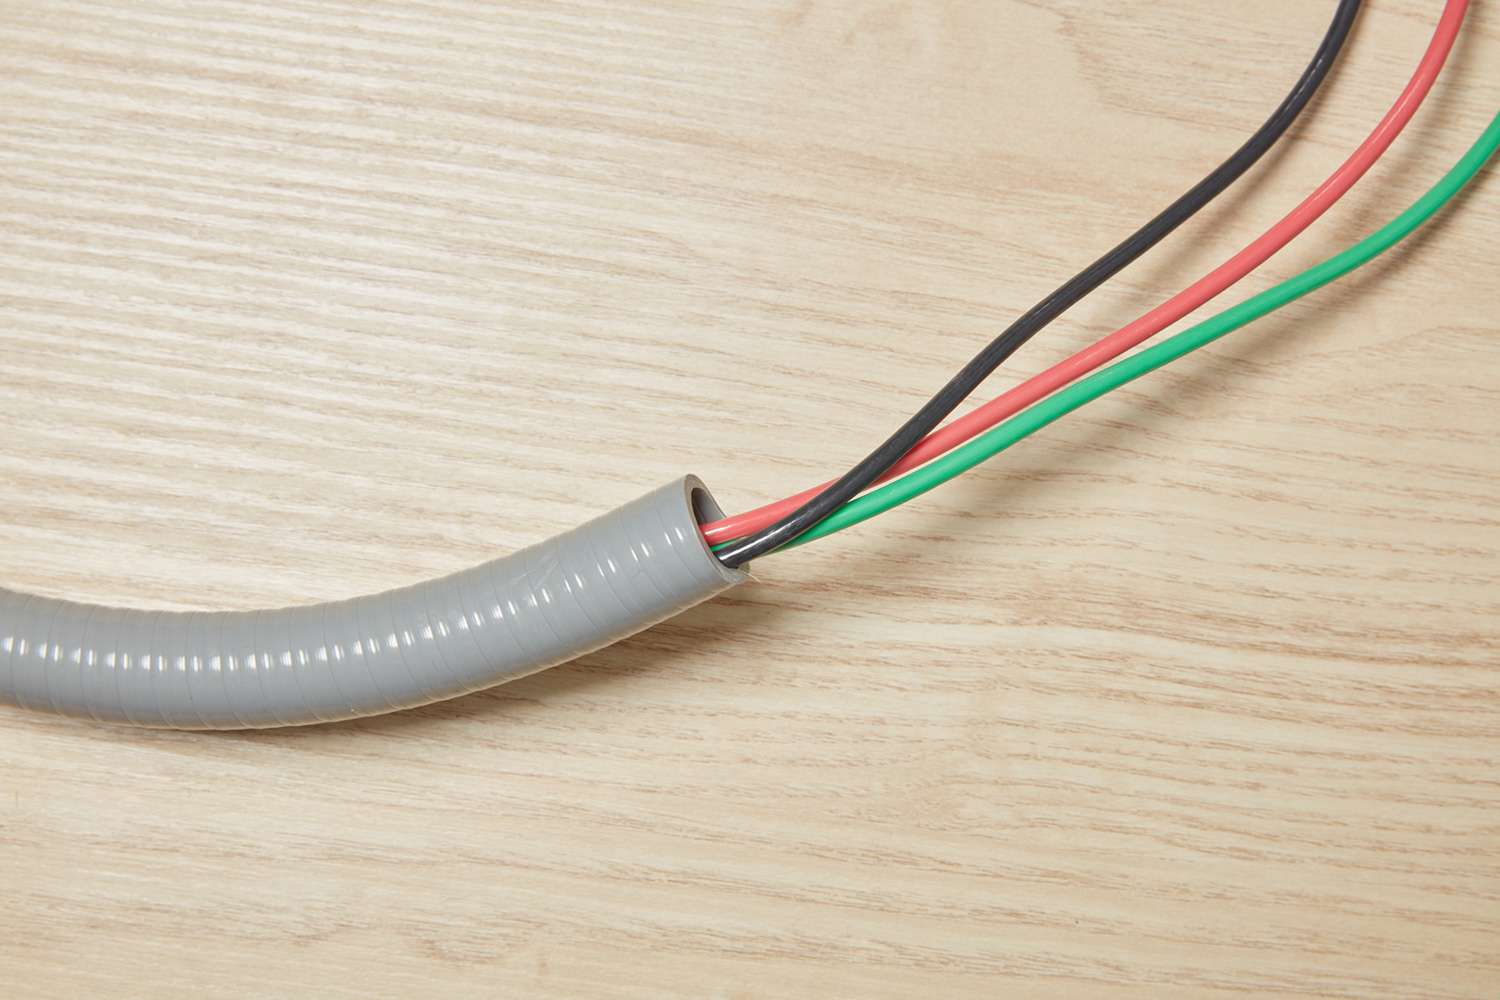
- Prepare the Wire: If necessary, expose a small section of the wire by removing the insulation using a wire stripper or a sharp utility knife. Ensure that the exposed section is clean and free from any debris.
- Connect the Probe Tips: Take the probe tips and touch them to opposite ends of the wire being tested. One probe tip should make contact with one end of the wire, while the other probe tip touches the opposite end.
- Check for Continuity: With the probe tips connected to the wire, observe the multimeter’s display. If there is continuity in the wire, the multimeter will emit a continuous beep or show a low resistance reading (near zero ohms) on the display. It indicates that the wire is intact and the current can flow smoothly.
- Identify Breaks or Disruptions: If there is no continuity, and you do not hear a beep or see a high resistance reading on the multimeter, it indicates a break or disruption in the wire. You will need to locate and repair the faulty section, ensuring that the wire is properly connected.
- Repeat the Process: If you have multiple wires to test, repeat the process for each one individually. Ensure that the power is disconnected before moving on to the next wire.
Remember, accuracy and safety are paramount when conducting continuity tests. Always double-check your connections, follow safety protocols, and seek professional assistance if needed. Continuity testing allows you to identify any issues with the wires and take appropriate action to ensure the safe and efficient operation of your electrical circuits.
In the next section, we’ll touch upon common issues that may arise during continuity testing and provide troubleshooting tips to help you overcome them.
Common Issues and Troubleshooting Tips
While testing electrical wire continuity, you may encounter some common issues. Let’s explore these issues and provide troubleshooting tips to help you overcome them:
1. Intermittent Continuity: In some cases, you may experience intermittent continuity or an on-and-off reading on the multimeter. This can be caused by loose connections or a damaged wire. Ensure that the probe tips are securely touching the wire and that the connections are tight. If the issue persists, carefully inspect the wire for any signs of damage or breaks. If necessary, replace or repair the faulty section.
2. False Continuity: False continuity readings can occur when there is unintentional contact between exposed wires or with nearby conductive surfaces. Ensure that the wire being tested is isolated and not touching any other wires or conductive materials. If you get a continuity reading when there should be none, carefully inspect the area for any potential contact points or short circuits.
3. High Resistance: If you see a high resistance reading on the multimeter display instead of low resistance (near zero ohms), it may indicate a poor connection or corrosion on the probe tips. Make sure the probe tips are clean and securely touching the wire. You can also try rotating or wiggling the probe tips slightly to establish a better connection. If the resistance remains high, replace the probe tips or clean them thoroughly.
4. Issues with Multimeter: If you are experiencing inconsistent readings or abnormal behavior from your multimeter, double-check the battery power. Low battery voltage can affect the accuracy of the readings. Replace the batteries if needed. Additionally, consult the multimeter’s user manual for troubleshooting tips specific to your model.
5. Difficulties in Accessing the Wire: In some cases, the wire you need to test may be in a hard-to-reach or inaccessible area. In such situations, you may need to use extension leads or adaptors to reach the wire. Ensure that these additional connections do not introduce any interference or affect the accuracy of the continuity test.
6. Multiple Wire Testing: When testing multiple wires in close proximity, it’s important to keep the wires separate and isolated. Avoid accidental contact between the wires, as this can lead to false continuity readings or short circuits. Use insulation or tape to keep the wires separated during testing.
Remember, troubleshooting electrical circuits can sometimes be complex, and it’s always best to consult a licensed electrician if you’re unsure or uncomfortable with the testing process. Electrical systems can pose serious risks if mishandled or improperly diagnosed.
Before we wrap up, let’s summarize what we’ve covered so far.
Read more: How To Test Electric Stove Burners
Conclusion
Congratulations! You’ve reached the end of our comprehensive guide on testing electrical wire continuity. By understanding the importance of continuity testing and following the step-by-step process, you can ensure the safe and efficient operation of your electrical circuits.
We began by highlighting the significance of electrical wire continuity and the potential hazards that can arise from breaks or interruptions in the wire. Continuity testing allows you to identify these faults and take appropriate actions to rectify them, preventing electrical shocks, short circuits, or equipment malfunctions.
We discussed the essential tools needed for testing electrical wire continuity, including a multimeter, test leads, and probe tips. We emphasized the importance of safety equipment and precautions when working with electrical systems. Safety should always be a top priority to protect yourself and others from potential accidents.
Next, we provided a detailed step-by-step guide on testing electrical wire continuity. From setting up the multimeter to checking for continuity and troubleshooting common issues, we covered the entire testing process. Remember, accuracy and precision are key to obtaining reliable test results.
We also discussed common issues that can arise during continuity testing, such as intermittent continuity or false readings, and provided troubleshooting tips to help you overcome these challenges. If you encounter complex issues or feel unsure about the testing process, it’s best to seek the assistance of a licensed electrician.
Continuity testing is vital not only for troubleshooting existing electrical problems but also for conducting regular maintenance and inspections. By regularly testing electrical wire continuity, you can identify potential issues before they escalate, ensuring the safety, and efficiency of your electrical systems.
It’s worth reiterating that electrical work can be hazardous. If at any point you are unsure or uncomfortable with performing continuity tests, it’s always wise to seek professional assistance. Your safety is paramount.
By mastering the skill of testing electrical wire continuity, you are taking an important step towards becoming a more knowledgeable and skilled DIY enthusiast or electrician. With this valuable skill, you can confidently maintain and troubleshoot electrical circuits in various settings.
Now, armed with the knowledge and understanding you’ve gained from this guide, you can confidently embark on testing electrical wire continuity. Stay safe, follow the proper procedures, and embrace the world of electrical wiring with confidence!
Frequently Asked Questions about How To Test Electrical Wire For Continuity
Was this page helpful?
At Storables.com, we guarantee accurate and reliable information. Our content, validated by Expert Board Contributors, is crafted following stringent Editorial Policies. We're committed to providing you with well-researched, expert-backed insights for all your informational needs.


0 thoughts on “How To Test Electrical Wire For Continuity”