Home>Gardening & Outdoor>Outdoor Structures>How To Tie A Shed Roof Into An Existing Roof

Outdoor Structures
How To Tie A Shed Roof Into An Existing Roof
Modified: August 28, 2024
Learn how to seamlessly tie a shed roof into an existing roof with our expert outdoor structures guide. Ensure a secure and weatherproof connection for your outdoor space.
(Many of the links in this article redirect to a specific reviewed product. Your purchase of these products through affiliate links helps to generate commission for Storables.com, at no extra cost. Learn more)
Introduction
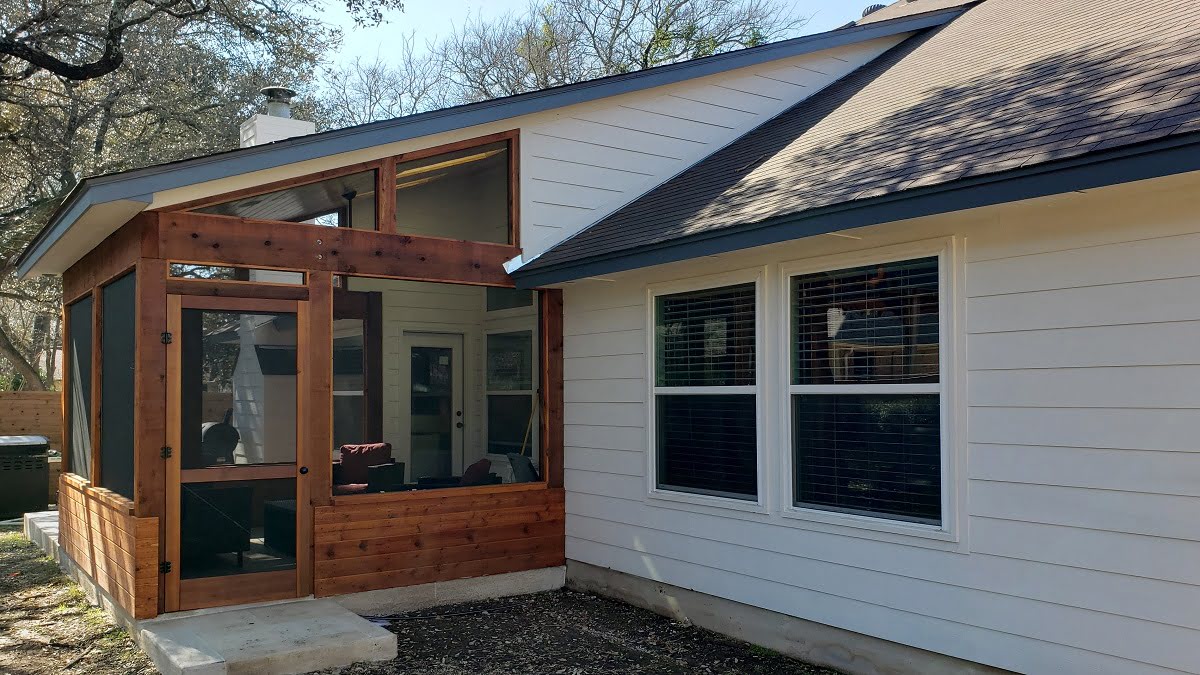
Adding a shed roof to an existing structure can be a practical and visually appealing way to expand your outdoor space. Whether you’re planning to create a covered patio, a carport, or a storage area, tying a shed roof into an existing roof requires careful planning and precise execution. This comprehensive guide will walk you through the essential steps, from assessing the existing roof to selecting the right materials and seamlessly integrating the new shed roof. By following these instructions, you can ensure a sturdy, watertight connection that enhances both the functionality and aesthetic appeal of your outdoor space.
Before delving into the technical details, it’s important to emphasize the significance of this project. Tying a shed roof into an existing roof is not merely a structural endeavor; it’s a creative pursuit that demands a harmonious blend of form and function. The seamless integration of the new roof with the existing structure can elevate the overall architectural appeal of your property while providing practical benefits such as additional storage or sheltered outdoor space. With this in mind, let’s embark on this journey of transforming your outdoor area into a seamless, unified space that embodies both elegance and utility.
Key Takeaways:
- Assess the existing roof’s slope, materials, and condition before adding a shed roof. This ensures a sturdy and visually appealing integration that enhances your outdoor space.
- Choose durable, weather-resistant materials for the shed roof and prepare the existing roof for a seamless connection. Meticulous installation and tying-in techniques create a unified and enduring outdoor structure.
Read more: How To Attach Shed Roof To Existing Roof
Assessing the Existing Roof
Before embarking on the project of tying a shed roof into an existing structure, a thorough assessment of the current roof is crucial. Start by examining the slope, pitch, and materials of the existing roof. Understanding these key elements will help determine the best approach for integrating the shed roof. Additionally, it’s important to inspect the condition of the current roof, looking for signs of wear, damage, or structural issues that may need to be addressed before proceeding with the new construction.
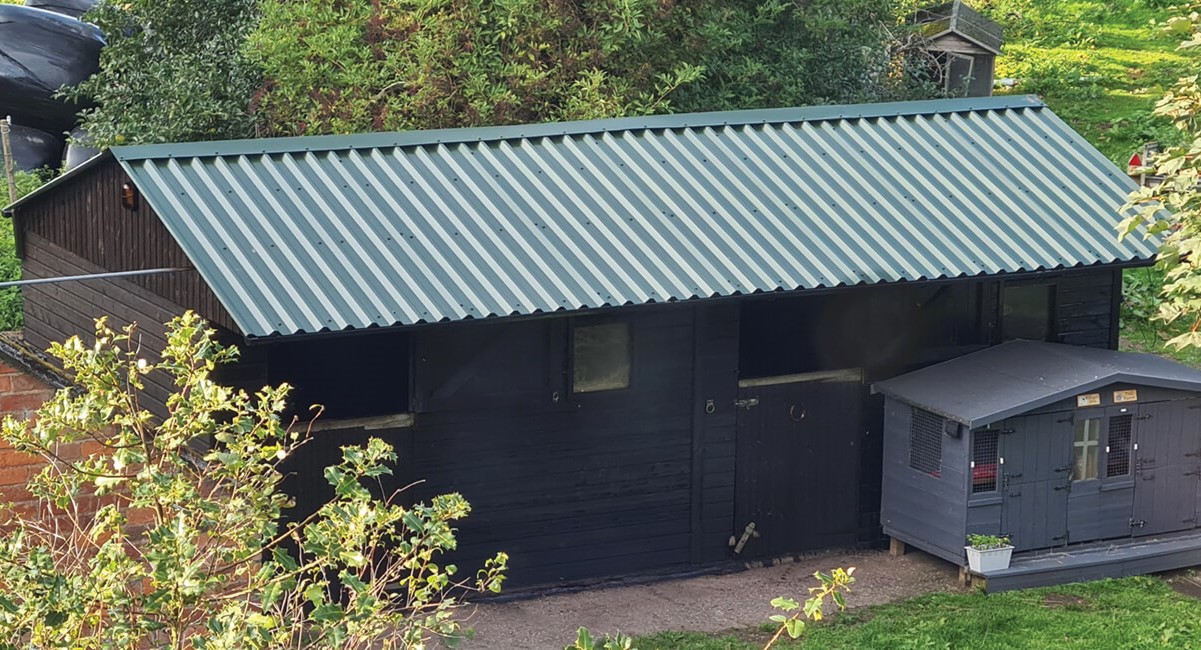
Consider the slope and pitch of the existing roof to determine how the shed roof will intersect with it. The angle and orientation of the existing roof will influence the design and placement of the shed roof. Furthermore, the materials used in the existing roof will impact the compatibility and integration of the shed roof. For instance, a metal shed roof may complement a shingle or metal existing roof, while a thatched shed roof might not be suitable for integration with a modern metal roof.
Assess the structural integrity of the existing roof, paying close attention to any signs of damage, rot, or weakened areas. It’s essential to ensure that the current roof can support the additional weight and stress introduced by the new shed roof. If any issues are identified, it’s advisable to address them promptly to prevent complications during the integration process.
Furthermore, consider the aesthetic and functional aspects of the integration. Visualize how the shed roof will blend with the existing structure and how it will enhance the overall appeal of the outdoor space. Additionally, think about the intended purpose of the shed roof and how it will fulfill your specific needs, whether it’s providing shade for outdoor gatherings, shelter for vehicles, or additional storage space.
By thoroughly assessing the existing roof, you can gather essential insights that will inform the subsequent steps of the project, ensuring a cohesive and well-executed integration of the shed roof.
Selecting the Right Materials
Choosing the appropriate materials for tying a shed roof into an existing structure is a pivotal decision that significantly influences the durability, appearance, and functionality of the integrated roof. The selected materials should not only harmonize with the existing roof but also withstand environmental factors and complement the overall design of the outdoor space.
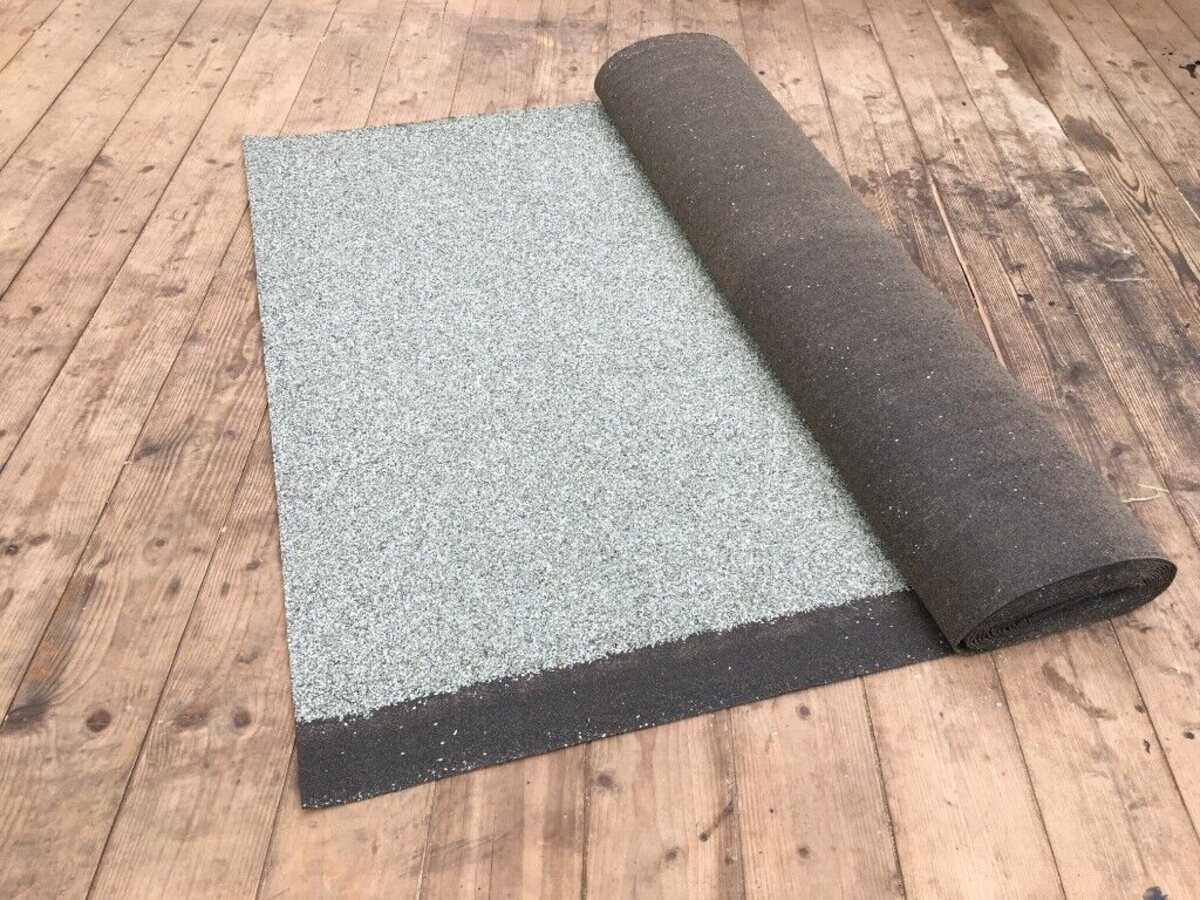
When it comes to the shed roof itself, consider the various material options available, such as metal, asphalt shingles, wood shakes, or polycarbonate panels. Each material offers distinct advantages in terms of aesthetics, longevity, and maintenance requirements. Assess the climate and weather conditions in your area to determine the most suitable material that can endure exposure to sunlight, rain, snow, and wind.
For the connection points and flashing where the shed roof meets the existing structure, it’s essential to select high-quality, weather-resistant materials. This includes durable flashing, sealants, and fasteners that will effectively prevent water infiltration and ensure a secure, long-lasting connection between the two roofs.
Additionally, consider the visual impact of the chosen materials. The shed roof should complement the architectural style of the existing structure while adding a distinctive touch that enhances the overall appeal of the outdoor space. Whether you opt for a seamless integration or a contrasting design, the materials should contribute to a cohesive and aesthetically pleasing composition.
Furthermore, prioritize sustainability and energy efficiency when selecting materials. Look for options that offer thermal insulation, UV resistance, and eco-friendly attributes, contributing to a greener and more energy-efficient outdoor environment.
By carefully evaluating and selecting the right materials for the shed roof and its integration with the existing structure, you can lay the foundation for a successful and enduring addition to your outdoor space. The chosen materials should not only meet practical and structural requirements but also contribute to the visual harmony and sustainability of the integrated roof.
Preparing the Existing Roof
Preparing the existing roof for the integration of a shed roof is a critical phase that sets the stage for a seamless and watertight connection. This process involves essential steps to ensure that the existing roof is structurally sound, properly sealed, and ready to accommodate the new addition.
Begin by thoroughly cleaning the area where the shed roof will intersect with the existing structure. Remove any debris, dirt, or vegetation that may have accumulated on the roof surface. This cleaning process not only enhances the aesthetics of the integration point but also allows for a clear assessment of the roof’s condition.
Inspect the roofing materials and flashing around the integration area. Replace any damaged or deteriorated components to prevent water infiltration and ensure the structural integrity of the connection points. Properly sealed and secure flashing is essential for creating a watertight barrier between the shed roof and the existing structure.
Assess the load-bearing capacity of the existing roof to ensure it can support the additional weight of the shed roof. Consult with a structural engineer if necessary to evaluate the structural adequacy and make any reinforcements or modifications as recommended.
If the existing roof has any irregularities or uneven surfaces where the shed roof will be attached, consider making necessary adjustments to create a level and stable foundation for the integration. This may involve addressing minor structural discrepancies or installing additional support elements to facilitate a secure connection.
Furthermore, consider the drainage and water runoff patterns of the existing roof in relation to the shed roof. Ensure that the integration point allows for proper water shedding and does not create areas of water accumulation or potential leakage. This may involve adjusting the slope or adding supplementary drainage elements to manage water flow effectively.
By meticulously preparing the existing roof for the integration of the shed roof, you can lay the groundwork for a successful and enduring connection. This proactive approach minimizes the risk of structural issues, water infiltration, and aesthetic discrepancies, ensuring that the integrated roof functions seamlessly and enhances the overall appeal of your outdoor space.
When tying a shed roof into an existing roof, make sure to properly flash and seal the connection to prevent any water leaks. Use metal flashing and roofing cement for a secure and watertight bond.
Installing the Shed Roof
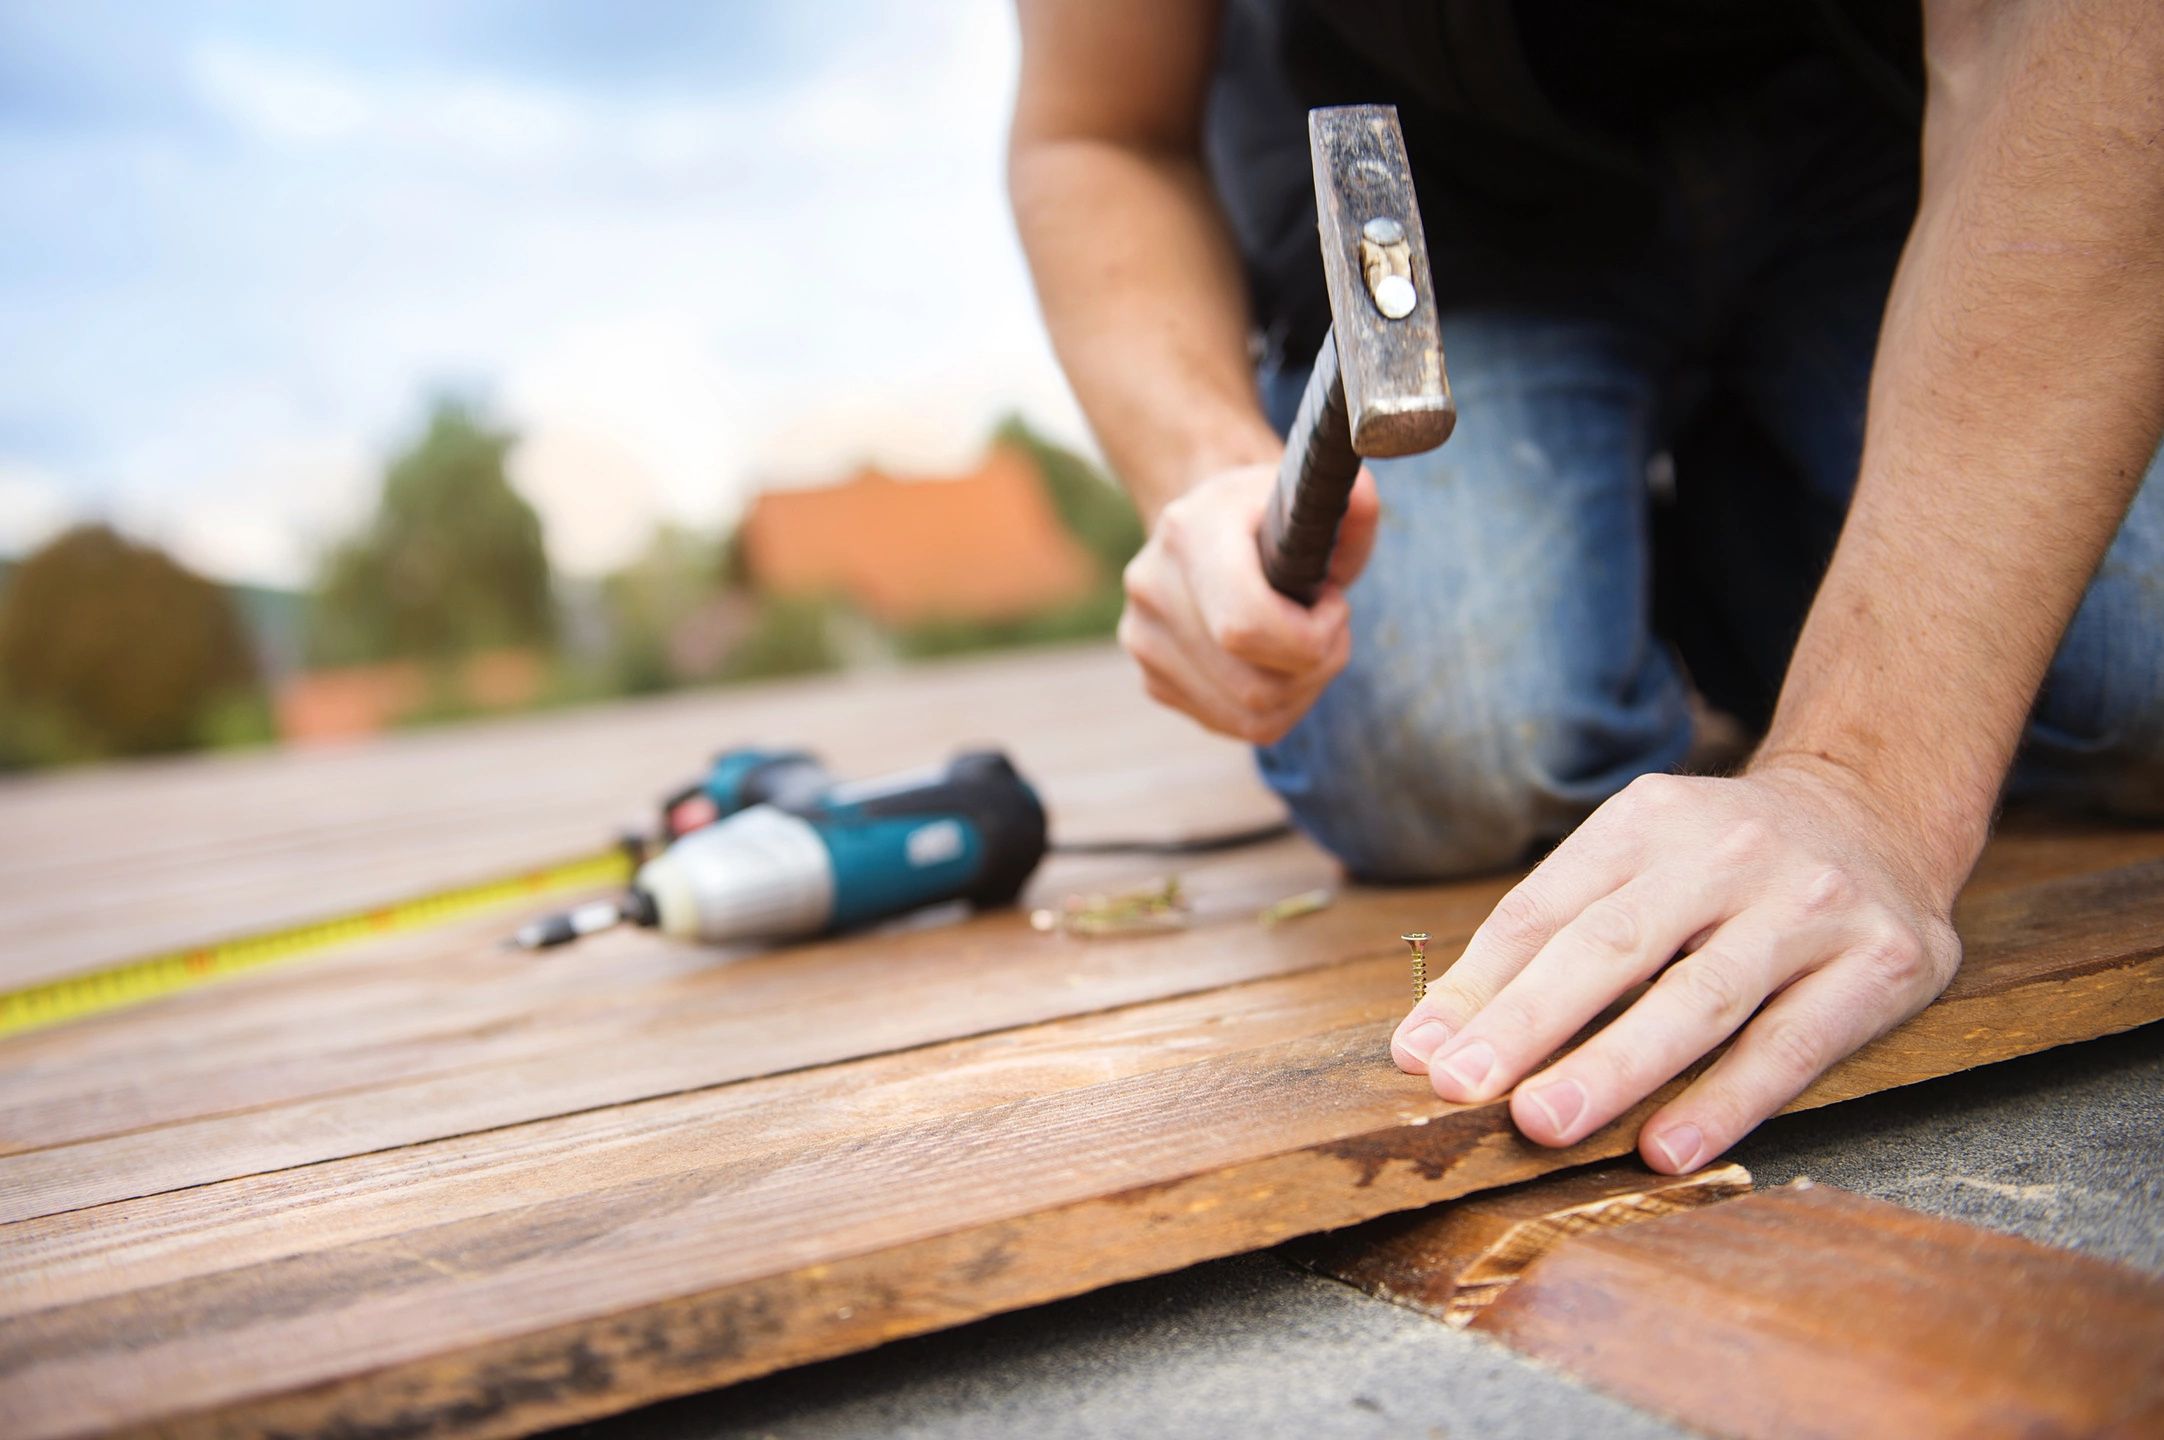
Once the existing roof has been thoroughly assessed and prepared, the installation of the shed roof can commence, marking a significant step towards creating a cohesive and functional outdoor structure. This process involves precise measurements, careful assembly, and meticulous attention to detail to ensure that the shed roof aligns seamlessly with the existing structure while meeting structural and aesthetic requirements.
Begin by determining the precise placement and orientation of the shed roof in relation to the existing structure. Consider factors such as the slope, overhang, and alignment to create a visually appealing and structurally sound integration. Accurate measurements and layout markings are essential for positioning the shed roof with precision.
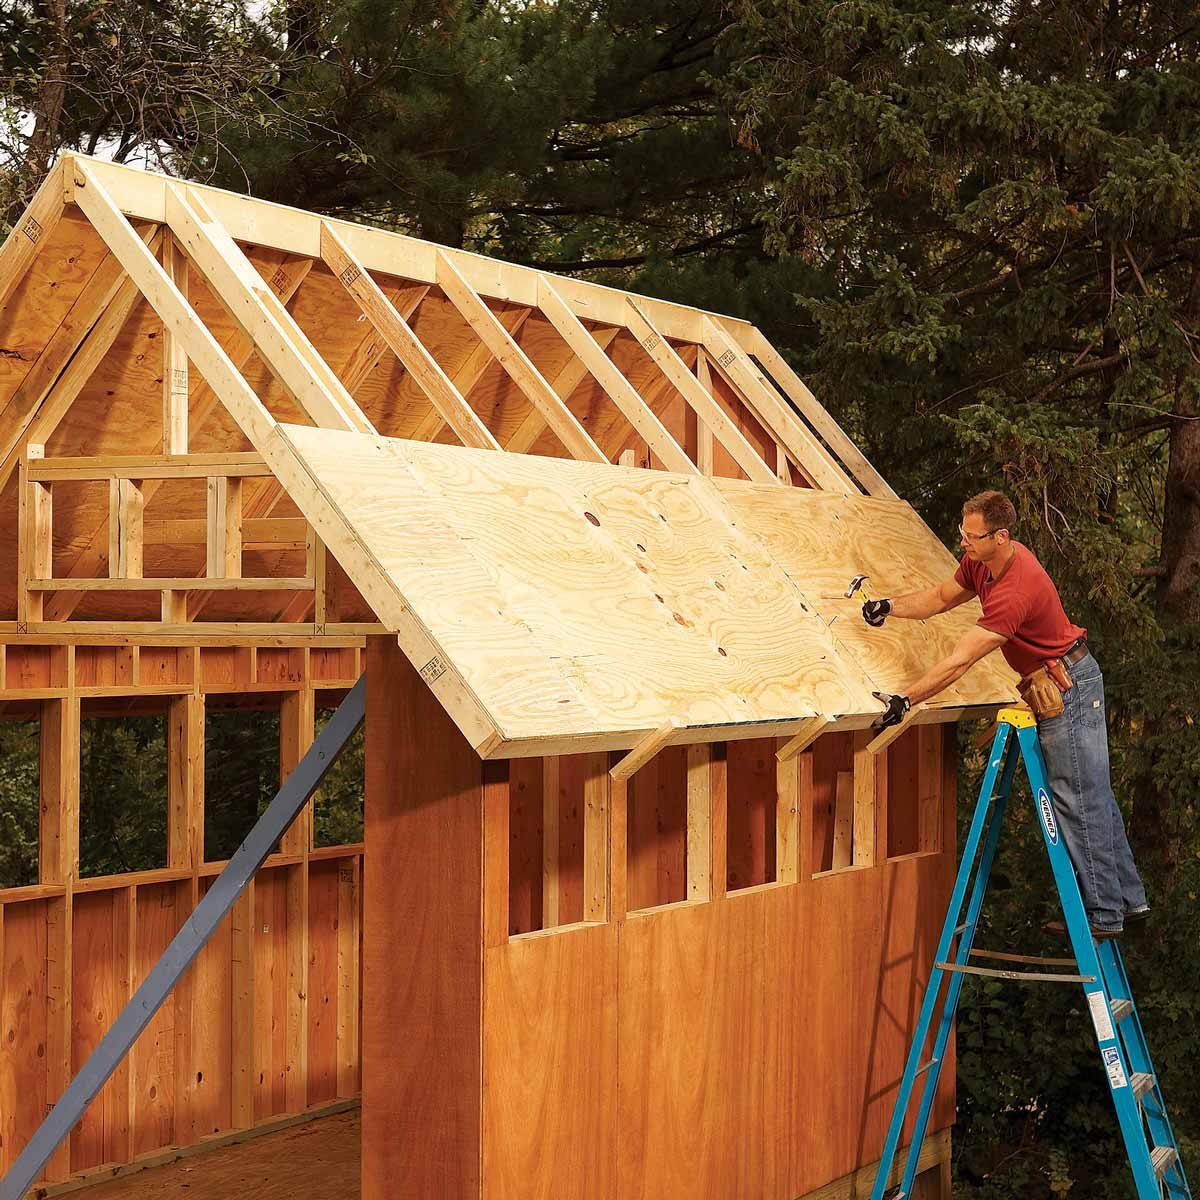
Assemble the components of the shed roof according to the selected design and material specifications. Whether it’s metal panels, shingles, or other roofing materials, follow the manufacturer’s guidelines for installation, ensuring proper fastening, sealing, and alignment. Attention to detail during the assembly process contributes to the overall quality and longevity of the shed roof.
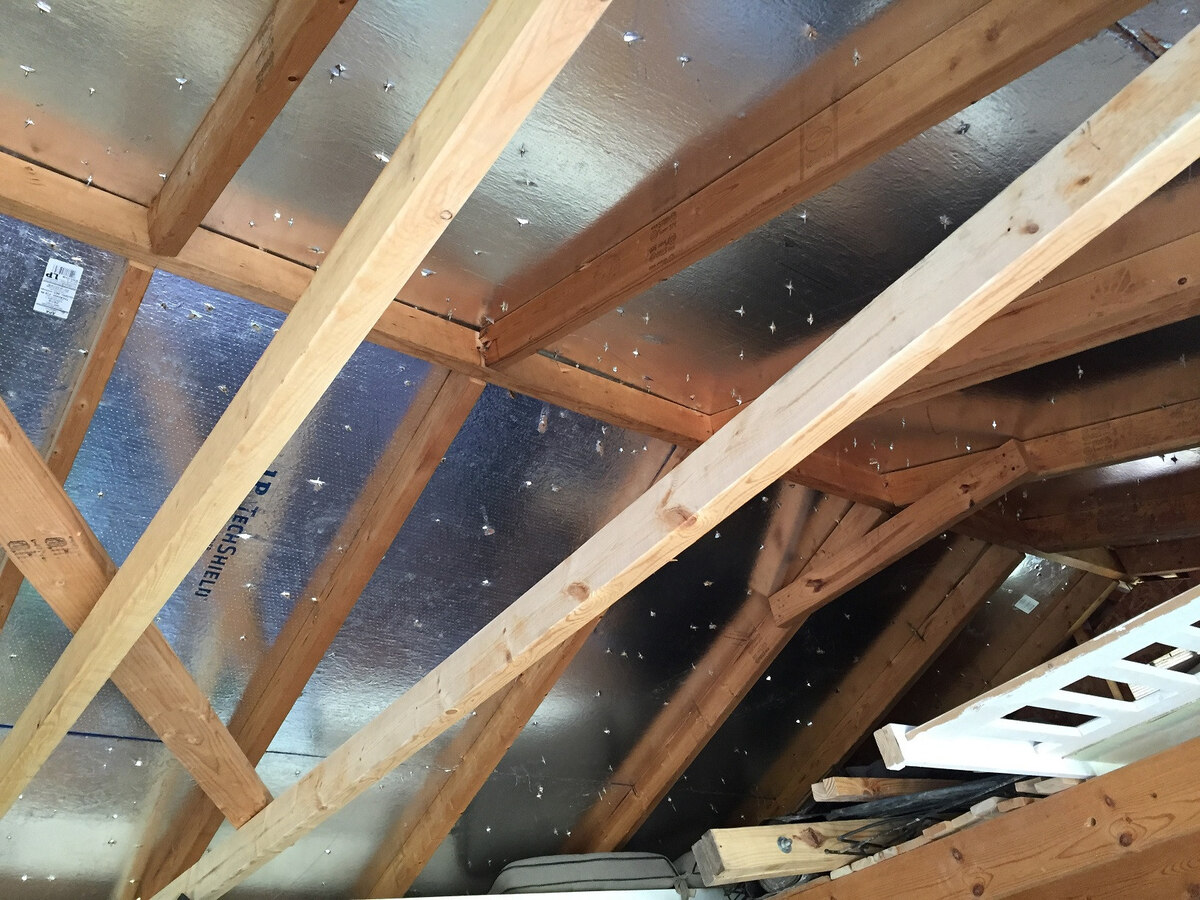
Secure the shed roof in place, ensuring a secure and stable connection with the existing structure. This may involve anchoring the shed roof to load-bearing elements of the existing roof, such as rafters or trusses, using appropriate fasteners and attachment methods. Additionally, implement effective sealing and flashing techniques to prevent water infiltration at the integration points.
Verify the structural integrity and alignment of the shed roof throughout the installation process, making any necessary adjustments to ensure a level, secure, and visually pleasing integration with the existing structure. Attention to detail at this stage is crucial for achieving a seamless and durable connection.
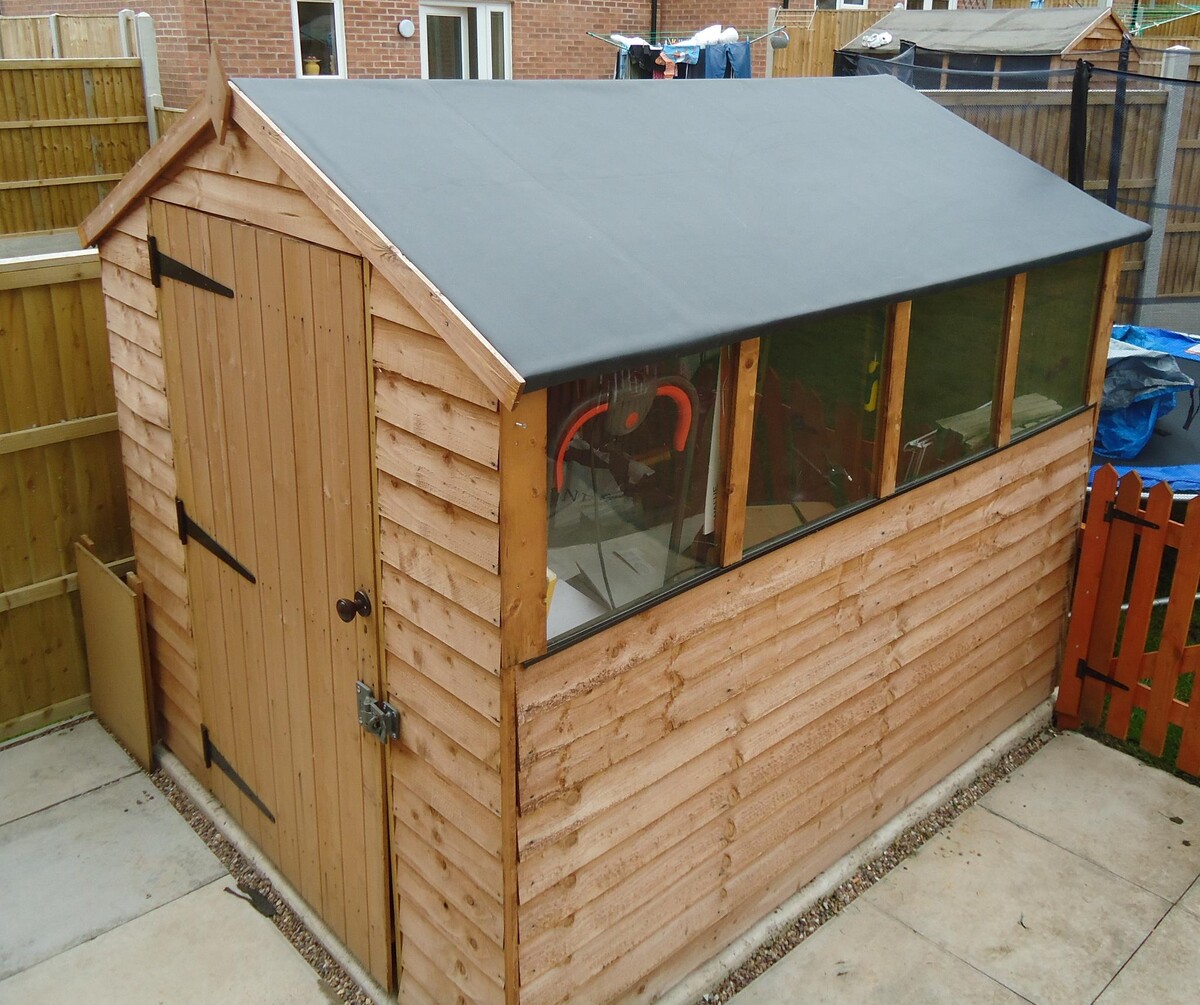
Consider the finishing touches, such as trim work, edge detailing, and gutter installation, to complete the shed roof installation. These elements not only enhance the visual appeal of the integrated roof but also contribute to its functionality and weather resistance.
By following meticulous installation procedures and paying attention to every detail, you can ensure that the shed roof becomes a well-integrated and functional extension of the existing structure, enhancing the overall utility and aesthetic appeal of your outdoor space.
Read more: How To Add A Gable Roof To An Existing Roof
Tying the Shed Roof into the Existing Roof
The process of tying the shed roof into the existing structure is a critical phase that demands precision, expertise, and a keen understanding of roofing principles. This step involves seamlessly integrating the shed roof with the existing structure, ensuring a watertight connection, structural stability, and visual harmony. By following meticulous techniques and employing quality materials, you can achieve a unified and durable roof that enhances the overall appeal and functionality of your outdoor space.
Begin by carefully aligning the shed roof with the existing structure, ensuring that the transition is smooth and visually cohesive. This may involve integrating the shed roof at the same pitch as the existing roof or making calculated design adjustments to achieve a seamless connection.
Employ effective flashing and sealing methods to create a watertight barrier between the shed roof and the existing structure. Properly installed flashing, sealants, and weatherproofing elements are essential for preventing water infiltration and ensuring long-term durability.
Secure the connection points between the shed roof and the existing structure using appropriate fasteners and attachment methods. This includes anchoring the shed roof to load-bearing elements of the existing roof, such as rafters or trusses, to establish a stable and secure integration.
Implement supplementary structural reinforcements or support elements as needed to ensure the stability and load-bearing capacity of the tied-in sections. This may involve adding additional framing, bracing, or other structural enhancements to accommodate the new roof integration.
Verify the alignment, levelness, and overall structural integrity of the tied-in sections, making any necessary adjustments to achieve a cohesive and secure connection. Attention to detail during this phase is crucial for creating a unified and visually appealing roof structure.
Inspect the integrated sections for any gaps, irregularities, or potential points of water ingress, addressing any issues promptly to maintain the integrity of the connection. Additionally, consider the aesthetic details, such as trim work and finishing elements, to enhance the visual cohesion of the tied-in sections.
By meticulously tying the shed roof into the existing structure, you can create a unified, durable, and visually appealing roof that seamlessly expands your outdoor space while maintaining structural integrity and weather resistance.
Conclusion
Embarking on the journey of tying a shed roof into an existing structure is a transformative endeavor that combines creativity, craftsmanship, and practicality. By following the essential steps outlined in this guide, you can achieve a seamless and enduring integration that enhances the functionality and visual appeal of your outdoor space.
Assessing the existing roof sets the foundation for a successful integration, allowing you to understand the structural, aesthetic, and functional considerations that will shape the project. Selecting the right materials is a pivotal decision that influences the durability, aesthetics, and sustainability of the integrated roof, ensuring a cohesive and visually appealing composition.
Preparing the existing roof involves proactive measures to address structural, drainage, and aesthetic aspects, creating a solid foundation for the integration of the shed roof. Installing the shed roof demands precision, attention to detail, and adherence to quality construction practices, culminating in a well-assembled and securely anchored addition to the existing structure.
Tying the shed roof into the existing structure is the culmination of meticulous planning and craftsmanship, requiring seamless integration, watertight sealing, and structural stability to create a unified and enduring roof structure. Throughout this process, attention to detail, expertise, and a commitment to quality are essential for achieving a successful and visually appealing integration.
In conclusion, the integration of a shed roof with an existing structure represents a harmonious blend of form and function, where craftsmanship and creativity converge to expand and enhance outdoor living spaces. Whether it’s a sheltered patio, a carport, or additional storage, a well-executed integration not only provides practical benefits but also elevates the architectural appeal of the property.
By embracing the principles outlined in this guide and infusing the project with your own creativity and attention to detail, you can embark on the journey of transforming your outdoor space into a unified, durable, and visually captivating environment that reflects your unique vision and enhances your lifestyle.
Frequently Asked Questions about How To Tie A Shed Roof Into An Existing Roof
Was this page helpful?
At Storables.com, we guarantee accurate and reliable information. Our content, validated by Expert Board Contributors, is crafted following stringent Editorial Policies. We're committed to providing you with well-researched, expert-backed insights for all your informational needs.


0 thoughts on “How To Tie A Shed Roof Into An Existing Roof”