Articles
How To Tighten Hand Towel Ring In Sheetrock
Modified: February 22, 2024
Learn how to tighten a hand towel ring securely in sheetrock with these helpful articles. Ensure your towels stay in place with this simple DIY solution.
(Many of the links in this article redirect to a specific reviewed product. Your purchase of these products through affiliate links helps to generate commission for Storables.com, at no extra cost. Learn more)
Introduction
Welcome, fellow DIY enthusiasts! If you are tired of dealing with a loose hand towel ring that wobbles every time you reach for a towel, you’ve come to the right place. In this article, we will guide you through the process of tightening a hand towel ring in sheetrock. With a few simple steps and the right tools, you can restore stability to your towel ring and say goodbye to the frustration of a shaky fixture.
Before we dive into the nitty-gritty of tightening the hand towel ring, let’s take a moment to understand the components involved and gain some insight into sheetrock.
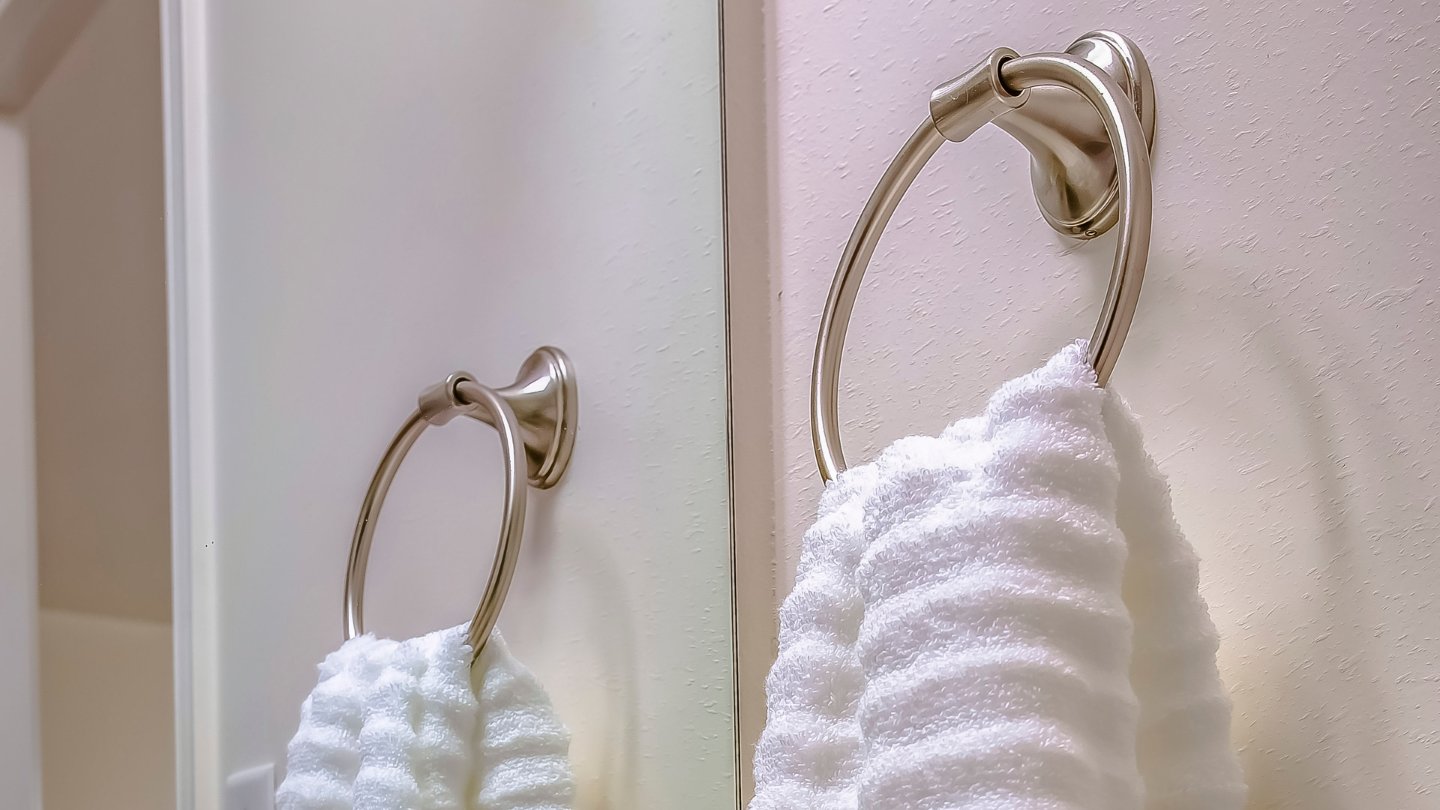
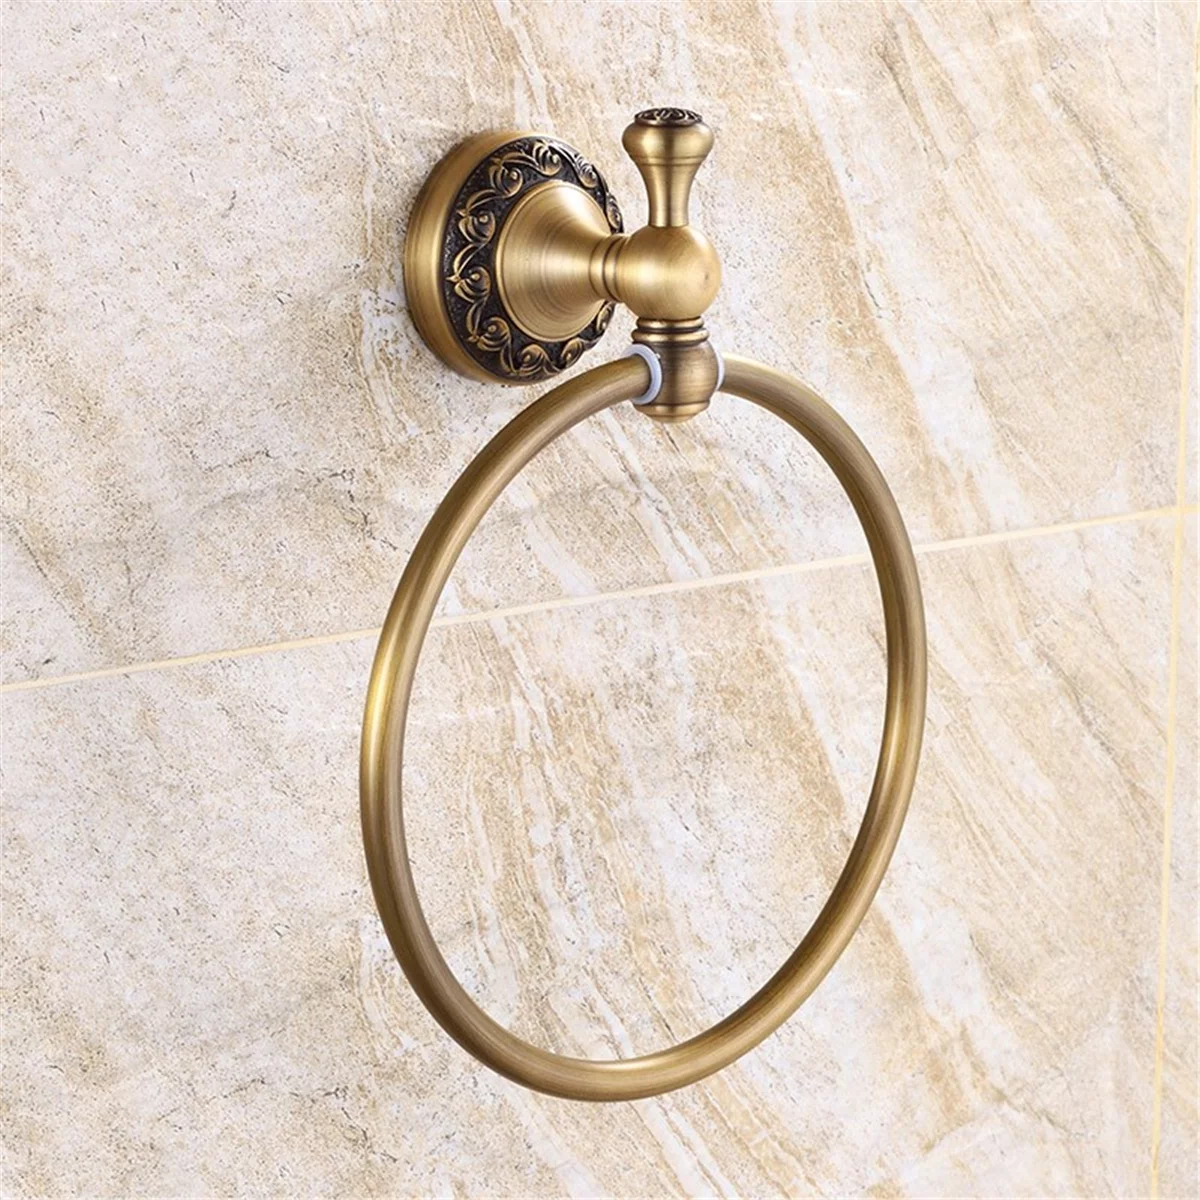
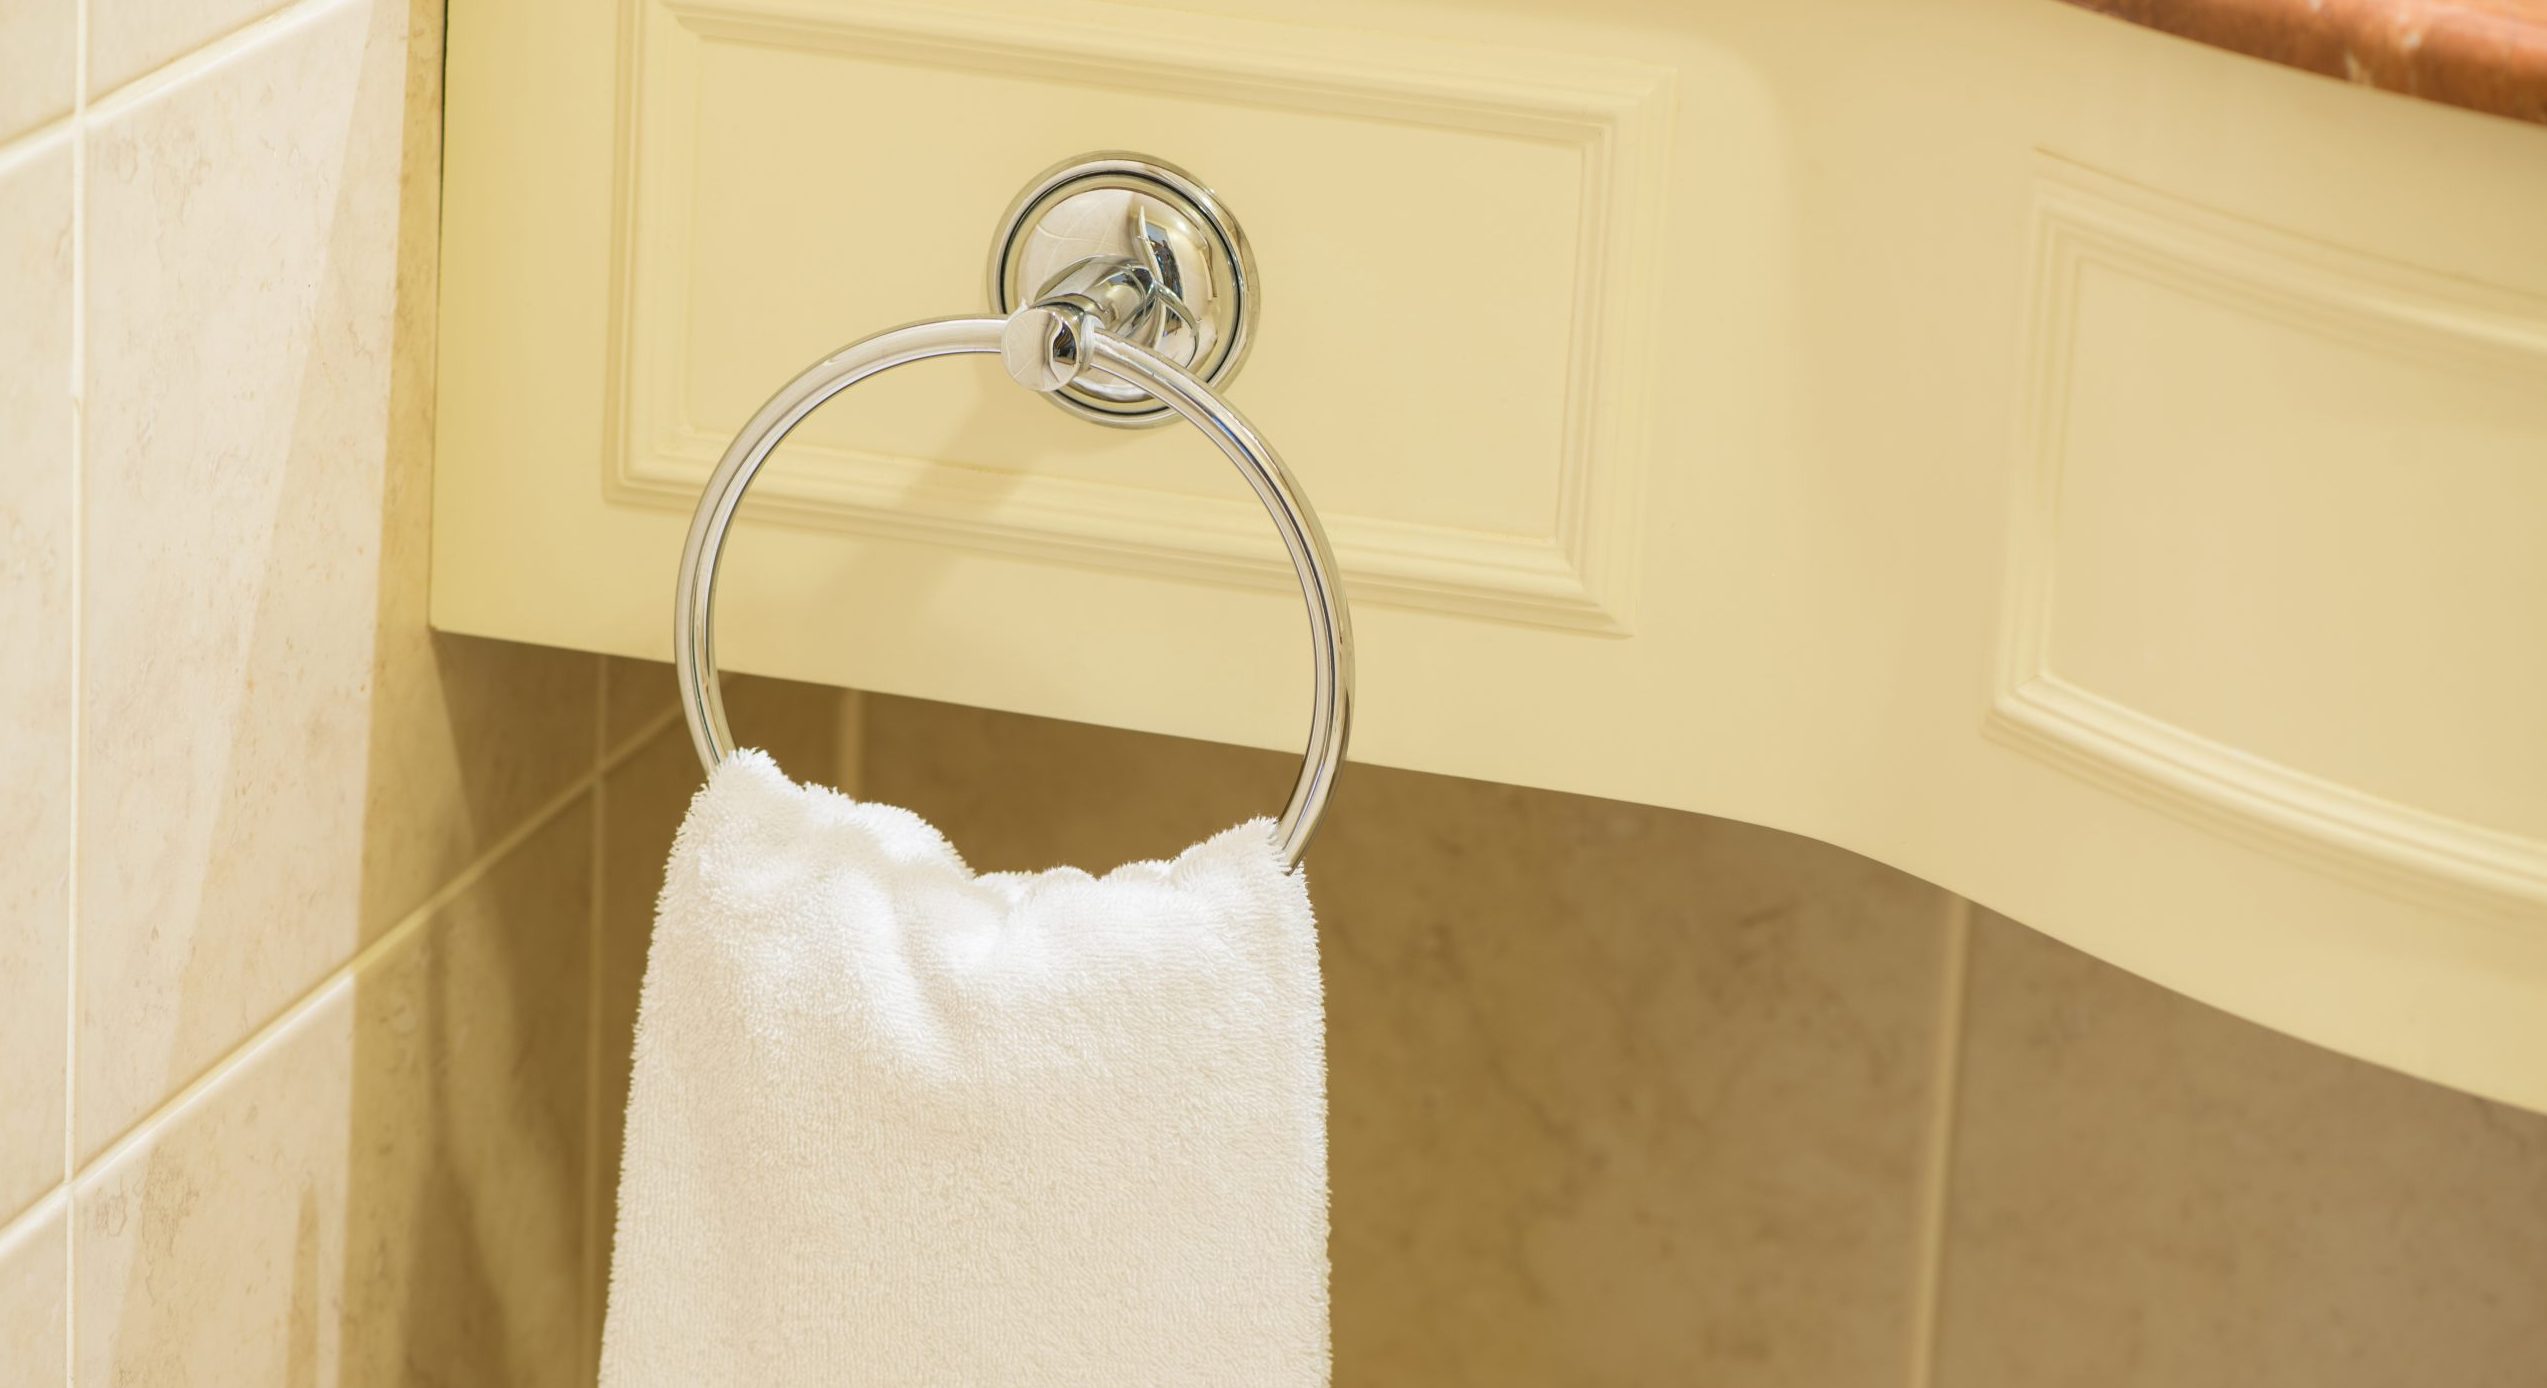
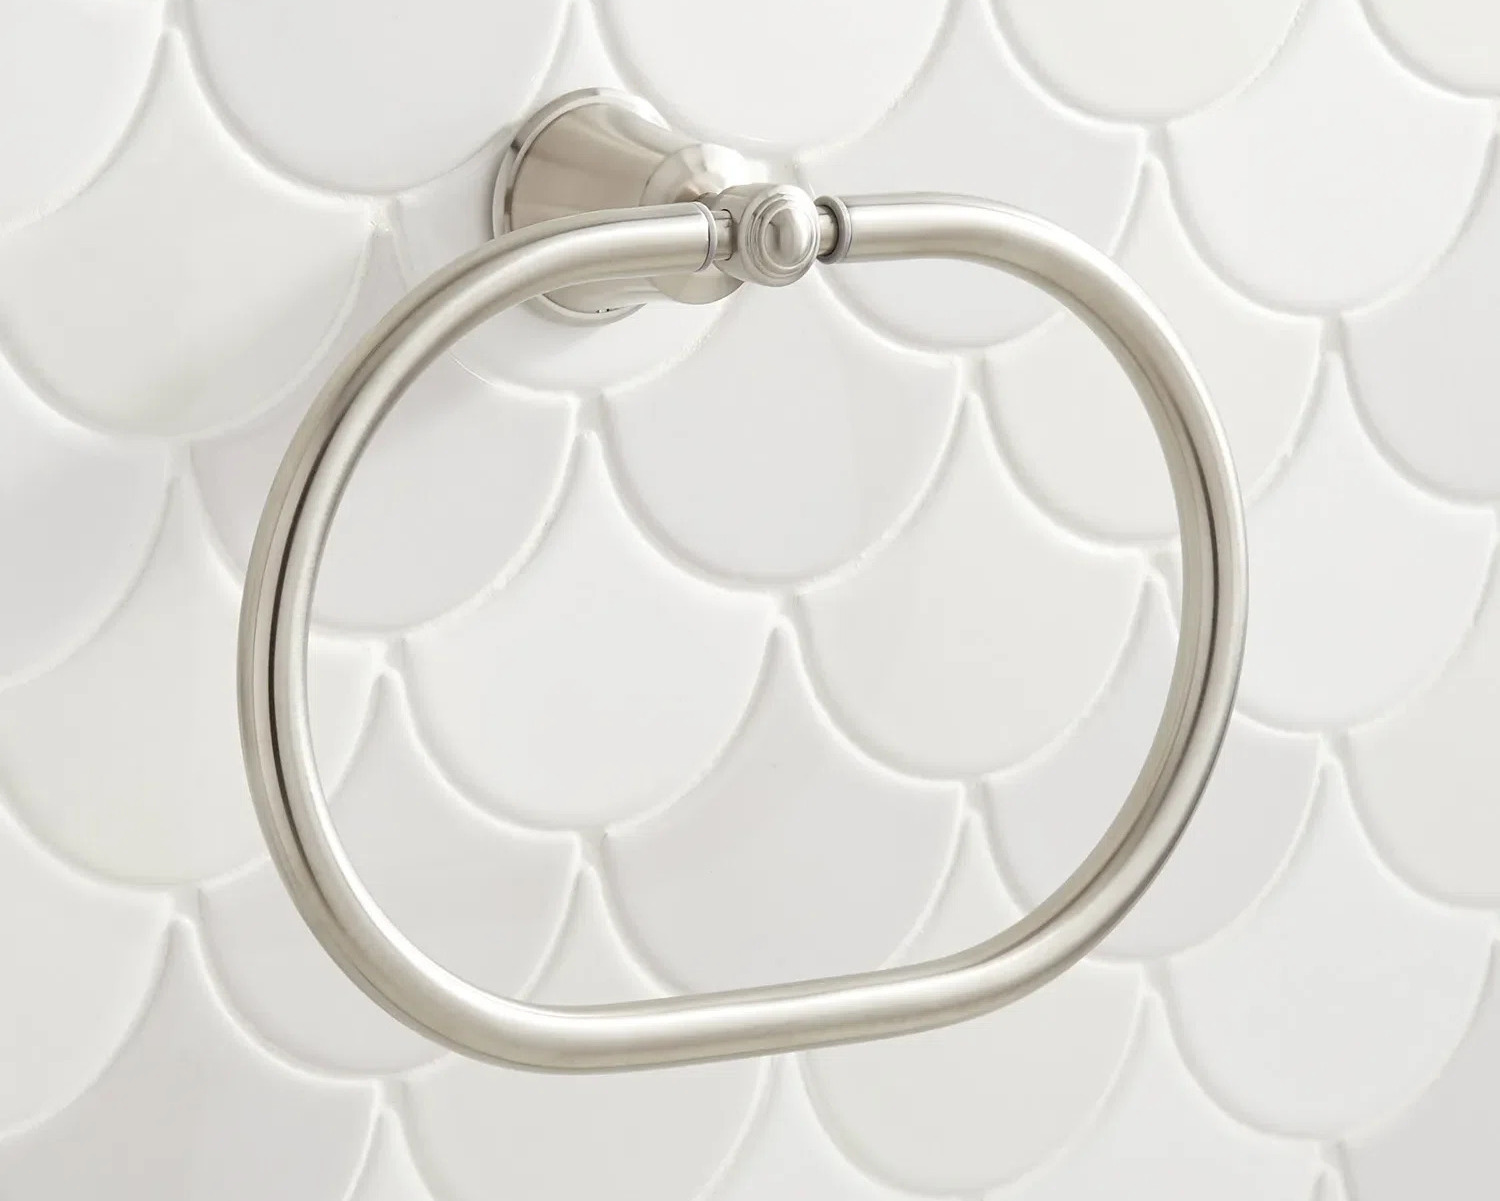
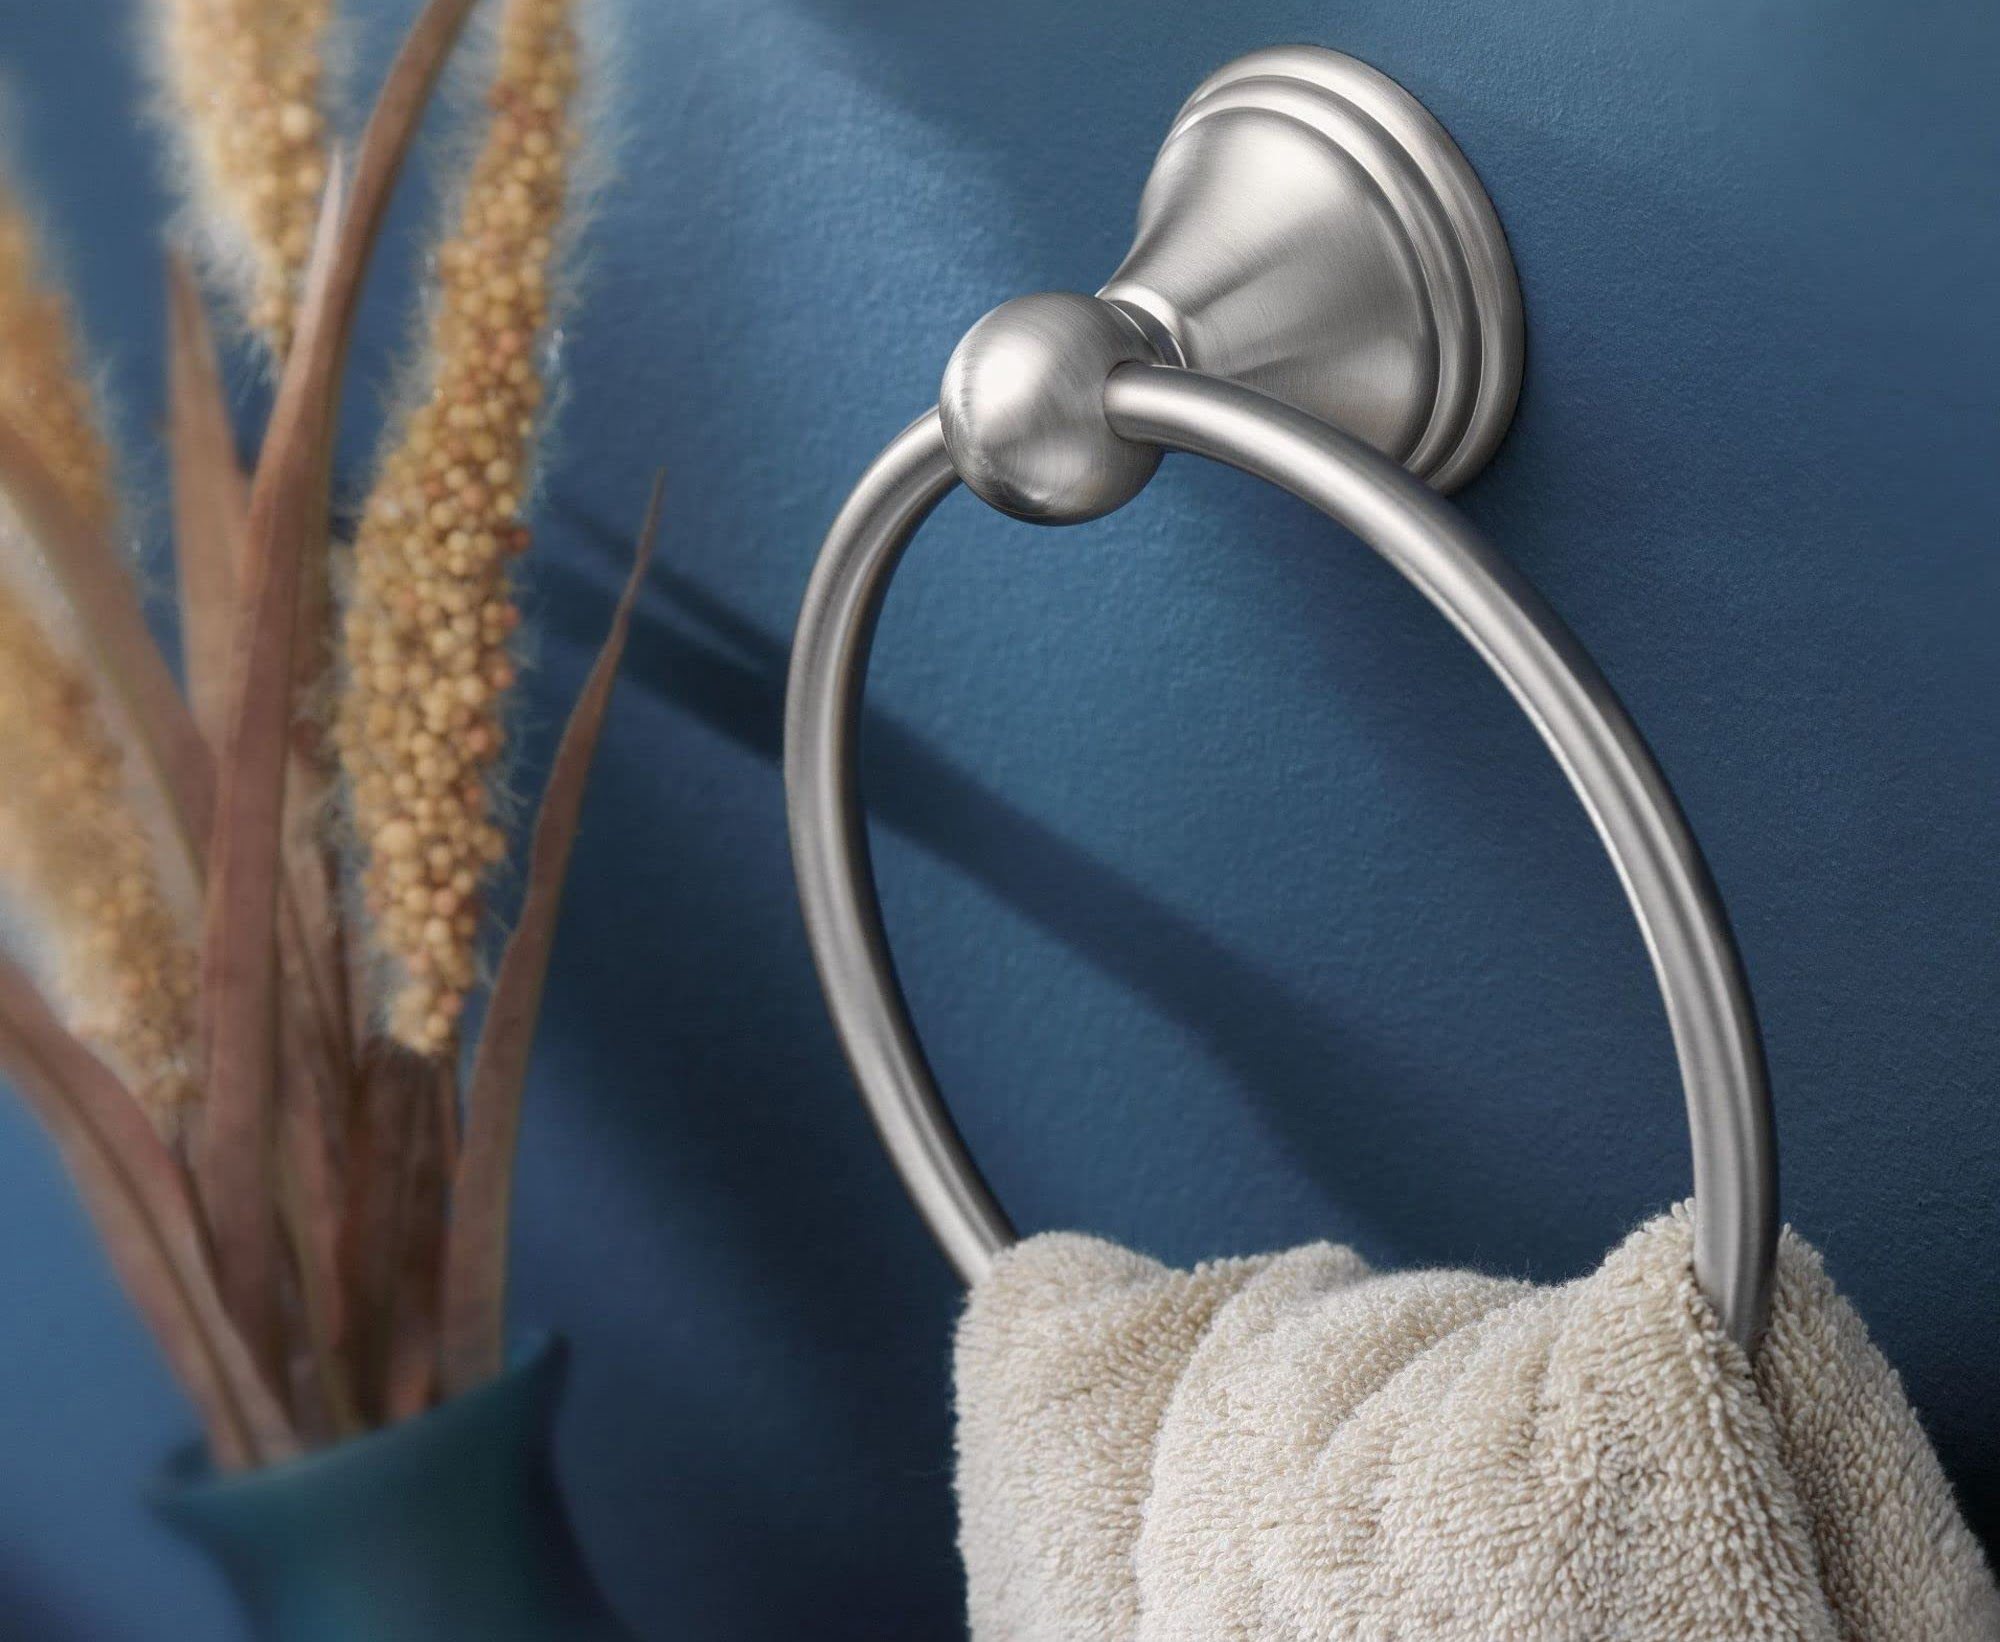
A hand towel ring is a popular bathroom accessory that provides a convenient place to hang hand towels. It usually consists of a circular or rectangular ring that is mounted on the wall. Over time, the mounting hardware can loosen, causing the towel ring to wiggle or even detach from the wall. This can be both an annoyance and a safety concern, particularly if the towel ring is near a sink or toilet.
Sheetrock, also known as drywall or plasterboard, is the most common material used for interior walls and ceilings. It is lightweight, easy to install, and provides a smooth surface for painting or wallpapering. However, sheetrock is not as sturdy as other building materials like wood or concrete, which means that the mounting hardware for towel rings and other fixtures needs to be securely attached.
Now that we have a basic understanding of the hand towel ring and sheetrock, let’s gather the necessary tools and materials to tackle this task.
Key Takeaways:
- Ensure a stable hand towel ring by understanding sheetrock, preparing the area, and examining mounting hardware. Tighten screws or use anchors for a secure and wobble-free installation.
- After tightening, conduct a stability test and monitor over time to maintain a secure hand towel ring. Enjoy a functional and visually appealing bathroom addition with confidence.
Read more: How To Tighten A Towel Ring
Understanding the Hand Towel Ring and Sheetrock
Before you begin tightening the hand towel ring, it’s important to have a clear understanding of the components involved and how sheetrock functions. This knowledge will help you perform the task effectively and avoid any unintentional damage.
Firstly, let’s delve into the hand towel ring itself. As mentioned earlier, it typically consists of a circular or rectangular ring that is attached to the wall. The ring is designed to hold a hand towel securely and provide easy access. The mounting hardware, which is used to affix the ring to the wall, plays a crucial role in maintaining stability.
Next, let’s explore sheetrock, the material commonly used for interior walls. Sheetrock is a panel made from gypsum plaster sandwiched between two layers of paper. It is widely chosen due to its affordability, ease of installation, and smooth surface for painting or wallpapering.
However, it’s crucial to note that sheetrock is not as sturdy as other materials like wood or concrete. It can be prone to damage from excessive pressure or force, making it important to handle it with care.
When mounting a hand towel ring on sheetrock, it’s essential to locate the studs or bracing beams behind the wall. These provide the necessary support and stability. If you can’t find a stud, you will need to use anchor screws to secure the mounting hardware.
Now that you have a better understanding of both the hand towel ring and sheetrock, you’re ready to gather the tools and materials needed for the tightening process.
Tools and Materials Needed
Now that you understand the hand towel ring and sheetrock, it’s time to gather the necessary tools and materials to successfully tighten the towel ring. Here’s a list of what you’ll need:
- Screwdriver or drill: Depending on the type of screws used for the mounting hardware, you’ll need either a screwdriver or a drill with the appropriate drill bit.
- Anchors and screws: If you’re not able to secure the towel ring directly into a stud, you’ll need anchors and screws to provide additional support. Make sure to choose anchors and screws that are appropriate for your specific wall material.
- Level: A level will help ensure that the towel ring is straight and aligned with the wall. This will not only improve its stability but also enhance the overall aesthetic appeal.
- Pencil: A pencil will be useful for marking the correct placement of the towel ring on the wall.
- Tape measure: To ensure accurate placement and spacing, a tape measure is essential. Measure the distance between the towel ring and any surrounding fixtures or walls to create balanced spacing.
- Safety goggles: Protect your eyes during the tightening process by wearing safety goggles. This will prevent any debris or dust from getting into your eyes.
- Cloth: Keep a cloth or rag nearby to wipe away any dirt, dust, or excess caulking that may accumulate during the process.
Having these tools and materials ready and easily accessible will make the tightening process smoother and more efficient.
Now that you’re equipped with the necessary tools and materials, it’s time to prepare the area before tightening the hand towel ring. Let’s move on to the next step!
Preparation Before Tightening
Before you begin tightening the hand towel ring, it’s important to properly prepare the area to ensure a successful outcome. Taking the time to prepare will not only make the process easier but also help avoid any potential damage to the surrounding surfaces. Follow these steps to prepare the area:
- Clear the area: Remove any towels, toiletries, or other objects that may be hanging on or around the towel ring. This will give you clear access to the mounting hardware and prevent anything from getting in the way during the tightening process.
- Protect the surrounding surfaces: Use painter’s tape or masking tape to protect the adjacent walls, countertops, or any other surfaces near the towel ring. This will prevent accidental scratches or marks while you work.
- Inspect the mounting hardware: Take a close look at the existing mounting hardware. Look for any signs of damage, such as stripped screws or loose attachments. If you notice any issues, it may be necessary to replace the hardware before proceeding with the tightening process.
- Clean the area: Use a damp cloth to clean the towel ring, mounting hardware, and the surrounding wall area. Removing any dirt, grime, or residue will ensure better adhesion and a tighter fit.
- Locate the studs: If possible, try to locate the studs behind the sheetrock using a stud finder. Studs provide the strongest and most secure anchor points for the towel ring. Mark their location with a pencil for reference during the tightening process.
- Measure the spacing: Use a tape measure to measure the desired spacing between the towel ring and any surrounding fixtures or walls. This will help ensure a visually balanced placement. Use a pencil to mark the measured distance for accurate positioning.
By following these preparation steps, you’ll create an optimal environment for tightening the hand towel ring. With everything in place, it’s time to examine the mounting hardware and proceed with the tightening process. Let’s move on to the next step!
Use a toggle bolt for a secure hold in sheetrock. Drill a hole, insert the toggle bolt, and tighten it until it’s snug. Then, attach the hand towel ring to the bolt.
Examining the Mounting Hardware
Before you start tightening the hand towel ring, it’s essential to thoroughly examine the mounting hardware. This step will help identify any issues or weaknesses that need to be addressed. Follow these steps to examine the mounting hardware:
- Inspect the screws: Take a close look at the screws that hold the mounting bracket or base plate to the wall. Check for any signs of damage, such as rust, corrosion, or stripped threads. If the screws are damaged, it’s recommended to replace them with new ones for a secure fit.
- Check the bracket or base plate: Examine the bracket or base plate that attaches the towel ring to the wall. Look for any cracks, dents, or bends. If the bracket or base plate is damaged, it may not provide a stable foundation for the towel ring. In this case, you may need to replace the bracket or base plate to ensure a secure installation.
- Tighten loose screws: If you find any loose screws during the examination, use a screwdriver or drill with the appropriate bit to tighten them. Ensure that the screws are snugly secured, but be careful not to overtighten, as it may strip the threads or damage the sheetrock.
- Apply additional adhesive if necessary: If the mounting hardware appears to be in good condition but still feels loose, you can apply a small amount of construction adhesive or silicone caulk to the backside of the bracket or base plate. This will provide additional stability and help prevent future loosening.
By carefully examining the mounting hardware, you can address any issues before proceeding with the tightening process. This step will ensure that the towel ring is properly secured and stable. Once you’ve examined the mounting hardware, it’s time to move on to the actual tightening process. Let’s explore how to do that in the next section!
Read more: How To Hang A Hand Towel Ring
Tightening the Hand Towel Ring
Now that you have prepared the area and examined the mounting hardware, it’s time to tighten the hand towel ring. Follow these steps to ensure a secure and stable installation:
- Align the towel ring: Hold the towel ring in the desired position, making sure it is level and aligned with any surrounding fixtures or walls. Use a pencil to mark the position of the mounting holes on the sheetrock, ensuring that they align with the studs if possible.
- Drill pilot holes: Use a drill with a small drill bit to create pilot holes at the marked positions. Make sure the drill bit is slightly smaller in diameter than the screws or anchors you will be using. Pilot holes help prevent the sheetrock from cracking or splitting when inserting the screws or anchors.
- Insert screws or anchors: Depending on whether you are able to secure the towel ring directly into a stud or if you need to use anchors, insert the appropriate screws or anchors into the pilot holes. If using anchors, gently tap them in with a hammer until they are flush with the sheetrock.
- Tighten the screws: Using a screwdriver or drill with the appropriate bit, tighten the screws clockwise until they are firmly secured. Be cautious not to overtighten, as it may cause the sheetrock to crack or the mounting hardware to strip.
- Check stability: Once the screws or anchors are tightened, gently test the stability of the hand towel ring by giving it a light tug. It should remain securely in place without any noticeable wobbling or movement.
If you notice any issues with stability during the testing phase, you may need to revisit the previous steps and make sure the screws are properly tightened or the anchors are securely inserted. It’s crucial to have a stable and secure installation to prevent any accidents or damage.
Once you are satisfied with the stability of the hand towel ring, it’s time to move on to the final step: testing the stability. Let’s explore how to do that in the next section!
Testing the Stability
After tightening the hand towel ring, it’s important to conduct a stability test to ensure that it is securely mounted and won’t wobble or come loose over time. Follow these steps to test the stability of the towel ring:
- Gently tug on the towel ring: Apply a slight amount of pressure to the towel ring by gently tugging on it. Observe if there is any noticeable wobbling or movement. A properly tightened hand towel ring should remain stable and secure without any significant shifting or loosening.
- Check the mounting hardware: Pay close attention to the mounting hardware, especially the screws or anchors. Ensure that they are still tightly secured and haven’t come loose during the testing process. If you notice any loosening, carefully tighten the screws or anchors further, but be cautious not to overdo it and cause damage to the sheetrock.
- Test durability with a heavier towel: For an extra level of confidence, hang a heavier towel on the ring and gently pull on it to simulate the weight it will normally bear. This will help you verify that the towel ring remains stable and secure even under the weight of the towel.
- Monitor over time: Keep an eye on the towel ring’s stability over the next few days or weeks. If you notice any loosening or wobbling, it may be necessary to re-tighten the screws or anchors to maintain the desired stability. Regularly checking and ensuring the towel ring’s stability will help keep it securely mounted for a longer period.
By conducting a thorough stability test and monitoring the towel ring over time, you can ensure that your efforts to tighten it have been successful. A stable and secure hand towel ring will not only enhance the functionality of your bathroom but also add a touch of elegance to the space.
Now that you have successfully tightened the hand towel ring and tested its stability, you can confidently enjoy the convenience and aesthetic appeal it brings to your bathroom. Remember to regularly check for any signs of loosening or wear and promptly address them to maintain a secure installation.
With the completion of the stability test, you have successfully tightened the hand towel ring and restored its stability. Congratulations on a job well done!
Conclusion
Congratulations, you have successfully tightened the hand towel ring in sheetrock! By following the steps outlined in this article, you have restored stability to your towel ring, eliminating the frustration of a wobbly fixture.
Throughout the process, you gained a better understanding of the hand towel ring and sheetrock, and you familiarized yourself with the necessary tools and materials needed for the task. Proper preparation, examination of the mounting hardware, and careful tightening were essential in achieving a secure and stable installation.
By conducting a stability test and ensuring that the hand towel ring doesn’t wobble or come loose, you have created a functional and visually appealing addition to your bathroom. With each use, you can now confidently reach for your towels without any concern for instability.
Remember to regularly monitor the towel ring’s stability over time. Check for any signs of loosening or wear and promptly address them to maintain a secure installation. By doing so, you can extend the lifespan of your towel ring and ensure its continued functionality.
We hope this article has been informative and helpful in guiding you through the process of tightening a hand towel ring in sheetrock. With your newly tightened towel ring, you can now enjoy a well-organized and aesthetically pleasing bathroom experience.
Thank you for taking the time to read this article. Happy DIYing and may your hand towel ring remain secure for years to come!
Frequently Asked Questions about How To Tighten Hand Towel Ring In Sheetrock
Was this page helpful?
At Storables.com, we guarantee accurate and reliable information. Our content, validated by Expert Board Contributors, is crafted following stringent Editorial Policies. We're committed to providing you with well-researched, expert-backed insights for all your informational needs.


0 thoughts on “How To Tighten Hand Towel Ring In Sheetrock”