
Articles
How To Remove A Moen Towel Ring
Modified: March 1, 2024
Learn the step-by-step process of removing a Moen towel ring in this helpful article. Expert tips and simple instructions to make the task easy and efficient.
(Many of the links in this article redirect to a specific reviewed product. Your purchase of these products through affiliate links helps to generate commission for Storables.com, at no extra cost. Learn more)
Introduction
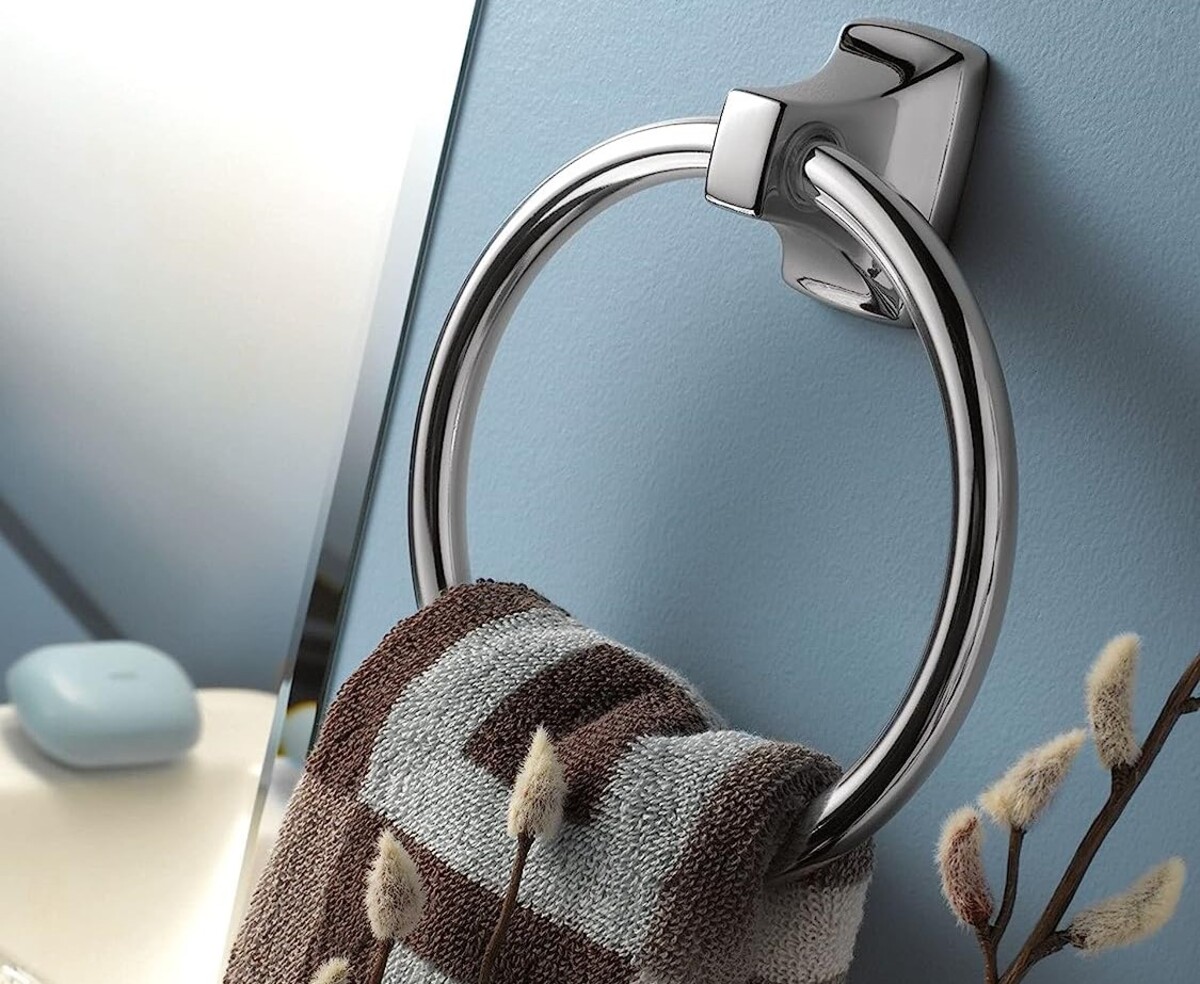
Having a towel ring in your bathroom can add convenience and functionality to the space. It provides a designated spot to hang your towels, keeping them easily accessible and organized. However, there may come a time when you need to remove a Moen towel ring, whether you’re renovating your bathroom or simply want to update the fixtures.
In this article, we will guide you through the process of removing a Moen towel ring. We will discuss the tools and materials you will need, as well as the step-by-step instructions to ensure a successful removal. We will also provide insights on patching or fixing any wall damage that may occur during the process. And if you’re looking to replace your towel ring, we will touch upon the optional step of installing a new one.
Removing a Moen towel ring may seem like a daunting task, but with the right knowledge and preparation, it can be a straightforward process. So, let’s dive in and learn how to remove a Moen towel ring from your bathroom wall.
Key Takeaways:
- Easily remove a Moen towel ring by gathering the right tools, assessing the mounting hardware, and handling the bracket with care. Patch any wall damage for a seamless bathroom upgrade.
- Enhance your bathroom’s functionality and aesthetics by following simple steps to remove and replace a Moen towel ring. With the right approach, achieve the bathroom of your dreams.
Read more: How To Mount A Moen Towel Ring
Tools and Materials Needed
Before you begin the process of removing a Moen towel ring, it’s important to gather all the necessary tools and materials. Here’s a list of what you’ll need:
- Phillips screwdriver
- Flathead screwdriver
- Adjustable wrench
- Putty knife or scraper
- Spackling compound (if wall patching is required)
- Sandpaper or sanding block
- Paint and paintbrush (if wall patching and repainting are required)
- Optional: Moen towel ring replacement or alternative towel ring
Make sure you have these tools and materials ready before you start the removal process. This will ensure a smoother and more efficient experience.
Step 1: Gather the necessary tools
Before you begin the process of removing a Moen towel ring, it’s important to gather all the necessary tools. This will ensure that you have everything you need to complete the task without any interruptions. Here are the tools you will need:
- Phillips screwdriver: This will be used to remove any screws holding the towel ring in place.
- Flathead screwdriver: In some cases, a flathead screwdriver may be required to loosen or pry off any decorative caps or covers.
- Adjustable wrench: You may need an adjustable wrench to loosen and remove any mounting hardware, such as nuts or bolts.
- Putty knife or scraper: If you need to patch or fix any wall damage after removing the towel ring, a putty knife or scraper will come in handy.
- Spackling compound: If there are any holes or damage to the wall, you will need spackling compound to fill and repair them.
- Sandpaper or sanding block: After applying spackling compound, you will need sandpaper or a sanding block to smoothen the patched area.
- Paint and paintbrush: If you need to patch and repaint the wall, make sure you have matching paint and a paintbrush.
- Optional: Moen towel ring replacement or alternative towel ring: If you plan on installing a new towel ring, have it ready for the installation process.
By gathering these tools before you start, you can ensure a smoother and more efficient process of removing the Moen towel ring.
Step 2: Assess the mounting hardware
Before you proceed with removing the Moen towel ring, it’s important to assess the mounting hardware to understand how it is attached to the wall. This will help you determine the best approach for removal and avoid any potential damage to the wall. Follow these steps to assess the mounting hardware:
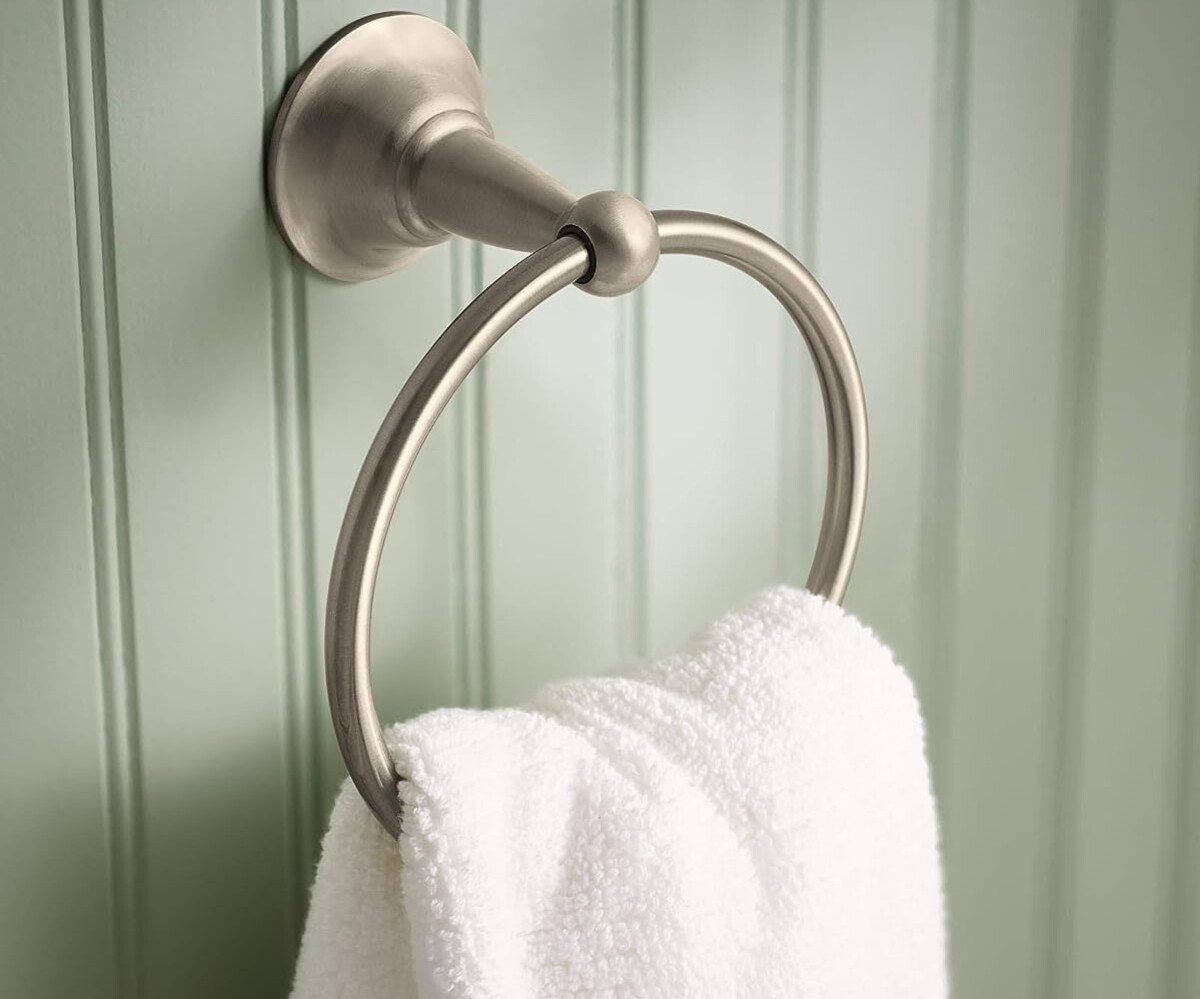
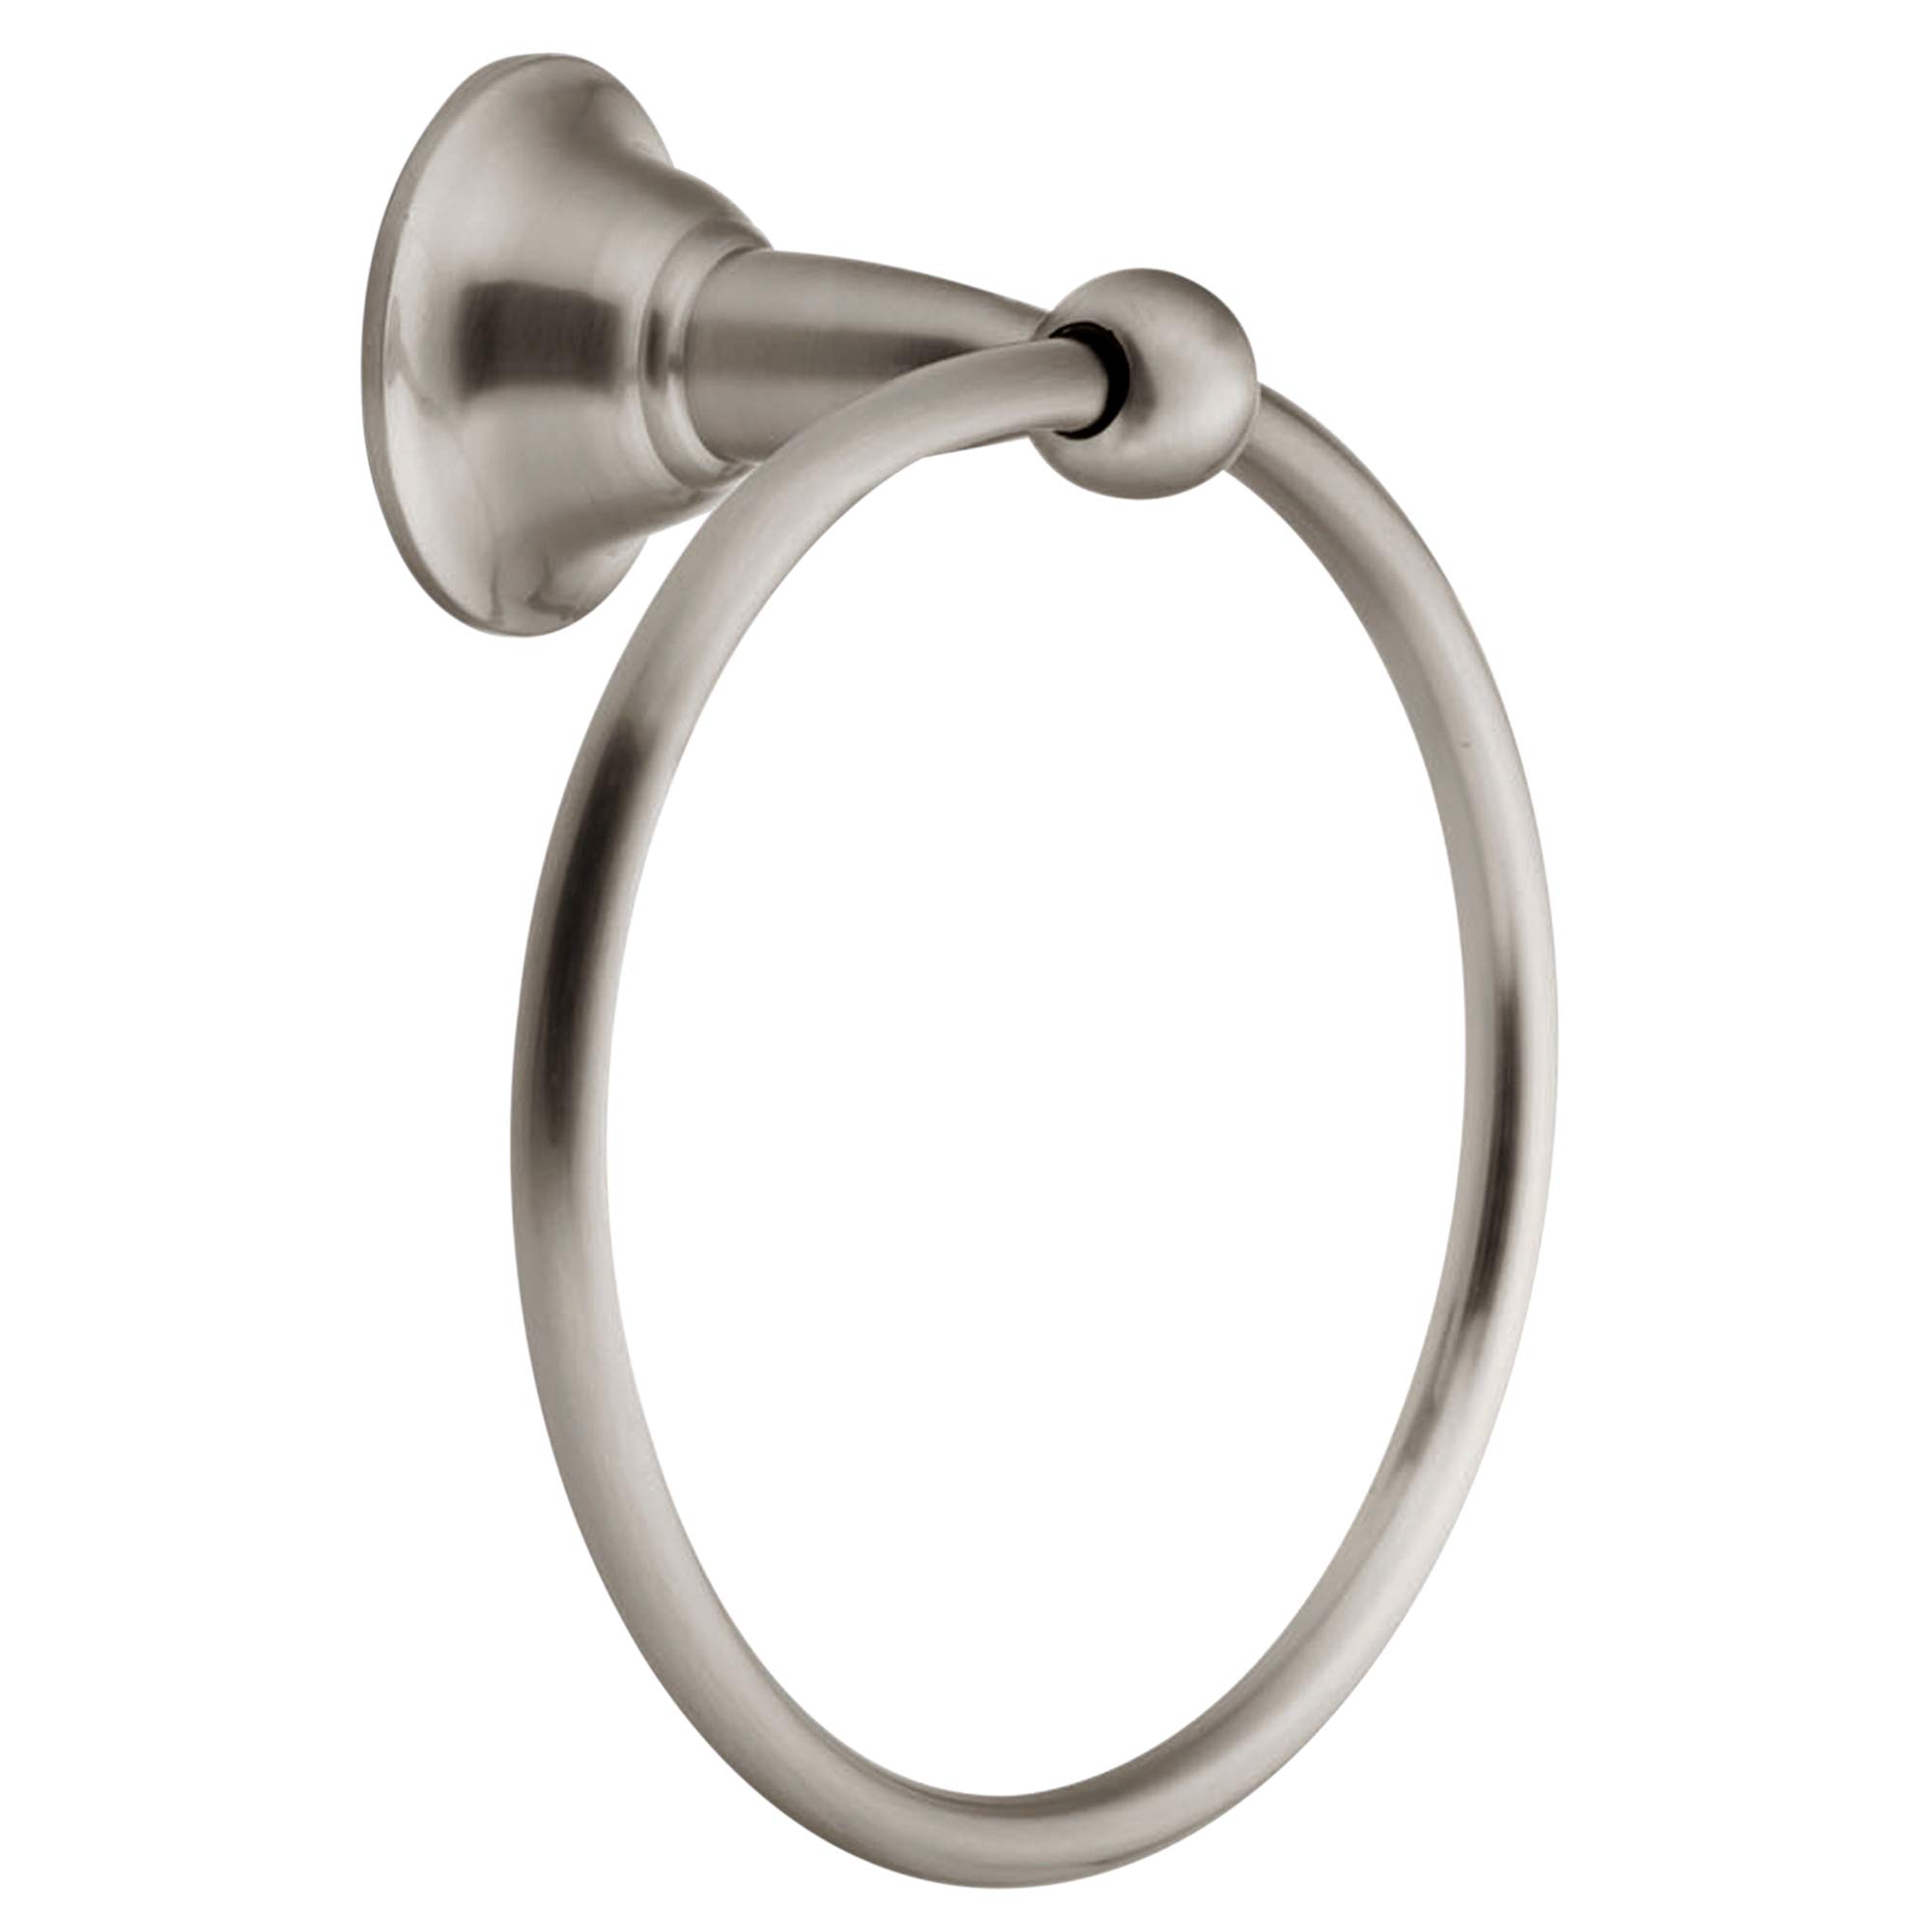
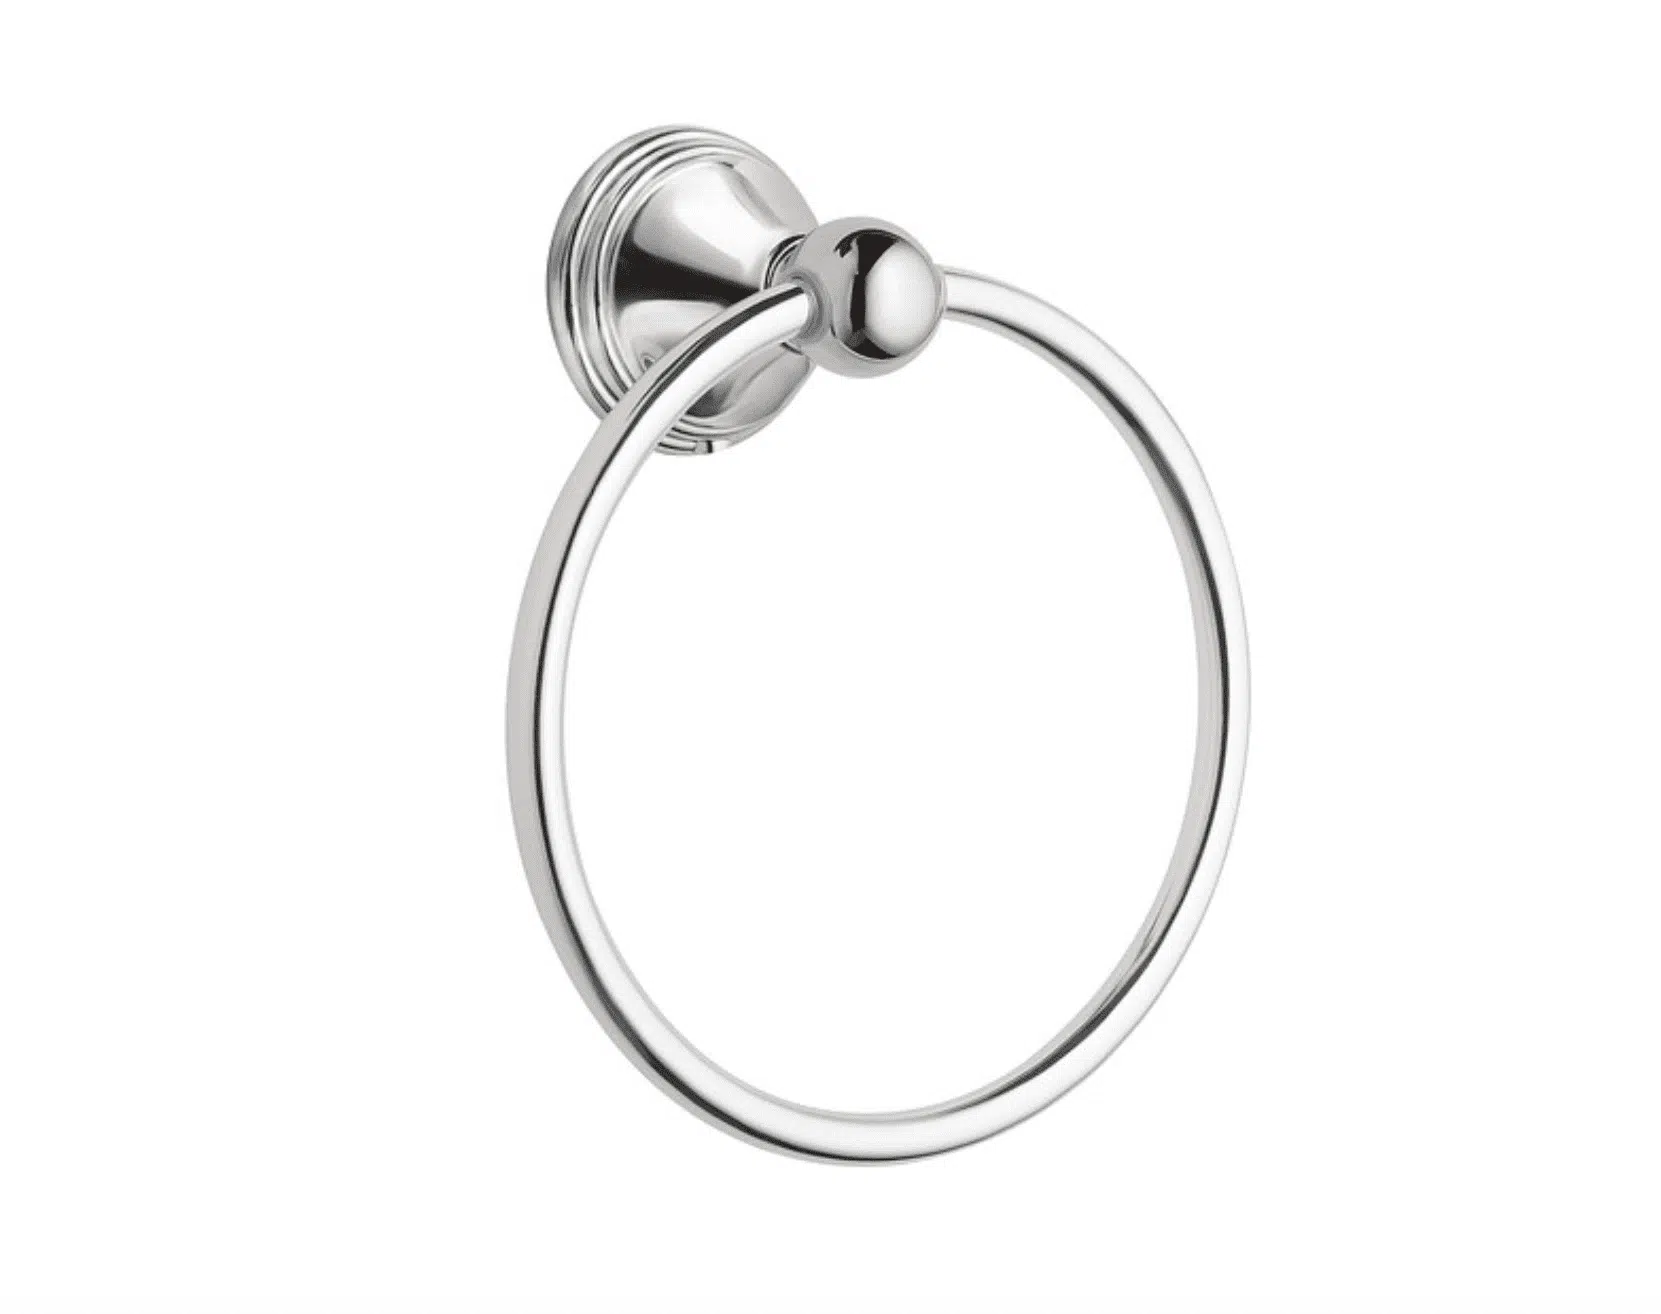
- Examine the towel ring: Take a close look at the towel ring to identify any visible screws or other fasteners that are securing it to the wall. Most Moen towel rings have visible screws that need to be removed.
- Inspect for covers or caps: Some towel rings have decorative covers or caps that conceal the screws. Use a flathead screwdriver to gently pry off these covers and expose the screws underneath.
- Check for hidden fasteners: In some cases, the mounting hardware may not be visible on the surface. Check behind or beneath the towel ring to see if there are any hidden fasteners, such as bolt heads or nuts, that need to be loosened.
By assessing the mounting hardware, you can determine the specific steps needed to remove the towel ring and avoid causing any unnecessary damage to the wall. Once you have a clear understanding of how the towel ring is attached, you can proceed to the next step of the removal process.
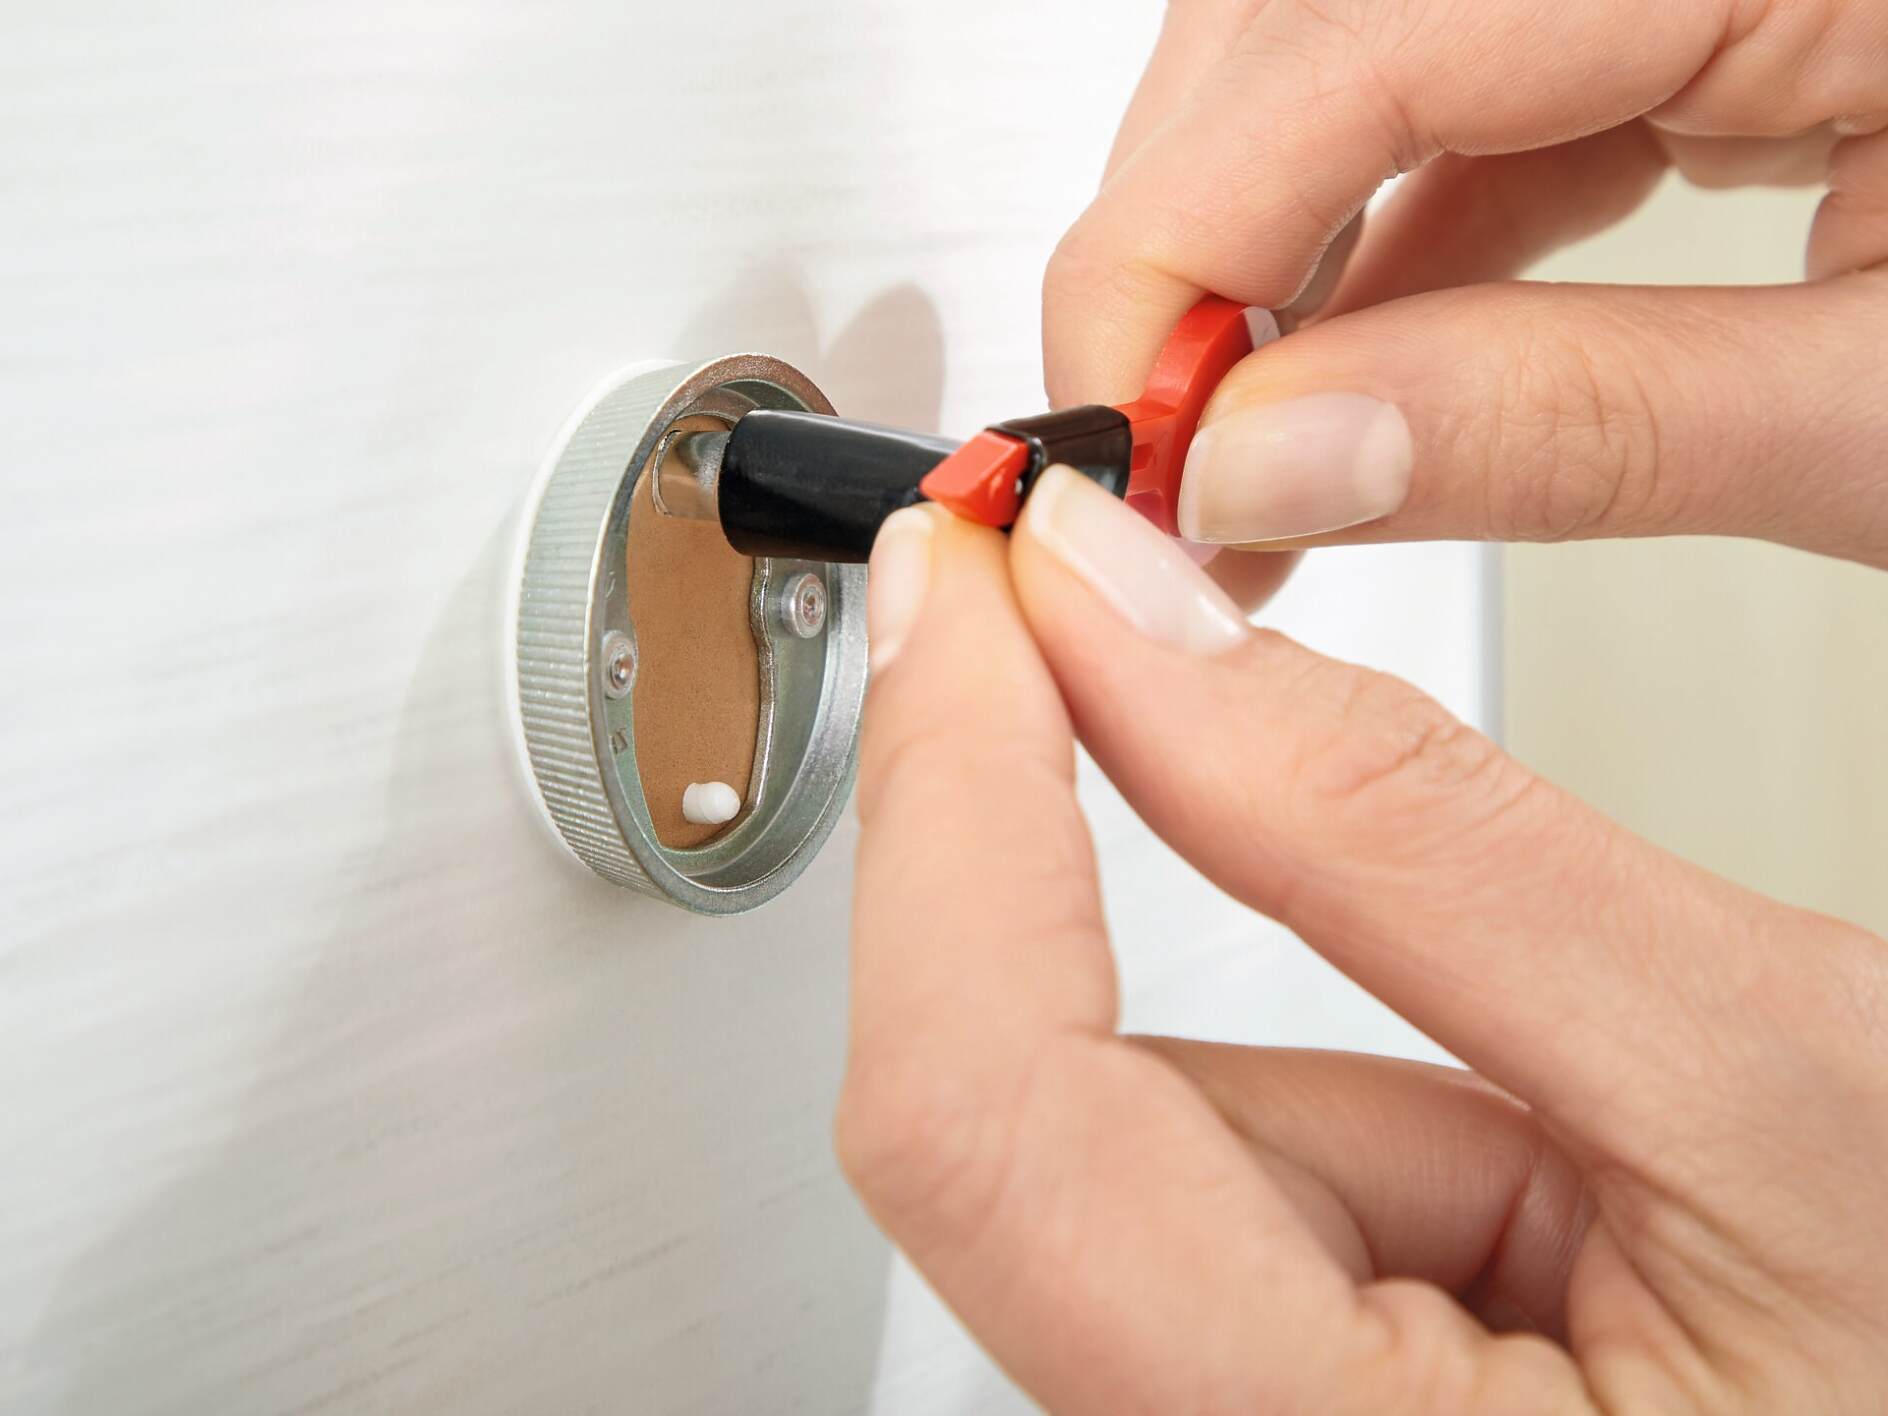
Use an Allen wrench to loosen the set screw at the base of the towel ring. Once the screw is loose, the ring should slide off easily. If the set screw is stuck, try using a lubricant to help loosen it.
Step 3: Remove the towel ring bracket from the wall
Once you have assessed the mounting hardware of the Moen towel ring, you can now move on to removing the towel ring bracket from the wall. Follow these step-by-step instructions:
- Locate and remove the screws: Use a Phillips screwdriver to remove any visible screws that are securing the towel ring bracket to the wall. Depending on the model, there may be one or two screws.
- Unscrew hidden fasteners: If there are any hidden fasteners, such as bolts or nuts, use an adjustable wrench to loosen and remove them. Make sure to hold the towel ring bracket firmly while unscrewing the fasteners to prevent it from falling or causing any damage.
- Gently remove the towel ring bracket: Once all the screws and fasteners are removed, gently pull the towel ring bracket away from the wall. It should come off easily, but be cautious not to force it or you may risk damaging the surface.
During this step, it’s important to handle the towel ring bracket with care to avoid any accidental damage. If the towel ring is attached with adhesive or other unconventional methods, follow the manufacturer’s instructions for removal.
After removing the towel ring bracket, inspect the wall for any damage or holes that may have been left behind. If necessary, proceed to the next step for patching or fixing the wall.
Step 4: Patching or fixing any wall damage
After removing the Moen towel ring bracket, you may notice holes, scuffs, or other damage on the wall where it was mounted. Don’t worry – it’s common to have some wall damage when removing fixtures. Follow these steps to patch or fix any wall damage:
- Clean the area: Use a damp cloth to clean the damaged area of any dust, debris, or loose particles. This will ensure a clean surface for patching.
- Apply spackling compound: Using a putty knife or scraper, apply a small amount of spackling compound to fill the holes or damaged areas. Smooth it out evenly, making sure it’s level with the surrounding wall surface.
- Let it dry: Allow the spackling compound to dry according to the manufacturer’s instructions. This usually takes around 24 hours, but the drying time may vary depending on the product and the thickness of the application.
- Sand the patched area: Once the spackling compound is completely dry, use sandpaper or a sanding block to gently sand the patched area. This will ensure a smooth and seamless finish. Be careful not to oversand, as it can damage the surrounding wall surface.
- Repaint the wall (optional): If you want to restore the wall to its original appearance, you can repaint the patched area. Use matching paint and a brush to carefully apply a thin layer of paint over the patched area. Allow it to dry completely before moving on.
By following these steps, you can effectively patch or fix any wall damage caused by the removal of the Moen towel ring. This will leave your wall looking clean and smooth.
Step 5: Installing a new towel ring (optional)
If you have decided to replace the Moen towel ring with a new one or want to install a towel ring in a different location, here are the steps to guide you through the installation process:
- Choose the location: Determine the ideal location for the new towel ring. Consider the height, accessibility, and proximity to other bathroom fixtures. Make sure the location allows for easy reach and convenience.
- Mark the drilling points: Use a pencil or painter’s tape to mark the drilling points on the wall. Measure the distance between the mounting holes of the towel ring bracket and transfer those measurements to the wall.
- Drill pilot holes: Using an appropriate-sized drill bit, drill pilot holes at the marked points on the wall. This will help prevent the wall from splintering or cracking when inserting the screws.
- Attach the towel ring bracket: Place the towel ring bracket over the pilot holes and align it with the markings on the wall. Insert the screws provided with the towel ring into the pilot holes and tighten them using a Phillips screwdriver.
- Attach the towel ring: Once the bracket is securely fastened to the wall, attach the towel ring by sliding it onto the bracket or following the manufacturer’s instructions. Ensure that it is level and secure.
Remember to follow the specific instructions provided by the manufacturer for your towel ring model, as the installation process may vary slightly depending on the design.
Installing a new towel ring can add functionality and aesthetic appeal to your bathroom. It’s a great way to enhance the overall design and organization of the space.
Conclusion
Removing a Moen towel ring from your bathroom wall may seem like a daunting task, but with the right tools and step-by-step instructions, it can be a straightforward process. By following the steps outlined in this article, you can successfully remove the towel ring and address any wall damage that may occur in the process.
Remember to gather all the necessary tools before you begin, assess the mounting hardware to understand how the towel ring is attached, and proceed with caution to avoid damaging the wall. If you choose to install a new towel ring, follow the manufacturer’s instructions for a seamless installation.
By taking the time to remove and replace your towel ring, you can enhance the functionality and aesthetic of your bathroom. It’s a small but impactful change that can make a big difference in your daily routine.
We hope this article has provided you with the guidance you need to remove a Moen towel ring and, if desired, install a new one. Remember to use caution and consult professionals if needed. With the right approach, you can achieve the bathroom of your dreams.
Frequently Asked Questions about How To Remove A Moen Towel Ring
Was this page helpful?
At Storables.com, we guarantee accurate and reliable information. Our content, validated by Expert Board Contributors, is crafted following stringent Editorial Policies. We're committed to providing you with well-researched, expert-backed insights for all your informational needs.



0 thoughts on “How To Remove A Moen Towel Ring”