Articles
How To Transform A Room With Crown Molding
Modified: September 1, 2024
Learn how to instantly elevate the look of any room by adding crown molding. Check out our articles for expert tips and step-by-step guides.
(Many of the links in this article redirect to a specific reviewed product. Your purchase of these products through affiliate links helps to generate commission for Storables.com, at no extra cost. Learn more)
Introduction
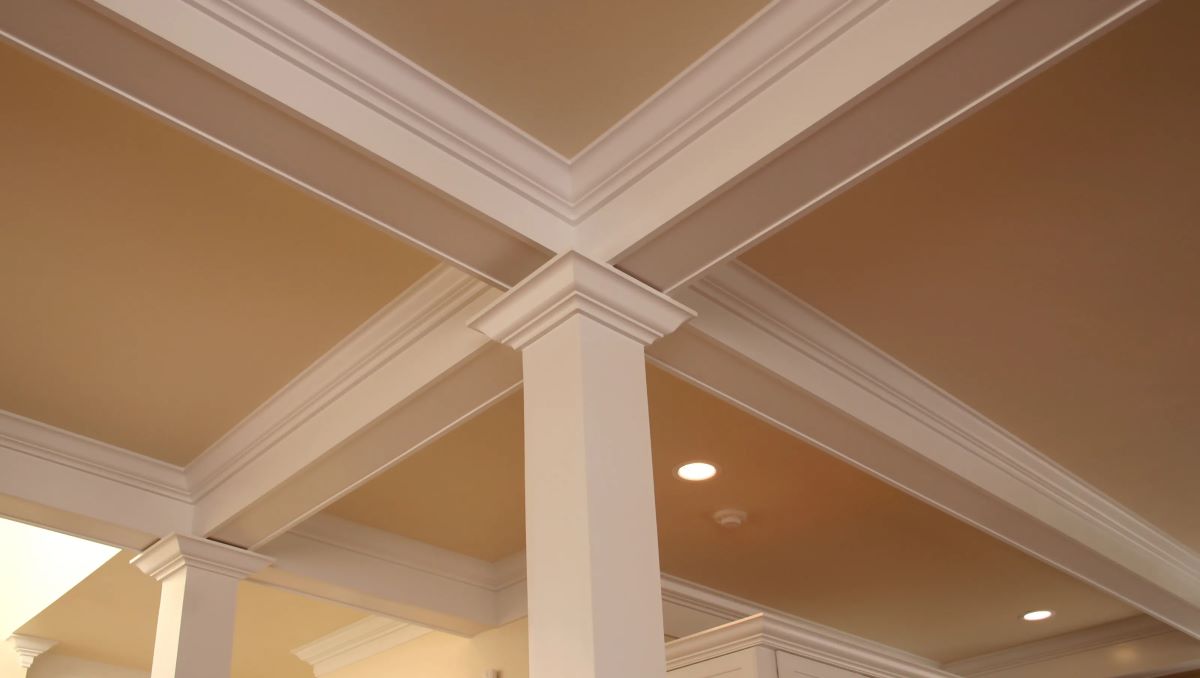
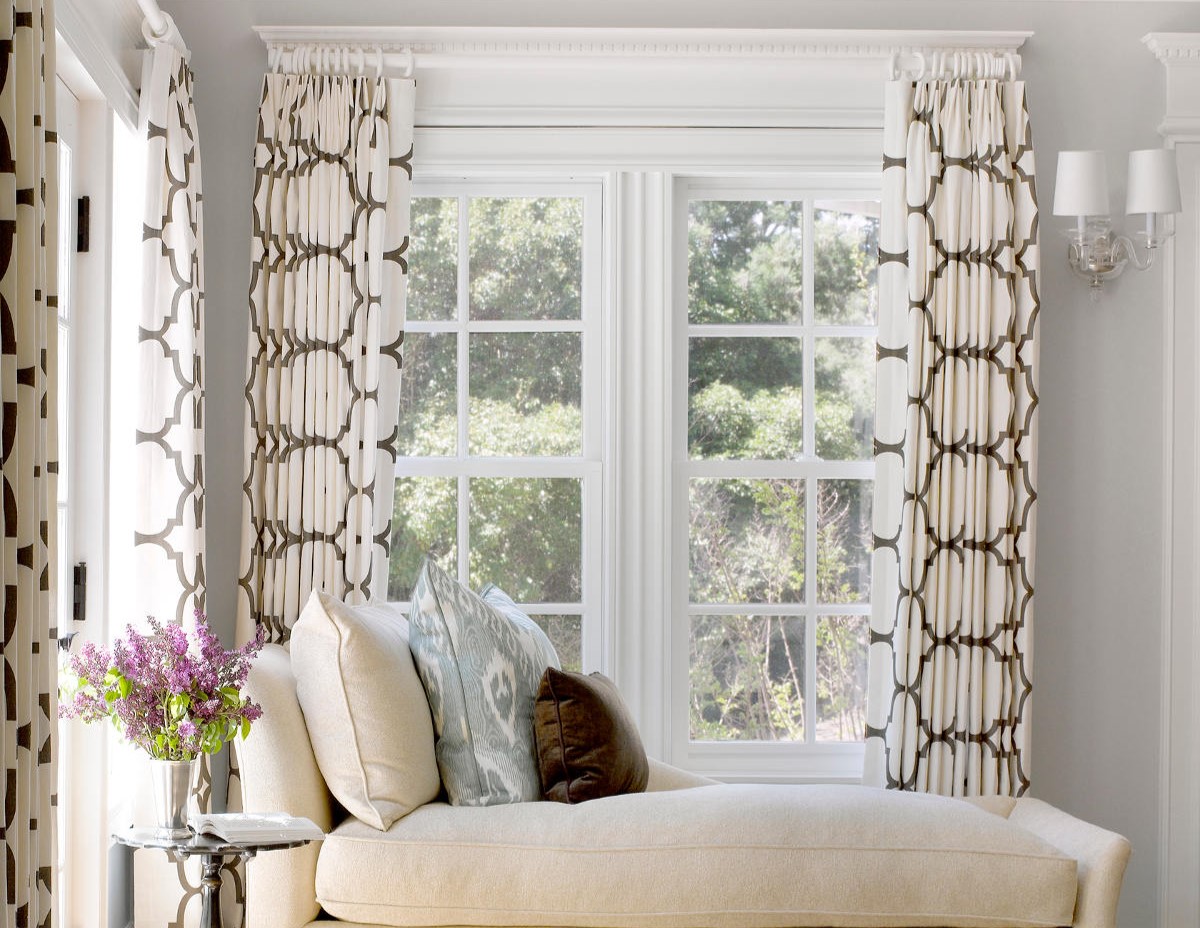
Transforming a room with crown molding is a great way to add elegance and style to any space. Crown molding not only enhances the visual appeal of a room, but it also adds character and depth to walls, ceilings, and even furniture. Whether you’re looking to give your living room a touch of sophistication or revamp your bedroom with a classic look, crown molding is a versatile and cost-effective solution.
In this article, we will guide you through the process of choosing the right crown molding, measuring and planning, gathering the necessary tools and materials, as well as the step-by-step installation and finishing touches. By following these simple steps, you’ll be able to transform any room in your home into a stunning masterpiece.
Let’s get started by exploring the different types of crown molding available and how to choose the right one for your project.
Key Takeaways:
- Elevate any space with the timeless elegance of crown molding. From choosing the right style to meticulous installation, this guide empowers you to transform your room into a stunning masterpiece.
- Attention to detail and careful planning are key to a successful crown molding project. With the right tools and techniques, you can achieve a professional-looking result that adds sophistication to any room.
Read more: How To Install Crown Molding Lighting
Choosing the Right Crown Molding
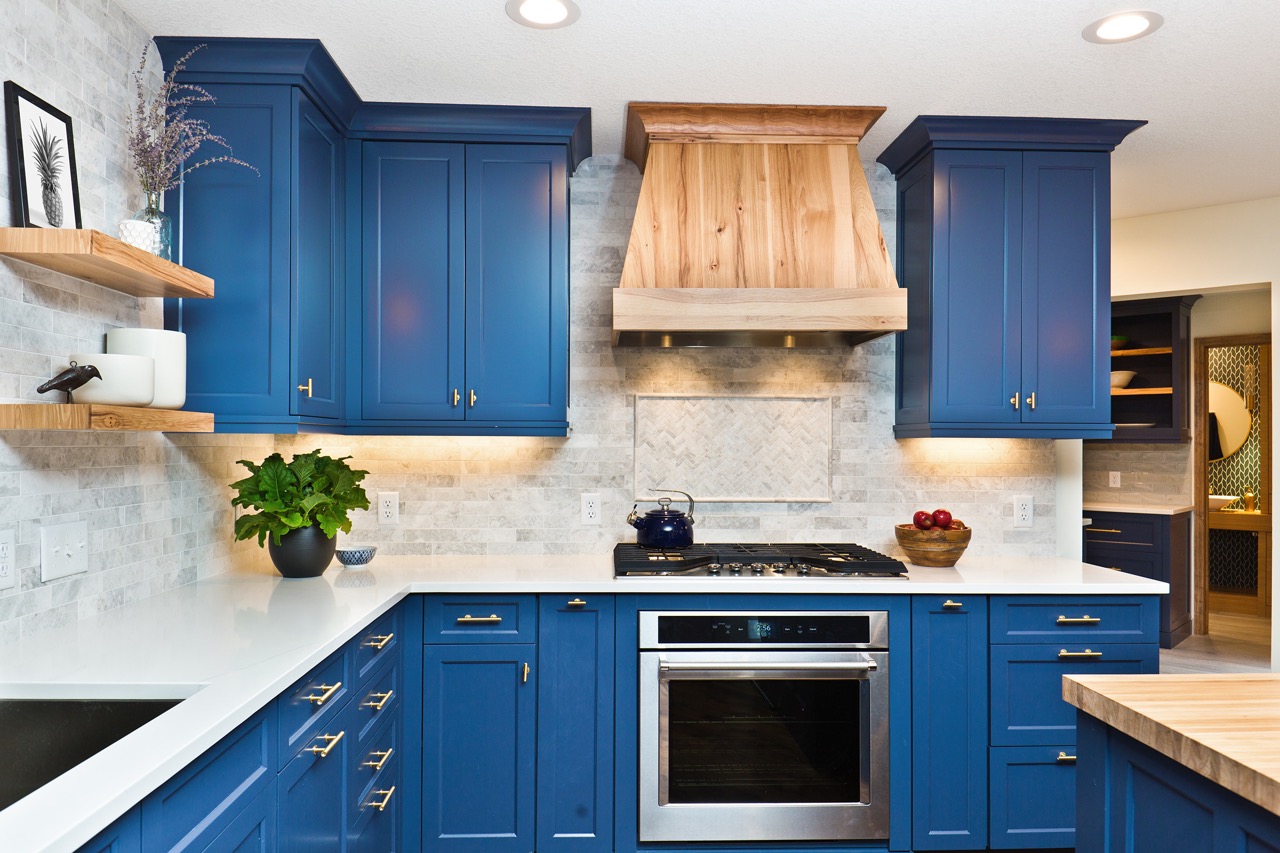
When it comes to choosing the right crown molding for your room transformation, there are a few factors to consider. The first is the style and aesthetic you want to achieve. Crown molding comes in a variety of designs, from simple and understated to ornate and intricate. Consider the overall theme and vibe of your room and select a molding style that complements it.
Another important consideration is the size and proportion of the crown molding. The height of your ceilings and the size of the room will play a role in determining the appropriate size of the molding. Taller ceilings can accommodate larger, more elaborate moldings, while lower ceilings may require smaller, simpler designs. Keep in mind that proportion is key when it comes to crown molding – you don’t want it to overpower or look out of place in the room.
Material is another factor to consider when choosing crown molding. The most common options are wood, MDF (medium-density fiberboard), and polyurethane. Wood molding offers a classic and authentic look, but it can be more expensive and prone to warping. MDF molding is a more affordable option and can mimic the look of wood, but it is less durable. Polyurethane molding is lightweight, easy to install, and resistant to moisture and insects, making it a popular choice for both interior and exterior applications.
Lastly, consider your budget and the level of maintenance you’re willing to undertake. While wood molding may require more upkeep, it can be stained or painted to match your desired color scheme. MDF and polyurethane moldings, on the other hand, often come pre-primed and ready for painting.
Take your time to research and explore different crown molding options before making a final decision. Visit your local home improvement stores or consult with a professional to get expert advice and recommendations. Remember, the right crown molding will add that extra touch of elegance and beauty to your room transformation.
Measuring and Planning
Once you have chosen the perfect crown molding for your room, the next step is to measure and plan for its installation. Accurate measurements are essential to ensure a precise fit and a professional-looking result.
Start by measuring the perimeter of the room where the crown molding will be installed. Note down the length of each wall, taking into account any corners or angles. Use a tape measure and measure from wall to wall, including any doorways or windows that the crown molding will pass over.
Next, determine the height at which you want the crown molding to be installed. This will depend on personal preference, but as a general rule, crown molding is usually placed at a distance of 1-2 inches below the ceiling. Using a measuring tape, measure down from the ceiling and mark the desired height along the walls.
After measuring the room, it’s time to plan the layout of the crown molding. This involves deciding how the molding will be installed, whether it will be a single piece running continuously along the walls or if it will consist of multiple sections.
If you opt for a single-piece installation, you will need to determine the lengths of crown molding required for each wall. Measure the length of each wall and select molding pieces that are long enough to cover the entire span. If your walls are longer than the available molding lengths, you may need to join multiple pieces together using scarf joints or miter joints.
If you prefer a multi-piece installation, you will need to plan the placement of the molding sections. This can be done by dividing the walls into equal sections and determining the length of each piece accordingly. Keep in mind that corner and end pieces will be needed to create a seamless look at joints and edges.
It’s recommended to create a detailed plan, either on paper or using a computer program, to visualize the layout and ensure accurate measurements. This plan will also serve as a guide during the installation process.
By measuring and planning thoroughly, you are setting yourself up for a successful crown molding installation. The next step is to gather all the necessary tools and materials for the job.
Gathering the Necessary Tools and Materials
Before diving into the installation of crown molding, it’s important to gather all the necessary tools and materials. Having everything prepared ahead of time will ensure a smoother and more efficient process.
Here are the essential tools and materials you will need:
- Crown molding: Ensure you have enough molding pieces to cover the measured perimeter of your room. It’s a good idea to purchase a little extra to allow for any mistakes or miscalculations.
- Tape measure: A quality tape measure is essential for accurate measurements.
- Miter saw or coping saw: A miter saw is ideal for cutting precise angles on the crown molding. If you don’t have access to a miter saw, a coping saw can be used to manually cut and shape the molding.
- Pneumatic nail gun or hammer and finish nails: A pneumatic nail gun makes the installation process faster and easier, but if you don’t have one, a hammer and finish nails will do the job.
- Wood filler: Wood filler is needed to fill in any gaps or joints between the crown molding pieces.
- Sandpaper: Sandpaper is essential for smoothing out rough edges and preparing the crown molding for painting.
- Primer and paint: If you plan to paint the crown molding, make sure to have primer and the desired paint color on hand.
- Paint brushes and rollers: Brushes and rollers will be needed for painting the crown molding.
- Ladder or step stool: Depending on the height of your ceilings, you may need a ladder or step stool to safely reach and install the crown molding.
- Safety goggles and gloves: Protect your eyes and hands with safety goggles and gloves throughout the installation process.
Once you have gathered all the necessary tools and materials, you are ready to move on to the next steps of preparing the room for crown molding installation.
Remember to work in a well-ventilated area and take proper safety precautions when using power tools or handling materials.
Preparing the Room
Before you begin installing crown molding, it’s important to properly prepare the room to ensure a smooth and successful installation process. Taking the time to prepare the room will help minimize any potential issues and ensure the best possible outcome.
Here are the steps to follow when preparing the room:
Clear the walls and furniture: Remove any artwork, mirrors, or decorations from the walls. Clear the area around the walls, including furniture and other objects that may obstruct your work. This will provide you with a clean and unobstructed space to work with.
Clean the walls: Dust, dirt, and debris can affect the adhesion of the crown molding, so it’s important to clean the walls thoroughly. Use a damp cloth or sponge to remove any dirt or dust from the walls. Allow the walls to dry completely before proceeding.
Fill in any holes or imperfections: Inspect the walls for any holes, dents, or other imperfections. Use a spackling compound or wood filler to fill in these areas. Smooth out the filler with a putty knife and allow it to dry. Once dry, sand the filled areas to create a smooth and even surface.
Apply a primer: Applying a primer to the walls before installing the crown molding can help improve adhesion and ensure better paint coverage. Use a roller or brush to apply a coat of primer to the walls. Allow the primer to dry completely according to the manufacturer’s instructions.
Mark the wall for installation: Use a pencil or a masking tape to mark the wall where the bottom edge of the crown molding will be installed. This will provide a guide during the installation and ensure a straight and level application.
Protect the floors and furniture: Cover the floors and furniture with drop cloths or plastic sheets to protect them from any dust, debris, or paint splatters that may occur during the installation process.
By properly preparing the room, you are creating a clean and suitable environment for crown molding installation. Once the room is prepared, it’s time to start the actual installation process.
When installing crown molding, make sure to measure and cut the corners accurately to ensure a seamless and professional-looking finish. Use a miter saw for precise cuts.
Read more: How To Install Kitchen Cabinet Crown Molding
Installing the Crown Molding
Now that the room is prepared, it’s time to begin the installation of the crown molding. Follow these step-by-step instructions to ensure a successful installation:
- Start with the longest wall: Begin the installation on the longest continuous wall, as this will provide a consistent starting point. Measure and cut the first piece of crown molding according to the length of the wall, taking into account any corner angles or room features.
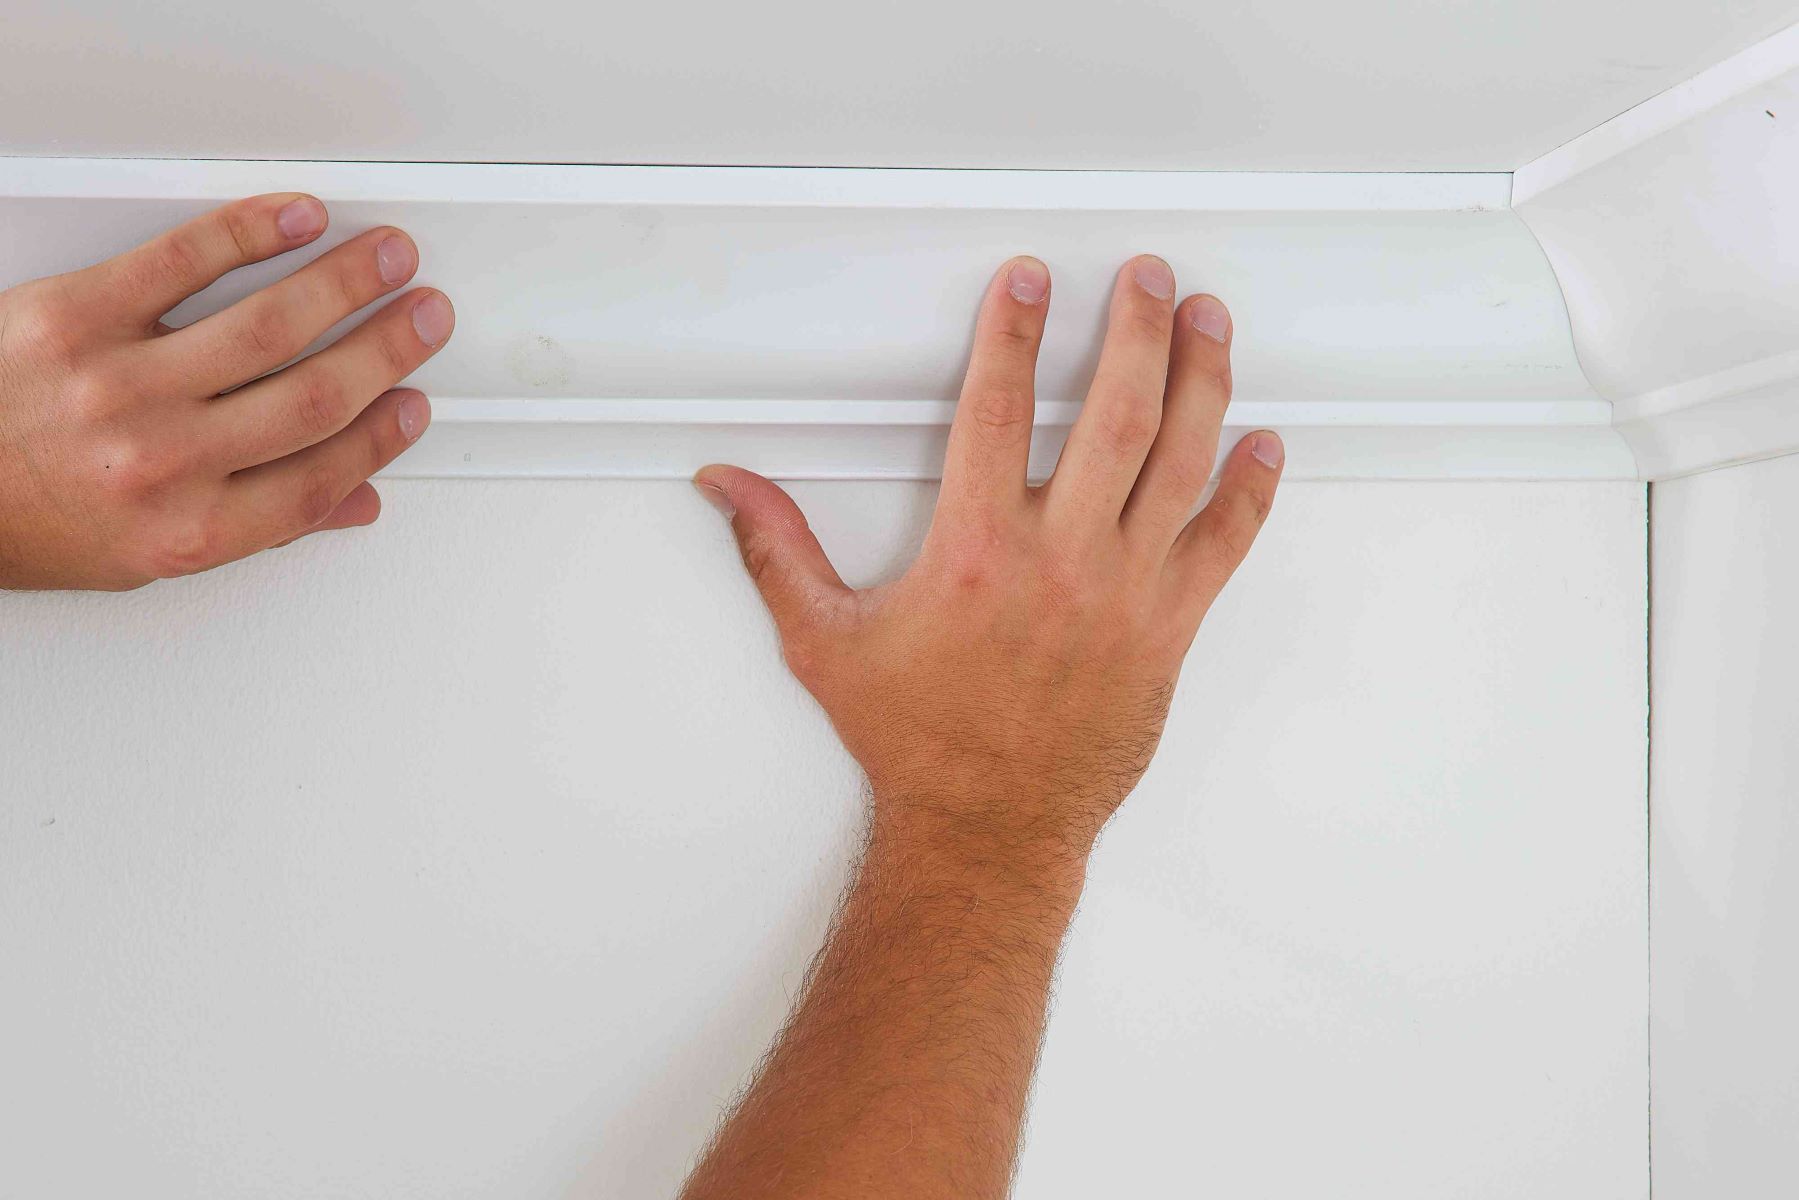
- Apply adhesive or use nails: Apply a thin line of construction adhesive along the back of the molding. Alternatively, you can use nails to secure the molding in place. If using nails, make sure to position them towards the top edge of the molding to prevent visibility.
- Secure the molding to the wall: Press the crown molding firmly against the wall, aligning it with the marked line. If using adhesive, hold it in place for a few seconds. If using nails, drive them into the wall at an angle to ensure a secure attachment. Repeat this process for each piece of molding, making sure to join the ends using scarf or miter joints for a seamless look.
- Install corner and end pieces: For corners and ends, measure, cut, and install the molding at the appropriate angles to create a clean and professional finish. Coping may be necessary for inside corners to achieve a tight fit. Repeat this step for each corner or end of the molding.
- Ensure a tight fit: As you install each piece of molding, check for tight and even joints. Use a rubber mallet or a block of wood and a hammer to gently tap the molding into place for a snug fit. Adjust as needed to ensure a seamless and aligned installation.
- Fill in any gaps: After installing all the crown molding pieces, inspect the joints and corners for any gaps or imperfections. Use wood filler to fill in these gaps, smoothing it out with a putty knife. Allow the filler to dry and sand it down until it’s flush with the molding.
Throughout the installation process, remember to take measurements and make cuts with precision. Double-check your work at each step to ensure accuracy and proper alignment. Patience and attention to detail are key to achieving a professional-looking installation.
Once the crown molding is securely installed, move on to the next steps of filling in the gaps, sanding, and preparing it for painting or finishing.
Filling in the Gaps and Sanding
After installing the crown molding, it’s time to fill in any gaps or joints and prepare the surface for a seamless finish. This step is crucial to achieving a polished and professional look. Follow these steps to fill in the gaps and sand the crown molding:
- Inspect the joints and corners: Carefully examine the areas where the crown molding pieces meet and the corners for any noticeable gaps or unevenness. These gaps can occur due to variations in the walls or slight inconsistencies in the installation process.
- Choose the right filler: Select a high-quality wood filler or caulk that matches the color of your crown molding. This will ensure a seamless blend and a uniform appearance once the filling is complete.
- Apply the filler: Using a putty knife or a caulking gun, apply the filler into the gaps or joints. Press the filler firmly into the gaps and smooth it out to create a flush finish. Be careful not to overfill the gaps as this can create a messy appearance.
- Remove excess filler: Wipe away any excess filler using a damp cloth or a putty knife. Clean up any smudges or smears before the filler dries completely.
- Allow the filler to dry: Follow the manufacturer’s instructions for the drying time of the filler. It’s important to allow sufficient time for it to fully dry and harden before proceeding to the next step.
- Sand the crown molding: Once the filler is completely dry, use a fine-grit sandpaper to gently sand any rough or uneven areas. This will provide a smooth, even surface for priming and painting.
- Remove dust: After sanding, use a soft brush or a damp cloth to remove any dust or particles from the crown molding. It’s important to have a clean surface before moving on to the priming and painting process.
Remember to take your time when filling in the gaps and sanding the crown molding. Attention to detail is key to achieving a flawless finish. Once the crown molding is properly filled and sanded, it’s ready for the next stage of priming and painting.
Priming and Painting the Crown Molding
Priming and painting the crown molding is the final step in the transformation process. This step enhances the look of the molding, adds a finished touch to the room, and protects the surface from wear and tear. Follow these steps to prime and paint your crown molding:
- Prepare the area: Ensure that the room is well-ventilated by opening windows or using a fan. Lay down drop cloths or newspaper to protect the surrounding areas from paint splatters.
- Choose the right primer: Select a high-quality primer that is specifically formulated for the material of your crown molding. For wood molding, choose a primer that is suitable for wood surfaces.
- Apply the primer: Using a paintbrush or a roller, apply a thin and even coat of primer to the crown molding. Make sure to cover all surfaces, including the joints and corners. Allow the primer to dry completely according to the manufacturer’s instructions.
- Select the paint color: Choose a paint color that complements the overall theme and décor of the room. Consider the color scheme and the desired atmosphere you want to create.
- Paint the crown molding: Once the primer is dry, use a clean brush or roller to apply a coat of paint to the crown molding. Start from one end and work your way along the length of the molding, ensuring an even application. Allow the first coat to dry completely before applying additional coats, if needed.
- Apply multiple coats (optional): Depending on the desired finish and the opacity of the paint, you may need to apply multiple coats of paint. Allow each coat to dry completely before applying the next one. Follow the manufacturer’s recommendations for drying times.
- Inspect and touch up: After the final coat of paint has dried, inspect the crown molding for any imperfections or uneven areas. Use a small brush to touch up any spots that require additional paint.
Remember to follow the instructions and guidelines provided by the primer and paint manufacturers for the best results. Take your time throughout the priming and painting process and pay attention to detail to achieve a smooth and professional finish.
Once the paint is dry, step back and admire the transformed look of your room with the newly painted crown molding. It adds a touch of elegance and sophistication, completing the overall aesthetic of the space.
Final Touches and Clean-up
After completing the installation, filling, sanding, priming, and painting of the crown molding, it’s time for the final touches and clean-up. These steps will ensure that your room transformation is polished and ready to enjoy. Follow these guidelines to add those final touches and tidy up the space:
- Remove any protective coverings: Carefully remove the drop cloths or plastic sheets that were used to protect the floors and furniture during the installation and painting process. Fold them up and store them for future use or dispose of them properly.
- Inspect the crown molding: Take a close look at the crown molding to check for any areas that may need touch-ups or adjustments. If you notice any areas that require attention, use a small brush or touch-up paint to address them.
- Clean up the painting tools: Thoroughly clean your paintbrushes, rollers, and any other painting tools you used during the project. Use warm water and soap to remove any residual paint, and then rinse them thoroughly. Allow them to air-dry before storing them away for future use.
- Dispose of paint and debris: Properly dispose of any leftover paint and empty paint cans according to your local regulations. Collect any debris, such as sandpaper, painter’s tape, or empty filler tubes, and dispose of them in the appropriate waste receptacles.
- Reinstall wall decorations and furniture: Once the paint has dried and the room is clean, it’s time to bring back any wall decorations, mirrors, artwork, or furniture that you previously removed for the crown molding installation. Take care in placing them back in their designated spots, using a level if necessary to ensure proper alignment.
- Step back and admire the transformation: Take a moment to step back and appreciate the hard work and transformation you have accomplished. Admire the newly installed and painted crown molding, and revel in the enhanced beauty and elegance it brings to the room.
By completing these final touches and clean-up steps, you will ensure that your room is ready to be enjoyed and admired. Take pride in your accomplishment and enjoy the newly transformed space!
Conclusion
Transforming a room with crown molding is a rewarding and impactful project that can elevate the overall aesthetic and sophistication of any space. By carefully choosing the right crown molding, measuring and planning meticulously, and following the step-by-step installation process, you can achieve a professional-looking result that will leave a lasting impression.
Throughout the process, it’s important to pay attention to detail, take accurate measurements, and make precise cuts to ensure a seamless and aligned installation. Filling in any gaps, sanding the surface, and applying a primer and paint will provide a smooth and polished finish to the molding.
Remember to take your time, follow safety precautions, and consult with professionals or experts if needed. Using the right tools, materials, and techniques will help you achieve outstanding results and avoid unnecessary setbacks.
Once the crown molding is installed, filled, sanded, and painted, complete the project by adding those final touches and tidying up the room. Return any wall decorations and furniture to their places, clean up the painting tools, and dispose of any leftover materials or debris.
Step back and admire the transformation you’ve accomplished. The crown molding brings elegance, character, and depth to the room, enhancing its visual appeal and leaving a lasting impression on anyone who enters.
With the knowledge gained from this guide, you have the tools and expertise to embark on your own crown molding project. Enjoy the process and the rewards of turning an ordinary room into a stunning masterpiece!
Frequently Asked Questions about How To Transform A Room With Crown Molding
Was this page helpful?
At Storables.com, we guarantee accurate and reliable information. Our content, validated by Expert Board Contributors, is crafted following stringent Editorial Policies. We're committed to providing you with well-researched, expert-backed insights for all your informational needs.


0 thoughts on “How To Transform A Room With Crown Molding”