Home>Garden Essentials>How To Make A Greenery Crown

Garden Essentials
How To Make A Greenery Crown
Modified: April 23, 2024
Learn how to create a stunning greenery crown for your garden with our step-by-step guide. Transform your outdoor space with this beautiful DIY project.
(Many of the links in this article redirect to a specific reviewed product. Your purchase of these products through affiliate links helps to generate commission for Storables.com, at no extra cost. Learn more)
Introduction
Welcome to the wonderful world of greenery crowns! If you’ve ever attended a music festival, a boho-themed wedding, or simply appreciate nature’s bounty, chances are you’ve seen those gorgeous crowns made of fresh greenery adorning the heads of stylish individuals. Greenery crowns are not only a fashionable accessory, but they also add a touch of natural beauty and whimsy to any outfit or occasion.
In this step-by-step guide, we will take you through the process of creating your very own greenery crown. Whether you’re planning a garden-themed party, participating in a photoshoot, or just want to channel your inner forest nymph, making a greenery crown is a fun and creative activity that can be enjoyed by garden enthusiasts of all skill levels.
Not only is crafting a greenery crown a fun DIY project, but it also allows you to connect with nature and the botanical wonders that surround us. The process of gathering greenery and turning it into a wearable piece of art can be incredibly therapeutic and rewarding.
So, let’s dive into the magical world of greenery crowns, where we will explore the materials needed, step-by-step instructions, and all the tips and tricks to create a stunning crown that will make you feel like the queen or king of the garden!
Key Takeaways:
- Embrace nature and creativity by crafting your own greenery crown using simple materials and step-by-step instructions. Connect with the outdoors and express your unique style with a botanical masterpiece!
- Transform a wire base and an assortment of greenery into a stunning crown fit for royalty. Add personal touches, such as flowers and ribbons, to create a one-of-a-kind accessory that celebrates nature and your creativity.
Read more: How To Make Greenery Tomte With Greenery
Materials Needed
Before we begin creating our greenery crown, let’s gather all the necessary materials. Don’t worry, you won’t need anything too fancy or difficult to find. Here’s what you’ll need:
- Wire or floral crown base: This will serve as the foundation for your greenery crown. You can use a pre-made wire crown base, or you can use floral wire to create your own circular base.
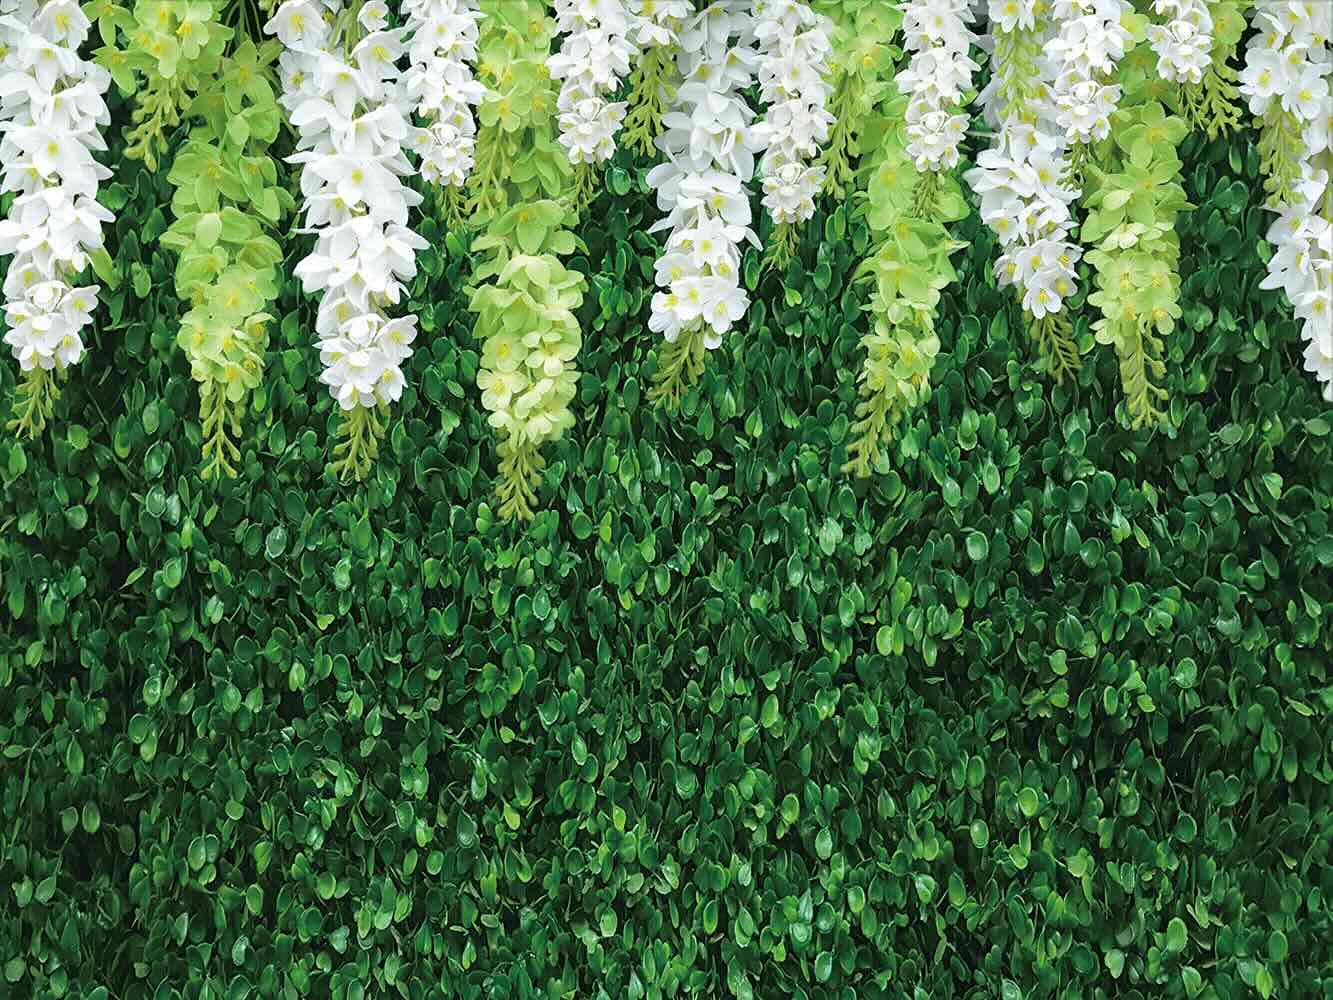
- Greenery: The star of the show! You’ll need an assortment of fresh greenery such as ivy, eucalyptus, ferns, baby’s breath, or any other foliage of your choice. Be sure to gather enough to cover the entire length of your crown base.
- Floral tape: This is used to secure the greenery to the wire base. Floral tape is flexible, sticky, and blends well with the foliage, making it the perfect choice for this project.
- Scissors or wire cutters: You’ll need them to trim the greenery and cut the wire or floral tape.
- Optional: Additional decorations such as flowers, ribbons, or small embellishments. These are not necessary, but they can add a beautiful touch to your crown and make it even more unique.
Once you have gathered all these materials, you are ready to embark on your greenery crown-making adventure!
Remember, you can get creative with your materials. Feel free to experiment with different types of greenery and add personal touches to make your crown truly one-of-a-kind.
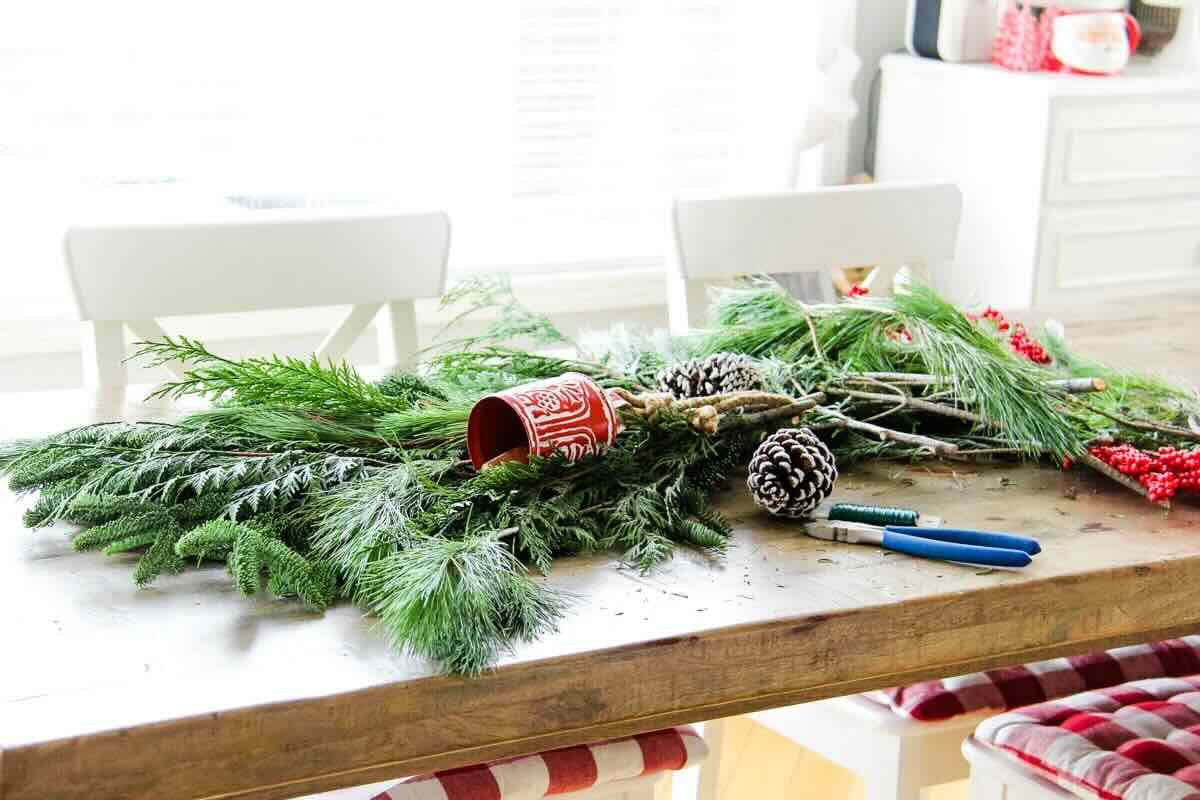
Step 1: Gather Greenery
The first step in creating your greenery crown is to gather the greenery itself. This is the fun part where you get to venture into the great outdoors and connect with nature. Here’s what you need to do:
- Identify your desired greenery: Take a moment to think about the kind of look you want for your crown. Do you prefer a lush and wild aesthetic or a more delicate and refined one? Look for greenery that aligns with your vision. Ivy, eucalyptus, ferns, and baby’s breath are popular choices, but feel free to gather any foliage that speaks to you.
- Explore your surroundings: Head outside and take a walk in your garden, local park, or even your neighborhood. Look for plants and trees that catch your eye and have the type of foliage you desire. It’s always exciting to discover unique and interesting greenery specimens.
- Gather a variety of greenery: Don’t be afraid to mix and match different types of foliage to create texture and visual interest in your crown. Collect a good amount of greenery to ensure you have enough to cover the entire length of your crown base.
- Be mindful of the environment: When gathering greenery, make sure to do so responsibly and ethically. Avoid removing greenery from protected areas or private property without permission. Additionally, be careful not to damage the plants or their surroundings.
- Consider the season: Depending on the time of year, different types of greenery may be more readily available. Take advantage of what nature has to offer during each season and embrace the beauty that comes with it.
Once you have gathered your greenery, take a moment to appreciate the natural beauty you have collected. This step sets the foundation for your greenery crown and allows you to bring a piece of nature’s splendor into your own creative endeavor.
In the next step, we will learn how to prepare the wire base for your crown.
Step 2: Prepare Wire Base
Now that you have gathered your beautiful assortment of greenery, it’s time to prepare the wire base for your greenery crown. The wire base serves as the foundation onto which you will attach the greenery. Here’s how you can get it ready:
- Choose the type of wire: You have a couple of options for the wire base. You can either use a pre-made wire crown base, which is readily available at craft stores, or you can create your own using floral wire. Floral wire is flexible and easy to work with.
- Measure the wire: If you’re using a pre-made wire crown base, measure it against your head to ensure a proper fit. If you’re making your own wire base, measure the circumference of your head and cut the floral wire to that length, leaving a little extra for securing the ends together.
- Shape the wire base: If you’re using floral wire, shape it into a circular form to create the base of your crown. Make sure it fits comfortably on your head without being too tight or too loose.
- Secure the ends: If you’re using floral wire, twist the ends together securely to form a complete circle. If you’re using a pre-made wire crown base, it will already be in the shape of a circle, so no additional steps are needed.
Preparing the wire base is an essential step as it provides the structure and stability for your greenery crown. Take your time to ensure that the wire base is comfortable and secure, as you’ll be building upon it in the subsequent steps.
In the next step, we will learn how to attach the greenery to the wire base.
Step 3: Attach Greenery to Base
With your wire base prepared, it’s time to start adding the lush greenery to create the crown. This step will bring your vision to life, as you transform a simple wire circle into a botanical masterpiece. Here’s how to attach the greenery to the base:
- Take a piece of greenery: Select a piece of greenery from your gathered assortment and hold it against the wire base. Position it at the desired angle and length, allowing the foliage to drape and flow naturally.
- Secure the stem: Using your hands, firmly hold the stem of the greenery against the wire base, near the starting point of the crown. Make sure it is positioned securely and will not easily slip or move.
- Wrap with floral tape: Begin wrapping floral tape tightly around the stem of the greenery and the wire base. Start at the base of the stem and continue wrapping downwards, ensuring that the tape covers the stem and attaches it securely to the wire base.
- Continue adding greenery: Repeat the process with additional pieces of greenery. Choose different types and lengths to create an organic and visually appealing arrangement. Place each piece next to the previous one, slightly overlapping the stems to maintain a cohesive look.
- Vary the direction: As you add greenery, angle them in different directions to create depth and dimension. Some pieces can face forward, while others can be positioned slightly to the side or tilted upwards.
- Fill the entire base: Continue attaching and wrapping greenery until you have covered the entire wire base. Make sure no gaps or bare spots are visible, and the greenery appears full and evenly distributed.
Remember to step back occasionally and assess the overall look of your crown. Make adjustments as needed to ensure a balanced and harmonious arrangement of greenery.
With your greenery securely attached, your crown is starting to take shape! In the next step, we will explore how to secure the greenery further using floral tape.
When making a greenery crown, choose a variety of sturdy greenery such as eucalyptus and ferns. Trim the stems to about 6 inches and use floral wire to attach them to a flexible base, such as a vine or wire.Overlap the stems to create a full and lush crown.
Read more: How To Make A Greenery Corsage
Step 4: Secure Greenery with Floral Tape
Now that you have attached the greenery to the wire base, it’s time to reinforce and secure the foliage using floral tape. Floral tape not only provides additional support, but it also helps create a seamless and professional finish. Follow these steps to secure the greenery:
- Hold the crown upright: Hold the crown upright, with the greenery facing outwards, so you can easily access the stems.
- Take a piece of floral tape: Tear off a small section of floral tape, around 6-8 inches long. Floral tape is typically sticky on both sides when stretched, so there is no need to cut it.
- Start wrapping: Begin wrapping the floral tape tightly around the stems of the greenery. Start at the base of the crown and work your way upwards, covering the stems and the previous layer of floral tape used during attachment.
- Overlap the tape: As you wrap, slightly overlap the floral tape with each turn to create a cohesive and secure bond. Ensure the tape firmly holds the greenery in place without being too loose or too tight.
- Continue wrapping: Move along the crown, adding more greenery and wrapping floral tape around the stems. Repeat this process until you have covered the entire crown with floral tape, securing all the greenery in place.
- Twist and cut the tape: Once you have reached the end of the crown, twist the floral tape to secure it tightly. You can then trim off any excess tape with scissors, ensuring a clean and neat finish.
By using floral tape to secure the greenery, you ensure that your crown remains intact and the foliage stays in place, even during movement or wear. It also provides a polished look, giving your crown a professional touch.
With the greenery securely fastened, our crown is almost complete. In the next step, we will explore how to add additional greenery for extra fullness and visual impact.
Step 5: Add Additional Greenery for Fullness
To elevate the look of your greenery crown and add extra fullness, it’s time to incorporate additional greenery. This step allows you to enhance the overall aesthetic by layering different textures and colors. Here’s how you can achieve a more voluminous crown:
- Select additional greenery: Choose a few more pieces of greenery from your collection. Look for foliage that complements the existing greenery on your crown and adds variety in terms of shape, size, and color.
- Position the additional greenery: Hold the selected greenery against the crown, envisioning how it will blend with the existing arrangement. Experiment with different placements until you find the desired look.
- Attach and secure with floral tape: Once you’re satisfied with the placement, follow the same process as before. Hold the stem against the crown base and wrap tightly with floral tape, ensuring a secure attachment.
- Continue layering: Repeat the process with each additional piece of greenery. As you add more layers, take care to maintain a balanced look and prevent overcrowding in certain areas.
- Ensure even distribution: Pay attention to the distribution of the additional greenery. Aim for an even spread throughout the crown, filling in any gaps and creating a lush, cohesive appearance.
- Step back and reassess: Periodically step back and take a look at your crown from different angles. Make any necessary adjustments to ensure the greenery is evenly distributed and the fullness is balanced.
By adding extra greenery, you can achieve a more abundant and visually striking crown. The layers of foliage will create depth, texture, and a sense of natural beauty.
With your greenery now complete, we will move on to the final step: adding the finishing touches to your magnificent creation!
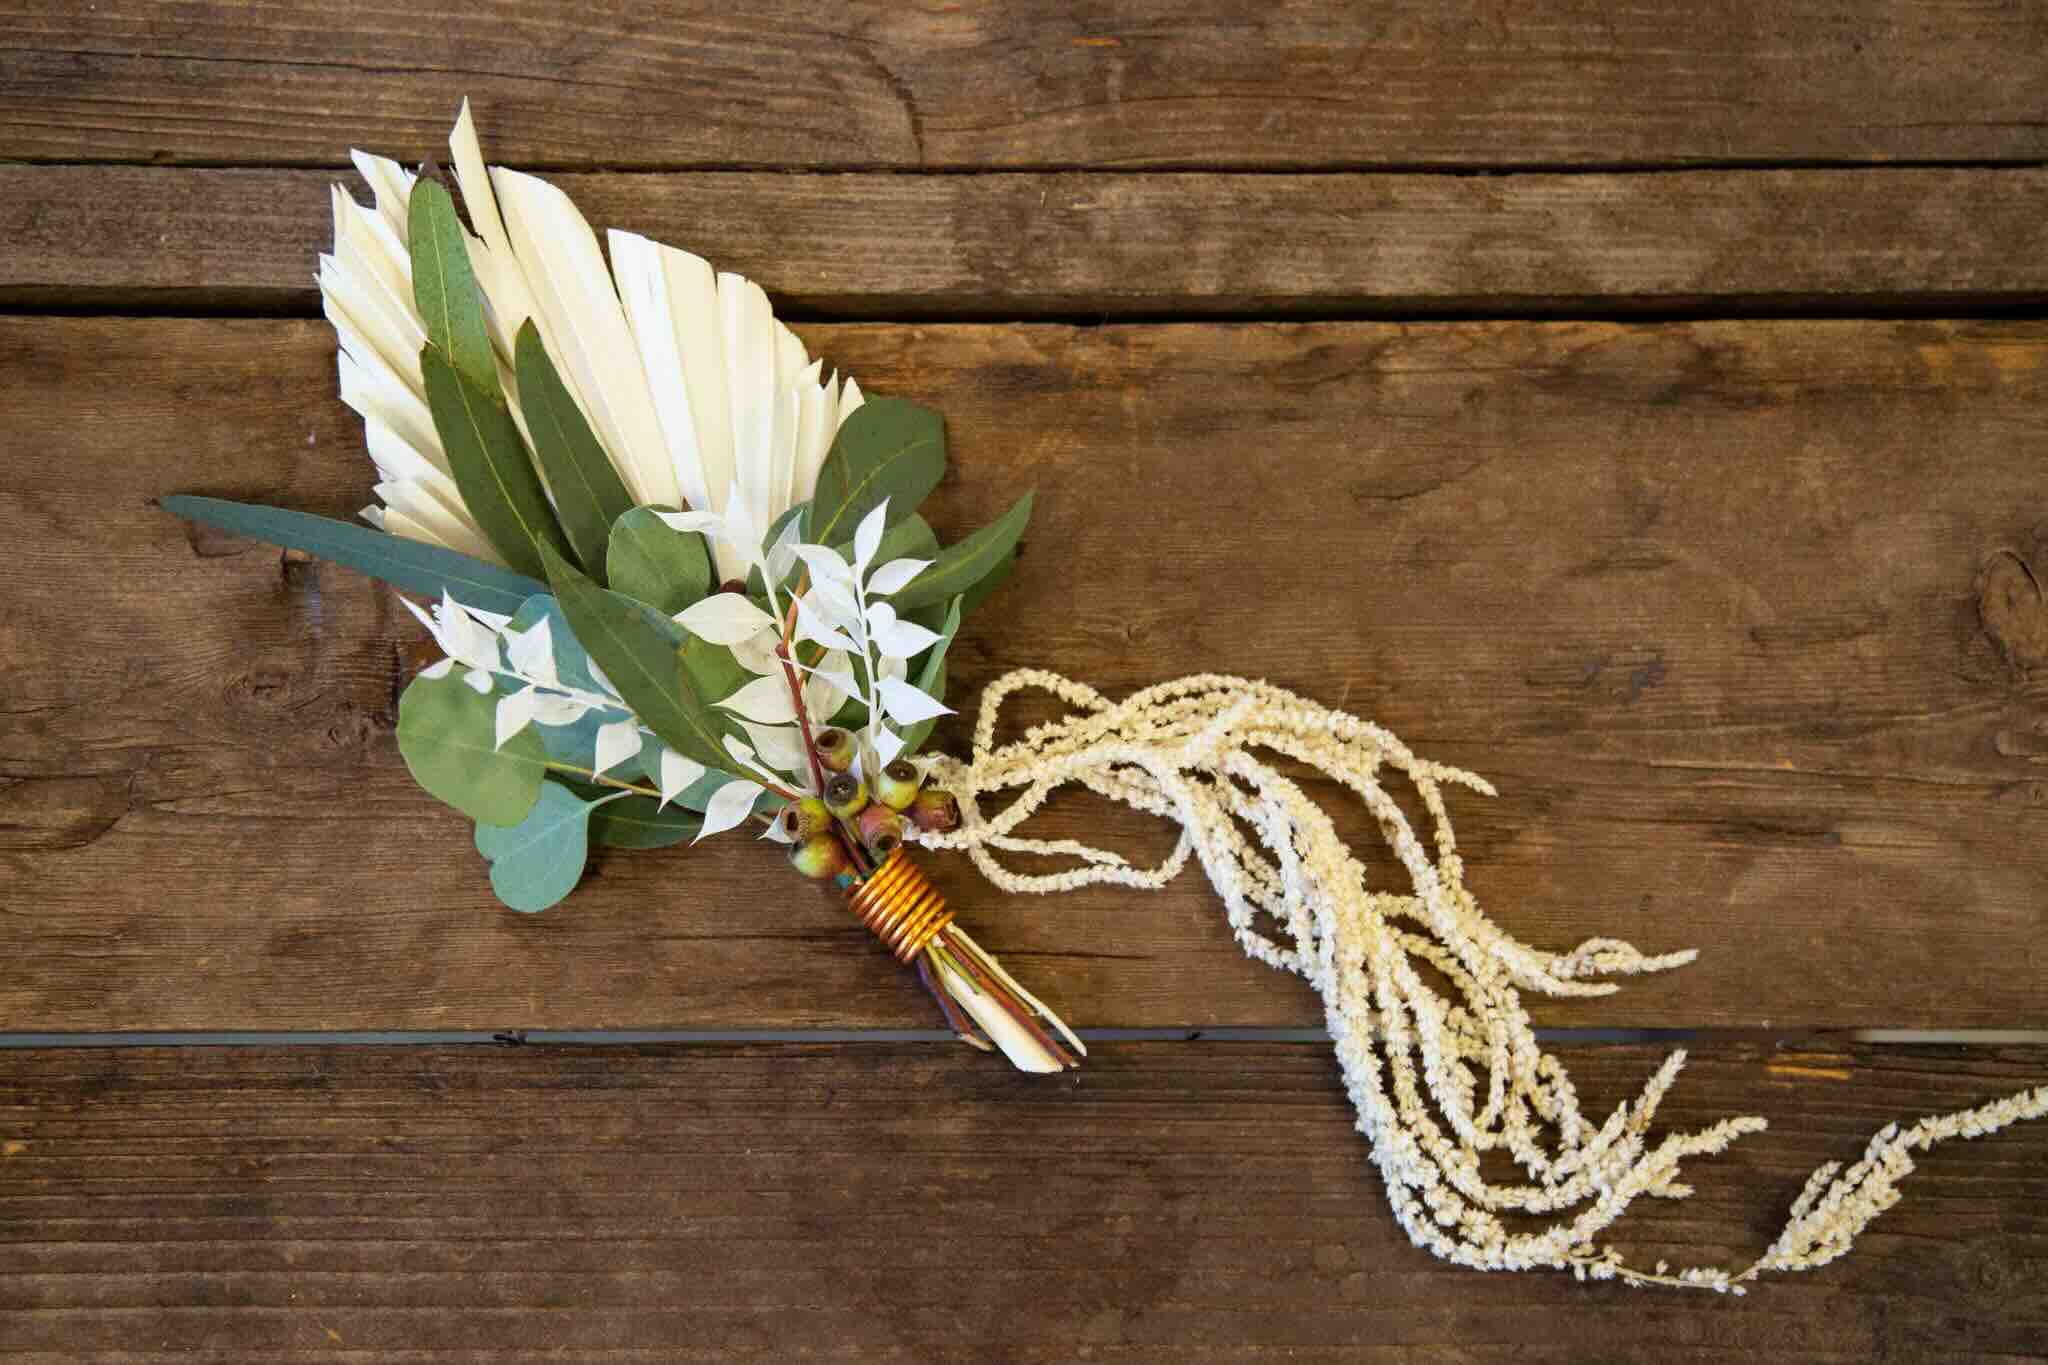
Step 6: Finishing Touches
Now that you’ve crafted your lush and vibrant greenery crown, it’s time to add some finishing touches to make it truly unique. These final touches will add a touch of personalization and elevate your crown to the next level. Here’s how you can put on the finishing touches:
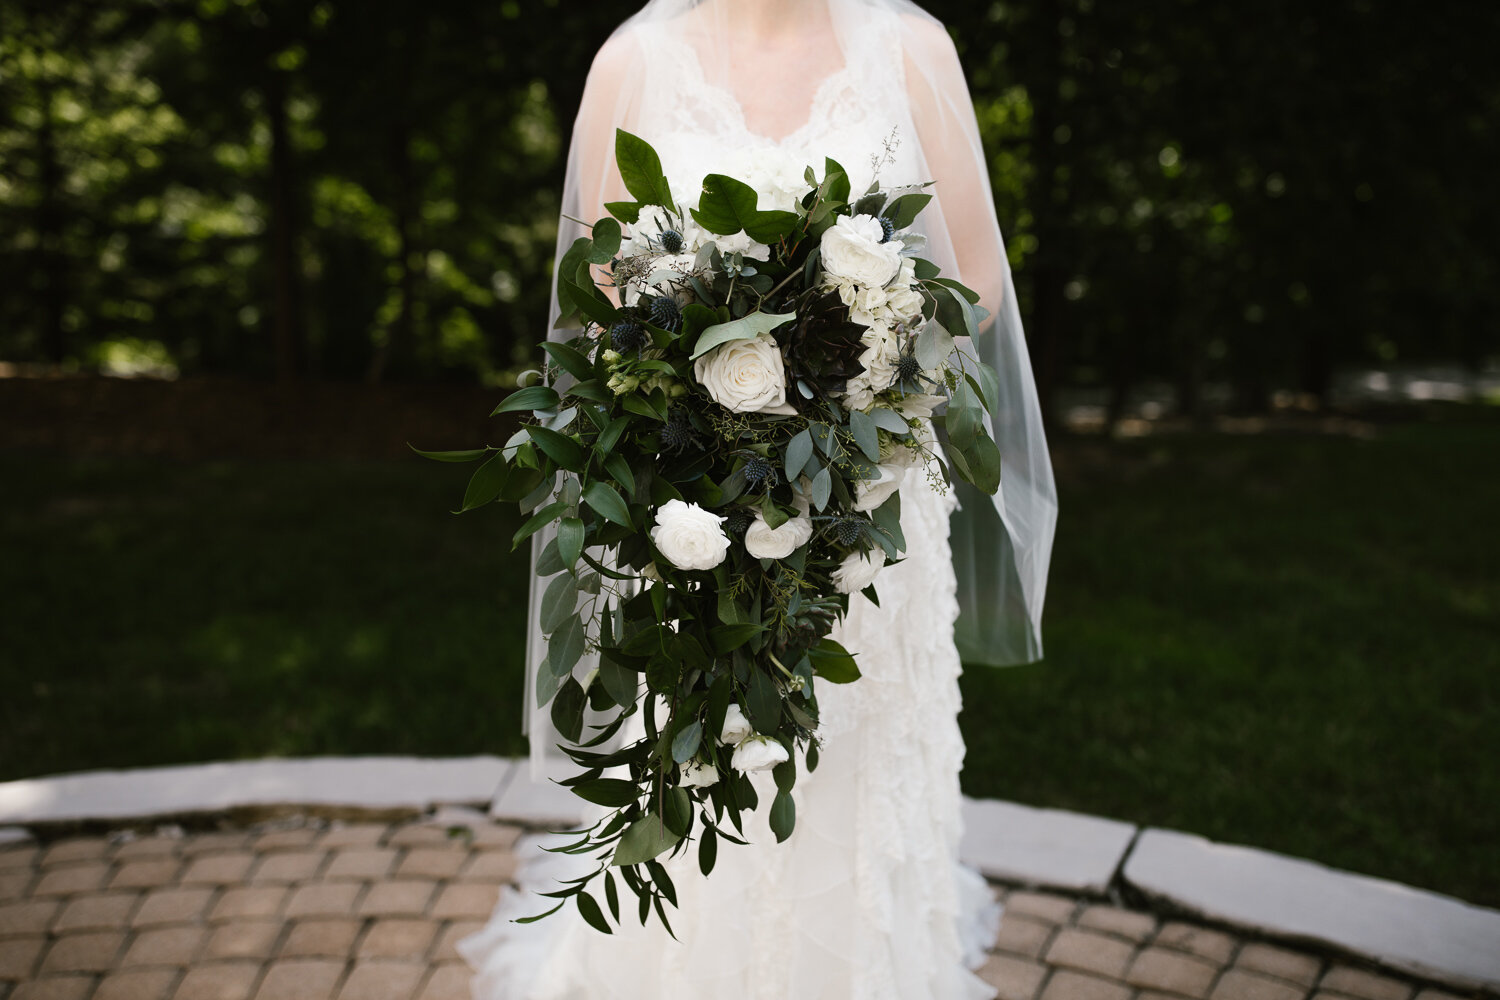
- Consider adding flowers: If you’d like to incorporate some floral elements into your crown, select small flowers that complement the greenery. Roses, baby’s breath, and daisies are popular choices. Secure them to the crown using floral tape, placing them strategically throughout the arrangement.
- Add ribbons or bows: To give your crown a whimsical or romantic touch, consider attaching ribbons or bows. Choose ribbon colors that coordinate with the overall color scheme of your crown and tie them into bows or create flowing strands.
- Embellish with small accents: For an extra touch of sparkle or charm, incorporate small decorative accents such as beads, crystals, or feathers. Attach them to the crown using floral wire or a strong adhesive, making sure they are securely fastened.
- Secure loose ends: Take a moment to double-check any loose ends or areas that may need additional reinforcement. Ensure that the greenery, flowers, ribbons, and accents are all securely attached to the crown, adjusting as needed.
- Try it on and make adjustments: Put on your completed crown and assess how it looks and feels when worn. Make any final adjustments to the positioning of the greenery or the tightness of the crown to ensure it fits comfortably and stays in place.
Adding these finishing touches allows you to infuse your personal style and creativity into your greenery crown. It’s a chance to make it truly reflective of your unique vision and personality.
Congratulations! You’ve completed all the steps to make a stunning greenery crown. Wear it with pride and embrace the natural beauty and enchantment it brings. Whether you’re attending a special event, celebrating a garden party, or simply embracing your love for nature, your greenery crown is sure to turn heads and make a statement.
Now, go out and enjoy your crown, knowing that you can always create another one whenever you’re inspired by the magic of greenery!
Conclusion
Crafting a greenery crown is not only an enjoyable DIY project but also a way to connect with nature and showcase your creativity. By following the step-by-step instructions provided in this guide, you have learned how to transform a simple wire base and an assortment of greenery into a stunning crown fit for a nature-loving royalty.
From gathering your favorite greenery to attaching and securing it to the wire base, each step adds to the beauty and uniqueness of your crown. By adding additional greenery for fullness and incorporating finishing touches such as flowers, ribbons, or small accents, you have the opportunity to personalize your crown and make it truly one-of-a-kind.
Creating a greenery crown not only allows you to embrace your love for nature but also opens up a world of possibilities for style and self-expression. Whether you wear your crown to a music festival, a boho-themed wedding, or a garden party, it is sure to turn heads and be a conversation starter.
Remember, feel free to unleash your creativity and experiment with different types of greenery, colors, and embellishments. Let your imagination run wild and adapt the steps to suit your personal style and preferences. There are no limits to what you can create!
So, gather your materials, venture into nature, and create your very own greenery crown. Embrace the therapeutic process, revel in the beauty of your creation, and enjoy the magical feeling of wearing a crown made with love and botanical brilliance.
Now go forth, embrace your inner forest nymph or woodland king, and let your greenery crown be a testament to your passion for nature and your artistic spirit!
Frequently Asked Questions about How To Make A Greenery Crown
Was this page helpful?
At Storables.com, we guarantee accurate and reliable information. Our content, validated by Expert Board Contributors, is crafted following stringent Editorial Policies. We're committed to providing you with well-researched, expert-backed insights for all your informational needs.


0 thoughts on “How To Make A Greenery Crown”