Articles
How To Change Wifi On Aiwit Doorbell
Modified: October 20, 2024
Learn how to change the WiFi on your Aiwit Doorbell with these helpful articles. Find step-by-step instructions and troubleshooting tips to ensure a seamless setup.
(Many of the links in this article redirect to a specific reviewed product. Your purchase of these products through affiliate links helps to generate commission for Storables.com, at no extra cost. Learn more)
Introduction
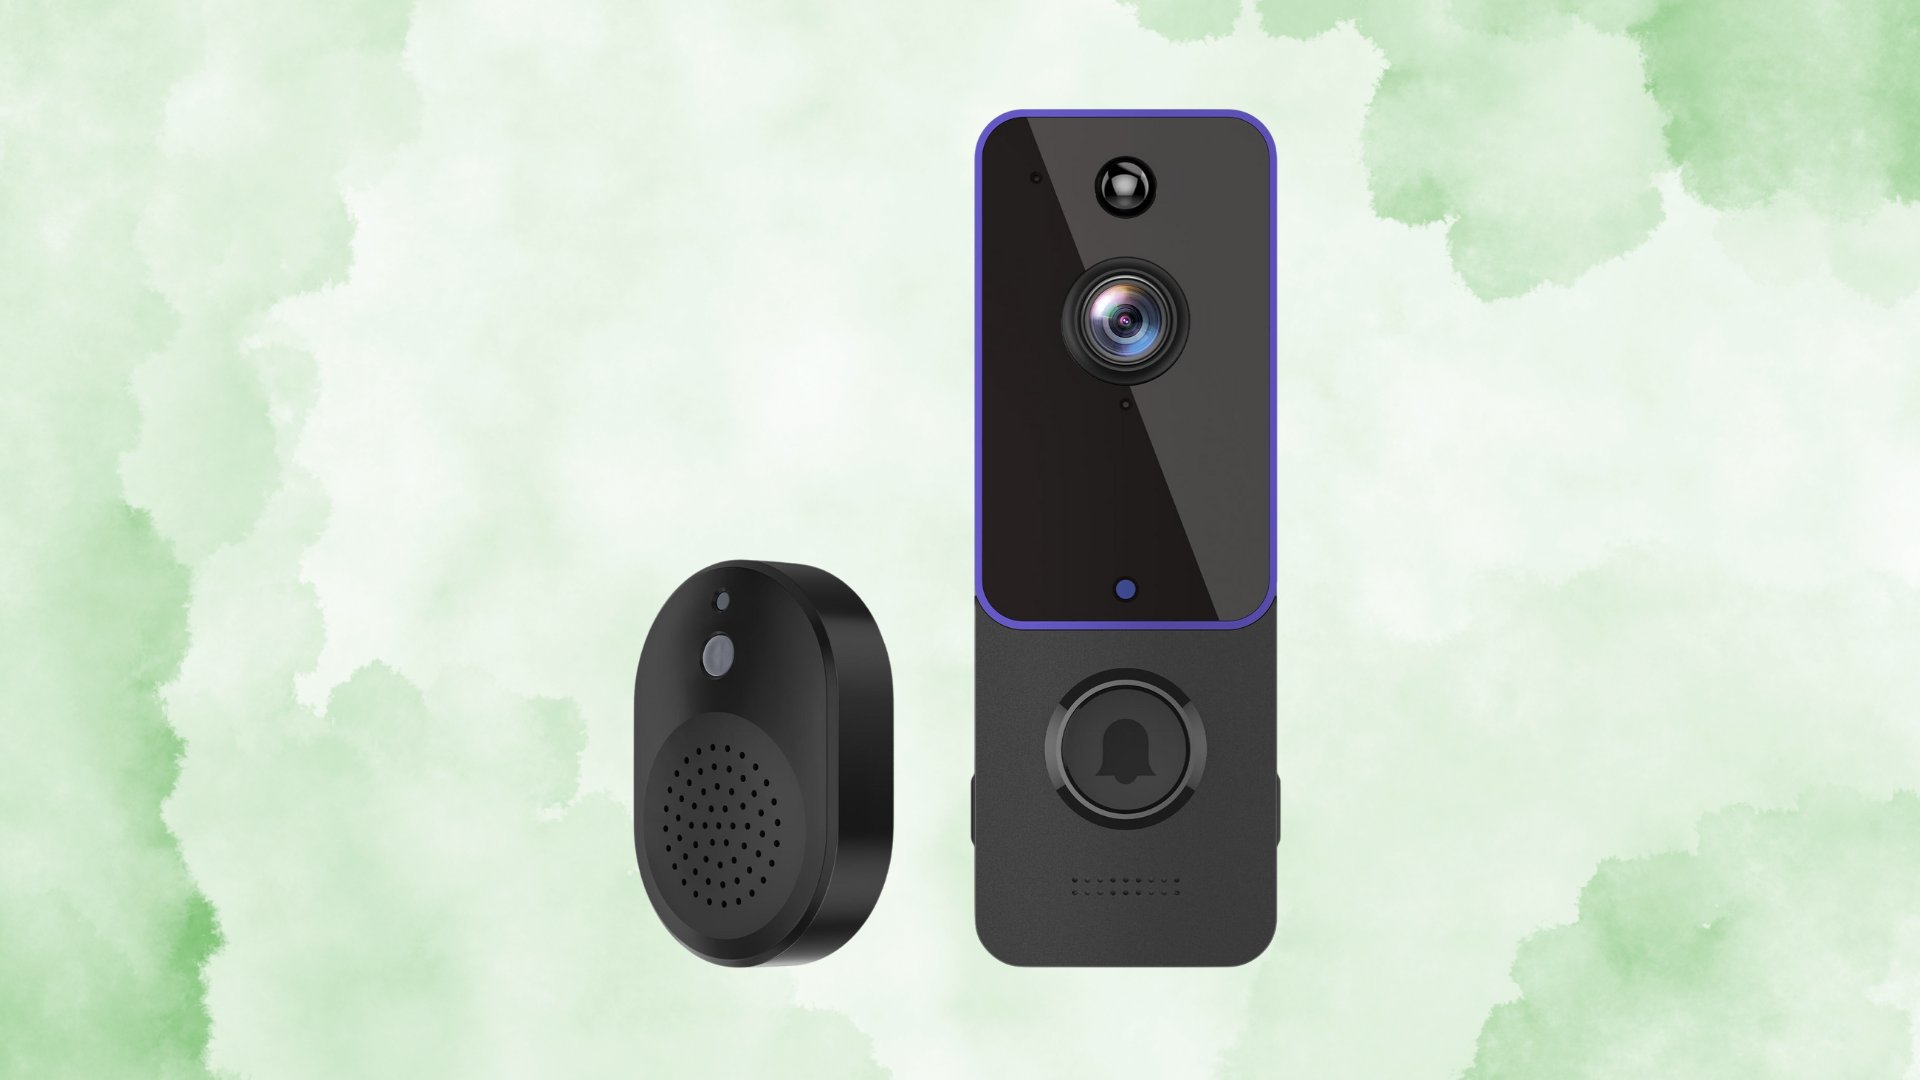
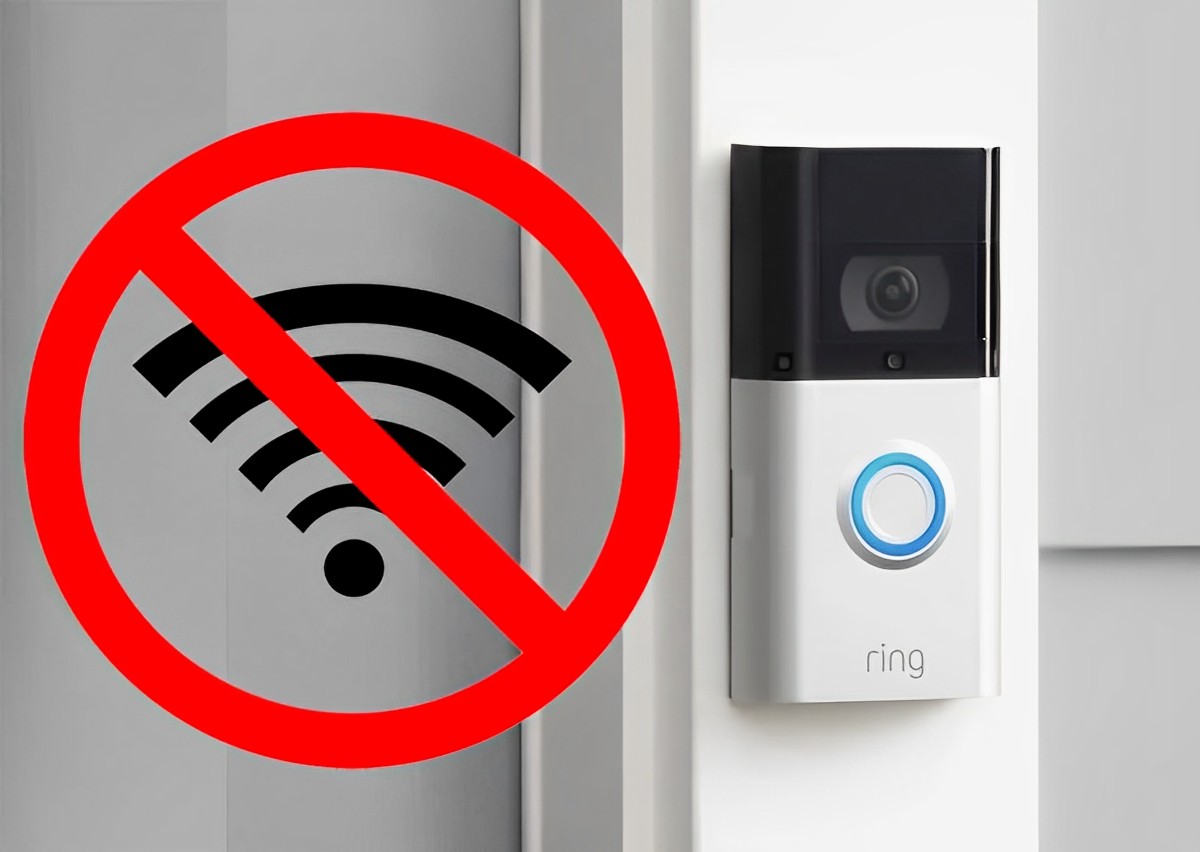
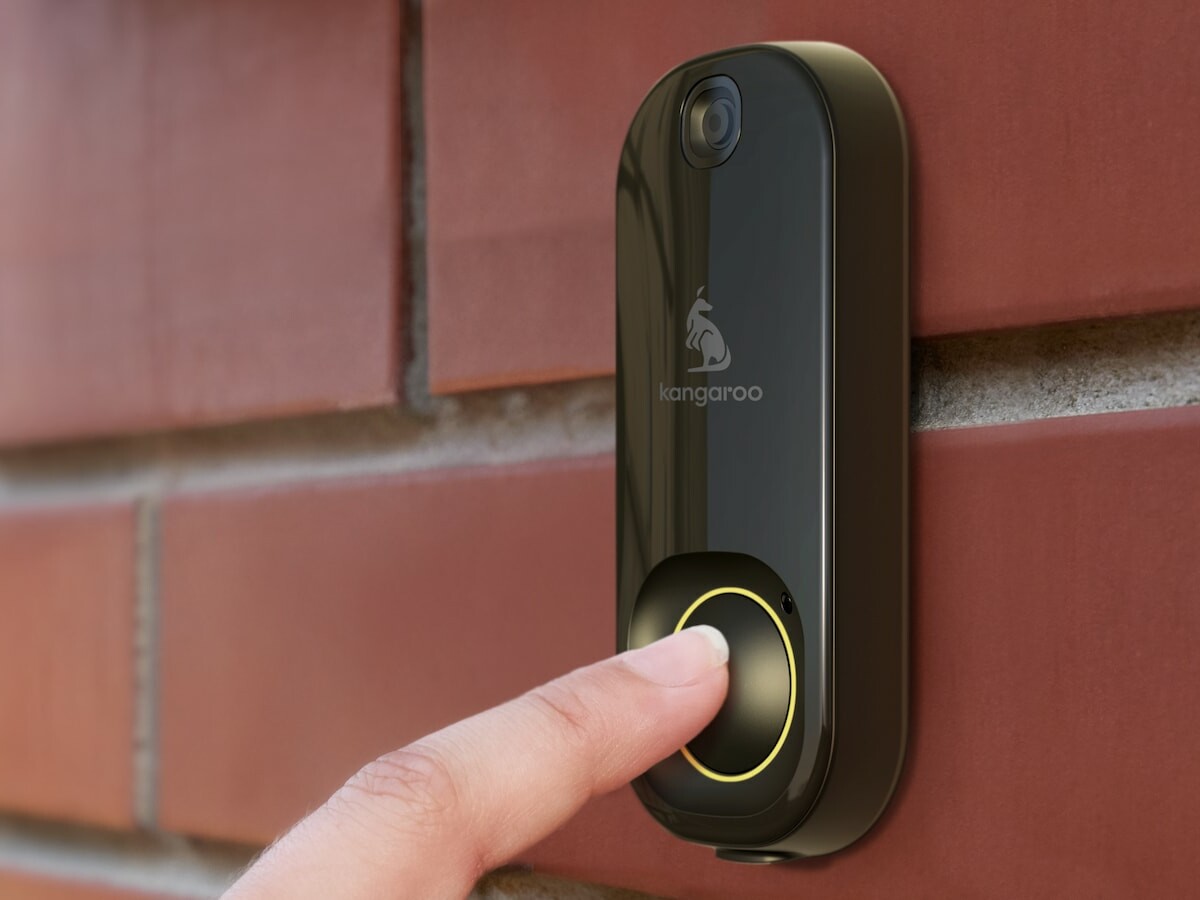
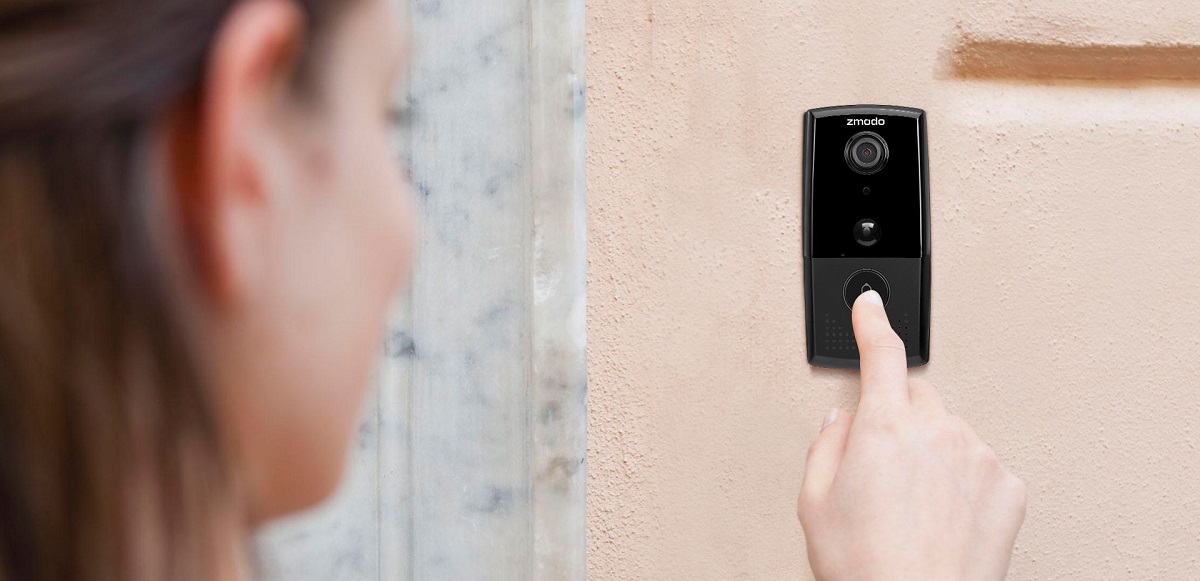
Welcome to this comprehensive guide on how to change the Wi-Fi on your Aiwit Doorbell. The Aiwit Doorbell is a smart device that allows you to monitor your front door and communicate with visitors through your smartphone or tablet. To ensure a seamless experience, it is crucial to have your doorbell connected to the correct Wi-Fi network. If you’ve recently changed your Wi-Fi network or need to update the existing connection, fear not – we’ve got you covered.
In this article, we will walk you through the step-by-step process of changing the Wi-Fi on your Aiwit Doorbell. Whether you’re a tech-savvy individual or new to smart home devices, our instructions will be easy to follow, ensuring a successful Wi-Fi change. So, let’s get started!
Key Takeaways:
- Easily change your Aiwit Doorbell’s Wi-Fi network by following simple steps in the mobile app. Ensure seamless connectivity for smart home security and visitor monitoring.
- Verify the successful Wi-Fi change by checking the device’s connection status and performing a quick test. Enjoy uninterrupted access to your Aiwit Doorbell through the new network.
Read more: How To Change Alexa WiFi Settings
Step 1: Accessing the Aiwit Doorbell Settings
The first step in changing the Wi-Fi on your Aiwit Doorbell is to access the device’s settings. To do this, open the mobile app that you use to control your doorbell. If you haven’t installed the app yet, you can find it on the App Store (for iOS devices) or the Google Play Store (for Android devices). Once you have the app installed, follow these instructions:
- Launch the app on your mobile device.
- Login to your account or create a new one if you haven’t already.
- Ensure that your smartphone or tablet is connected to the same Wi-Fi network that your Aiwit Doorbell is currently connected to.
- In the app, navigate to the settings section. This can usually be found by tapping on the menu icon (three horizontal lines) or a settings gear icon.
- Locate and select the Aiwit Doorbell device that you want to change the Wi-Fi for. This might be listed under the “Devices” or “My Devices” section.
- Once you have selected your Aiwit Doorbell, you will be taken to its individual settings page.
It is important to note that the exact steps to access the Aiwit Doorbell settings may vary slightly depending on the specific app version or updates. However, the general process should be similar across different versions.
Now that you have accessed the Aiwit Doorbell settings, you are ready to proceed to the next step: finding the Wi-Fi configuration option.
Step 2: Finding the Wi-Fi Configuration Option
Once you are on the Aiwit Doorbell settings page, the next step is to locate the Wi-Fi configuration option. This is where you will be able to change the Wi-Fi network that your doorbell is connected to. Follow these instructions to find the Wi-Fi configuration option:
- Scroll down or navigate through the settings page until you find the “Wi-Fi” or “Network” section. This is where the Wi-Fi configuration option is usually located.
- Tap on the “Wi-Fi” or “Network” section to access the available Wi-Fi settings.
- Within the Wi-Fi settings, you should see a list of Wi-Fi networks that are in range of your Aiwit Doorbell.
- Some apps may automatically scan for Wi-Fi networks, while others might require you to manually initiate the scan by tapping on a refresh or scan button.
- Wait for the available Wi-Fi networks to populate on the screen.
Keep in mind that the steps above may vary depending on your specific mobile app and its user interface. However, with these general guidelines, you should be able to locate the Wi-Fi configuration option within the Aiwit Doorbell settings menu.
Now that you have found the Wi-Fi configuration option, you can proceed to the next step: selecting the Wi-Fi network.
Step 3: Selecting the Wi-Fi Network
Now that you have accessed the Wi-Fi configuration option within the Aiwit Doorbell settings, you can proceed to select the Wi-Fi network that you want to connect your doorbell to. Follow these steps to choose your desired Wi-Fi network:
- Look through the list of available Wi-Fi networks on your Aiwit Doorbell settings screen. This list should have populated as a result of the Wi-Fi scan performed in the previous step.
- Scroll through the list, if necessary, until you find your desired Wi-Fi network.
- Tap on the name of the Wi-Fi network that you want to connect your Aiwit Doorbell to.
- If the selected Wi-Fi network is password-protected, you will be prompted to enter the Wi-Fi password in the next step.
Make sure to select the correct Wi-Fi network. Double-check the name of the network to avoid accidentally connecting to a neighbor’s network or an unfamiliar network.
Once you have successfully selected the Wi-Fi network, you can proceed to the next step: entering the new Wi-Fi password (if required).
To change the WiFi on your Aiwit doorbell, first, reset the device by holding the reset button for 10 seconds. Then, follow the manufacturer’s instructions to connect it to the new WiFi network.
Step 4: Entering the New Wi-Fi Password
If the Wi-Fi network you have selected in the previous step is password-protected, you will need to enter the new Wi-Fi password to establish a connection between your Aiwit Doorbell and the network. Follow these instructions to enter the new Wi-Fi password:
- On the Wi-Fi configuration screen, you will see a field labeled “Password” or “Security Key”. This is where you will enter the Wi-Fi password.
- Tap on the password field to bring up the virtual keyboard on your device.
- Using the keyboard, enter the new Wi-Fi password for the selected network. Take care to enter the password correctly, paying attention to uppercase and lowercase letters, as passwords are case-sensitive.
- If you make a mistake while entering the password, most apps provide a way to delete or correct the input.
- Once you have entered the new Wi-Fi password, double-check to ensure its accuracy before proceeding to the next step.
Entering the correct Wi-Fi password is essential to establishing a successful connection between your Aiwit Doorbell and the network. If you are unsure about the password, refer to your router manual or contact your internet service provider for assistance.
Now that you have entered the new Wi-Fi password, you are ready to move on to the next step: connecting the Aiwit Doorbell to the new Wi-Fi network.
Read also: 13 Best Wifi Doorbell Camera for 2025
Step 5: Connecting the Aiwit Doorbell to the New Wi-Fi Network
Now that you have selected the Wi-Fi network and entered the new Wi-Fi password, it’s time to connect your Aiwit Doorbell to the new network. Follow these instructions to establish the connection:
- After entering the Wi-Fi password, look for a button or option labeled “Connect” or “Save”. This is the action that will initiate the connection process.
- Tap on the “Connect” or “Save” button to begin connecting your Aiwit Doorbell to the new Wi-Fi network.
- The doorbell will now attempt to establish a connection with the selected Wi-Fi network. This process may take a few moments.
- During the connection process, make sure that your smartphone or tablet remains within range of the Wi-Fi network to ensure a stable connection.
- Once the Aiwit Doorbell successfully connects to the new Wi-Fi network, you will usually receive a confirmation message within the app.
It is important to note that the exact steps and prompts may vary depending on the app you are using to control your Aiwit Doorbell. However, the general process remains the same across most apps and versions.
Now that you have successfully connected your Aiwit Doorbell to the new Wi-Fi network, you can proceed to the final step: verifying the successful Wi-Fi change.
Step 6: Verifying the Successful Wi-Fi Change
After connecting your Aiwit Doorbell to the new Wi-Fi network, it’s important to verify that the Wi-Fi change was successful. This will ensure that your Aiwit Doorbell is now properly connected and functioning as desired. Follow these steps to verify the successful Wi-Fi change:
- Ensure that your smartphone or tablet is still connected to the same Wi-Fi network that your Aiwit Doorbell is now connected to.
- Open the mobile app used to control your Aiwit Doorbell.
- Navigate to the settings or device list section, where you initially accessed the Aiwit Doorbell settings.
- Locate your Aiwit Doorbell device in the list and select it.
- On the device settings page, look for an indication that the doorbell is connected to the Wi-Fi network. This may be displayed as a “connected” status or a Wi-Fi signal icon.
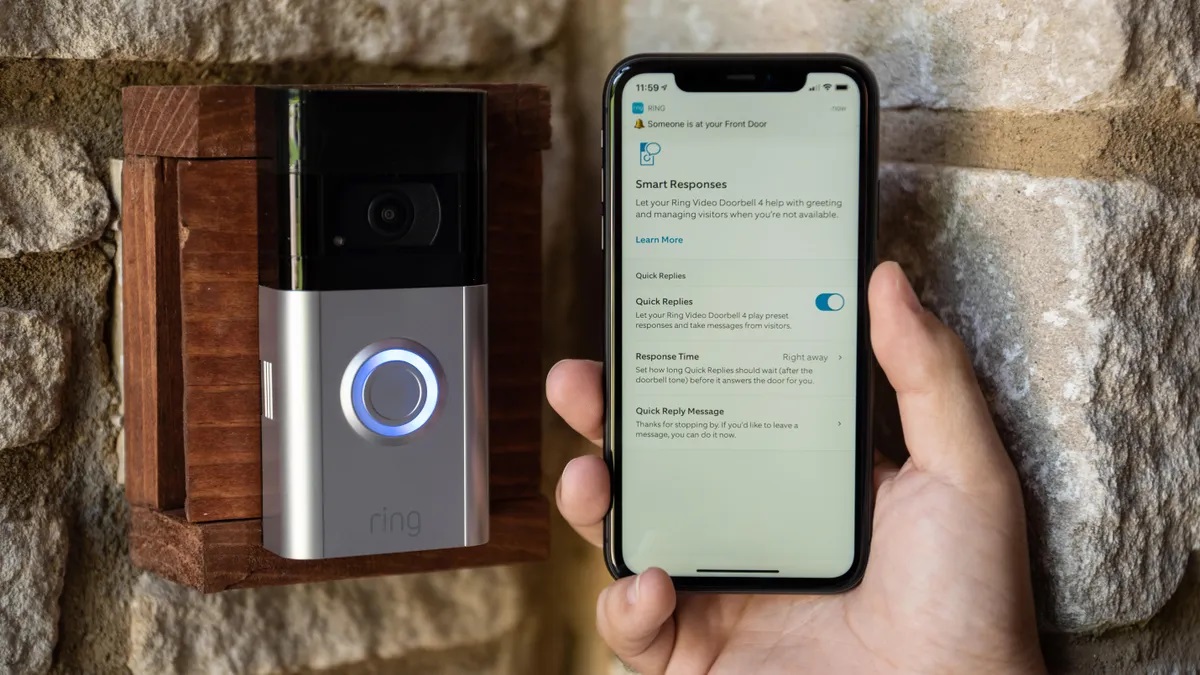
- Additionally, you can perform a quick test by tapping on the doorbell’s “Test” or “Live View” button to ensure that the device is working and streaming video properly.
If you have followed the steps correctly and see the appropriate indications or successful test results, then you can confirm that the Wi-Fi change on your Aiwit Doorbell was successful. Congratulations!
If you encounter any issues or receive error messages during the verification process, double-check your Wi-Fi network settings, including the password, and repeat the steps from the beginning. If problems persist, refer to the Aiwit Doorbell user manual or contact their customer support for further assistance.
With the Wi-Fi change successfully verified, you can now enjoy seamless connectivity and access to your Aiwit Doorbell through the new Wi-Fi network.
Conclusion
Congratulations! You have successfully changed the Wi-Fi network on your Aiwit Doorbell. By following the step-by-step instructions in this guide, you were able to access the Aiwit Doorbell settings, find and select the desired Wi-Fi network, enter the new Wi-Fi password, connect your doorbell to the network, and verify the successful Wi-Fi change.
Changing the Wi-Fi network on your Aiwit Doorbell is essential for maintaining a seamless connection and ensuring the proper functioning of the device. Whether you recently switched Wi-Fi networks or needed to update the existing connection, the process is straightforward and can be easily accomplished using the mobile app that controls your doorbell.
Remember, if you encounter any issues during the Wi-Fi change process, consult the Aiwit Doorbell user manual or reach out to their customer support for assistance. Additionally, double-checking your Wi-Fi network settings, including the password, can help eliminate any potential connectivity problems.
Now that your Aiwit Doorbell is connected to the new Wi-Fi network, you can continue to enjoy the benefits of smart home security and convenient doorbell monitoring. From receiving live video feeds to communicating with visitors remotely, your Aiwit Doorbell will provide a seamless and secure experience.
Thank you for following this guide, and we hope it has been helpful in successfully changing the Wi-Fi network on your Aiwit Doorbell!
Now that you've mastered changing your WiFi settings on the Aiwit doorbell, why not dive deeper into smart home technology? Discover the latest and greatest in smart entry with our roundup of 11 amazing WiFi doorbells perfect for any home in 2024. And don't stop there—securing your home goes beyond just doorbells. Our discussion on why you need home security will give you all the insights needed to protect your space effectively. Stay ahead with these cutting-edge tips and secure peace of mind for your household.
Frequently Asked Questions about How To Change Wifi On Aiwit Doorbell
Was this page helpful?
At Storables.com, we guarantee accurate and reliable information. Our content, validated by Expert Board Contributors, is crafted following stringent Editorial Policies. We're committed to providing you with well-researched, expert-backed insights for all your informational needs.


0 thoughts on “How To Change Wifi On Aiwit Doorbell”