Articles
How To Use A Floor Scrubber
Modified: August 31, 2024
Learn how to effectively use a floor scrubber with our informative articles. Discover expert tips and techniques for maximizing cleanliness and efficiency.
(Many of the links in this article redirect to a specific reviewed product. Your purchase of these products through affiliate links helps to generate commission for Storables.com, at no extra cost. Learn more)
Introduction
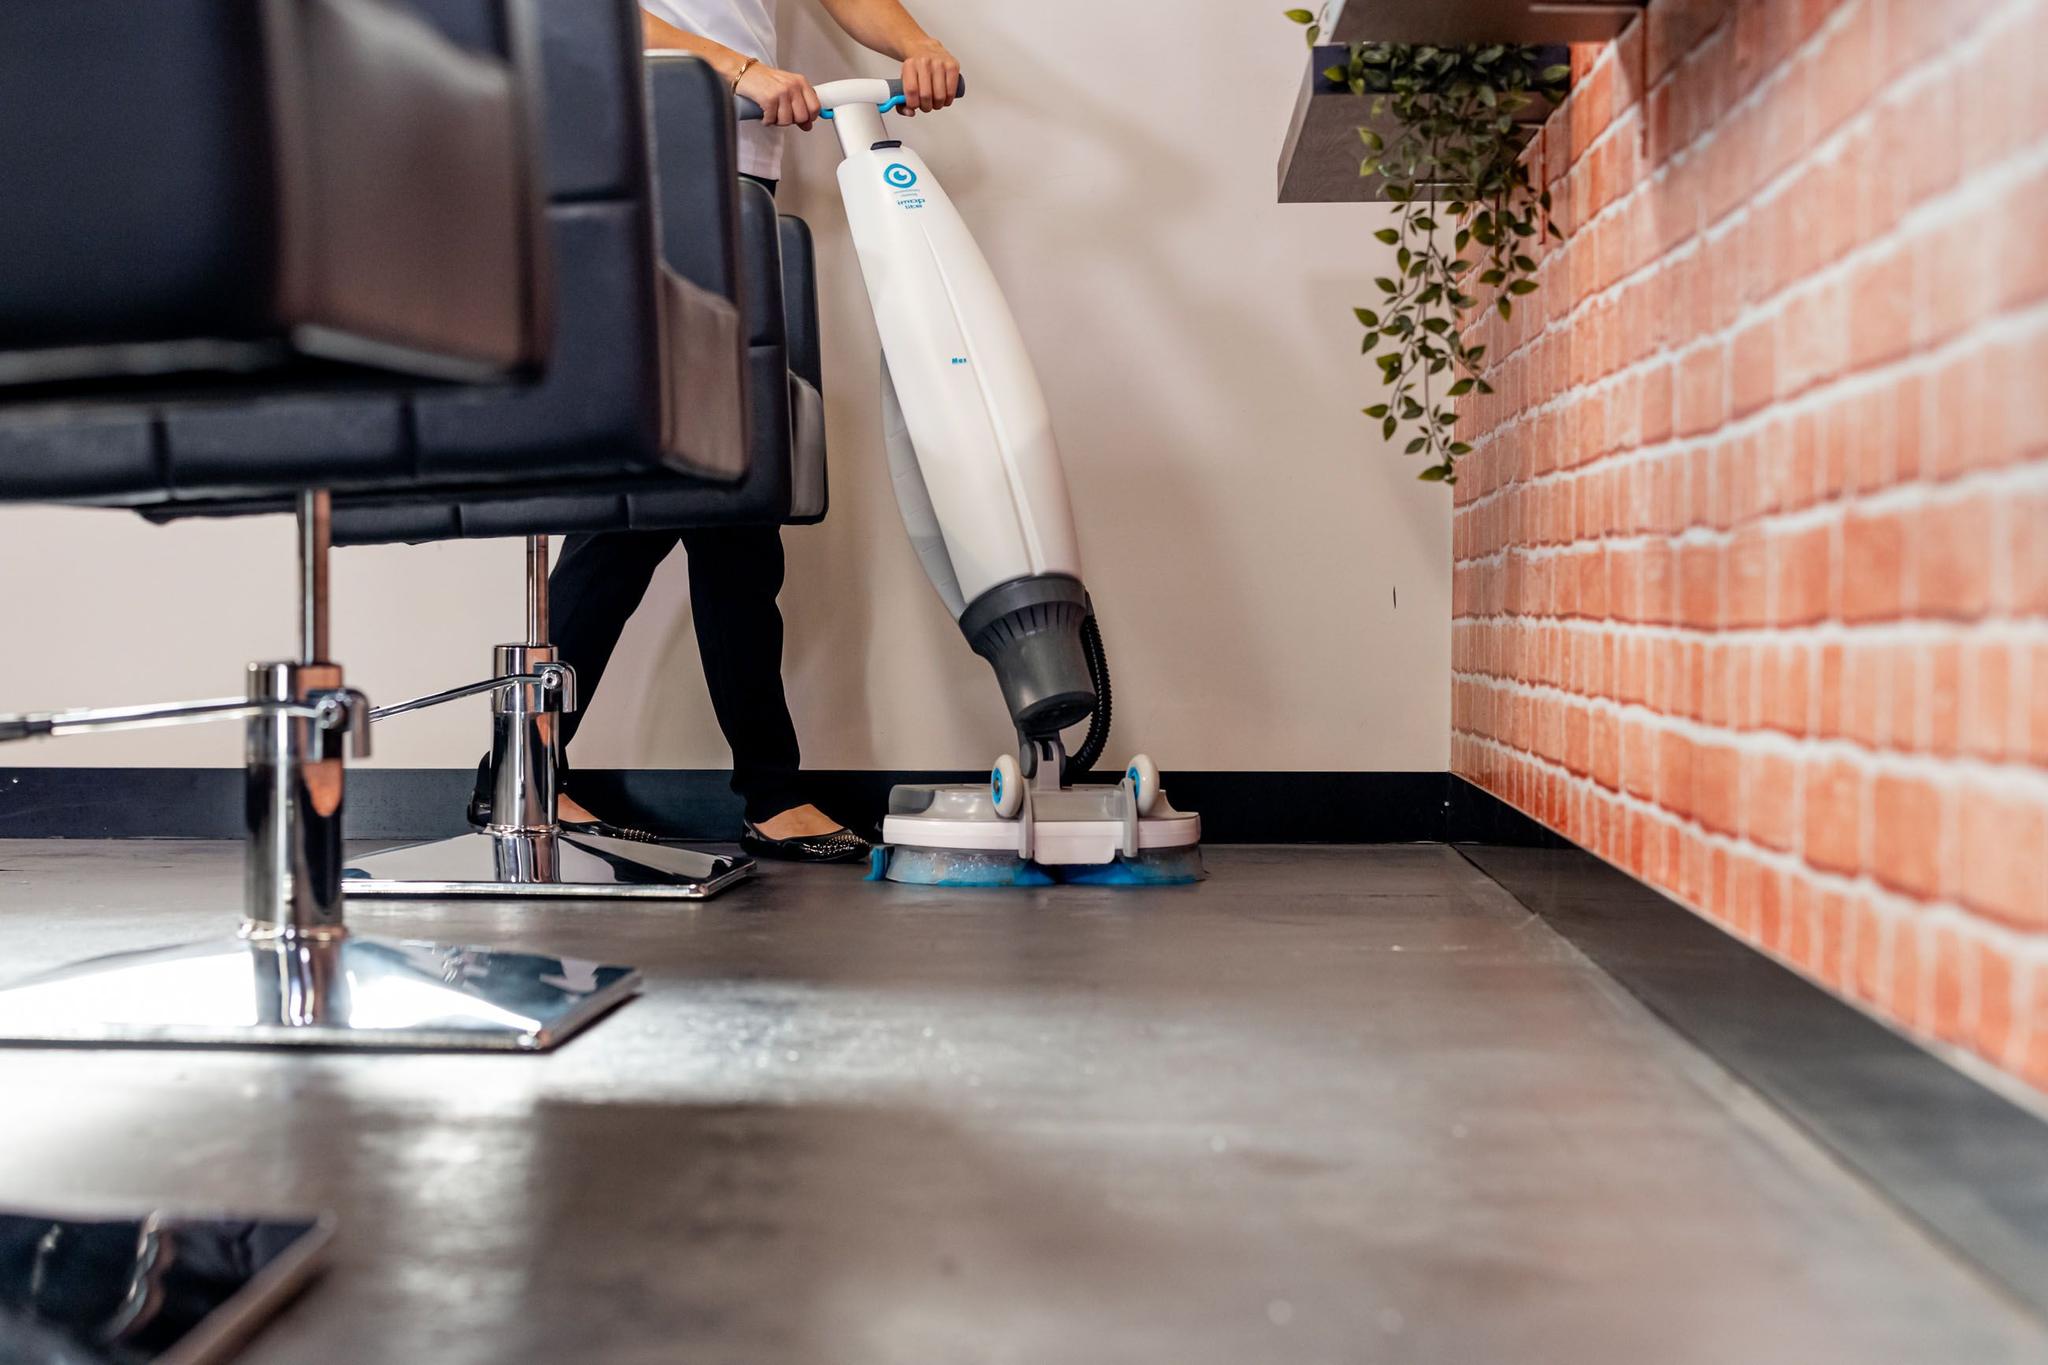
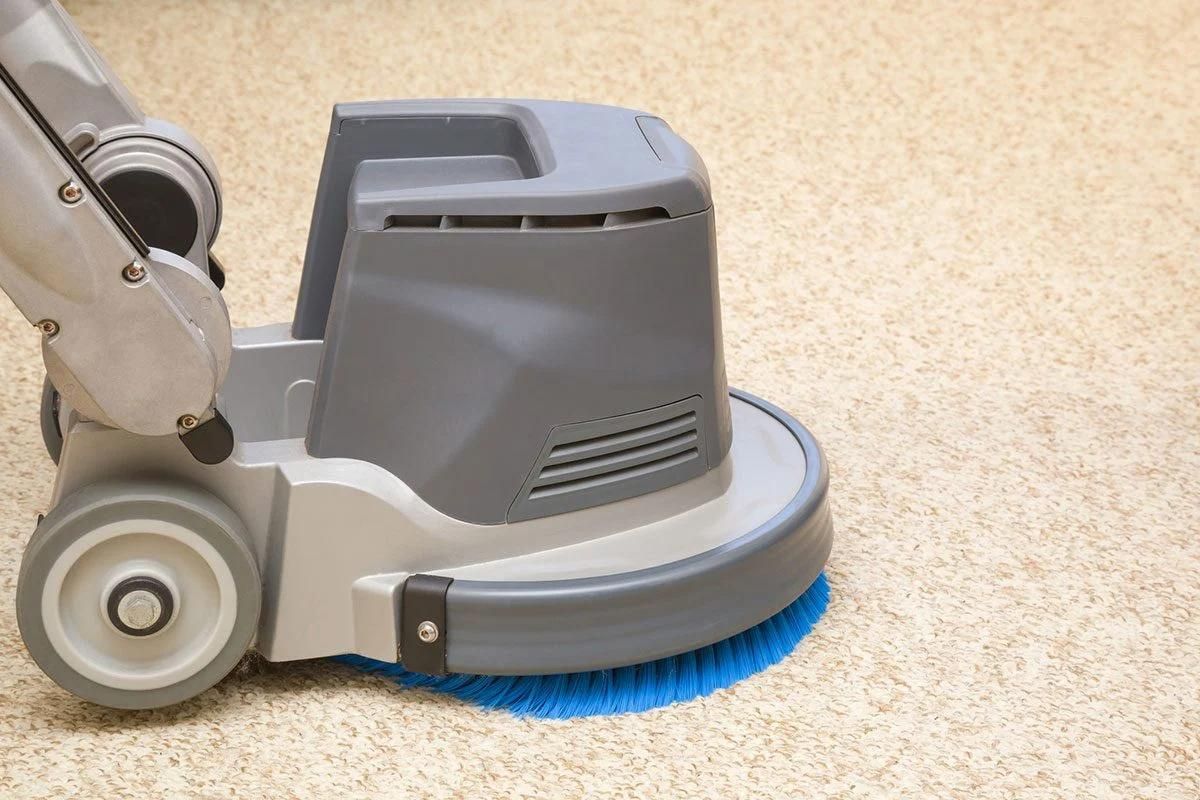
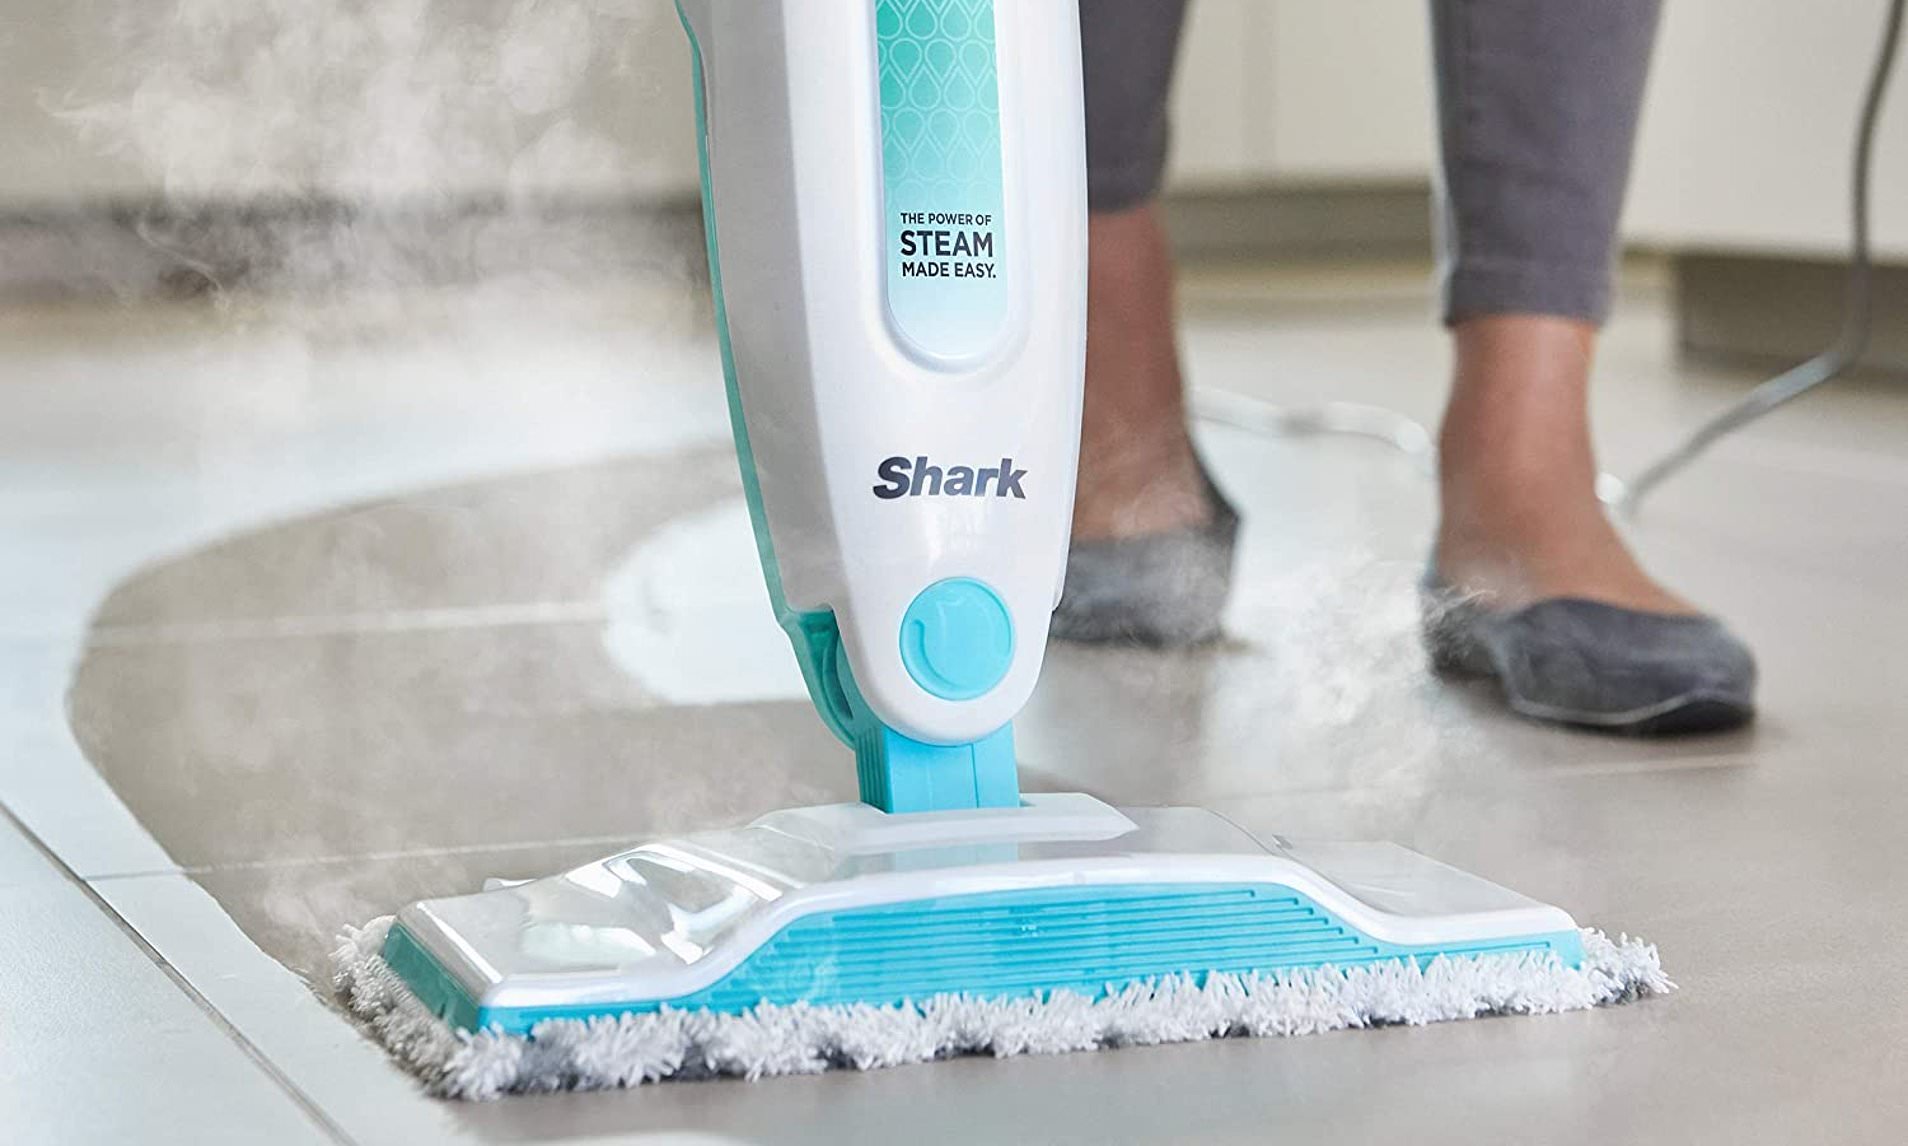
A floor scrubber is a powerful and efficient cleaning machine designed to tackle large floor surfaces with ease. Whether you need to clean a commercial space, industrial facility, or even your own home, using a floor scrubber can save you time and effort compared to traditional mops and buckets.
With its ability to scrub and suction dirt and grime simultaneously, a floor scrubber provides a deep and thorough clean, leaving your floors sparkling and looking like new. It eliminates the need for manual scrubbing, reducing the strain on your body and improving overall cleaning efficiency.
In this article, we will explore the key features of a floor scrubber, how to prepare your floor for scrubbing, how to operate the machine effectively, techniques for achieving a pristine clean, tips for cleaning and maintaining the floor scrubber, and troubleshooting common issues that may arise. By following these guidelines, you can maximize the performance of your floor scrubber and keep your floors in top condition.
So, let’s dive in and discover the wonders of using a floor scrubber for all your cleaning needs.
Key Takeaways:
- Revolutionize your cleaning routine with a floor scrubber, saving time and effort while achieving sparkling, like-new floors. Proper preparation, operation, and maintenance ensure optimal performance and longevity.
- Maximize the efficiency of your floor scrubber with systematic floor preparation, effective operation techniques, and regular cleaning and maintenance. Troubleshoot common issues to keep your machine in top condition.
Read more: Where To Rent A Floor Scrubber
Key Features of a Floor Scrubber
Before delving into how to use a floor scrubber, it’s essential to understand its key features. These features contribute to its effectiveness and efficiency in delivering high-quality cleaning results. Here are some of the key features to look for in a floor scrubber:
- Brushes or Pads: Floor scrubbers come with either rotating brushes or pads. Brushes are ideal for removing stubborn dirt and grime from hard surfaces, while pads are better suited for delicate floors. Make sure to choose the appropriate type for your specific cleaning needs.
- Water Tank: A floor scrubber typically has a water tank for holding the cleaning solution. The size of the tank will determine how long you can clean without needing to refill. Look for a larger capacity if you have extensive floor areas to clean.
- Solution Dispenser: The solution dispenser releases the cleaning solution onto the floor, ensuring even distribution. Adjustable dispensing settings allow you to control the amount of solution being applied, depending on the dirtiness of the floor.
- Vacuum System: The vacuum system in a floor scrubber sucks up the dirty water and debris from the floor, leaving it dry and residue-free. Look for a powerful vacuum system that ensures effective dirt removal and quick drying times.
- Maneuverability: Floor scrubbers should be easy to maneuver, especially in tight spaces and corners. Look for features like swivel steering and compact design to ensure easy navigation.
- Battery or Corded: Floor scrubbers can be powered by rechargeable batteries or cords. Battery-operated scrubbers offer more flexibility and freedom of movement, while corded ones can provide continuous operation without worrying about battery life.
These key features contribute to the overall performance and usability of a floor scrubber. Understanding them will help you choose the right machine for your specific cleaning requirements.
Preparing the Floor for Scrubbing
Proper preparation of the floor before using a floor scrubber is crucial for achieving optimal cleaning results. Here are some essential steps to follow when preparing the floor:
- Clear the Area: Remove any obstacles or objects from the floor, such as furniture, rugs, or loose debris. This will prevent the floor scrubber from getting stuck or causing damage during the cleaning process.
- Sweep or Vacuum: Use a broom, dust mop, or vacuum cleaner to remove loose dirt, dust, and debris from the floor. This step ensures that the floor scrubber can focus on deep cleaning and not be hindered by surface-level dirt.
- Pre-Treat Stains or Spills: If there are any stubborn stains or spills on the floor, pre-treat them with an appropriate cleaning solution and let it sit for a few minutes to penetrate the stain. This will help loosen the dirt and make it easier for the floor scrubber to remove.
- Choose the Right Cleaning Solution: Select a cleaning solution that is suitable for your floor type and the degree of dirtiness. Different floors may require specific types of cleaners, so be sure to read the product labels or consult the manufacturer’s guidelines.
- Dilute the Cleaning Solution: If the cleaning solution needs to be diluted, follow the instructions on the packaging to achieve the correct concentration. Using too much or too little cleaning solution can affect the cleaning performance of the floor scrubber.
- Protect Adjacent Surfaces: If there are adjacent surfaces that you want to protect from splashes or overspray, use drop cloths or plastic sheeting to create a barrier. This will prevent damage to walls, furniture, or other sensitive areas during the scrubbing process.
By taking the time to properly prepare the floor before using a floor scrubber, you’ll ensure that the machine can work efficiently and effectively. This will result in a thorough and successful cleaning process with outstanding results.
Operating the Floor Scrubber
Operating a floor scrubber may seem intimidating at first, but with a little practice, you’ll become familiar and comfortable with using the machine. Here’s a step-by-step guide on how to operate a floor scrubber:
- Read the Manual: Before using the floor scrubber, it’s essential to carefully read the manufacturer’s manual. Familiarize yourself with the specific features and controls of your machine to ensure safe and proper operation.
- Fill the Water Tank: Make sure the water tank is filled with the appropriate cleaning solution and water mixture as per the manufacturer’s instructions. This ensures that you have enough solution to complete the cleaning task.
- Adjust the Settings: Depending on your floor type and the level of dirtiness, adjust the scrubbing settings on the machine. This includes the brush pressure, the solution dispenser flow rate, and the vacuum intensity.
- Start in a Corner: Begin in a corner of the room and slowly move the floor scrubber forward. Allow the brush or pad to come into contact with the floor surface, ensuring even pressure and coverage.
- Work in Overlapping Passes: Move the machine in overlapping passes to ensure thorough cleaning. This prevents missing any areas and achieves a consistent level of cleanliness across the entire floor surface.
- Use Controlled Speed: Maintain a controlled and steady speed while operating the floor scrubber. Avoid rushing or moving too slowly, as this can lead to uneven cleaning and streaks on the floor.
- Pay Attention to Edges and Corners: For tight areas, edges, and corners that the floor scrubber cannot reach, use a manual scrub brush or mop to ensure thorough cleaning in those spots.
- Empty and Refill the Dirty Water Tank: As the machine collects dirty water, regularly empty the tank to prevent it from reaching its capacity. Refill with clean water and cleaning solution mixture as needed to continue the cleaning process.
- Finish with a Final Pass: Once you’ve covered the entire floor surface, make a final pass without dispensing any more cleaning solution. This helps to remove any excess moisture and leaves the floor ready to dry.
- Clean the Machine: After using the floor scrubber, thoroughly clean the machine. Empty and clean the water tank, rinse the brushes or pads, and wipe down the surface of the machine to remove any remaining debris or solution.
By following these steps, you can confidently operate a floor scrubber and achieve exceptional results. Remember to always prioritize safety and refer to the manufacturer’s guidelines for specific instructions on your machine.
When using a floor scrubber, start by thoroughly sweeping or vacuuming the area to remove any loose debris. This will prevent the scrubber from spreading dirt and grime around.
Techniques for Effective Floor Scrubbing
To maximize the efficiency and effectiveness of your floor scrubber, it’s important to employ the right techniques when using the machine. Here are some techniques that will help you achieve optimal results:
- Start with a Systematic Approach: Divide the floor into manageable sections and work on one section at a time. This ensures that you cover the entire floor surface without missing any areas.
- Overlap Strokes: When maneuvering the floor scrubber, overlap your strokes slightly to ensure thorough coverage. This prevents any missed spots and ensures a consistent level of cleanliness across the entire floor.
- Use Proper Brush or Pad: Select the appropriate brush type or pad depending on the floor surface and the level of dirtiness. Using the right brush or pad ensures effective cleaning without causing damage to the floor.
- Apply the Right Amount of Pressure: Adjust the brush pressure based on the floor type. Too much pressure can damage delicate floors, while too little pressure may not effectively remove tough stains or dirt. Find the right balance for optimal cleaning.
- Pivot in Tight Spaces: When approaching tight spaces, such as corners or narrow aisles, use the pivot feature of the floor scrubber to navigate smoothly. This helps to ensure that all areas are thoroughly cleaned.
- Address Stains and Spots: For stubborn stains or spots, apply extra cleaning solution to the affected area and allow it to dwell for a few minutes to loosen the dirt. Then, scrub the area with the floor scrubber to effectively remove the stain.
- Take Care of Hard-to-Reach Areas: There may be areas that the floor scrubber cannot access, such as under furniture or between tight gaps. Use manual tools like scrub brushes or mops to clean these areas separately for thorough cleaning.
- Ensure Proper Drying: After scrubbing, allow the floor to dry completely before allowing foot traffic. Proper drying prevents slips and falls and maintains the longevity of the floor.
- Maintain a Regular Cleaning Schedule: Establish a routine cleaning schedule to keep your floors consistently clean. Regular maintenance ensures that dirt and grime do not build up over time, making subsequent cleaning tasks easier and more efficient.
- Monitor and Adjust: Pay attention to the results of your floor scrubbing efforts and make adjustments as needed. If certain areas require more attention or if the machine settings need to be modified, make the necessary changes for improved cleaning outcomes.
By applying these techniques, you can effectively utilize your floor scrubber to achieve a high standard of cleanliness and maintain the beauty of your floors.
Cleaning and Maintaining the Floor Scrubber
Regular cleaning and maintenance of your floor scrubber are necessary to ensure its longevity and optimal performance. Here are some essential steps to keep your machine in excellent condition:
- Empty and Clean the Dirty Water Tank: After each use, empty the dirty water tank completely. Rinse the tank thoroughly to remove any debris or residue. Regularly clean the tank to prevent buildup and the growth of bacteria.
- Clean Brushes or Pads: Remove the brushes or pads from the floor scrubber and clean them separately. Scrub away any dirt or debris and rinse thoroughly. Replace brushes or pads as needed to maintain their effectiveness.
- Wipe Down the Machine: Use a damp cloth to wipe down the exterior surfaces of the floor scrubber. This removes any dirt or residue that may have accumulated during cleaning. Pay extra attention to the areas around the controls and handles.
- Inspect and Replace Parts: Regularly inspect the brushes, pads, squeegees, and other components of the floor scrubber. If any parts are worn out, damaged, or not functioning properly, replace them promptly to maintain optimal performance.
- Check the Battery: If your floor scrubber is battery-operated, monitor the battery levels and recharge as needed. Ensure that the battery connections are clean and free from corrosion. Follow the manufacturer’s guidelines for battery maintenance to prolong its lifespan.
- Store Properly: When not in use, store the floor scrubber in a clean and dry area. Keep it protected from extreme temperatures, moisture, and dust. Follow the manufacturer’s instructions for appropriate storage to prevent damage.
- Schedule Maintenance Checks: Regularly schedule maintenance checks for your floor scrubber. This can include professional inspections or servicing to ensure that all mechanical and electrical components are in optimal condition.
- Follow Safety Guidelines: Always follow safety guidelines provided by the manufacturer when using and maintaining the floor scrubber. This includes wearing appropriate personal protective equipment and using the machine as intended.
By incorporating these cleaning and maintenance practices into your routine, you can extend the lifespan of your floor scrubber and enjoy its reliable performance for years to come.
Troubleshooting Common Issues
While floor scrubbers are efficient and reliable machines, occasionally you may encounter some common issues. Here are some troubleshooting tips to help you address these problems:
- Lack of Suction: If the floor scrubber is not picking up water effectively, check if the squeegee is positioned correctly. Ensure that it is flat against the floor surface and not damaged or worn out. Clean the squeegee and ensure there are no obstructions hindering suction.
- Brushes or Pads Not Rotating: If the brushes or pads are not rotating, check if they are properly installed. Make sure they are not worn out or tangled with debris. Clean the brushes or pads and replace them if necessary.
- Poor Cleaning Performance: If the floor scrubber is not cleaning the floor effectively, check the brush pressure settings. Adjust the pressure to ensure optimal contact between the brushes or pads and the floor surface. Also, ensure that the cleaning solution is properly mixed and dispensed.
- Leaking or Dripping: If the floor scrubber is leaking or dripping water or solution, check if the water tank or solution dispenser is properly sealed. Inspect the hoses and connections for any cracks or loose fittings. Tighten or replace any faulty components.
- Machine Not Powering On: If the floor scrubber does not power on, ensure that the power cord is securely plugged into a functioning outlet. If using a battery-operated machine, check the battery charge level and connections. Replace or recharge the battery if needed.
- Unusual Noises or Vibrations: If the floor scrubber is producing unusual noises or vibrations, check if there are any foreign objects or debris stuck in the machine. Clear the blockage and inspect the brushes or pads for any damage. If the issue persists, consult a professional technician.
- Uneven Cleaning: If the floor scrubber is leaving streaks or uneven cleaning results, check the brush pressure and adjust as needed. Ensure that the brushes or pads are clean and free from debris. Double-check the speed and overlapping technique to achieve consistent cleaning.
- Battery Life Short: If using a battery-operated floor scrubber, and you are experiencing short battery life, make sure the battery is fully charged before each use. Check for any battery drainage issues, such as faulty connections or a defective battery. If necessary, replace the battery.
If you are unable to resolve the issue or if there are more complex problems with your floor scrubber, it is recommended to contact the manufacturer’s customer support or consult a professional technician for assistance.
By being aware of these common issues and knowing how to troubleshoot them, you can quickly address any problems that may arise and keep your floor scrubber in excellent working condition.
Conclusion
Using a floor scrubber can revolutionize your cleaning routine and provide you with efficient and effective results. By understanding the key features of a floor scrubber and following the proper techniques for operation, you can achieve a sparkling clean floor in no time.
Remember to prepare the floor adequately by clearing the area, sweeping or vacuuming, and pre-treating any stains or spills. Operating the floor scrubber requires adjusting the settings, starting in a corner, and working in overlapping passes for thorough cleaning.
To ensure the longevity of your floor scrubber, cleaning and maintenance play a vital role. Regularly clean the machine, empty and clean the dirty water tank, and inspect and replace any worn-out parts or components.
In the event of common troubleshooting issues, familiarize yourself with the necessary steps to address them effectively. Always prioritize safety and consult the manufacturer’s guidelines for your specific floor scrubber model.
Overall, using a floor scrubber can save you time and effort, providing you with sparkling clean floors in less time than traditional cleaning methods. By incorporating the proper techniques and maintenance routine, your floor scrubber will continue to deliver exceptional cleaning performance for years to come.
So, go ahead and unleash the power of a floor scrubber to achieve pristine floors with minimal effort. Experience the convenience and efficiency that this remarkable cleaning machine brings to your space.
Frequently Asked Questions about How To Use A Floor Scrubber
Was this page helpful?
At Storables.com, we guarantee accurate and reliable information. Our content, validated by Expert Board Contributors, is crafted following stringent Editorial Policies. We're committed to providing you with well-researched, expert-backed insights for all your informational needs.

0 thoughts on “How To Use A Floor Scrubber”