Articles
How To Use An Orbital Floor Sander
Modified: May 6, 2024
Learn how to effectively use an orbital floor sander with these informative articles. Discover tips, tricks, and expert advice for achieving professional results.
(Many of the links in this article redirect to a specific reviewed product. Your purchase of these products through affiliate links helps to generate commission for Storables.com, at no extra cost. Learn more)
Introduction
Welcome to the world of floor sanding! If you’re looking to restore the beauty of your hardwood floors or just want to give them a fresh new look, an orbital floor sander can be a game-changer. This powerful tool makes sanding floors easier and more efficient, allowing you to achieve professional-quality results right in the comfort of your home.
In this article, we’ll walk you through the process of using an orbital floor sander effectively. Whether you’re a seasoned DIY enthusiast or a first-time user, we’ve got you covered. From understanding the basics of the tool to mastering sanding techniques, we will provide all the information you need to confidently tackle your floor sanding project.
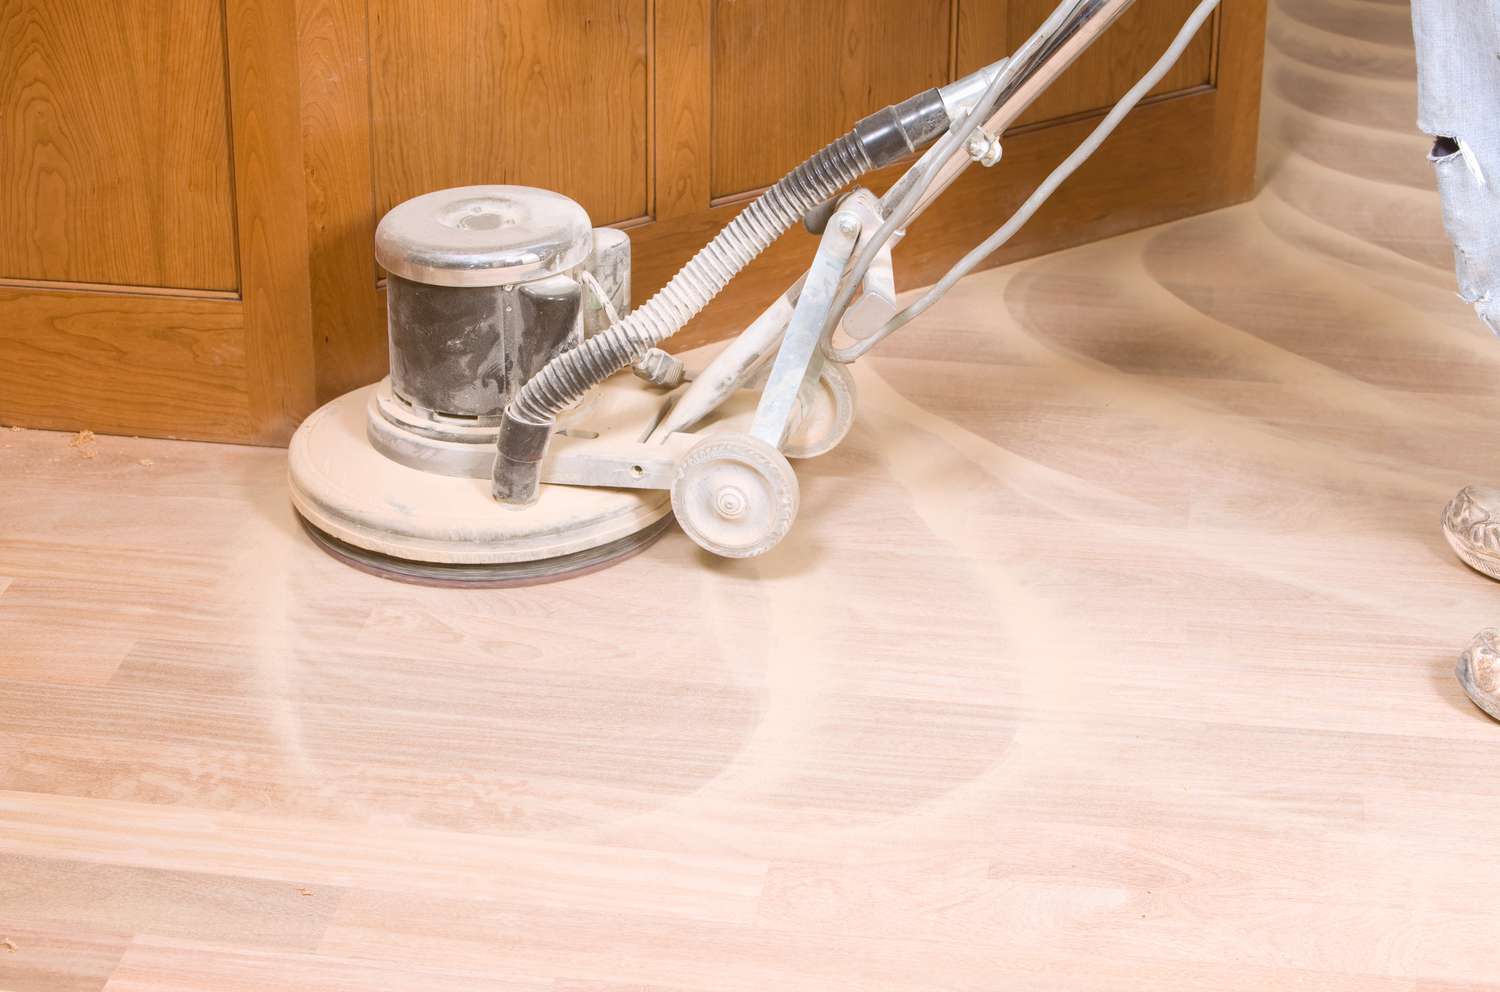
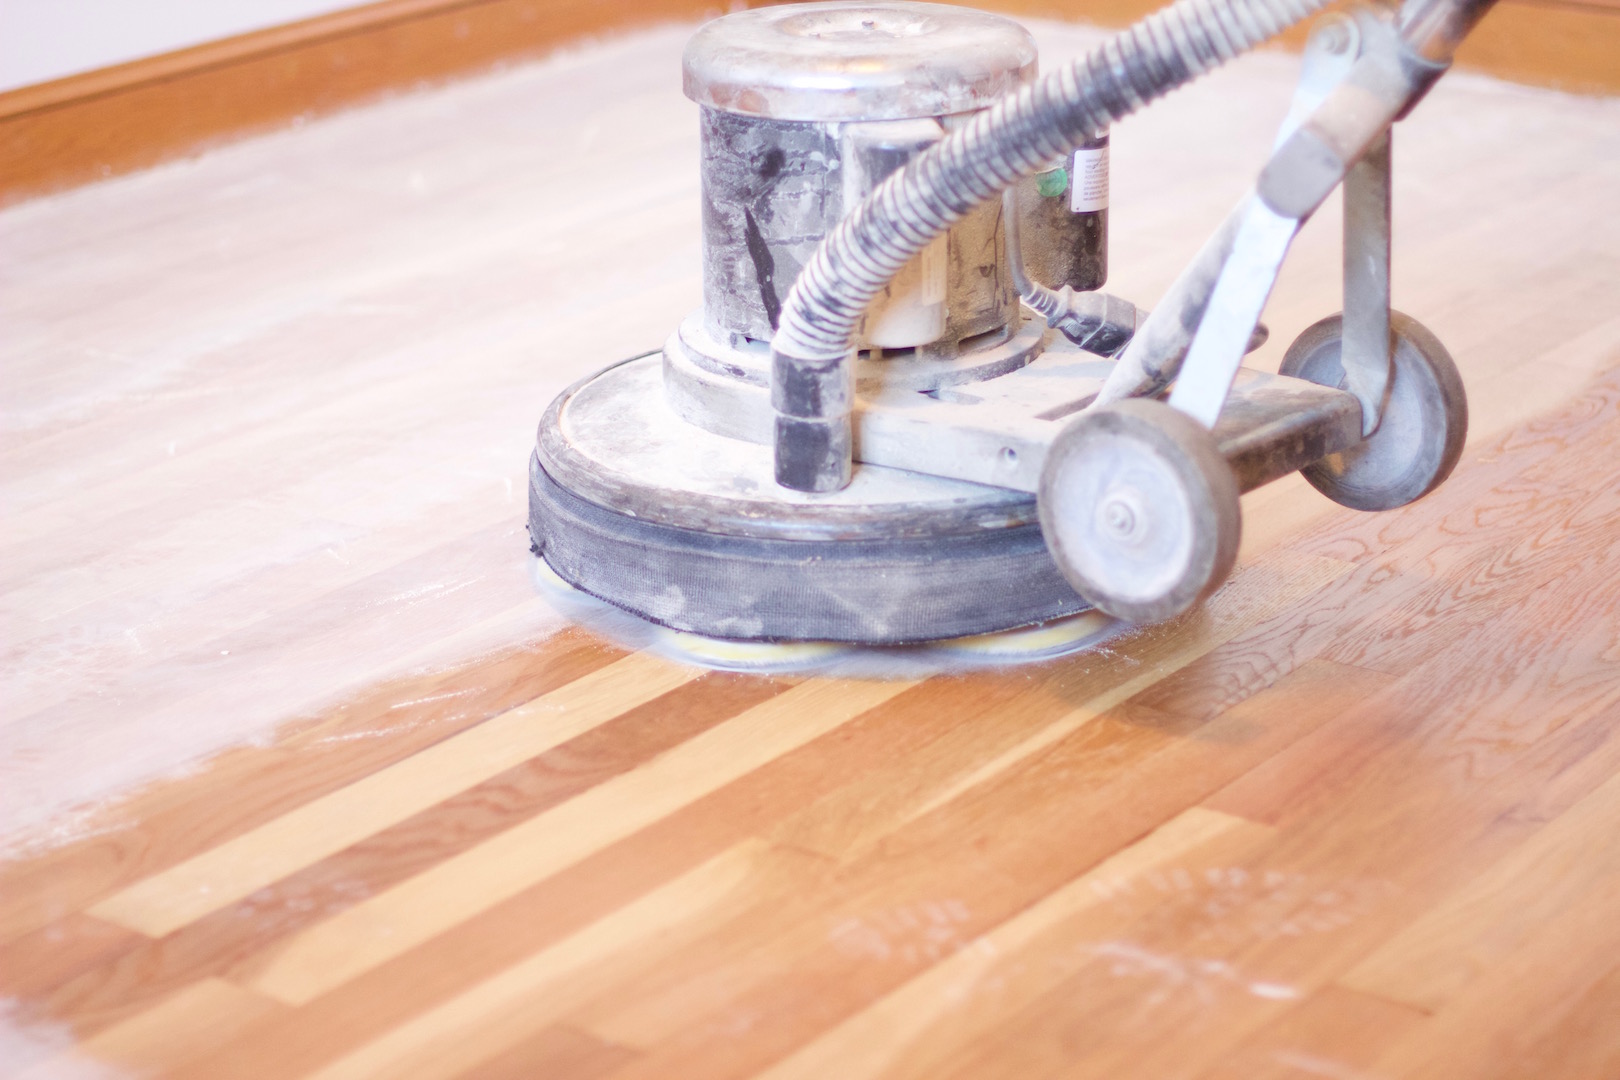
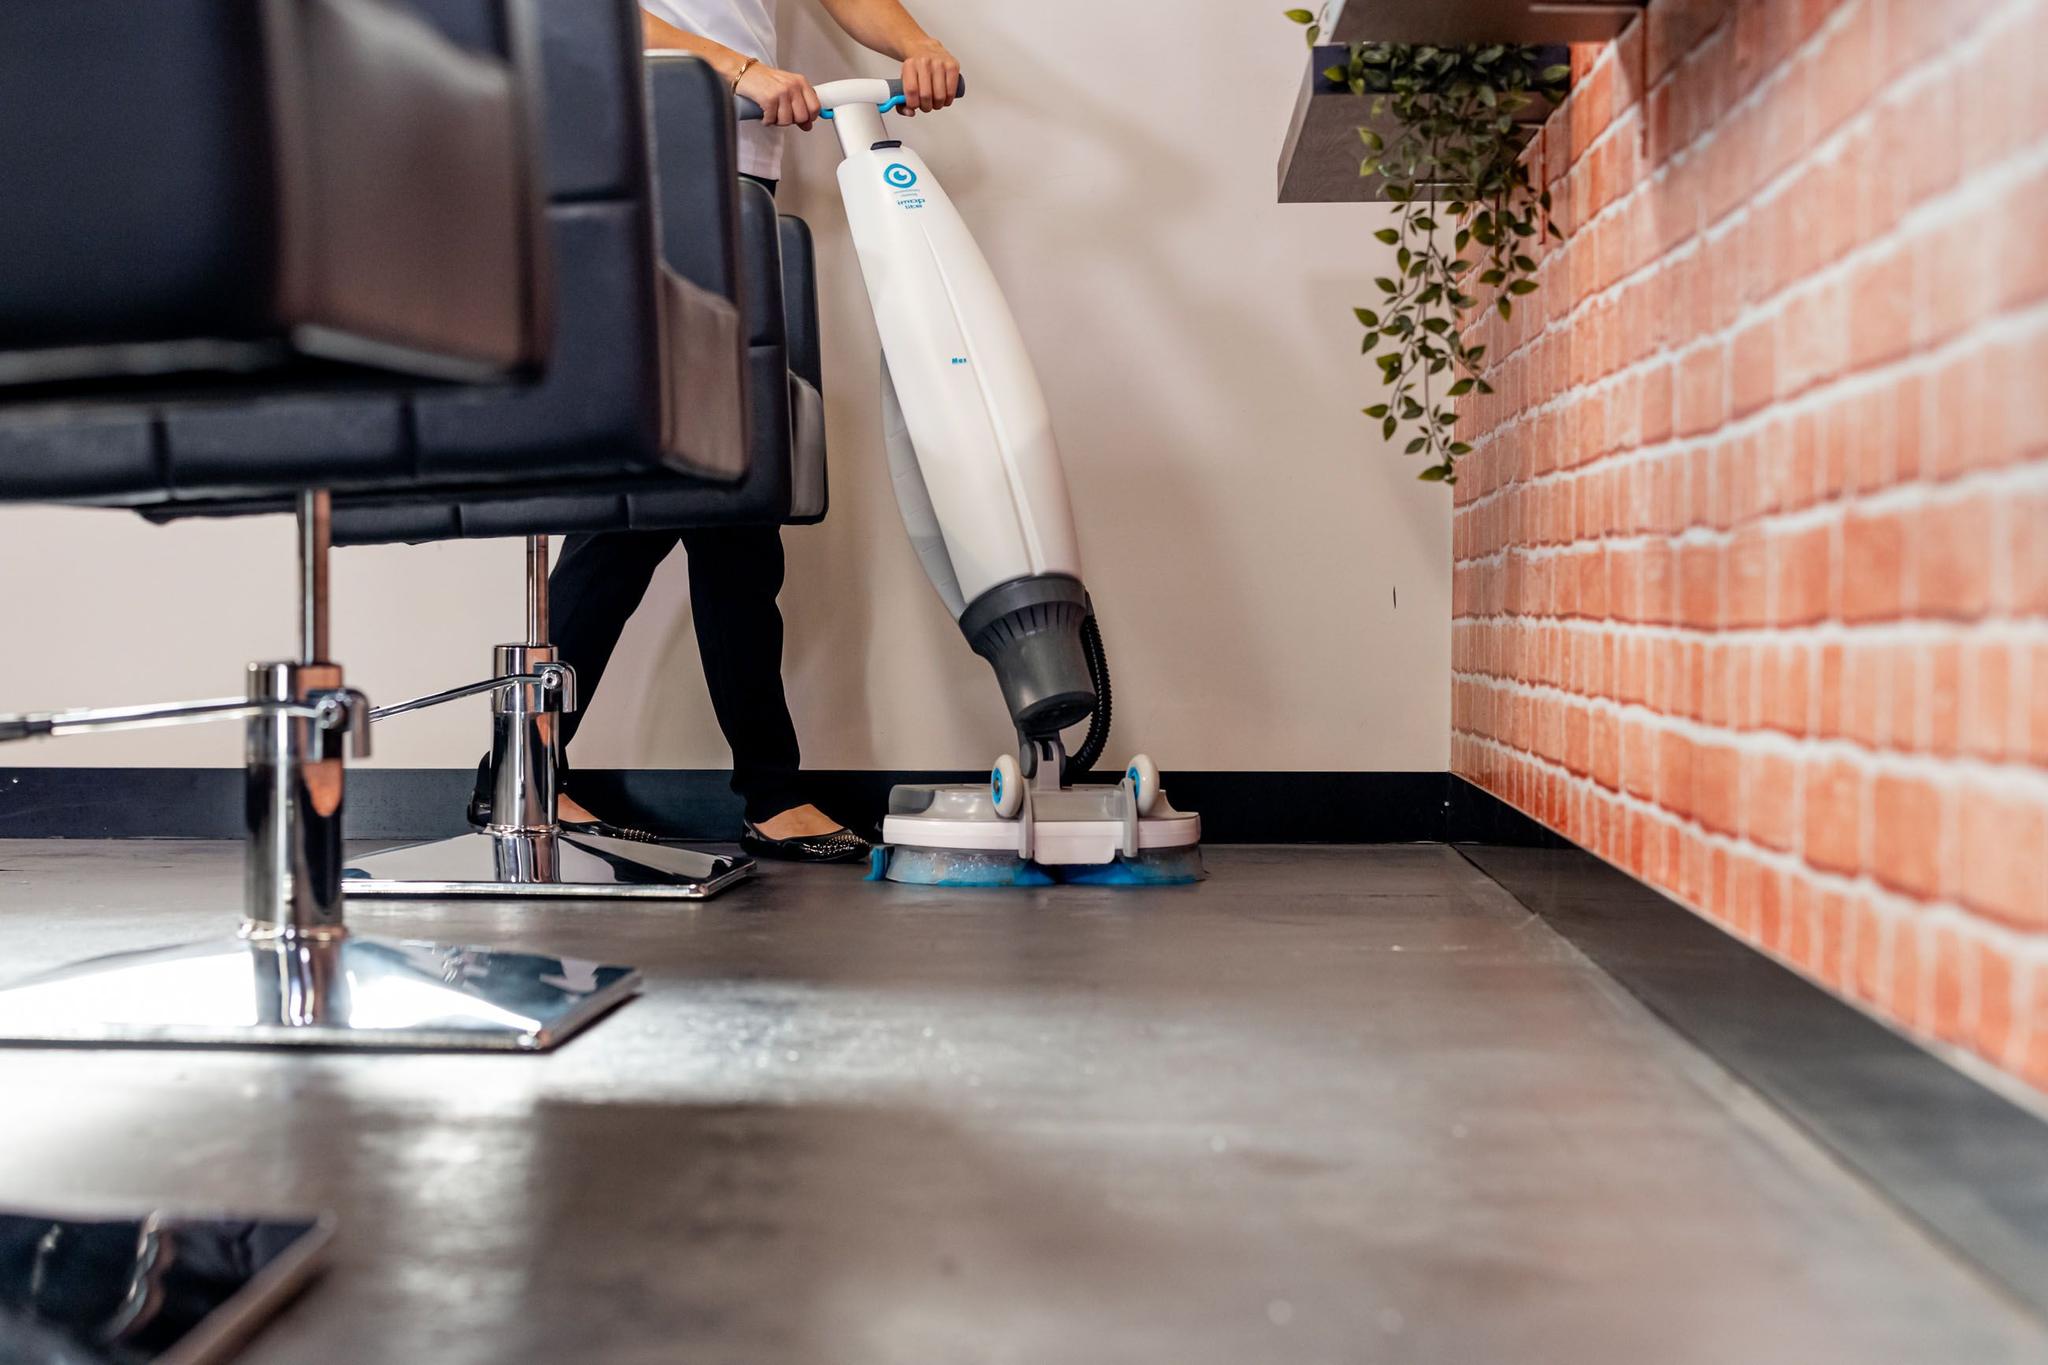
Before we dive into the details, let’s take a moment to understand what an orbital floor sander is. Unlike traditional drum sanders that can be difficult to control, an orbital floor sander operates in a circular motion, making it much more user-friendly. It gently removes old finishes, imperfections, and unevenness from the surface of your floor, preparing it for refinishing.
Now that you have a brief overview of what we’ll be covering, let’s get started with the essential steps to prepare for sanding.
Key Takeaways:
- Proper preparation is essential for effective floor sanding. From cleaning and repairing the floor to protecting surrounding areas, thorough preparation sets the stage for a successful sanding project with an orbital floor sander.
- Safety is paramount when using an orbital floor sander. Prioritize wearing protective gear, securing the work area, and following safety precautions to ensure a hazard-free and enjoyable sanding experience.
Read more: How To Stick A Sandpaper To Orbital Sander
Understanding the Orbital Floor Sander
Before you start using the orbital floor sander, it’s important to have a good understanding of how the tool works. By knowing its components and functions, you’ll be able to maximize its efficiency and avoid any potential mishaps.
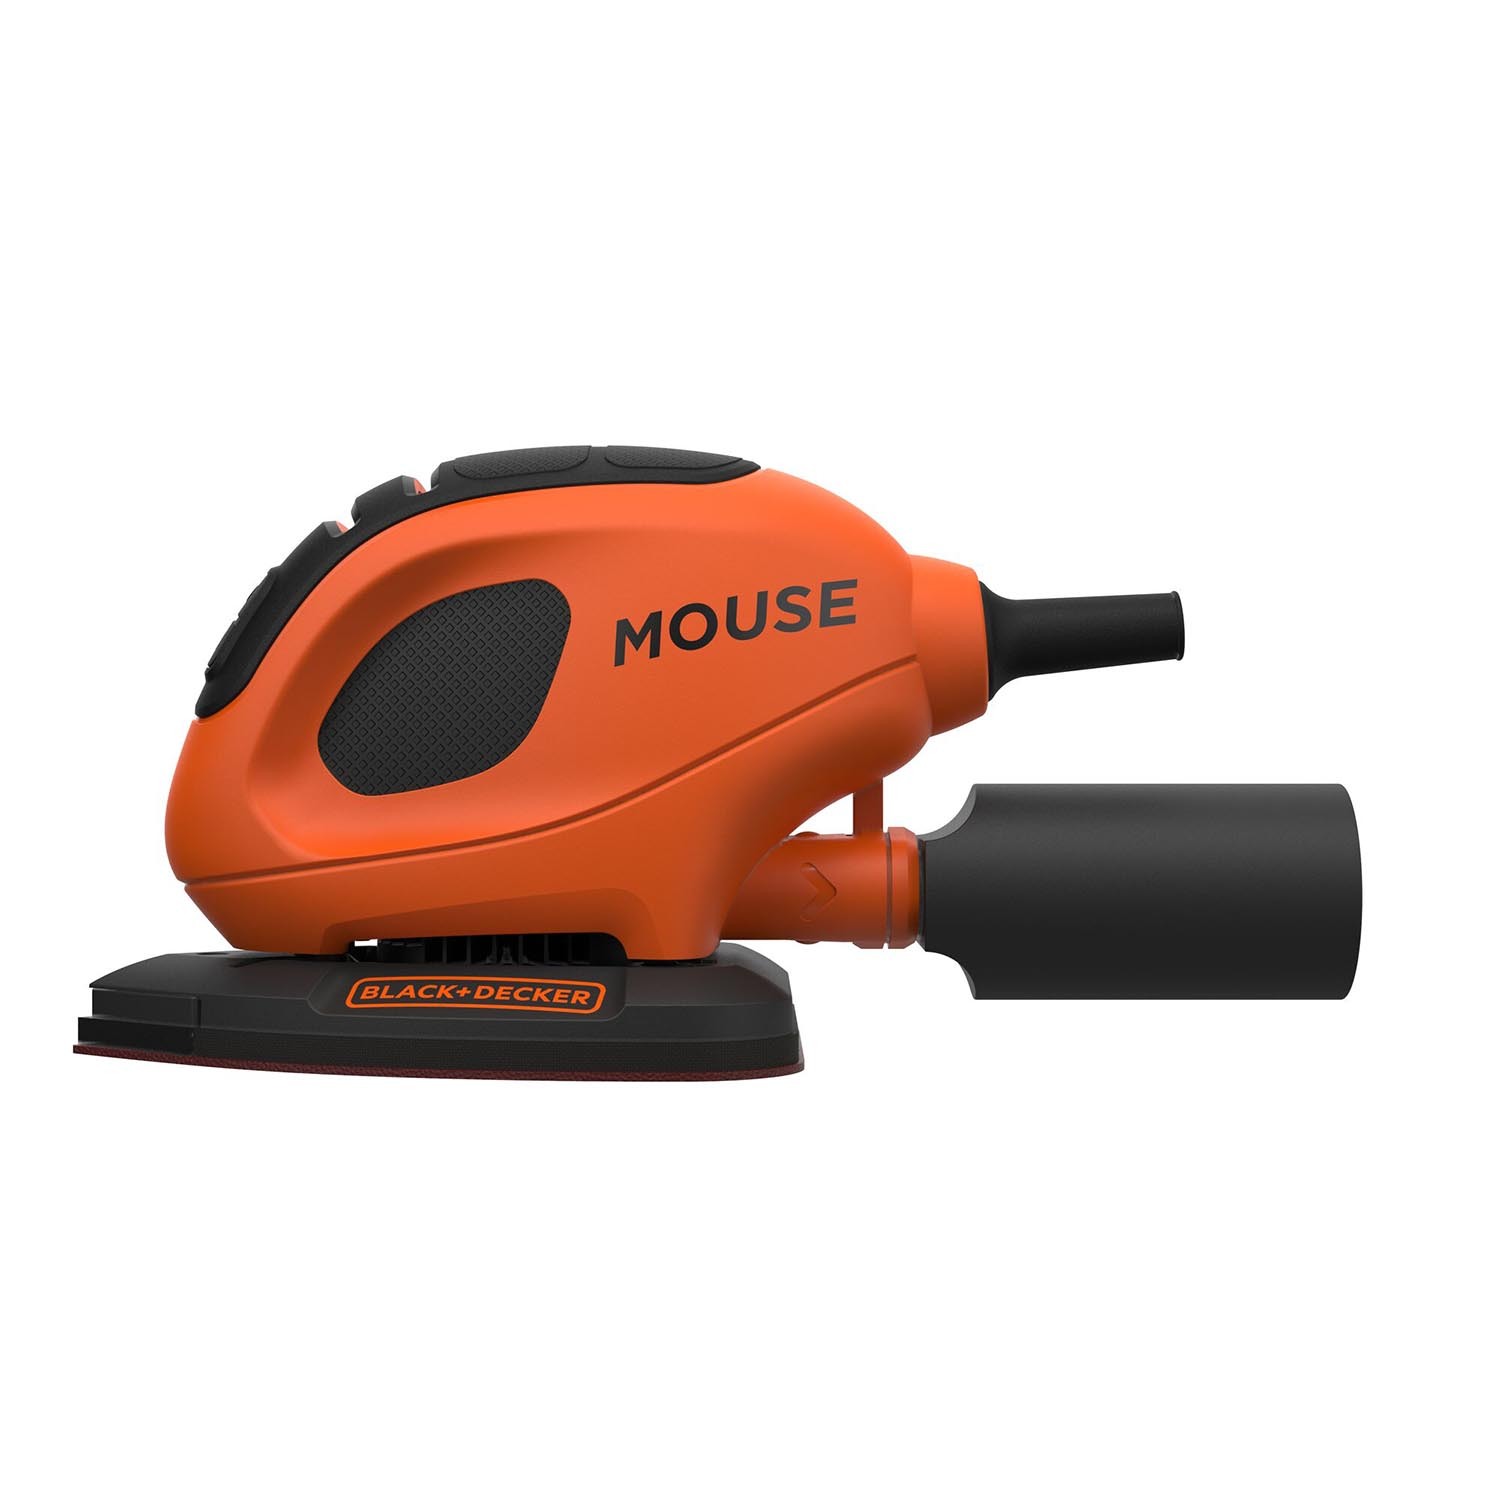
An orbital floor sander consists of a motor, a sanding pad, and a handle. The motor powers the sanding pad, which is where the sandpaper is attached. The handle allows you to grip and control the sander as you move it across your floor.
One of the key advantages of an orbital floor sander is its random orbital motion. Unlike a drum sander that moves in a straight line, the orbital sander’s circular motion prevents the sanding pattern from becoming too obvious. This ensures a more even and consistent finish.
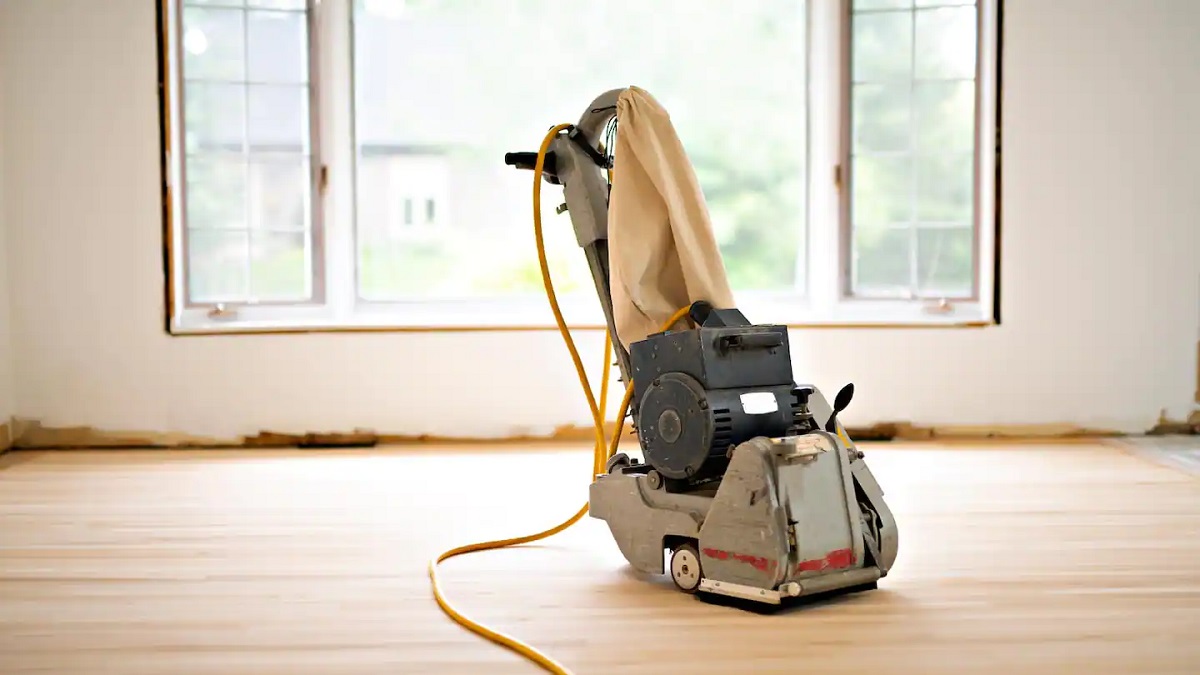
Orbital floor sanders are available in two types: drum and square buff. Drum sanders are typically used for large, flat floor areas, while square buff sanders are better suited for smaller spaces and intricate areas.
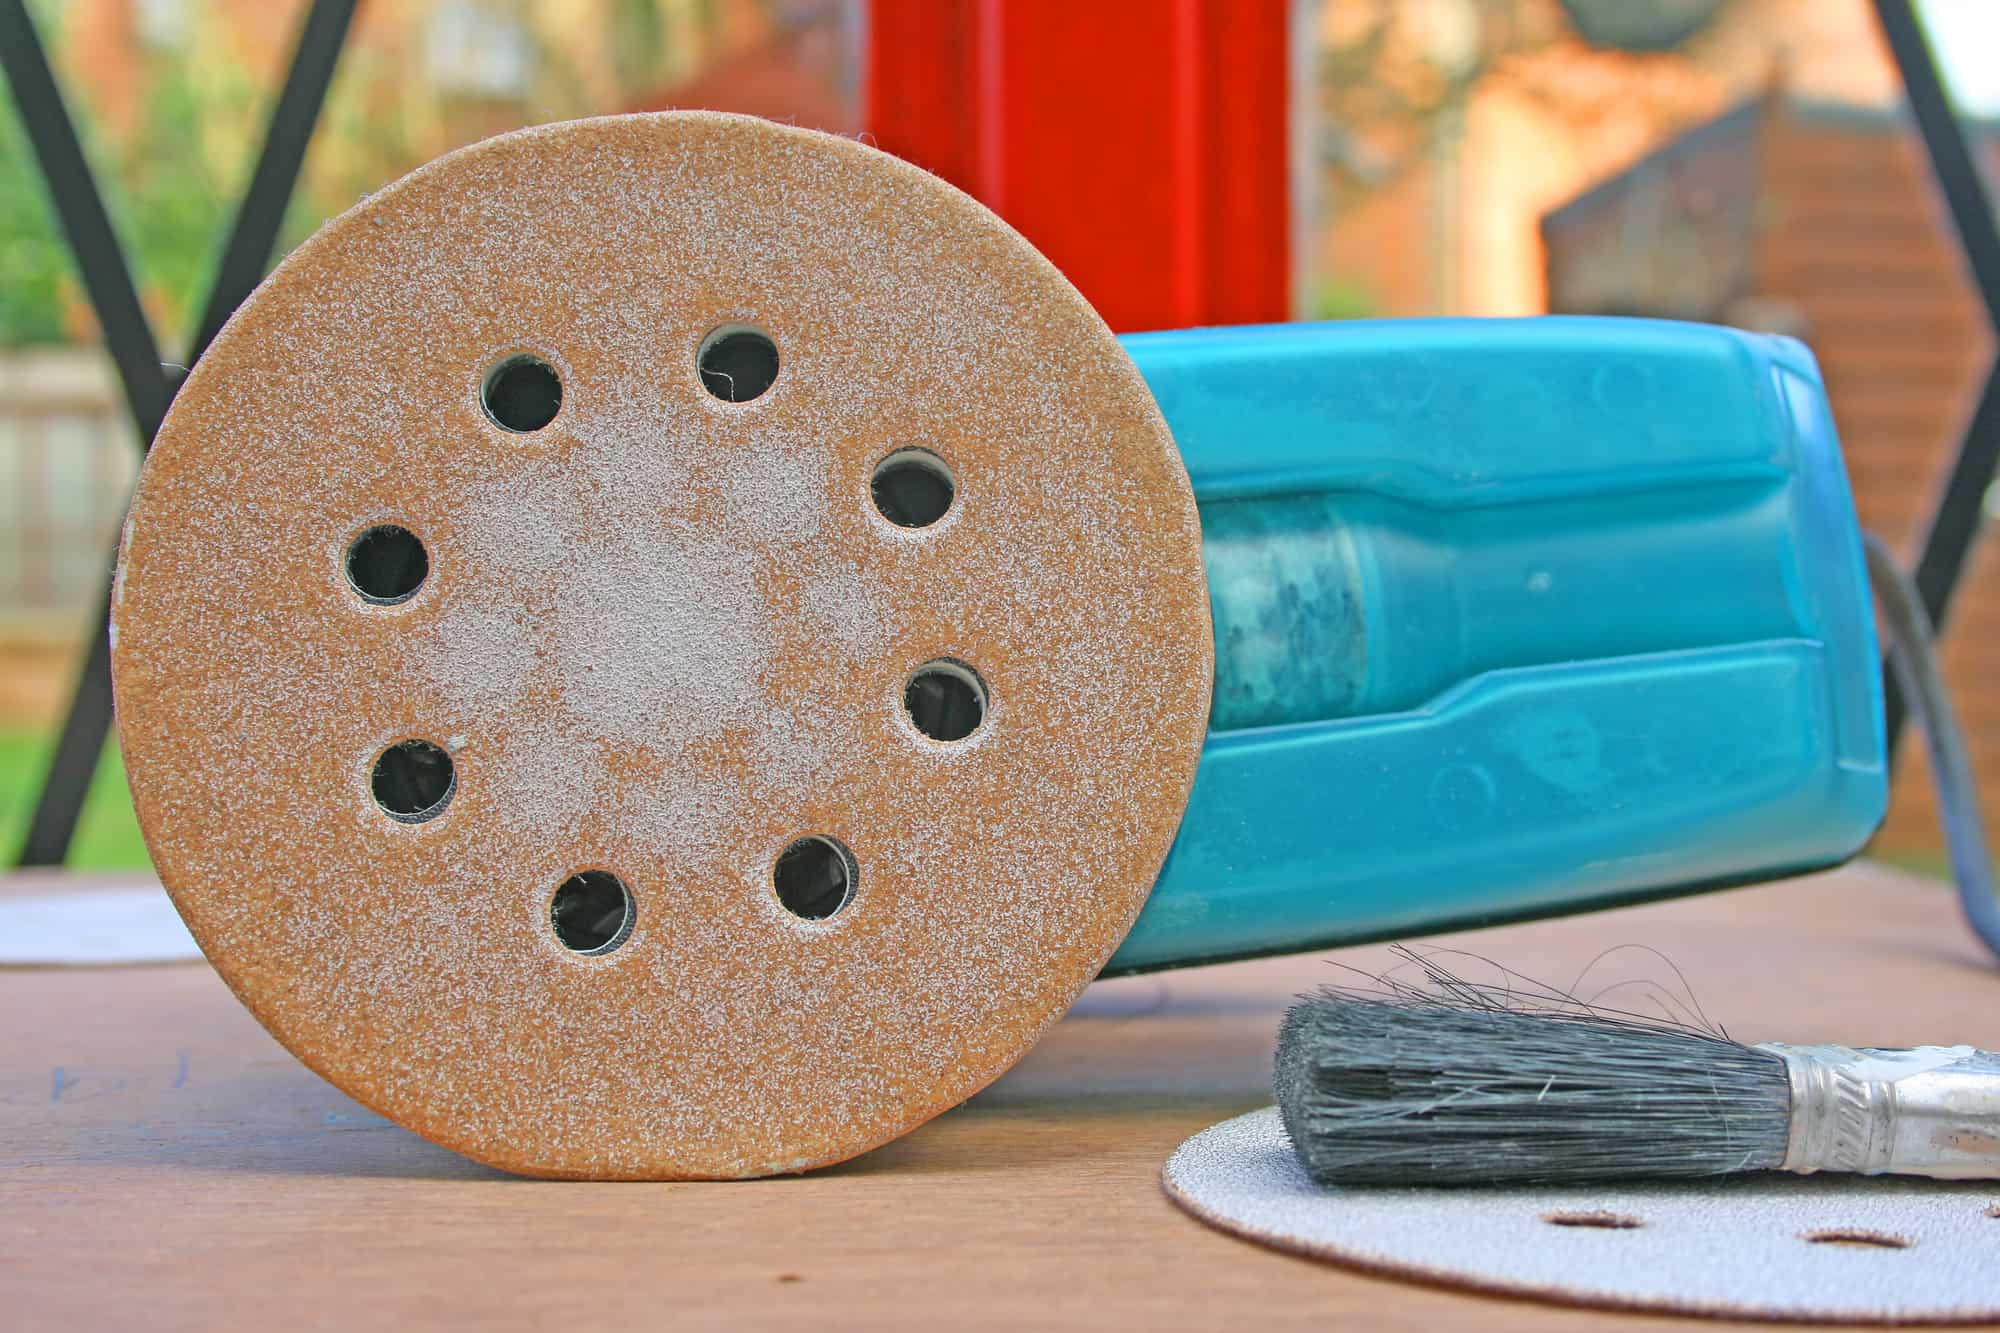
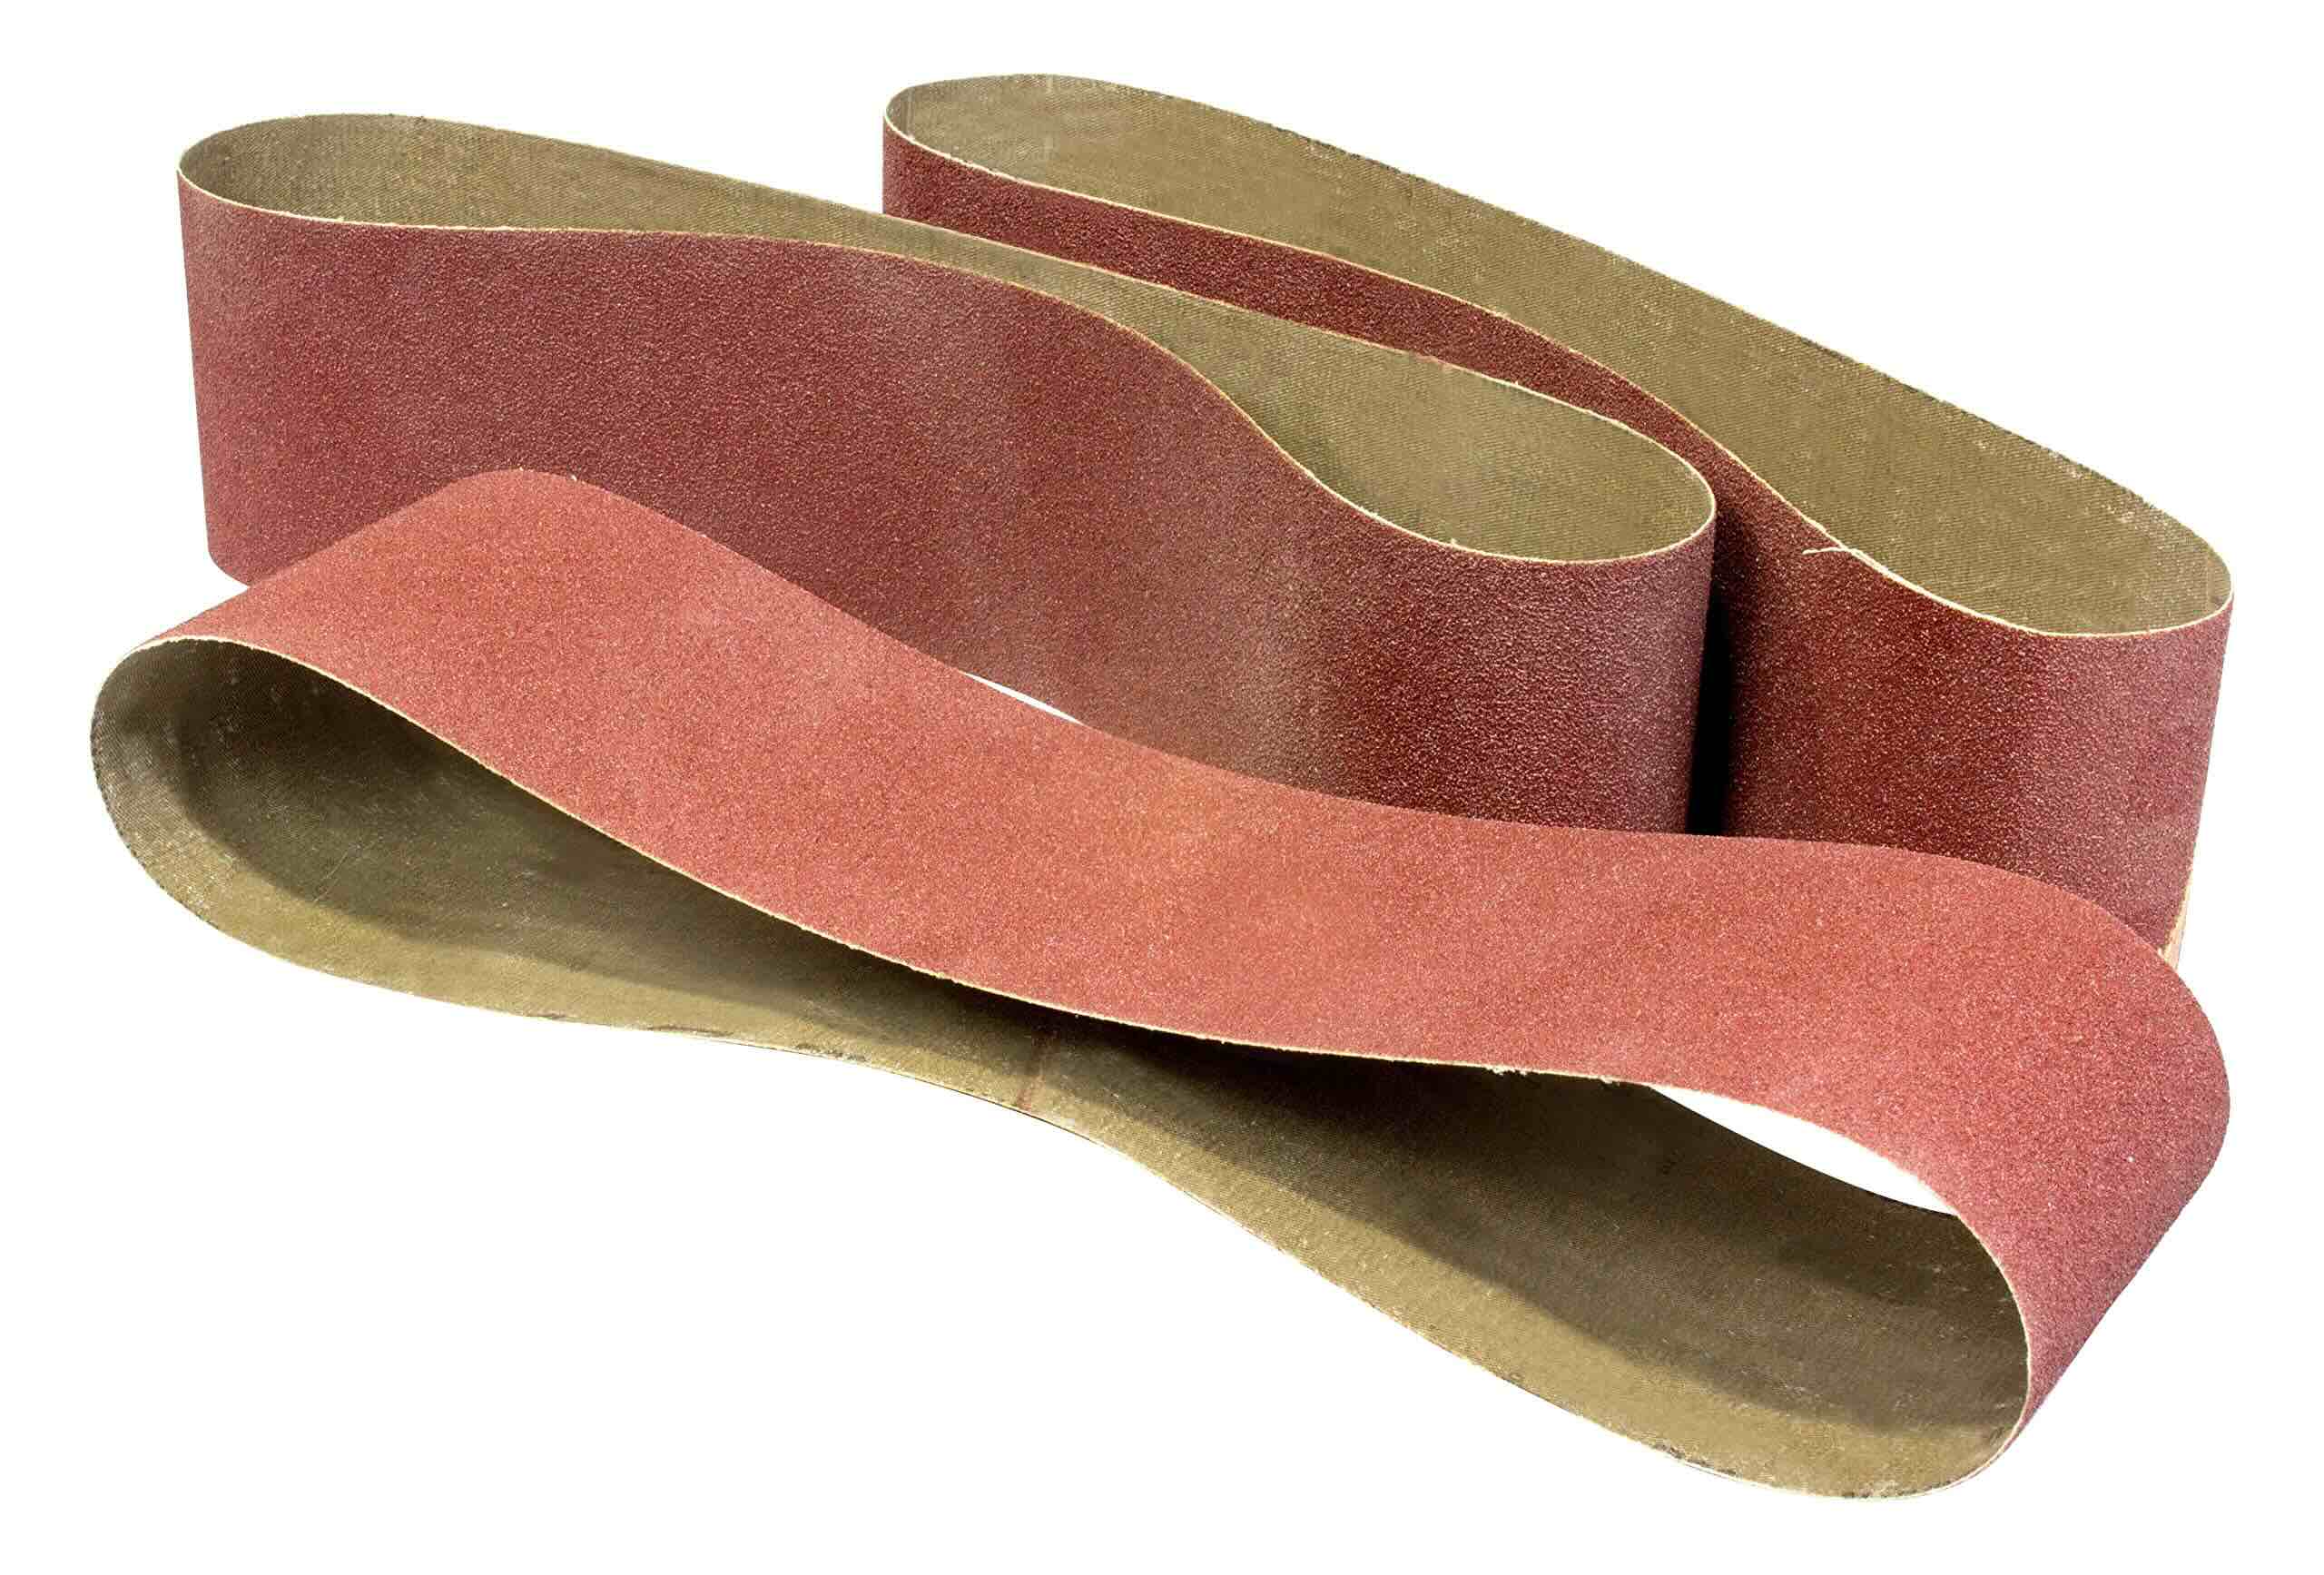
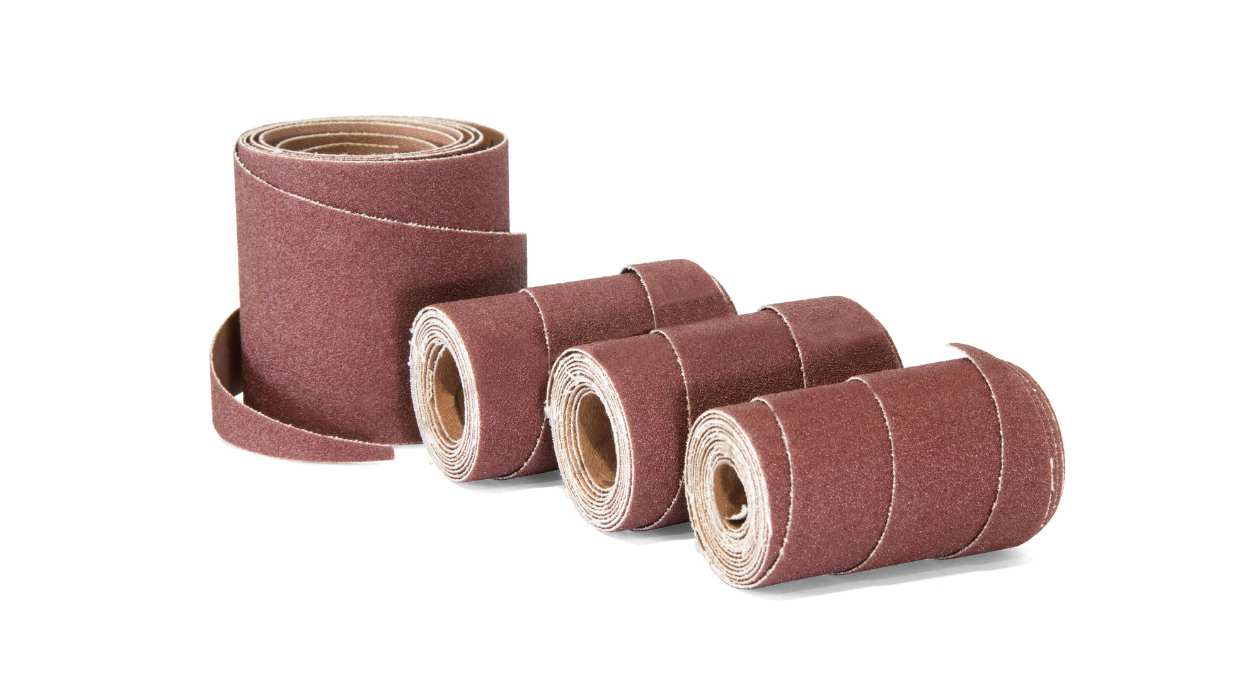
When selecting the right sandpaper for your orbital floor sander, consider the grit level. The higher the grit number, the finer the sandpaper. Coarser grits, such as 36 or 40, are ideal for removing heavy finishes or deep scratches. Finer grits, like 80 or 120, are used for smoothing out the surface before refinishing.
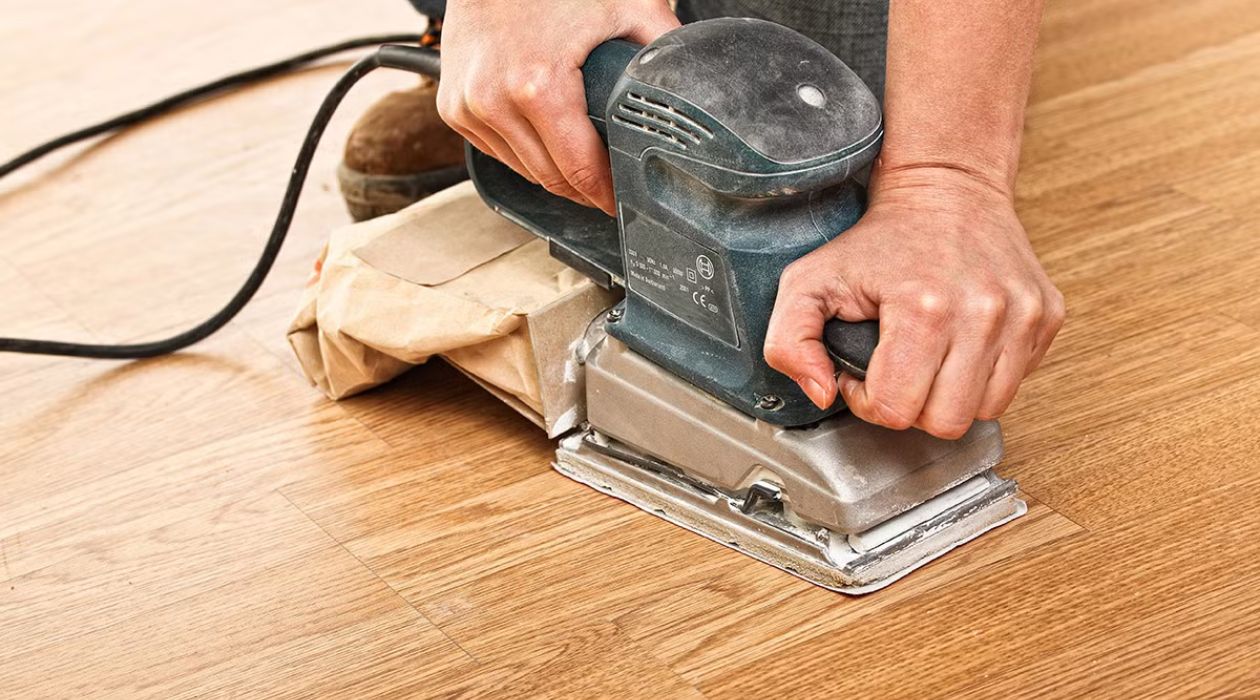
Another important aspect to consider is the dust collection system. Orbital floor sanders usually come with a built-in dust collection bag or a connection for a vacuum cleaner. This helps to minimize dust and debris, keeping your work area clean and reducing the need for extensive cleanup afterwards.
Now that you have a better understanding of the orbital floor sander, let’s move on to the next step: preparing for sanding.
Preparing for Sanding
Before you can start using the orbital floor sander, proper preparation is crucial to ensure a smooth and successful sanding project. Here are some essential steps to follow:
- Clean the floor: Start by thoroughly cleaning the floor to remove any dirt, dust, or debris. Sweep or vacuum the area to ensure a clean surface before sanding. This will prevent any particles from getting trapped between the sandpaper and the floor, which could cause scratches.
- Repair any damages: Inspect the floor for any damages, such as loose boards, gaps, or protruding nails. Secure any loose boards and fix any issues before sanding. This will help ensure a level and even surface.
- Remove obstructions: Clear the area of any furniture, rugs, or objects that may hinder your sanding process. It is recommended to remove all items from the room to have ample space to work with. If you cannot move larger pieces of furniture, cover them with plastic sheets to protect them from dust and damage.
- Protect walls and baseboards: Use painter’s tape or plastic sheeting to cover the baseboards and walls. This will protect them from accidental scratches or sanding marks during the process. Make sure to secure the covering tightly to prevent any dust or debris from seeping underneath.
- Ensure proper ventilation: Sanding generates a considerable amount of dust, so it’s important to have good ventilation in the room. Open windows or use fans to create a flow of fresh air. This will help reduce airborne dust and provide a healthier working environment.
By following these preparation steps, you’ll create an optimal environment for sanding your floors. Once you’ve completed these tasks, you’re ready to move on to the next section: setting up the orbital floor sander.
Setting Up the Orbital Floor Sander
Now that you have prepared your space for sanding, it’s time to set up the orbital floor sander. Follow these steps to ensure a proper setup:
- Choose the right sandpaper: Select the appropriate grit sandpaper for your desired finish. Coarser grits (such as 36 or 40) are suitable for heavy removal, while finer grits (like 80 or 120) are ideal for smoothing and preparing the floor for refinishing.
- Attach the sandpaper: Most orbital floor sanders have a hook-and-loop system for attaching sandpaper discs. Simply align the holes on the sandpaper with the dust collection holes on the sanding pad, then press the sandpaper firmly onto the pad. Make sure it is secure and properly centered to prevent any uneven sanding.
- Adjust the handle: Depending on the model of your orbital floor sander, the handle may be adjustable. Find a position that feels comfortable and allows for easy control of the sander. Tighten the handle securely to ensure stability during operation.
- Check the dust collection system: If your orbital floor sander has a dust collection bag, ensure that it is properly attached and empty. If you are using a vacuum cleaner for dust collection, connect the vacuum hose securely to the sander. This will help keep dust levels to a minimum and maintain a clean workspace.
- Power on the sander: Before starting the sanding process, make sure the orbital floor sander is properly plugged into a grounded electrical outlet. Familiarize yourself with the controls and switches, such as the power switch and speed control (if applicable).
- Test the sander: It’s a good practice to perform a test run with the sander in a small inconspicuous area to ensure everything is working properly. This allows you to familiarize yourself with the tool’s operation and assess if any adjustments or fine-tuning are needed.
After following these steps, you are now ready to start sanding your floors with the orbital floor sander. In the next section, we will discuss various sanding techniques to help you achieve the best results.
Sanding Techniques
When it comes to sanding with an orbital floor sander, employing the right techniques will ensure a smooth and professional finish. Here are some helpful sanding techniques to keep in mind:
- Start with the coarsest grit: Begin sanding with the coarsest grit sandpaper suitable for your project. This will help remove any old finishes, stains, or imperfections on the floor. Move the sander in smooth, overlapping passes, going with the grain of the wood.
- Keep the sander moving: It’s crucial to keep the orbital floor sander in constant motion while sanding. This prevents excessive sanding in one area and reduces the risk of creating uneven patches or dips in the floor. Always move the sander in a back-and-forth or side-to-side motion, maintaining a steady and even pressure.
- Follow a pattern: To ensure consistent sanding, it’s helpful to follow a pattern across the floor. Start in one corner and work your way across the room, progressing row by row. This systematic approach will help you maintain an even sanding pattern and avoid missing any areas.
- Gradually switch to finer grits: As you progress, switch to progressively finer grit sandpapers to achieve a smoother finish. This helps remove any visible scratches left by the previous grit and prepares the floor for refinishing. Make sure to clean the sanding pad between grit changes to avoid transferring coarse grit particles to the finer sandpaper.
- Use edger or hand sanding for corners: Orbital floor sanders may not reach tight corners or edges. For these areas, use either an edger sander or hand sanding techniques to ensure consistent sanding. Be careful when using an edger sander, as it may leave marks if not handled properly.
Remember, take your time and avoid rushing through the process. It’s better to make several passes with lighter pressure than to sand too aggressively in one go. This will help you achieve a more refined finish and minimize the risk of damaging your floors.
Now that you’re familiar with the sanding techniques, let’s move on to the next step: changing sandpaper when necessary.
When using an orbital floor sander, always start with a coarse grit sandpaper and gradually work your way to a finer grit for a smooth finish. Keep the sander moving at all times to avoid creating uneven patches.
Read more: How To Use Ryobi Sander
Changing Sandpaper
Changing the sandpaper on your orbital floor sander is a straightforward process. Follow these steps to ensure a smooth transition between different grits:
- Power off the sander: Before changing the sandpaper, make sure the orbital floor sander is turned off and unplugged. This will prevent any accidental activation of the tool.
- Remove the existing sandpaper: Gently peel off the old sandpaper from the sanding pad. If the sandpaper is attached using a hook-and-loop system, it should easily detach from the pad. Discard the old sandpaper properly.
- Clean the sanding pad: Take a moment to clean the sanding pad before attaching the new sandpaper. Use a brush or a vacuum cleaner to remove any dust or debris that may be present. This will ensure a secure attachment and prevent any particles from interfering with the new sandpaper.
- Attach the new sandpaper: Align the holes on the new sandpaper with the dust collection holes on the sanding pad. Press the sandpaper firmly onto the pad, making sure it is centered and securely attached. Ensure that no edges of the sandpaper are sticking out, as this can cause scratching or uneven sanding.
- Power on the sander and test: After attaching the new sandpaper, turn on the orbital floor sander and perform a test run to ensure that everything is properly set up. Check for any vibrations or irregularities in the sanding motion. If everything appears to be in order, you can continue sanding with the new sandpaper.
Keep in mind that sandpaper will wear out over time, especially when sanding larger areas or particularly tough surfaces. It’s important to monitor the condition of the sandpaper frequently during your project. If you notice a significant decrease in sanding effectiveness or visible wear on the sandpaper, it’s time to change to a fresh sheet.
By following these steps, you’ll be able to change the sandpaper efficiently and maintain the quality of your sanding work. In the next section, we’ll discuss cleaning up after sanding.
Cleaning Up
After completing the sanding process with your orbital floor sander, it’s important to thoroughly clean up the area to remove any dust and debris. Here are some steps to follow for a clean and tidy finish:
- Power off the sander: Before beginning the cleanup, make sure the orbital floor sander is turned off and unplugged. This ensures safety while cleaning and prevents accidental activation of the tool.
- Collect dust and debris: Use a vacuum cleaner with a brush attachment to collect the majority of the dust and debris from the floor. Pay close attention to corners, edges, and hard-to-reach areas. Alternatively, you can sweep the floor with a broom and dustpan, but this may stir up more dust in the process.
- Wipe down surfaces: After vacuuming, dampen a microfiber cloth or mop with water or a mild cleaning solution. Wipe down the sanded floor and any nearby surfaces to remove any residual dust or stains. Be sure to wring out excess water from the cloth or mop to avoid excessive moisture on the floor.
- Empty the dust collection bag: If your orbital floor sander has a dust collection bag, detach it and empty the contents into a garbage bag. Seal the bag properly to prevent dust from escaping. If you used a vacuum cleaner for dust collection, empty its dust bin or replace the bag.
- Remove protective coverings: If you used plastic sheeting or painter’s tape to protect walls and baseboards, carefully remove them and dispose of them properly. Check for any dust or debris that may have collected underneath, and clean those areas as needed.
- Inspect the floor: Take a moment to inspect the floor for any missed spots or areas that may require additional sanding. If necessary, go over those areas with the appropriate sandpaper grit to achieve a consistent finish.
By following these cleaning steps, you’ll be able to maintain a clean and dust-free environment after sanding your floors with an orbital floor sander. This sets the stage for the next phase of your project, whether it’s applying a new finish, staining, or sealing the wood surface.
In the next section, we’ll provide some helpful tips and tricks for using an orbital floor sander effectively. Keep reading to enhance your sanding skills!
Tips and Tricks for Using an Orbital Floor Sander
Mastering the art of using an orbital floor sander requires practice and a few tricks up your sleeve. Here are some helpful tips to enhance your sanding experience and achieve the best results:
- Start with a lighter grit: If you’re unsure about the appropriate grit to start with, it’s always safer to begin with a lighter grit sandpaper. This allows you to assess how much material needs to be removed without going too aggressive from the beginning.
- Overlap your passes: When sanding, make sure to overlap your passes by about 50%. This ensures even sanding and avoids creating uneven patches or ridges. Remember to maintain a consistent sanding pattern throughout the process.
- Keep the sander level: Maintain a level position with the orbital floor sander while sanding. Tilting the sander too much can create uneven depth or leave sanding marks on the floor. Stay mindful of your hand and arm movements to achieve a steady and uniform sanding motion.
- Move at a steady pace: Avoid rushing or sanding too quickly. Move the orbital floor sander at a steady, comfortable pace to allow the sandpaper to effectively remove material and achieve a smooth finish. Take your time especially when transitioning between different grits.
- Inspect for nails and staples: Before you begin sanding, inspect the floor carefully for any nails, staples, or other objects that may damage the sandpaper or the sander itself. Remove or hammer down any protruding nails to prevent accidents or costly damages.
- Use a light touch along edges: When sanding near edges, baseboards, or walls, apply a lighter pressure with the orbital floor sander. Excessive pressure can cause uneven sanding or accidental damage to adjacent surfaces. Consider using a smaller sanding tool or hand sanding for better control in these areas.
- Take breaks to prevent overheating: Orbital floor sanders generate heat during use. To prevent overheating and potential damage to the motor, take breaks periodically. This also allows the sander to cool down, preserving its efficiency for longer periods.
- Wear protective gear: Always prioritize your safety by wearing appropriate protective gear. This includes safety glasses, hearing protection, a dust mask, and work gloves. These items will protect you from potential dust, debris, and noise during the sanding process.
- Practice on a sample piece: If you’re new to using an orbital floor sander or trying out a new technique, it’s helpful to practice on a small sample piece of wood. This allows you to familiarize yourself with the tool’s operation and refine your sanding skills before tackling larger areas.
- Keep extra sandpaper on hand: It’s always a good idea to have extra sandpaper of various grits readily available. This ensures that you can switch out worn sandpaper when needed and maintain a consistent sanding quality throughout your project.
By incorporating these tips and tricks into your sanding routine, you’ll be able to optimize your results and make the most out of your orbital floor sander. Remember, practice makes perfect, so don’t be discouraged if it takes a little time to master the techniques.
In the next section, we’ll cover important safety precautions that you should always keep in mind when using an orbital floor sander.
Safety Precautions
Using an orbital floor sander can be a rewarding experience, but it’s important to prioritize safety to prevent accidents and injuries. Here are some crucial safety precautions to keep in mind while operating an orbital floor sander:
- Read the user manual: Familiarize yourself with the user manual provided by the manufacturer. Understanding the specific instructions, warnings, and safety guidelines outlined in the manual will help ensure safe and proper usage of the orbital floor sander.
- Wear appropriate protective gear: Always wear recommended safety gear, including safety glasses to shield your eyes from dust and debris, hearing protection to reduce noise exposure, a dust mask to prevent inhalation of airborne particles, and work gloves for added hand protection.
- Secure your work area: Clear the work area of tripping hazards and remove any objects that may interfere with the sanding process. Ensure that cords and cables are properly managed and not in the way of the orbital floor sander.
- Keep a firm grip on the sander: Maintain a secure grip on the handle of the orbital floor sander while it’s in operation. Avoid using excessive force or applying unnecessary pressure, as this can affect the functionality and safety of the tool.
- Do not touch the sanding pad during operation: Never touch the sanding pad while the orbital floor sander is in use, as it can cause severe injury. Wait until the sander has completely come to a stop before making any adjustments or changing the sandpaper.
- Avoid loose clothing and jewelry: Wear appropriate attire and avoid loose-fitting clothing, as it can get caught in the sander’s moving parts. Remove any jewelry or accessories that may pose a risk of getting tangled or causing injury.
- Stay aware of your surroundings: Keep an eye on your surroundings and be mindful of other people in the area. Ensure that there is sufficient space to move the orbital floor sander without risking accidental collisions or harm to others.
- Take frequent breaks: Sanding can be physically demanding, so it’s important to listen to your body and take regular breaks. This allows you to rest, hydrate, and prevent exhaustion, which can increase the risk of accidents when using power tools.
- Disconnect the power source when not in use: When taking breaks, changing sandpaper, or moving the sander to a different location, make sure to disconnect the power source. Unplugging the orbital floor sander reduces the risk of accidental starts or unauthorized use.
- Store the sander properly: When you have finished using the orbital floor sander, store it in a safe and dry place, away from children and pets. Keep the sander in its designated case or on a secure shelf to prevent any potential accidents or damage.
By following these safety precautions, you can ensure a safe and enjoyable experience while using an orbital floor sander. Remember, personal safety should always be a top priority. If you have any concerns or encounter any issues with the tool, consult the manufacturer or a professional for guidance.
Now that you are equipped with the necessary safety knowledge, let’s conclude our article.
Read more: How To Use A Palm Sander
Conclusion
Using an orbital floor sander is a great way to revitalize your hardwood floors and achieve professional-quality results. By understanding how the tool works and following proper techniques, you can transform your floors and give them a fresh new look.
In this article, we covered the fundamentals of using an orbital floor sander. We discussed the components of the tool, the importance of proper preparation, and the steps for setting up the sander. We explored various sanding techniques, highlighted the process of changing sandpaper, and provided tips and tricks for optimal results. We also emphasized the significance of safety precautions to ensure a hazard-free sanding experience.
Remember to always start with proper preparation, including cleaning the floor, repairing any damages, and protecting surrounding areas. When using the orbital floor sander, keep it moving in a steady and overlapping motion, following a systematic pattern. Gradually progress to finer grits for a smoother finish, and utilize hand sanding or smaller tools for hard-to-reach areas.
Don’t forget to prioritize safety by wearing protective gear, securing your work area, and using the sander with caution. Take breaks, read the user manual, and store the sander properly to maintain its longevity.
With these techniques, tips, and precautions in mind, you are well-equipped to confidently use an orbital floor sander for your next floor refinishing project. Enjoy the process, admire the transformation, and take pride in your beautifully sanded hardwood floors!
Now that you've mastered orbital floor sanding, why not broaden your skill set even further? Delve into our article on the best woodworking projects for 2024 and uncover a variety of projects that could transform your approach to crafting beautiful pieces from wood. And if you're hooked on creating with your own hands, our piece on the advantages of DIY projects will surely fuel your passion for building and enhancing your home on your own terms. Both reads are packed with practical advice and inspiring ideas to take your crafting and DIY skills to the next level.
Frequently Asked Questions about How To Use An Orbital Floor Sander
Was this page helpful?
At Storables.com, we guarantee accurate and reliable information. Our content, validated by Expert Board Contributors, is crafted following stringent Editorial Policies. We're committed to providing you with well-researched, expert-backed insights for all your informational needs.


0 thoughts on “How To Use An Orbital Floor Sander”