Articles
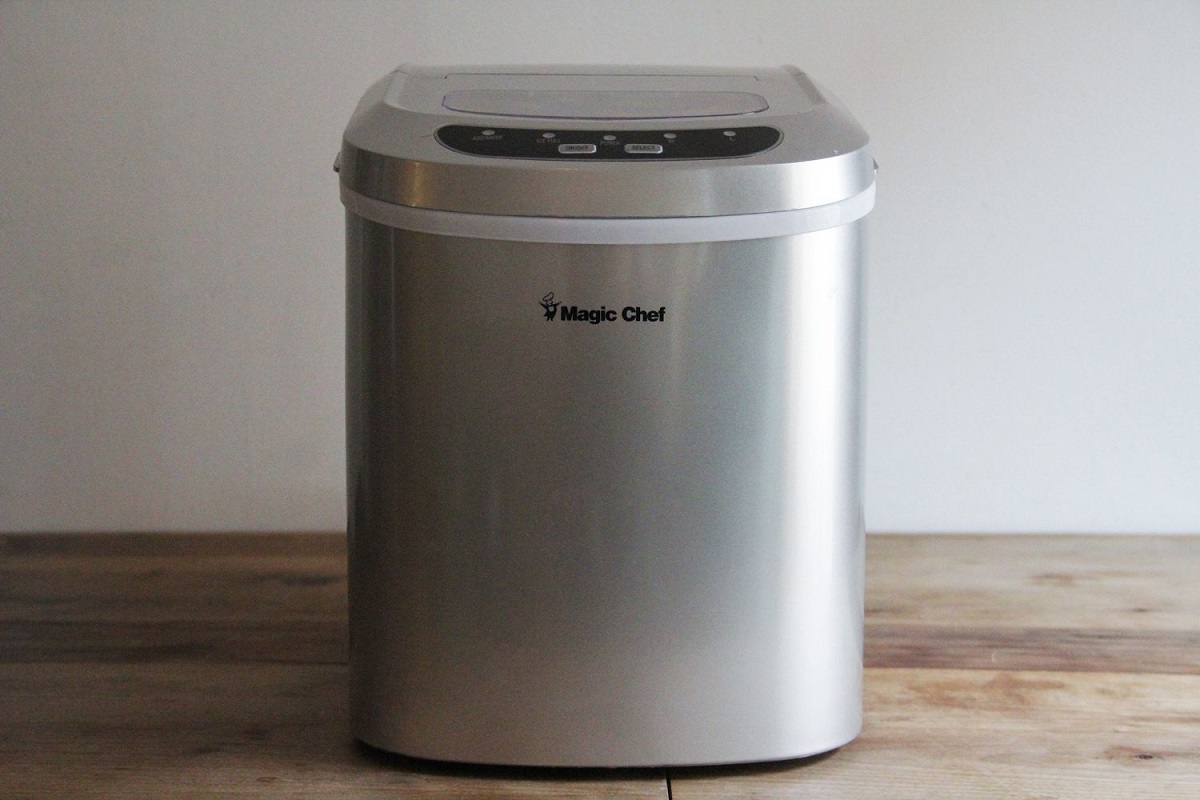
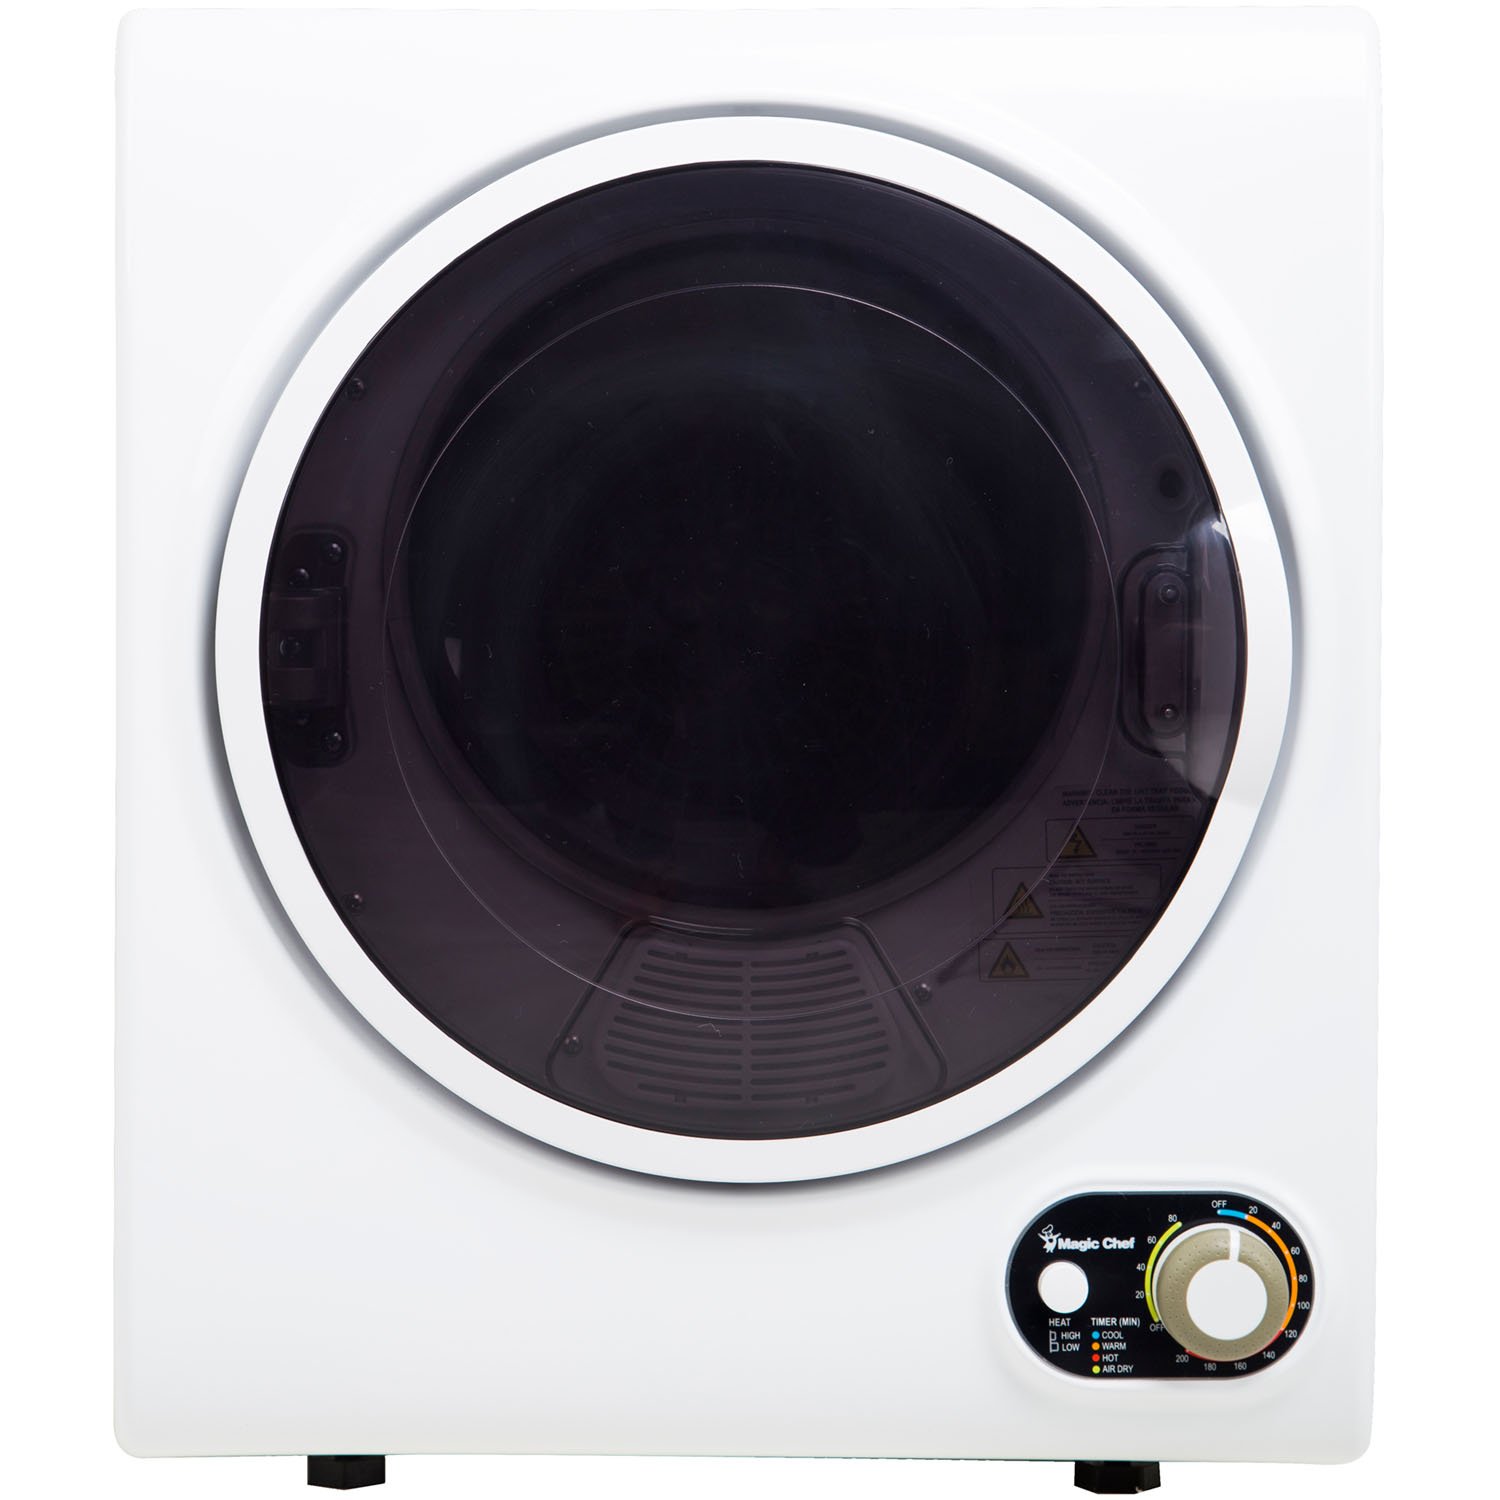
How To Use A Magic Chef Ice Maker
Modified: August 23, 2024
Learn how to use a Magic Chef ice maker with our informative articles. Discover tips, troubleshooting, and step-by-step instructions for making ice effortlessly.
(Many of the links in this article redirect to a specific reviewed product. Your purchase of these products through affiliate links helps to generate commission for Storables.com, at no extra cost. Learn more)
Introduction
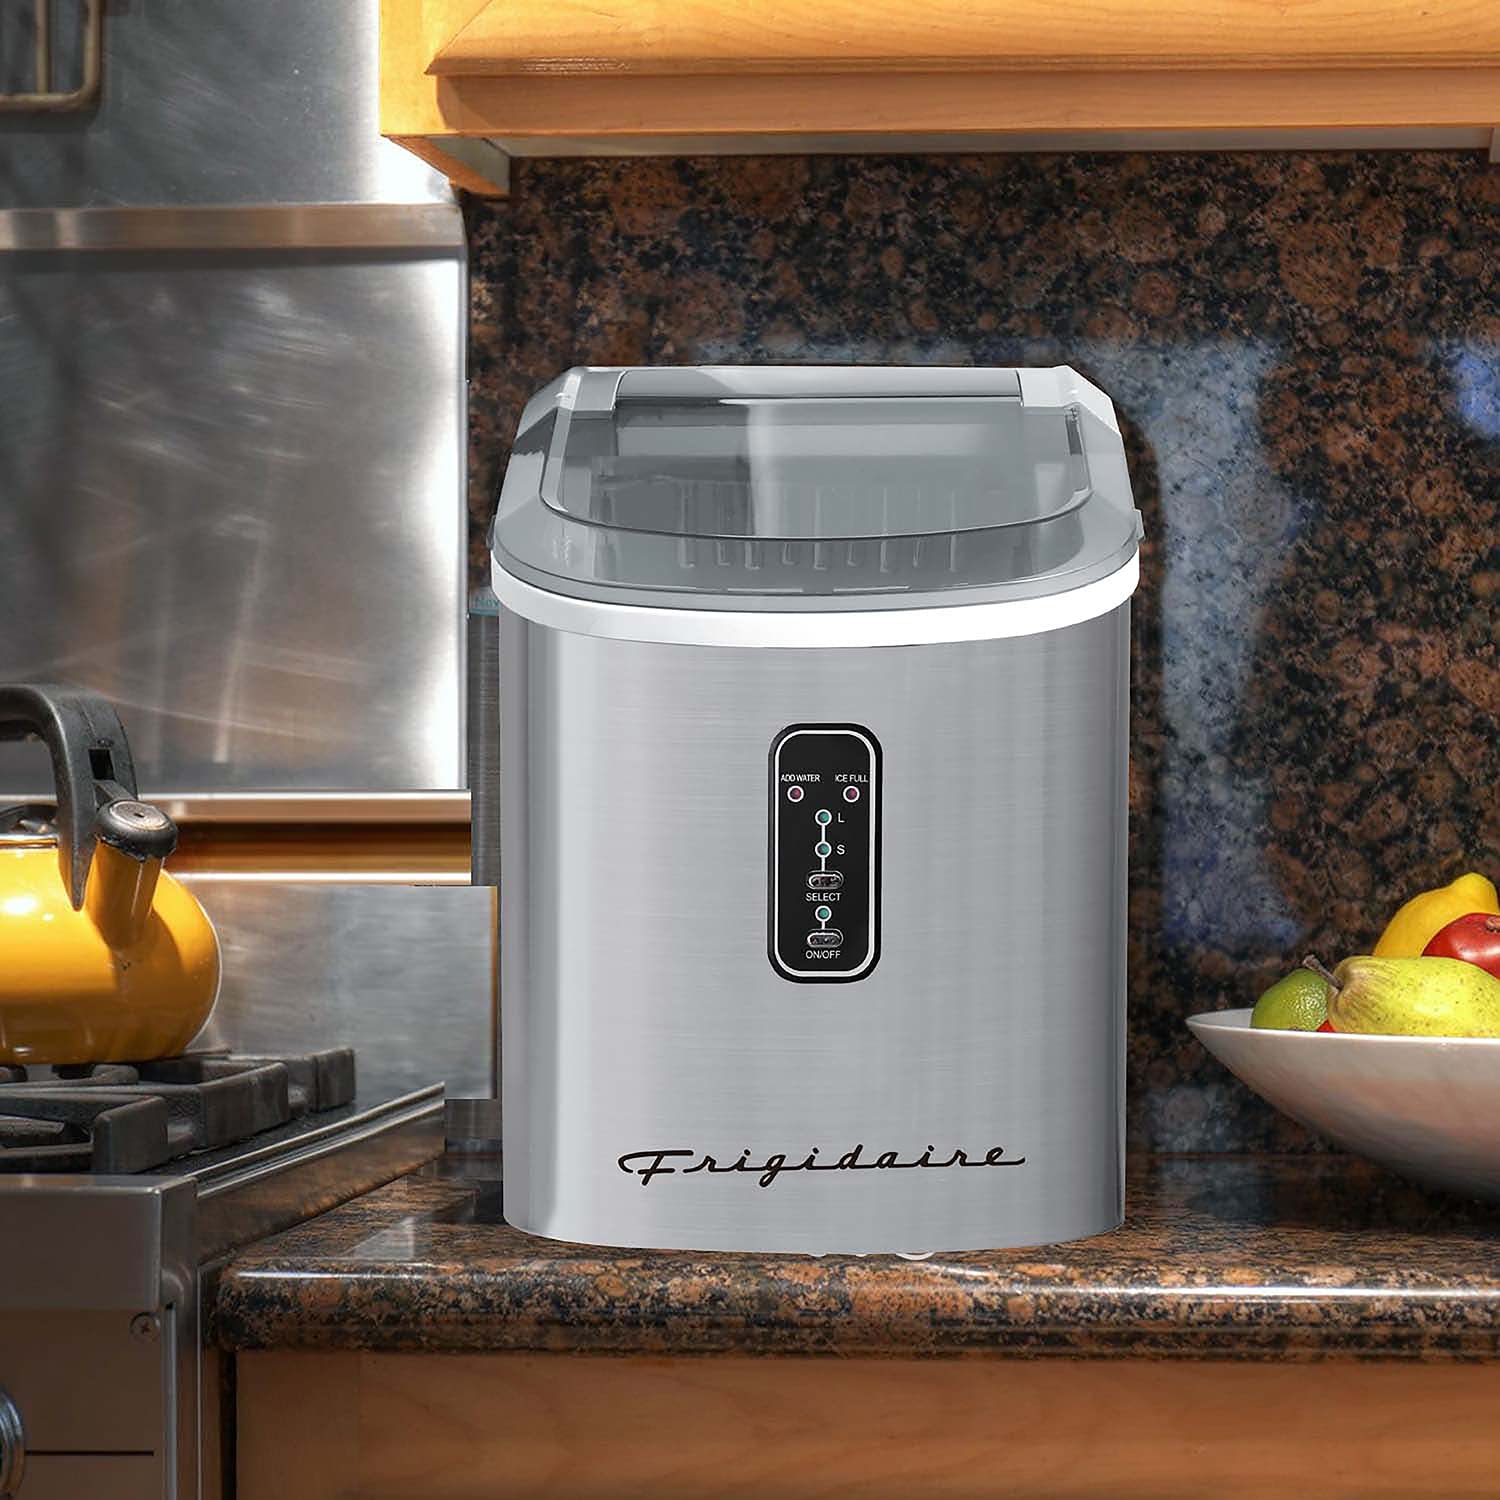
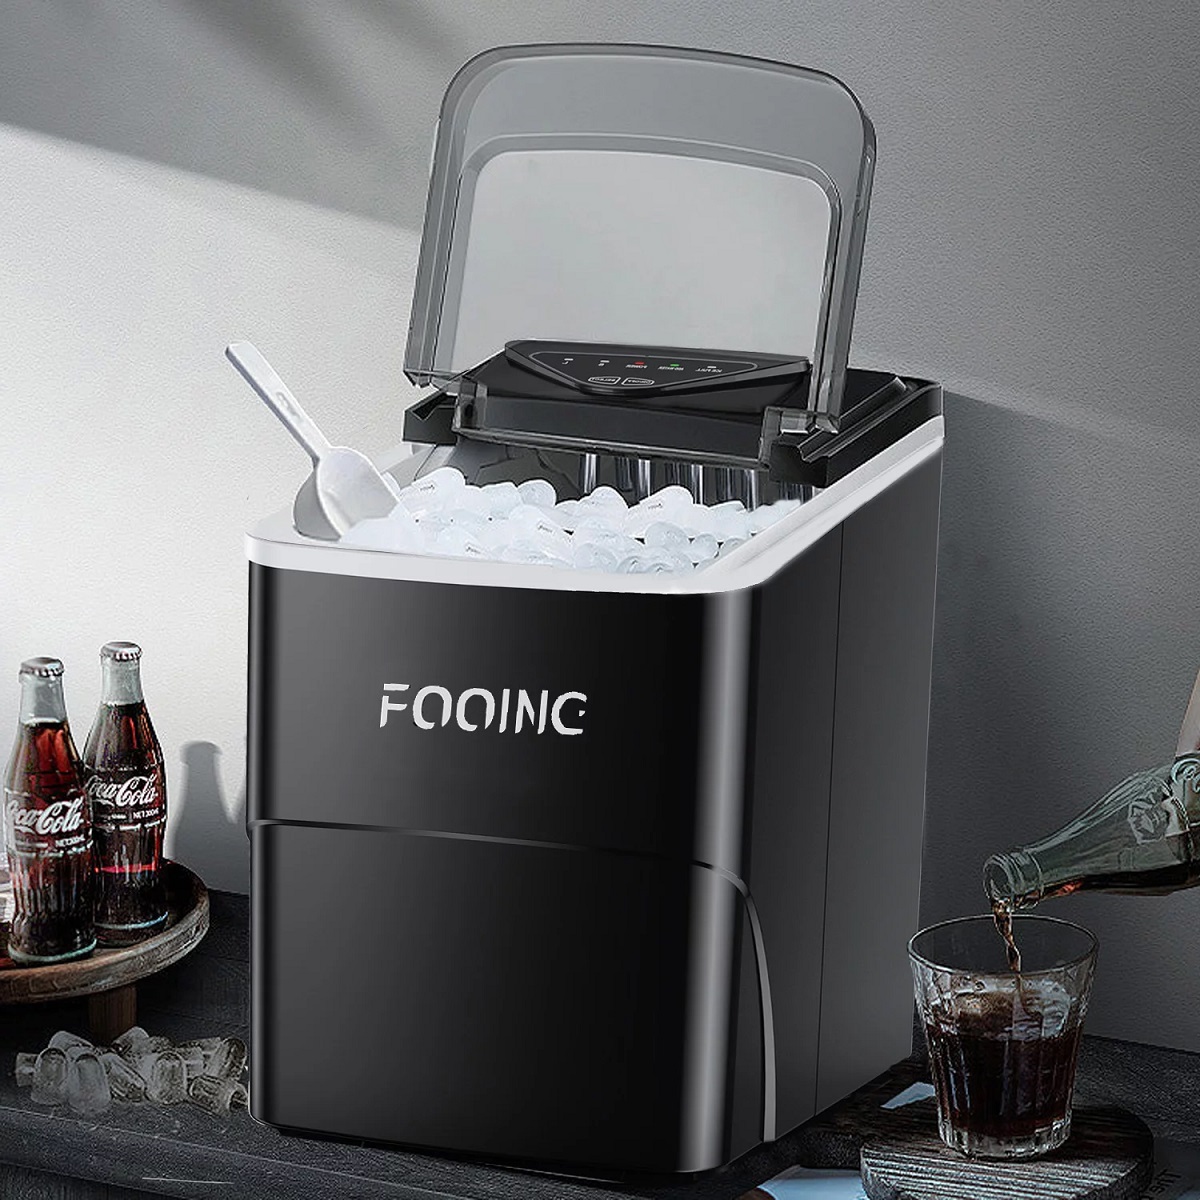
Welcome to the world of convenient and effortless ice making with the Magic Chef Ice Maker. Gone are the days of waiting for ice trays to freeze or making trips to the store to buy bags of ice. With the Magic Chef Ice Maker, you can enjoy an endless supply of ice in the comfort of your own home.
Whether you’re hosting a party, having a family BBQ, or simply want to enjoy a refreshing drink on a hot summer’s day, having a reliable ice maker can make all the difference. In this article, we will guide you through the process of using the Magic Chef Ice Maker, from unboxing and setup to harvesting and storing ice. So, let’s get started!
Key Takeaways:
- Enjoy hassle-free ice making with the Magic Chef Ice Maker. From unboxing to troubleshooting, this guide ensures you have a constant supply of ice for any occasion.
- Keep your Magic Chef Ice Maker in top shape with regular cleaning and maintenance. Troubleshoot common issues to ensure smooth and efficient ice production.
Read more: How Do You Clean A Magic Chef Ice Maker
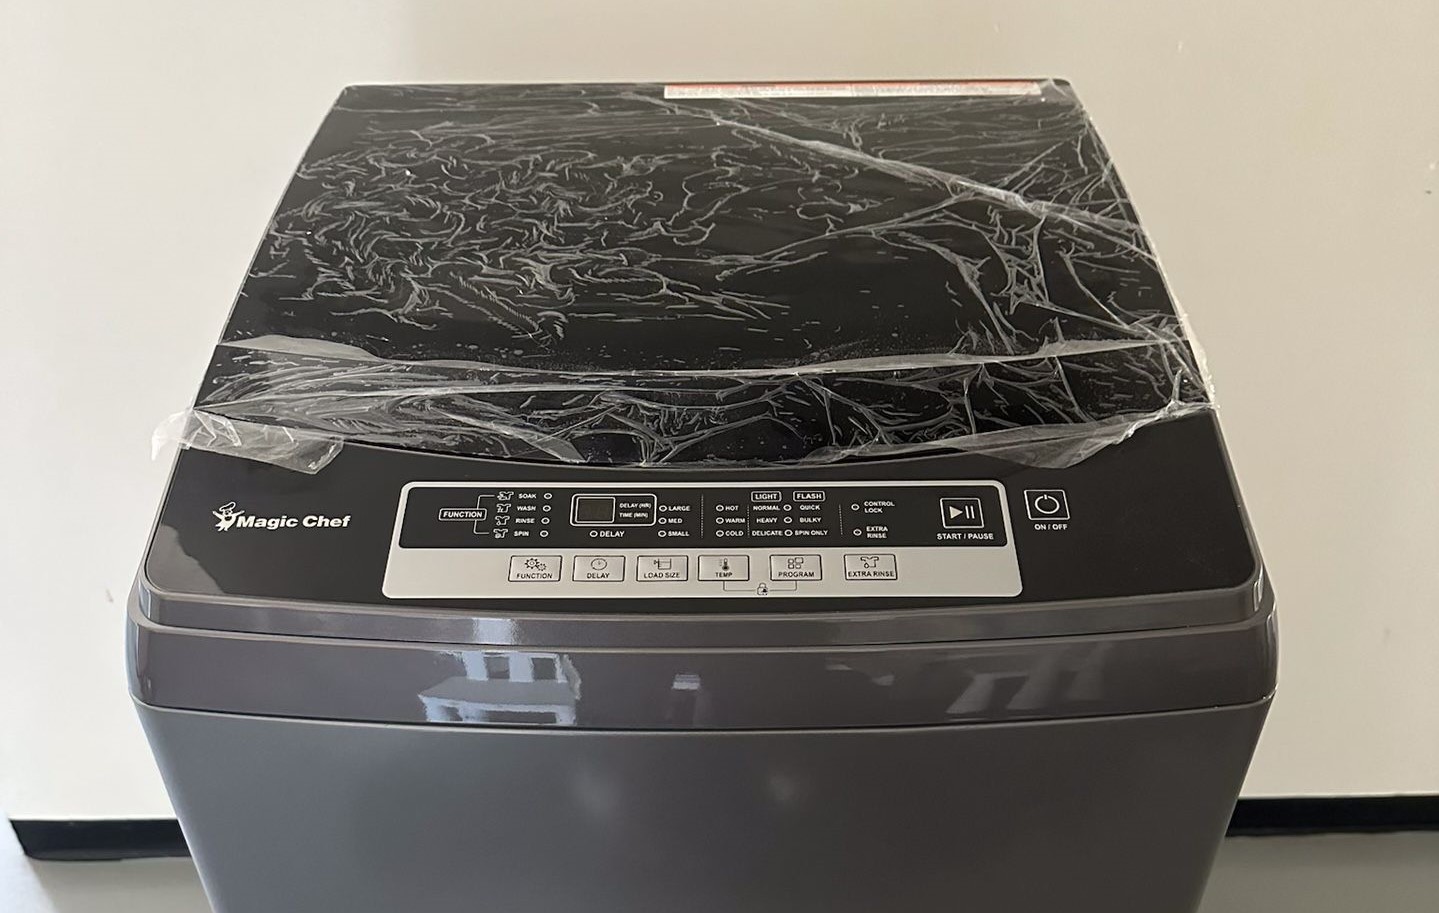
Step 1: Unboxing and Setup
The first step towards using your Magic Chef Ice Maker is unboxing and setting it up. Follow these simple instructions:
- Remove the ice maker from its packaging carefully, ensuring not to damage any parts.
- Find a suitable location for your ice maker where it is level and well-ventilated.
- Remove any plastic wrapping or protective stickers from the ice maker.
- Inspect the ice maker for any visible damage. If you notice any defects, contact the manufacturer for assistance.
- Once you’ve ensured the ice maker is in good condition, plug it into a power outlet.
That’s it! Your Magic Chef Ice Maker is now ready to be used. Move on to the next step to learn how to prepare the ice maker for ice production.
Step 2: Preparing the Ice Maker
Before you start making ice, it’s important to prepare your Magic Chef Ice Maker to ensure optimal performance. Here’s what you need to do:
- Open the lid of the ice maker to access the ice basket.
- Remove any packaging materials or protective paper from the ice basket.
- Give the ice basket a quick rinse with warm water to remove any residue.
- Inspect the water outlet on the ice basket. Ensure it is not blocked or clogged.
- Next, take a look at the ice scoop that came with your ice maker. Give it a quick wash with warm, soapy water, and rinse it thoroughly.
- Allow the ice basket and ice scoop to air dry completely before using them.
By following these simple steps, you’ve now prepared your Magic Chef Ice Maker for ice production. Now let’s move on to the next step and learn how to fill the water tank.
Step 3: Filling the Water Tank
To start making ice with your Magic Chef Ice Maker, you’ll need to fill the water tank. Follow these steps:
- Locate the water tank on the back or side of your ice maker.
- Remove the tank’s lid by gently twisting or pulling it off.
- Fill a clean pitcher or container with fresh water.
- Pour the water into the tank, being careful not to overfill it. Avoid touching the inside of the tank with your hands or any other objects.
- Replace the lid securely on the water tank.
- Ensure that the water tank is securely connected to the ice maker.
It’s important to note that using clean, filtered water can help improve the quality and taste of the ice. Tap water can sometimes contain impurities that affect the ice’s flavor. If you prefer, you can also use bottled water for the best results.
Now that you’ve filled the water tank, your Magic Chef Ice Maker is ready to start producing ice. Move on to the next step to learn how to operate the ice maker.
Step 4: Operating the Ice Maker
Operating the Magic Chef Ice Maker is a breeze. Once you’ve filled the water tank, follow these simple steps to start the ice-making process:
- Ensure that the power cord is securely plugged into a power outlet.
- Press the power button to turn on the ice maker. The power indicator light will illuminate, indicating that the ice maker is operational.
- Select the desired ice cube size using the control panel. Most Magic Chef Ice Makers offer options for small, medium, or large ice cubes.
- Wait for the ice maker to begin the freezing cycle. This usually takes a few minutes for the ice maker to start producing ice cubes.
- Listen for the sound of the water filling the ice tray. This is an indication that the ice-making process has begun.
- Observe the ice maker as it produces ice. You’ll see the ice cubes start to form in the ice tray.
- Allow the ice maker to continue producing ice until the ice tray is full. The ice maker will automatically stop producing ice when the tray is full.
It’s important to note that the time it takes to produce a batch of ice will vary depending on the room temperature and the size of the ice cubes selected. Generally, it takes around 6-13 minutes for the Magic Chef Ice Maker to produce a batch of ice.
Once the ice tray is full, you can move on to the next step to learn how to adjust the ice cube size according to your preference.
Step 5: Adjusting Ice Cube Size
The Magic Chef Ice Maker offers the flexibility to adjust the size of the ice cubes according to your preference. Follow these steps to customize the ice cube size:
- Locate the control panel on the front or top of the ice maker.
- Find the button or switch that allows you to adjust the ice cube size. This may be labeled as “Size” or “Cube Size”.
- Press the button or toggle the switch to select the desired size. Most Magic Chef Ice Makers offer options for small, medium, or large ice cubes.
- Observe the indicator light or display on the control panel to confirm the selected ice cube size.
By adjusting the ice cube size, you can cater to different preferences and specific needs. For example, larger ice cubes are ideal for cocktails or drinks that need to stay cold for longer periods, while smaller ice cubes are perfect for quick chilling or blending purposes.
Now that you’ve adjusted the ice cube size, let’s move on to the next step and learn how to monitor the ice production of your Magic Chef Ice Maker.
When using a Magic Chef ice maker, make sure to regularly clean the ice maker and the ice bin to prevent any buildup of dirt or debris, which can affect the quality of the ice produced.
Step 6: Monitoring the Ice Production
Monitoring the ice production of your Magic Chef Ice Maker is important to ensure a steady supply of ice when you need it. Here’s how you can keep track of the ice production:
- Observe the ice tray as it fills up with ice cubes. You’ll be able to see the progress of ice production visually.
- Pay attention to the sound of the ice maker. You may hear the water filling the ice tray or the ice cubes dropping into the storage area.
- Check the ice level indicator, if your ice maker has one. This is usually a small window or light that indicates the ice level in the storage area.
Keep in mind that the ice production rate may vary depending on the room temperature, water temperature, and ice cube size selected. It’s always a good idea to check the ice level periodically to ensure that you don’t run out of ice during your gatherings or everyday use.
If you find that the ice production is slower than expected, you can adjust the ambient temperature or move the ice maker to a cooler location. Additionally, make sure that the water tank is adequately filled and the ice tray and storage area are free from any obstructions.
Now that you know how to monitor the ice production, let’s move on to the next step and learn how to harvest and store the ice.
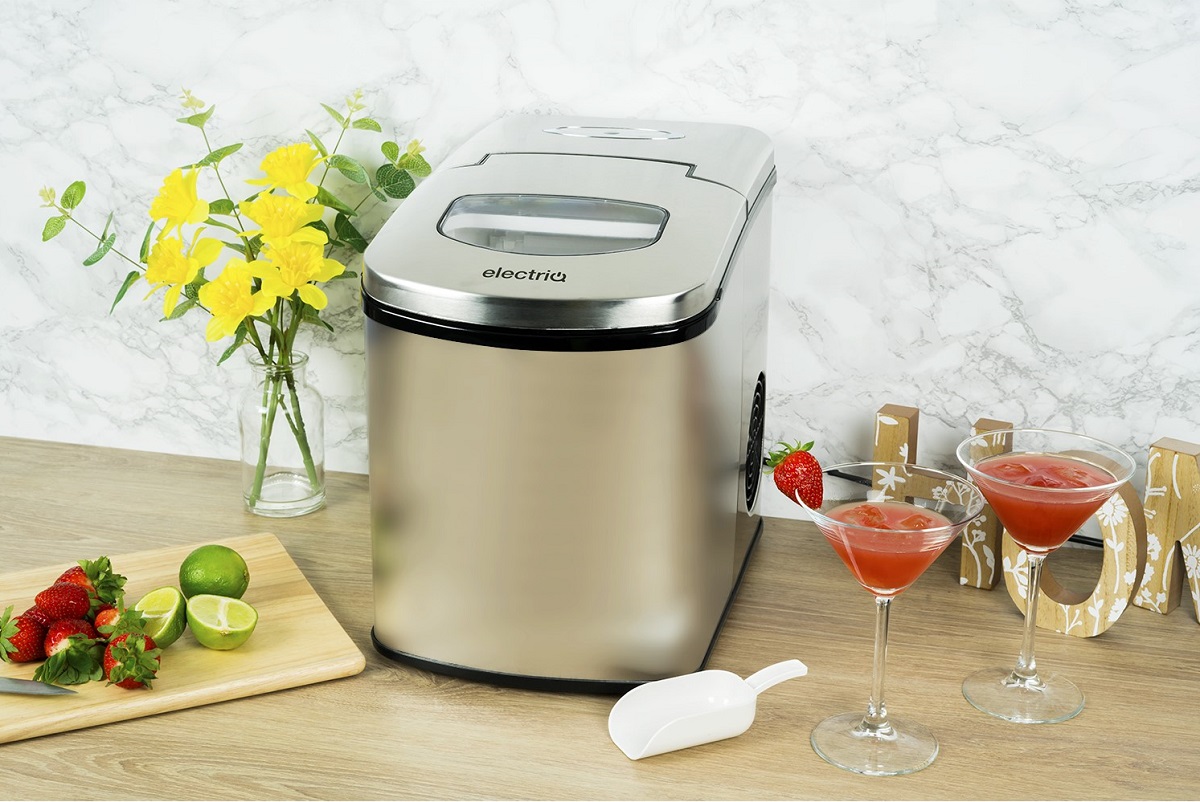
Step 7: Harvesting and Storing Ice
Once your Magic Chef Ice Maker has produced a sufficient amount of ice, it’s time to harvest and store it for later use. Follow these steps:
- Open the lid of the ice maker to access the ice basket.
- Using the included ice scoop or a clean utensil, carefully transfer the ice cubes from the basket to a storage container or directly into your drink.
- If you’re using a storage container, make sure it is clean and has an airtight seal to maintain the ice’s freshness.
- Store the ice container in your freezer to prevent the ice cubes from melting quickly.
It’s important to note that the ice produced by your Magic Chef Ice Maker is meant for immediate use or short-term storage. If you don’t plan on using the ice immediately, it’s recommended to transfer it to your freezer to maintain its quality and prevent it from clumping together.
For longer-term storage, consider transferring the ice cubes to a freezer bag or ice cube tray and placing them in your freezer. This will ensure that you always have a supply of ice readily available.
Now that you’ve harvested and stored the ice, it’s time to move on to the next step and learn how to clean and maintain your Magic Chef Ice Maker.
Step 8: Cleaning and Maintenance
Regular cleaning and maintenance of your Magic Chef Ice Maker is essential to ensure optimal performance and prolong its lifespan. Here’s how you can keep your ice maker in top shape:
- Before cleaning, make sure to unplug the ice maker and allow it to defrost (if needed).
- Remove any remaining ice from the ice basket and storage area. Discard any melted ice or water.
- Mix a solution of warm water and mild detergent or vinegar.
- Use a soft cloth or sponge to clean the interior surfaces of the ice maker, including the ice basket and removable parts.
- Rinse the interior surfaces thoroughly with clean water to remove any soap residue.
- Wipe the exterior of the ice maker with a damp cloth. Avoid using harsh chemicals or abrasive cleaners that may damage the surface.
- Allow all parts to air dry completely before reassembling the ice maker.
- Once the ice maker is dry, plug it back in and turn it on to resume ice production.
It’s recommended to perform a cleaning cycle every few weeks or as needed, depending on your usage. This will help remove any mineral buildup or impurities that can affect the quality of the ice.
In addition to regular cleaning, it’s important to follow these maintenance tips:
- Keep the ice maker in a well-ventilated area away from direct sunlight and heat sources.
- Avoid overfilling the water tank to prevent leaks or water overflow.
- Inspect the power cord periodically for any signs of damage or wear. If you notice any issues, contact a professional technician for repair or replacement.
By following these cleaning and maintenance practices, your Magic Chef Ice Maker will continue to produce high-quality ice and provide you with endless convenience.
Now that you know how to clean and maintain your ice maker, let’s move on to the next step and learn how to troubleshoot common issues.
Read more: How To Use An Igloo Ice Maker
Step 9: Troubleshooting Common Issues
While the Magic Chef Ice Maker is a reliable and efficient appliance, you may encounter some common issues during its operation. Here are a few troubleshooting tips to help you resolve them:
- No Ice Production: If your ice maker is not producing ice, check the water level in the tank and ensure it is properly connected. Also, make sure the ambient temperature is within the operating range specified by the manufacturer.
- Ice Cubes Stuck in the Tray: If the ice cubes are not releasing from the tray, check if the ice cube size is too large or if ice has formed a clump. Use the ice scoop or a utensil to break up any ice clumps and free the cubes.
- Excessive Noise: If your ice maker is making loud or unusual noises, it may be due to an uneven surface or loose components. Ensure that the ice maker is placed on a leveled surface and check for any loose parts that may require tightening.
- Leaking Water: If you notice water leakage from your ice maker, check if the water tank is properly sealed and not overfilled. Additionally, inspect the water inlet and outlet for any blockages or damage.
- Poor Ice Quality: If the ice produced by your ice maker has an unusual taste or odor, ensure that you are using clean and filtered water. Regularly clean the ice maker to remove any mineral buildup or impurities that may affect the ice quality.
If you encounter persistent issues or are unable to resolve them using these troubleshooting tips, it is recommended to consult the user manual or contact the manufacturer’s customer support for further assistance.
By following these troubleshooting steps, you can address common issues and ensure the smooth operation of your Magic Chef Ice Maker.
Now that you have learned how to troubleshoot common issues, we can conclude our guide on using the Magic Chef Ice Maker.
Conclusion
Congratulations! You have successfully learned how to use the Magic Chef Ice Maker. With its convenient and hassle-free operation, you can now enjoy a constant supply of ice whenever you need it. Whether you’re hosting a party, preparing refreshing summer beverages, or simply want to elevate your everyday drinks, the Magic Chef Ice Maker is designed to make ice production a breeze.
Remember to follow the step-by-step instructions provided in this guide, from unboxing and setup to cleaning and maintenance. By properly maintaining your ice maker, you can ensure optimal performance and extend its lifespan.
Additionally, we covered troubleshooting tips for common issues that may arise during the operation of your ice maker. It’s important to address these issues promptly to keep your ice maker functioning at its best.
Now it’s time to put your knowledge into action. Enjoy the convenience of having a reliable ice maker at your fingertips, and say goodbye to the hassle of manually filling ice trays or running out of ice at inopportune moments.
Thank you for reading this guide on how to use the Magic Chef Ice Maker. We hope it has provided you with valuable information and insights. Stay cool and enjoy the refreshing ice!
Excited about mastering your Magic Chef Ice Maker? Keep the momentum going by checking out our latest review on the best kitchen gadgets for the coming year. If you're keen on upgrading your culinary skills, you'll definitely want to read about the latest Magic Chef models that are making waves. Perfect for any home chef looking to simplify their kitchen routine, these air fryers offer a blend of convenience and quality that's hard to beat.
Frequently Asked Questions about How To Use A Magic Chef Ice Maker
Was this page helpful?
At Storables.com, we guarantee accurate and reliable information. Our content, validated by Expert Board Contributors, is crafted following stringent Editorial Policies. We're committed to providing you with well-researched, expert-backed insights for all your informational needs.
0 thoughts on “How To Use A Magic Chef Ice Maker”