Articles
How To Work An Ice Maker
Modified: October 27, 2024
Learn how to work an ice maker with these informative articles. Discover useful tips and step-by-step instructions to ensure your ice maker operates smoothly and efficiently.
(Many of the links in this article redirect to a specific reviewed product. Your purchase of these products through affiliate links helps to generate commission for Storables.com, at no extra cost. Learn more)
Introduction
An ice maker is a handy appliance that allows you to enjoy the convenience of having ice readily available in your home or workspace. Whether you’re hosting a party, preparing drinks, or simply need ice for everyday use, having an ice maker can save you time and effort. Understanding how to properly work an ice maker will ensure that you always have a steady supply of ice whenever you need it.
In this article, we will guide you through the process of working an ice maker effectively. We’ll cover everything from understanding the different types of ice makers to operating them correctly, troubleshooting common issues, and maintaining the appliance for optimal performance. So, let’s dive in and explore the world of ice makers.
Key Takeaways:
- Understanding the different types of ice makers, preparing them for use, and following proper operational and maintenance procedures are essential for ensuring a steady supply of high-quality ice.
- Regular cleaning, maintenance, and troubleshooting of common issues will help maximize the lifespan and performance of your ice maker, ensuring a constant and reliable source of ice.
Read more: How Does An Ice Maker Work?
Understanding Your Ice Maker
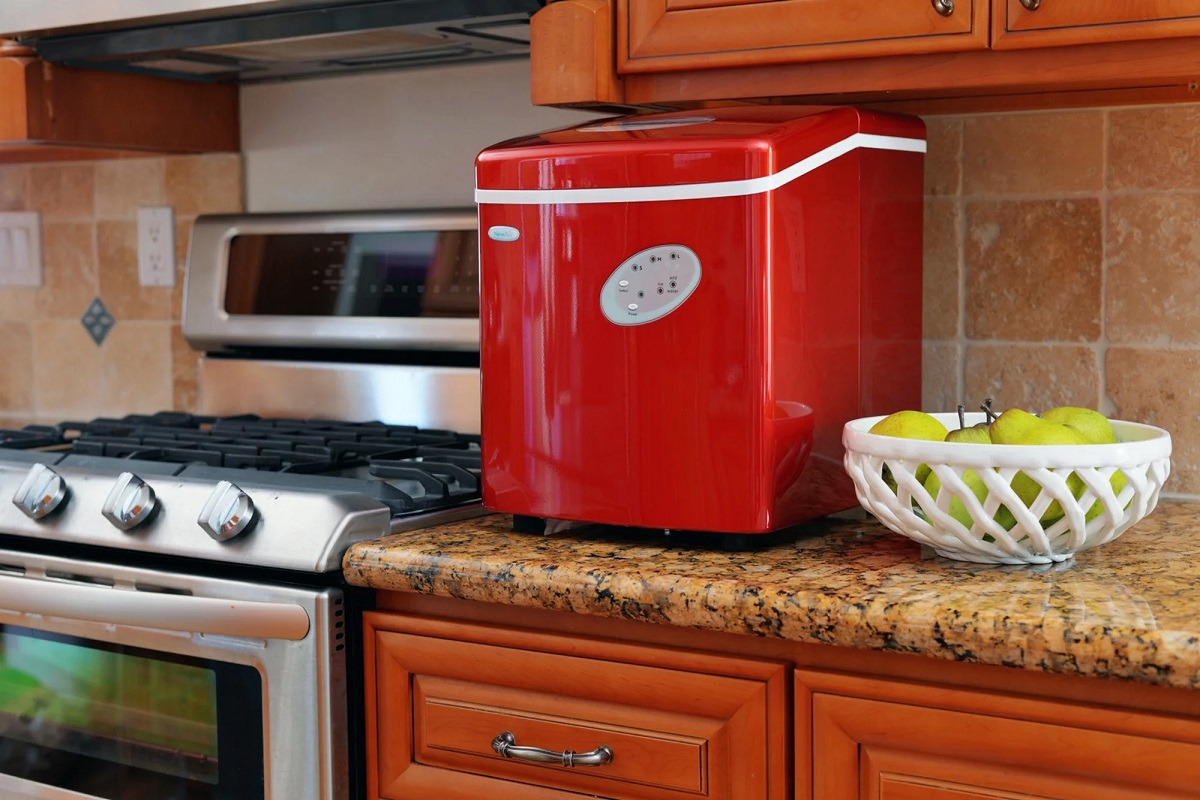
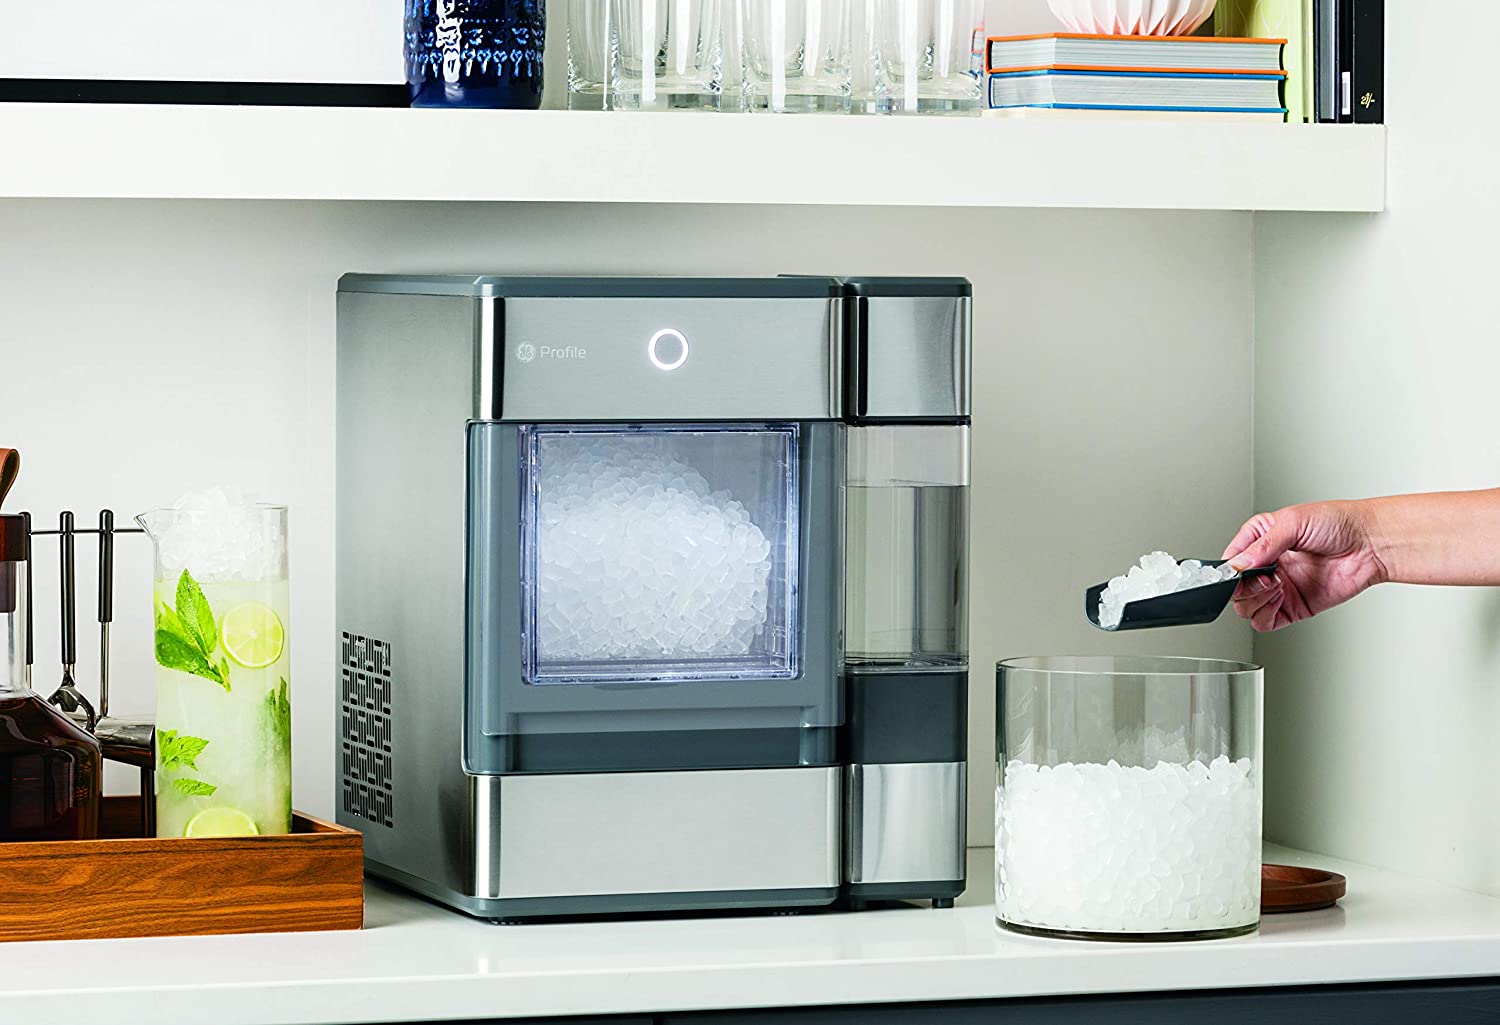
Before you can start using your ice maker, it’s important to familiarize yourself with its key components and functions. There are various types of ice makers available in the market, but the most common ones are the countertop and undercounter models.
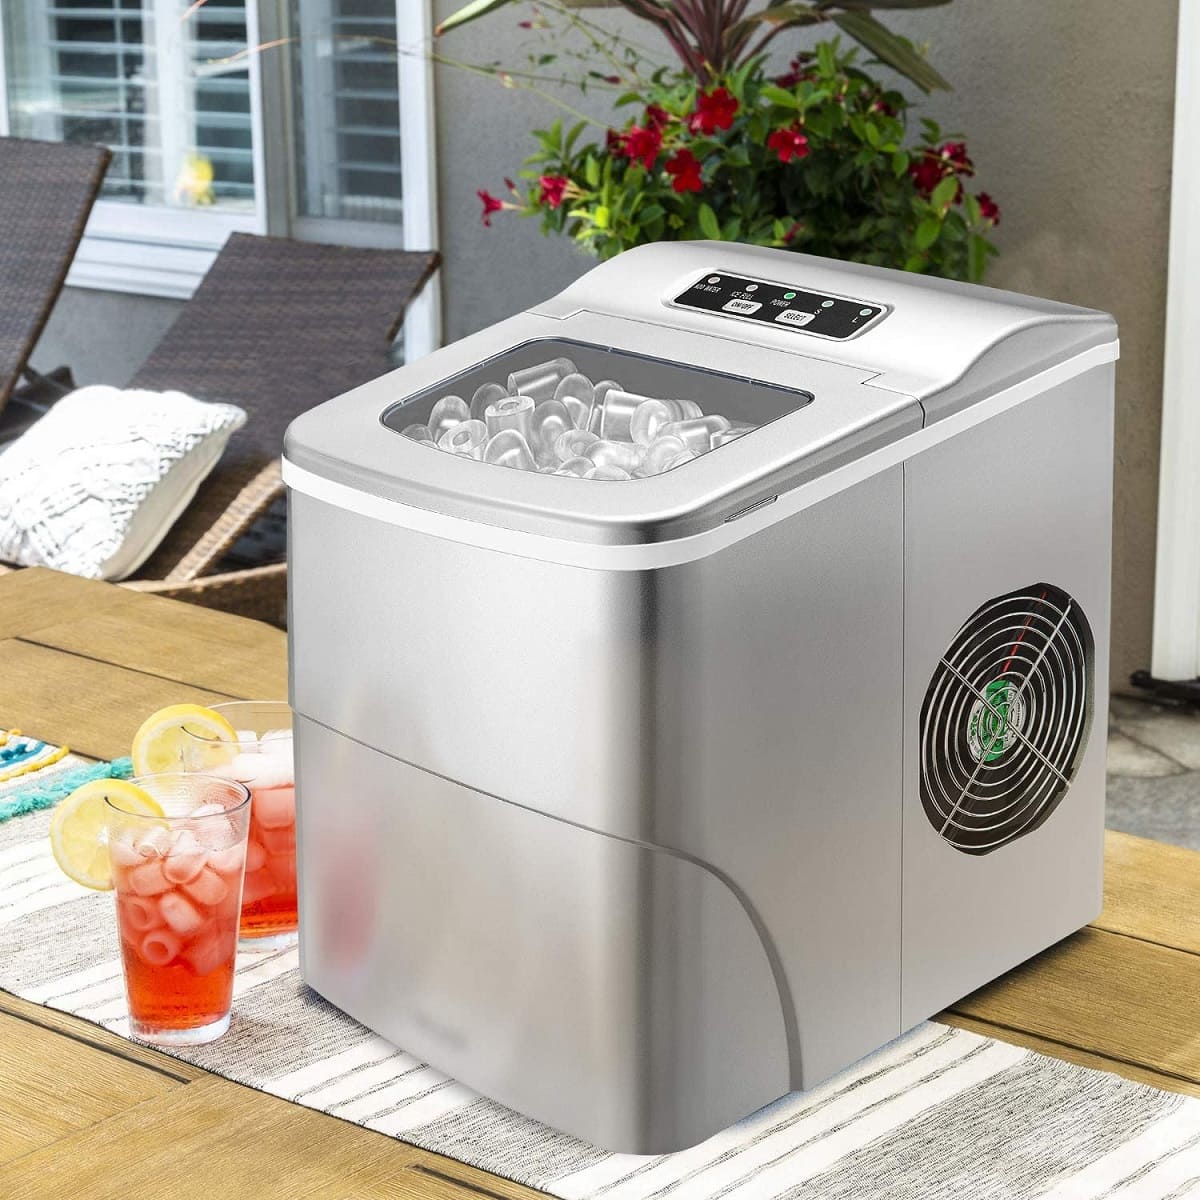
Countertop ice makers are portable and compact, making them ideal for small spaces or when you need to take them on-the-go. On the other hand, undercounter ice makers are designed to be installed directly into your kitchen cabinetry, providing a seamless and built-in look.
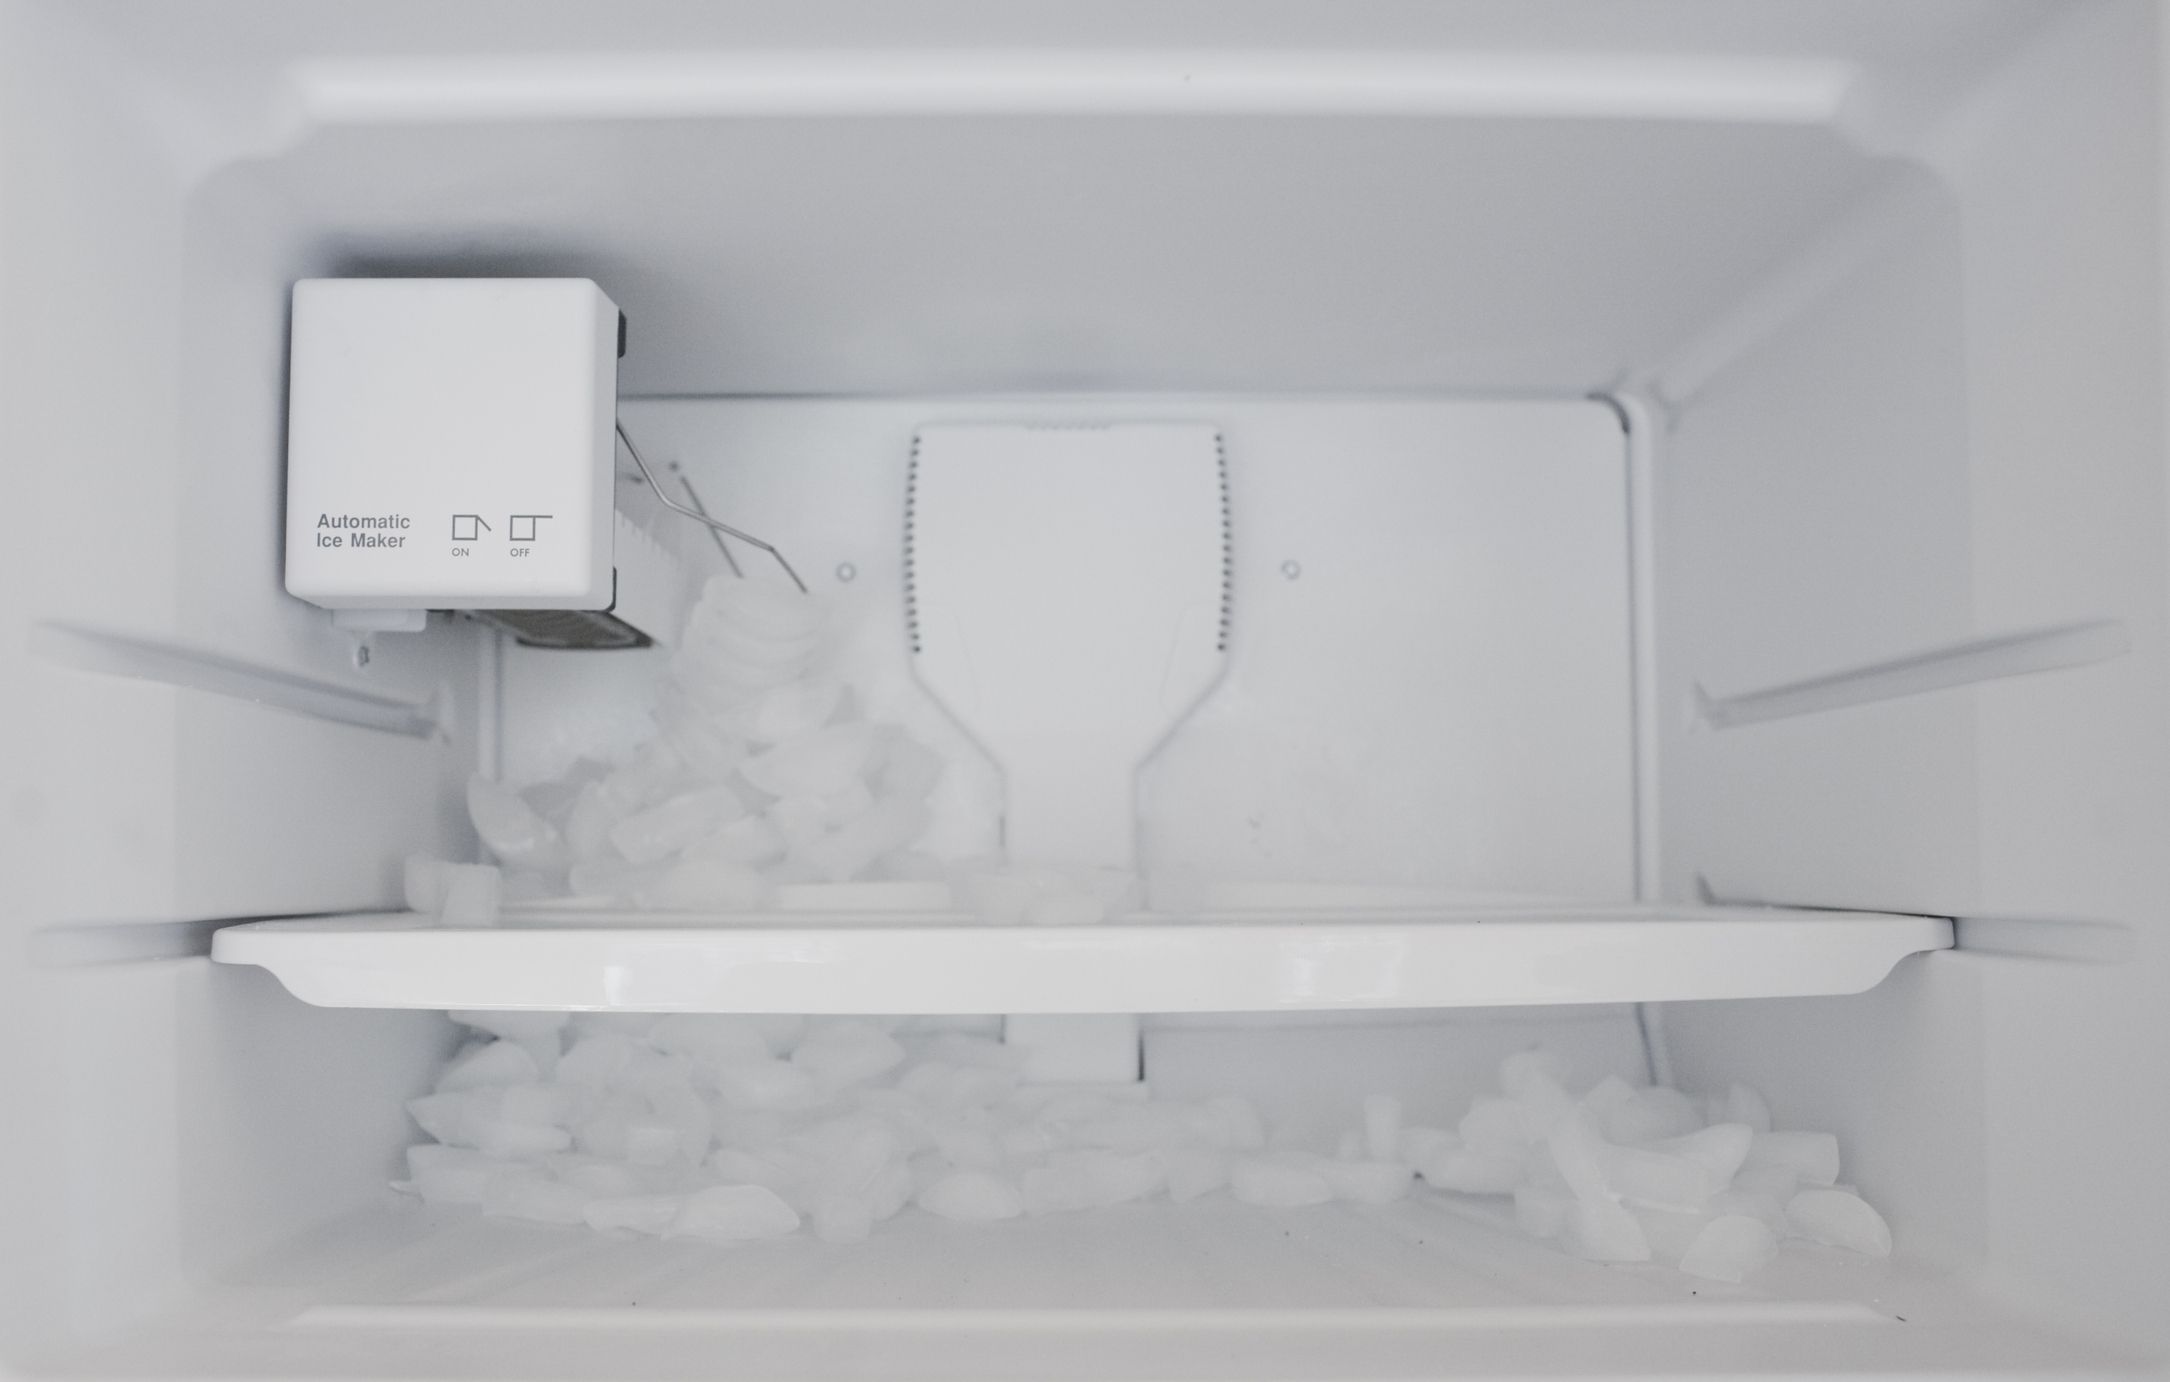
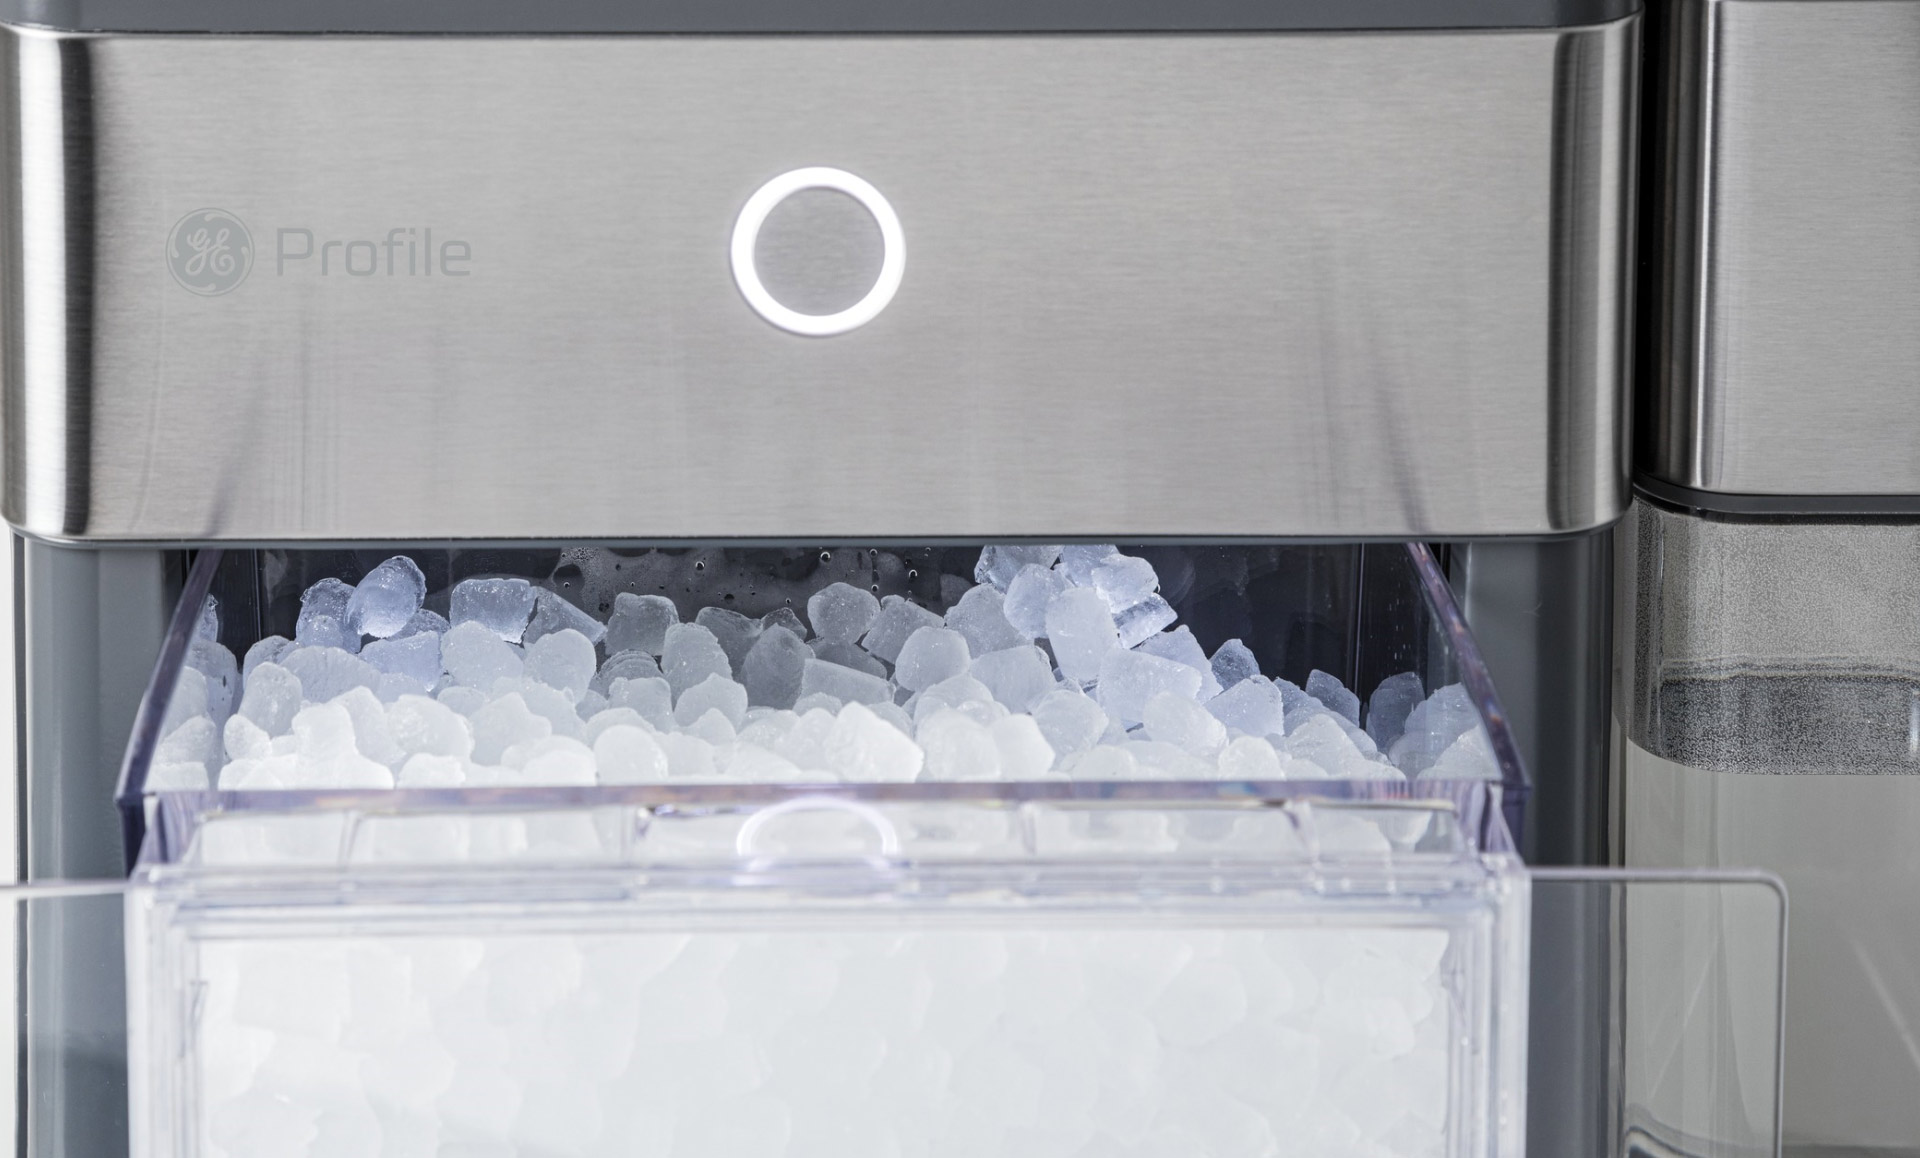
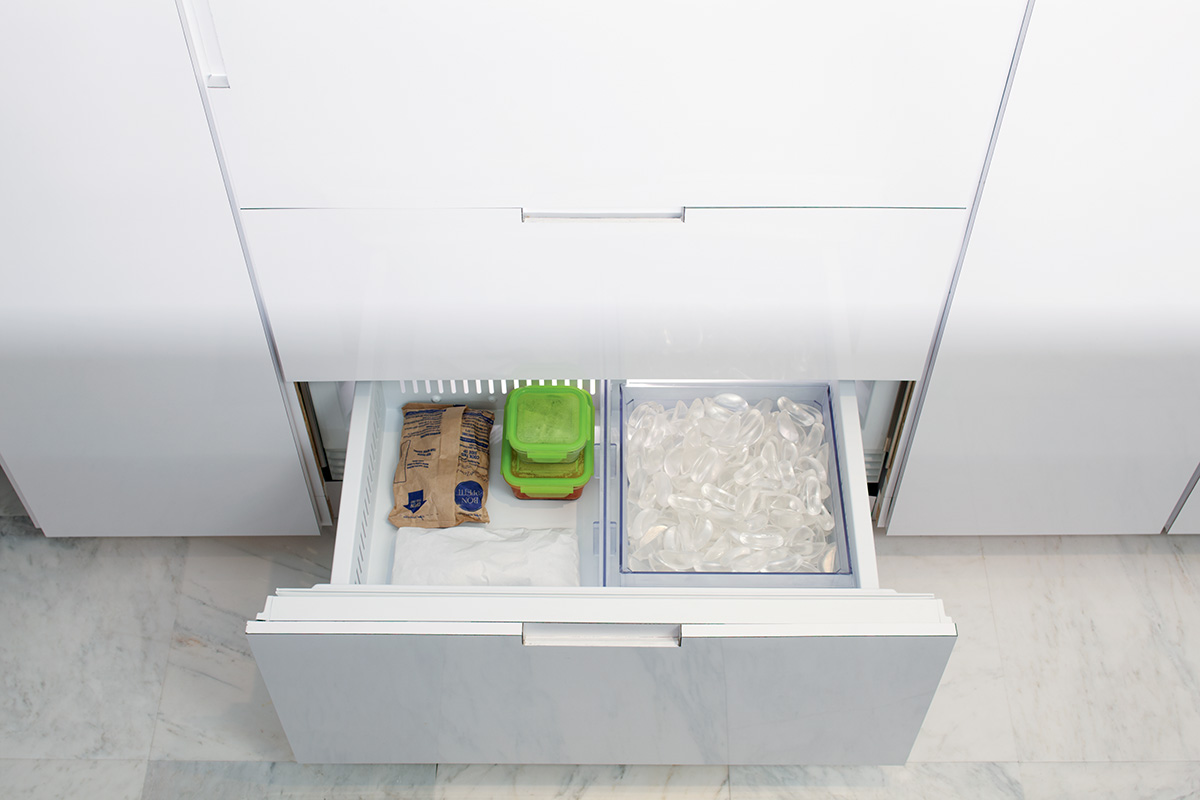
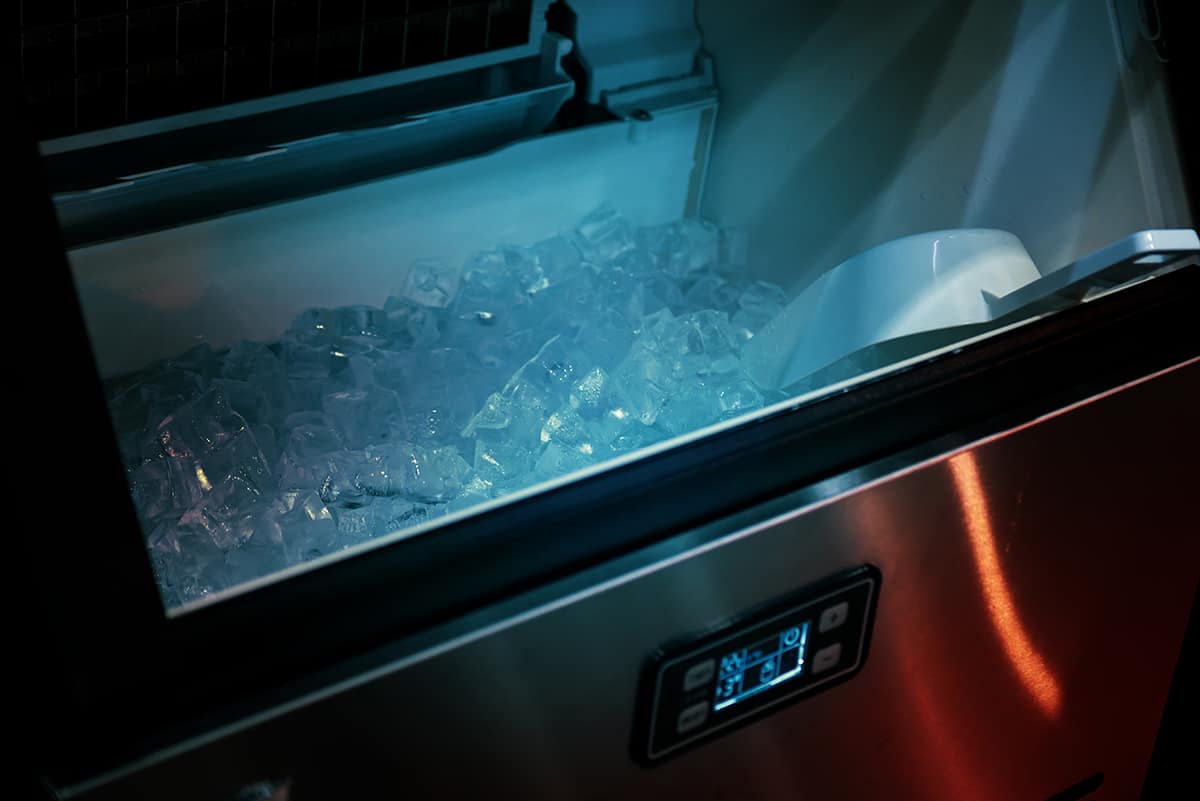
Regardless of the type of ice maker you have, they typically consist of a water reservoir, a freezing mechanism, and an ice storage bin. The water reservoir is where you pour water that will be frozen into ice cubes. The freezing mechanism is responsible for turning the water into ice, and the ice storage bin collects and holds the ice once it has been formed.
It’s important to note that some ice makers may require a water line connection, while others may not. If your ice maker requires a water line connection, ensure that it is properly hooked up to a water source before proceeding.
Additionally, different ice makers have varying ice production capacities and storage capacities. Understanding the capabilities of your ice maker will help you manage your ice supply effectively and avoid overloading the machine.
Lastly, it’s important to read the user manual that came with your ice maker. The manual will provide specific instructions and guidelines for your particular model, as well as safety precautions to follow. Take the time to familiarize yourself with the manual to ensure you’re using your ice maker correctly and safely.
Preparing the Ice Maker
Once you have a good understanding of your ice maker and its components, it’s time to prepare the machine for ice production. Here are the steps to follow:
- Clean the ice maker: Before using your ice maker for the first time, it’s crucial to clean it thoroughly. Remove any packaging materials and wash the ice maker’s interior with warm soapy water. Rinse it thoroughly to ensure there are no traces of soap left behind. This step will remove any dust or debris that may have accumulated during the manufacturing or shipping process.
- Inspect the water filter: If your ice maker has a built-in water filter, check if it needs to be replaced or cleaned. A clogged or dirty filter can affect the quality and taste of the ice. Refer to the user manual for instructions on inspecting and maintaining the water filter.
- Connect the water source (if required): If your ice maker requires a water line connection, make sure it is properly connected to a water source. Follow the instructions in the user manual to ensure a secure and leak-free connection. If you’re not comfortable with the installation process, consider seeking the help of a professional plumber.
- Add water to the reservoir: Fill the water reservoir with clean, cold water. Avoid overfilling it, as it may lead to spillage or inefficient ice production. Follow the recommended water level indicated in the user manual.
- Power on the ice maker: Plug the ice maker into a power outlet and turn it on. Most ice makers have an on/off switch or a power button. Wait for the machine to initialize and start its ice-making process. This may take a few minutes.
By following these steps, you’ll ensure that your ice maker is clean, properly connected, and ready to produce ice. Preparing your ice maker will guarantee optimal performance and minimize the risk of any issues during operation.
Operating the Ice Maker
Now that your ice maker is prepared and ready, it’s time to start using it to produce ice. Here’s a step-by-step guide on how to operate your ice maker:
- Select the ice cube size: Most ice makers offer the option to select the size of the ice cubes. Depending on your preference and intended use, choose the desired ice cube size. This can usually be done using a control panel or a button on the machine.
- Allow time for ice production: It’s important to note that ice production takes time. Depending on the model and conditions, it may take anywhere from 6 to 12 minutes for a batch of ice cubes to form. Be patient and avoid constantly opening the ice maker’s lid or door as this can disrupt the freezing process.
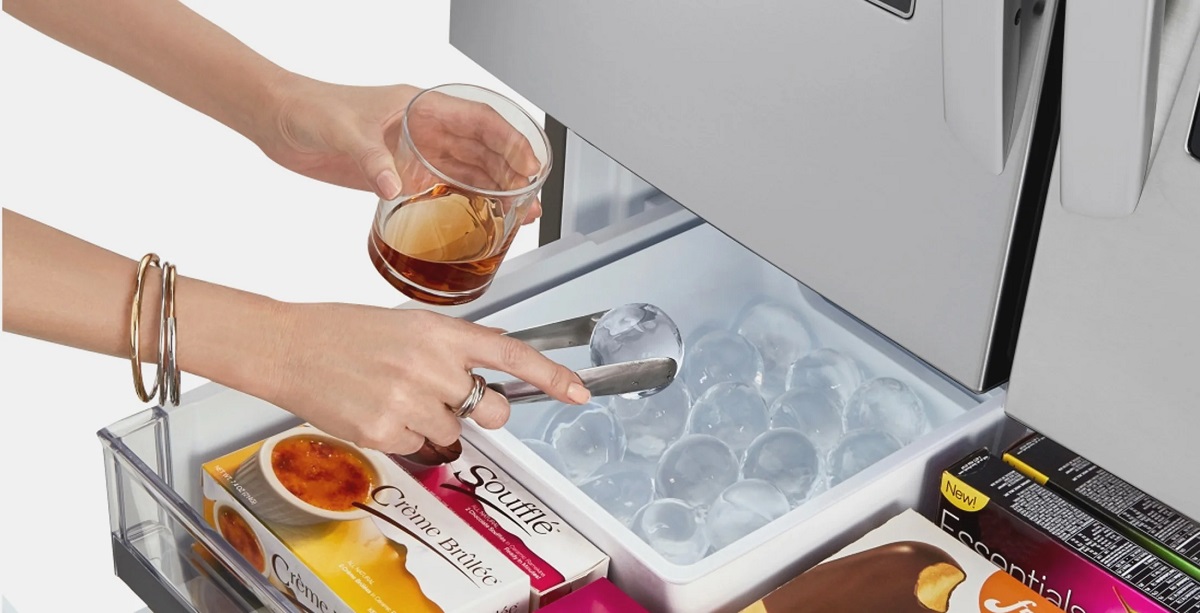
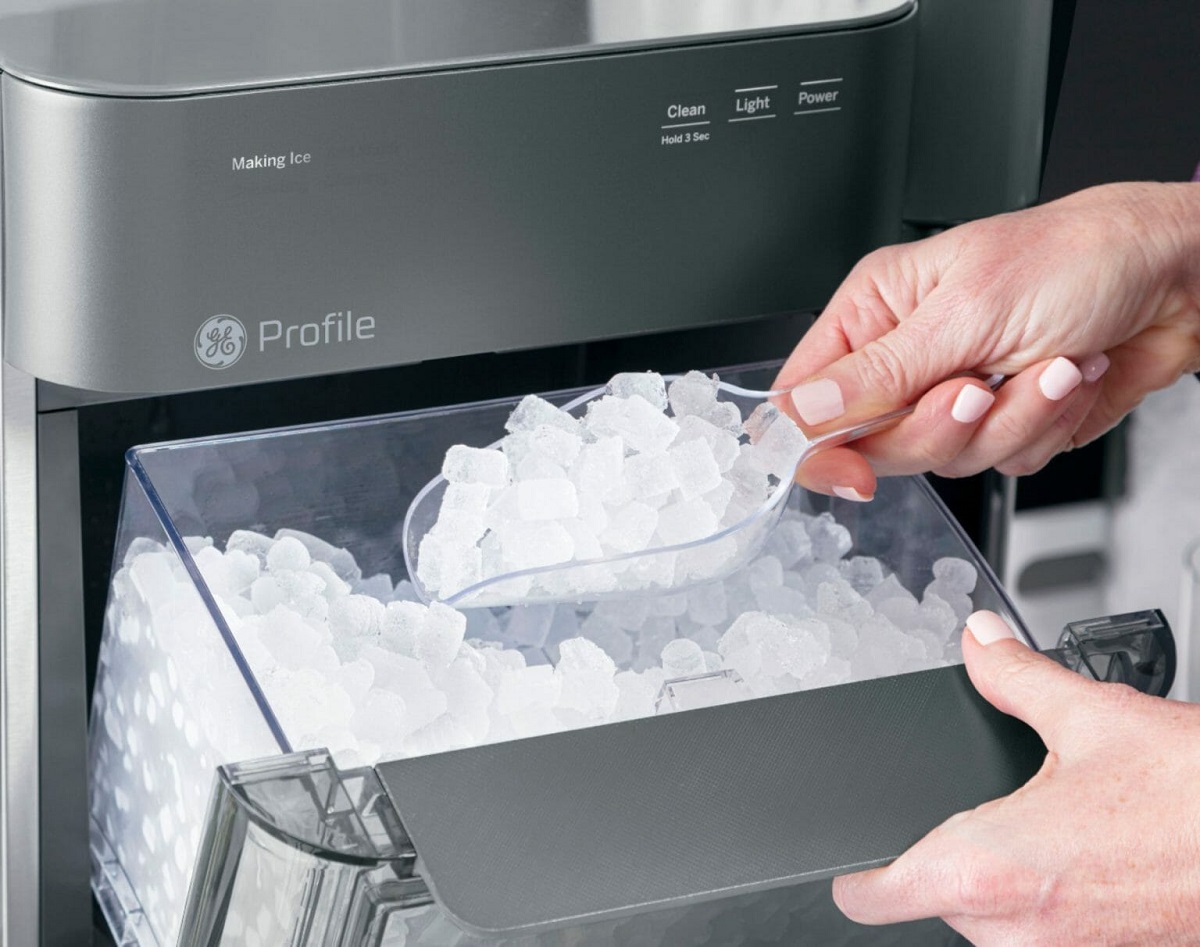
- Collect the ice: Once the ice cubes are formed, they will automatically drop into the ice storage bin. Open the lid or door of the ice maker and collect the ice using a scoop or by hand. Ensure that your hands are clean and dry to maintain the ice’s hygiene.
- Store the excess ice: If you have excess ice that you won’t be using immediately, transfer it to a separate container or freezer bags and store it in your freezer. This will prevent the ice from melting and keep it available for future use.
- Refill the water reservoir: As you use the ice maker, monitor the water level in the reservoir. If it’s low or empty, refill it with clean, cold water. Maintaining an adequate water level is essential for continuous ice production.
It’s important to follow these operating instructions to ensure a smooth ice-making process and prevent any damage to the machine. Be mindful of the ice storage capacity and avoid overfilling the storage bin, as it may impede the machine’s performance. Regularly monitor the ice production and adjust your usage accordingly to avoid exceeding the ice maker’s capabilities.
Remember to refer to the user manual for specific operational details and any additional features that your ice maker may have. Understanding the features and functionalities of your specific model will help you make the most out of your ice maker’s capabilities.
Regularly clean the ice maker to prevent buildup of mineral deposits and bacteria. Use a mixture of water and vinegar to clean the ice maker and ensure it produces clean and fresh ice.
Troubleshooting Common Issues
While ice makers are generally reliable, occasional issues can arise. Here are some common problems you may encounter and their possible solutions:
- Ice maker not producing ice: If your ice maker is not producing ice, check if the water supply is properly connected and turned on. Ensure that the water reservoir is filled to the recommended level. If the ice maker has a switch or button to activate the ice-making cycle, ensure that it is turned on. If none of these solutions work, consult the user manual or contact the manufacturer for further assistance.
- Ice cubes are small or clumped together: Small ice cubes or clumping can indicate a problem with the water supply or freezing mechanism. Check if the water line is properly connected and free from any blockages. Clean the ice maker and ensure that it is free from any mineral deposits or debris that may impair ice production. If the issue persists, it may require professional maintenance or repair.
- Ice has a strange taste or odor: If the ice from your ice maker has an unusual taste or odor, it may be due to the water source or a dirty water filter. Ensure that the water used to make the ice is clean and potable. If your ice maker has a water filter, clean or replace it according to the manufacturer’s recommendations.
- Leaking water: If your ice maker is leaking water, check if the water line connections are secure and not damaged. Inspect the water reservoir for any cracks or defects. Ensure that the ice maker is level and not tilted, as this can cause water to leak. If the problem persists, it’s best to contact a professional for repair.
- Loud noise during operation: Unusual or loud noises coming from the ice maker may indicate a problem with the motor or the fan. Ensure that the ice maker is on a stable surface and not vibrating excessively. If the noise continues, it’s best to seek professional assistance for inspection and repair.
Remember, if you encounter any issues with your ice maker that you are unable to resolve on your own, consult the user manual or contact the manufacturer’s customer support for guidance. It’s essential to follow proper troubleshooting procedures and avoid attempting to disassemble or repair the ice maker without proper knowledge or expertise.
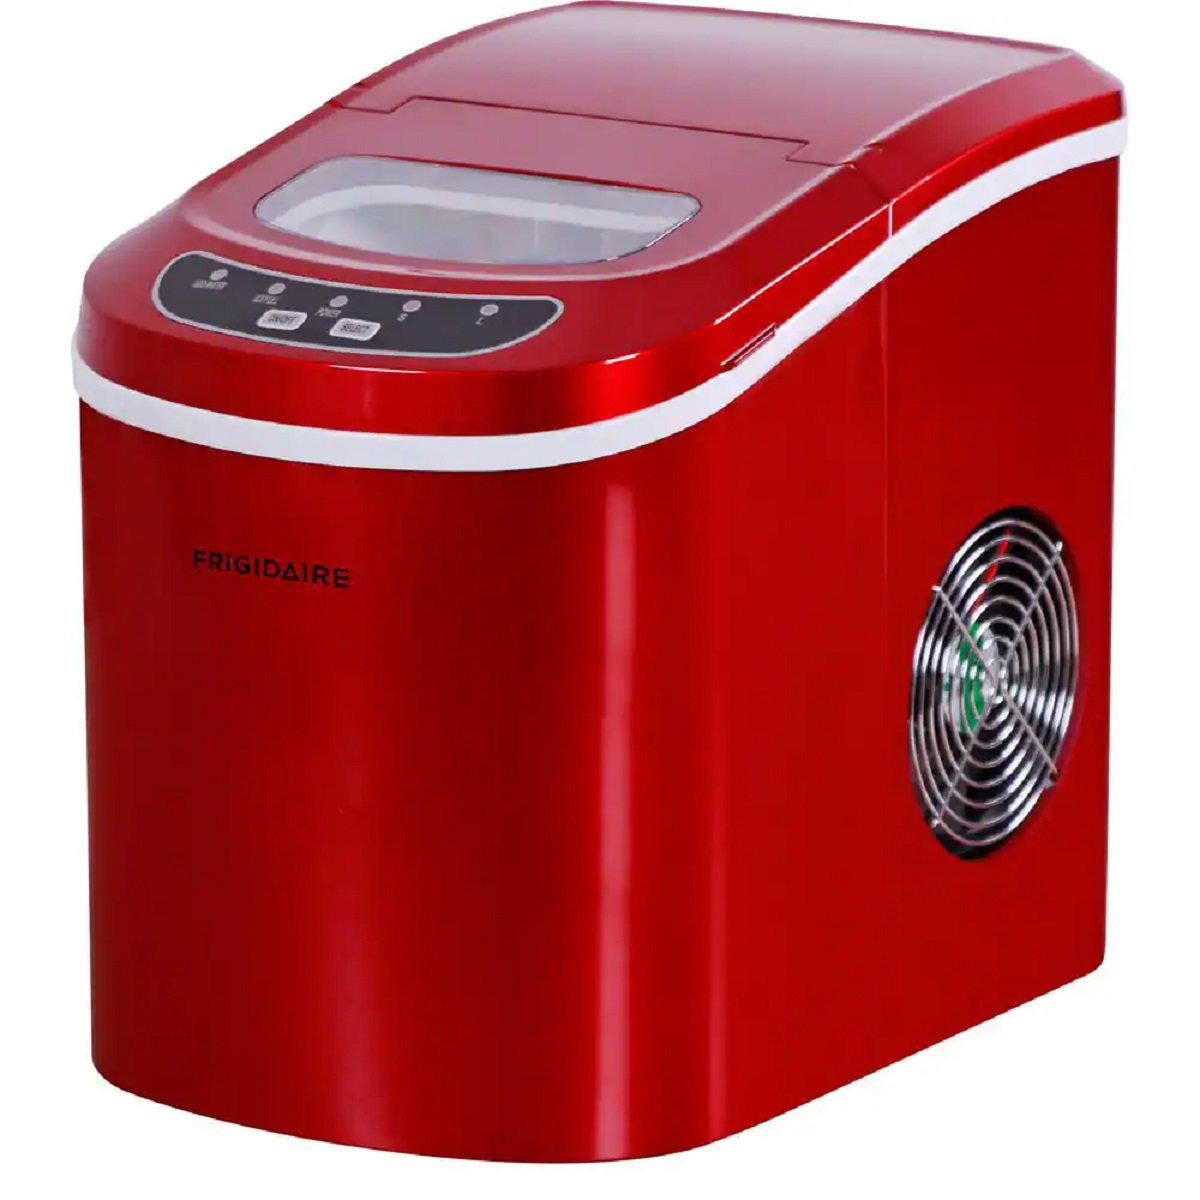
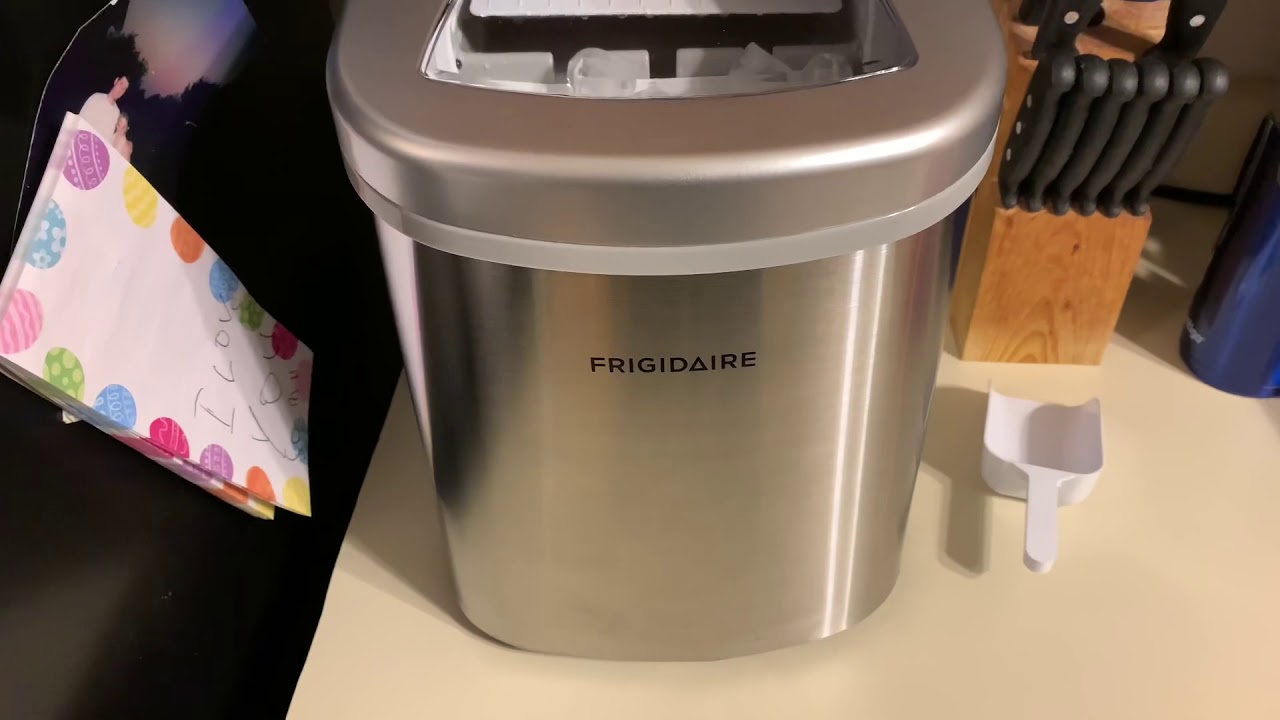
Read more: How To Work A Frigidaire Ice Maker
Cleaning and Maintaining the Ice Maker
To ensure the longevity and optimal performance of your ice maker, regular cleaning and maintenance are essential. Here are some important steps to follow:
- Regularly clean the interior: Clean the inside of the ice maker regularly to remove any buildup of minerals, scale, or residue. Use a mild detergent and warm water to wash the interior surfaces. Rinse thoroughly to ensure no soapy residue remains.
- Remove and clean the ice storage bin: Remove the ice storage bin and empty any remaining ice. Wash the bin with warm, soapy water, and rinse it thoroughly. Allow it to dry completely before placing it back in the ice maker. This will prevent the growth of bacteria and ensure the quality of the ice.
- Clean the water reservoir: Clean the water reservoir periodically to prevent the buildup of impurities. Depending on your model, the reservoir may be removable or accessible for cleaning. Follow the instructions in the user manual to clean and disinfect the reservoir properly.
- Pay attention to the water filter: If your ice maker has a water filter, monitor its condition and clean or replace it as recommended by the manufacturer. A clogged or dirty filter can affect the ice quality and reduce the efficiency of the ice maker. Refer to the user manual for specific instructions on maintaining the water filter.
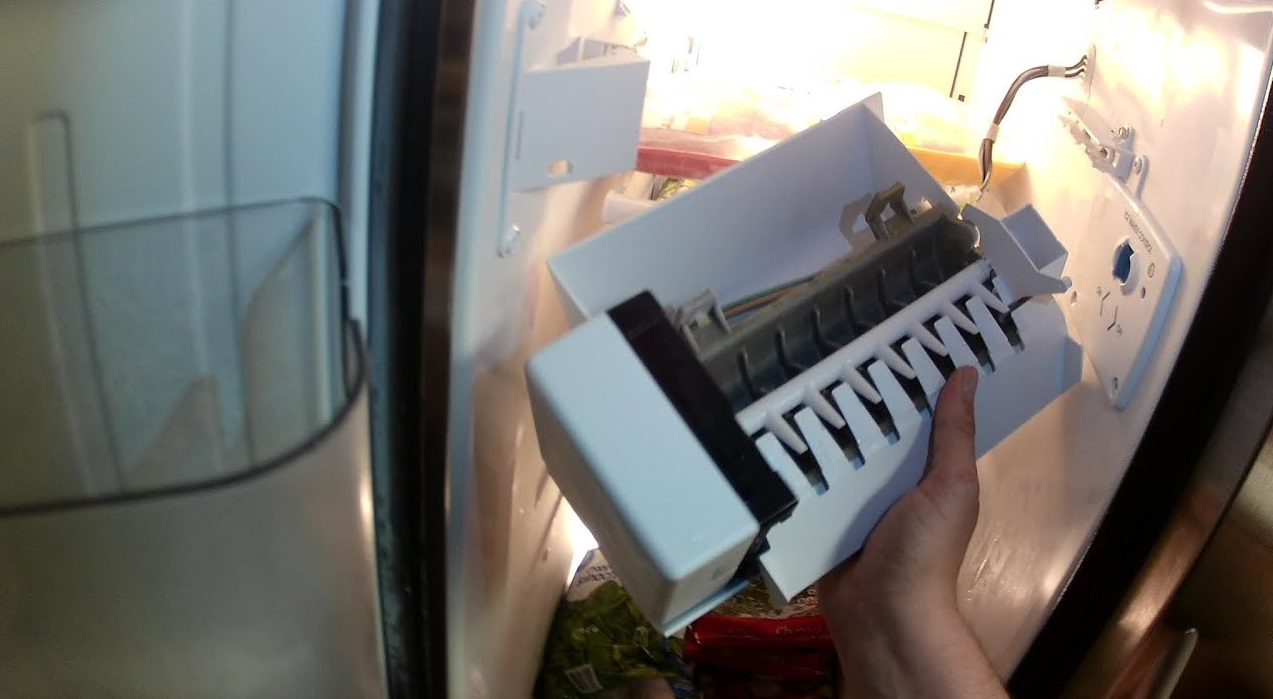
- Check the condenser coils: Over time, dust and debris can accumulate on the condenser coils, affecting the ice maker’s cooling performance. Periodically check the condenser coils and clean them using a brush or vacuum cleaner. This will help maintain the efficiency of the ice maker and prevent overheating.
- Inspect for leaks and damage: Regularly inspect the ice maker for any leaks, cracks, or damage. If you notice any signs of a leak or damage, address the issue promptly to prevent further problems. Contact a professional technician if repairs are needed.
- Follow the manufacturer’s recommendations: Lastly, be sure to follow the manufacturer’s guidelines and recommendations for cleaning and maintenance. They may provide specific steps and intervals for cleaning, as well as any additional care instructions for your particular model.
By implementing a regular cleaning and maintenance routine, you can keep your ice maker in excellent condition, ensure the production of clean and high-quality ice, and maximize its lifespan.
Conclusion
An ice maker is a valuable appliance that provides the convenience of having ice readily available whenever you need it. By understanding how to work an ice maker effectively, you can enjoy a constant supply of ice for various purposes.
In this article, we covered the basics of understanding your ice maker, including its different types, components, and functions. We then discussed the importance of preparing the ice maker before use, ensuring it is clean and properly connected to a water source. Operating the ice maker involves selecting the ice cube size, allowing time for ice production, collecting the ice, and maintaining the water level.
Additionally, we explored common issues you may encounter with your ice maker and how to troubleshoot them. Remember to consult the user manual or contact the manufacturer for specific troubleshooting steps if needed.
Maintaining your ice maker through regular cleaning and maintenance routines is crucial for optimal performance. Be sure to clean the interior and ice storage bin, check and clean the water reservoir and filters, inspect the condenser coils, and address any leaks or damage promptly.
By following these guidelines, you can ensure that your ice maker operates smoothly, produces high-quality ice, and lasts for a long time. Remember to always refer to the user manual for specific instructions and recommendations provided by the manufacturer.
So, start enjoying the convenience of having a reliable ice maker in your home or workplace. Cheers to never running out of ice!
Frequently Asked Questions about How To Work An Ice Maker
Was this page helpful?
At Storables.com, we guarantee accurate and reliable information. Our content, validated by Expert Board Contributors, is crafted following stringent Editorial Policies. We're committed to providing you with well-researched, expert-backed insights for all your informational needs.
0 thoughts on “How To Work An Ice Maker”