Articles
How To Turn Ice Maker On
Modified: February 20, 2024
Learn how to turn your ice maker on and start enjoying ice-cold beverages in no time. Follow our step-by-step articles for easy instructions and troubleshooting tips.
(Many of the links in this article redirect to a specific reviewed product. Your purchase of these products through affiliate links helps to generate commission for Storables.com, at no extra cost. Learn more)
Introduction
Welcome to this comprehensive guide on how to turn on an ice maker. If you’re tired of constantly refilling ice trays or buying bags of ice, having an ice maker can be a convenient and efficient solution. Whether you recently installed a new ice maker or want to start using an existing one, we’ll walk you through the step-by-step process of turning it on.
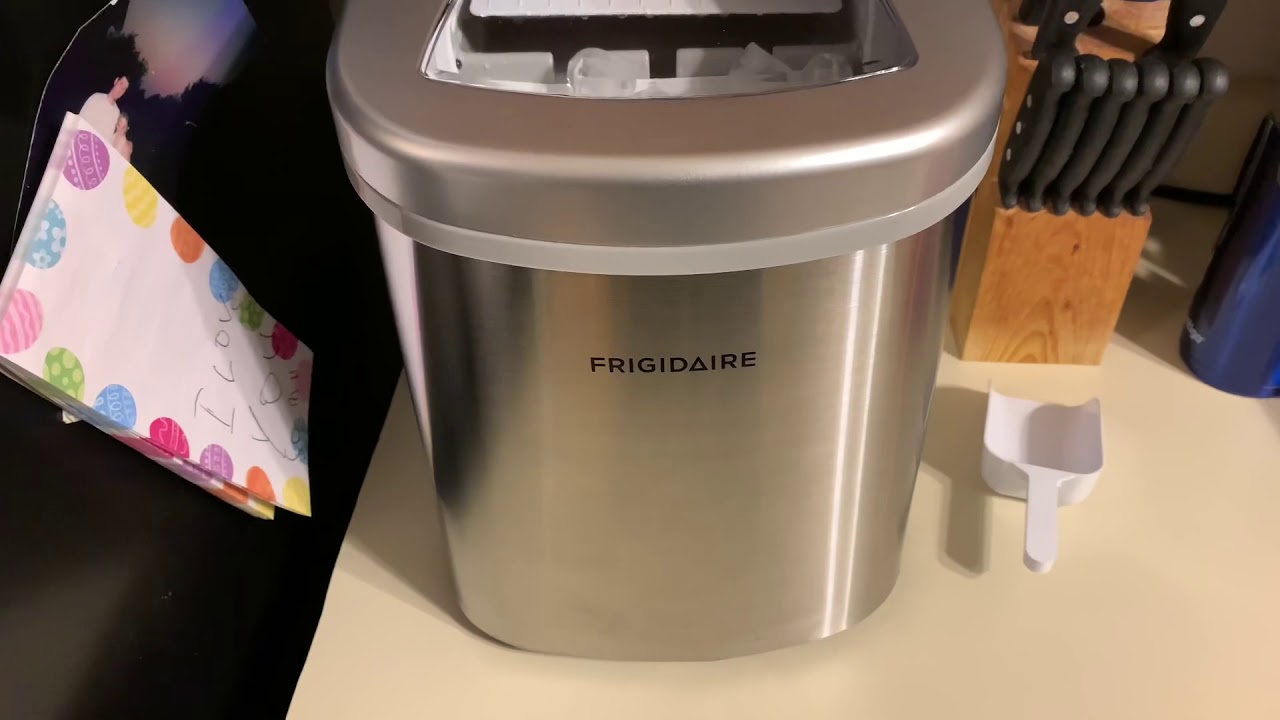
An ice maker is a device that is built into a refrigerator or freezer and is designed to produce ice cubes automatically. It eliminates the need for manual ice cube trays and provides a continuous supply of ice whenever you need it. By following the instructions in this article, you can ensure that your ice maker is functioning properly and ready to produce ice for your beverages or other cooling purposes.
Before we get into the details of turning on the ice maker, it’s important to note that the exact steps may vary depending on the make and model of your appliance. It’s always a good idea to consult the user manual provided by the manufacturer for specific instructions related to your ice maker. With that said, let’s dive into the process of checking and turning on your ice maker.
Key Takeaways:
- Say goodbye to manual ice trays and bags of ice! Follow these steps to easily turn on your ice maker and enjoy a continuous supply of freshly made ice cubes for your beverages and cooling needs.
- Keep your ice maker running smoothly by checking components, adjusting settings, and troubleshooting common issues. Enjoy the convenience of hassle-free ice production with these simple maintenance tips.
Read more: How To Turn On Beko Ice Maker
Checking the Ice Maker
Before turning on your ice maker, it’s essential to check its components to ensure everything is in working order. Here are the steps to follow:
- Inspect the Water Supply: Start by checking the water supply line connected to the back of your refrigerator. Make sure it is securely attached and that the water valve is turned on. A loose or disconnected water supply line can prevent your ice maker from producing ice.
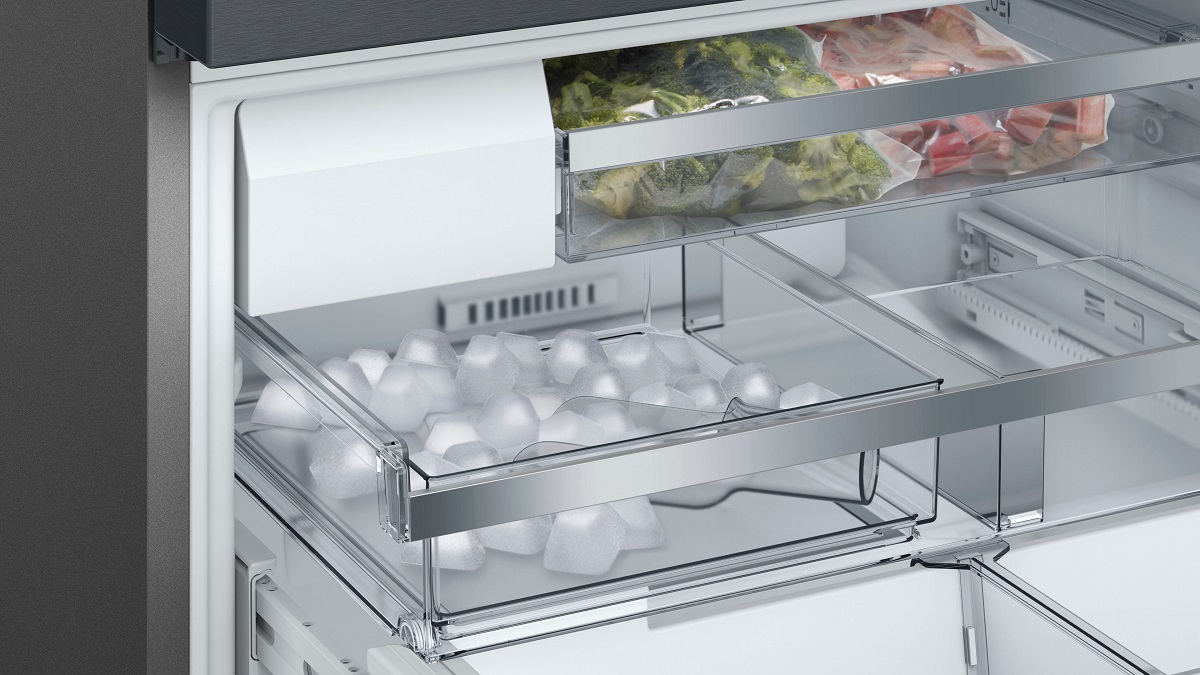
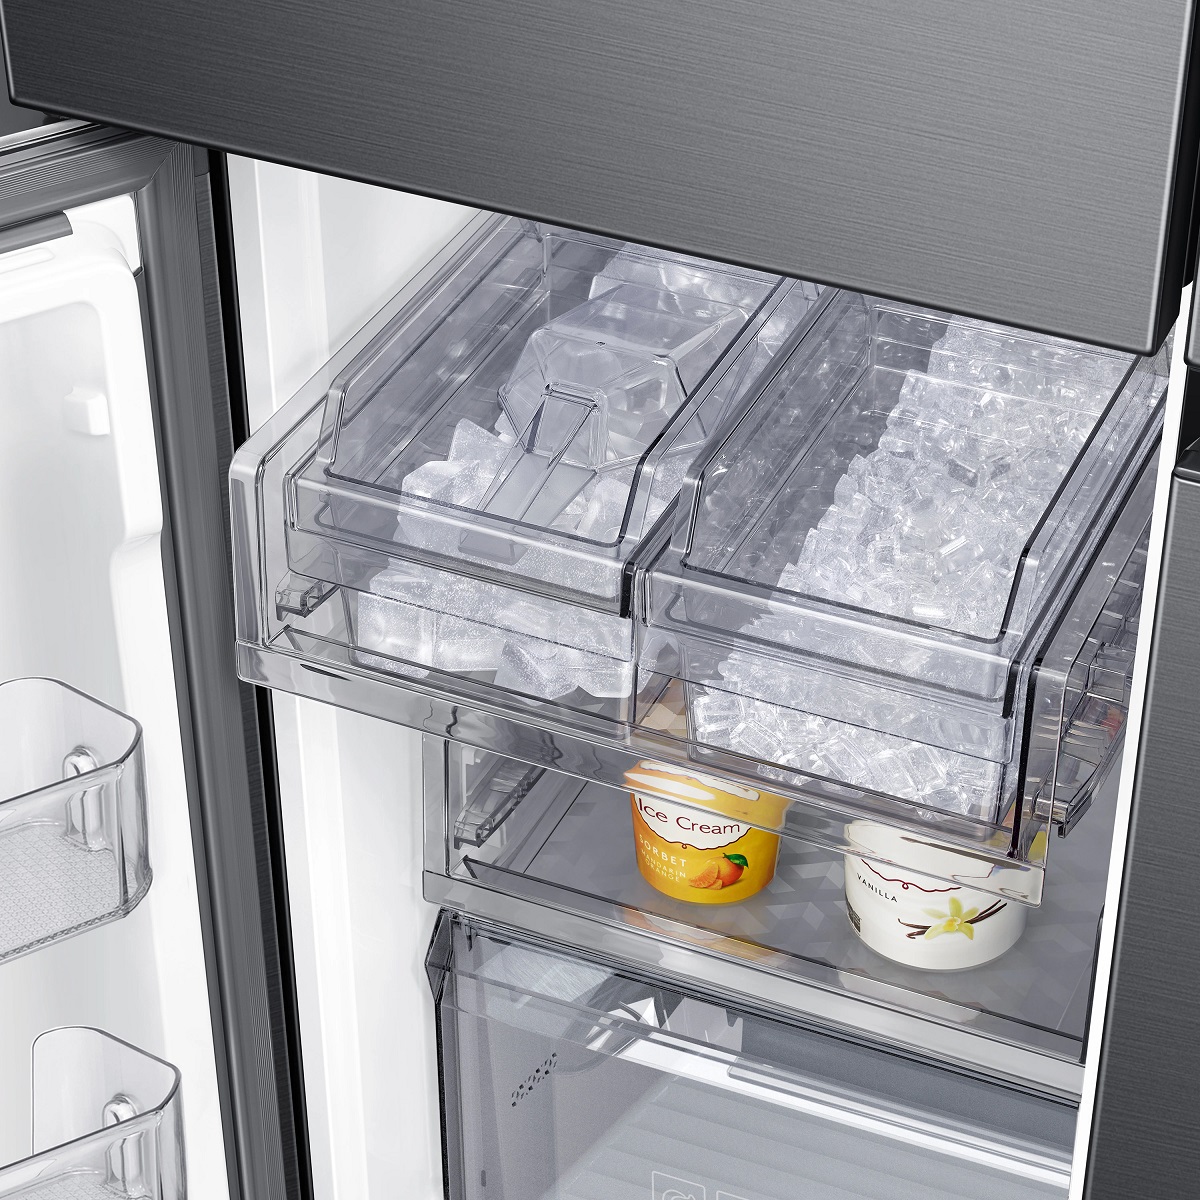
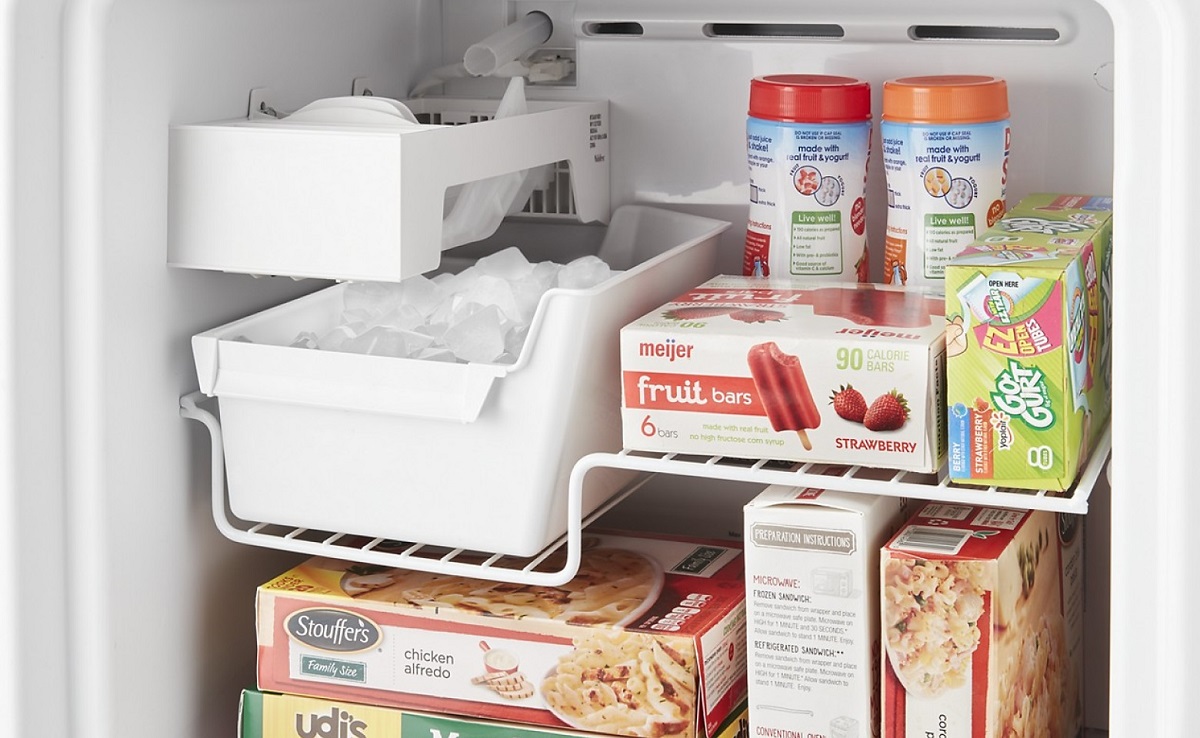
- Clear the Ice Bin: Open your freezer and locate the ice bin or ice tray. Remove any existing ice cubes or debris that may have accumulated. This step ensures a clean and unobstructed space for new ice production.
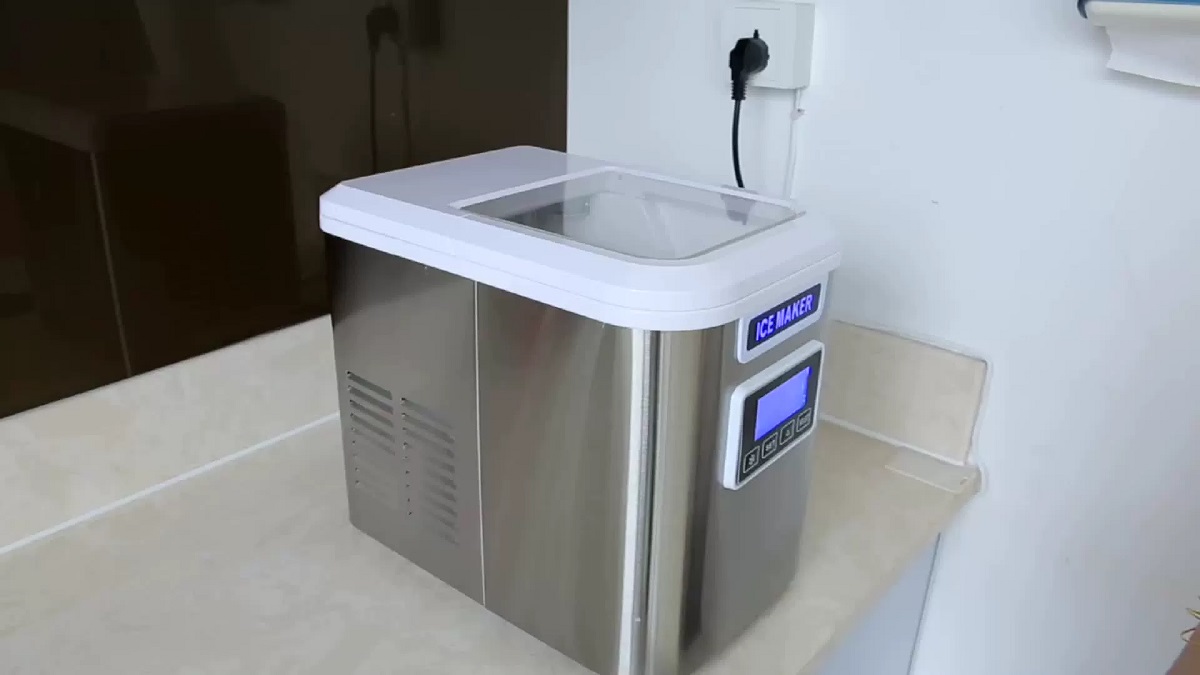
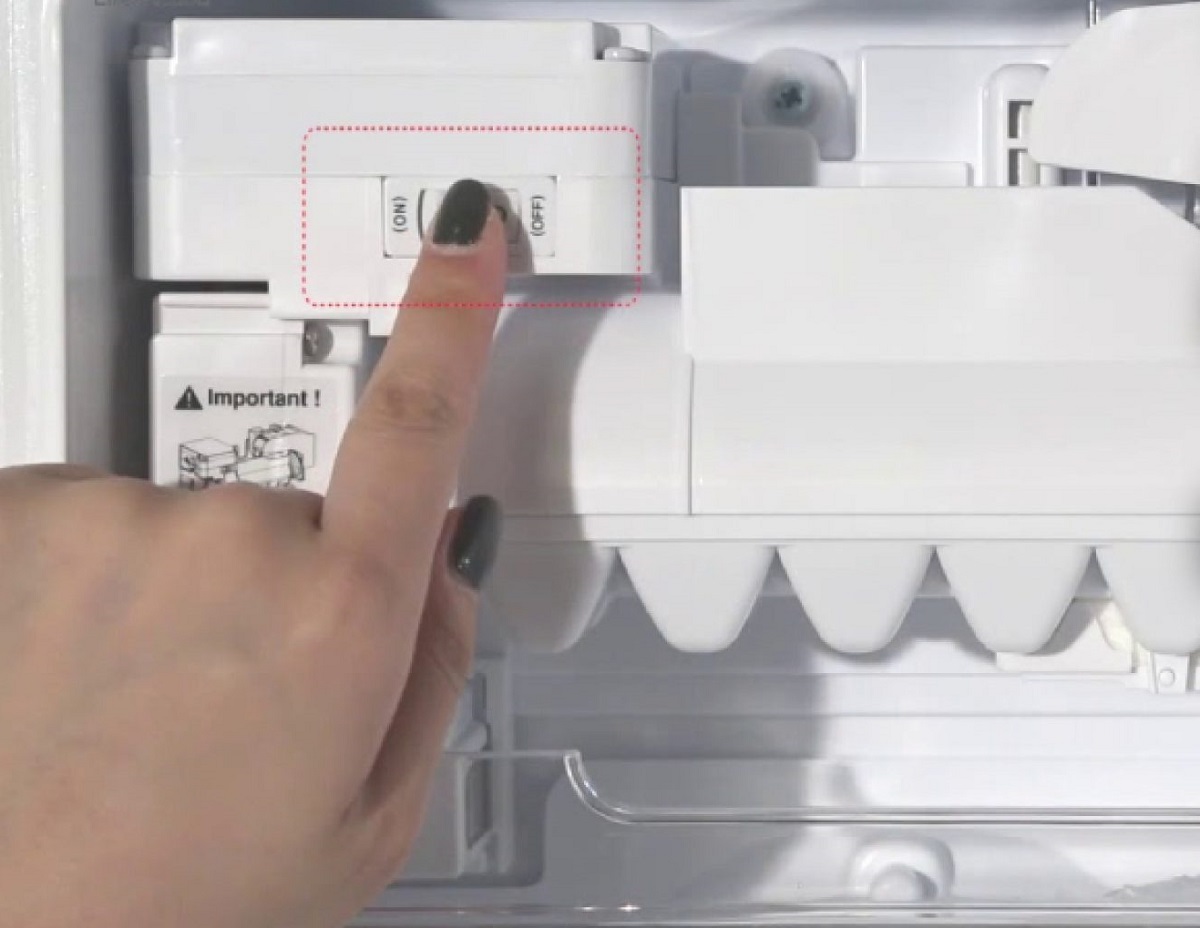
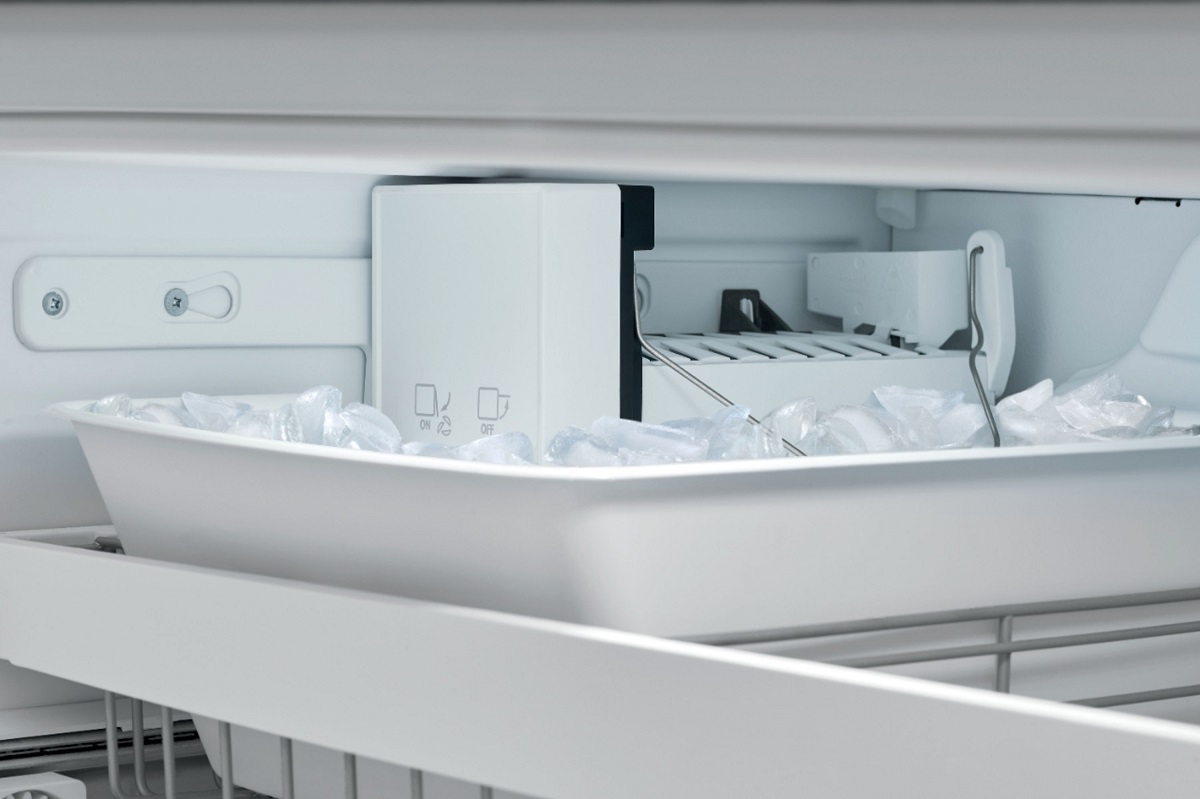
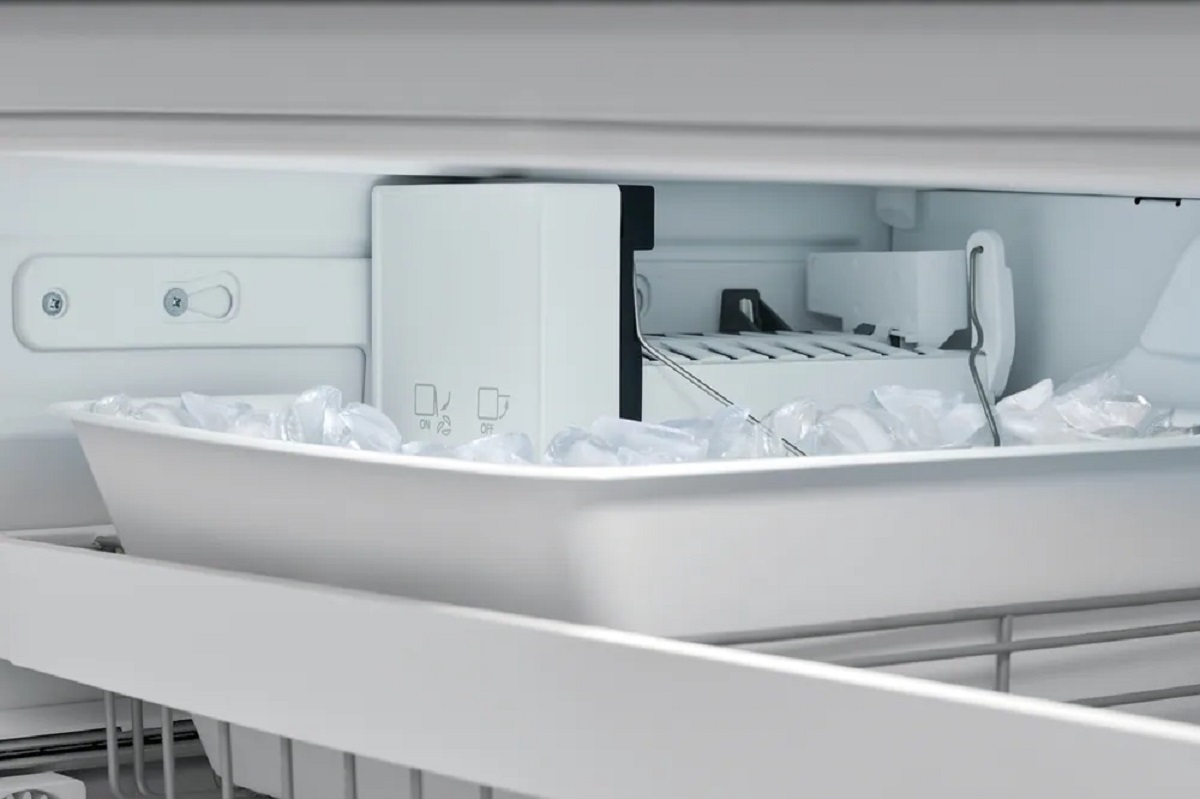
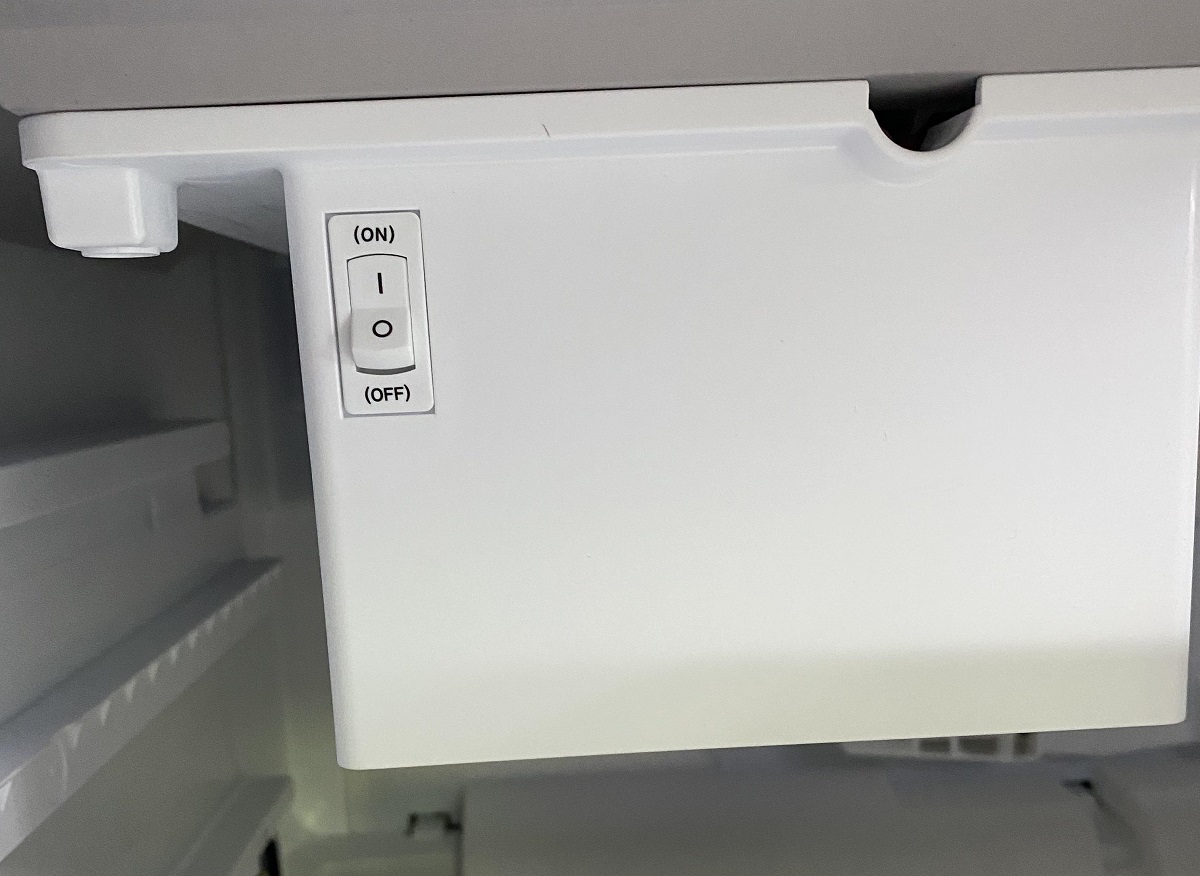
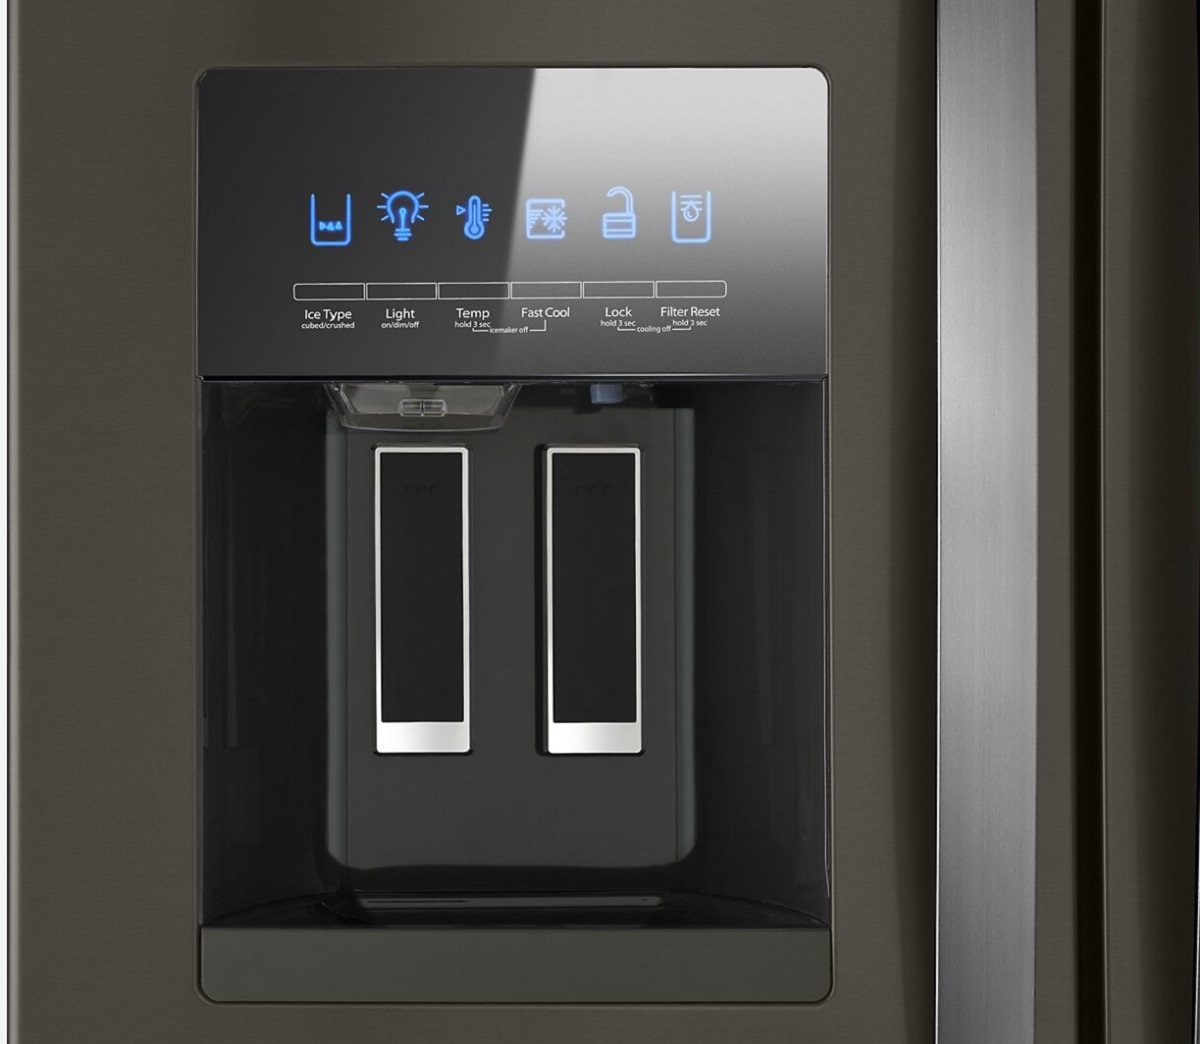
- Check the Ice Maker Switch: Look for the ice maker switch, usually located on the front or side of the ice maker itself. Ensure that it is set to the “On” position. If it’s in the “Off” position, switch it to “On” to activate the ice maker.
- Inspect the Ice Maker Sensors: Some ice makers have sensors that detect ice levels or ice blockages. Take a moment to check if there are any visible sensors or sensors with indicator lights. Ensure that they are clean and free from any obstructions.
- Verify Power Supply: Make sure your refrigerator or freezer is plugged into a working power outlet. Without a proper power supply, the ice maker won’t be able to function. Additionally, check the circuit breaker or fuse that controls the refrigerator to ensure it hasn’t tripped or blown.
By following these steps and confirming that the ice maker components are in good condition, you can proceed to turn on the ice maker and start enjoying freshly made ice cubes.
Turning on the Ice Maker
Once you have completed the necessary checks, it’s time to turn on your ice maker. Follow these steps to activate the ice-making process:
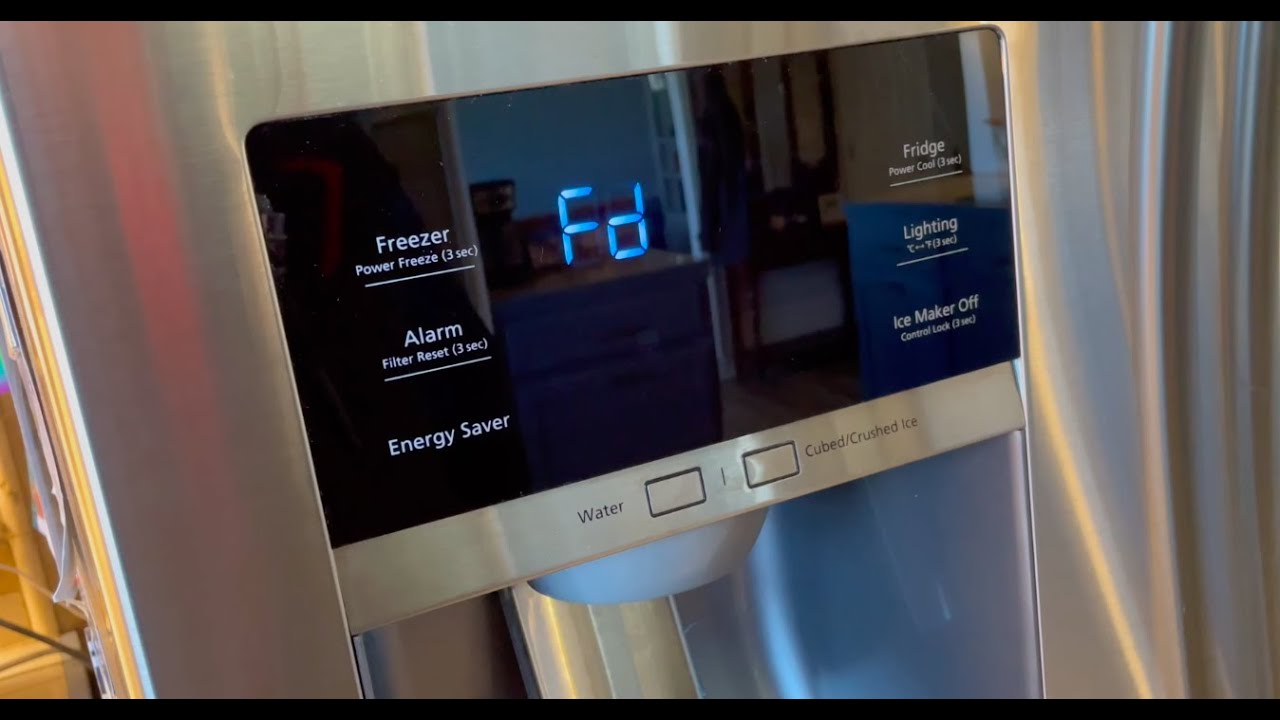
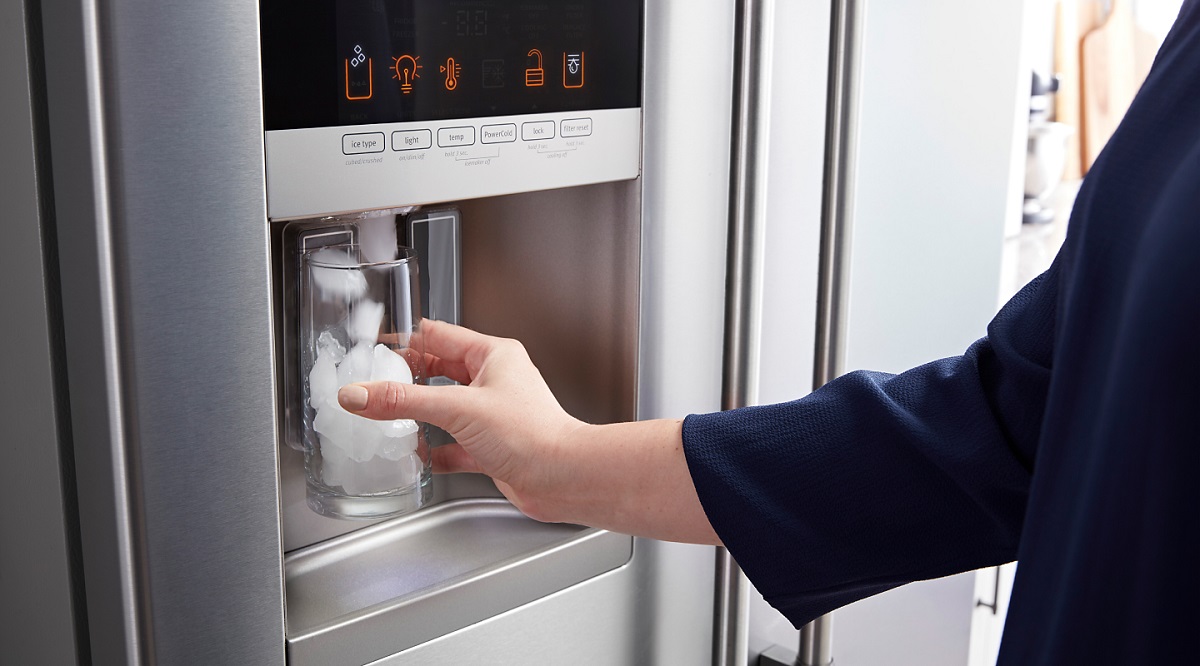
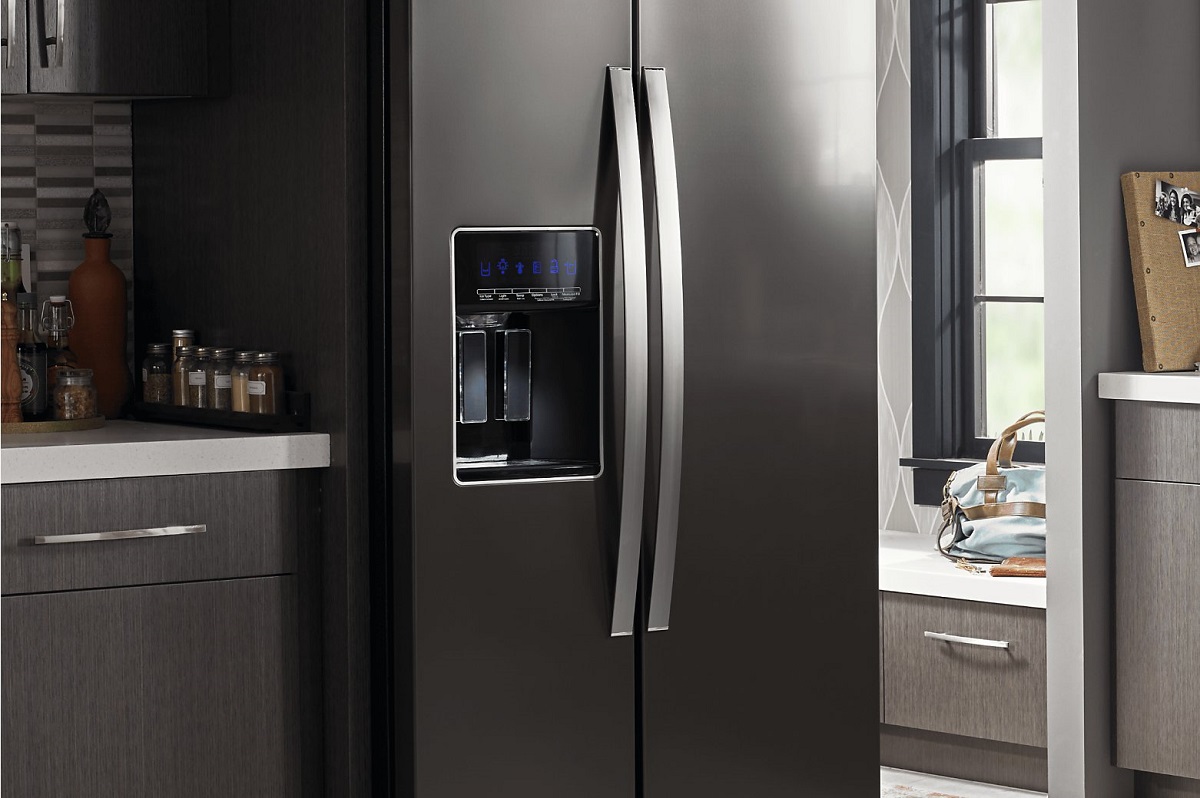
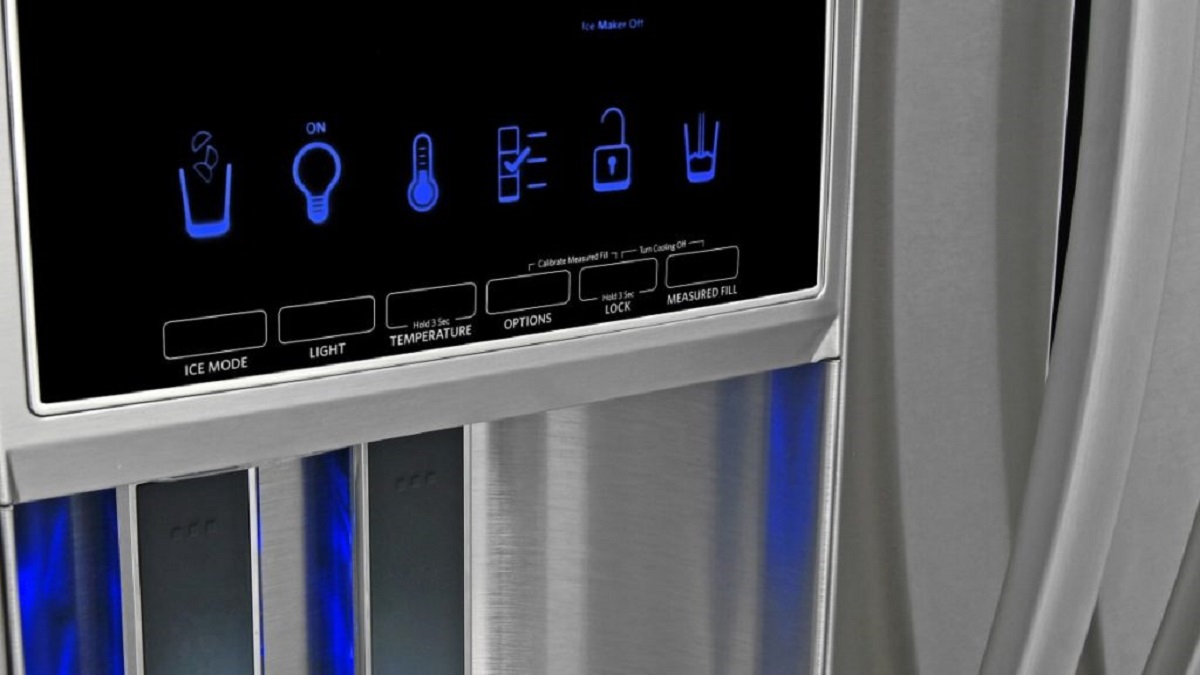
- Locate the Control Panel: Find the control panel or display panel on your refrigerator or freezer. Depending on the model, it may be on the front, top, or inside of the appliance.
- Access the Ice Maker Settings: Navigate through the control panel options to locate the ice maker settings. This may involve scrolling through menus or pressing specific buttons.
- Select the Ice Maker Mode: Choose the appropriate ice maker mode. Most models offer options such as “Ice Off,” “Ice On,” or “Ice Production.” Select the mode that enables ice production and activates the ice maker.
- Adjust the Ice Cube Size: Some ice makers allow you to adjust the size of the ice cubes produced. Use the control panel to select your preferred size, such as small, medium, or large, depending on your needs.
- Confirm and Save Settings: Once you have selected the desired ice maker mode and cube size, confirm your choices and save the settings. The specific method for confirmation may vary depending on the control panel design.
- Monitor the Ice Making Process: Leave the ice maker undisturbed for a while to allow it to start producing ice. It typically takes a few hours for the initial batch of ice cubes to be made. Check the ice bin periodically to see if ice is accumulating.
Remember, each refrigerator or freezer model may have slightly different steps or terminology for turning on the ice maker. Refer to the user manual for your specific appliance if you encounter any difficulties or uncertainty during the process.
With the ice maker successfully turned on, you can now enjoy the convenience of having a continuous supply of ice cubes at your disposal. No more hassles of filling and freezing ice trays!
Most ice makers have a simple on/off switch located on the front or side of the unit. Look for a switch with a symbol that looks like a snowflake or ice cubes, and simply flip it to the “on” position to start making ice.
Troubleshooting Tips
While turning on the ice maker should initiate the ice-making process, occasionally, you may encounter issues that prevent proper ice production. Here are some troubleshooting tips to help you identify and resolve common problems:
- No Ice Production: If the ice maker is turned on but no ice is being produced, check if the water supply line is properly connected and the water valve is open. Additionally, ensure that the freezer temperature is set to the recommended level, usually around 0°F (-18°C).
- Low Ice Production: If the ice maker is producing ice, but the amount is insufficient for your needs, check if the ice cube size setting is appropriate. Adjust it to a larger size if needed. Also, make sure the freezer door is fully closed, as warm air entering the freezer can result in reduced ice production.
- Ice Cube Quality: If the ice cubes are cloudy or have an unusual flavor or odor, it may indicate an issue with the water supply. Ensure that the water filter is clean and functioning correctly. Replace it if necessary. Also, check the water supply for any contamination or unusual taste.
- Ice Blockages: If you notice large ice chunks or blockages in the ice maker, it could be due to an overflowing ice bin or a malfunctioning ice maker sensor. Clear any excess ice from the bin and ensure that the sensors are clean and unobstructed.
- Strange Noises: Unusual noises like grinding, buzzing, or clicking sounds could indicate a mechanical problem with the ice maker. In this case, it is advisable to contact a professional technician or the manufacturer’s customer service for assistance and potential repairs.
If you are unable to resolve the issue using these troubleshooting tips, it’s always advisable to consult the user manual or contact the manufacturer’s customer support for further guidance.
Remember, regular maintenance, such as cleaning the ice maker components and replacing the water filter as recommended by the manufacturer, can help prevent and address many common problems, ensuring optimal ice production and quality.
Conclusion
Congratulations! Now you know how to turn on an ice maker and ensure it is functioning properly. By following the steps outlined in this guide, you can enjoy the convenience of having a constant supply of ice cubes without the need for manual labor.
Remember to regularly check your ice maker, inspect the water supply, and keep the ice bin clear of any obstructions. By following these maintenance practices, you can prevent common issues and ensure optimal ice production.
If you encounter any problems with your ice maker, refer to the troubleshooting tips provided in this article. However, if the issues persist or seem beyond your capabilities, don’t hesitate to reach out to a professional technician or contact the manufacturer’s customer support for assistance.
Now that you have mastered the process of turning on and troubleshooting your ice maker, you can enjoy the convenience and luxury of having ice readily available for your favorite beverages or cooling needs. Cheers to refreshing drinks and hassle-free ice production!
Frequently Asked Questions about How To Turn Ice Maker On
Was this page helpful?
At Storables.com, we guarantee accurate and reliable information. Our content, validated by Expert Board Contributors, is crafted following stringent Editorial Policies. We're committed to providing you with well-researched, expert-backed insights for all your informational needs.

0 thoughts on “How To Turn Ice Maker On”