Articles
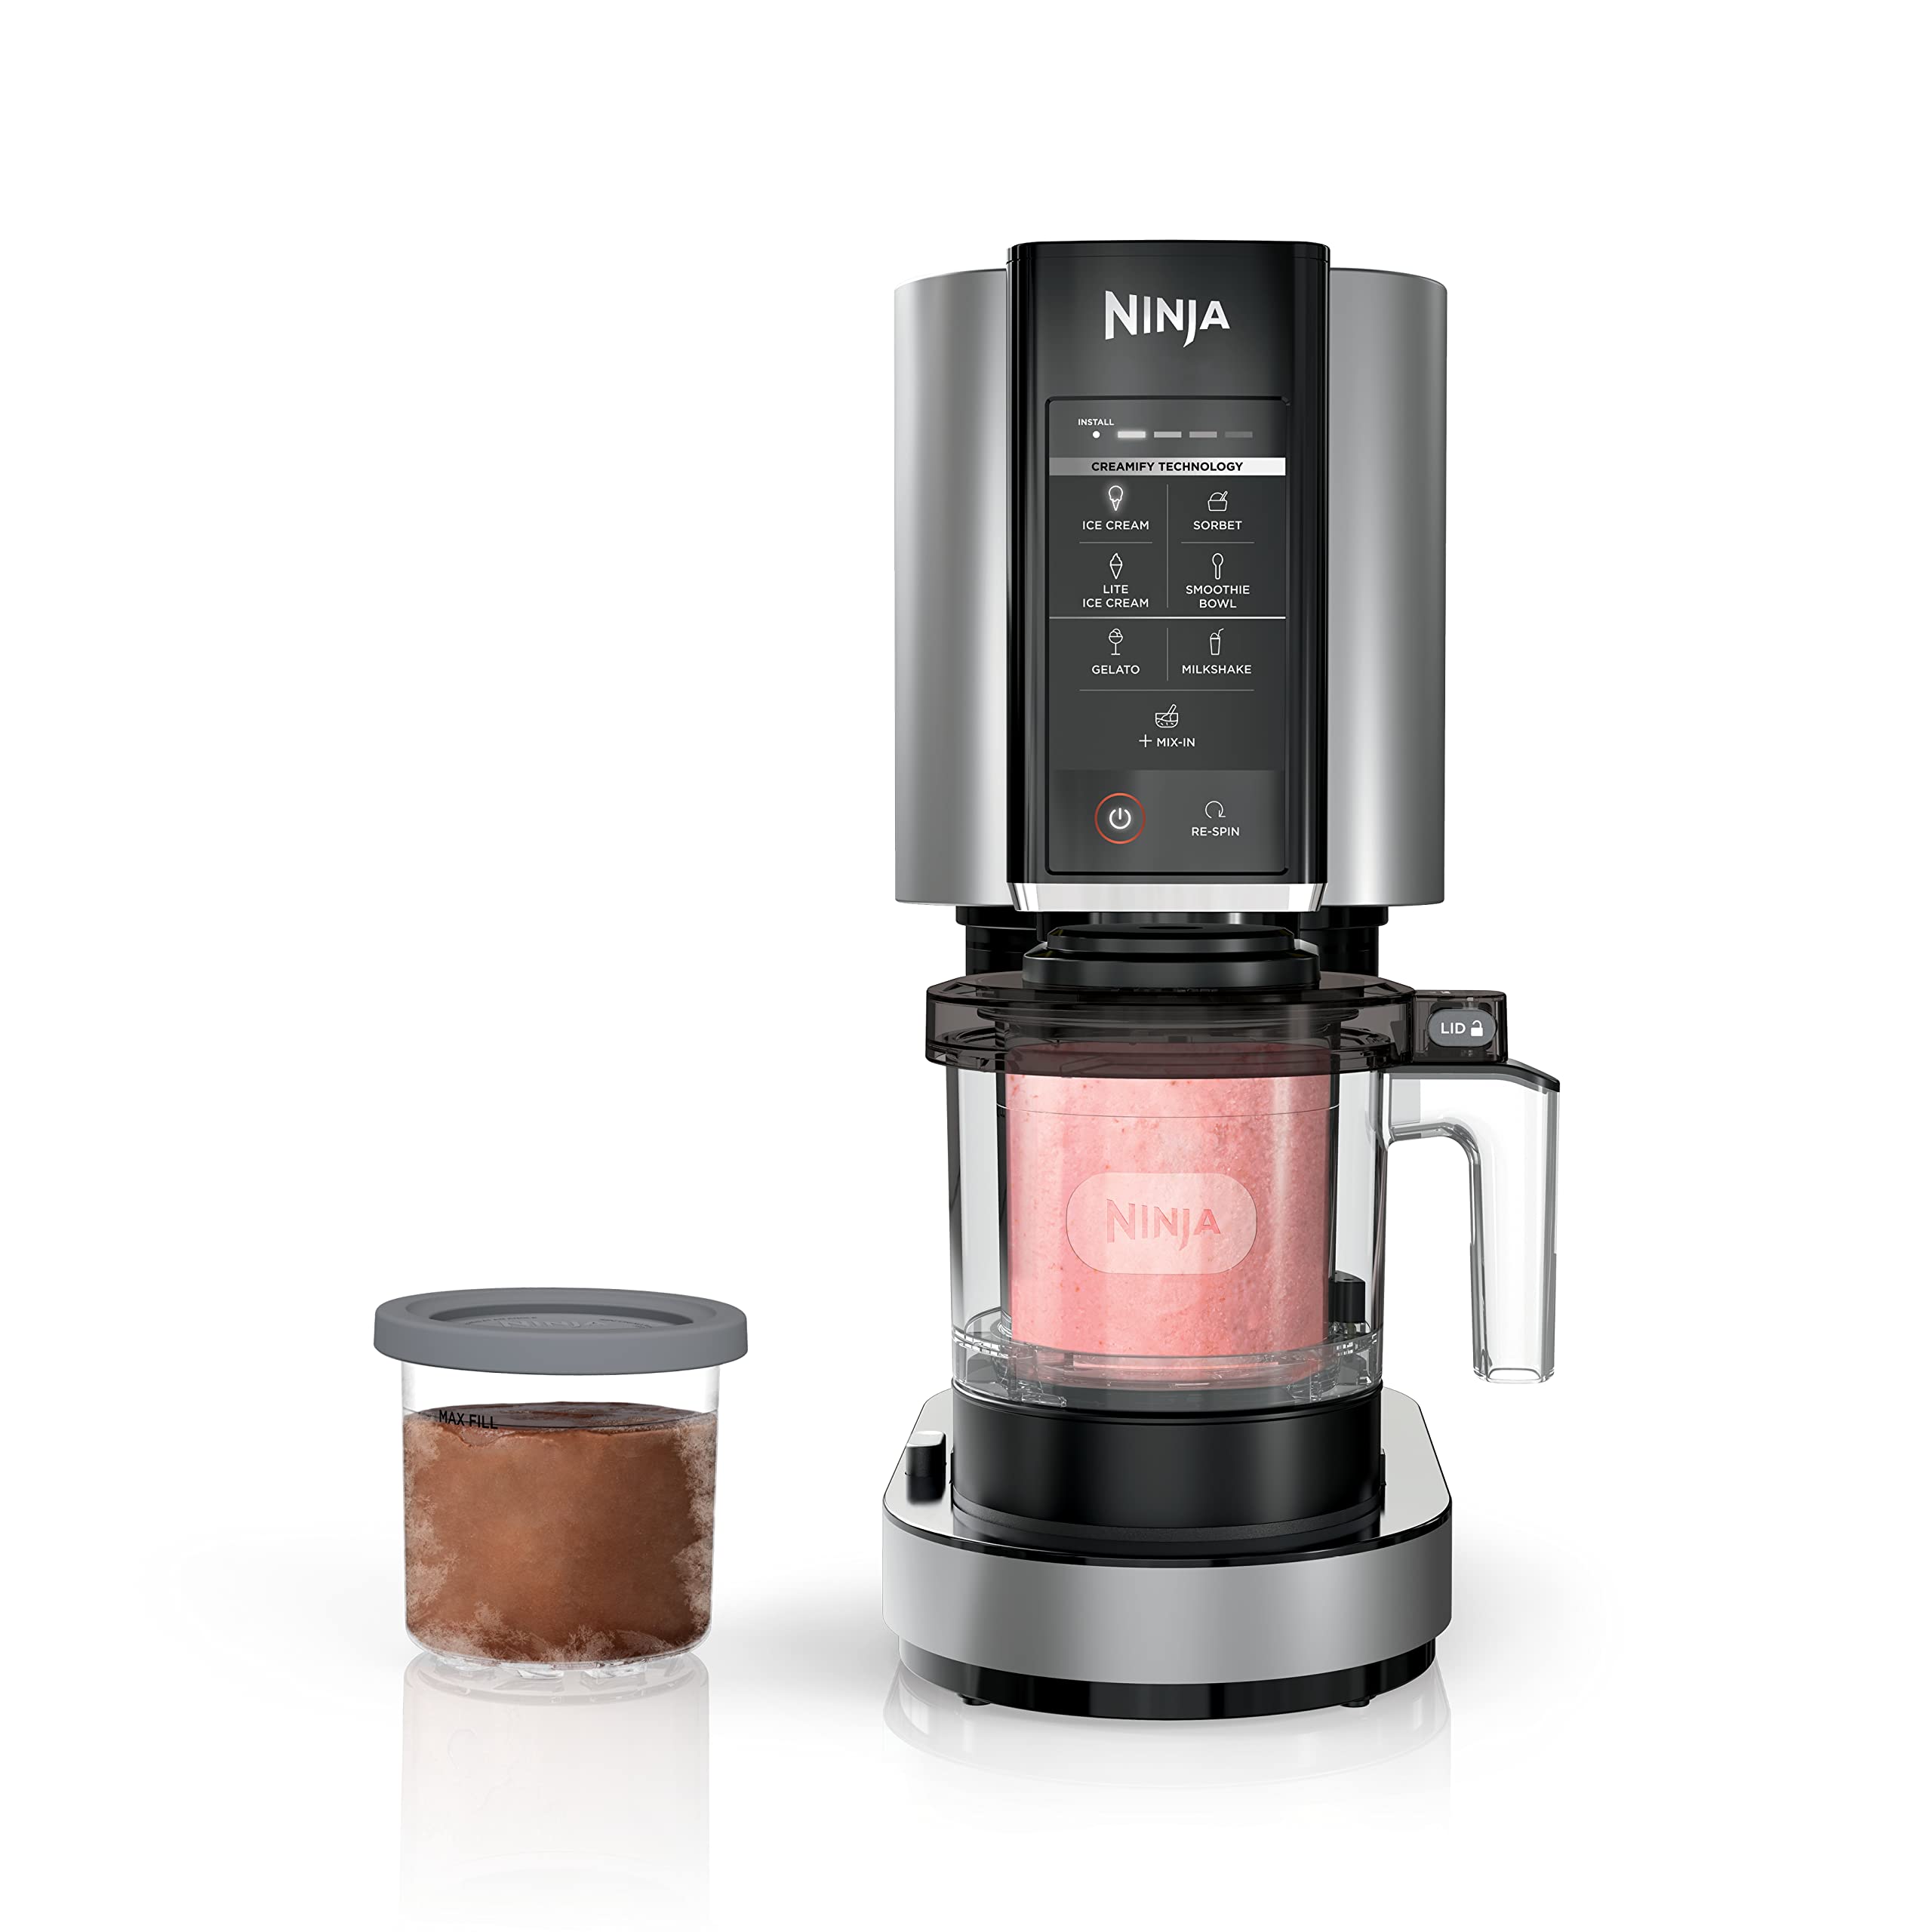
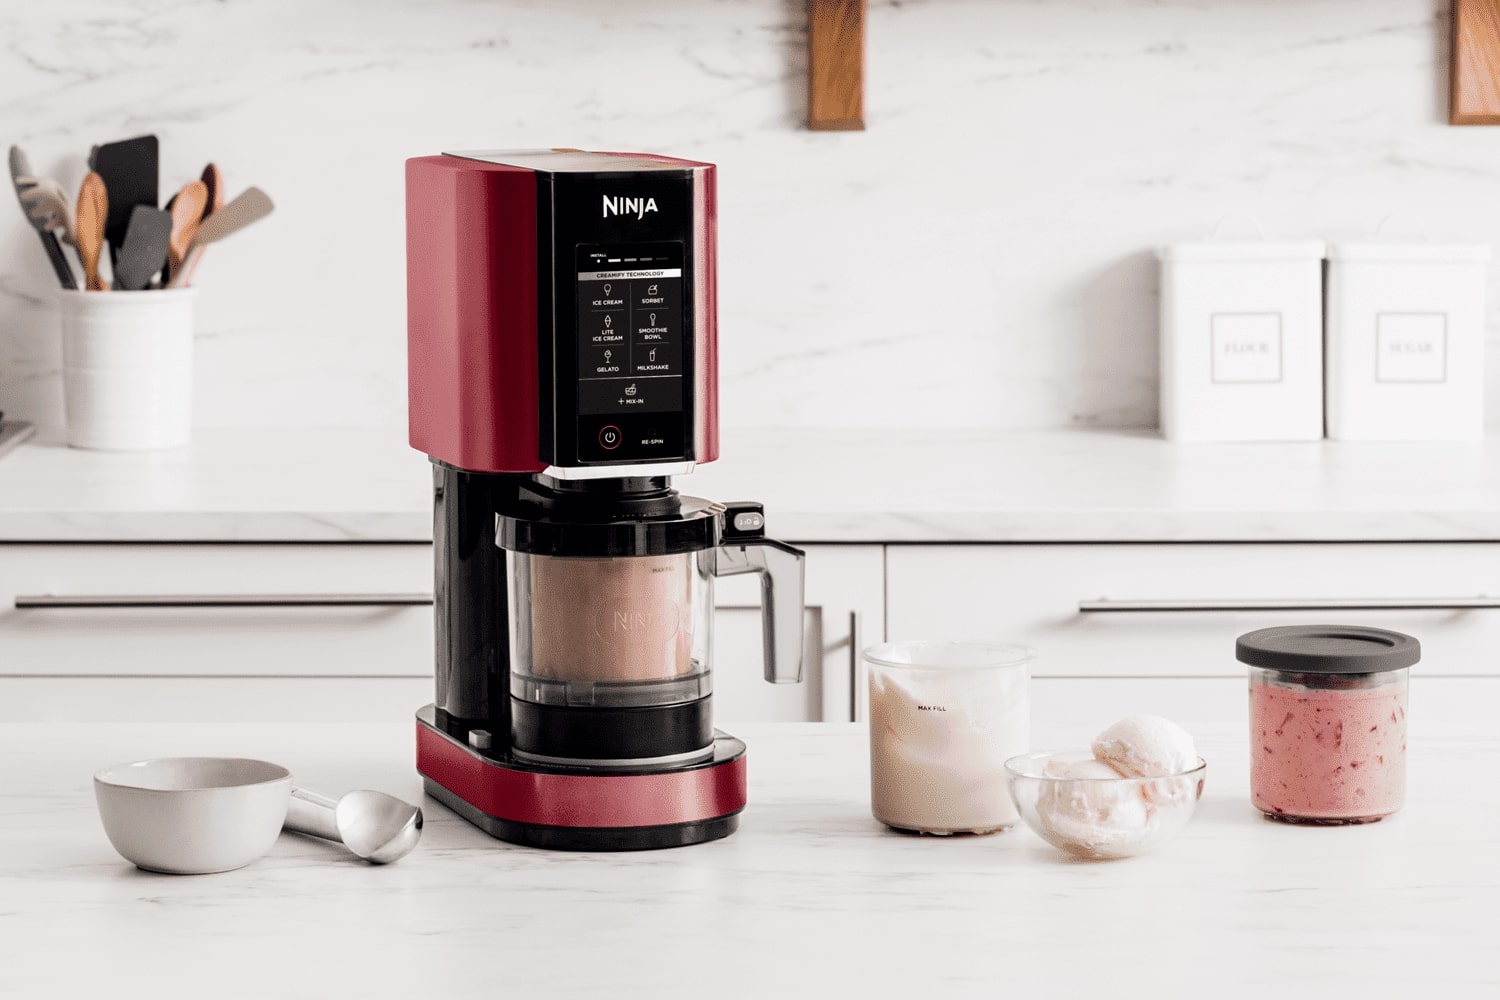
How To Use Ninja Ice Cream Maker
Modified: August 27, 2024
Learn how to use the Ninja Ice Cream Maker with our informative articles. Discover tips, tricks, and delicious recipes to create your own homemade ice cream at home!
(Many of the links in this article redirect to a specific reviewed product. Your purchase of these products through affiliate links helps to generate commission for Storables.com, at no extra cost. Learn more)
Introduction
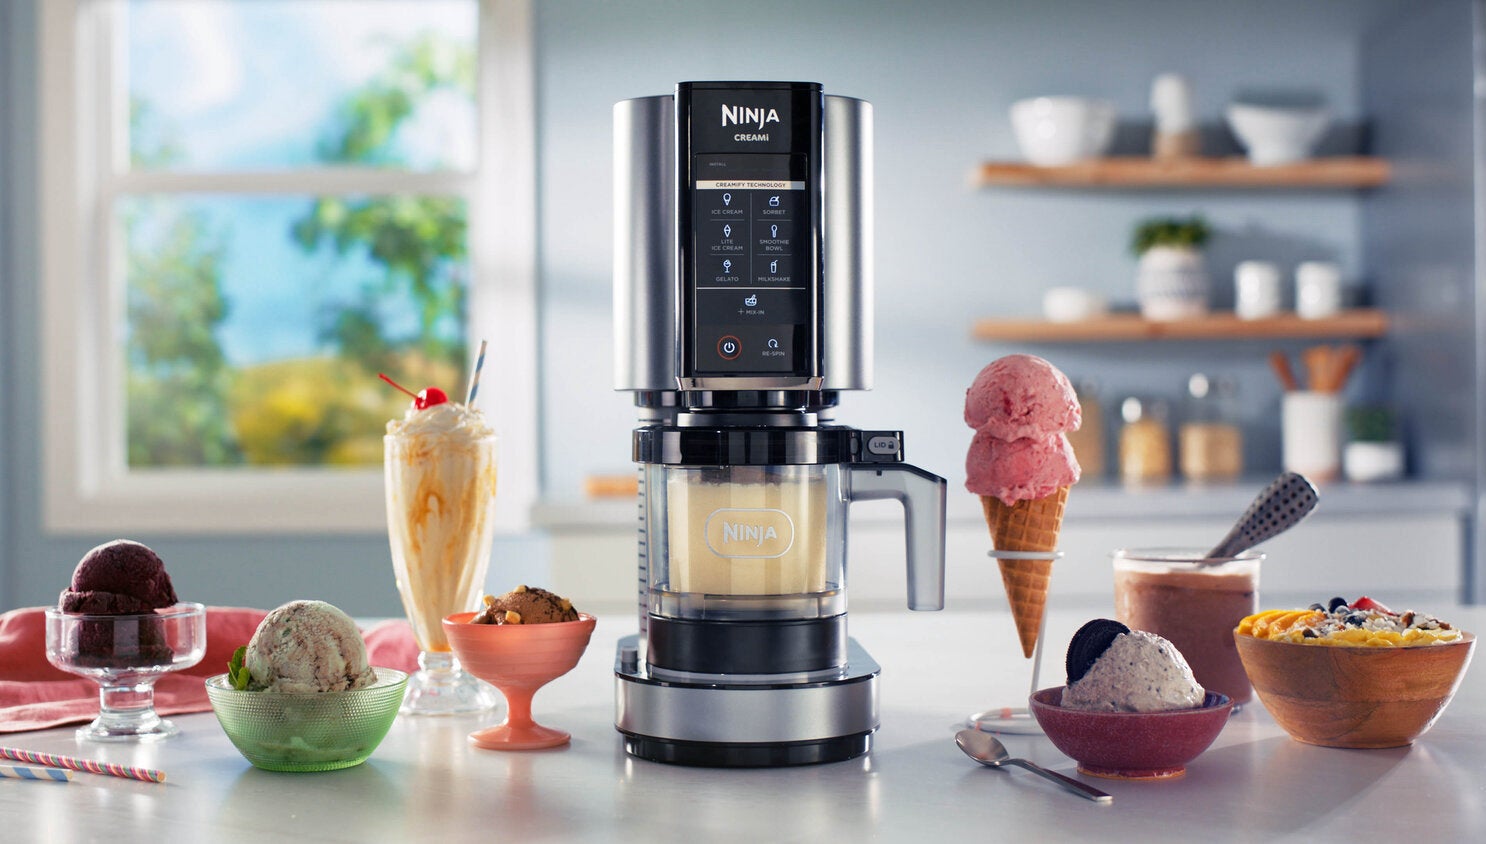
Welcome to the world of homemade ice cream with the Ninja Ice Cream Maker! If you’re a fan of delicious frozen treats and have always dreamed of creating your own unique flavors, then this is the perfect appliance for you. With the Ninja Ice Cream Maker, you can churn out creamy, dreamy ice cream, sorbets, and gelato right in the comfort of your home.
In this comprehensive guide, we will walk you through everything you need to know about using the Ninja Ice Cream Maker. Whether you’re a seasoned ice cream connoisseur or a beginner looking to embark on your ice cream-making journey, we’ve got you covered.
We’ll start by explaining how to get started with the Ninja Ice Cream Maker, including setting it up and familiarizing yourself with its components. From there, we’ll dive into the exciting part – preparing the ingredients. We’ll explore different flavor combinations, discuss the importance of quality ingredients, and provide tips on achieving the perfect texture.
Next, we’ll guide you through the step-by-step process of operating the Ninja Ice Cream Maker. You’ll learn how to set the machine’s settings, mix your ingredients, and churn them into a delectable frozen dessert. We’ll also address common troubleshooting issues and provide helpful tips to ensure your ice cream-making experience is a success every time.
Lastly, we’ll discuss the essential topic of cleaning and maintenance. We’ll provide instructions on how to properly clean the Ninja Ice Cream Maker, ensuring its longevity and optimal performance.
So, whether you’re planning to impress your friends and family with your homemade ice cream creations, or you simply want to indulge in a sweet treat on a hot summer day, the Ninja Ice Cream Maker will be your new best friend. Let’s dive in and unleash your inner ice cream maestro!
Key Takeaways:
- Master the art of homemade ice cream with the Ninja Ice Cream Maker by following simple setup, ingredient preparation, and operation steps for delicious frozen treats at home.
- Troubleshoot common issues and get creative with flavors to elevate your ice cream creations, while ensuring proper cleaning and maintenance for long-lasting ice cream-making adventures.
Read more: How Does The Ninja Ice Cream Maker Work
Getting Started with the Ninja Ice Cream Maker
Before diving into the world of homemade ice cream, it’s important to familiarize yourself with the Ninja Ice Cream Maker and its setup. Here are the steps to get started:
- Unbox the Ninja Ice Cream Maker and remove all packaging materials. Make sure that all components are included and in good condition.
- Place the base of the Ninja Ice Cream Maker on a clean, level surface. Ensure that there is enough space around the machine for proper ventilation.
- Attach the paddle to the motor drive shaft located on the base of the machine. Make sure it is securely locked in place.
- Place the mixing bowl onto the base, aligning the paddle with the opening in the bowl.
- Insert the power cord into a grounded electrical outlet.
- Verify that the control panel is not in use and is set to the off position.
- The Ninja Ice Cream Maker is now ready to be used.
It’s important to note that the Ninja Ice Cream Maker requires a pre-freezing process to ensure optimal results. Refer to the user manual for specific instructions on how long to freeze the mixing bowl prior to use. Typically, the bowl needs to be frozen for a minimum of 24 hours.
Once the Ninja Ice Cream Maker has been properly set up and the mixing bowl is frozen, you’re ready to start creating your delicious frozen concoctions. In the next section, we’ll explore how to prepare the ingredients for your homemade ice cream.
Preparing the Ingredients
Now that you have your Ninja Ice Cream Maker set up and ready to go, it’s time to gather and prepare the ingredients for your homemade ice cream. Here are a few key steps to follow:
- Choose your flavors: Start by deciding on the flavors you want to incorporate into your ice cream. Whether you prefer classic vanilla, fruity sorbets, or indulgent chocolate, the possibilities are endless. Get creative and experiment with different combinations to find your perfect flavor.
- Gather high-quality ingredients: To achieve the best results, it’s crucial to use high-quality ingredients. Opt for fresh fruits, premium cocoa powder, and pure extracts. Avoid artificial flavorings or low-quality ingredients, as they can negatively impact the taste and texture of your ice cream.
- Prepare your mix-ins: If you plan to include mix-ins such as nuts, chocolate chips, or cookie dough, make sure to have them prepared in advance. Chop nuts, melt chocolate, or prepare your favorite mix-ins according to your recipe.
- Follow the recipe: Find a tried-and-true ice cream recipe that suits your taste buds and follow it closely. Pay attention to the measurements and instructions to ensure accurate and consistent results.
- Begin with a base: Most ice cream recipes start with a base mixture of milk, cream, sugar, and eggs (or a non-dairy alternative for vegan options). This base provides the creamy texture and rich flavor of the ice cream. Heat the base on the stovetop until it reaches a simmer, then let it cool before adding to the Ninja Ice Cream Maker.
- Add your flavors and mix-ins: Once the base mixture is cooled, add your chosen flavors, such as vanilla extract or pureed fruits. Stir well to incorporate the flavors throughout the mixture. If you’re including mix-ins, gently fold them into the base to evenly distribute them.
Remember, the key to achieving the perfect ice cream consistency is to have a well-chilled base mixture before pouring it into the Ninja Ice Cream Maker. This will ensure efficient freezing and smoother results. If your mixture is warm, refrigerate it until it’s thoroughly chilled.
Now that your ingredients are prepared, it’s time to move on to the fun part – operating the Ninja Ice Cream Maker. We’ll guide you through the process, step by step, in the next section.
Operating the Ninja Ice Cream Maker
With your ingredients prepared and the Ninja Ice Cream Maker ready to go, it’s time to start churning out some delicious ice cream. Follow these step-by-step instructions to operate the Ninja Ice Cream Maker:
- Ensure that the mixing bowl is frozen and properly attached to the base of the Ninja Ice Cream Maker.
- Place the prepared ice cream mixture into the mixing bowl. Avoid overfilling the bowl, as the mixture will expand as it freezes. Leave some room for expansion.
- Turn on the Ninja Ice Cream Maker by pressing the power button on the control panel. The display should light up, indicating that the machine is in operation.
- Set the desired churning time using the timer function. This will depend on the specific ice cream recipe you’re following. Refer to the recipe for guidance on the recommended churning time.
- Press the start button to commence the churning process. The machine will start mixing and freezing the ice cream mixture.
- Throughout the churning process, periodically check the consistency and texture of the ice cream. If you prefer a softer serve, you can stop the machine before the recommended churning time. For a firmer consistency, let the ice cream churn for the full duration specified in your recipe.
- Once the desired consistency is achieved, turn off the Ninja Ice Cream Maker by pressing the power button. The machine will stop churning, and you can remove the mixing bowl from the base.
- Scoop out the freshly made ice cream into a separate container for storage or immediate serving.
It’s important to note that the Ninja Ice Cream Maker allows you to adjust the churning time and speed, giving you more control over the final texture of your ice cream. Experiment with different settings to find the perfect balance for your preferences.
Now that you know how to operate the Ninja Ice Cream Maker, let’s move on to troubleshooting common issues and learn some helpful tips to ensure a smooth ice cream-making process.
Troubleshooting and Tips
While using the Ninja Ice Cream Maker is generally a straightforward process, it’s not uncommon to encounter a few challenges along the way. Here are some troubleshooting tips to help you overcome common issues and make the most out of your ice cream-making experience:
Read more: How To Use The Kitchenaid Ice Cream Maker
Ice Cream Not Freezing Properly:
- Make sure that the mixing bowl is completely frozen before using it in the Ninja Ice Cream Maker. Insufficient freezing time will result in a softer consistency.
- Ensure that the ice cream mixture is chilled before pouring it into the mixing bowl. Warm mixtures can hinder the freezing process and result in a less creamy texture.
- Avoid overfilling the mixing bowl. Leave enough space for the ice cream mixture to expand as it churns.
Ice Cream Too Firm or Hard:
- Decrease the churning time for a softer serve. Keep an eye on the ice cream as it churns and stop the machine once the desired consistency is reached.
- Store the ice cream in a slightly warmer temperature to soften it before serving.
- Consider adding a small amount of alcohol, such as vodka or rum, to the mixture. Alcohol has a lower freezing temperature and can help prevent the ice cream from becoming too hard.
Varying Ice Cream Texture:
- Ensure that the ice cream mixture is well-mixed before pouring it into the Ninja Ice Cream Maker. This will help distribute the ingredients evenly.
- Experiment with different milk and cream ratios to achieve the desired texture and richness.
- If using mix-ins, fold them into the base gently to avoid overmixing, which can result in a less smooth texture.
General Tips:
- Be patient! Homemade ice cream requires time and patience. Don’t rush the process and allow the ice cream to churn until it reaches the desired consistency.
- Get creative with flavors and mix-ins. Don’t be afraid to experiment and try new combinations to elevate your ice cream creations.
- Store homemade ice cream in an airtight container in the freezer to maintain its freshness and prevent freezer burn.
- Clean the Ninja Ice Cream Maker thoroughly after each use to keep it in optimal condition for future ice cream-making adventures.
By following these troubleshooting tips and helpful suggestions, you’ll be well on your way to mastering the art of homemade ice cream with the Ninja Ice Cream Maker. Enjoy the process and savor every delicious scoop!
Read more: How To Use Whynter Ice Cream Maker
Cleaning and Maintenance
Proper cleaning and maintenance of your Ninja Ice Cream Maker are essential for its longevity and continued performance. To ensure that your ice cream maker stays in top condition, follow these cleaning and maintenance guidelines:
Cleaning the Mixing Bowl and Paddle:
- Once you have finished using the Ninja Ice Cream Maker, disconnect the power cord and remove the mixing bowl from the base.
- Allow the mixing bowl to thaw for a few minutes to make it easier to clean.
- Using a non-abrasive sponge or cloth, wash the mixing bowl and the paddle with warm, soapy water. Pay attention to any stuck-on residue and gently scrub to remove it.
- Rinse the mixing bowl and paddle thoroughly under running water to remove any soap residue.
- Allow the mixing bowl and paddle to air dry completely before storing them. Ensure that there is no moisture left to prevent the growth of mold or bacteria.
Cleaning the Base Unit:
- Wipe the base unit of the Ninja Ice Cream Maker with a damp cloth to remove any spills, drips, or residue.
- Avoid submerging the base unit in water or using abrasive cleaners, as this can damage the electronic components.
Storing the Ninja Ice Cream Maker:
- Ensure that the Ninja Ice Cream Maker is completely dry before storing it.
- Reattach the paddle to the motor drive shaft and place it securely in the mixing bowl.
- Store the Ninja Ice Cream maker in a cool, dry place, away from direct sunlight and extreme temperatures.
Read more: How To Use Koji Ice Cream Maker
Maintenance Tips:
- Regularly review the user manual for any specific maintenance recommendations provided by the manufacturer.
- Inspect the power cord for any signs of damage or wear. If you notice any issues, discontinue use and contact the manufacturer for repair or replacement.
- If you encounter any technical issues or concerns with your Ninja Ice Cream Maker, refer to the troubleshooting section of the user manual, or contact customer support for assistance.
By following these cleaning and maintenance practices, you can ensure that your Ninja Ice Cream Maker remains in excellent condition, ready to churn out endless batches of delicious homemade ice cream and frozen treats.
Frequently Asked Questions about How To Use Ninja Ice Cream Maker
Was this page helpful?
At Storables.com, we guarantee accurate and reliable information. Our content, validated by Expert Board Contributors, is crafted following stringent Editorial Policies. We're committed to providing you with well-researched, expert-backed insights for all your informational needs.


0 thoughts on “How To Use Ninja Ice Cream Maker”