Home>Articles>How To Use Bissell PowerSteamer Extended Reach
Articles
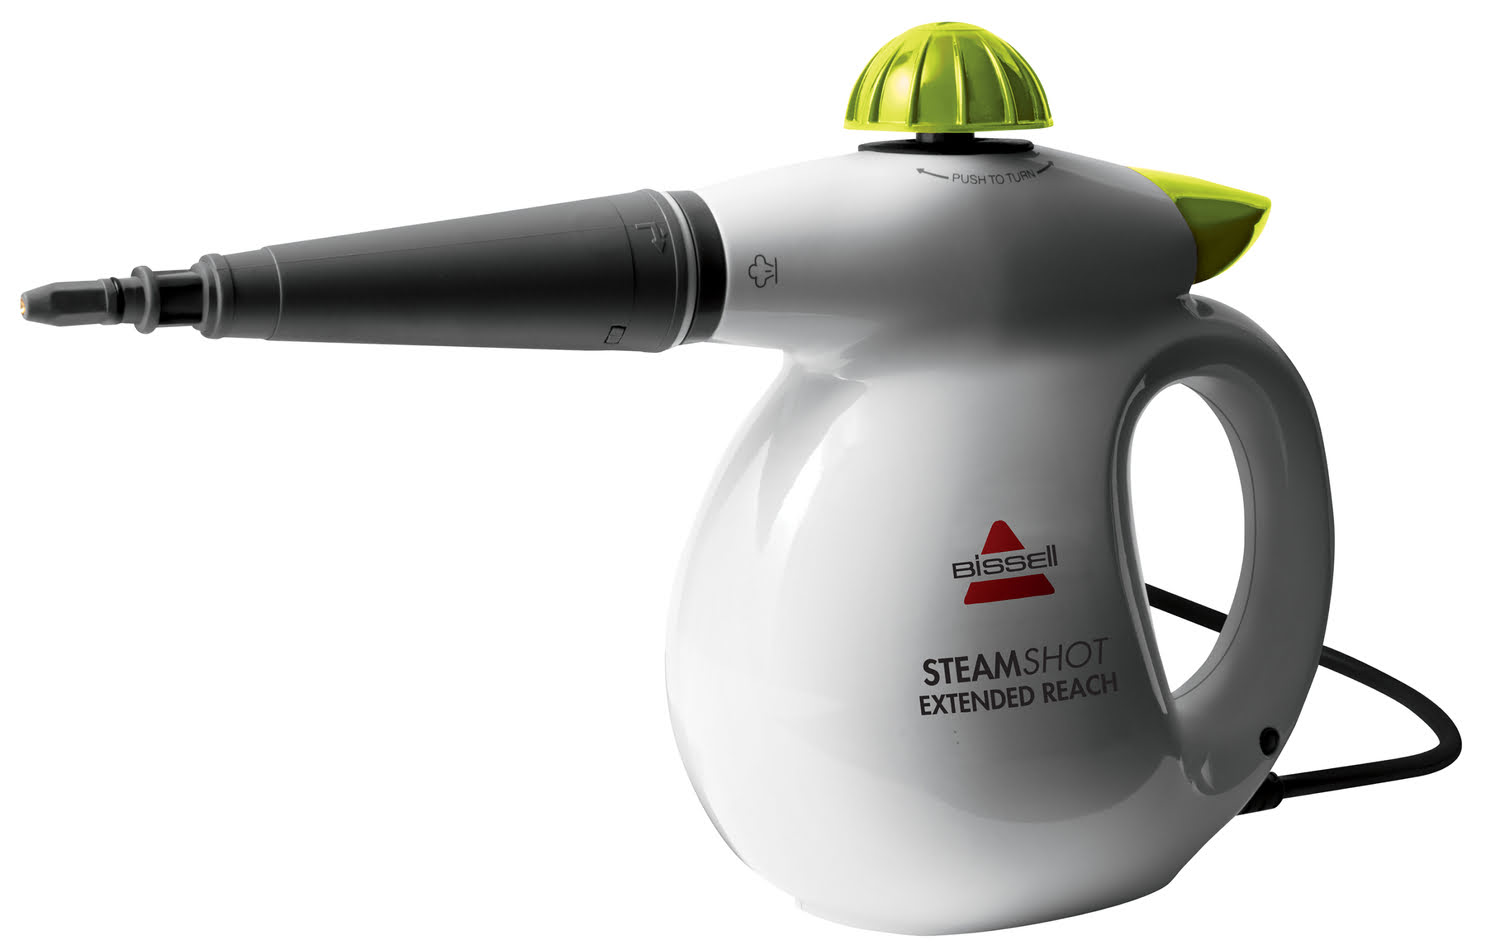
How To Use Bissell PowerSteamer Extended Reach
Modified: October 18, 2024
Learn how to use the Bissell Power Steamer Extended Reach in this comprehensive articles. Find step-by-step instructions and expert tips to make your cleaning tasks easier.
(Many of the links in this article redirect to a specific reviewed product. Your purchase of these products through affiliate links helps to generate commission for Storables.com, at no extra cost. Learn more)
Introduction
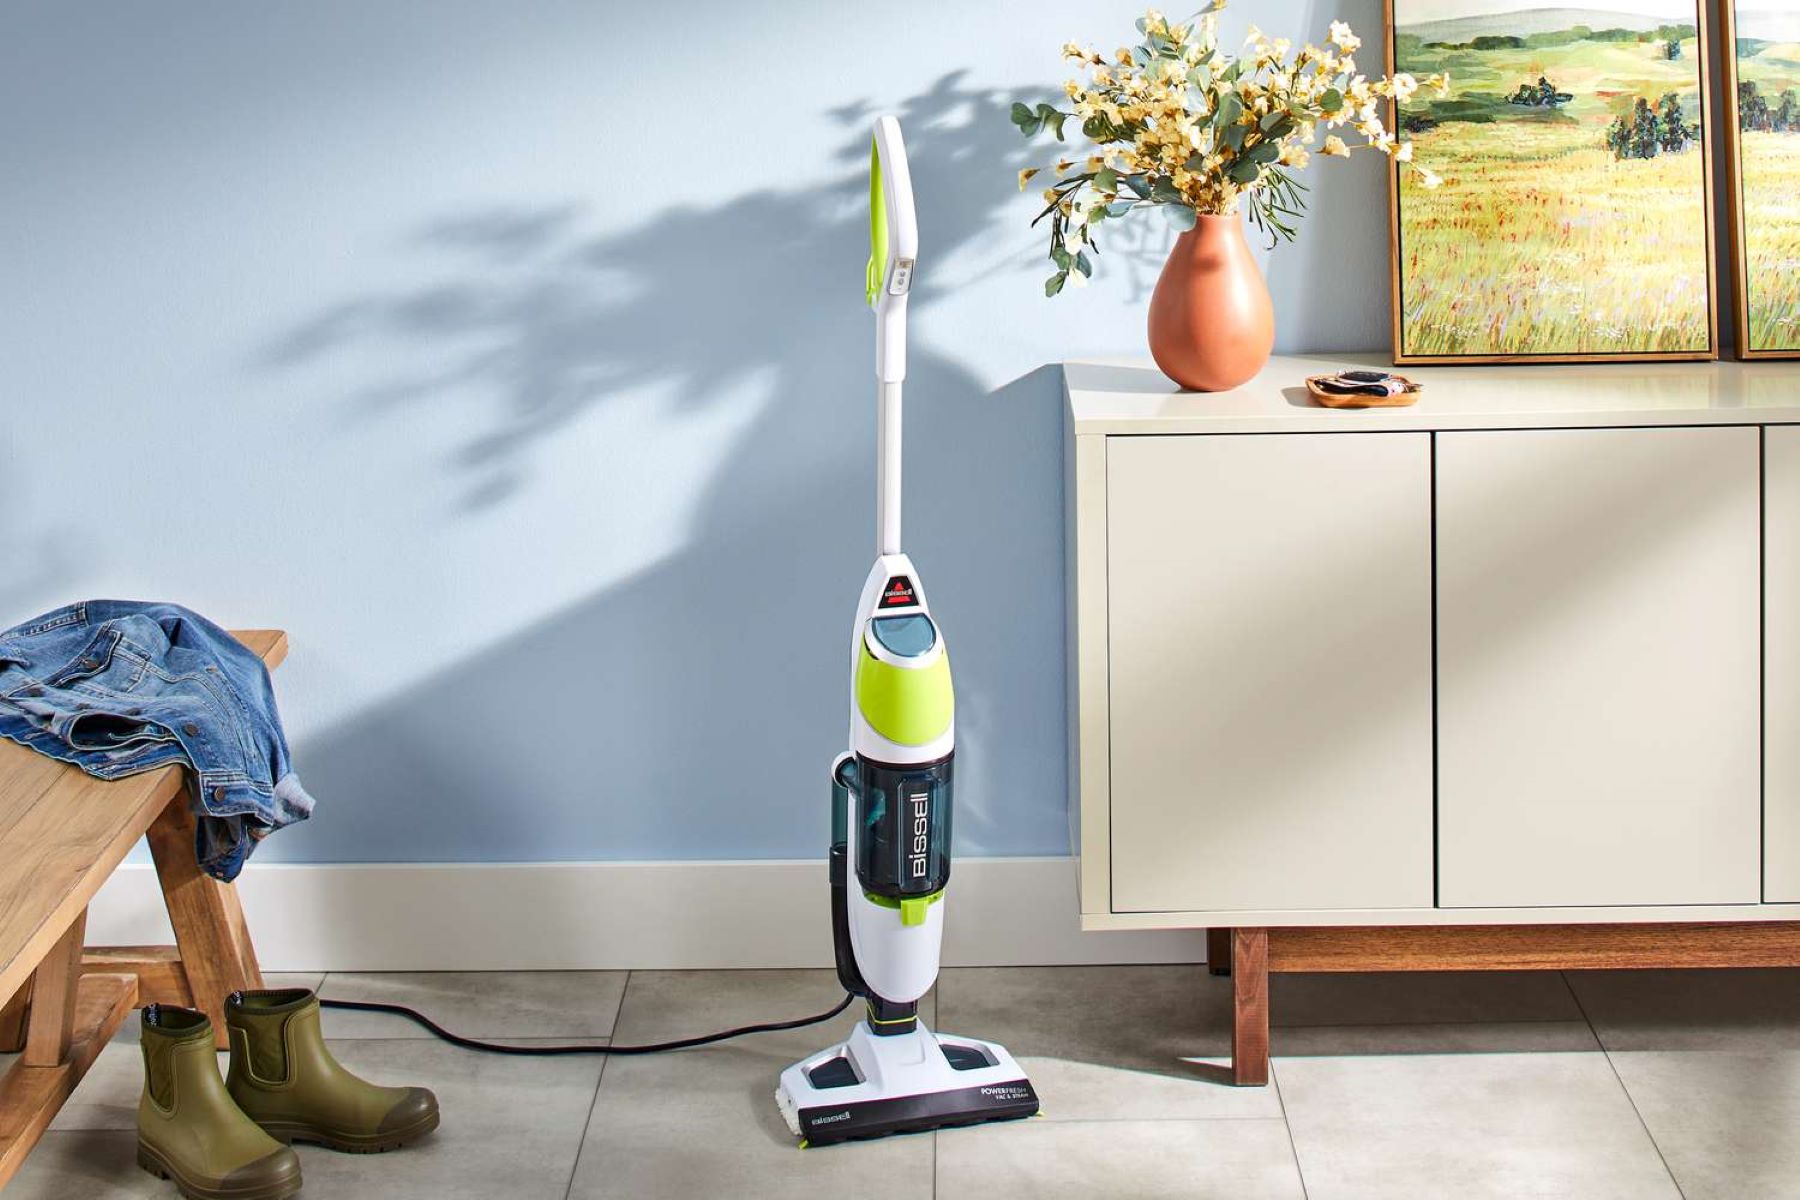
When it comes to keeping your home clean and fresh, a powerful and efficient steam cleaner can be a game-changer. The Bissell Power Steamer Extended Reach is one such cleaning device that is designed to make your cleaning tasks easier and more effective. Whether you need to remove stubborn stains from your carpets, sanitize your hardwood floors, or give your upholstery a deep clean, the Bissell Power Steamer is up to the task.
In this article, we will explore how to use the Bissell Power Steamer Extended Reach, from the unboxing and assembling process to using it on different surfaces. We’ll also cover essential maintenance and troubleshooting tips to ensure that your Power Steamer continues to deliver exceptional cleaning performance for years to come.
Before we delve into the details, it’s important to note that safety should always be your top priority when using any cleaning equipment. Take the time to read and understand the user manual provided by Bissell and follow all safety precautions mentioned.
Key Takeaways:
- Safety First!
Before using the Bissell Power Steamer Extended Reach, prioritize safety by following precautions such as wearing protective gear, ensuring proper ventilation, and using recommended cleaning solutions to prevent accidents and ensure a safe cleaning experience. - Versatile Cleaning
The Bissell Power Steamer Extended Reach offers versatile cleaning options for various surfaces, including carpets, hardwood floors, tile, grout, upholstery, stairs, and hard-to-reach areas. By selecting the appropriate cleaning mode and attachment, you can achieve optimal cleaning results while ensuring the machine’s longevity through proper maintenance and troubleshooting.
Read more: How Hot Does The Bissell PowerSteamer Get
Safety Precautions
Before you start using the Bissell Power Steamer Extended Reach, it’s important to familiarize yourself with some safety precautions to ensure a safe and effective cleaning experience. Here are some key safety measures to keep in mind:
- Read the User Manual: Before operating the Power Steamer, carefully read and understand the user manual provided by Bissell. This will give you a comprehensive understanding of the machine’s features, safety guidelines, and proper usage instructions.
- Protect Yourself: Always wear protective gear, such as gloves and safety goggles, when operating the Power Steamer. This will help prevent any potential injury and keep you safe from hot water or cleaning solution splashes.
- Ensure Proper Ventilation: When using the Bissell Power Steamer, make sure the area you are cleaning is well-ventilated. Open windows and doors to allow fresh air to circulate, especially if you are using the machine in enclosed spaces.
- Keep Children and Pets Away: To prevent accidents, keep children and pets away from the area you are cleaning. The Power Steamer emits hot steam and could pose a safety hazard if not used with caution.
- Use Proper Electrical Connections: Ensure that the Power Steamer is plugged into a properly grounded electrical outlet. Avoid using extension cords as they may not provide sufficient power and could cause damage to the machine.
- Use Recommended Cleaning Solutions: To avoid damage to the Power Steamer and achieve optimal cleaning results, only use cleaning solutions and detergents recommended by Bissell. Consult the user manual for a list of approved products.
- Store Safely: When not in use, store the Power Steamer in a cool, dry place away from direct sunlight and extreme temperatures. Keep it out of reach of children to prevent unwanted accidents or misuse.
By following these safety precautions, you can ensure a safe and enjoyable cleaning experience with the Bissell Power Steamer Extended Reach. Now that we have covered the safety measures, let’s move on to unboxing and assembling the Power Steamer.
Unboxing and Assembling the Bissell Power Steamer
When you receive your Bissell Power Steamer Extended Reach, it comes in a well-packaged box with all the necessary components. Here’s a step-by-step guide on unboxing and assembling the Power Steamer:
- Unbox the Packaging: Carefully remove the Bissell Power Steamer from its packaging, ensuring that you don’t accidentally damage any components. Inspect all the parts to ensure that everything is present and in good condition.
- Attach the Handle: Locate the handle of the Power Steamer and attach it to the main body. Align the grooves on the handle with the corresponding slots on the body and firmly push the handle until it clicks into place.
- Secure the Water Tank: Take the water tank and insert it into the designated slot on the back of the Power Steamer. Ensure that the tank is securely seated and that the latch is properly engaged to prevent any leaks during operation.
- Connect the Hose: Locate the hose attachment on the front of the Power Steamer. Align the connector on the hose with the corresponding port on the machine and firmly push until it clicks into place.
- Attach the Cleaning Tool: Depending on the surface you will be cleaning, select the appropriate cleaning tool from the package. Common cleaning tools include a carpet cleaning attachment, a hardwood floor attachment, and a upholstery tool. Align the tool with the end of the hose and firmly push until it securely attaches.
- Plug in the Power Cord: Locate the power cord on the Power Steamer and plug it into a grounded electrical outlet. Ensure that the cord is not tangled or twisted to avoid any potential hazards.
- Perform a Quick Test: Before using the Power Steamer on your desired surface, run a quick test by turning it on and checking for any unusual noises or leaks. If everything seems normal, you’re ready to proceed with filling the water tank and using the Power Steamer.
By following these simple steps, you can easily unbox and assemble the Bissell Power Steamer Extended Reach. In the next section, we will discuss how to properly prepare the Power Steamer for use.
Preparing the Power Steamer for Use
Before you begin cleaning with the Bissell Power Steamer Extended Reach, it’s essential to properly prepare the machine to ensure optimal performance. Here’s a step-by-step guide on how to prepare the Power Steamer:
- Ensure a Clean Surface: Before using the Power Steamer, ensure that the surface you plan to clean is free from any large debris or loose dirt. Vacuuming or sweeping the area beforehand will help the Power Steamer focus on deep cleaning rather than just surface dirt.
- Check the Power Cord: Inspect the power cord for any signs of damage or wear. If you notice any frayed wires or exposed insulation, do not use the Power Steamer and contact Bissell customer support for assistance.
- Select the Cleaning Mode: The Bissell Power Steamer offers different cleaning modes to cater to various surfaces and cleaning needs. Refer to the user manual to determine the appropriate cleaning mode for your specific surface, such as carpets, hardwood floors, or upholstery.
- Fill the Water Tank: The Power Steamer operates using hot water and cleaning solution. Remove the water tank from the machine and fill it with hot water. Be sure to follow the recommended water level indicated on the tank.
- Add Cleaning Solution: Depending on the cleaning mode and the level of dirt, you may need to add a Bissell-approved cleaning solution to the water tank. Consult the user manual for the recommended amount of cleaning solution to use.
- Reattach the Water Tank: Once the water tank is filled and the cleaning solution is added, securely reattach the water tank to the Power Steamer. Ensure that the latch is properly engaged to prevent any leaks during operation.
- Plug in the Power Cord: Double-check that the power cord is securely plugged into a grounded electrical outlet. Avoid using extension cords as they may not provide sufficient power to the machine.
By following these simple steps, you can effectively prepare the Bissell Power Steamer Extended Reach for use. In the next sections, we will guide you through using the Power Steamer on different surfaces and provide tips for emptying and cleaning the dirty water tank.
Filling the Water Tank
Filling the water tank of the Bissell Power Steamer is a straightforward process. Follow these simple steps to ensure that the tank is filled properly:
- Locate the Water Tank: The water tank is typically located at the back of the Power Steamer. It may have a handle or a latch for easy removal.
- Remove the Water Tank: Carefully remove the water tank from the Power Steamer. Ensure that the Power Steamer is turned off and unplugged before doing so.
- Check the Water Level Indicator: Many Bissell Power Steamers have a water level indicator on the tank. Take a look at the indicator to see the maximum fill line or the recommended water level.
- Add Hot Water: Fill the water tank with hot water. Hot water is more effective in breaking down dirt and stains. However, make sure that the water is not boiling hot to avoid damaging the tank or the internal components of the Power Steamer. If your tap water is not hot enough, you can heat it separately before adding it to the tank.
- Be Mindful of Hard Water: If you have hard water in your area, consider using distilled or demineralized water instead. Hard water can leave mineral deposits in the tank and the machine which could affect its performance over time.
- Reattach the Water Tank: Once the tank is filled with water, securely reattach it to the Power Steamer. Ensure that it is properly latched to prevent any leaks during operation.
- Double-Check for Leaks: Before using the Power Steamer, check for any water leaks from the tank. If you spot any leaks, make sure the tank is properly sealed or contact Bissell customer support for assistance.
Remember to refer to the user manual for any specific instructions and guidelines related to filling the water tank for your specific model of the Bissell Power Steamer. With a properly filled water tank, you are now ready to attach the appropriate cleaning tool and select the cleaning mode for your desired surface.
Attaching the Appropriate Cleaning Tool
The Bissell Power Steamer Extended Reach offers a range of cleaning tools that can be attached depending on the surface you are cleaning. Follow these steps to attach the appropriate cleaning tool to the Power Steamer:
- Identify the Cleaning Tool: Take a look at the available cleaning tools provided with your Power Steamer. Common tools include a carpet cleaning attachment, a hardwood floor attachment, and an upholstery tool. Choose the one that is suitable for the surface you want to clean.
- Align the Tool: Align the cleaning tool with the end of the hose or the designated attachment area on the Power Steamer. Depending on the model, the tool may need to be twisted or pushed into place.
- Secure the Connection: Once aligned, firmly push the cleaning tool into place until you hear a click or feel it securely attach. Ensure that the tool is securely connected to the Power Steamer to prevent any accidental detachment during cleaning.
- Test the Connection: After attaching the cleaning tool, give it a gentle tug to ensure it is firmly attached and won’t come loose during operation.
- Refer to the User Manual: For specific instructions regarding the attachment of cleaning tools and compatibility, always refer to the user manual provided with your Power Steamer. The manual will provide detailed information about the different cleaning tools and their correct usage.
By following these steps, you can easily attach the appropriate cleaning tool to your Bissell Power Steamer Extended Reach. Remember, using the right cleaning tool for the surface you are working on will ensure optimal cleaning results and prevent any potential damage. In the next section, we will discuss how to power on the Power Steamer and select the appropriate cleaning mode.
When using the Bissell Power Steamer Extended Reach, make sure to fill the water tank with hot tap water for best results. This will help to effectively lift and remove dirt and stains from your carpets and upholstery.
Powering On and Selecting the Cleaning Mode
Once you have properly attached the appropriate cleaning tool to your Bissell Power Steamer Extended Reach, it’s time to power on the machine and select the cleaning mode suitable for your cleaning needs. Follow these steps to get started:
- Locate the Power Button: The Power Button is typically located on the main body of the Power Steamer. It may have a power symbol or be labeled “On/Off.”
- Power On the Machine: Press the Power Button to turn on the Power Steamer. You may hear a beep sound or see indicator lights turn on, indicating that the machine is powered on and ready for use.
- Select the Cleaning Mode: The Bissell Power Steamer offers different cleaning modes to cater to various surfaces and cleaning needs. Refer to the user manual to determine the appropriate cleaning mode for your specific surface, such as carpets, hardwood floors, or upholstery.
- Mode Selection: Depending on your model, you may have different options for selecting the cleaning mode. It could be a dial, a switch, or buttons labeled with specific cleaning modes. Choose the mode that best matches the surface you are cleaning.
- Adjust Settings: Some Power Steamers offer adjustable settings, such as steam intensity or brush rotation speed. Follow the guidelines in the user manual to adjust these settings based on your cleaning needs.
- Wait for Warm-Up: Depending on the model, the Power Steamer may require a few moments to warm up and generate steam. Wait for the machine to reach the appropriate operating temperature before beginning to clean.
- Test in an Inconspicuous Area: Before fully utilizing the Power Steamer on your desired surface, it’s a good idea to perform a test in a small, inconspicuous area. This will ensure that the selected cleaning mode and settings are appropriate and won’t cause any damage.
- Begin Cleaning: Once you have powered on the machine and selected the appropriate cleaning mode, you’re ready to start cleaning! Move the Power Steamer slowly and evenly across the surface, following the manufacturer’s instructions and recommendations for the specific cleaning tool and surface type.
Remember to always refer to the user manual for your specific Power Steamer model for detailed instructions on powering on and selecting the cleaning mode. In the next section, we will cover how to use the Bissell Power Steamer on different surfaces.
Using the Bissell Power Steamer on Different Surfaces
The Bissell Power Steamer Extended Reach is a versatile cleaning tool that can be used on various surfaces in your home. Here are some guidelines on how to use the Power Steamer on different surfaces:
- Carpets and Rugs: For carpets and rugs, attach the carpet cleaning attachment to the Power Steamer. Start by vacuuming the area to remove loose dirt and debris. Ensure that the cleaning mode is set to “Carpet” or a similar setting. Slowly move the Power Steamer over the carpet, applying even pressure to allow the steam and brushes to deep clean the fibers. Avoid saturating the carpet excessively and allow it to dry thoroughly after cleaning.
- Hardwood Floors: Attach the hardwood floor attachment to the Power Steamer. Ensure that the cleaning mode is set to “Hardwood” or a similar setting. Use a gentle, back-and-forth motion to clean the hardwood floors, being cautious not to leave the Power Steamer in one spot for too long. Avoid excessive moisture on hardwood floors, so move the Power Steamer quickly and allow the floors to dry completely after cleaning.
- Tile and Grout: Use the appropriate cleaning tool or attachment for tile and grout. Adjust the cleaning mode based on the surface type. Apply the steam and cleaning solution to the tile and grout lines, allowing it to penetrate and loosen dirt and stains. Scrub stubborn areas with the appropriate brush attachment if necessary. Afterward, mop or wipe away any dirt and excess moisture from the surface.
- Upholstery and Furniture: Attach the upholstery tool to the Power Steamer. Check the cleaning mode options and select the one suitable for upholstery. Apply the steam and cleaning solution to the upholstery or furniture surface, starting in a small and inconspicuous area to ensure compatibility. Gently move the Power Steamer over the surface, allowing the steam to effectively lift and remove dirt and stains. Avoid oversaturating the upholstery and allow it to dry thoroughly after cleaning.
- Stairs and Hard-to-Reach Areas: The extended reach feature of the Bissell Power Steamer makes it convenient for cleaning stairs and hard-to-reach areas. Utilize the appropriate cleaning tool or attachment for the surface you are cleaning. Take your time and be careful when using the Power Steamer on stairs to ensure safety.
- Always Follow Instructions: Regardless of the surface you are cleaning, always refer to the user manual for specific instructions and recommendations for your particular Bissell Power Steamer model. The manual will provide valuable information on the appropriate cleaning modes, attachments, and techniques to use on different surfaces.
By following these guidelines and referring to the user manual for your specific Bissell Power Steamer model, you can effectively clean various surfaces in your home with ease. In the next section, we will cover how to empty and clean the dirty water tank after use.
Emptying and Cleaning the Dirty Water Tank
After using the Bissell Power Steamer Extended Reach, it’s important to properly empty and clean the dirty water tank to maintain its performance and prevent any buildup or odors. Here’s a step-by-step guide on how to empty and clean the dirty water tank:
- Power Off and Unplug: Before emptying the dirty water tank, make sure the Power Steamer is turned off and unplugged from the electrical outlet.
- Locate the Dirty Water Tank: The dirty water tank is typically located at the back of the Power Steamer. It is transparent, allowing you to see the contents inside.
- Remove the Dirty Water Tank: Carefully remove the dirty water tank from the Power Steamer by releasing the latch or handle. Be cautious not to spill the contents while removing it.
- Empty the Dirty Water: Empty the dirty water from the tank into a sink or drain. Take care to dispose of it properly, as it may contain dirt, debris, or cleaning solution residues.
- Rinse the Dirty Water Tank: Rinse the dirty water tank thoroughly with warm water to remove any remaining residue. You can also add a small amount of mild detergent for a more thorough clean.
- Scrub if Necessary: If there are stubborn stains or residue inside the tank, you can use a soft brush or sponge to scrub the surfaces. Ensure thorough cleaning of all corners and crevices.
- Rinse Again: After scrubbing, rinse the tank again with warm water to remove any detergent or cleaning solution residue.
- Air Dry Completely: Once the tank is rinsed, leave it in a well-ventilated area to air dry completely. Avoid using a towel or cloth to dry it, as this can leave fibers or lint behind.
- Reassemble and Store: Once the dirty water tank is dry, reattach it securely to the Power Steamer. Ensure that the latch is properly engaged. Store the Power Steamer in a clean and dry place to prevent dust or debris from accumulating.
Regularly emptying and cleaning the dirty water tank will help maintain the performance and longevity of your Bissell Power Steamer. By following these steps, you can keep your Power Steamer in optimal condition for future use.
In the next section, we will provide some tips for storing and maintaining your Bissell Power Steamer Extended Reach.
Read more: How To Use Bissell Powerfresh Steam Mop
Storing and Maintenance of the Bissell Power Steamer
Proper storage and regular maintenance are crucial for keeping your Bissell Power Steamer Extended Reach in excellent condition and ensuring its long-term performance. Here are some tips for storing and maintaining your Power Steamer:
- Clean and Empty: Before storing the Power Steamer, always empty the dirty water tank and clean it thoroughly, as mentioned in the previous section. Ensure that all other parts of the machine are free from dirt, debris, and residue.
- Disconnect and Wind the Power Cord: Unplug the Power Steamer and disconnect the power cord from the electrical outlet. Carefully wind the power cord to prevent any tangles or damage. You can use the cord wrap or designated storage hooks on the machine, if available.
- Secure the Attachments: Remove any attached cleaning tools or attachments from the Power Steamer. Clean and dry them properly before storing. Store them separately or securely attach them to the machine, if there are designated storage spaces.
- Protect from Dust and Moisture: Store the Power Steamer in a clean, dry, and well-ventilated area. Protect it from excessive dust, humidity, and direct sunlight, as these can damage the machine. You can use a dust cover or a clean cloth to shield it from dust accumulation.
- Regularly Inspect and Maintain: Regularly inspect the Power Steamer for any signs of damage or wear. Check the power cord, hoses, and attachments for any fraying, cracks, or leaks. If you notice any issues, contact Bissell customer support for assistance.
- Follow Recommended Maintenance: Refer to the user manual for recommended maintenance tasks, such as cleaning or replacing filters, lubricating moving parts, or other specific maintenance instructions. Adhering to these guidelines will help keep your Power Steamer in optimal condition.
- Schedule Professional Servicing: Consider scheduling professional servicing for your Power Steamer periodically, especially if you use it frequently or encounter any performance issues. Bissell or authorized service centers can provide expert maintenance and repairs.
- Keep User Manual and Warranty Information: Hold onto the user manual and warranty information in a safe place. These documents provide important instructions, troubleshooting tips, and warranty coverage for your Power Steamer.
By following these storage and maintenance tips, you can ensure that your Bissell Power Steamer Extended Reach remains in optimal condition, providing you with effective and reliable cleaning performance for years to come.
In the next section, we will cover some common troubleshooting tips for resolving any issues you might encounter while using the Power Steamer.
Troubleshooting Common Issues
While the Bissell Power Steamer Extended Reach is a reliable cleaning device, you may occasionally encounter some issues during its operation. Here are some common troubleshooting tips to help you resolve these issues:
- No Power: If the Power Steamer is not turning on, check that it is properly plugged into a working electrical outlet. Ensure that the power cord is securely connected to the machine and not damaged. If the issue persists, try plugging the Power Steamer into a different outlet or contact Bissell customer support.
- Low Steam Production or No Steam: If you’re experiencing low steam production or no steam, check that the water tank is filled with sufficient hot water. Ensure that the cleaning mode and settings are correctly selected for the specific surface you are cleaning. Check if there are any clogs or blockages in the cleaning tool or the steam nozzle and clean them if necessary.
- Leaking Water: If the Power Steamer is leaking water, ensure that the water tank is securely attached and latched. Check for any cracks or damage to the tank or other components that could be causing the leak. Make sure that all connections and hoses are properly fitted and tightened. If the issue persists, contact Bissell customer support.
- Lack of Suction: If there is a lack of suction while using the Power Steamer, check that the dirty water tank is empty and properly attached. Make sure that the collection chamber and filters are clean and not clogged with debris. Check for any blockages in the hoses or accessories. If the problem continues, contact Bissell customer support for assistance.
- Brush or Roller Not Rotating: If the brush or roller is not rotating during operation, check that the cleaning mode and settings are appropriate for the surface you are cleaning. Make sure that the brush or roller attachment is properly attached and not obstructed by debris. Clean the brush or roller to remove any hair or fibers that may be causing it to malfunction.
- Unusual Noises: If you hear any unusual noises during operation, turn off the Power Steamer and unplug it from the electrical outlet. Check for any obstructions or foreign objects in the cleaning tool or the machine’s internal components. If the issue persists, contact Bissell customer support for further assistance.
- For Additional Assistance: If you encounter any other issues or have questions regarding your Bissell Power Steamer, don’t hesitate to refer to the user manual or contact Bissell customer support. They can provide further troubleshooting guidance and solutions tailored to your specific model and situation.
By following these troubleshooting tips, you can diagnose and resolve common issues that may arise while using the Bissell Power Steamer Extended Reach. With proper care and maintenance, your Power Steamer will continue to deliver efficient and effective cleaning performance.
Congratulations on becoming familiar with the Bissell Power Steamer Extended Reach and its usage instructions. Whether you’re tackling carpets, hardwood floors, upholstery, or other surfaces, the Power Steamer is ready to make your cleaning tasks easier and more effective. Happy cleaning!
Ready to up your home cleaning game even more? Dive into our guide on carpet cleaning, packed with expert advice to keep your rugs looking spotless. Or perhaps your furniture could use a refresh? Check out our tips on steam cleaning a sofa for a fresh, vibrant look. And for skincare enthusiasts, don't miss out on our review of the best deep cleaning face steamers, perfect for a spa-like experience at home. Each guide is designed to help you achieve the best results, effortlessly!
Frequently Asked Questions about How To Use Bissell PowerSteamer Extended Reach
Was this page helpful?
At Storables.com, we guarantee accurate and reliable information. Our content, validated by Expert Board Contributors, is crafted following stringent Editorial Policies. We're committed to providing you with well-researched, expert-backed insights for all your informational needs.


0 thoughts on “How To Use Bissell PowerSteamer Extended Reach”