Home>Articles>How To Install Xbox 360 Wireless Adapter On Pc
Articles
How To Install Xbox 360 Wireless Adapter On Pc
Modified: February 23, 2024
Learn how to install an Xbox 360 wireless adapter on your PC with this step-by-step guide. Find more helpful articles for all your gaming needs.
(Many of the links in this article redirect to a specific reviewed product. Your purchase of these products through affiliate links helps to generate commission for Storables.com, at no extra cost. Learn more)
Introduction
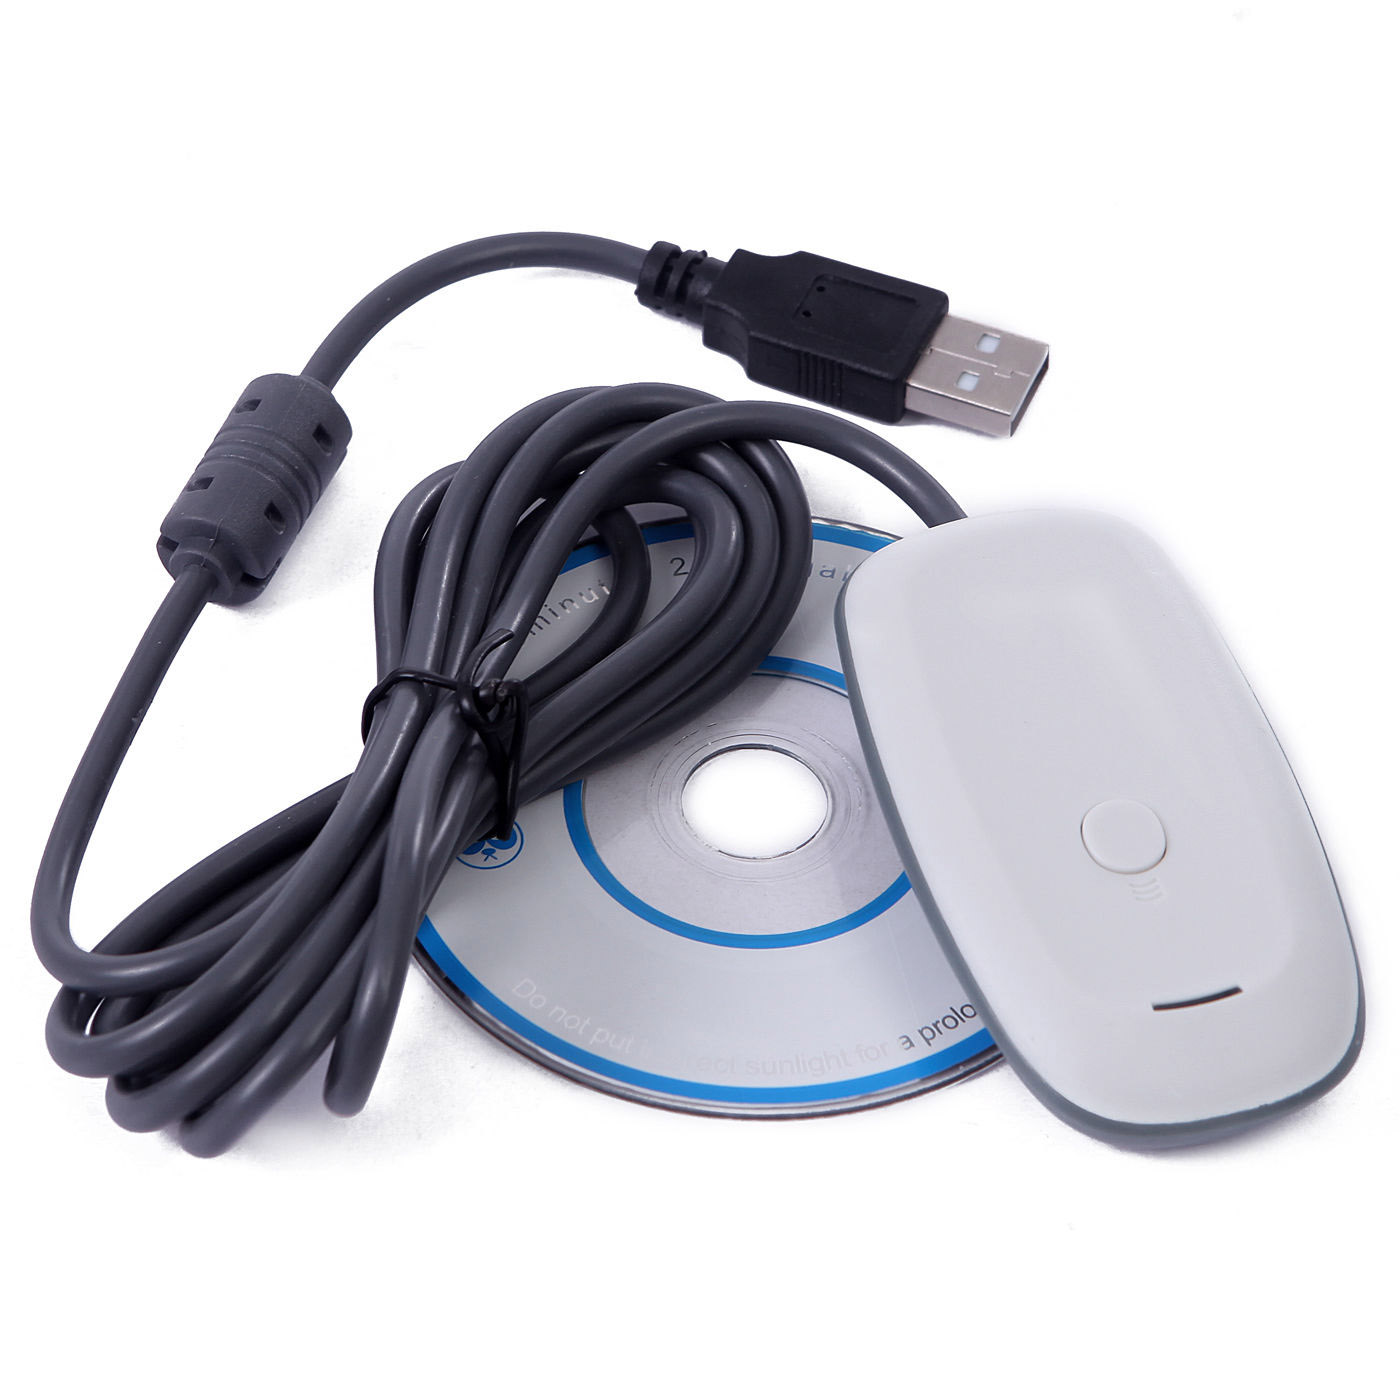
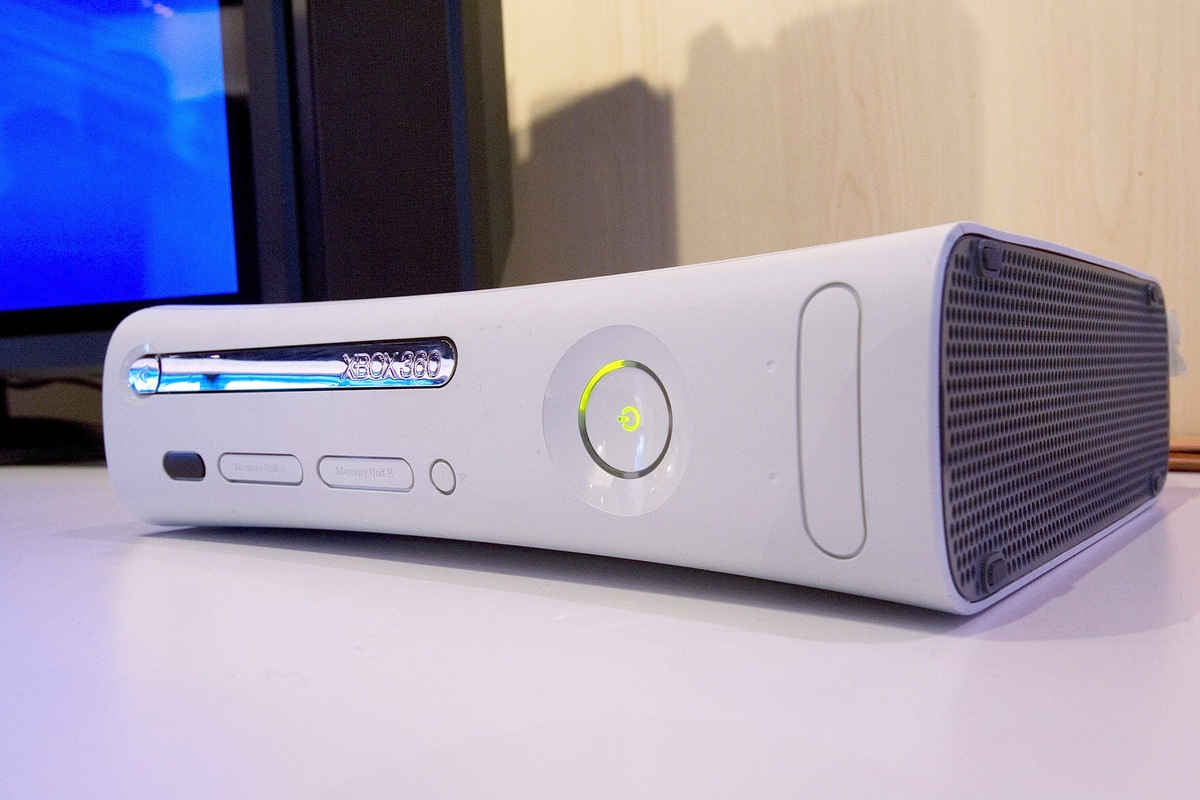
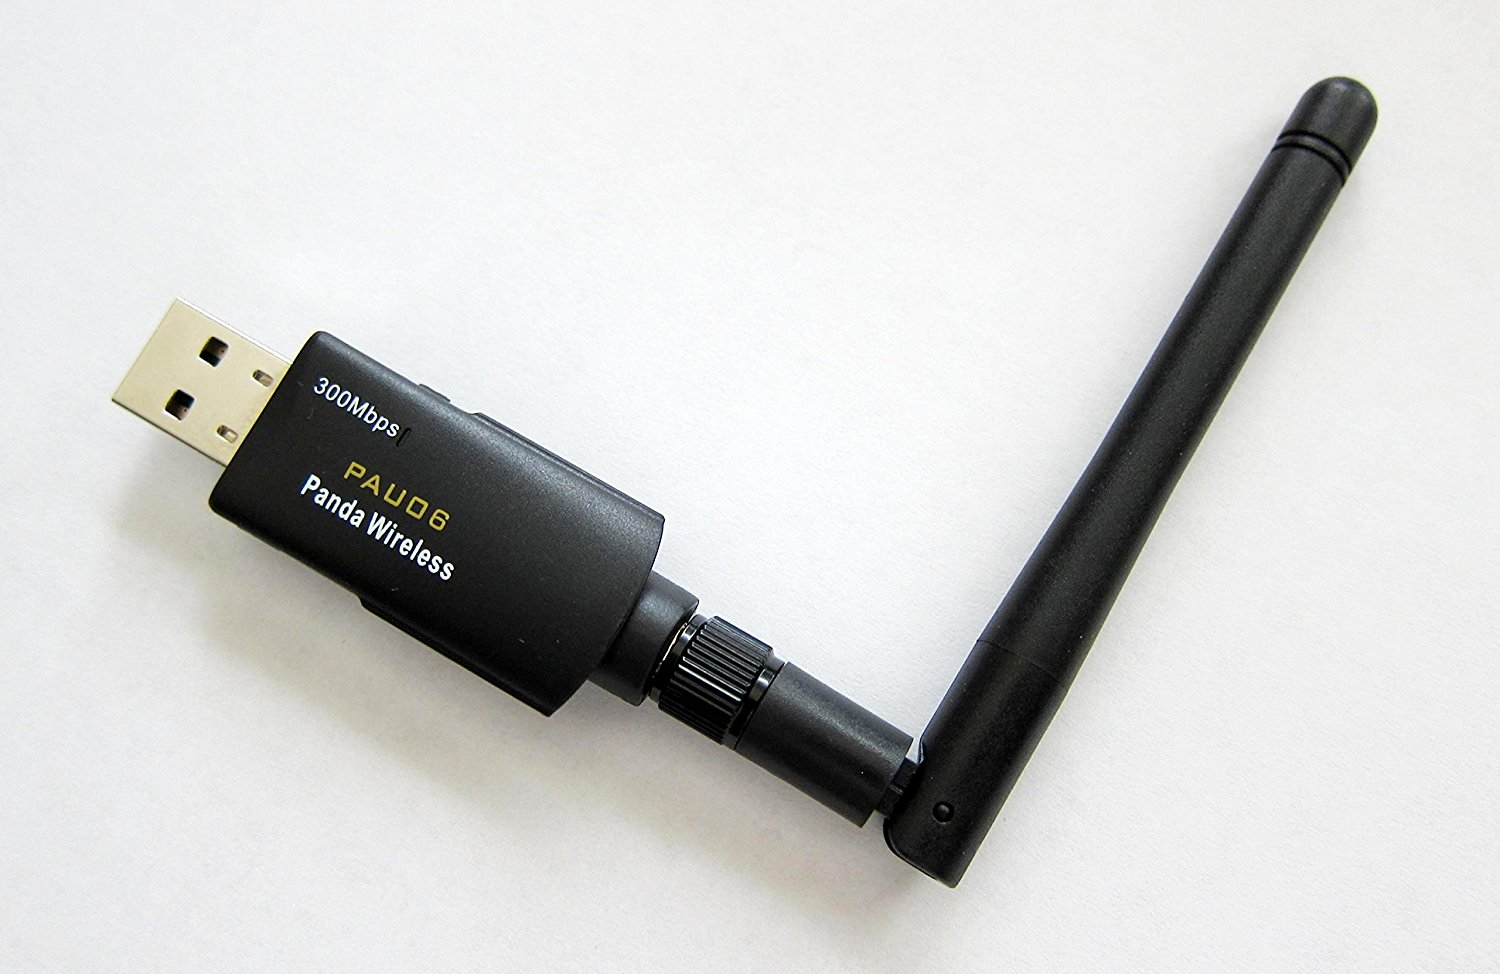
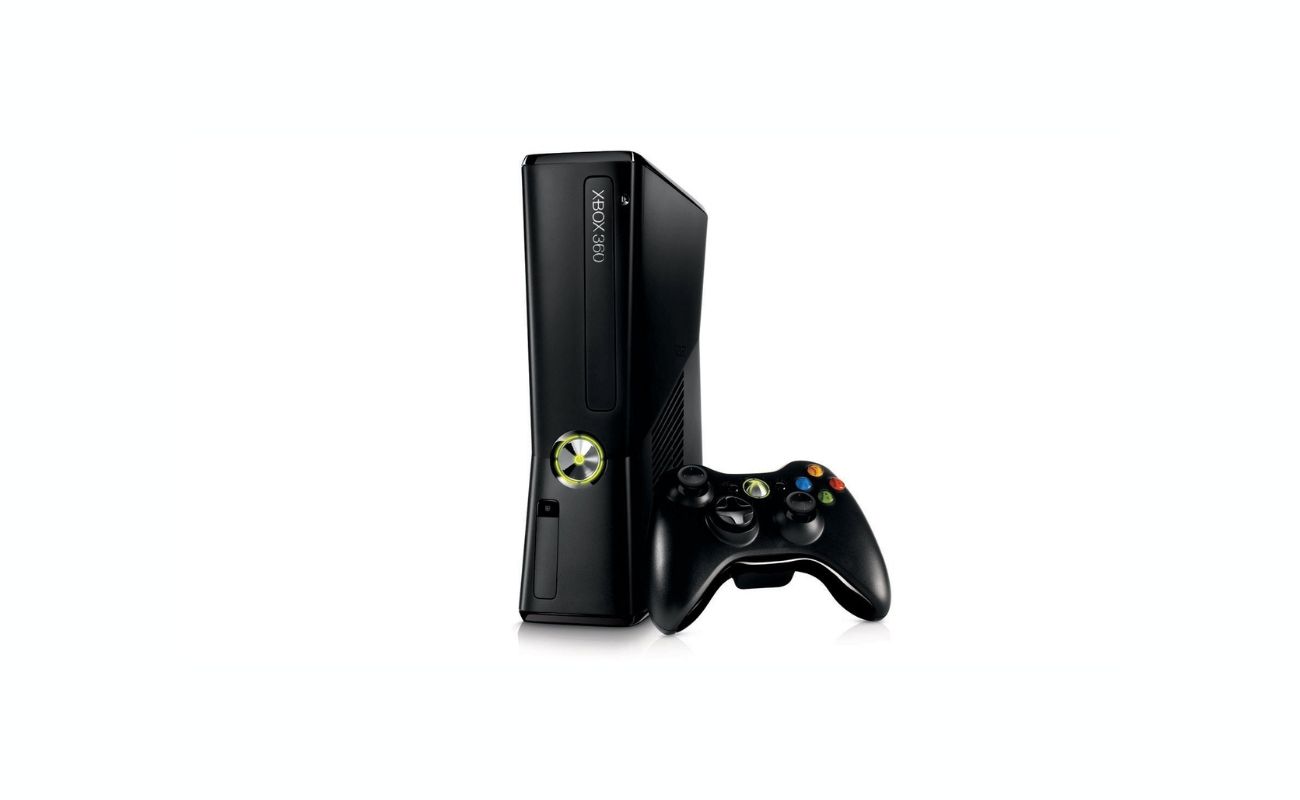
The Xbox 360 Wireless Adapter is a convenient accessory that allows you to connect your Xbox 360 controller and other accessories wirelessly to your PC. Whether you want to play games, stream media, or use your PC as a gaming console, the Xbox 360 Wireless Adapter provides a seamless and hassle-free connection. In this article, we will guide you through the process of installing the Xbox 360 Wireless Adapter on your PC, so you can enjoy your gaming experience without any wires.
Before we dive into the installation process, there are a few requirements that you need to keep in mind. First and foremost, you will need an Xbox 360 Wireless Adapter. You can purchase this accessory from various retailers or online stores. Make sure you choose a genuine Xbox 360 Wireless Adapter to ensure compatibility and optimal performance.
Additionally, your PC should meet the minimum system requirements to use the Xbox 360 Wireless Adapter. These requirements include having a USB 2.0 port available, Windows operating system (Windows 10 recommended), and a stable internet connection. With these prerequisites in place, you are ready to proceed with the installation process.
Now let’s get started with the step-by-step guide on how to install the Xbox 360 Wireless Adapter on your PC.
Key Takeaways:
- Installing the Xbox 360 Wireless Adapter on your PC allows for seamless wireless gaming and entertainment. Follow the step-by-step guide to set it up, ensuring a hassle-free and convenient gaming experience without the constraints of wires.
- Troubleshooting tips are provided to help resolve common issues during the installation process. With patience and persistence, you can enjoy a smooth wireless gaming experience on your PC, taking advantage of online multiplayer features and effortless game control.
Requirements
Before you begin installing the Xbox 360 Wireless Adapter on your PC, there are a few requirements that you need to fulfill. Make sure you have the following:
- Xbox 360 Wireless Adapter: The first and most crucial requirement is the Xbox 360 Wireless Adapter itself. You can purchase this accessory from various retailers or online stores. Ensure that you choose the genuine Xbox 360 Wireless Adapter to ensure compatibility and optimal performance.
- USB 2.0 Port: Your PC should have an available USB 2.0 port. The Xbox 360 Wireless Adapter needs to be connected to your PC through this port to establish a wireless connection between your Xbox 360 controller and your PC. Make sure the port is functioning properly and not blocked by any other devices.
- Windows Operating System: The Xbox 360 Wireless Adapter is primarily designed to work with the Windows operating system. While it may be compatible with other operating systems, it is recommended to use a Windows OS, preferably Windows 10, for the best compatibility and performance.
- Stable Internet Connection: To fully utilize the capabilities of the Xbox 360 Wireless Adapter, you will need a stable internet connection. This is especially important if you plan to use online gaming features or stream media content to your PC. Ensure that your internet connection is reliable to avoid any interruptions during your gaming sessions.
Once you have these requirements in place, you are ready to proceed with the installation process of the Xbox 360 Wireless Adapter on your PC. In the following steps, we will guide you through each phase of the installation to ensure a smooth and successful setup.
Step 1: Purchase Xbox 360 Wireless Adapter
The first step in installing the Xbox 360 Wireless Adapter on your PC is to purchase the adapter itself. You can find the Xbox 360 Wireless Adapter at various electronic retailers or online stores. It is essential to ensure that you purchase the genuine Xbox 360 Wireless Adapter to guarantee compatibility and optimal performance.
When choosing the Xbox 360 Wireless Adapter, consider factors such as price, availability, and customer reviews to make an informed decision. Look for trusted sellers or official Xbox retailers to ensure that you are purchasing a legitimate product.
Once you have acquired the Xbox 360 Wireless Adapter, inspect the packaging to ensure that it is sealed and not tampered with. Check for any signs of damage to the adapter or its components. It is crucial to have a working adapter to ensure a seamless installation process.
Before proceeding to the installation process, it is advisable to read through the user manual or any instructions provided with the Xbox 360 Wireless Adapter. Familiarizing yourself with the device’s functionalities and features will help you install and use it effectively.
With the Xbox 360 Wireless Adapter in your possession, you are now ready to proceed to the next step of installing the device driver on your PC. The device driver is an essential component that enables your PC to recognize and communicate with the Xbox 360 Wireless Adapter. In the following step, we will guide you through the installation process of the device driver.
Step 2: Install the Device Driver
After acquiring the Xbox 360 Wireless Adapter, the next step in the installation process is to install the device driver on your PC. The device driver is essential as it allows your PC to recognize and communicate with the adapter.
Here is a step-by-step guide on how to install the device driver for the Xbox 360 Wireless Adapter:
- Insert the installation disc that came with the Xbox 360 Wireless Adapter into your PC’s optical drive. If you don’t have the installation disc, you can download the device driver from the official Xbox website.
- Run the installation wizard by double-clicking on the setup file. Follow the on-screen instructions to proceed with the installation process.
- Read and accept the terms and conditions of the license agreement, if prompted.
- Choose the installation location for the device driver. You can either choose the default location or select a different directory if preferred.
- Wait for the installation process to complete. This may take a few minutes, depending on the speed of your PC.
- Once the installation is finished, you will receive a notification indicating that the device driver has been successfully installed.
It is important to note that some newer versions of Windows may automatically detect and install the necessary drivers for the Xbox 360 Wireless Adapter without the need for an installation disc. If this is the case, you can skip the installation disc step and proceed to the next step.
Now that you have successfully installed the device driver for the Xbox 360 Wireless Adapter, it’s time to connect the adapter to your PC. In the next step, we will guide you through the process of connecting the adapter to your PC for a wireless connection.
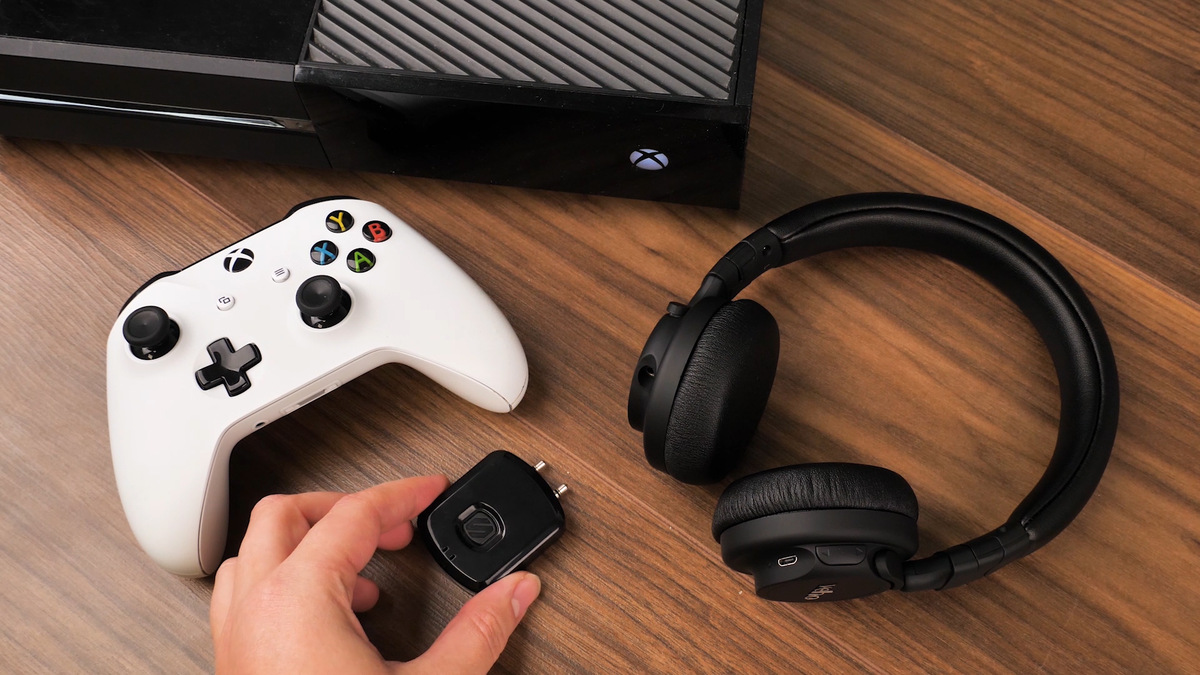
Step 3: Connect Adapter to PCOnce you have installed the device driver for the Xbox 360 Wireless Adapter, the next step is to connect the adapter to your PC. This will establish a wireless connection between your Xbox 360 controller and your PC, allowing you to seamlessly control your games or media.
Follow these steps to connect the adapter to your PC:
- Locate an available USB 2.0 port on your PC. The USB 2.0 port is necessary for connecting the Xbox 360 Wireless Adapter. Ensure that the port is not damaged or blocked by any other devices.
- Take the Xbox 360 Wireless Adapter and insert it into the USB 2.0 port on your PC. Gently push it in until it fits securely.
- Wait for a few moments as your PC detects the adapter and establishes a wireless connection. You may see a notification pop up on your screen indicating that a new device has been connected.
- If prompted, follow any on-screen instructions to finalize the connection. This may include pressing buttons or syncing the adapter with your Xbox 360 controller.
- Once the wireless connection is established, you are ready to use your Xbox 360 controller on your PC. The adapter will allow you to control games, navigate menus, and perform various actions, wirelessly.
It is important to note that the Xbox 360 Wireless Adapter can connect to up to four wireless controllers simultaneously. If you have multiple Xbox 360 controllers, you can connect them to the adapter by pressing the sync buttons on the controller and the adapter.
Now that the Xbox 360 Wireless Adapter is connected to your PC, the next step is to configure the network settings to ensure a stable connection and optimal performance. In the following step, we will guide you through the process of configuring the network settings on your PC.
Make sure to download the latest drivers for the Xbox 360 Wireless Adapter from the official Microsoft website before connecting it to your PC. This will ensure that it works properly and is compatible with your system.
Step 4: Configure Network Settings
After connecting the Xbox 360 Wireless Adapter to your PC, it is important to configure the network settings to ensure a stable connection between your PC and any online services or games you wish to access. Configuring the network settings will allow you to take full advantage of online features and multiplayer options.
Follow these steps to configure the network settings:
- On your PC, navigate to the network settings or Wi-Fi settings. This can usually be found in the Control Panel or by right-clicking the network icon in the system tray.
- Locate the wireless connection associated with the Xbox 360 Wireless Adapter. It may be listed as “Xbox Adapter” or something similar.
- Click on the wireless connection and select “Properties” or “Settings” to access the configuration options.
- Ensure that the network settings are configured appropriately. This includes settings such as IP address, subnet mask, default gateway, and DNS servers. In most cases, these settings are set to automatically obtain an IP address via DHCP.
- If you are connecting to a secure network, such as your home Wi-Fi network, you may need to enter the network’s password or security key to authenticate and establish a connection.
- Once you have entered or verified the network settings, click “Apply” or “OK” to save the changes.
It is important to note that the network settings may vary depending on your specific network and connection type. If you are unsure about any settings, reach out to your network administrator or refer to the documentation provided by your internet service provider.
With the network settings configured, you are now ready to test the connection and ensure that everything is working properly. In the next step, we will guide you through the process of testing the connection between your PC and the Xbox 360 Wireless Adapter.
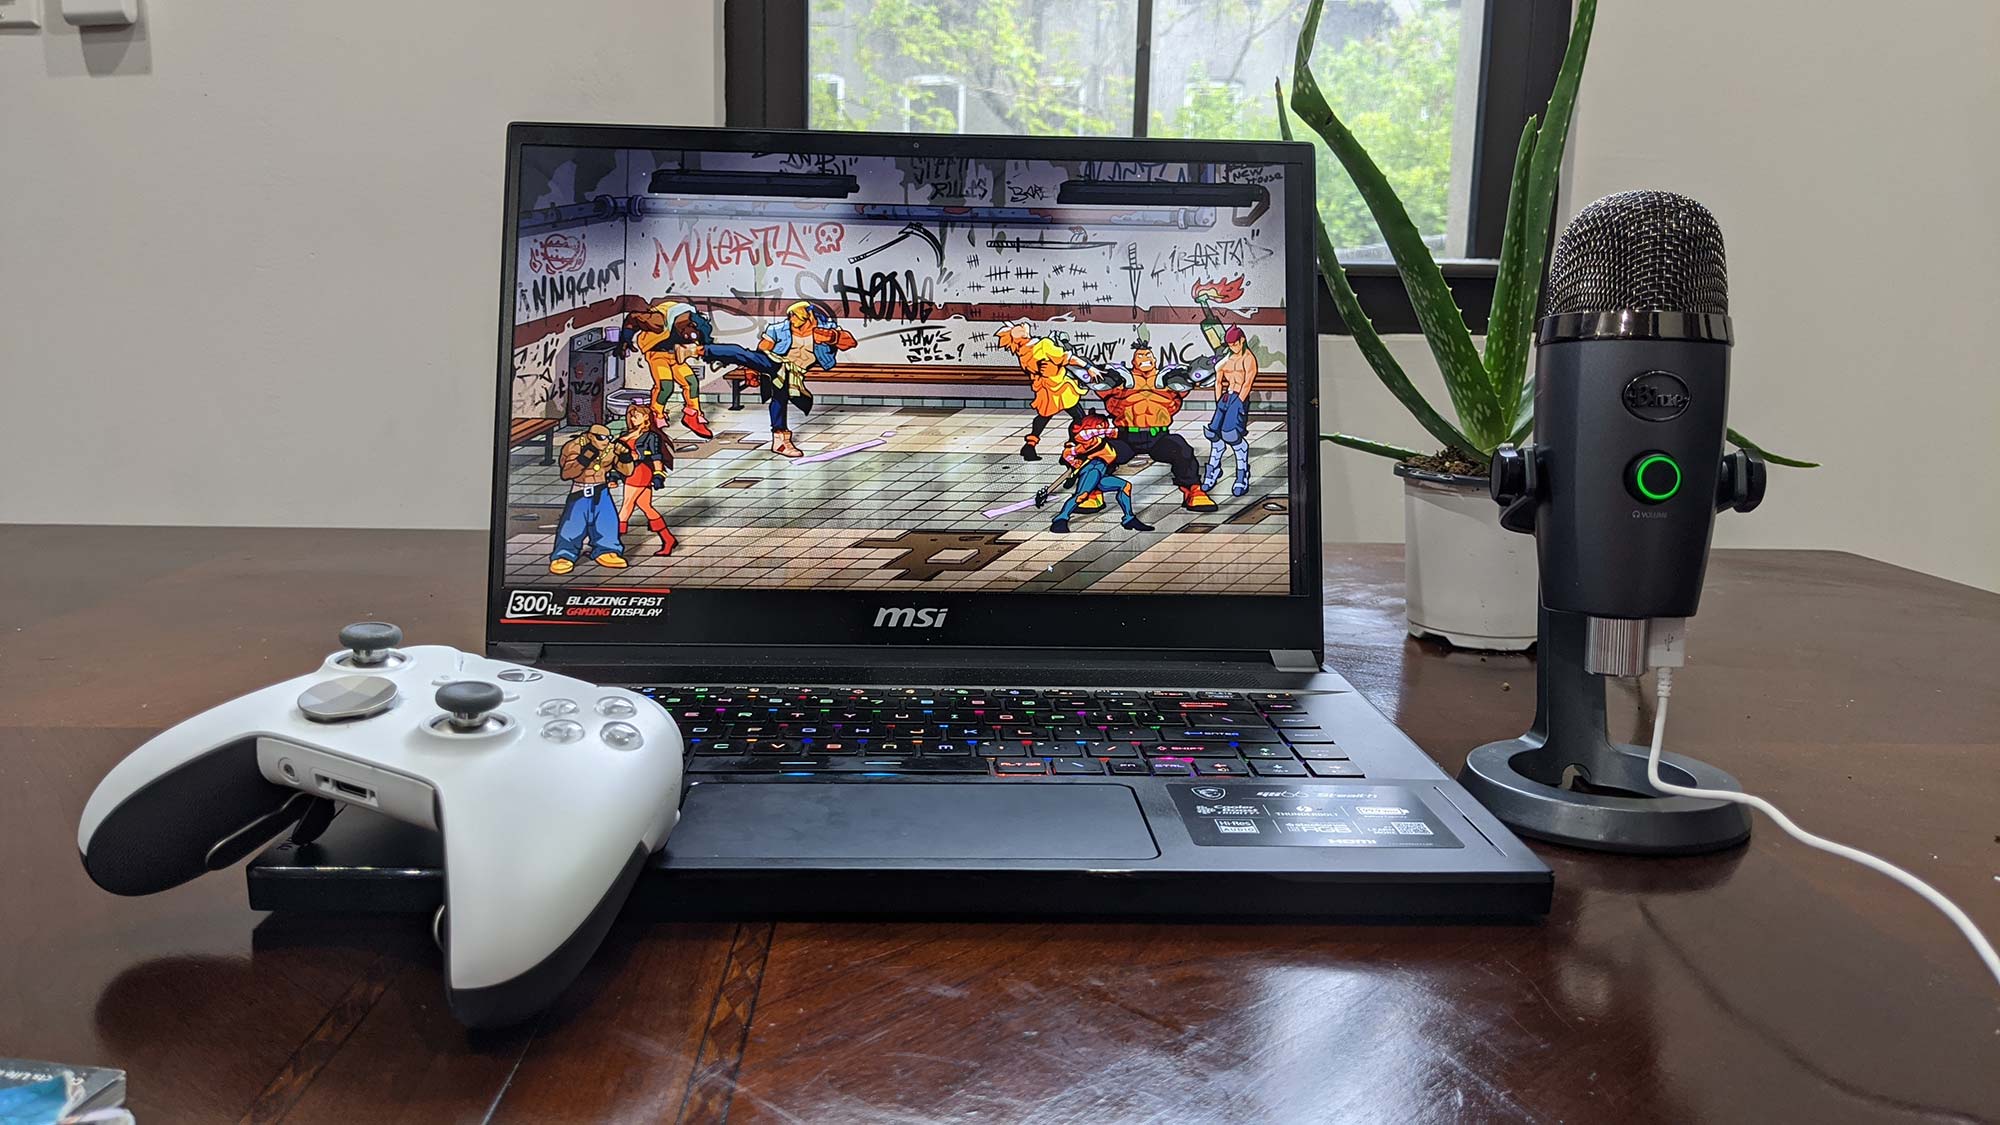
Step 5: Test Connection
After configuring the network settings, the next step is to test the connection between your PC and the Xbox 360 Wireless Adapter. Testing the connection will ensure that everything is set up properly and that you can fully utilize the wireless capabilities of the adapter.
Follow these steps to test the connection:
- Ensure that your Xbox 360 controller is powered on and within range of the wireless adapter.
- Open a game or application that supports Xbox 360 controllers on your PC.
- Use your Xbox 360 controller to navigate the game or application. Test all the buttons, triggers, and joysticks to ensure that they are working properly.
- If you are using any other accessories, such as a wireless headset, connect them to the Xbox 360 Wireless Adapter and test their functionality as well.
- Play the game or use the application for a few minutes to ensure that the connection remains stable and without any lag or interruptions. Monitor the performance to ensure that it meets your expectations.
- If you encounter any issues during the testing phase, refer to the troubleshooting tips in the next section for assistance.
If the connection and functionality of the Xbox 360 Wireless Adapter and your Xbox 360 controller are working properly, congratulations! You have successfully installed and set up the Xbox 360 Wireless Adapter on your PC. You can now enjoy a wireless gaming experience without the hassle of cables.
Keep in mind that certain games or applications may require additional configuration or settings adjustment to fully utilize the Xbox 360 controller and the wireless adapter. Refer to the game or application’s documentation for specific instructions on how to optimize the controls for your gaming experience.
If you encounter any issues or need further assistance, refer to the troubleshooting tips in the next section for guidance.
Troubleshooting Tips
While setting up and using the Xbox 360 Wireless Adapter on your PC is generally a smooth process, you may encounter some issues along the way. Here are some troubleshooting tips to help you resolve common problems:
- Ensure Proper Connection: Double-check that the Xbox 360 Wireless Adapter is securely inserted into the USB 2.0 port on your PC. Loose connections can cause connectivity issues.
- Restart Your PC: Sometimes, a simple restart can resolve minor connectivity issues. Restart your PC and try connecting the Xbox 360 Wireless Adapter again.
- Update Device Drivers: Ensure that you have the latest device drivers installed for the Xbox 360 Wireless Adapter. Visit the official Xbox website or the manufacturer’s website to download and install the latest drivers.
- Check Compatibility: Verify that your PC meets the system requirements for using the Xbox 360 Wireless Adapter. Ensure that your operating system is supported and up to date.
- Check Wireless Signal: If you are experiencing weak or intermittent connectivity, try moving closer to your wireless router or access point. Obstacles such as walls or interference from other devices can weaken the signal.
- Check Batteries: If your Xbox 360 controller is not responding or experiencing connectivity issues, check the batteries and make sure they are properly charged. Replace them if necessary.
- Reduce Wireless Interference: If you are using other wireless devices in close proximity to the Xbox 360 Wireless Adapter, such as cordless phones or Bluetooth devices, they may cause interference. Move these devices away or turn them off temporarily to see if it improves the connection.
- Verify Network Settings: Double-check that the network settings on your PC are correctly configured. Ensure that you are connected to the correct wireless network and that the settings match your network requirements.
- Reinstall Device Drivers: If all else fails, try uninstalling and reinstalling the device drivers for the Xbox 360 Wireless Adapter. This can help resolve any driver-related issues that may be causing connectivity problems.
If you have followed these troubleshooting tips and are still experiencing issues with the Xbox 360 Wireless Adapter, it is recommended to contact Xbox support or consult the manufacturer for further assistance. They will be able to provide specific guidance and address any technical difficulties you may be facing.
Remember, troubleshooting is a normal part of any technology setup, and with patience and persistence, you will be able to resolve any issues and enjoy a seamless wireless gaming experience on your PC.
Conclusion
Installing the Xbox 360 Wireless Adapter on your PC opens up a world of possibilities for wireless gaming and entertainment. With the ability to connect your Xbox 360 controller and other accessories wirelessly, you can enjoy a streamlined and convenient gaming experience without the hassle of wires.
In this article, we walked you through the step-by-step process of installing the Xbox 360 Wireless Adapter on your PC. We discussed the requirements, including the need for the adapter itself and a USB 2.0 port on your PC. We also covered the importance of installing the device driver, connecting the adapter to your PC, configuring the network settings, and testing the connection to ensure smooth functionality.
Additionally, we provided troubleshooting tips to help you resolve common issues you may encounter during the installation or setup process. Sometimes, minor adjustments or simple troubleshooting techniques can get everything up and running smoothly.
By following the steps outlined in this article and applying the troubleshooting tips when needed, you should be able to successfully install and use the Xbox 360 Wireless Adapter on your PC. This will allow you to enjoy a wireless gaming experience, take advantage of online multiplayer features, and control games and applications with ease.
Remember, if you encounter any difficulties or need further assistance, do not hesitate to reach out to Xbox support or consult the manufacturer for guidance. They are there to help you resolve any technical issues and ensure that you have the best possible gaming experience on your PC.
Now that you have successfully installed the Xbox 360 Wireless Adapter, it’s time to dive into the world of wireless gaming and enjoy the freedom and convenience it brings. So grab your Xbox 360 controller, connect it to your PC, and get ready to embark on exciting gaming adventures without the constraints of wires!
Frequently Asked Questions about How To Install Xbox 360 Wireless Adapter On Pc
Was this page helpful?
At Storables.com, we guarantee accurate and reliable information. Our content, validated by Expert Board Contributors, is crafted following stringent Editorial Policies. We're committed to providing you with well-researched, expert-backed insights for all your informational needs.


0 thoughts on “How To Install Xbox 360 Wireless Adapter On Pc”