Articles
How To Use Toaster
Modified: March 19, 2024
Learn how to use a toaster with these helpful articles. Discover tips and tricks for toasting bread to perfection in just a few simple steps.
(Many of the links in this article redirect to a specific reviewed product. Your purchase of these products through affiliate links helps to generate commission for Storables.com, at no extra cost. Learn more)
Introduction
Welcome to the wonderful world of toasters! Whether you’re a breakfast enthusiast or just someone looking for a quick and delicious meal, using a toaster can be a game-changer in your kitchen. With just a few simple steps, you can toast your bread to perfection and enjoy a crispy and satisfying treat.
In this article, we will guide you through the process of using a toaster, from understanding its basic functionality to caring for it properly. By the end, you’ll be a toaster pro, impressing your family and friends with perfectly toasted bread every time.
So, let’s get started and uncover the secrets of using a toaster!
Key Takeaways:
- Master the art of using a toaster by understanding its components, preparing it for use, and setting the desired toast shade. With proper maintenance, enjoy consistently delicious and perfectly toasted bread every time!
- Prioritize safety and cleanliness when using a toaster. Regularly clean and maintain your toaster to ensure longevity and optimal performance. Experiment with different bread types and toppings for a delightful toasting adventure!
Read more: How To Use A Toaster Oven
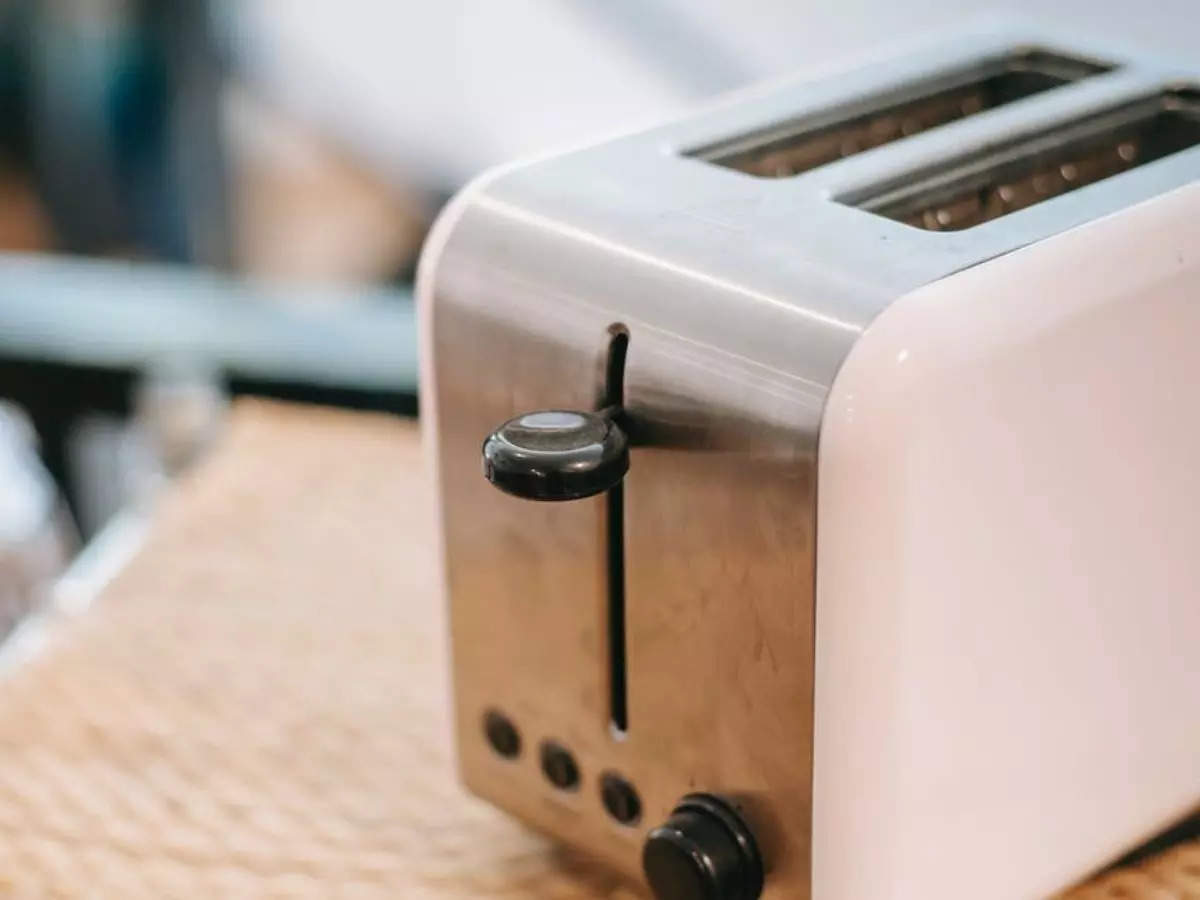
Step 1: Understanding the toaster
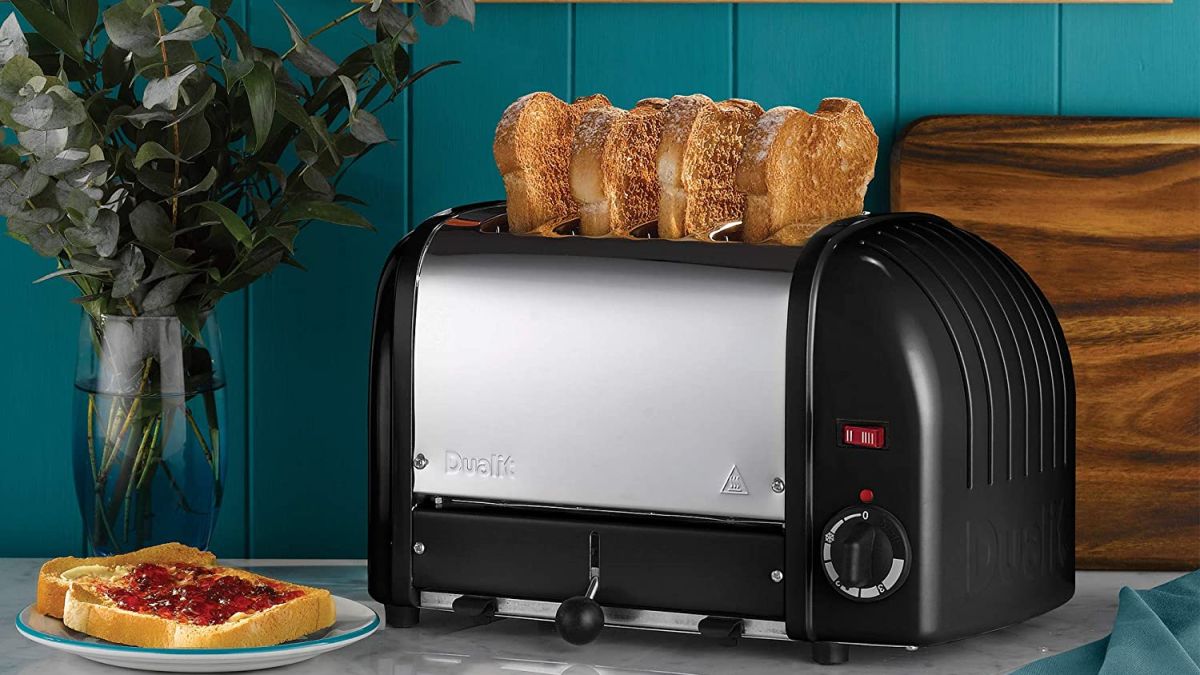
Before diving into the process of using a toaster, it’s essential to understand its different parts and functions. Knowing the various components will help you navigate through the toasting process with ease.
A typical toaster consists of the following key elements:
- Slots: These are the openings where you insert your bread slices.
- Temperature control: This feature allows you to adjust the level of heat that your toast will be exposed to. It determines how light or dark your toast will turn out.
- Timer: The timer controls the duration for which your bread will be toasted. It ensures that you achieve the desired level of crispiness.
- Crumb tray: Located at the bottom of the toaster, the crumb tray collects any crumbs or debris that may fall during the toasting process. Regularly cleaning the crumb tray is crucial for maintaining the cleanliness and functionality of your toaster.
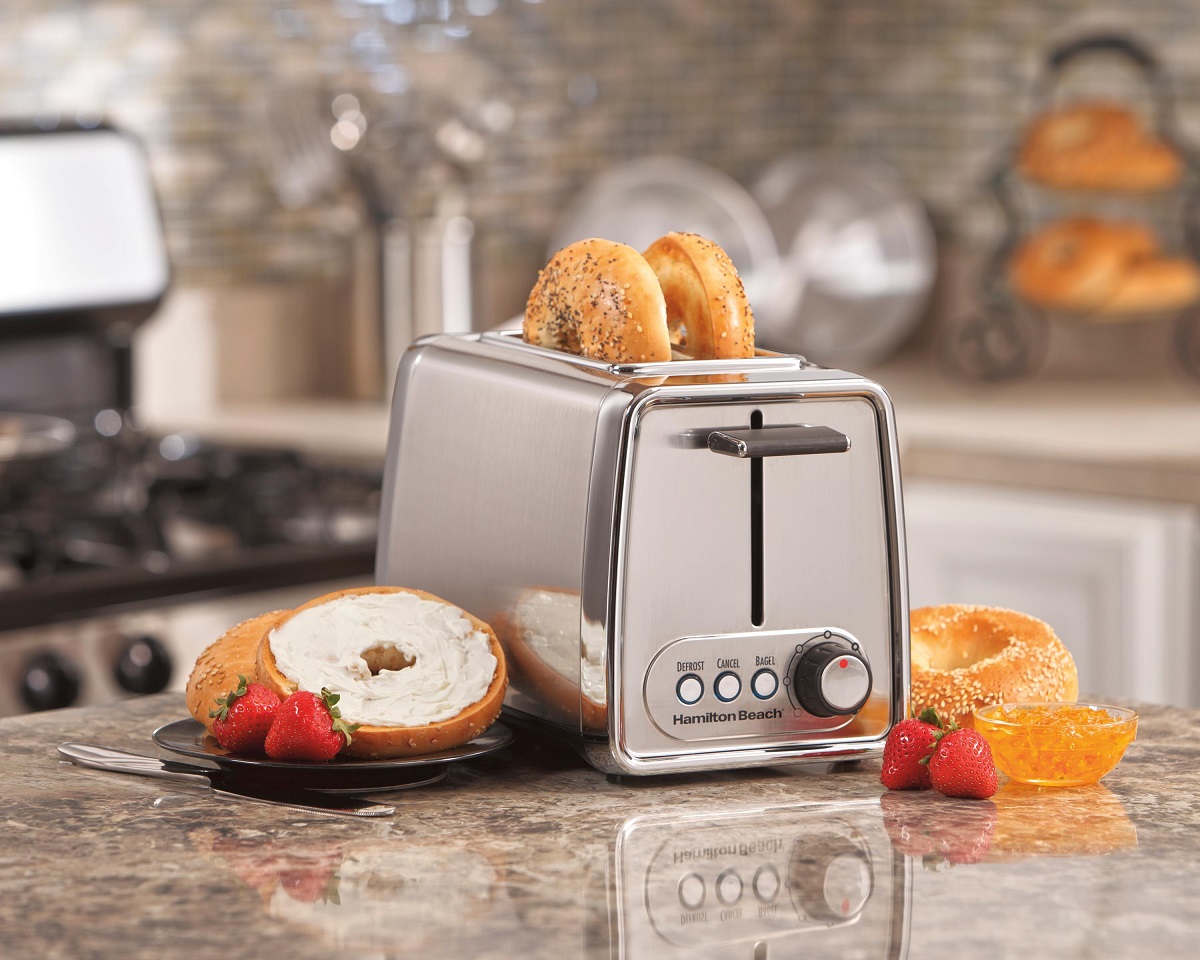
It’s also worth noting that some toasters come with additional features, such as bagel settings, defrost buttons, and cancel functions. These extra functions cater to different toasting preferences and provide added convenience.
Now that you have a basic understanding of the toaster’s components, you’re ready to move on to the next step: preparing for use!
Step 2: Preparing for use
Before you start toasting your bread, it’s important to ensure that your toaster is ready for use. Follow these simple steps to prepare your toaster:
- Clean the toaster: Before every use, make sure to clean any leftover crumbs or debris from the slots and the crumb tray. This prevents any burnt particles from affecting the taste of your toast and reduces the risk of fire hazards.
- Check the power cord: Ensure that the power cord is in good condition, without any frays or damages. If you notice any issues, it’s essential to address them before plugging in the toaster.
- Clear the surrounding area: Ensure that there are no flammable objects near the toaster that may pose a fire risk. Keep the toaster away from curtains, towels, or other objects that could potentially catch fire.
- Gather your bread: Select the bread you want to toast. Whether it’s sliced bread, bagels, or English muffins, choose the type of bread that suits your taste.
By taking these preparation steps, you’ll ensure a safe and clean toasting environment, allowing you to fully enjoy the toasting process.
Now that you’re all set and prepared, let’s move on to the next step: plugging in the toaster!
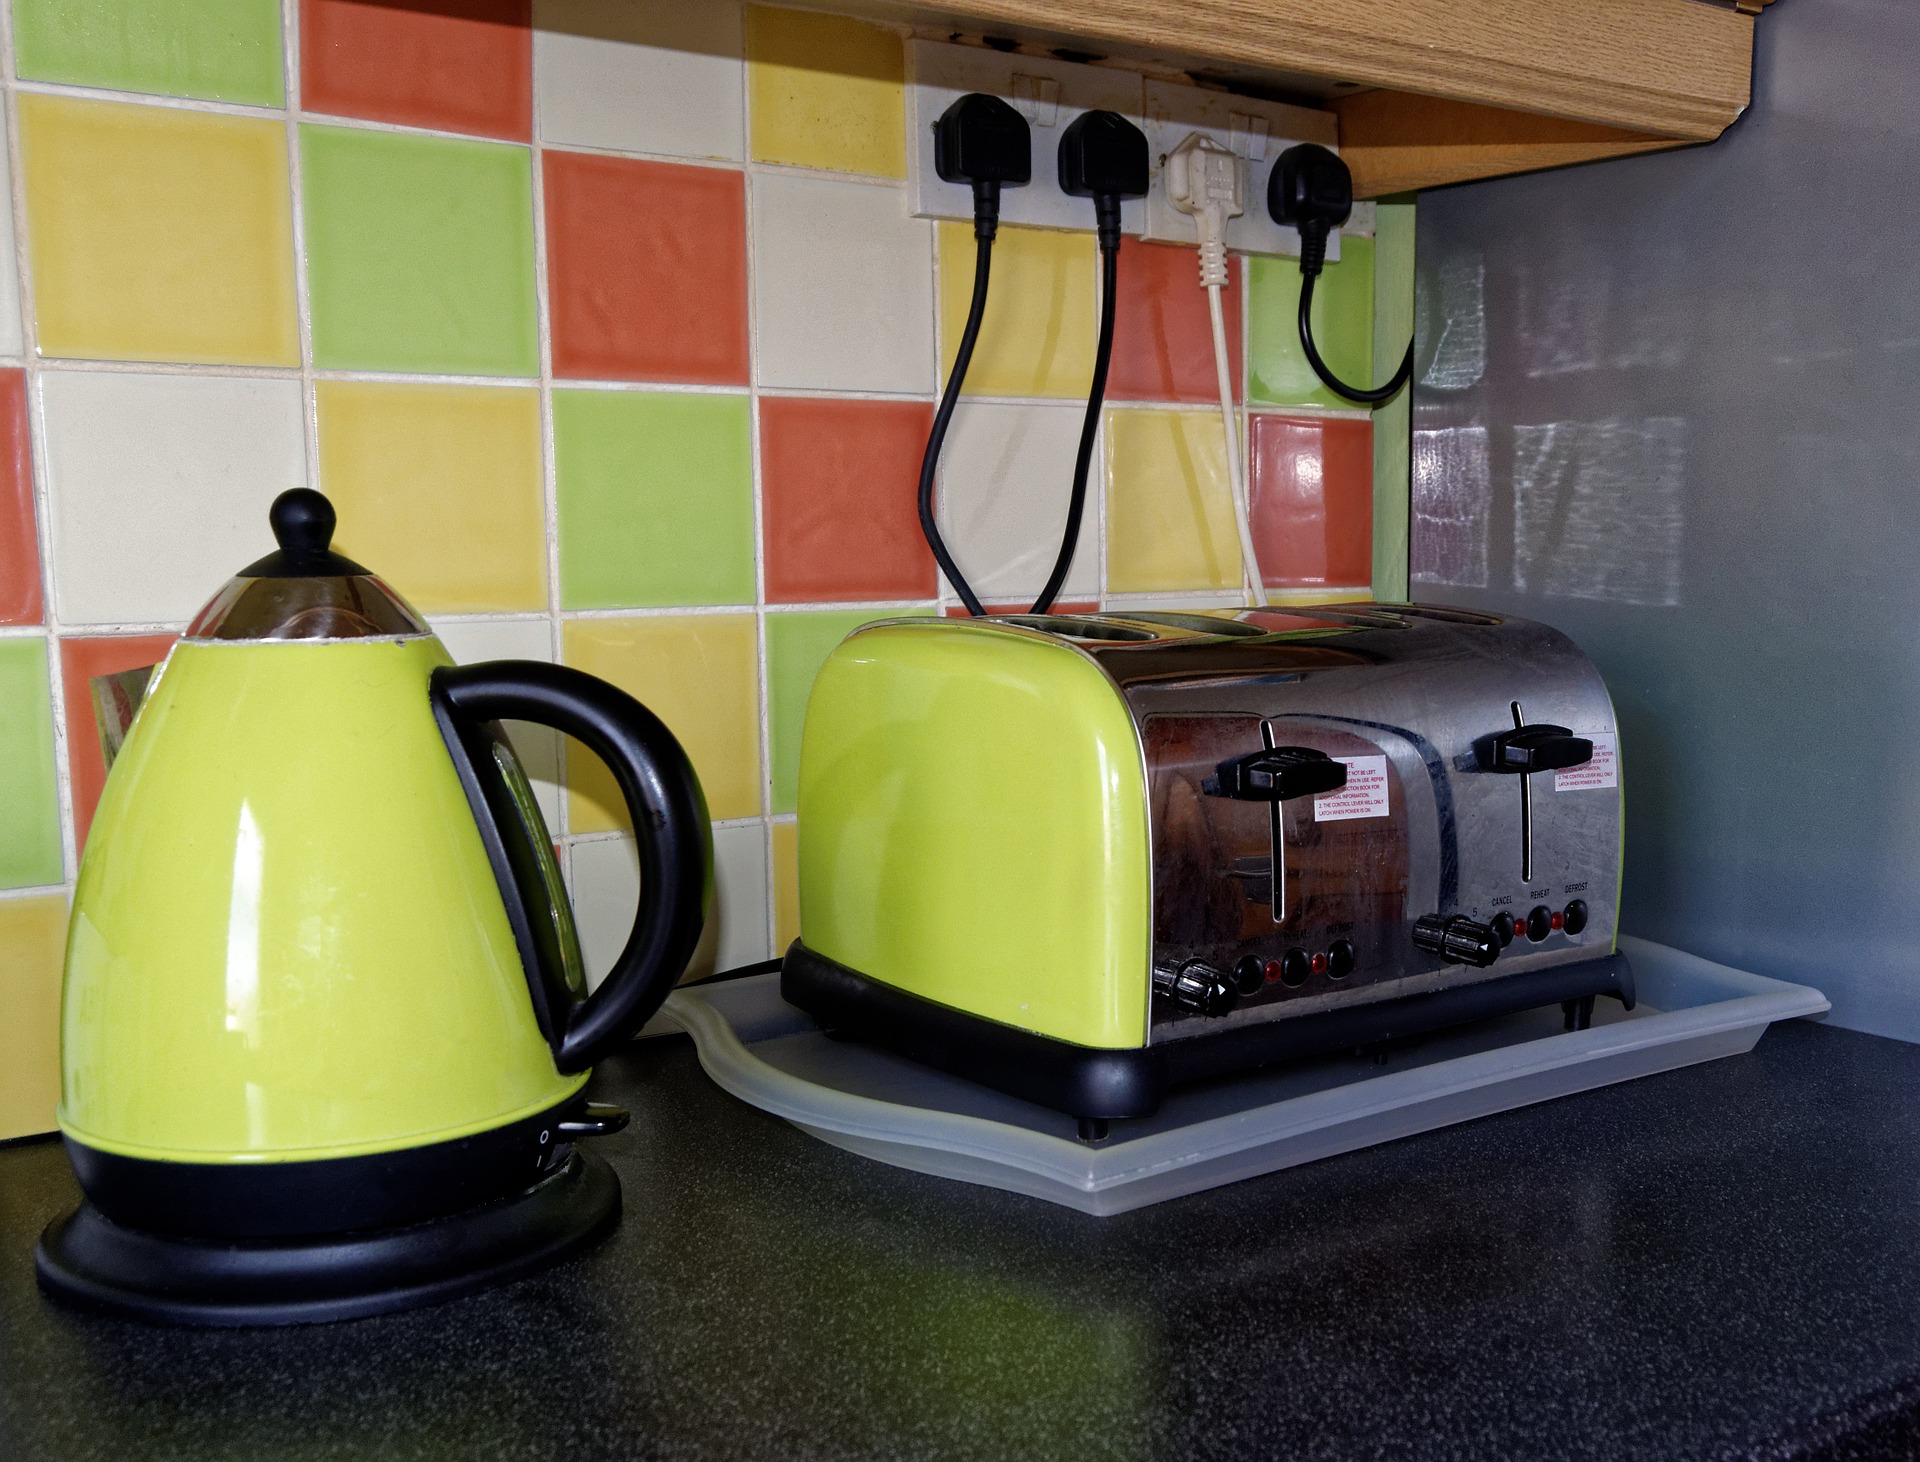
Step 3: Plugging in the toaster
Now that you’ve prepared your toaster, it’s time to plug it in and get ready for some toasting action! Follow these simple steps to plug in your toaster:
- Locate a suitable electrical outlet: Find an electrical outlet that is easily accessible and close to your toaster. Ensure that the outlet is in good condition and can support the electrical load required by the toaster.
- Unwind the power cord: If the power cord of your toaster is wrapped or stored, gently unwind it to its full length. Avoid pulling or tugging on the cord to prevent any damage.
- Insert the plug into the outlet: Carefully insert the plug of your toaster into the electrical outlet. Make sure it is securely plugged in and there are no loose connections.
- Check the power indicator: Many toasters come with a power indicator light. Once plugged in, the indicator light should turn on, indicating that the toaster is receiving power.
Double-check the plug and ensure that it is fully inserted into the outlet. If the power indicator light does not come on, try plugging the toaster into a different outlet or check if the circuit breaker has tripped.
Now that your toaster is plugged in and ready to go, it’s time to move on to the next step: setting the desired toast shade!
Step 4: Setting the desired toast shade
One of the great features of a toaster is the ability to customize the shade of your toast. Whether you prefer a lightly toasted bread or a golden brown delight, you can achieve the perfect shade by following these steps:
- Locate the temperature control: Look for the temperature control knob or buttons on your toaster. This is where you can adjust the level of heat that the toaster will apply to your bread.
- Set the desired toast shade: Turn the temperature control knob or press the buttons to select your preferred toast shade. Many toasters use a scale with numbers or icons to represent the different shades, ranging from light to dark.
- Consider your personal preferences: Keep in mind that the toast shade you select will impact the texture and taste of your toast. If you prefer a softer and less crispy toast, opt for a lighter shade. On the other hand, if you enjoy a crunchy and well-toasted slice, choose a darker shade.
It’s important to note that different toasters may have different settings and variations in toast shades. Familiarize yourself with the specific settings of your toaster and adjust accordingly to find your ideal toast shade.
Now that you’ve set the desired toast shade, it’s time to proceed to the next step: placing the bread in the toaster!
Always unplug the toaster before cleaning or removing stuck items. Use a damp cloth to wipe down the exterior and a soft brush to clean the inside. Never use metal utensils to remove stuck items.
Read more: How To Use A Toaster Oven Air Fryer
Step 5: Placing the bread in the toaster
Now that you have set the desired toast shade, it’s time to prepare your bread and place it into the toaster. Follow these simple steps to ensure a successful toasting process:
- Prepare your bread: Take the slices of bread you want to toast and make sure they are of the appropriate size to fit into the toaster slots. If necessary, you can trim the edges to ensure a proper fit.
- Insert the bread into the slots: Gently push the slices of bread into the toaster slots. Make sure to push them down until they are firmly in place.
- Ensure even placement: If your toaster has multiple slots, try to distribute the slices evenly among them. This will help ensure that each slice gets toasted uniformly.
It’s essential to avoid overstuffing the toaster slots, as this can prevent the bread from toasting evenly. If you’re toasting a thick slice of bread or a bagel, check your toaster’s capacity to ensure it can accommodate the size.
Now that your bread is in the toaster, it’s time for the exciting part: starting the toasting process!
Step 6: Starting the toasting process
With your bread in the toaster, it’s time to kickstart the toasting process and watch your slices transform into golden perfection. Follow these steps to begin toasting:
- Locate the toast button or lever: Look for the toast button or lever on your toaster. This is typically a lever that you push down to initiate the toasting process.
- Press down the toast button or lever: Once you’ve located the toast button or lever, push it down firmly. This will activate the toaster and lower the bread into the toasting chamber.
- Listen for the sound: As the bread starts toasting, you may hear a slight popping or clicking sound. This is normal and indicates that the heating elements are working to toast your bread.
- Wait for the toaster to finish: The toasting duration will depend on your desired shade and the specific settings of your toaster. Most toasters have a built-in timer that automatically pops the bread up when it’s done. Alternatively, you may need to manually lift the lever or press a cancel button to stop the toasting process.
While your toast is toasting, it’s best to keep an eye on it and avoid leaving it unattended. This way, you can ensure that it reaches your desired level of toastiness without burning.
Now that your toast is ready, it’s time to move on to the final step: removing the toast from the toaster!
Step 7: Removing the toast from the toaster
As the toasting process comes to an end, it’s time to remove your perfectly toasted slices of bread from the toaster. Follow these simple steps to safely retrieve your toast:
- Unplug the toaster: Before attempting to remove your toast, it’s important to unplug the toaster from the electrical outlet. This ensures your safety and prevents any accidental burns.
- Use caution: The toaster and the toast may be hot, so it’s essential to handle them with care. Avoid touching the toaster’s metal surfaces and use oven mitts or heat-resistant gloves to protect your hands.
- Lift the lever or use the toaster’s pop-up function: Depending on your toaster’s design, you can either lift the lever or rely on the pop-up function to elevate the toast. If using the pop-up function, wait for the toaster to automatically release the toast before removing it.
- Retrieve the toast: Once the toast is elevated, gently grasp it and carefully lift it out of the toaster. Be cautious of any hot surfaces and avoid direct contact between your skin and the toast to prevent burns.
Remember, the toaster and the toast may remain hot for a short while after the toasting process. Allow them to cool down before handling the toaster further or enjoying your delicious toast.
Now that you have successfully removed the toast, it’s time for the final step: cleaning and maintaining your toaster!
Step 8: Cleaning and maintaining the toaster
Keeping your toaster clean and properly maintained not only ensures its longevity but also contributes to the quality of your toasting experience. Follow these steps to clean and maintain your toaster:
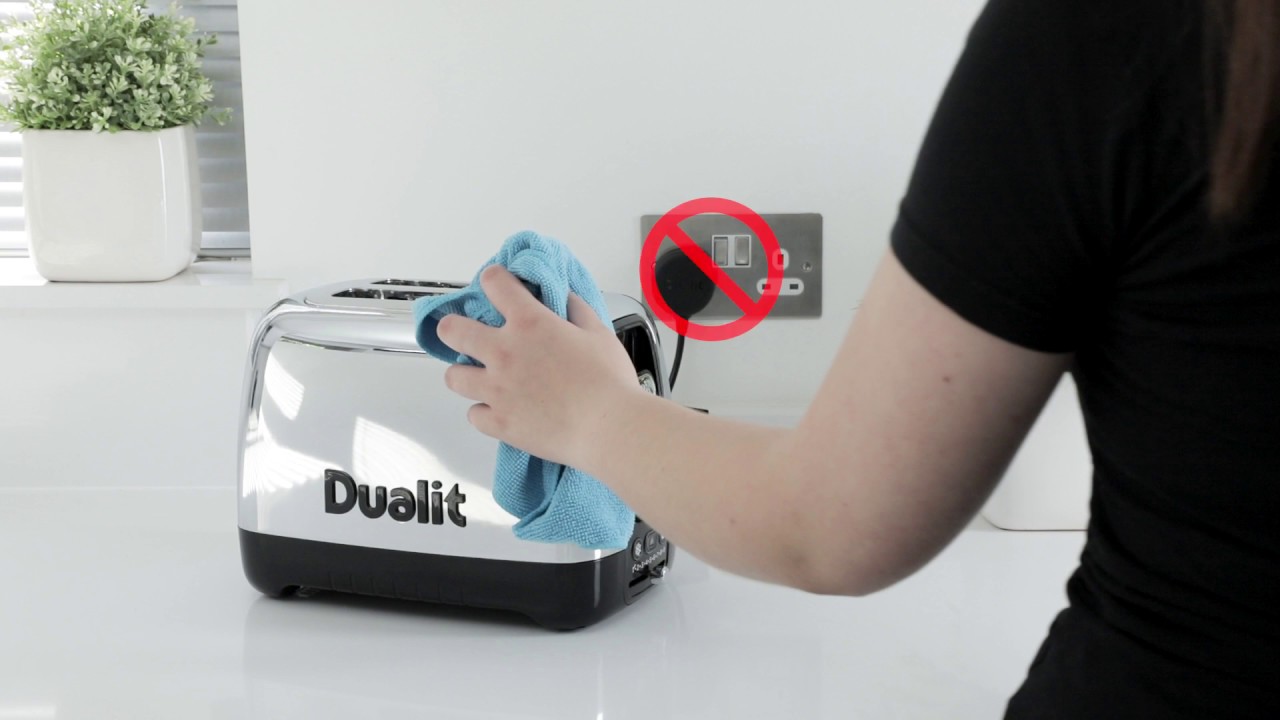
- Unplug the toaster: Before cleaning, make sure to unplug the toaster from the electrical outlet. This eliminates the risk of electric shock or damage.
- Remove the crumb tray: Most toasters have a removable crumb tray located at the bottom. Pull it out gently and dispose of any accumulated crumbs or debris. Regularly cleaning the crumb tray prevents buildup and potential fire hazards.
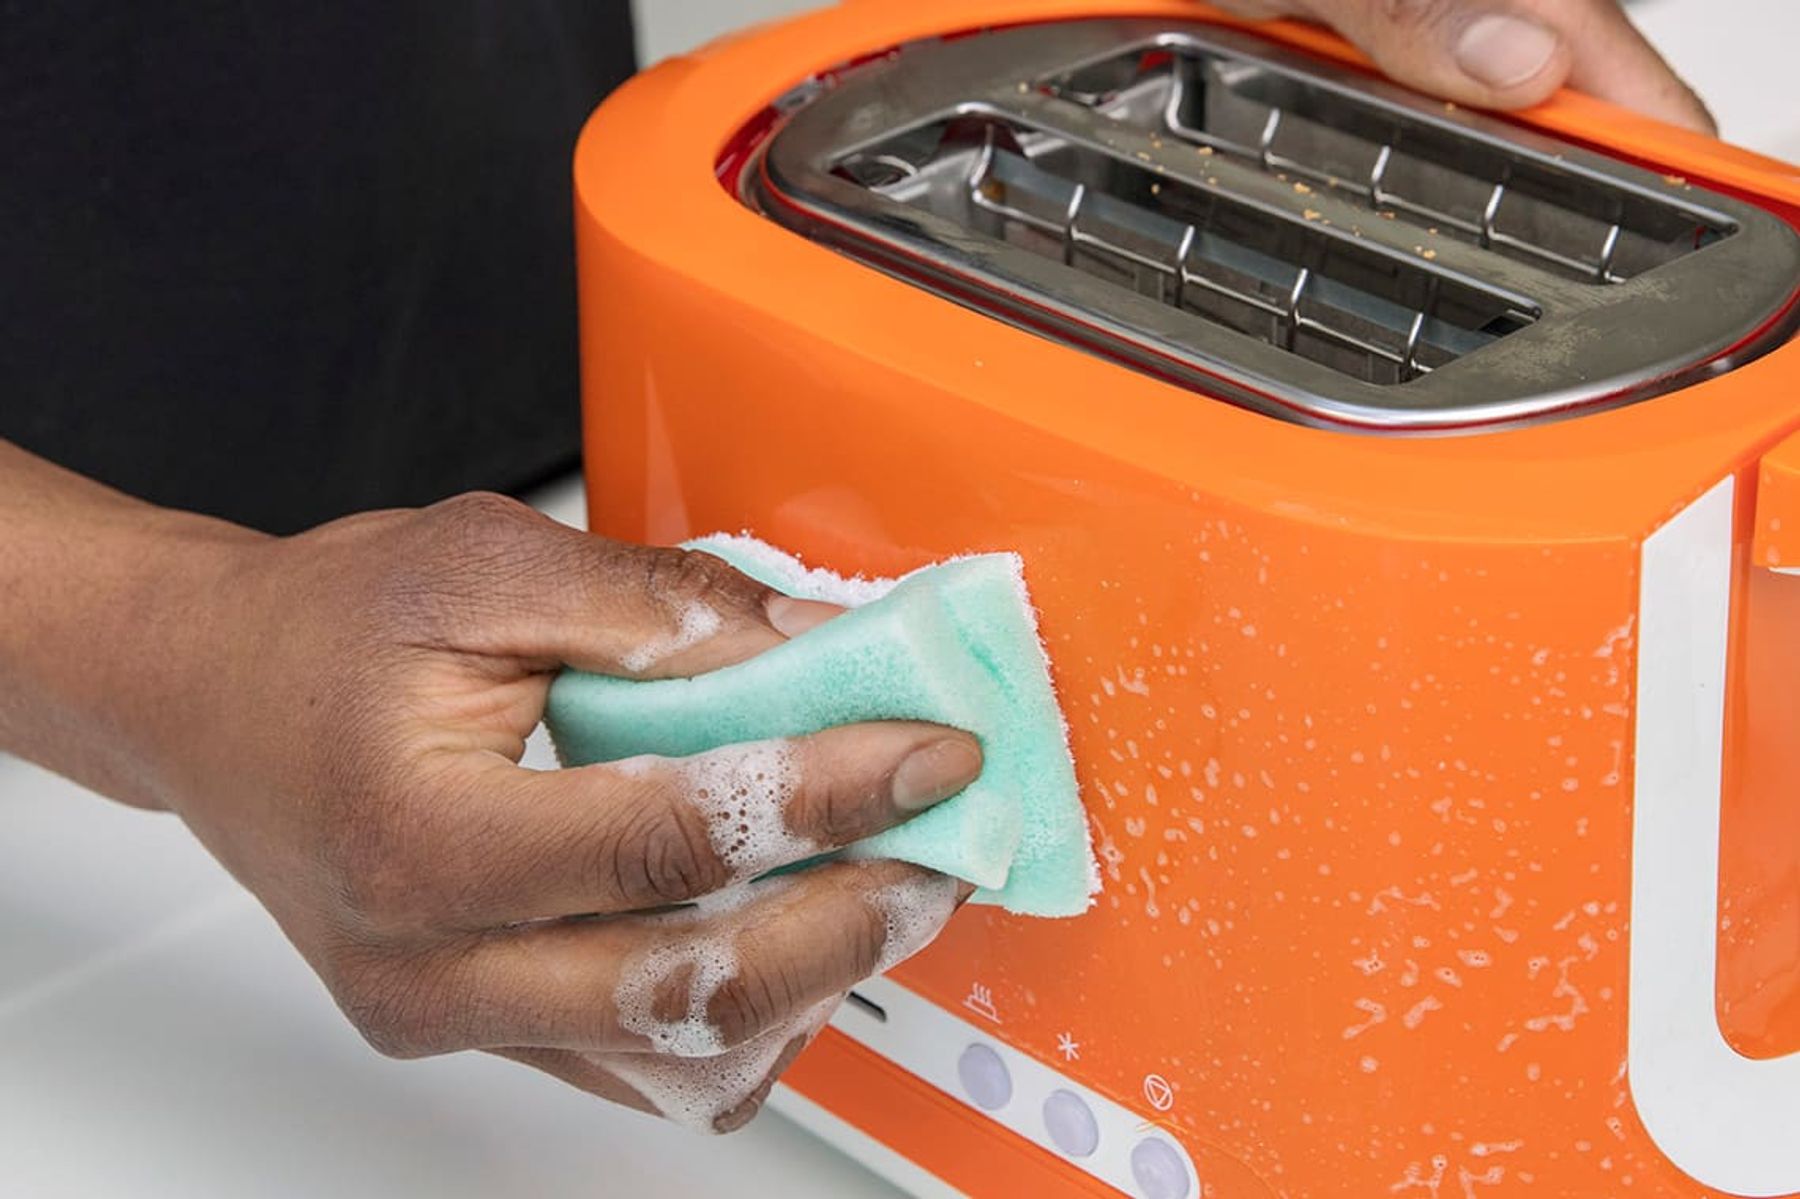
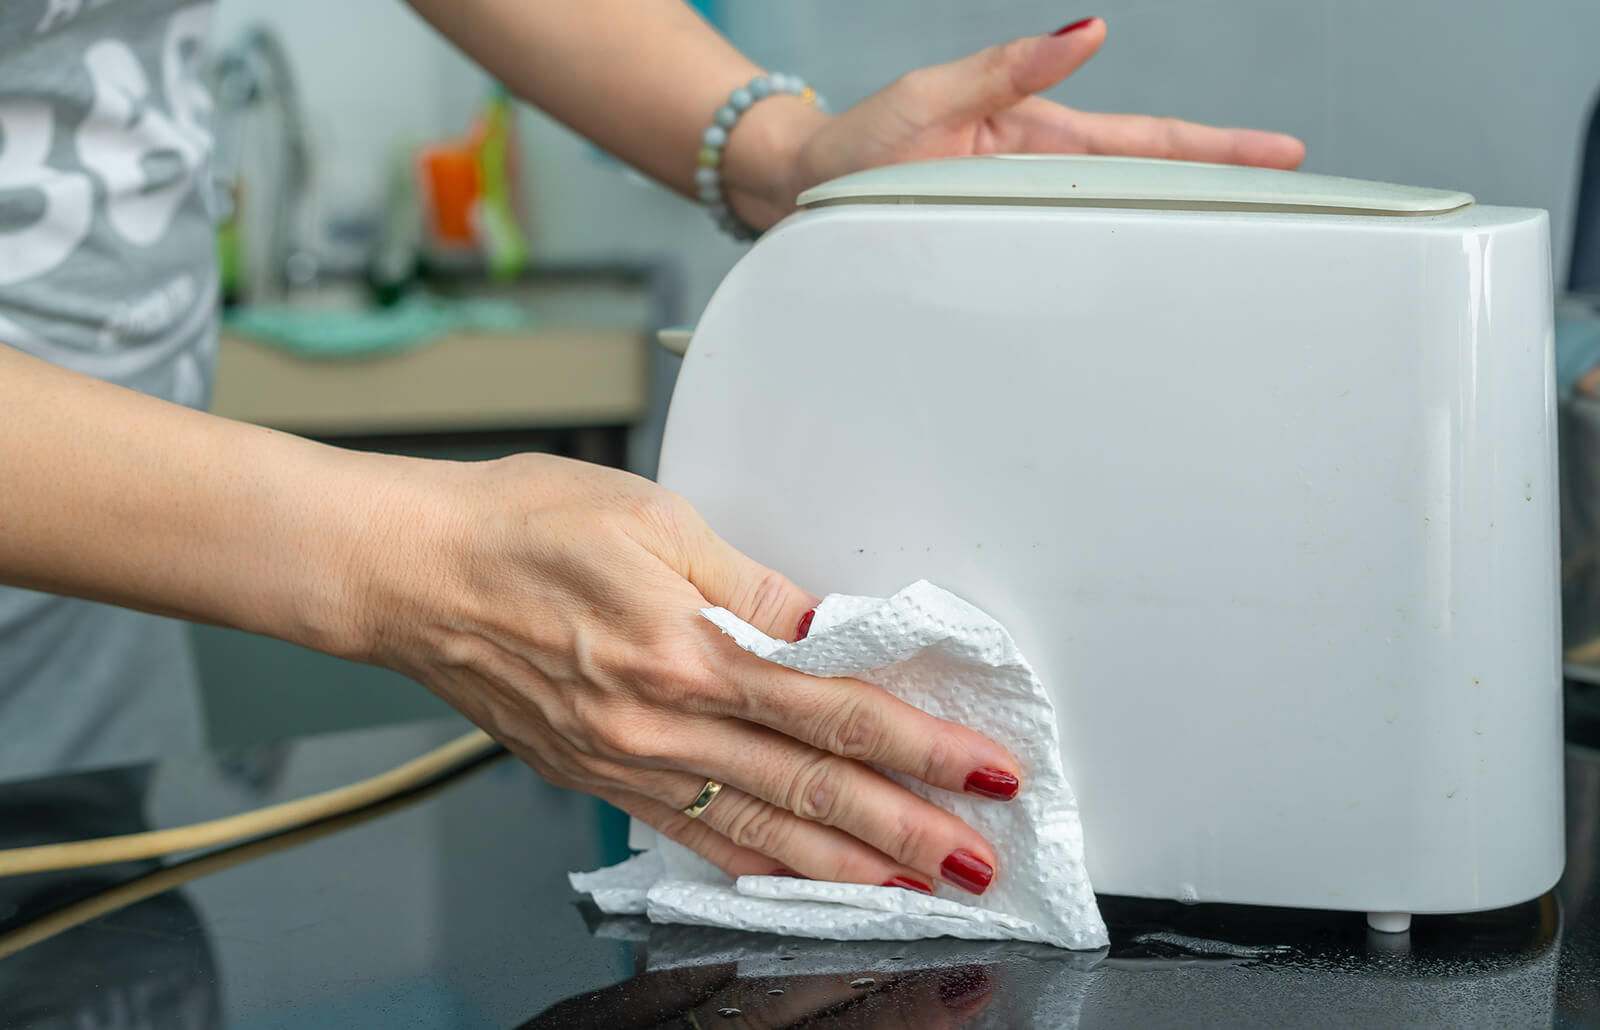
- Wipe the exterior: Use a soft, damp cloth to wipe the exterior surfaces of the toaster. Avoid using abrasive cleaning solutions or harsh chemicals to prevent damage to the finish.
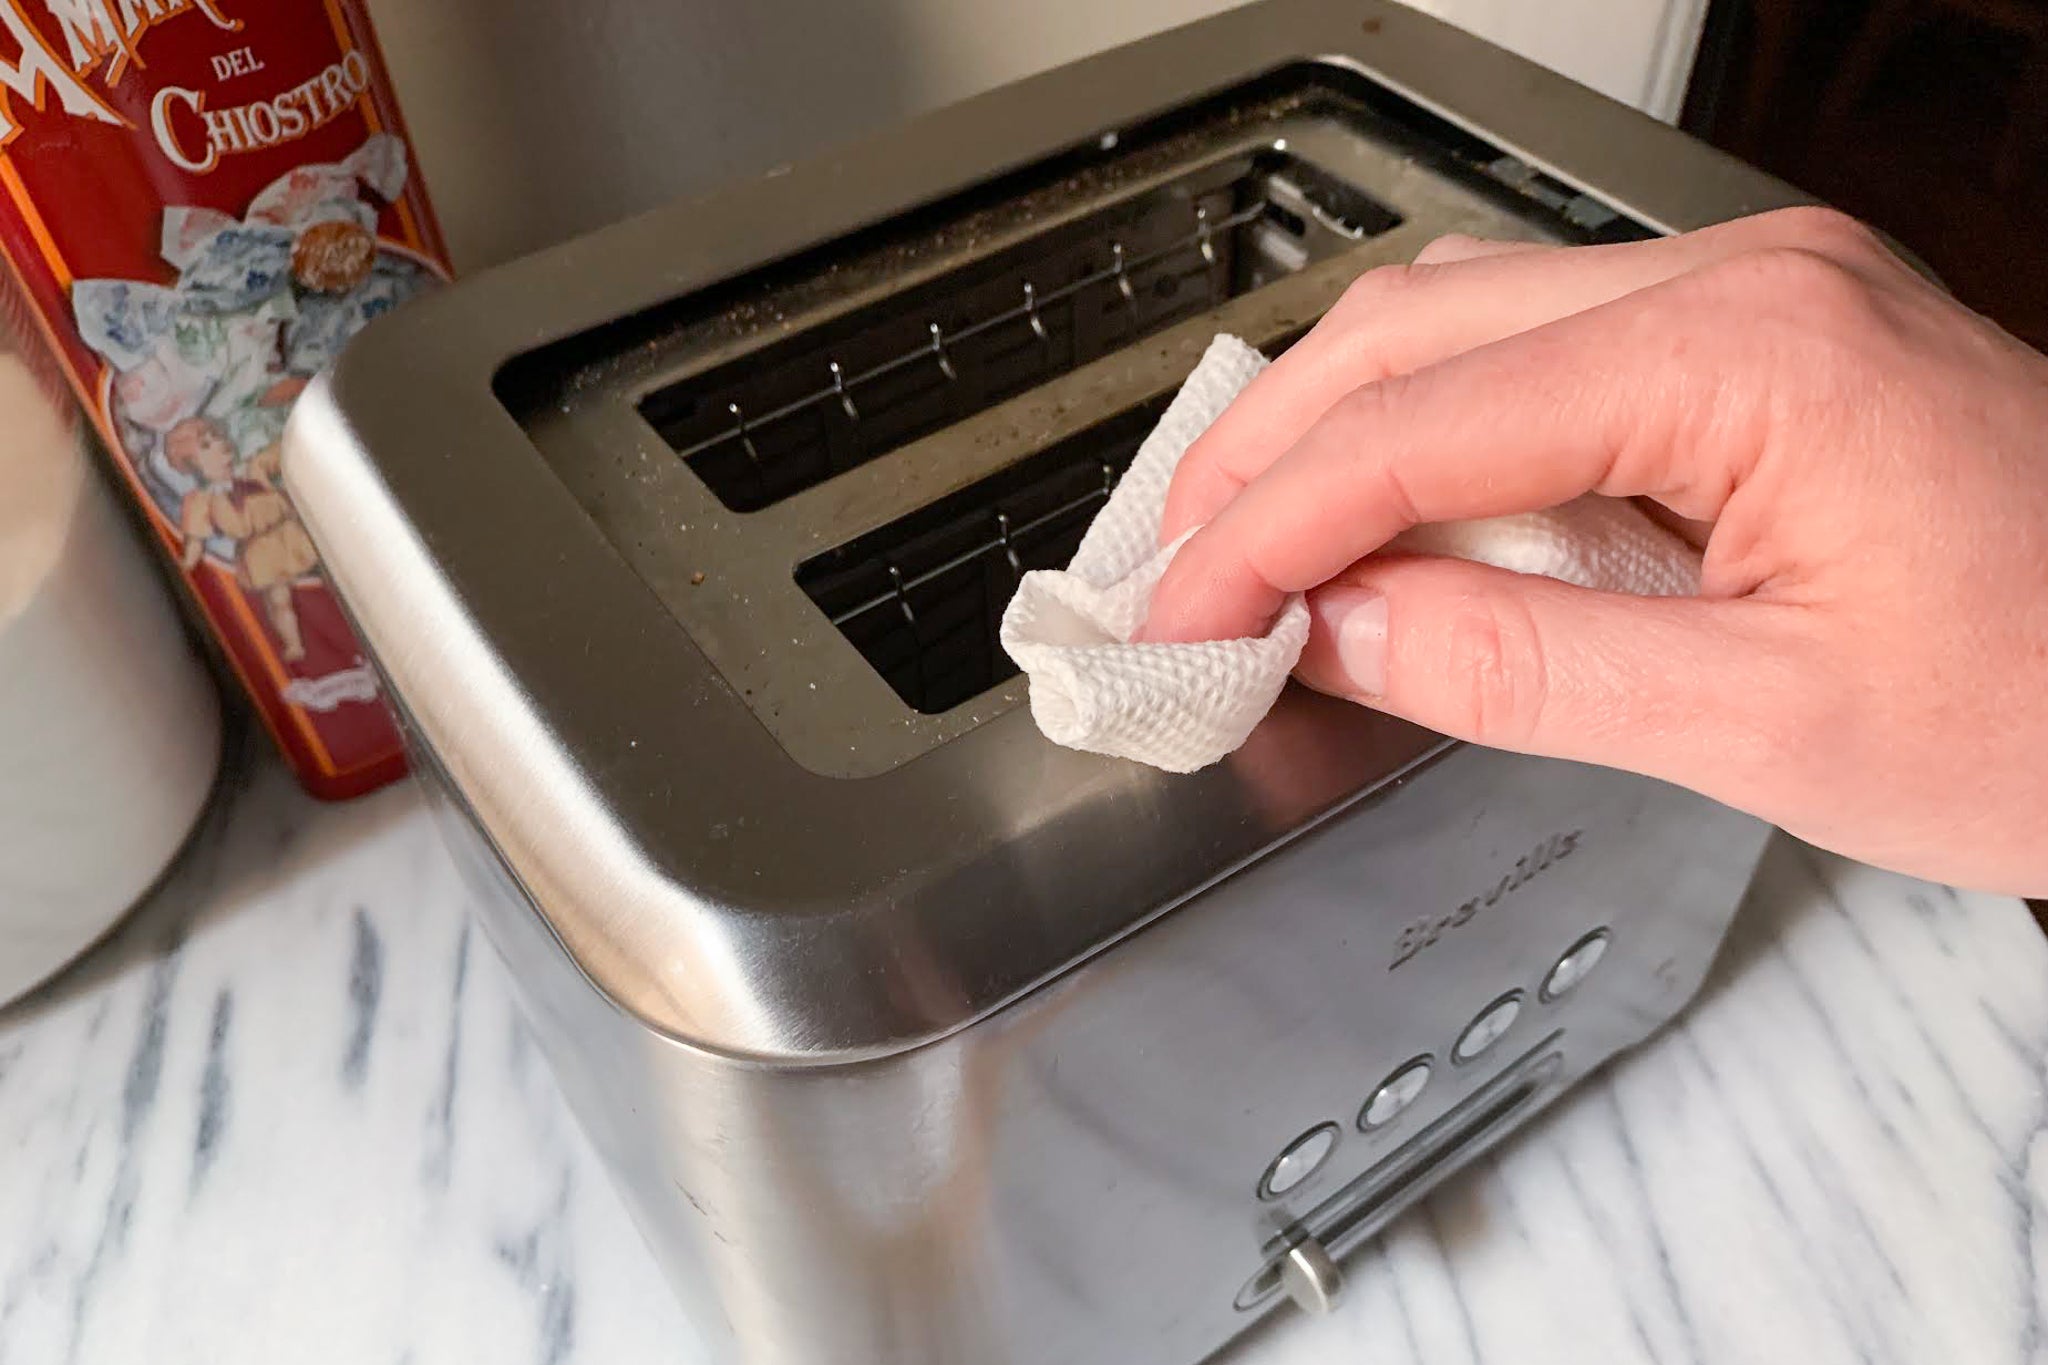
- Clean the toaster slots: Use a clean, dry brush or a bent paperclip to gently remove any stuck crumbs from the toaster slots. Be gentle to avoid causing damage to the toaster’s heating elements.
- Allow the toaster to dry: After cleaning, ensure that all parts of the toaster are dry before plugging it back in or using it again. This prevents any water damage or potential electrical issues.
- Regular maintenance: To keep your toaster in optimal condition, it’s important to perform regular maintenance. This includes checking the power cord for any damages, inspecting the toaster slots for crumbs, and ensuring proper airflow around the appliance.
By following these cleaning and maintenance practices, you can extend the lifespan of your toaster and enjoy consistently excellent toasting results.
Congratulations! You have completed all the steps required to use a toaster effectively. With your newfound knowledge, you can now enjoy delicious and perfectly toasted bread whenever the craving strikes.
Remember to always follow the manufacturer’s instructions and guidelines specific to your toaster model for any additional maintenance or safety precautions.
Now it’s time to put your skills to the test and create your favorite toasty delights!
Read more: How Many Watts Does Toaster Use
Conclusion
Using a toaster may seem like a simple task, but understanding the nuances and following the proper steps can make a significant difference in the quality of your toast. By familiarizing yourself with your toaster’s features, preparing it for use, setting the desired toast shade, and following the toasting process, you can achieve perfectly toasted bread that satisfies your taste buds.
Remember to always prioritize safety when using a toaster. Regularly clean and maintain your toaster to ensure its longevity and optimal performance. By keeping the toaster slots free from crumbs, maintaining the power cord, and practicing general upkeep, you can enjoy reliable and consistent toasting results for years to come.
Whether you prefer a lightly toasted slice or a golden brown delight, mastering the art of using a toaster allows you to create the perfect morning breakfast or quick snack. So, plug in your toaster, select your desired toast shade, and enjoy the delightful aroma of freshly toasted bread filling your kitchen.
Now that you have learned how to use a toaster, it’s time to put your skills into practice. Experiment with different types of bread, try out various toppings, and discover your favorite combination. With a little bit of creativity and the perfect toast, you’ll be ready to start your day off right or indulge in a delicious treat at any time.
So, grab your toaster and let the toasting adventures begin!
Frequently Asked Questions about How To Use Toaster
Was this page helpful?
At Storables.com, we guarantee accurate and reliable information. Our content, validated by Expert Board Contributors, is crafted following stringent Editorial Policies. We're committed to providing you with well-researched, expert-backed insights for all your informational needs.

0 thoughts on “How To Use Toaster”