Articles
How To Clean Out Toaster
Modified: February 28, 2024
Discover the best articles on how to clean out your toaster and keep it in top shape. Read our expert tips and tricks for a sparkling clean appliance.
(Many of the links in this article redirect to a specific reviewed product. Your purchase of these products through affiliate links helps to generate commission for Storables.com, at no extra cost. Learn more)
Introduction
Keeping your toaster clean is essential not only for its longevity but also for your health and safety. Over time, toasters accumulate crumbs, grease, and other debris, which can not only affect its performance but can also pose a fire hazard. Regular maintenance and cleaning are crucial to remove any build-up, ensuring your toaster continues to provide evenly toasted bread, bagels, and other delicious treats.
Cleaning out a toaster may seem like a daunting task, but with a bit of time, effort, and some simple steps, you can have your appliance looking and functioning like new. In this article, we will walk you through the process of cleaning out a toaster, providing you with helpful tips and tricks along the way.
Key Takeaways:
- Regularly cleaning your toaster’s crumb tray, interior, and heating elements is crucial for optimal performance and safety, preventing fire hazards and maintaining the quality of your toasted treats.
- Prioritize safety by unplugging and allowing your toaster to cool down before cleaning. Follow the manufacturer’s instructions for reassembly to ensure proper functioning and enjoy delicious toast for years to come.
Read more: How To Clean The Inside Of Toaster
Step 1: Unplug the toaster
Before you begin the cleaning process, it is crucial to ensure the safety of yourself and the toaster by unplugging it from the power source. This step is important to prevent any electrical shocks or accidents while working on the appliance.
Make sure the toaster is completely disconnected from the outlet, and double-check that the cord is not tangled or damaged. Safety should always be the top priority when working with electrical appliances.
After unplugging, give the toaster some time to cool down. This will help prevent any burns or injuries while handling the appliance. It is recommended to wait at least 15 minutes for the toaster to cool down before moving on to the next step.
Once the toaster is unplugged and has cooled down, you can proceed to the next step of the cleaning process. Keeping safety in mind throughout the entire process will ensure a smooth and worry-free experience.
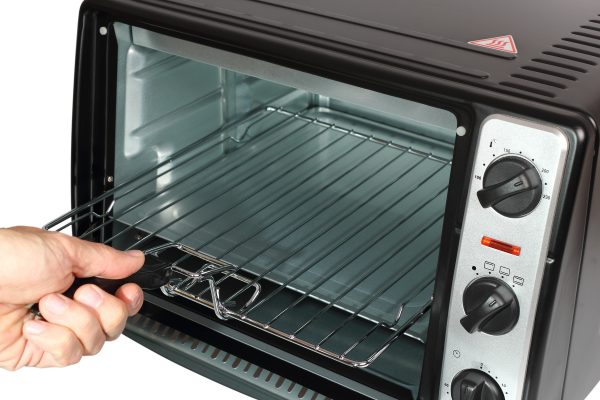
Step 2: Remove the crumb tray
The crumb tray is an integral part of any toaster as it collects the crumbs and debris that accumulate during the toasting process. Removing the crumb tray is essential for thorough cleaning and maintenance.
Locate the crumb tray at the bottom of the toaster. In most models, it is located at the front or rear of the toaster, underneath the heating slots. Some toasters have a removable crumb tray, while others may require you to slide it out.
Carefully pull out the crumb tray, ensuring you have a firm grip. Be cautious as it may contain crumbs and debris that you don’t want to spill onto your countertop. Place a paper towel or a small trash bag under the crumb tray to catch any loose crumbs.
Once the crumb tray is removed, take a moment to examine it. It is common for it to be filled with crumbs and other debris. You may notice grease or burnt residue as well. Removing the crumb tray allows you to clean it thoroughly, preventing any build-up that might affect the toaster’s performance.
Step 3: Clean the crumb tray
Now that you have removed the crumb tray from the toaster, it’s time to give it a good cleaning. Cleaning the crumb tray not only ensures a hygienic appliance but also helps prevent any potential fire hazards.
Start by shaking out any loose crumbs or debris from the crumb tray into a garbage bin or sink. You can use a small brush or your fingers to remove stubborn crumbs stuck in the corners or crevices. Be gentle while doing this to avoid damaging the crumb tray.
Next, prepare a soapy water solution by mixing a mild dish soap or baking soda with warm water in a sink or bowl. Submerge the crumb tray in the soapy water and let it soak for a few minutes. This will help loosen any dirt or grease.
After soaking, use a sponge or soft brush to scrub the crumb tray, paying attention to all the surfaces. Make sure to clean both the interior and exterior of the crumb tray, removing any residue or build-up. Rinse the tray thoroughly with water to remove any soap residue.
Once clean, dry the crumb tray completely using a towel or allow it to air dry before reinserting it into the toaster. It is crucial to ensure that the crumb tray is fully dry to prevent any moisture from causing damage to the toaster or creating a breeding ground for mold or bacteria.
With the crumb tray now cleaned and dried, you are ready to move on to the next step of the process. Keeping the crumb tray clean and free from debris is an essential part of toaster maintenance and ensures optimal performance.
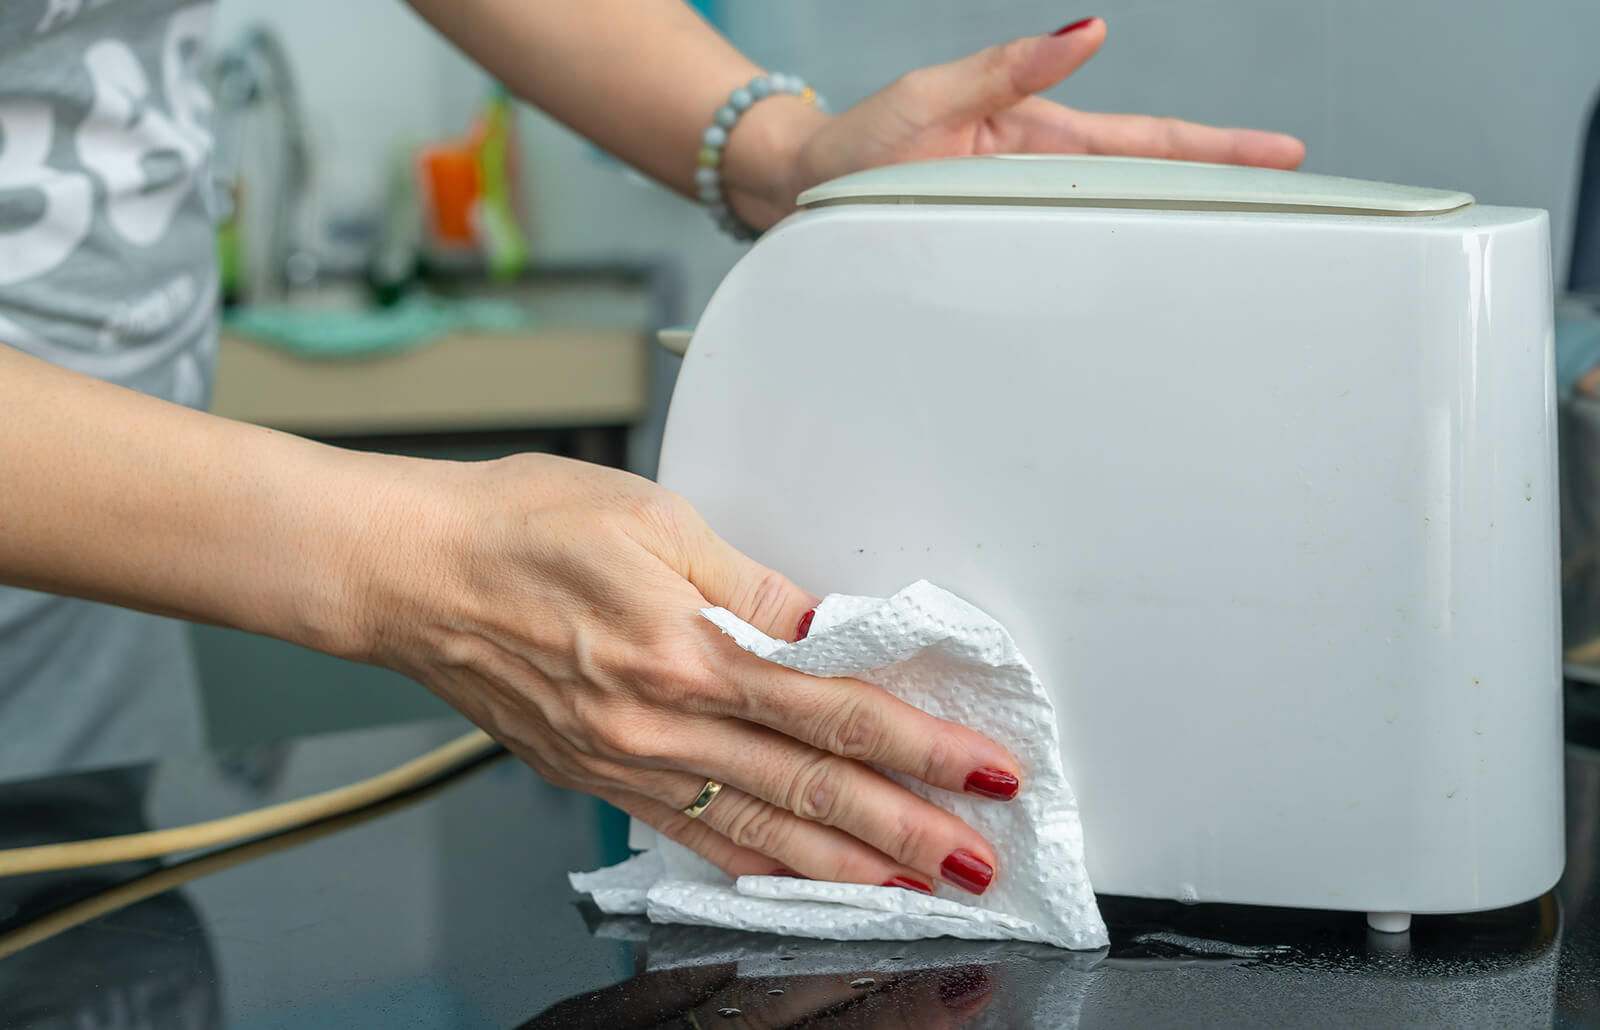
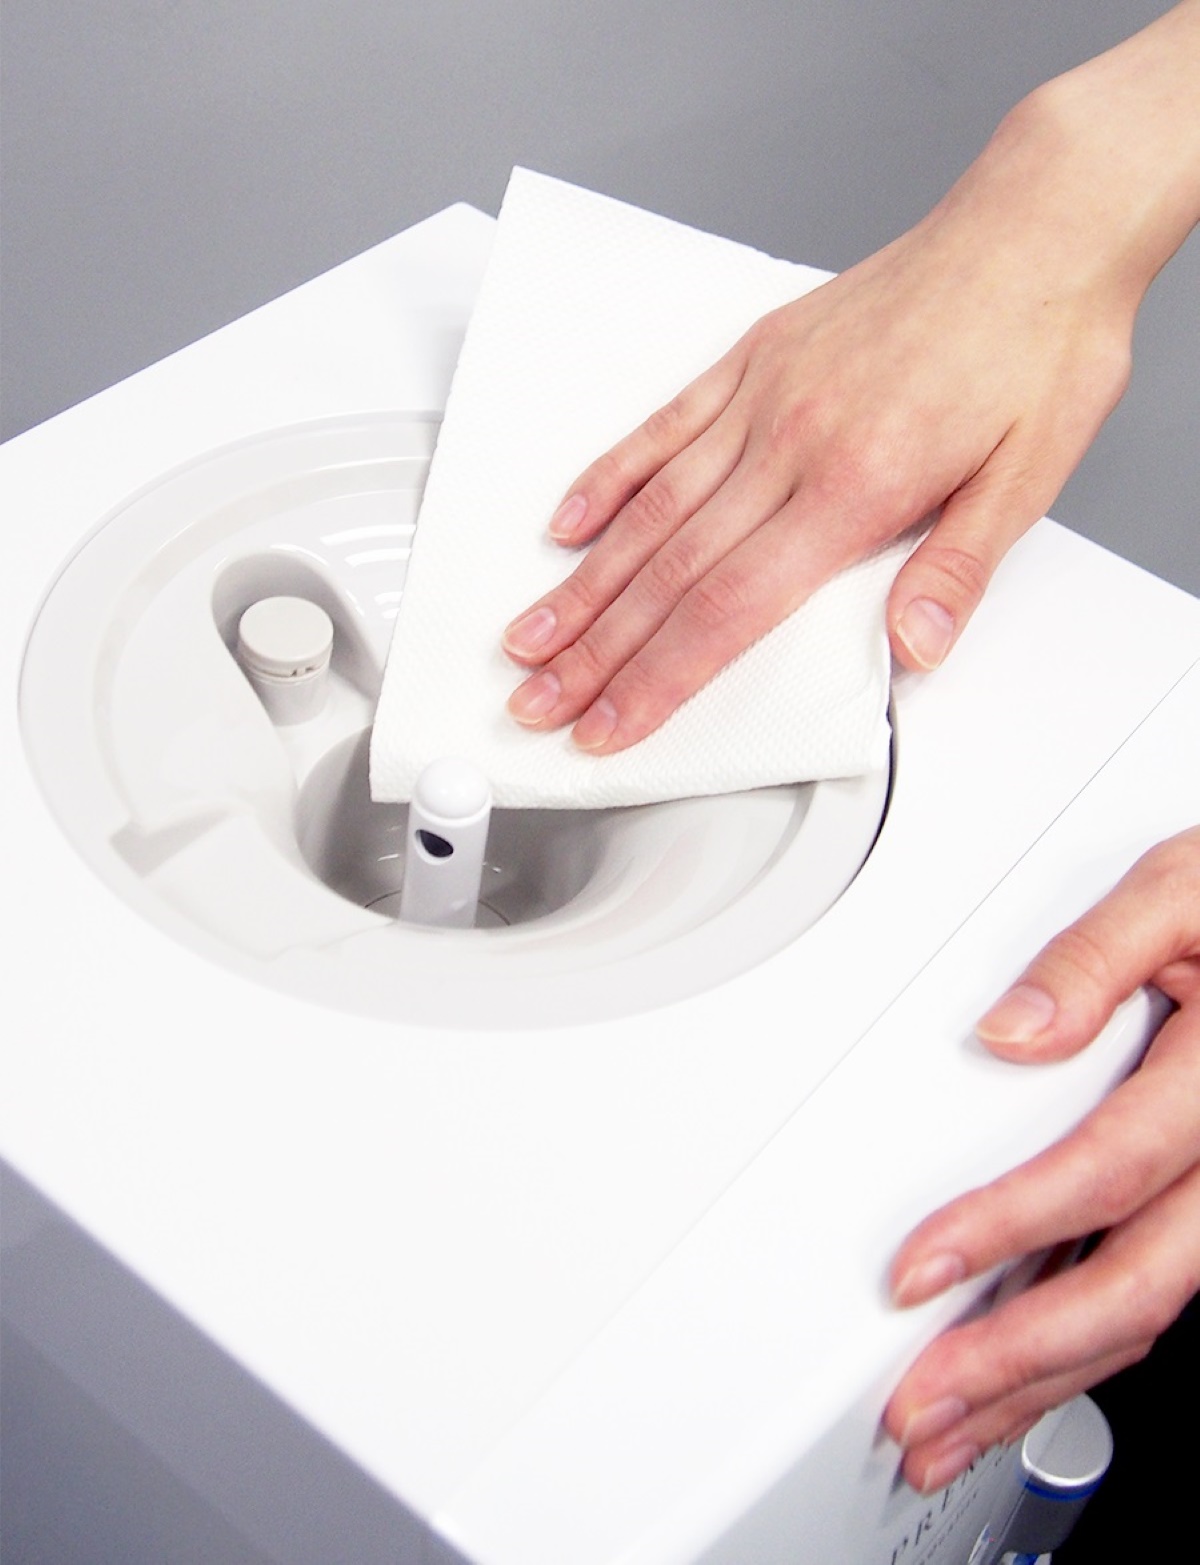
Step 4: Wipe the exterior
Now that you have taken care of the crumb tray, it’s time to clean the exterior of the toaster. Over time, the exterior can accumulate fingerprints, grease, and dust, making it look dull and dirty. Wiping down the exterior not only improves its appearance but also helps maintain the overall cleanliness of the appliance.
To begin, unplug the toaster again to ensure your safety. Using a damp cloth or sponge, wipe down the entire exterior of the toaster, including the sides, top, and knobs. Make sure to wring out excess water from the cloth or sponge to avoid excessive moisture on the surface of the toaster.
For stubborn stains or grease marks, you can use a mild cleaning solution. Mix a small amount of dish soap with warm water and dampen the cloth or sponge in the solution. Gently scrub the affected areas, taking care not to soak the toaster or let any liquid enter the heating slots.
Pay close attention to any buttons, knobs, or control panels on the toaster. Clean them thoroughly, ensuring no residue or grime is left behind. Use a dry cloth or paper towel to wipe off any excess moisture from the exterior of the toaster once you’re done cleaning.
Remember to be gentle while cleaning the exterior to avoid scratching or damaging the surface. Take your time to ensure a thorough clean, and don’t forget to dry the toaster completely before plugging it back in. This step will not only keep your toaster looking pristine but will also enhance its lifespan and performance.
With the exterior now clean and shiny, it’s time to move on to the next step of the cleaning process for a fully freshened up toaster.
Unplug the toaster and remove the crumb tray. Use a soft brush to gently sweep out any crumbs. Wipe down the inside with a damp cloth. Be sure the toaster is completely dry before plugging it back in.
Read more: How To Clean Out A Steamer
Step 5: Clean the interior
Cleaning the interior of your toaster is an essential step to remove any lingering crumbs, grease, or residue. A clean interior ensures optimal toasting performance and helps prevent any potential fire hazards.
Start by using a soft-bristled brush or a narrow attachment on a vacuum cleaner to gently remove any loose crumbs from the interior of the toaster. Pay attention to the corners and crevices, as crumbs can often get trapped there.
If your toaster has removable crumb trays, clean them separately following the instructions provided by the manufacturer. You can wash them in warm soapy water, rinse, and dry them thoroughly before reinserting them back into the toaster.
For toasters without removable crumb trays, you can use a long, flexible brush or a can of compressed air to dislodge and remove any stubborn crumbs. This will help ensure a thorough cleaning of the interior surfaces.
To remove any build-up or residue on the heating elements, you can use a damp cloth or sponge. Gently wipe the heating elements, being careful not to apply too much pressure as they can be delicate. Avoid using any harsh chemicals or abrasive cleaners that may damage the heating elements.
Once you have finished cleaning the interior, give it a final wipe-down with a dry cloth or paper towel to remove any remaining moisture. Ensure that the interior is completely dry before moving on to the next step.
Cleaning the interior of your toaster is an important step to maintain its performance and safety. By removing any debris or residue, you can enjoy delicious toast without any unwanted flavors or potential hazards.
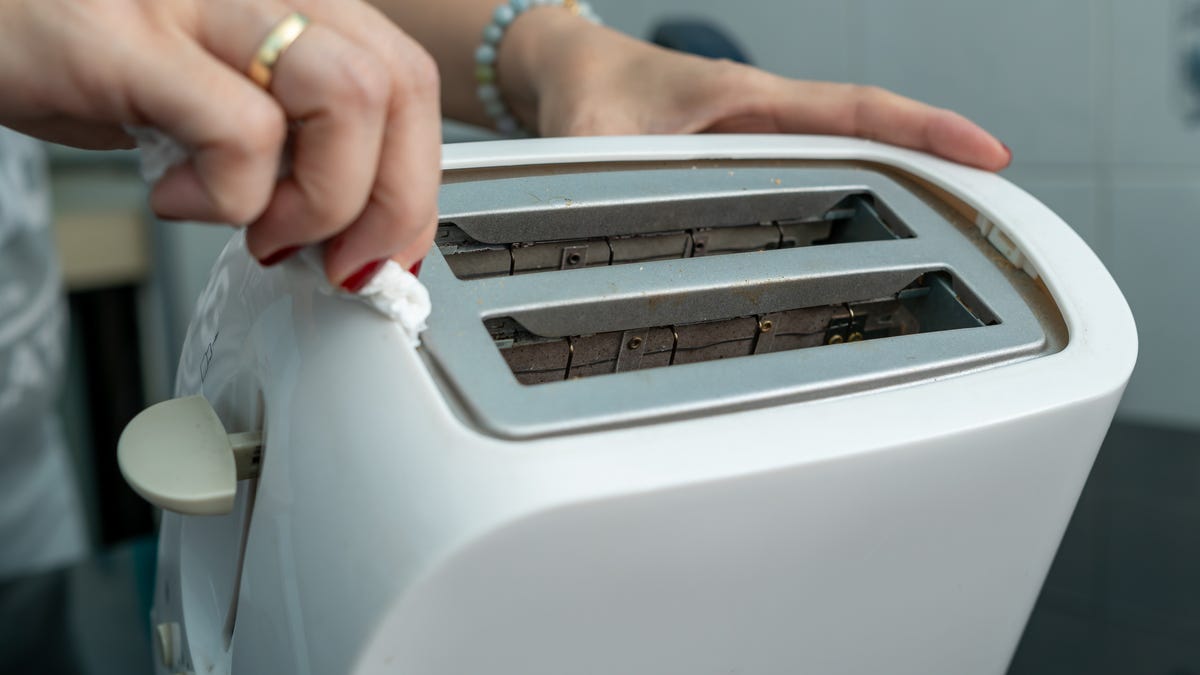
Step 6: Clean the heating elements
The heating elements of your toaster are responsible for toasting your bread to perfection. Over time, these elements can accumulate residue, grease, and burnt particles, which can affect the quality of your toast. Cleaning the heating elements is essential for ensuring even toasting and preventing any potential issues.
Before you begin cleaning the heating elements, make sure the toaster is completely unplugged and cooled down to avoid any risk of burns or electric shock.
To clean the heating elements, start by gently wiping them with a soft, damp cloth or sponge. This will help remove any surface dirt or debris. Avoid applying excessive pressure or scrubbing too vigorously to prevent damaging the heating elements.
If there is stubborn residue or burnt particles on the heating elements, you can use a solution of equal parts water and white vinegar. Dampen a cloth or sponge with the solution and carefully wipe the heating elements. The vinegar’s acidity will help dissolve built-up residue and leave the elements clean and fresh.
Alternatively, you can use a specialized toaster cleaning brush with soft bristles to reach into the slots and clean the heating elements. Gently brush away any debris, being mindful not to bend or damage the elements.
Once you have finished cleaning the heating elements, wipe them down with a clean, damp cloth to remove any vinegar residue or cleaning solution. Ensure that the heating elements are thoroughly dry before plugging in and using the toaster again.
Regularly cleaning the heating elements of your toaster will not only improve the quality of your toast but also extend the lifespan of the appliance. By keeping them clean and free of residue, you will enjoy consistently delicious and evenly toasted bread.
Step 7: Reassemble the toaster
After thoroughly cleaning the various components of your toaster, it’s time to reassemble it to its original condition. Following the proper reassembly process is crucial to ensure the toaster functions correctly and safely.
Start by inserting the crumb tray back into its designated slot. If your toaster has a removable crumb tray, gently slide it back into place until it fits securely. Make sure it is aligned properly and sits flush with the toaster’s bottom.
Next, carefully position the toaster’s heating elements back into their slots. Take your time and ensure that they are properly aligned and firmly seated. Avoid any forceful or rough handling to prevent damaging the elements or other internal components.
Once the crumb tray and heating elements are in place, you can proceed to close the toaster. Depending on your toaster model, this may involve lowering the lever or pressing the latch until it clicks or locks into position. Ensure that the closure mechanism is secure and that the toaster is fully closed.
Finally, double-check that all the buttons, knobs, or controls on the toaster are in the correct position. If necessary, adjust them accordingly to your desired settings.
It is important to note that each toaster model may have slight variations in the reassembly process, so it’s always beneficial to refer to the manufacturer’s instructions for specific details and guidelines.
With the toaster now reassembled, you can plug it back into the power source and get ready to enjoy perfectly toasted bread once again. Taking the time to reassemble the toaster correctly ensures optimal performance and extends its lifespan.
Conclusion
Cleaning out your toaster is a simple yet essential task that should be a part of your regular home cleaning routine. By following the steps outlined in this guide, you can ensure that your toaster remains clean, functional, and safe to use.
Regular cleaning not only improves the performance of your toaster but also helps extend its lifespan. By removing crumbs, debris, and built-up residue, you can prevent potential fire hazards and maintain the quality of your toasted treats.
Remember to always prioritize safety by unplugging the toaster and allowing it to cool down before starting the cleaning process. Take your time to clean the crumb tray, wipe the exterior, and clean the interior and heating elements thoroughly. Reassembling the toaster correctly is also crucial for its proper functioning.
Additionally, while cleaning, be mindful of the manufacturer’s instructions and any specific guidelines they provide. Some toasters may require different cleaning methods or have removable parts that need separate cleaning.
So, the next time you enjoy a perfectly toasted slice of bread or a crispy bagel, take a moment to remember the importance of keeping your toaster clean. By incorporating regular cleaning into your routine, you can ensure that your toaster remains in great condition and continues to deliver delicious results for years to come.
Frequently Asked Questions about How To Clean Out Toaster
Was this page helpful?
At Storables.com, we guarantee accurate and reliable information. Our content, validated by Expert Board Contributors, is crafted following stringent Editorial Policies. We're committed to providing you with well-researched, expert-backed insights for all your informational needs.


0 thoughts on “How To Clean Out Toaster”