Articles
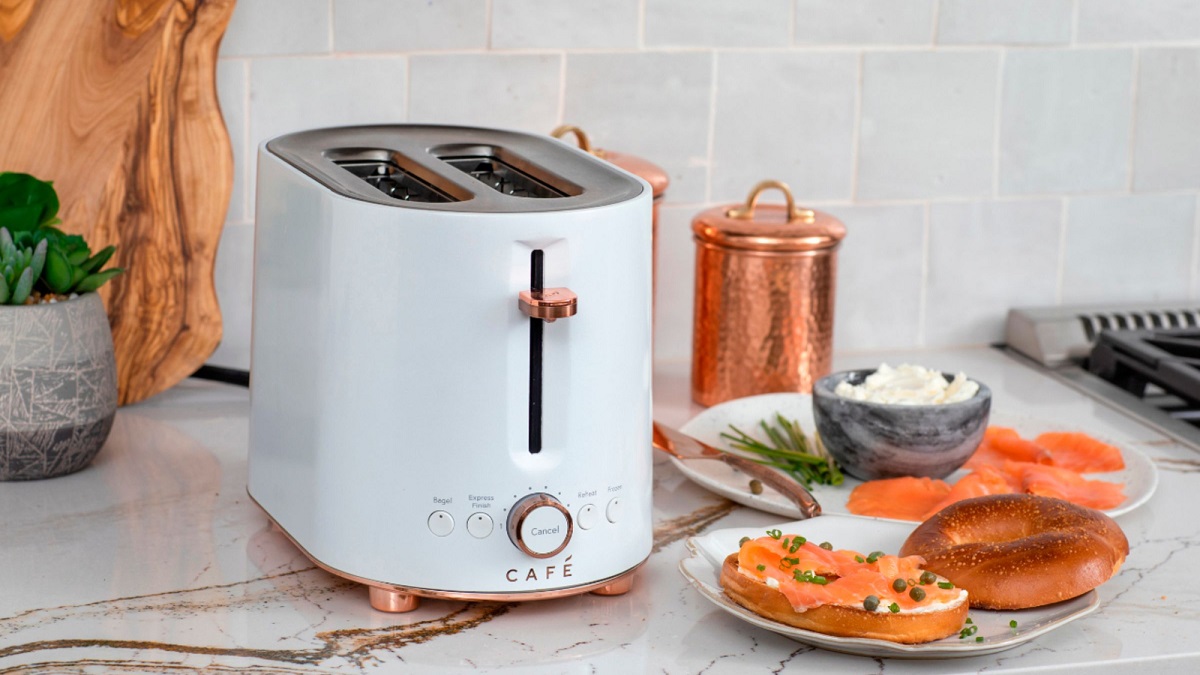
How To Test A Broken Toaster
Modified: August 27, 2024
Learn how to test a broken toaster with our informative articles. Get expert advice on diagnosing and fixing common toaster issues for a hassle-free breakfast routine.
(Many of the links in this article redirect to a specific reviewed product. Your purchase of these products through affiliate links helps to generate commission for Storables.com, at no extra cost. Learn more)
Introduction
Is your trusty toaster no longer giving you perfect slices of toast? Does it refuse to heat up or has it stopped working altogether? While it can be frustrating to deal with a broken toaster, don’t toss it out just yet. With a little knowledge and some troubleshooting, you might be able to get it up and running again.
In this article, we will guide you through the process of testing a broken toaster. We will cover step-by-step instructions on how to inspect different components and identify potential issues. By the end of this guide, you’ll be equipped with the necessary knowledge to diagnose and fix common problems with your toaster.
So, roll up your sleeves and let’s dive into the art of toaster troubleshooting!
Key Takeaways:
- Troubleshoot your toaster like a pro by inspecting the power cord, toasting mechanism, heating elements, and more. Save money and enjoy perfectly toasted bread with DIY troubleshooting techniques.
- Don’t give up on your broken toaster just yet! Follow step-by-step troubleshooting to identify and fix common issues, from power cord damage to faulty heating elements. Revive your toaster and enjoy delicious toast again!
Read more: How Would You Test A Toaster
Step 1: Inspect the Power Cord
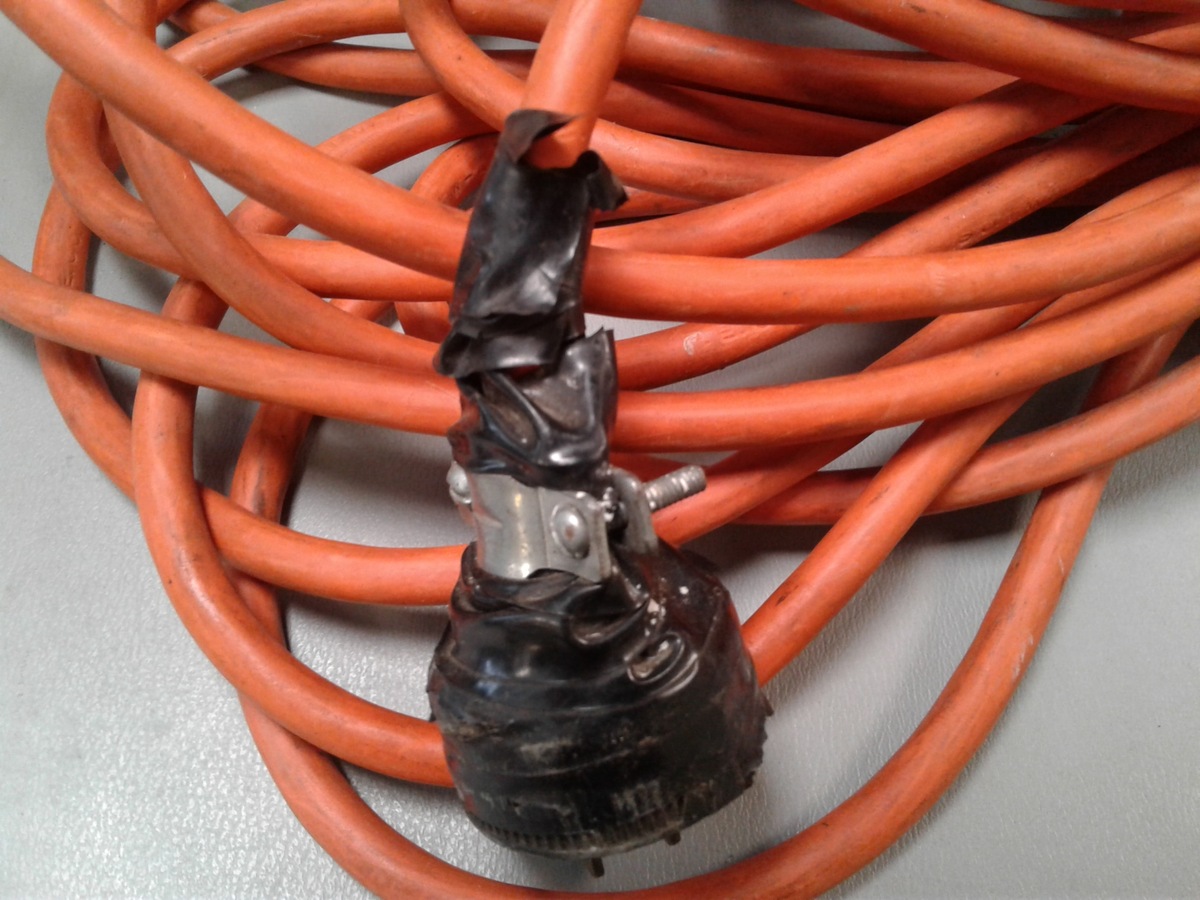
The power cord is the lifeline of your toaster, supplying electricity to power its heating elements. If your toaster is not working, the first thing you should do is check the power cord for any visible damage or loose connections. Here’s how to do it:
- Unplug the toaster from the power outlet and remove any bread crumbs or debris from the slots.
- Inspect the power cord from the base of the toaster to where it plugs into the wall socket. Look for any frayed or exposed wires, cuts, or signs of damage.
- Make sure the power cord is securely connected to the toaster on one end and the wall socket on the other end.
- If you notice any damage, it’s crucial to replace the power cord. Do not attempt to repair a damaged cord yourself as it can be dangerous.
By inspecting the power cord, you can quickly determine if a faulty connection or damaged wire is the cause of your toaster malfunctioning. If you find no visible issues with the power cord, it’s time to move on to the next step.
Step 2: Check the Toasting Mechanism
The toasting mechanism is responsible for lowering and raising the bread, as well as applying the necessary heat for your toast to brown evenly. If the toasting mechanism is not functioning properly, it can result in unevenly toasted bread or even no toasting at all. To check the toasting mechanism, follow these steps:
- Remove any crumbs or debris from the toaster’s slots.
- With the toaster unplugged, press down the lever or button that activates the toasting mechanism. Observe if it lowers smoothly and locks into position.
- If the mechanism feels loose or does not lock into place, there may be an issue with the springs or latches. In such cases, it is advisable to consult a professional or contact the toaster manufacturer for repair or replacement options.
- If the mechanism appears to be working fine, the problem might lie in the heating elements or timing mechanism, which we will address in the next steps.
By checking the toasting mechanism, you can ensure that your toaster can properly hold and toast the bread. If you notice any signs of malfunction, it is best to seek professional assistance rather than attempting to repair it yourself.
Step 3: Test the Heating Elements
The heating elements of a toaster are responsible for generating the heat necessary to toast the bread. If your toaster is not heating up or if it is heating unevenly, it may be due to a malfunctioning heating element. Here’s how you can test the heating elements:
- Make sure the toaster is unplugged and cool to the touch before proceeding.
- Locate the heating elements. They are typically located at the bottom or top of the slots where the bread is inserted.
- Inspect the heating elements for any visible damage such as discoloration or breakage. If you notice any damage, it may be necessary to replace the heating elements.
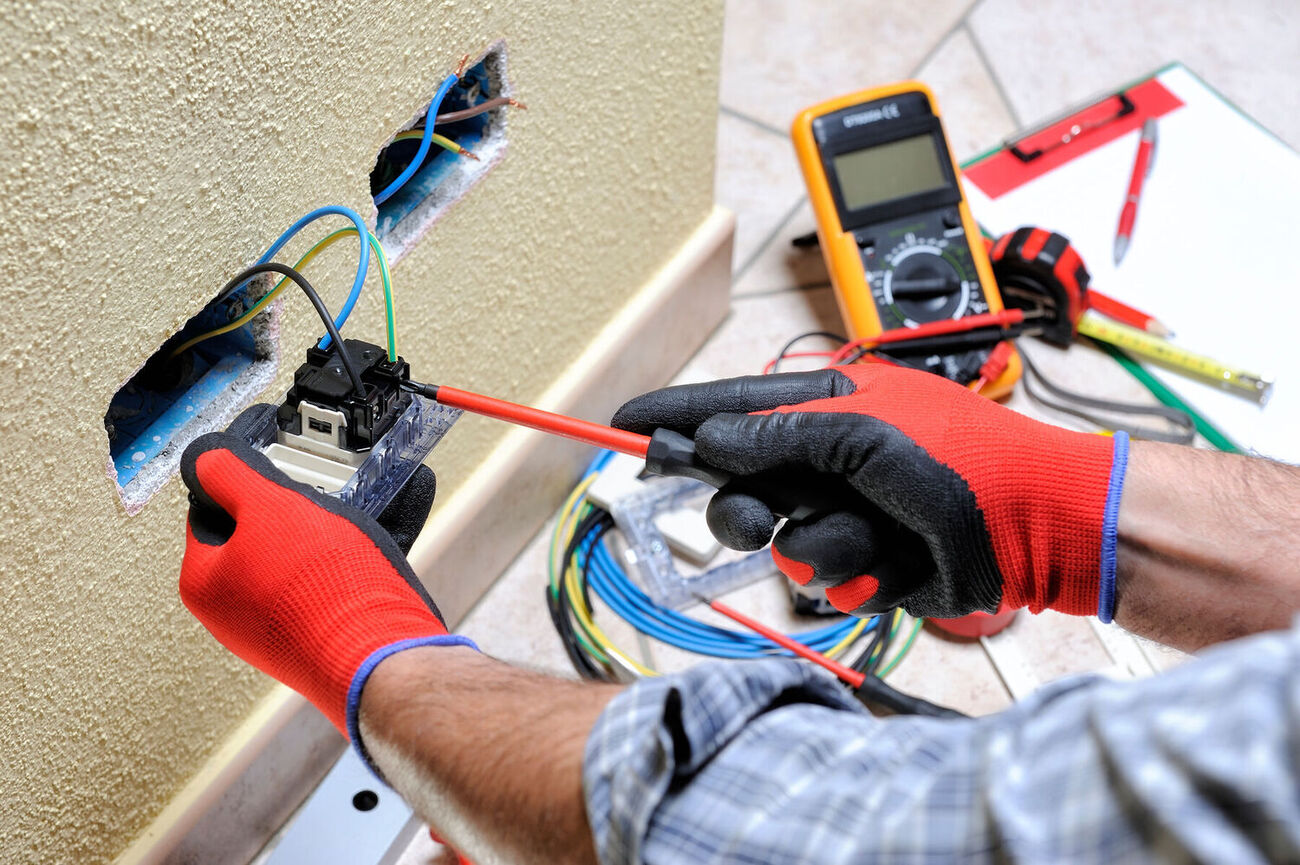
- Using a multimeter set to the resistance (ohms) setting, touch the probes to the terminals of the heating elements. A functioning heating element should show a low resistance reading, indicating that the circuit is complete.
- If the multimeter shows no continuity or a high resistance reading, it is likely that the heating element is faulty and needs to be replaced.
If you determine that the heating elements are faulty, it is best to consult a professional or contact the toaster manufacturer to obtain the correct replacement parts and receive guidance on the installation process.
Testing the heating elements is an essential step in diagnosing toaster issues related to uneven toasting or lack of heat. By identifying and replacing faulty heating elements, you can restore your toaster’s ability to toast bread effectively.
Step 4: Examine the Control Knobs
The control knobs on your toaster allow you to adjust settings such as toasting time and darkness. If your toaster is not functioning properly, it’s important to check the control knobs for any issues. Here’s what you can do:
- Ensure that the toaster is unplugged before examining the control knobs.
- Inspect the control knobs for any visible damage or signs of wear and tear. If the knobs are loose, cracked, or difficult to turn, they may need to be replaced.
- Rotate the control knobs while paying attention to any abnormal resistance or lack of response. If the knobs do not change the settings as you turn them, there may be an issue with the internal mechanism.
- If the control knobs are in good condition and functioning properly, the problem may lie elsewhere.
If you find any issues with the control knobs, it is recommended to replace them with the appropriate replacement parts. Contact the toaster manufacturer or consult a professional for guidance on obtaining the correct knobs and installation instructions.
Examining the control knobs is vital to ensure that you can adjust the settings of your toaster accurately. If the knobs are damaged or not functioning correctly, it can hinder your ability to customize your toasting preferences.
Before testing a broken toaster, unplug it and check for any visible damage or loose connections. Use a multimeter to test the heating elements for continuity. If they are faulty, they will need to be replaced.
Read more: How To Fix A Broken Thermostat
Step 5: Assess the Timing Mechanism
The timing mechanism of a toaster is responsible for determining how long the bread is toasted. If your toaster is not timing correctly or if the toast comes out undercooked or burnt, it’s important to assess the timing mechanism. Here’s how to do it:
- Ensure that the toaster is unplugged and cooled down before inspecting the timing mechanism.
- Examine the timer dial or digital control panel for any visible damage or signs of malfunction. If the display is not working or if the numbers are not changing as you adjust the settings, there may be an issue with the timing mechanism.
- Plug in the toaster and set the timer to the desired toasting time.
- Observe if the timer counts down correctly and if the toaster pops up the bread once the time is up. If the timing is inaccurate or if the toaster fails to eject the bread, the timing mechanism may need repair or replacement.
- If you suspect a problem with the timing mechanism, it is best to consult a professional or contact the toaster manufacturer for assistance.
Assessing the timing mechanism is crucial to ensure that your toaster can accurately time the toasting process. If the timing is not functioning properly, it can lead to undercooked or burnt toast.
If the timing mechanism requires repair or replacement, it’s best to seek professional help to ensure that the toaster is fixed correctly and safely.
Step 6: Verify the Bread Carriage
The bread carriage is the part of the toaster that holds and lowers the bread into the toasting slots. If your toaster is not working properly, it’s important to verify the bread carriage for any issues. Follow these steps to check the bread carriage:
- Ensure that the toaster is unplugged before examining the bread carriage.
- Inspect the bread carriage for any visible damage, such as bent, misaligned, or stuck components. Pay close attention to the springs or levers that control the movement of the carriage.
- Gently lift the bread carriage and lower it a few times to see if it moves smoothly without any resistance or sticking.
- If the bread carriage does not move smoothly or seems to be misaligned, there may be an issue with the internal mechanism. In such cases, it is advisable to contact a professional or the toaster manufacturer for assistance or to explore repair options.
The bread carriage is essential for proper positioning and toasting of the bread. If it is not functioning correctly, it can lead to uneven toasting or difficulties in inserting and removing slices of bread from the toaster.
If you notice any problems with the bread carriage, it is best to seek professional help to ensure that the issue is resolved correctly and safely.
Step 7: Evaluate the Crumb Tray
The crumb tray is an essential component of a toaster as it collects the crumbs that fall from the bread during the toasting process. If your toaster is not working properly, it’s important to evaluate the condition of the crumb tray. Follow these steps to evaluate the crumb tray:
- Ensure that the toaster is unplugged before examining the crumb tray.
- Locate the crumb tray at the bottom of the toaster. Some toasters have a removable tray, while others may have a built-in tray that slides out for convenient cleaning.
- Remove the crumb tray and inspect it for any accumulated crumbs or debris. Clean the tray thoroughly, removing any residue that may obstruct the toaster’s functionality.
- Check if the crumb tray is damaged or if it doesn’t fit securely back into place. A loose or broken crumb tray can cause the toaster to malfunction, as it may interfere with the internal mechanisms.
- If the crumb tray is damaged, it’s best to consult a professional or the toaster manufacturer for a replacement. Using the toaster without a properly fitting crumb tray can pose a safety risk.
The crumb tray plays a crucial role in maintaining the cleanliness and functionality of the toaster. Regularly cleaning and evaluating the crumb tray can improve the toaster’s performance and prevent potential issues.
Remember to always unplug the toaster before handling or cleaning the crumb tray to ensure your safety.
Step 8: Troubleshooting Other Components
If you have followed the previous steps and your toaster is still not functioning properly, it might be necessary to troubleshoot other components that could be causing the issue. Here are some additional components to consider:
- Temperature Sensor: Some toasters have a built-in temperature sensor that regulates the toasting process. If this sensor is malfunctioning, it can affect the toasting performance. Contact a professional or the toaster manufacturer for assistance with testing and replacing the temperature sensor if needed.
- Solenoid: The solenoid is responsible for releasing the carriage and popping up the toast when it’s done. If the toast is not popping up or is getting stuck, the solenoid might be faulty. Consult a professional to diagnose and repair or replace the solenoid if necessary.
- Thermostat: The thermostat regulates the heat inside the toaster. If the toaster is not getting hot enough or if it is overheating, there may be an issue with the thermostat. Seek professional assistance to diagnose and address thermostat problems.
- Internal Wiring: If none of the above steps have resolved the problem, there could be an issue with the internal wiring of the toaster. Internal wiring problems are best addressed by professionals who have the knowledge and expertise to safely repair or rewire the toaster.
When troubleshooting these other components, it’s important to exercise caution and avoid attempting repairs if you are unsure of what to do. It’s always recommended to consult a professional or contact the toaster manufacturer for guidance and assistance with more complex repairs.
By troubleshooting these other components, you can explore potential issues that may not be immediately apparent but could be affecting the overall functionality of the toaster.
Read more: How To Test Doorbell
Conclusion
Repairing a broken toaster can save you money and ensure that you can enjoy perfectly toasted bread whenever you want. By following the step-by-step troubleshooting guide in this article, you can identify and address common issues that may be causing your toaster to malfunction.
Remember to start by inspecting the power cord and checking the toasting mechanism. Then, proceed to test the heating elements and evaluate the control knobs and timing mechanism. Verify the bread carriage and examine the crumb tray for any issues. If the problem persists, troubleshoot other components such as the temperature sensor, solenoid, thermostat, or internal wiring.
Throughout the troubleshooting process, prioritize your safety. Always unplug the toaster before conducting any inspections or repairs, and if you encounter any complex issues or are uncertain about your abilities to fix the toaster, seek the assistance of a professional or contact the manufacturer for guidance.
By taking the time to troubleshoot your broken toaster, you may be able to identify and resolve issues that could prevent you from having a delicious and perfectly toasted slice of bread. So, before you give up on your toaster, give it a chance with some troubleshooting – you might just bring it back to life!
Now that you've learned how to troubleshoot your toaster, why stop there? Dive into our guide on essential home upkeep with "What Home Maintenance Should I Do" and uncover practical, easy-to-follow steps that ensure your living space remains in tip-top shape. From garden care to structural checks, this article becomes your go-to resource for keeping your home running smoothly without breaking a sweat. Maintain your haven effortlessly!
Frequently Asked Questions about How To Test A Broken Toaster
Was this page helpful?
At Storables.com, we guarantee accurate and reliable information. Our content, validated by Expert Board Contributors, is crafted following stringent Editorial Policies. We're committed to providing you with well-researched, expert-backed insights for all your informational needs.


0 thoughts on “How To Test A Broken Toaster”