Articles
How To Waterproof Basement Floor
Modified: May 6, 2024
Learn effective techniques and methods to waterproof your basement floor with our informative articles. Protect your home from water damage and moisture issues.
(Many of the links in this article redirect to a specific reviewed product. Your purchase of these products through affiliate links helps to generate commission for Storables.com, at no extra cost. Learn more)
Introduction
Welcome to this comprehensive guide on how to waterproof your basement floor. If you are experiencing issues with water seepage or dampness in your basement, it is crucial to take immediate action to prevent further damage. A waterproof basement floor not only helps to safeguard your property from potential water damage but also creates a healthier living environment.
Basements are susceptible to water infiltration due to a variety of reasons such as poor drainage, foundation cracks, or high water table levels in the surrounding area. A wet basement can lead to mold growth, structural damage, and a decrease in the property’s value. By implementing the steps outlined in this guide, you can effectively protect your basement floor from moisture and enjoy a dry and habitable space.
Before we dive into the steps involved in waterproofing your basement floor, it is important to note that the severity of the issue may vary from one basement to another. Therefore, it is recommended to assess the condition of your basement floor and gather the necessary materials before proceeding with the waterproofing process.
In the following sections, we will guide you through a step-by-step approach to waterproofing your basement floor. From assessing the condition of the floor to applying a waterproofing sealer and installing a subfloor or waterproof floor covering, we will cover everything you need to know to ensure a successful waterproofing project.
Remember, waterproofing your basement floor is not a one-time fix; it requires regular maintenance to maintain its effectiveness. By following the recommended maintenance tips and being proactive in identifying and addressing any potential issues, you can extend the lifespan of your waterproofing system and keep your basement dry for years to come.
Now, let’s get started with the first step – assessing the condition of your basement floor…
Key Takeaways:
- Protect your basement from water damage by assessing, cleaning, repairing, sealing, and installing a waterproof floor covering. Regular maintenance is key to ensuring a dry and healthy living space.
- Create a moisture-resistant barrier for your basement floor to prevent mold growth, structural damage, and compromised air quality. Enjoy a comfortable and worry-free living environment with a waterproof basement floor.
Read more: What Is Basement Waterproofing
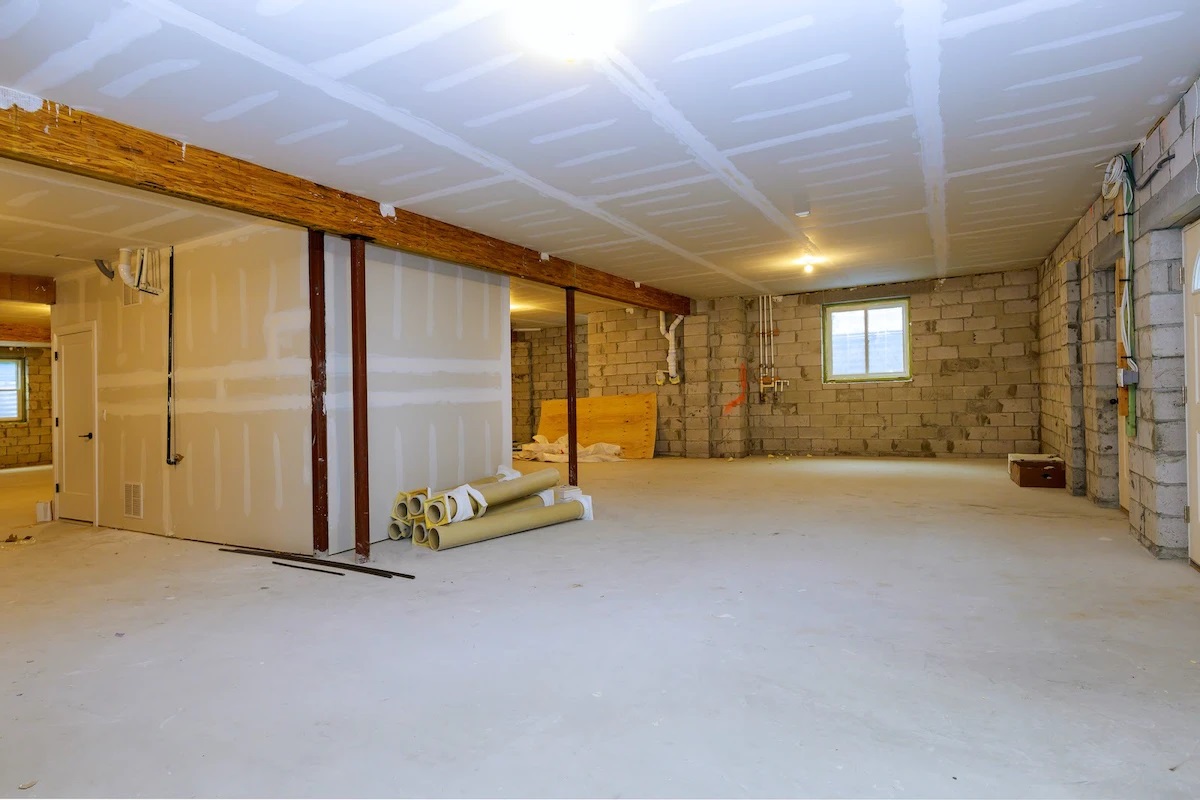
Step 1: Assess the condition of the basement floor
Before beginning any waterproofing project, it is crucial to thoroughly assess the condition of your basement floor. This step helps determine the extent of damage, identify any potential problem areas, and understand the best course of action for waterproofing.
Here’s how you can assess the condition of your basement floor:
- Inspect for visible signs of water damage: Look for any dampness, discoloration, or water stains on the floor surface. These signs indicate the presence of water seepage or leaks in the basement.
- Check for cracks and gaps: Examine the floor for cracks, gaps, or any other openings that may allow water to enter. Use a flashlight to inspect even the smallest cracks, as they can contribute to water infiltration.
- Measure the humidity levels: High humidity levels in the basement can indicate moisture issues. Use a hygrometer to measure the humidity and ensure it is within the acceptable range (around 40-60% humidity).
- Look for efflorescence: Efflorescence is a white powdery substance that appears on the surface of concrete when water evaporates. If you notice efflorescence, it indicates water intrusion through the basement floor.
- Consider the age of the floor: Older basement floors may be more prone to water damage, as wear and tear over the years can weaken their ability to resist moisture.
By conducting a thorough assessment of your basement floor, you will gain valuable insights into the condition of your floor and the severity of any existing waterproofing issues. This information will help you determine the appropriate steps and materials needed to effectively waterproof your basement floor.
Once you have completed the assessment, it’s time to move on to the next step – cleaning the basement floor…
Step 2: Clean the basement floor
Before applying any waterproofing materials, it is essential to thoroughly clean the basement floor. Cleaning not only removes any dirt, dust, or debris but also ensures proper adhesion of the waterproofing products. Here’s how you can clean your basement floor effectively:
- Remove any furniture or belongings: Before you start cleaning, remove any furniture, storage items, or belongings from the basement. This will allow you to have unrestricted access to the entire floor surface.
- Sweep or vacuum the floor: Begin by sweeping or vacuuming the entire basement floor to remove loose dirt, dust, and debris. Pay attention to corners, cracks, and hard-to-reach areas where dirt can accumulate.
- Scrub the floor: Fill a bucket with warm water and add a mild cleaning solution or detergent. Use a stiff-bristle brush or a scrub brush to scrub the floor thoroughly. Pay extra attention to areas with stains, spills, or stubborn dirt. Rinse the floor with clean water and allow it to dry.
- Remove any existing sealers or coatings: If your basement floor has previously been sealed or coated, you may need to remove these layers to ensure proper adhesion of the waterproofing sealer. Follow the manufacturer’s instructions or consult a professional for the appropriate method to remove the existing sealer or coating.
- Inspect for mold: While cleaning, keep an eye out for any signs of mold growth. Mold can indicate a moisture problem in the basement and must be addressed before proceeding with the waterproofing process. If you discover mold, it is advisable to consult a professional mold remediation specialist.
By thoroughly cleaning your basement floor, you will create a clean and smooth surface for the waterproofing materials. This will enhance the effectiveness and durability of the waterproofing system.
Once you have completed the cleaning process, it’s time to move on to the next step – repairing any cracks or gaps in the basement floor…
Step 3: Repair any cracks or gaps
Repairing any cracks or gaps in your basement floor is crucial for preventing water seepage and ensuring a watertight seal. These openings can serve as entry points for water and compromise the effectiveness of the waterproofing system. Here’s how you can repair cracks or gaps in your basement floor:
- Clean the cracks or gaps: Use a wire brush or a vacuum cleaner to remove any loose debris, dust, or dirt from the cracks or gaps. Ensure that the surface is clean and free from any obstructions.
- Fill the cracks or gaps: Depending on the size and depth of the cracks or gaps, you can use various materials to fill them. For small cracks, a concrete patching compound or crack filler can be used. Apply the filler according to the manufacturer’s instructions, ensuring that it completely fills the crack or gap.
- Smooth the filled areas: Use a trowel or putty knife to smooth the filled areas and create an even surface. Remove any excess filler to achieve a flush finish with the surrounding floor.
- Allow time for curing: Give the repair material sufficient time to cure and harden according to the manufacturer’s instructions. This is important to ensure proper bonding and long-lasting results.
- Check for any remaining gaps: After the repairs have cured, inspect the floor again to ensure that all cracks and gaps have been properly filled. If any gaps or cracks are still present, repeat the filling and smoothing process until the surface is even and sealed.
Repairing any cracks or gaps in your basement floor not only prevents water seepage but also helps to maintain the structural integrity of the floor. It is essential to address these issues before proceeding with the waterproofing process.
Once you have completed the crack and gap repairs, it’s time to move on to the next step – applying a waterproofing sealer…
To waterproof a basement floor, use a concrete sealer to fill in any cracks and prevent water from seeping through. Apply multiple coats for maximum protection.
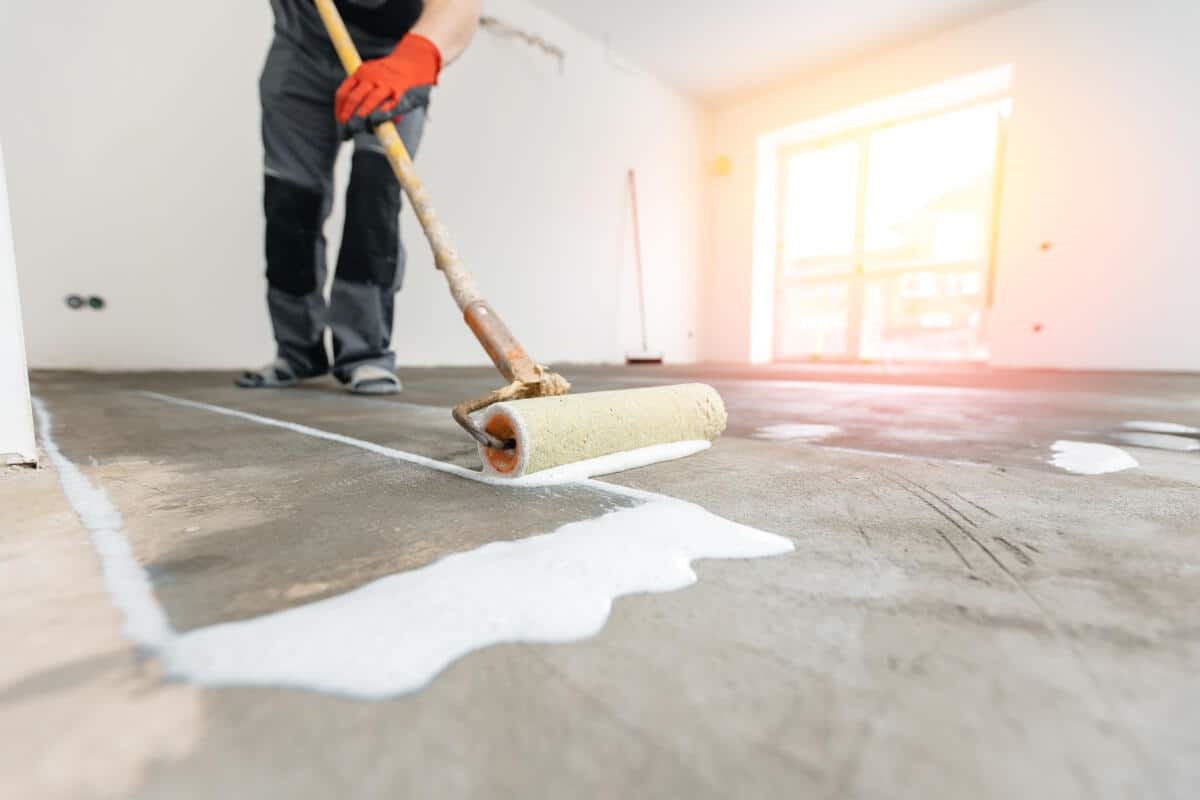
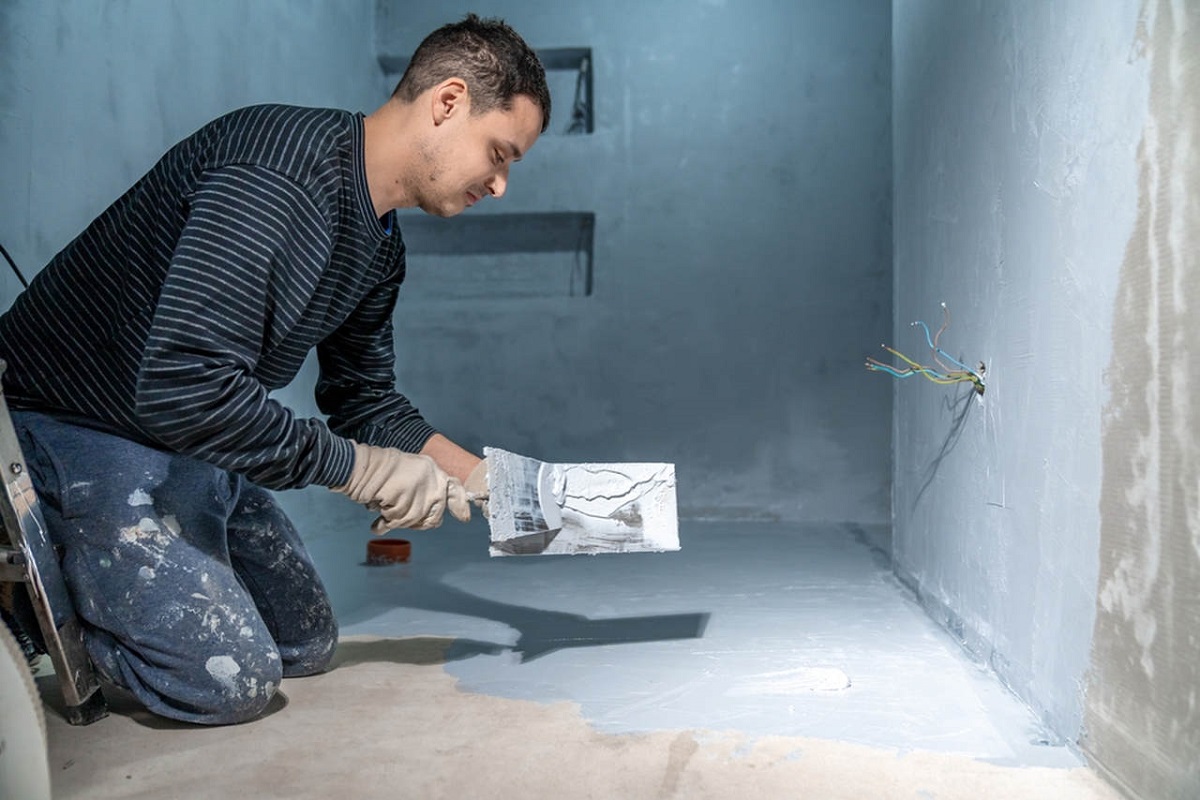
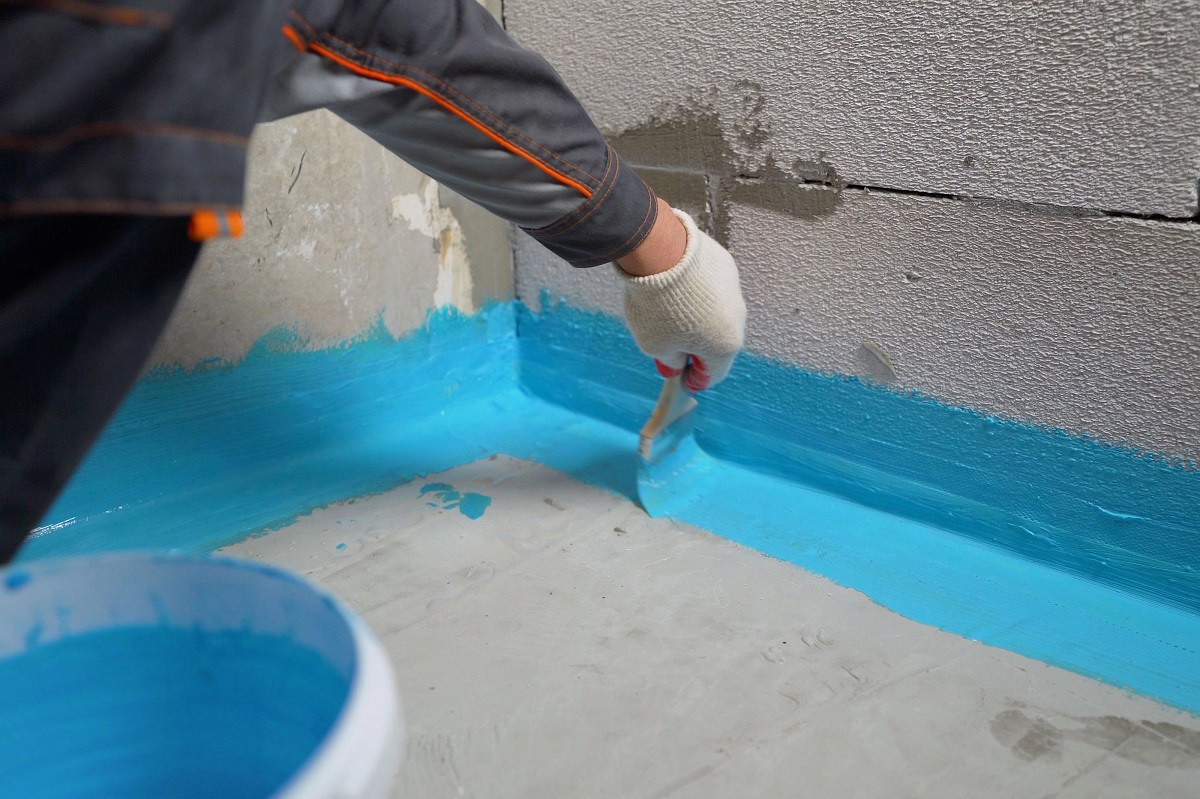
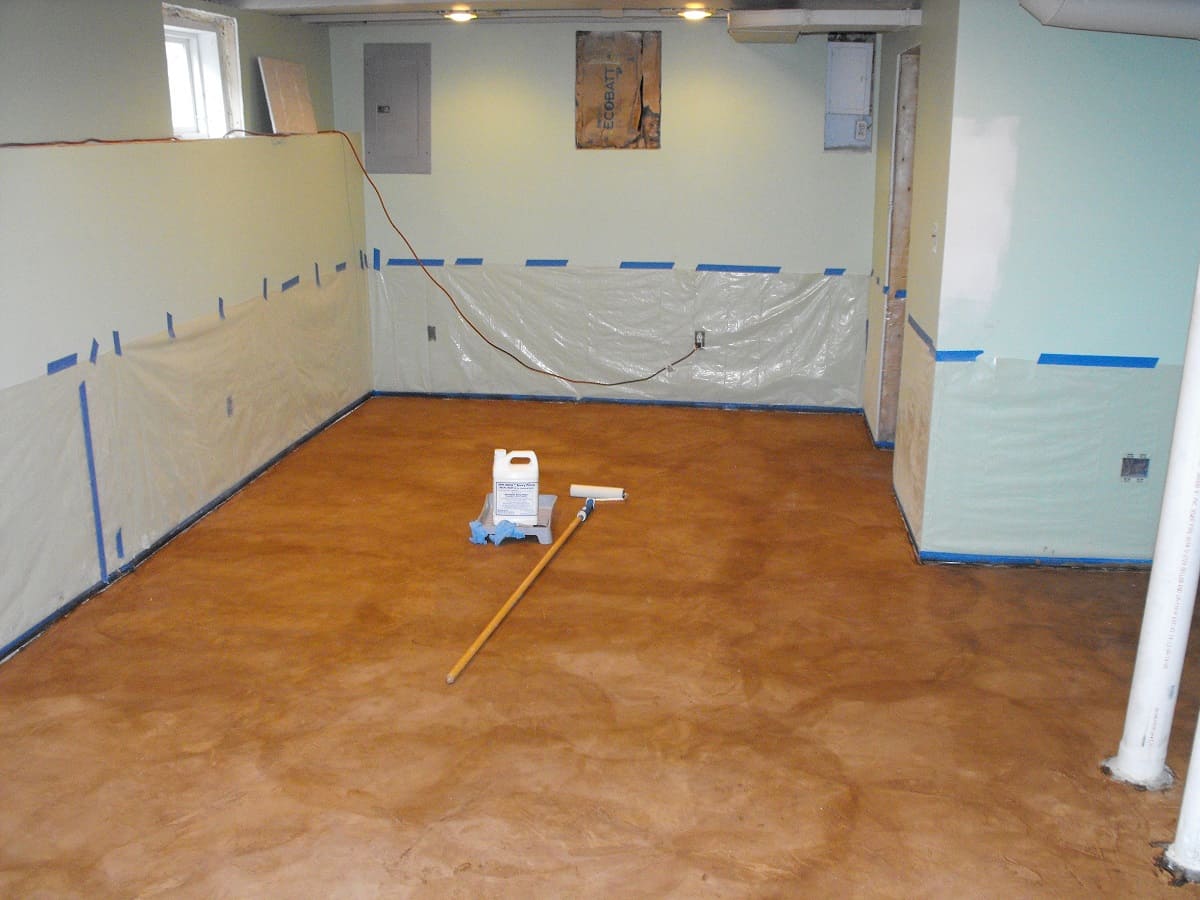
Step 4: Apply a waterproofing sealer
Applying a waterproofing sealer to your basement floor is a critical step in creating a protective barrier against moisture. A waterproofing sealer helps to seal the surface of the floor, preventing water from penetrating into the concrete. Here’s how you can apply a waterproofing sealer:
- Choose the right sealer: Select a high-quality waterproofing sealer that is suitable for your specific basement floor. There are various types of sealers available, including penetrating sealers and topical sealers. Consider factors such as the type of floor, the level of water intrusion, and the manufacturer’s instructions when choosing the sealer.
- Prepare the floor: Ensure that the basement floor is clean and dry before applying the sealer. Remove any loose debris, dust, or particles that may hinder proper adhesion.
- Apply the sealer: Follow the manufacturer’s instructions for applying the sealer. Most sealers can be applied using a brush, roller, or sprayer. Work in small sections, starting from one corner and moving towards the exit, to ensure even coverage. Apply multiple coats if necessary, allowing each coat to dry before applying the next.
- Pay attention to edges and corners: Focus on sealing the edges and corners of the basement floor, as these areas are more susceptible to water infiltration. Use a brush or a smaller applicator to ensure thorough coverage.
- Allow time for drying and curing: After applying the sealer, allow sufficient time for it to dry and cure. This may vary depending on the type of sealer and the manufacturer’s instructions. Avoid walking on or placing any heavy objects on the floor until the sealer has fully cured.
Applying a waterproofing sealer is an essential step in protecting your basement floor from water damage. It creates a barrier that prevents moisture from seeping into the concrete, providing long-lasting protection for your basement.
Once you have applied the waterproofing sealer and it has fully cured, it’s time to move on to the next step – installing a subfloor or waterproof floor covering…
Read more: How Much Is It To Waterproof A Basement
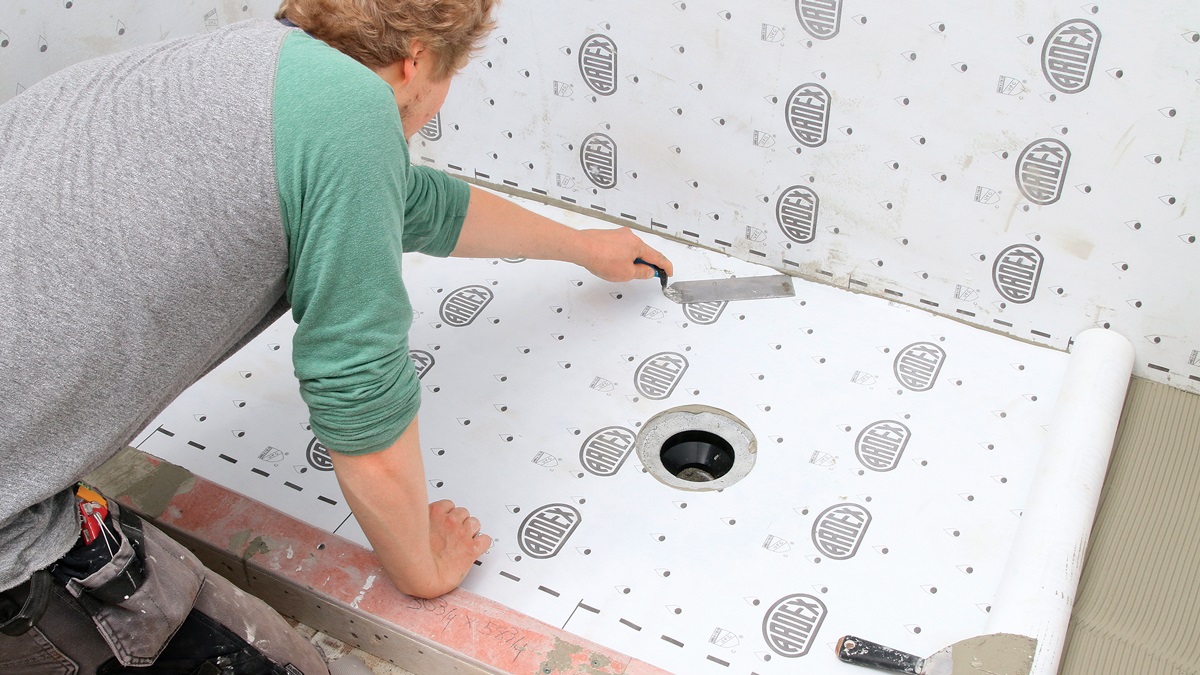
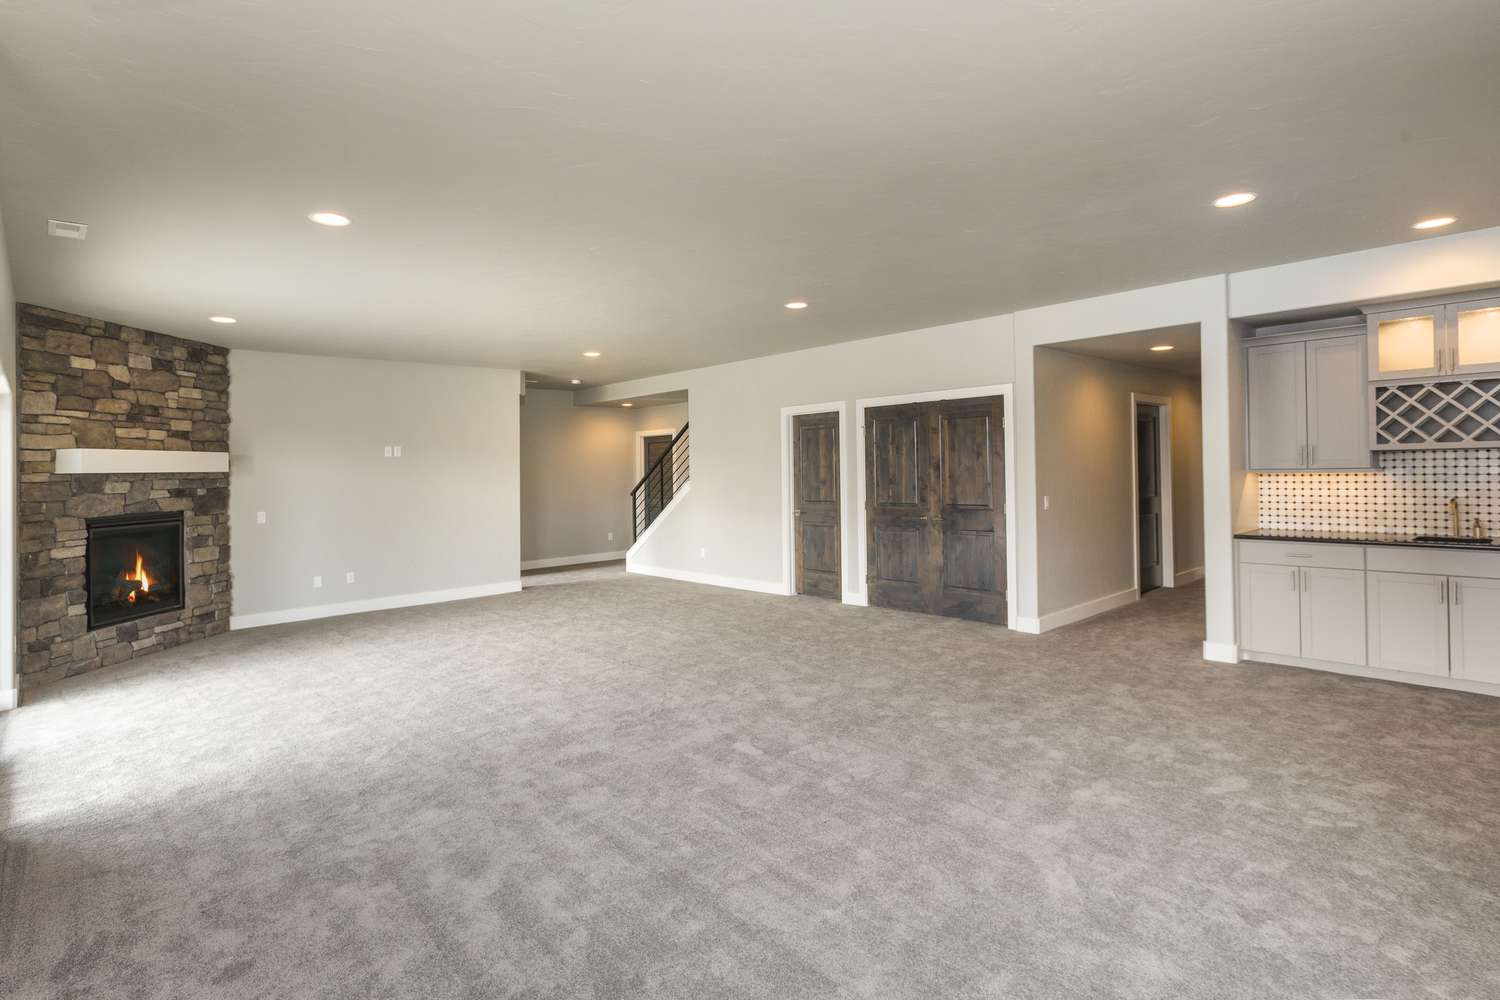
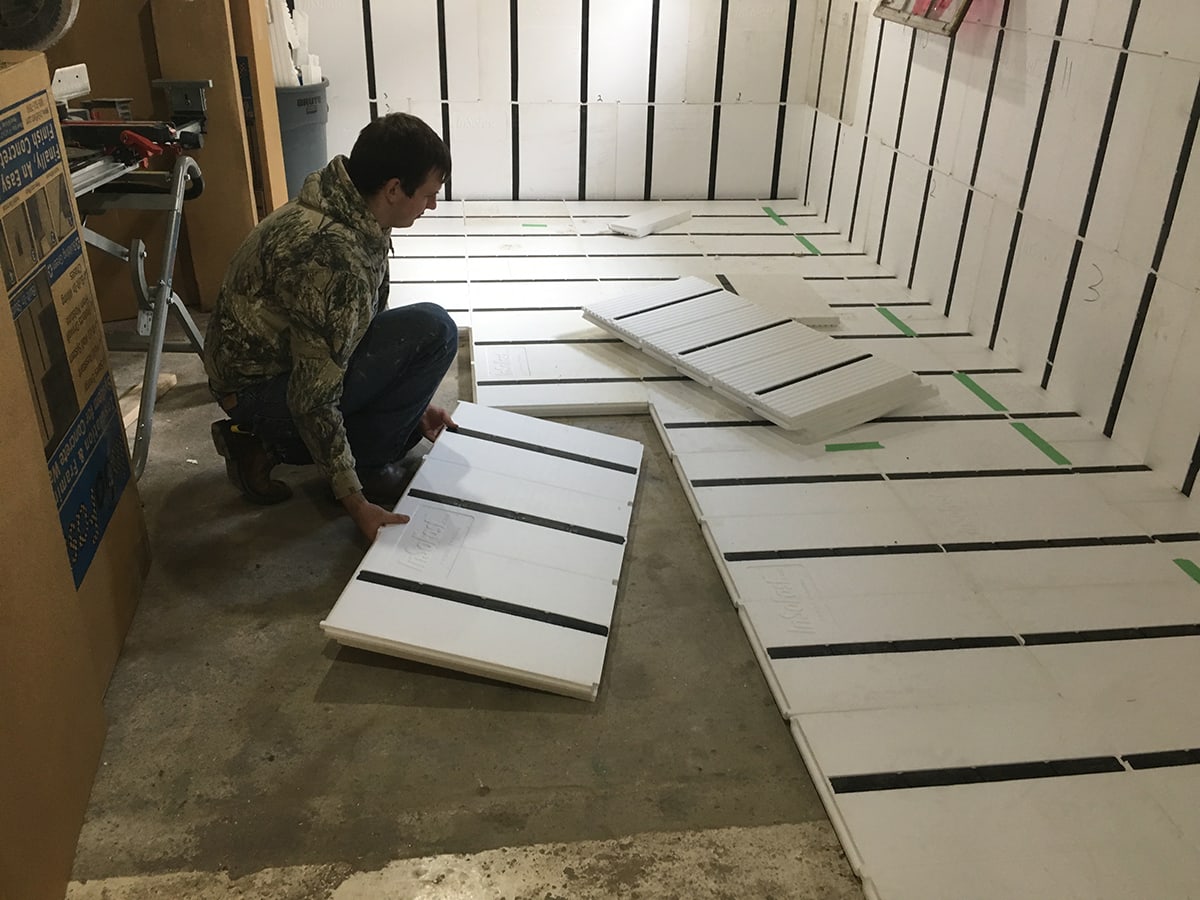
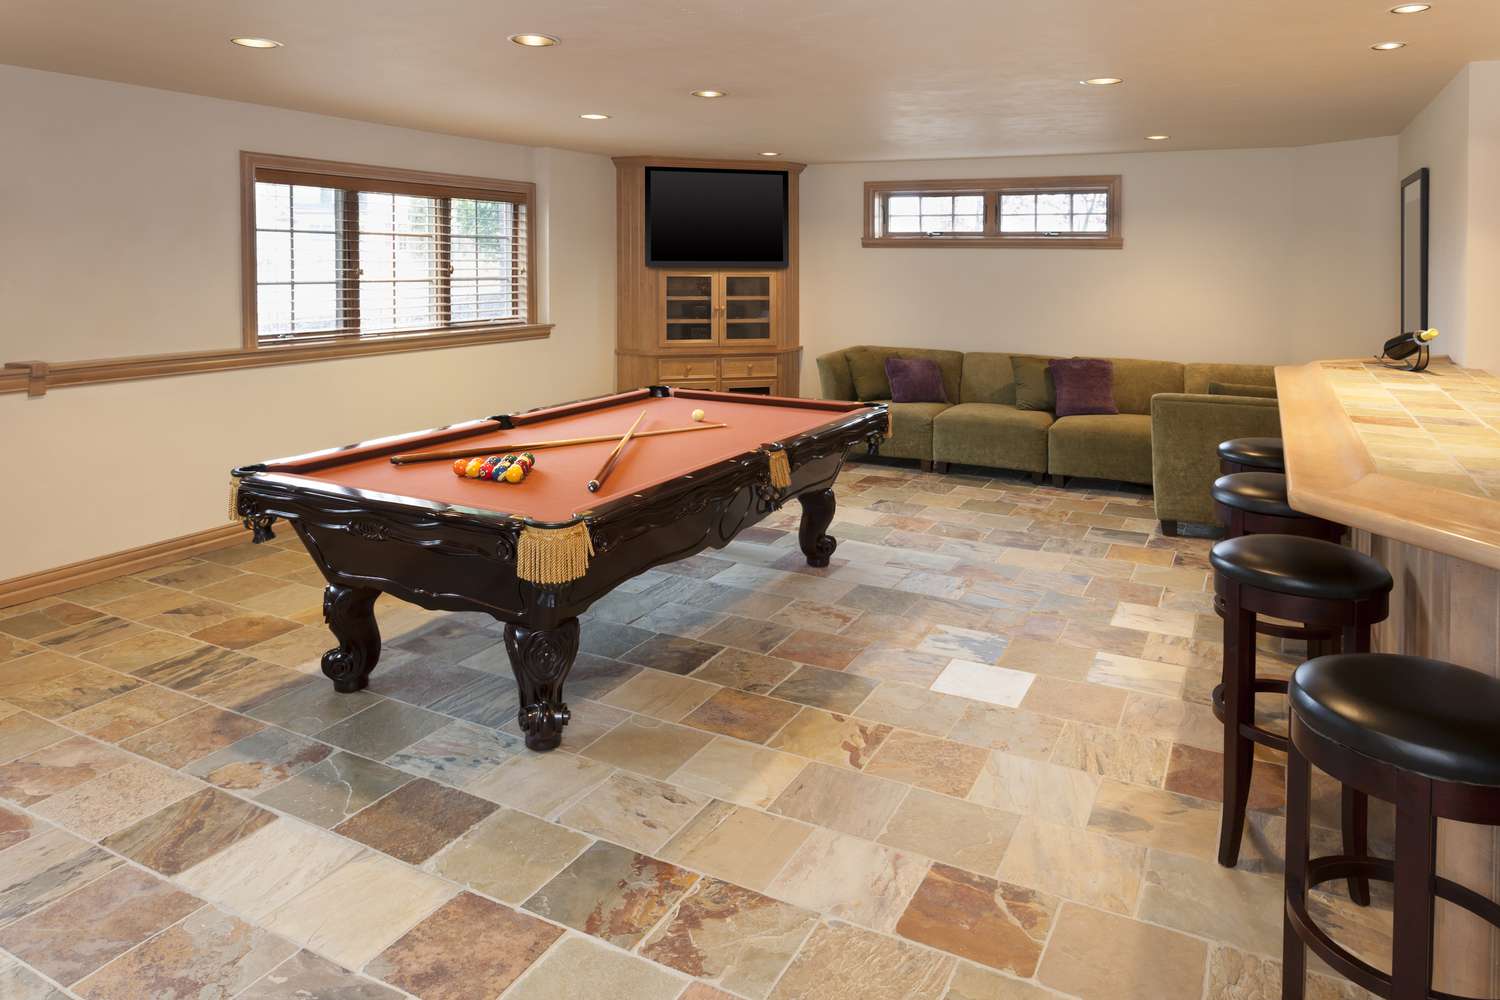
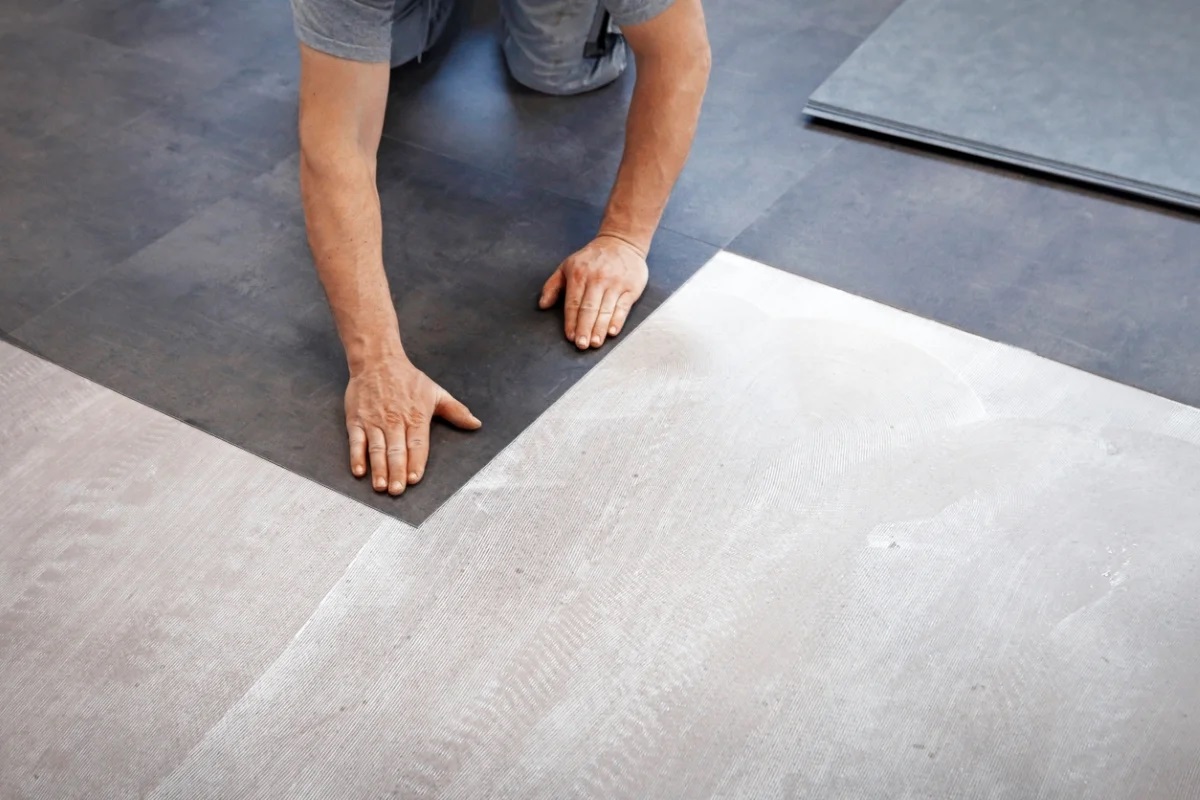
Step 5: Install a subfloor or waterproof floor covering
Installing a subfloor or a waterproof floor covering is a proactive measure that adds an extra layer of protection to your basement floor. These materials help to create a barrier between the concrete floor and the rest of your living space, preventing moisture from seeping through and causing damage. Here’s how you can install a subfloor or a waterproof floor covering:
- Choose the right material: Depending on your budget, needs, and personal preferences, select a suitable subfloor or waterproof floor covering material. Common options include vinyl, laminate, carpet tiles, or engineered wood flooring. Consider factors such as durability, water resistance, and ease of installation when choosing the material.
- Prepare the basement floor: Ensure that the basement floor is clean, dry, and free from any obstructions before installing the subfloor or floor covering. Remove any debris or residue and make sure the surface is level for proper installation.
- Follow the manufacturer’s instructions: Each material will have specific installation instructions provided by the manufacturer. Follow these instructions carefully to ensure a proper and secure installation. This may involve using adhesive, interlocking systems, or other recommended installation methods.
- Leave sufficient expansion gaps: When installing a floating floor or floor covering, it is important to leave expansion gaps around the perimeter of the room and at any fixed objects. This allows the material to expand and contract with changes in temperature and humidity, preventing buckling or warping.
- Seal seams and edges: If necessary, seal any seams or edges of the subfloor or floor covering to create a tighter water-resistant barrier. This can be done using specialized seam sealants or adhesives recommended by the manufacturer.
- Ensure proper drainage: If installing a subfloor, make sure to provide proper drainage channels or gaps to divert any potential water away from the flooring material. This helps to prevent water accumulation and reduces the risk of water damage.
Installing a subfloor or a waterproof floor covering not only enhances the aesthetic appeal of your basement but also provides an additional layer of protection against moisture. It creates a barrier that helps to keep your basement floor dry and maintains a comfortable living environment.
Once you have installed the subfloor or waterproof floor covering, it’s important to maintain regular maintenance and follow additional tips to ensure the longevity of your waterproof basement floor.
Step 6: Regular maintenance and additional tips
Maintaining your waterproof basement floor is crucial to ensure its long-term effectiveness and prevent any potential water damage. Regular maintenance and following additional tips will help you keep your basement dry and minimize the risk of moisture-related issues. Here’s what you need to do:
- Inspect for signs of water damage: Regularly check your basement floor for any signs of water seepage, moisture buildup, or mold growth. If you notice any issues, address them promptly to prevent further damage.
- Keep the floor clean: Regularly sweep or vacuum your basement floor to remove any dirt, dust, or debris. Clean up any spills immediately to prevent stains or water penetration.
- Maintain proper humidity levels: Monitor the humidity levels in your basement and maintain them within the recommended range (around 40-60% humidity). Use a dehumidifier if necessary to control moisture levels.
- Repair any leaks or plumbing issues: Inspect your basement for any plumbing leaks or issues that may cause water to enter the space. Address these problems promptly to prevent water damage to your floor and the rest of your basement.
- Consider using rugs or mats: Place rugs or mats in high-traffic areas or areas prone to moisture to provide an extra layer of protection for your basement floor. Ensure that they are waterproof or can be easily removed and cleaned.
- Avoid excessive moisture: Take steps to prevent excessive moisture in your basement, such as ensuring proper ventilation, using a sump pump if needed, and avoiding activities that generate excessive humidity.
- Monitor and maintain the waterproofing sealer: Periodically inspect the waterproofing sealer on your basement floor. If you notice any areas where the sealer has worn off or deteriorated, reapply the sealer as necessary to maintain its protective properties.
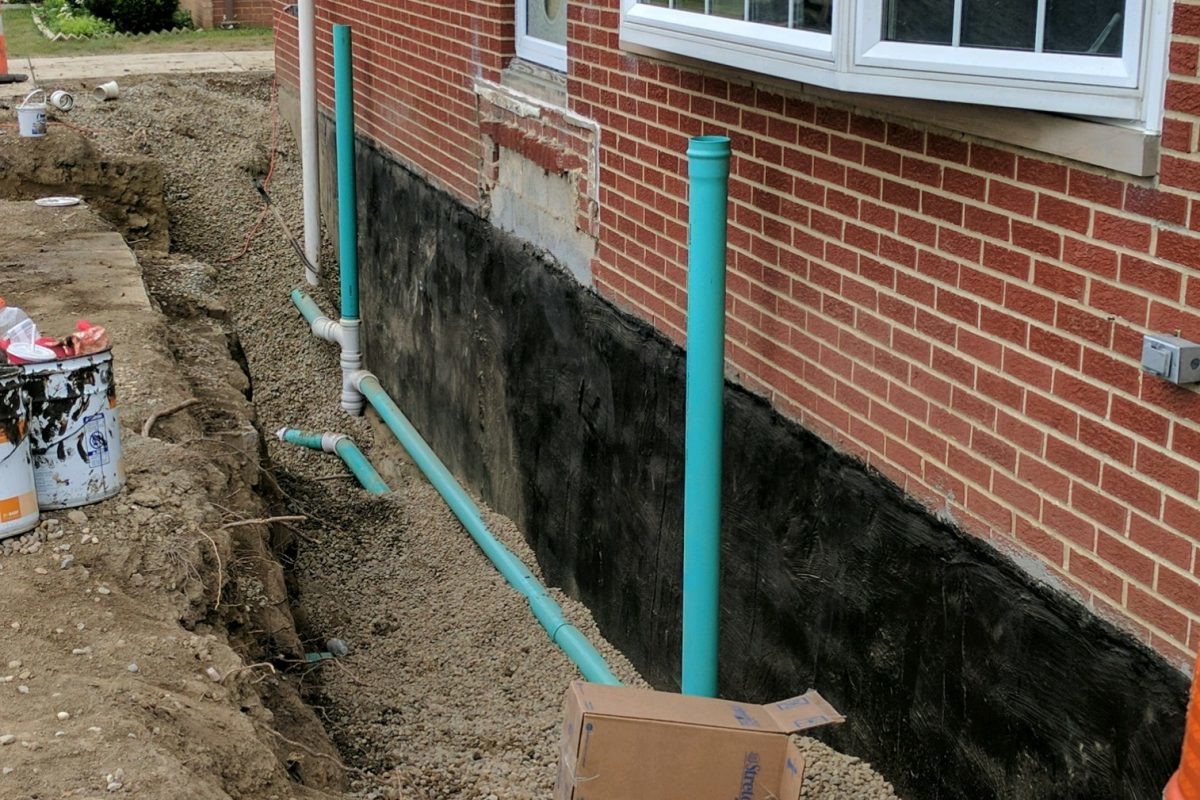
- Address foundation issues: If you notice any cracks or structural issues in your basement walls or foundation, consult a professional to address these issues promptly. Foundation issues can contribute to water seepage and compromise the effectiveness of your waterproofing efforts.
By implementing these maintenance practices and following these additional tips, you can prolong the lifespan of your waterproof basement floor and minimize the risk of water-related problems. Remember, regular upkeep and taking swift action when issues arise are key to maintaining a dry and healthy basement.
With these steps and tips in mind, you are now equipped with the knowledge needed to successfully waterproof your basement floor. By assessing the condition of the floor, cleaning it thoroughly, repairing any cracks or gaps, applying a waterproofing sealer, and installing a subfloor or waterproof floor covering, you can create a moisture-resistant barrier and protect your basement from water damage.
Enjoy a dry and comfortable basement for years to come!
Conclusion
Waterproofing your basement floor is a crucial step in protecting your home from water damage and creating a dry and habitable space. By following the steps outlined in this comprehensive guide, you can effectively safeguard your basement floor from moisture and prevent issues such as mold growth, structural damage, and compromised air quality.
Assessing the condition of your basement floor, cleaning it thoroughly, repairing any cracks or gaps, applying a waterproofing sealer, and installing a subfloor or waterproof floor covering are all essential steps in the waterproofing process. Each step plays a vital role in creating a strong and durable barrier against water infiltration.
Regular maintenance and adhering to additional tips are equally important to ensure the long-term effectiveness of your waterproof basement floor. Monitoring for signs of water damage, keeping the floor clean, maintaining proper humidity levels, and addressing any leaks or plumbing issues promptly are key maintenance practices that will help you sustain a dry and healthy basement environment.
Remember, waterproofing your basement floor is an investment in the longevity and value of your property. By taking the necessary steps to protect your basement from water damage, you can enjoy a comfortable living space, free from the worries of moisture-related problems.
We hope that this guide has provided you with the knowledge and guidance needed to successfully waterproof your basement floor. Implement the steps outlined, stay proactive in maintaining your floor, and enjoy the peace of mind that comes with a dry and waterproof basement.
Here’s to a waterproof basement floor and a happy, healthy home!
Ready to dive deeper into keeping your basement dry and sturdy? If understanding the core methods behind waterproofing intrigues you, our detailed guide on basement waterproofing might be just what you're looking for. Additionally, if you're considering a bigger project, such as renovating your lower level, grasping how long the entire process might take could help in planning. Check out our insights on basement renovation duration to stay informed and prepared.
Frequently Asked Questions about How To Waterproof Basement Floor
Was this page helpful?
At Storables.com, we guarantee accurate and reliable information. Our content, validated by Expert Board Contributors, is crafted following stringent Editorial Policies. We're committed to providing you with well-researched, expert-backed insights for all your informational needs.


0 thoughts on “How To Waterproof Basement Floor”