Home>Articles>How To Make A Wall Clock Out Of Picture Frames
Articles
How To Make A Wall Clock Out Of Picture Frames
Modified: January 5, 2024
Learn how to create a unique wall clock using picture frames with our comprehensive articles. Get inspired and start your DIY project today!
(Many of the links in this article redirect to a specific reviewed product. Your purchase of these products through affiliate links helps to generate commission for Storables.com, at no extra cost. Learn more)
Introduction
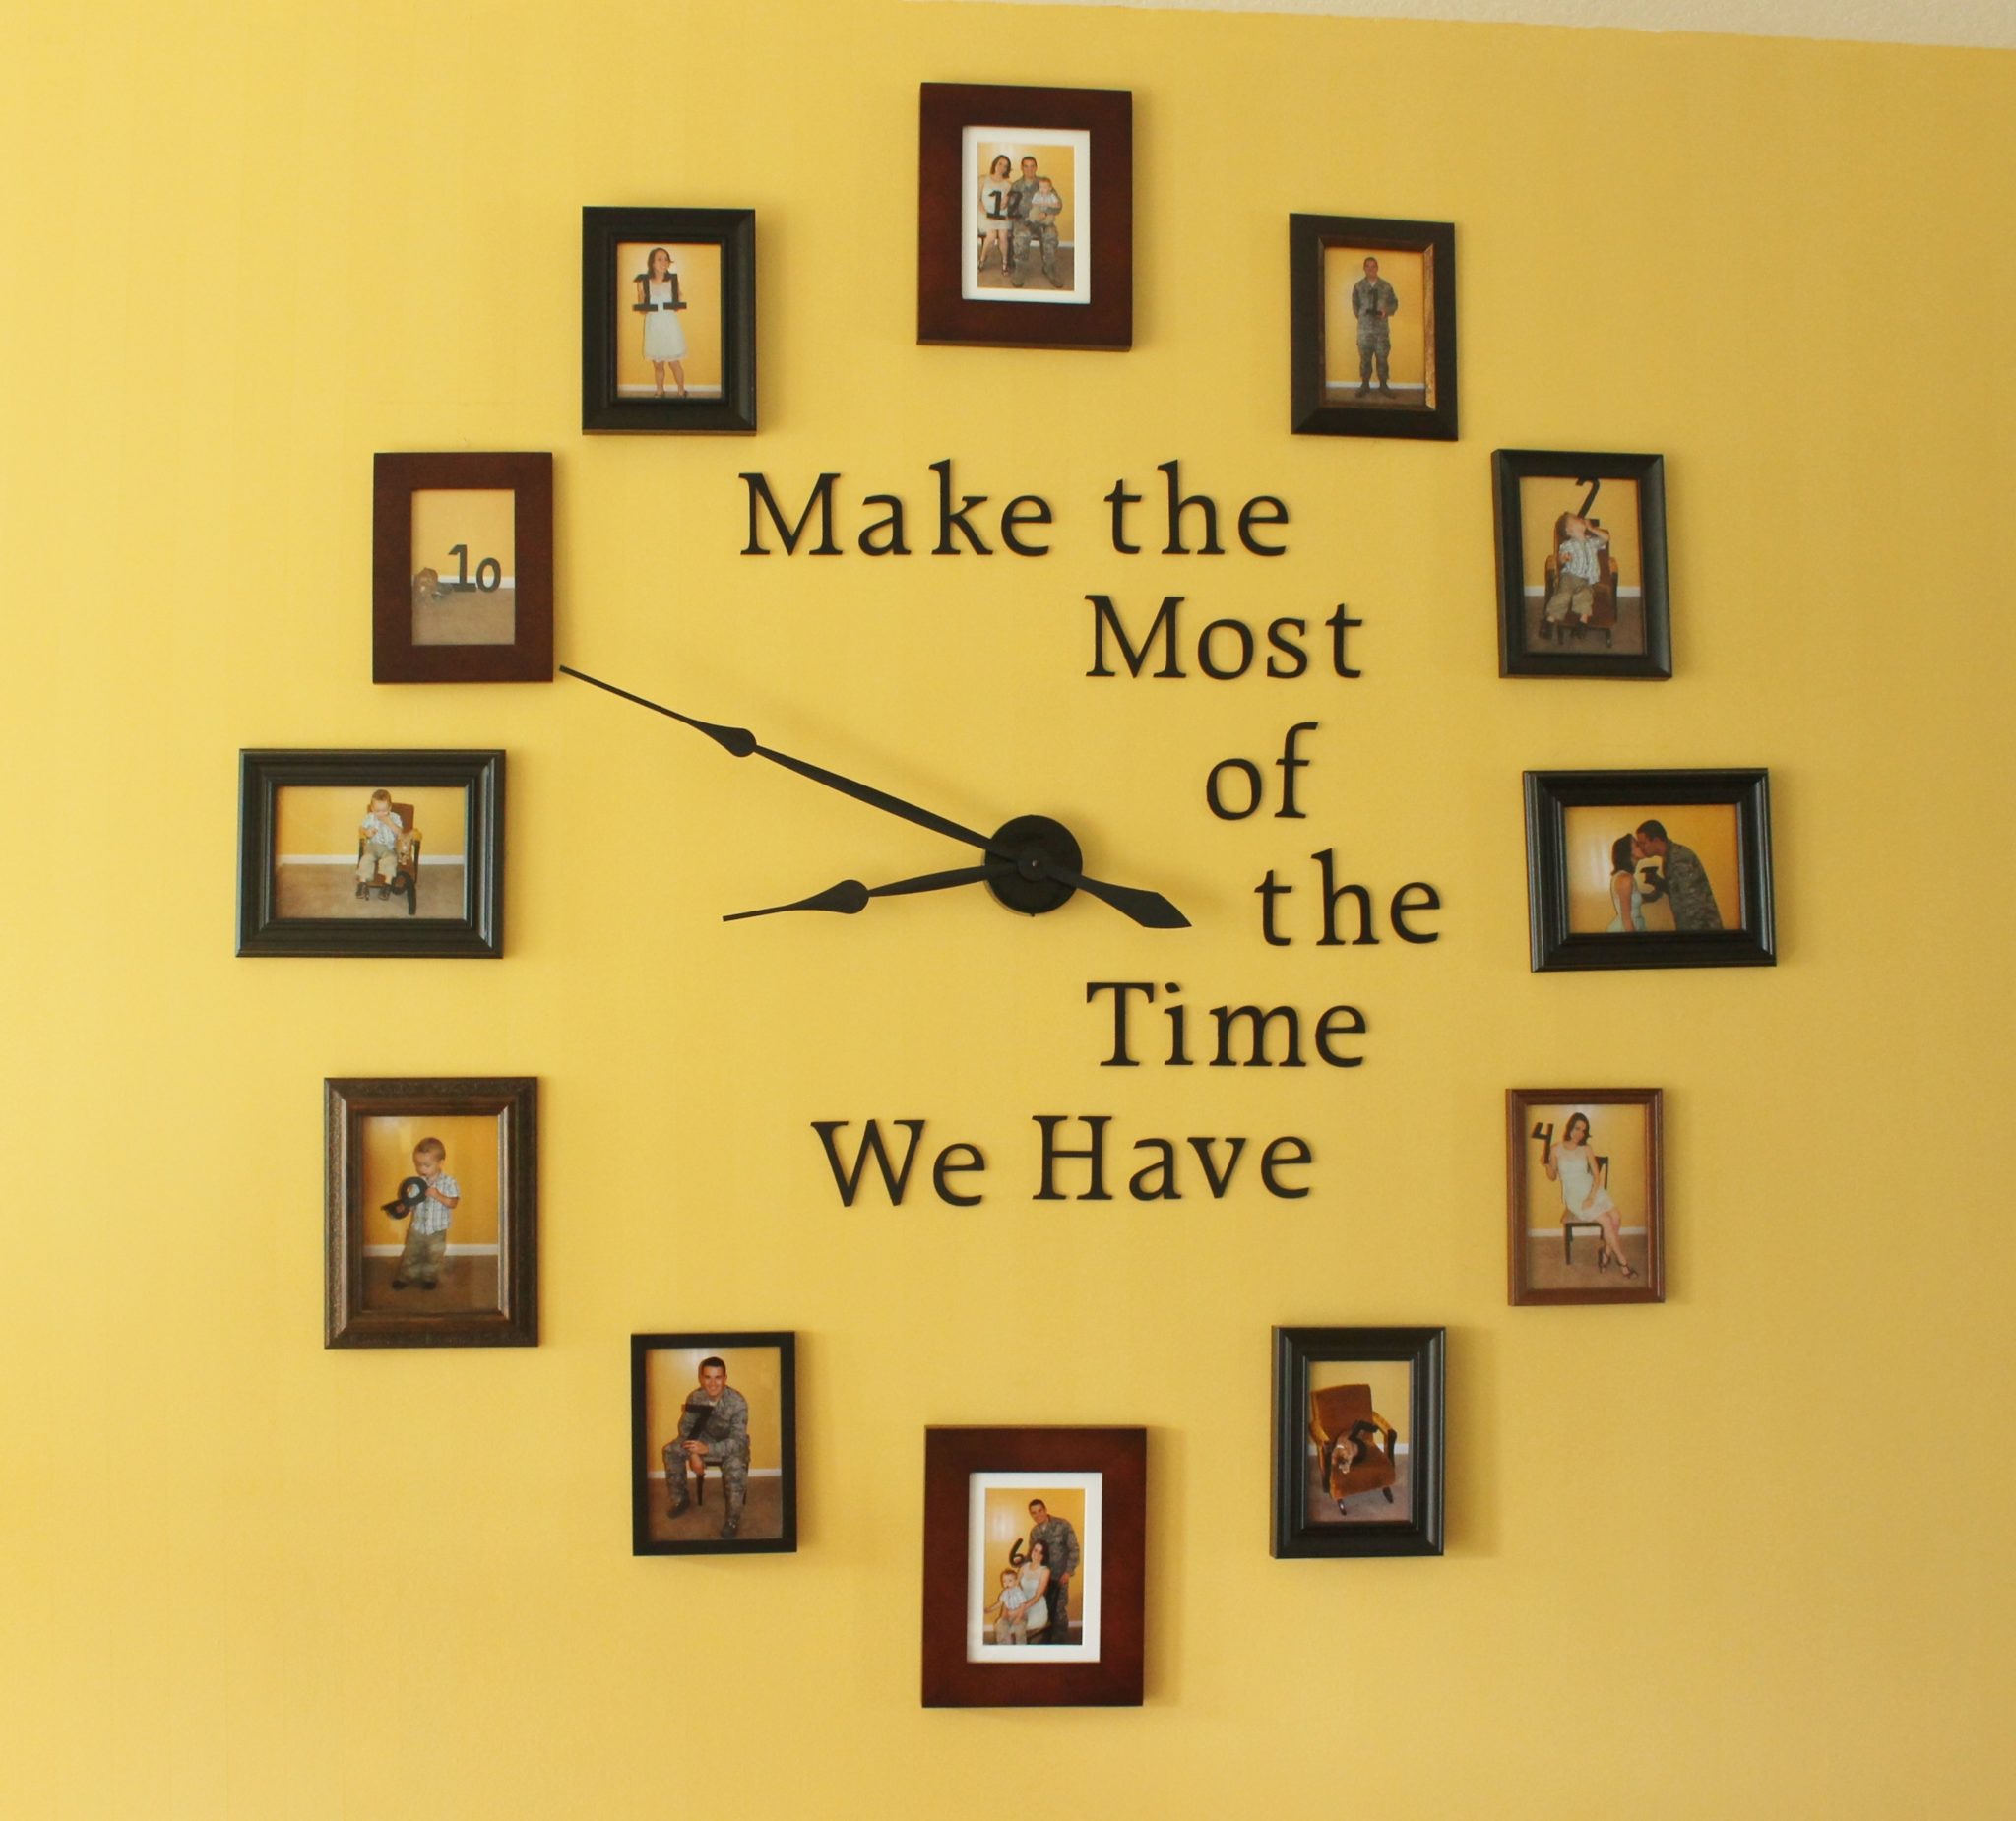
Welcome to the world of DIY home decor! If you’re looking for a unique and personalized way to add a touch of style to your living space, why not try making a wall clock out of picture frames? This creative project allows you to combine the practicality of a clock with the charm of cherished memories captured in picture frames. Whether you’re a seasoned DIY enthusiast or a beginner looking for a fun and engaging project, making a wall clock out of picture frames is a great way to unleash your creativity and add a customized piece of artwork to your walls.
By repurposing old or unused picture frames, you not only give them a new lease on life but also create a beautiful and functional piece of home decor. This project is not only budget-friendly, but it also provides an opportunity to showcase your favorite photographs, artwork, or even quotes that hold special meaning to you.
In this article, we will guide you through the step-by-step process of creating your own unique wall clock using picture frames. So, gather your supplies and let’s get started!
Key Takeaways:
- Transform old picture frames into a personalized wall clock, combining creativity and functionality for a budget-friendly and sentimental home decor piece.
- Showcase your artistic eye by arranging frames in a visually captivating layout, creating a unique and meaningful focal point for any room.
Read more: How To Make A Wall Collage Of Picture Frames
Materials Needed
Before diving into the project, make sure you have gathered all the necessary materials. Here’s a list of what you’ll need to create your own wall clock out of picture frames:
- Picture frames (various sizes and shapes)
- Clock mechanism
- Clock hands
- Drill
- Screwdriver
- Nails or screws for hanging
- Hammer
- Optional: Paint, sandpaper, or other decorative materials
The number of picture frames you’ll need depends on the desired size and design of your wall clock. It’s best to gather frames of various sizes and shapes to create an interesting and visually appealing composition.
When selecting a clock mechanism, make sure it has the appropriate shaft length to accommodate the thickness of your picture frames. Additionally, choose clock hands that match the overall style and size of your clock.
Other tools such as a drill, screwdriver, nails or screws, and a hammer will be required for assembling and hanging the wall clock. If you wish to personalize your frames with paint or other decorative materials, gather those as well.
Once you have gathered all the necessary materials, you’re ready to move on to the next steps and begin creating your wall clock out of picture frames. Remember to take your time, be creative, and enjoy the process!
Step 1: Gather Picture Frames
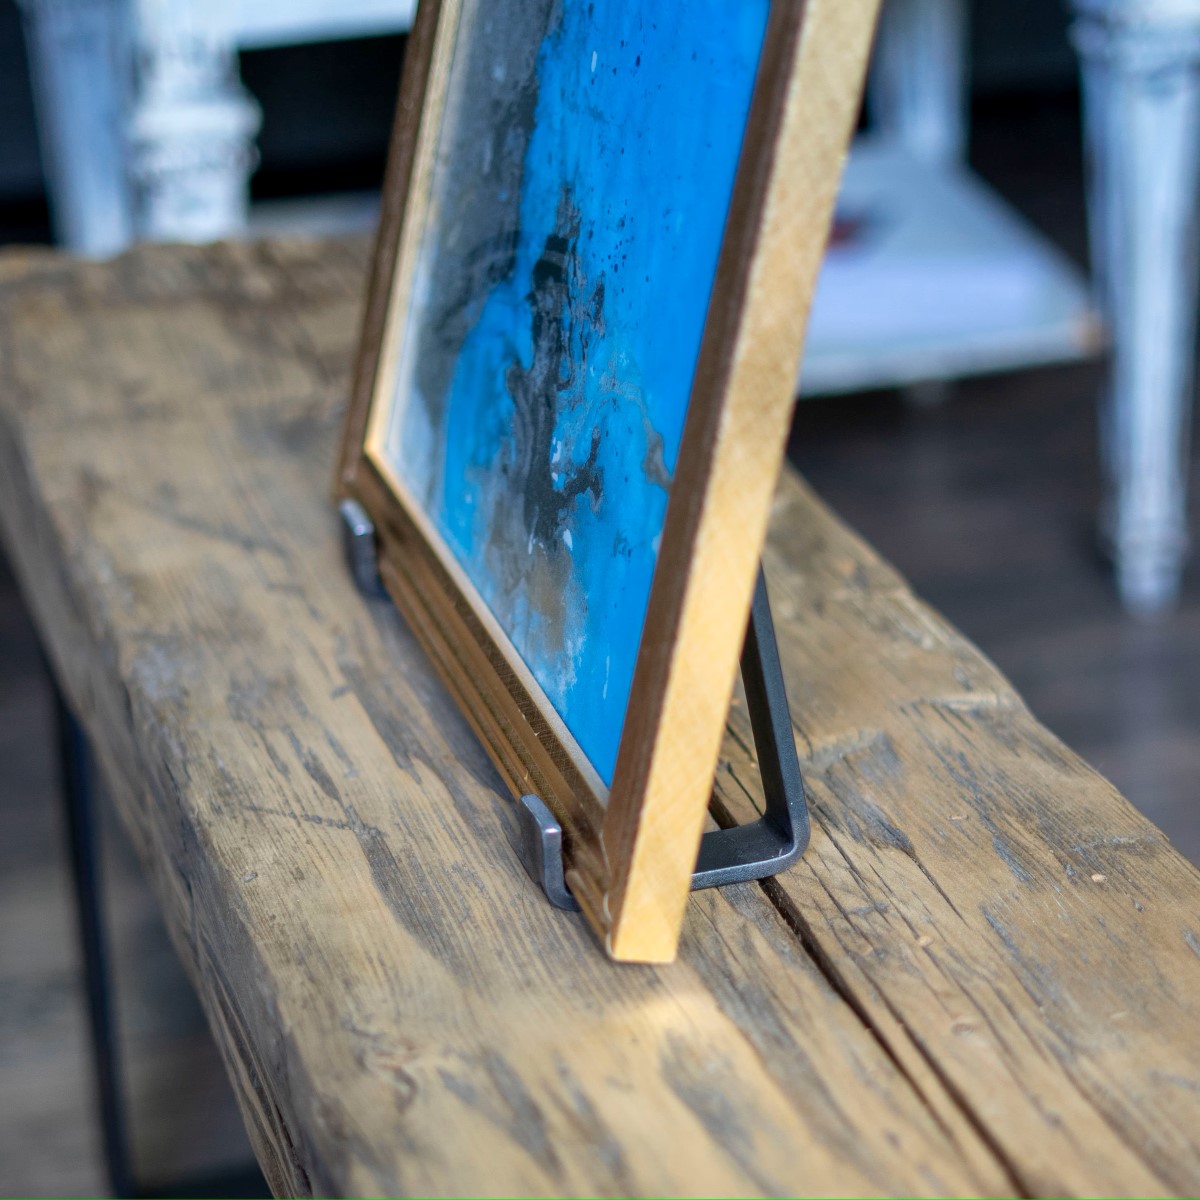
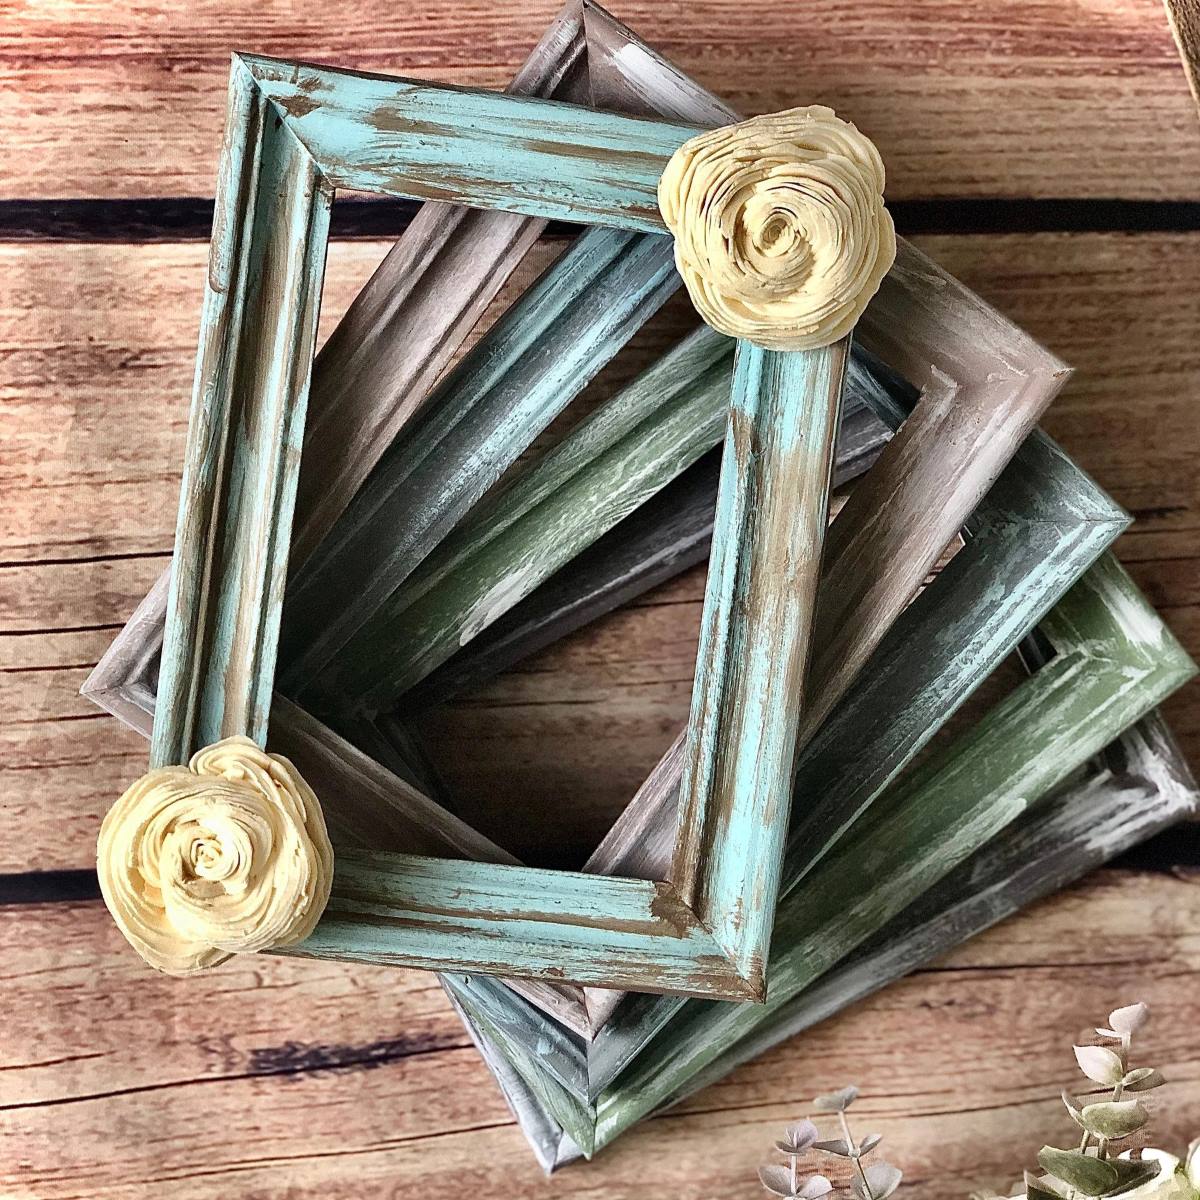
The first step in creating your wall clock out of picture frames is to gather the frames you will be using. Look for a variety of frames in different sizes and shapes to add visual interest to your clock. You can use old picture frames that you no longer need, or you can purchase inexpensive frames from a thrift store or a craft store.
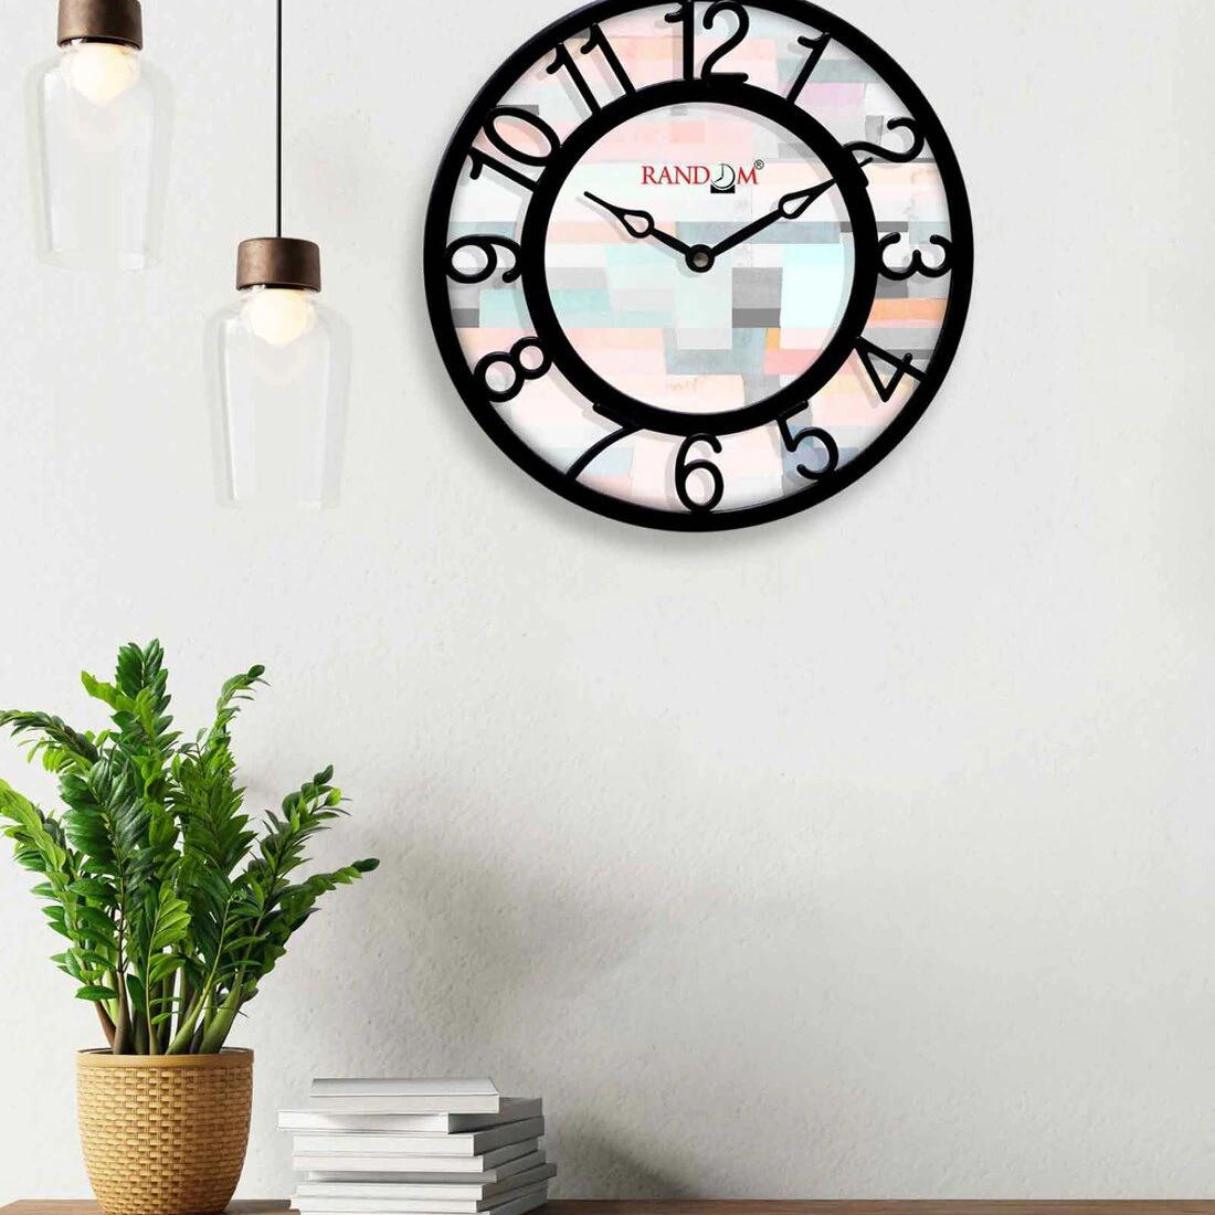
Consider the overall design and theme you want your wall clock to have. Are you going for a modern look with sleek frames, or do you prefer a more eclectic style with mismatched frames? The choice is yours, so be creative and choose frames that reflect your personal taste and the aesthetic of your space.
Keep in mind that the number of frames you need will depend on the size and design of your wall clock. Typically, around six to twelve picture frames work well, but you can adjust the quantity as desired.
Inspect each frame to ensure they are in good condition and free from any damage or defects. If you notice any scratches, dents, or discolored areas, you may choose to paint or refinish the frames to give them a fresh and uniform look.
Once you have gathered your picture frames, you’re ready to move on to the next step – removing the backing and glass from the frames.
Step 2: Remove the Backing and Glass
Now that you have gathered your picture frames, it’s time to remove the backing and glass. This step is essential to create space for the clock mechanism and ensure that the frames fit snugly together.
Start by laying out all your frames on a flat surface. Carefully remove the backing from each frame, whether it’s in the form of a cardboard or a wooden panel. Some frames may have clips or screws holding the backing in place, so you may need to use a screwdriver or pliers to detach them.
Next, remove the glass from each frame. You can do this by gently sliding or lifting it out. Be cautious while handling the glass to avoid any accidents or injuries. If the frames have multiple layers of glass, remove all of them to create a hollow space.
By removing the backing and glass, you create a clean and open area within the frames, allowing you to assemble them together seamlessly. It also ensures that there is enough depth for the clock mechanism to fit comfortably.
Once you have removed the backing and glass from each picture frame, set them aside for now. You’re ready to move on to the next step – arranging the picture frames into a desired layout.
Step 3: Arrange the Picture Frames
Now that you have removed the backing and glass from your picture frames, it’s time to get creative and start arranging them into a visually pleasing layout for your wall clock.
Lay out all the frames on a flat surface, such as a table or the floor. Take a moment to visualize different arrangements and consider the size, shape, and orientation of each frame. You can experiment with various designs, such as a circular layout, a staggered pattern, or a symmetrical arrangement.
Consider the overall look you want to achieve. Do you prefer a clean and organized layout, or do you want a more eclectic and whimsical feel? Take into account the colors and styles of the frames and how they complement each other.
Once you have settled on a design that you like, begin organizing the frames accordingly. Remember to leave enough space in the center for the clock mechanism. Play around with the positioning of the frames until you’re satisfied with the arrangement.
Feel free to get creative and add other elements to the layout, such as decorative objects, letters, or numbers that hold personal significance. You can also incorporate different sizes of frames to add depth and dimension to the overall design.
As you arrange the frames, take note of any adjustments you need to make. If necessary, use a pencil to lightly mark the position of each frame to ensure they align properly when you move on to the next step.
Once you have arranged the picture frames to your liking and made any necessary markings, you’re ready to move on to the next step – securing the frames together.
When making a wall clock out of picture frames, be sure to choose frames with a flat surface and enough depth to accommodate the clock mechanism. Also, consider using frames of different sizes for a unique and visually appealing design.
Read more: How To Make Picture Frames
Step 4: Secure the Frames Together
Now that you have arranged the picture frames into your desired layout, it’s time to secure them together to create a solid structure for your wall clock.
Start by flipping over each frame and inspecting the backside. Look for areas where the frames connect or overlap. These are the points where you will secure the frames together.
Depending on the design and weight of your frames, you have a few options for securing them:
- Nails or Screws: If the frames have sturdy backing, you can use small nails or screws to connect them together. Use a drill with a small pilot hole to make it easier to insert the nails or screws without splitting the frames. Make sure to align the frames properly before securing them.
- Adhesive: If the frames are lightweight or have a smooth surface, you can use a strong adhesive like epoxy or industrial-strength glue to bond them together. Apply the adhesive to the connecting areas of the frames and hold them firmly in place until the adhesive sets.
- Picture Wire or Twine: For frames without a sturdy backing, you can use picture wire or twine to tie them together. Drill small holes in the frames near the connecting areas and thread the wire or twine through, tying knots to secure the frames in place.
Whichever method you choose, take care to ensure that the frames are aligned properly and securely fastened together. This will provide stability and prevent any movement or shifting once the clock is hanging on the wall.
After securing the frames together, double-check the layout to ensure that everything is still positioned as desired. Make any necessary adjustments before moving on to the next step – adding the clock mechanism.
Step 5: Add Clock Mechanism
With the picture frames securely connected, it’s time to add the clock mechanism that will turn your creation into a functional wall clock.
Start by measuring the thickness of the frames to determine the appropriate shaft length needed for the clock mechanism. This will ensure that the hands of the clock can move freely without any obstructions.
Once you have the proper measurements, follow the instructions provided with your clock mechanism to install it onto the center of your assembled picture frames. Most clock mechanisms come with a nut or washer that needs to be placed on the front of the frame to hold the mechanism securely in place.
Using a drill or screwdriver, carefully create a small hole in the center of your clock arrangement where the clock hands will be mounted. This hole should be just wide enough to fit the shaft of the clock mechanism without any excess space.
Now, insert the shaft of the clock mechanism through the hole, ensuring that it fits snugly. If necessary, adjust the nut or washer on the front of the frame to secure the mechanism in place. Be cautious not to overtighten, as it may damage the frames.
Once the clock mechanism is securely in place, test it by inserting a battery and making sure the hands move smoothly. Do a quick check to ensure that the hands have enough clearance and don’t brush against the frames or each other.
With the clock mechanism successfully installed, you’re ready to move on to the next step – attaching the clock hands.
Step 6: Attach Clock Hands
Now that the clock mechanism is in place, it’s time to attach the clock hands to complete the look of your wall clock.
Start by carefully unpacking the clock hands from their packaging. Most clock hands come with a minute hand, an hour hand, and sometimes a second hand. Make sure to choose hands that complement the size and style of your picture frame clock.
Look for the small hole at the center of the clock mechanism where the clock hands will be attached. Each clock hand should have a small mounting hole near its base.
Begin by attaching the minute hand first. Align the mounting hole on the minute hand with the pin on the clock mechanism. Gently press the minute hand onto the pin until it is securely in place.
Next, attach the hour hand in the same way, ensuring that it is aligned properly with the minute hand. Take your time to position the hands correctly, as they determine the accurate time display of your wall clock.
If your clock includes a second hand, attach it last using the same method. The second hand may have slight variations in attaching, such as a push-on design.
Once all the clock hands are attached, gently move them to ensure they are not rubbing against each other or the picture frames. Ensure that they have enough clearance and move smoothly without any obstructions.
Take a step back and admire your work so far. The picture frames, clock mechanism, and attached clock hands have transformed your collection into a functional and stylish wall clock.
Now, let’s move on to the final step – hanging your beautiful wall clock on the wall.
Step 7: Hang the Wall Clock
Congratulations! You’re in the final step of creating your wall clock out of picture frames. Now, it’s time to hang your masterpiece on the wall and showcase your creativity.
Start by choosing the perfect spot for your clock. Consider the room’s decor, the desired focal point, and the visibility of the clock from different angles. Once you have chosen the location, make a small mark on the wall to indicate the hanging position.
Next, grab your drill, nails, or screws depending on the weight and size of your clock. If you’re hanging the clock on a stud, use a stud finder to locate it and securely anchor the clock. Otherwise, you can use appropriate wall anchors to ensure stability.
Align the mark you made on the wall with the center of your clock arrangement. Carefully drill a hole or insert your wall anchors at this point. If you’re using nails or screws, place them into the wall, leaving a small portion protruding to hang the clock.
Now, gently lift the picture frame clock and align it with the nails or screws on the wall. Slide the frames onto the nails or hooks, ensuring that they fit securely.
Step back and admire your finished wall clock. Ensure that it hangs straight and is positioned at the desired height. If necessary, make any minor adjustments to ensure it sits level and aligns with the surrounding decor.
Finally, step back and enjoy your beautiful wall clock made out of picture frames. The combination of your personal touch and the functional aspect of the clock adds a unique and meaningful element to your home decor.
Remember to periodically replace the battery in your clock to keep it running smoothly and accurately. This will ensure that you can enjoy your handmade creation for years to come.
Now, sit back, relax, and let your new wall clock be the centerpiece of conversation and admiration in your home.
Well done on completing your DIY project!
Conclusion
Congratulations on successfully creating your very own wall clock out of picture frames! By repurposing old frames and adding a clock mechanism, you have transformed them into a functional and visually appealing piece of home decor. This unique project allows you to combine your creativity with the practicality of a clock, resulting in a personalized and meaningful addition to your living space.
Throughout the process, you had the opportunity to exercise your artistic eye by arranging the picture frames in a layout that reflects your personal style. The ability to choose frames of different sizes, shapes, and colors allowed you to create a visually captivating arrangement that adds character to any room.
Not only is making a wall clock out of picture frames an enjoyable DIY project, but it also offers a budget-friendly way to decorate your walls. By utilizing frames you already have or sourcing them from thrift stores or craft stores, you can create a stunning piece of decor without breaking the bank.
Additionally, this project allows you to add sentimental value to your space. The frames you chose can hold cherished photographs, artwork, or quotes that resonate with you and your loved ones. Every time you glance at your wall clock, you are reminded of those special moments and expressions of creativity.
Lastly, by following the step-by-step guide, you were able to create a clock that not only tells time but also serves as a conversation starter and a unique focal point in your home. Whether it’s displayed in your living room, bedroom, or even a home office, your wall clock made from picture frames is sure to garner attention and admiration from guests.
Remember, as you embark on your DIY projects, be creative and let your imagination run wild. Your ability to repurpose and transform materials into something new and beautiful is a testament to your resourcefulness and craftsmanship.
So go ahead, gather your picture frames, secure them together, add a clock mechanism, and proudly hang your one-of-a-kind wall clock on the wall. Enjoy the process, revel in your creativity, and cherish the memories that your newly crafted clock holds.
Happy crafting!
Frequently Asked Questions about How To Make A Wall Clock Out Of Picture Frames
Was this page helpful?
At Storables.com, we guarantee accurate and reliable information. Our content, validated by Expert Board Contributors, is crafted following stringent Editorial Policies. We're committed to providing you with well-researched, expert-backed insights for all your informational needs.


0 thoughts on “How To Make A Wall Clock Out Of Picture Frames”