Articles
How To Wire A Dryer Plug
Modified: October 20, 2024
Learn how to properly wire a dryer plug with our informative articles. Expert guidance and step-by-step instructions for safe and efficient installation.
(Many of the links in this article redirect to a specific reviewed product. Your purchase of these products through affiliate links helps to generate commission for Storables.com, at no extra cost. Learn more)
Introduction
Wiring a dryer plug may seem like a daunting task, but with the right tools and a little bit of guidance, it can be a straightforward process. Whether you’re replacing an old, worn-out plug or installing a new one, being able to safely and correctly wire a dryer plug is an essential skill to have.
Before diving into the process, it’s important to note that working with electricity can be dangerous if proper precautions are not taken. Always prioritize safety by turning off the power to the dryer circuit before starting any work. Additionally, if you’re not confident in your abilities, it’s best to consult a professional electrician.
In this guide, we’ll walk you through the steps to wire a dryer plug, ensuring a secure and efficient connection. We’ll also provide a list of tools and materials you’ll need for the project. So, let’s get started!
Key Takeaways:
- Prioritize safety by turning off the power to the dryer circuit and wearing protective gear. Follow the step-by-step guide to wire a new dryer plug and enjoy the convenience of a properly functioning appliance.
- Inspect, prepare, and connect the wires to the new dryer plug, ensuring secure and reliable connections. Test the connection thoroughly to guarantee the efficient and effective operation of your dryer.
Read more: How To Wire An Extension Cord Plug
Tools and Materials Needed
Before you begin wiring a dryer plug, gather the following tools and materials:
- Flathead screwdriver
- Wire strippers
- Needle-nose pliers
- Electrical tape
- Wire nuts
- Voltage tester
- Replacement dryer plug
It’s important to ensure that you have the correct type of Replacement dryer plug, as there are different styles available. Check your dryer’s manufacturer specifications or consult an electrician to determine the appropriate plug type for your specific dryer model.
Additionally, make sure you have a basic understanding of your home’s electrical system. Familiarize yourself with the circuit breaker panel and locate the switch that controls the power to the dryer circuit. This information will be crucial during the installation process.
Once you have gathered all the necessary tools and materials, you’re ready to move on to the next step: safety precautions.
Step 1: Safety Precautions
Prioritizing safety is crucial when dealing with electrical work. Follow these safety precautions before you begin wiring a dryer plug:
- Turn off power to the dryer circuit: Locate the circuit breaker panel in your home and find the switch that controls the power to the dryer circuit. Flip the switch to the “off” position to cut off the electricity flow. Use a voltage tester to confirm that the power is indeed off before proceeding.
- Wear protective gear: Safety should always be a priority, so it’s essential to wear the appropriate protective gear. Put on safety goggles and gloves to safeguard yourself against potential hazards.
- Work in a well-lit area: Ensure that you have adequate lighting in the area where you will be working. Good visibility will prevent accidents and allow you to perform the task more accurately.
- Clear the surrounding area: Remove any clutter or objects that may hinder your movement or cause you to trip. A clear workspace will help minimize accidents.
- Stay focused and avoid distractions: Concentrate solely on the task at hand to avoid mistakes or accidents. Turn off any potential distractions, such as radios or televisions, to ensure that your full attention is on the job.
- Seek professional help if uncertain: If you’re unsure about any aspect of the wiring process, it’s best to consult a professional electrician. They have the expertise to handle the job safely and efficiently.
By adhering to these safety precautions, you reduce the risk of electrocution and create a secure work environment. Once you have taken all the necessary safety measures, you can proceed to the next step: turning off power to the dryer circuit.
Step 2: Turn Off Power to the Dryer Circuit
Before you begin working on wiring a dryer plug, it’s essential to cut off the power supply to the dryer circuit. Follow these steps to safely turn off the power:
- Locate the circuit breaker panel in your home. It is typically located in the basement, garage, or utility room. Open the panel door to access the circuit breakers.
- Locate the breaker switch that controls the power to the dryer circuit. The breakers are usually labeled, but if not, refer to the electrical panel diagram to identify the correct one.
- Switch off the breaker by flipping it to the “off” position. You should hear a clicking sound as the breaker disconnects the power flow. Confirm that the power is off by using a voltage tester to check the outlet where the dryer was plugged in.
- If there are other breakers nearby that need to remain on, it’s a good idea to place a “do not touch” sign on the breaker you turned off to prevent anyone from accidentally switching it back on while you’re working.
By turning off the power to the dryer circuit, you eliminate the risk of electric shock while working on the wiring. Remember, always double-check with a voltage tester to ensure the power is off before proceeding to the next step.
With the power switched off, you can now move on to the next step: removing the old dryer plug.
Step 3: Remove the Old Dryer Plug
With the power to the dryer circuit turned off, you can safely remove the old dryer plug. Follow these steps to complete this task:
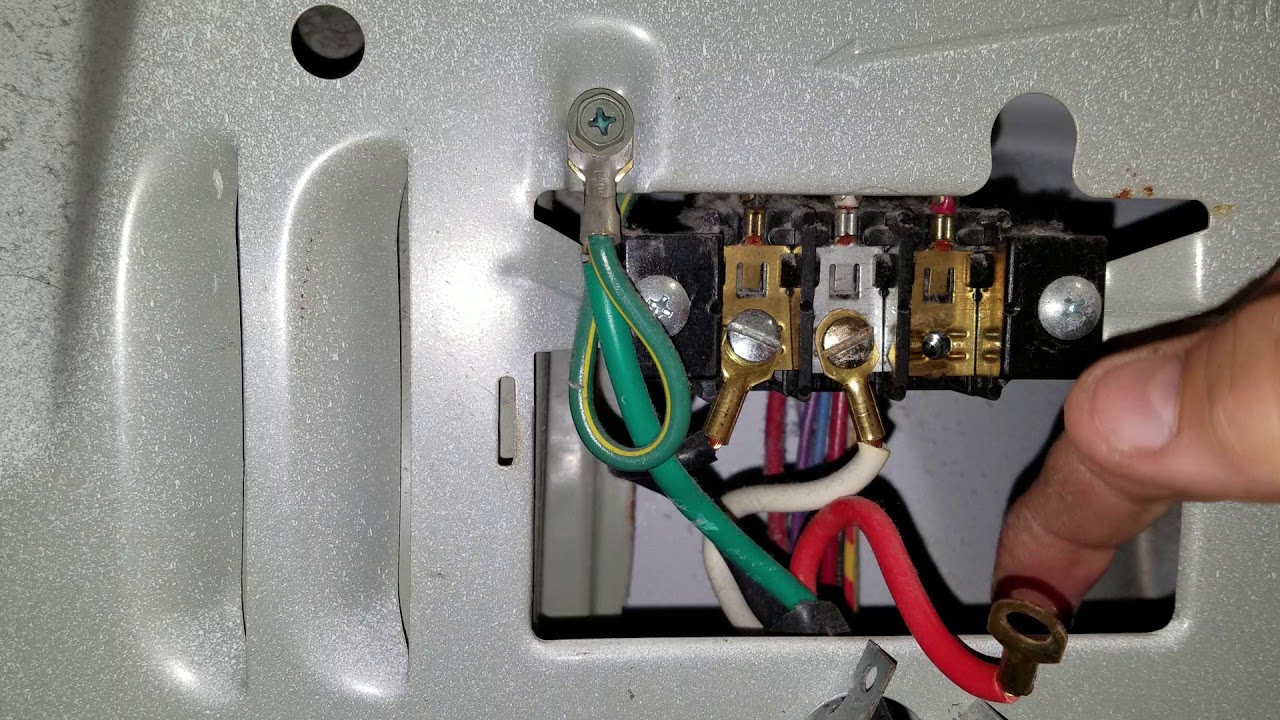
- Locate the old dryer plug at the back of the dryer. It will typically be near the bottom, where the power cord connects to the appliance.
- Using a flathead screwdriver, carefully unscrew the screws that secure the dryer plug to the back of the dryer. Set the screws aside for later use.
- Gently pull the old dryer plug away from the back of the dryer, exposing the wires connected to it. Take note of how the wires are connected for reference during the installation of the new plug.
- If there is any electrical tape or wire nuts securing the wires to the old plug, carefully remove them. Be cautious not to damage the wires in the process.
- Once the wires are free from the old plug, set the plug aside. You won’t be reusing it.
After successfully removing the old dryer plug, you’re now ready to prepare the wires for connection. This step is crucial in ensuring a proper and secure connection. Let’s move on to step 4!
Read more: How To Wire A Range Hood To A Plug
Step 4: Prepare the Wires for Connection
Now that you have removed the old dryer plug, it’s time to prepare the wires for connection to the new plug. Follow these steps to complete this task:
- Inspect the wires: Take a close look at the wires that were connected to the old plug. Check for any signs of damage or fraying. If you notice any issues, it’s important to replace the damaged wires before proceeding.
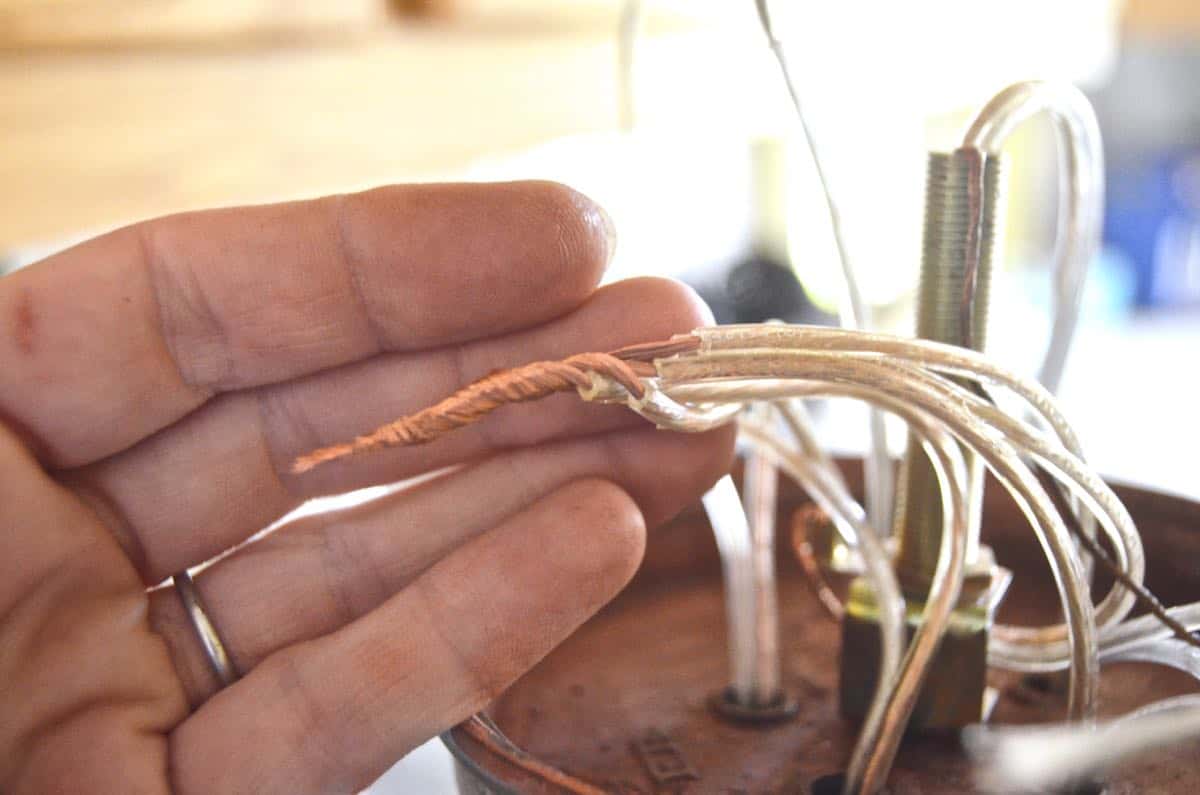
- Strip the wire ends: Using a pair of wire strippers, strip approximately 1 inch of insulation from the wire ends. This will expose the bare copper wire for proper connection to the new dryer plug.
- Twist the strands: After stripping the wire ends, twist the individual strands of each wire tightly together. This will ensure a secure connection and prevent any loose wires.
- If your new dryer plug has screws for connection, twist the end of each wire into a tight loop. This will make it easier to attach the wires to the screws securely. If the new plug uses wire nuts, proceed to the next step.
- Secure the wires with wire nuts: If your new dryer plug uses wire nuts for connection, place the exposed wire ends of each corresponding color together (typically black to black, white to white, and green or bare copper to green or bare copper). Twist a wire nut clockwise onto each pair of wires, ensuring a tight and secure connection.
By properly preparing the wires, you ensure a solid and reliable connection to the new dryer plug. With the wires ready, you can move on to the next step: connecting the wires to the dryer plug itself.
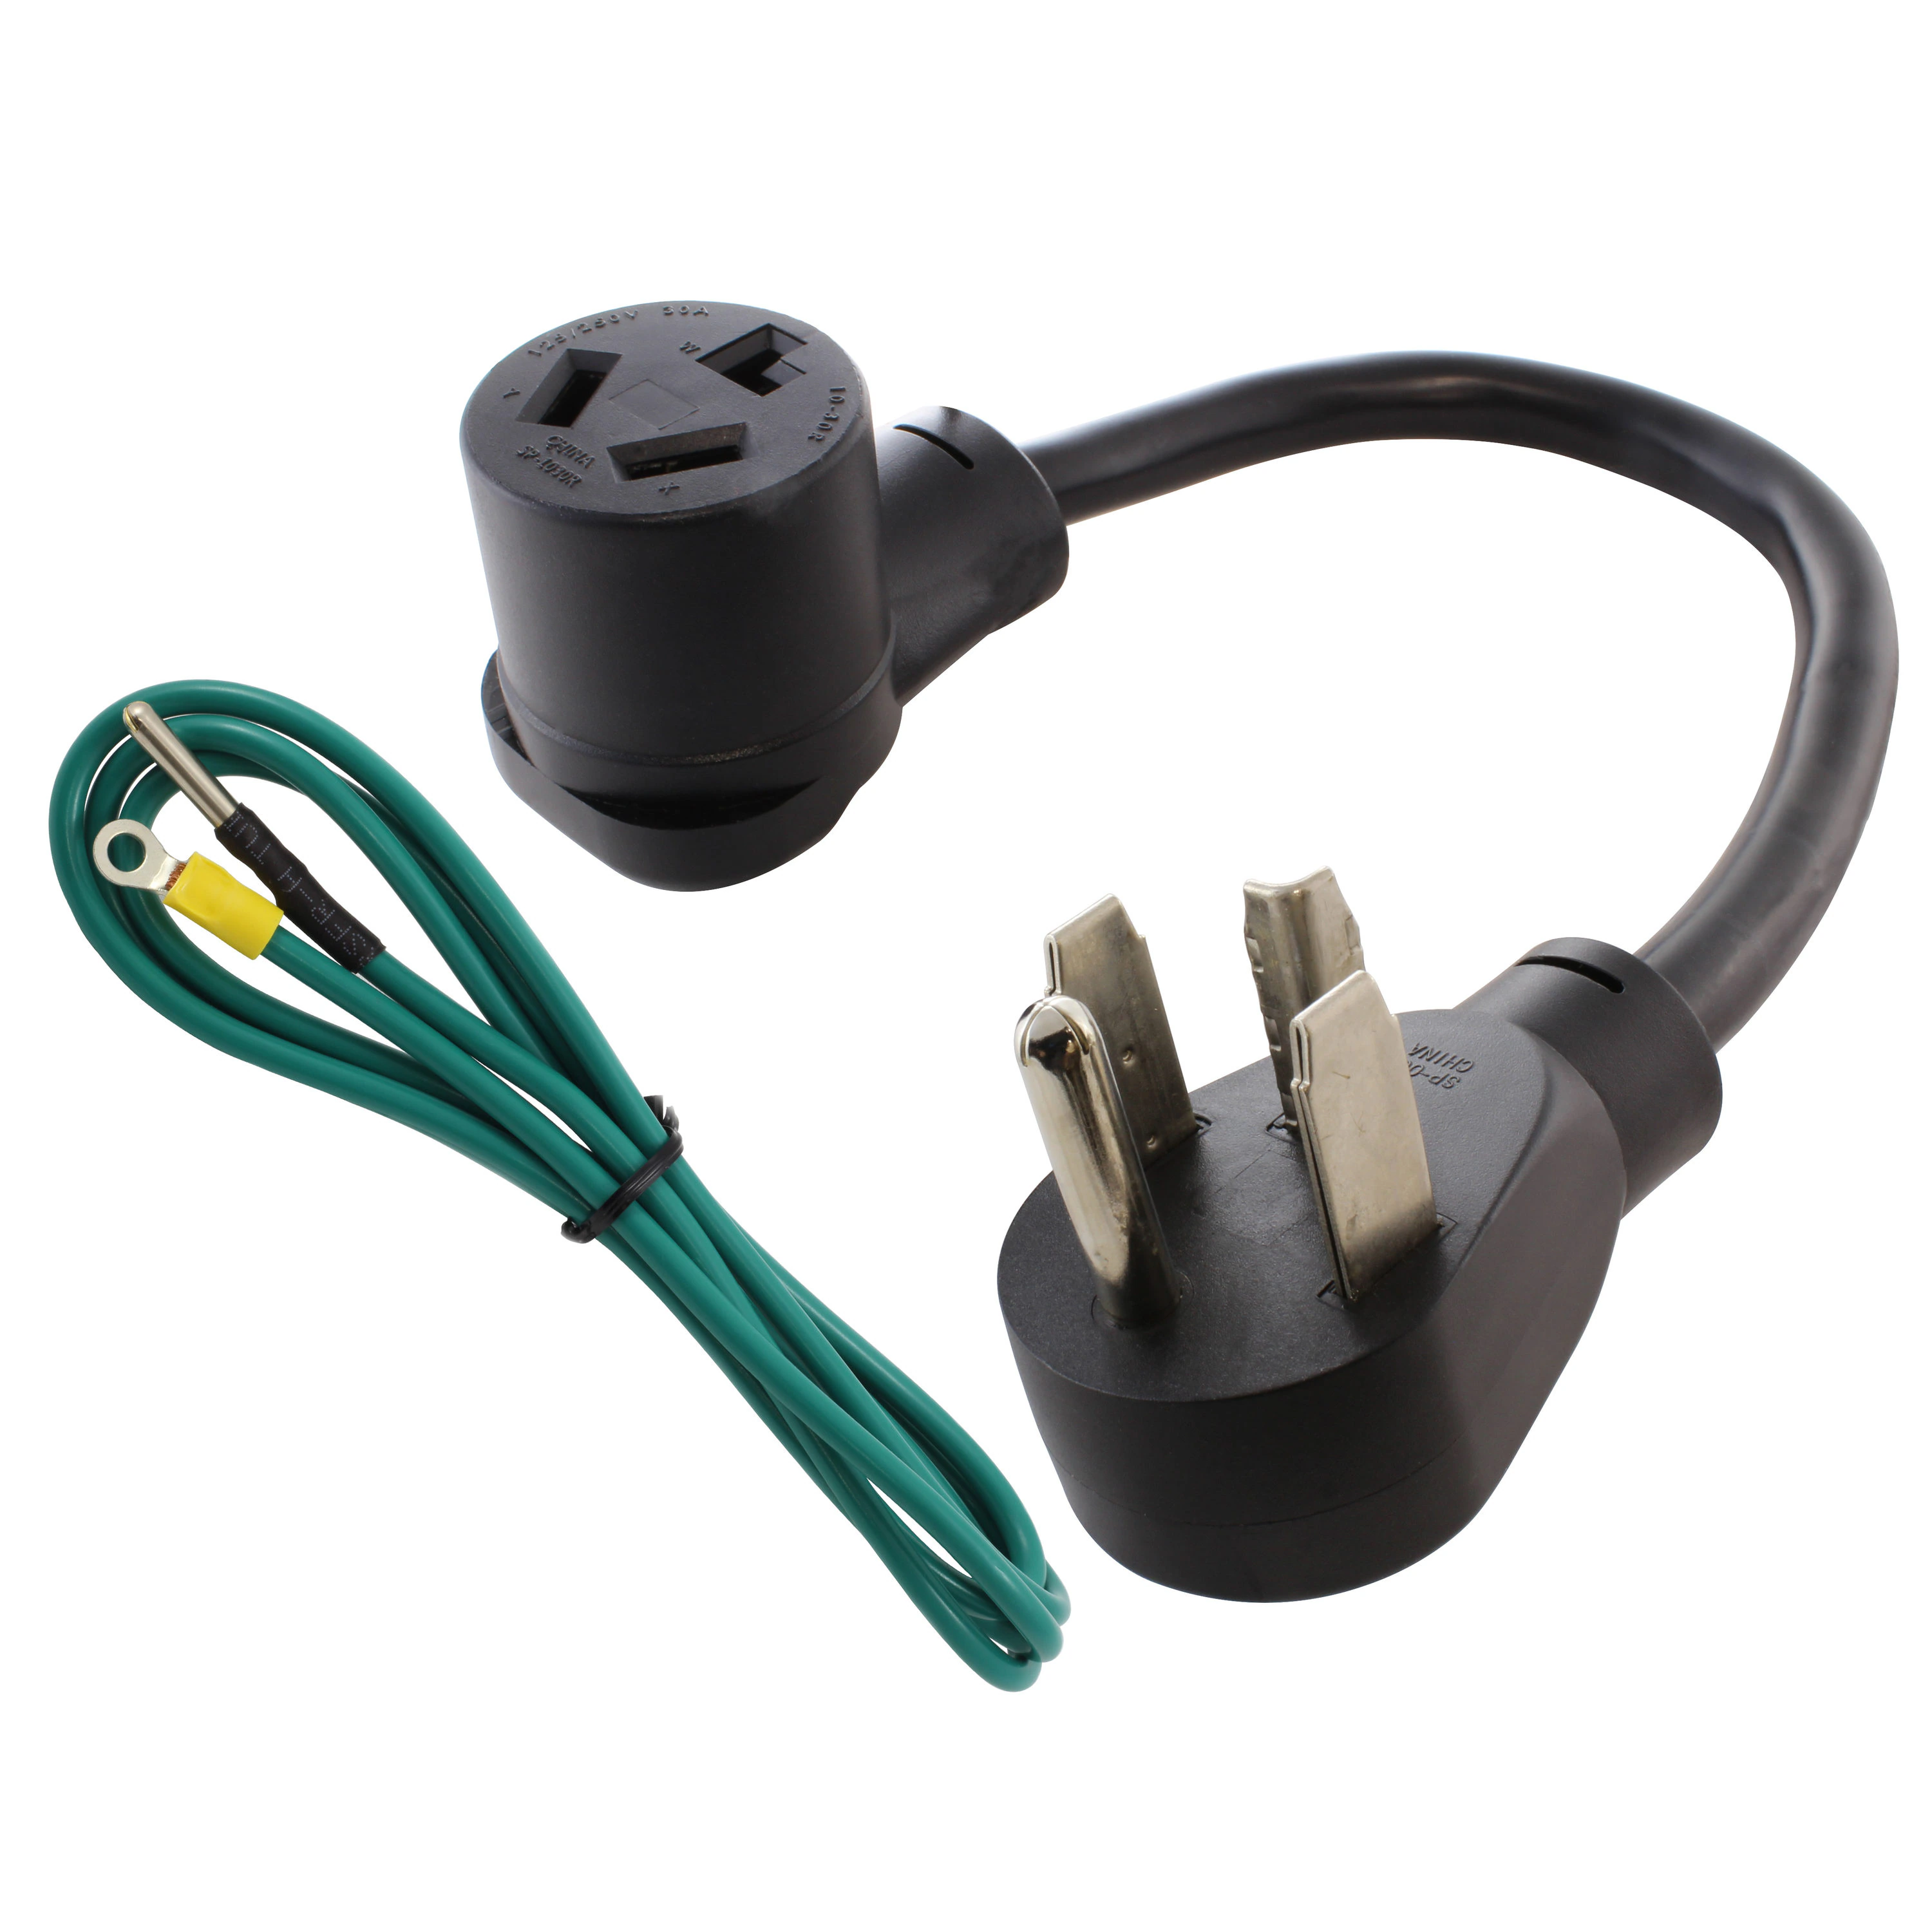
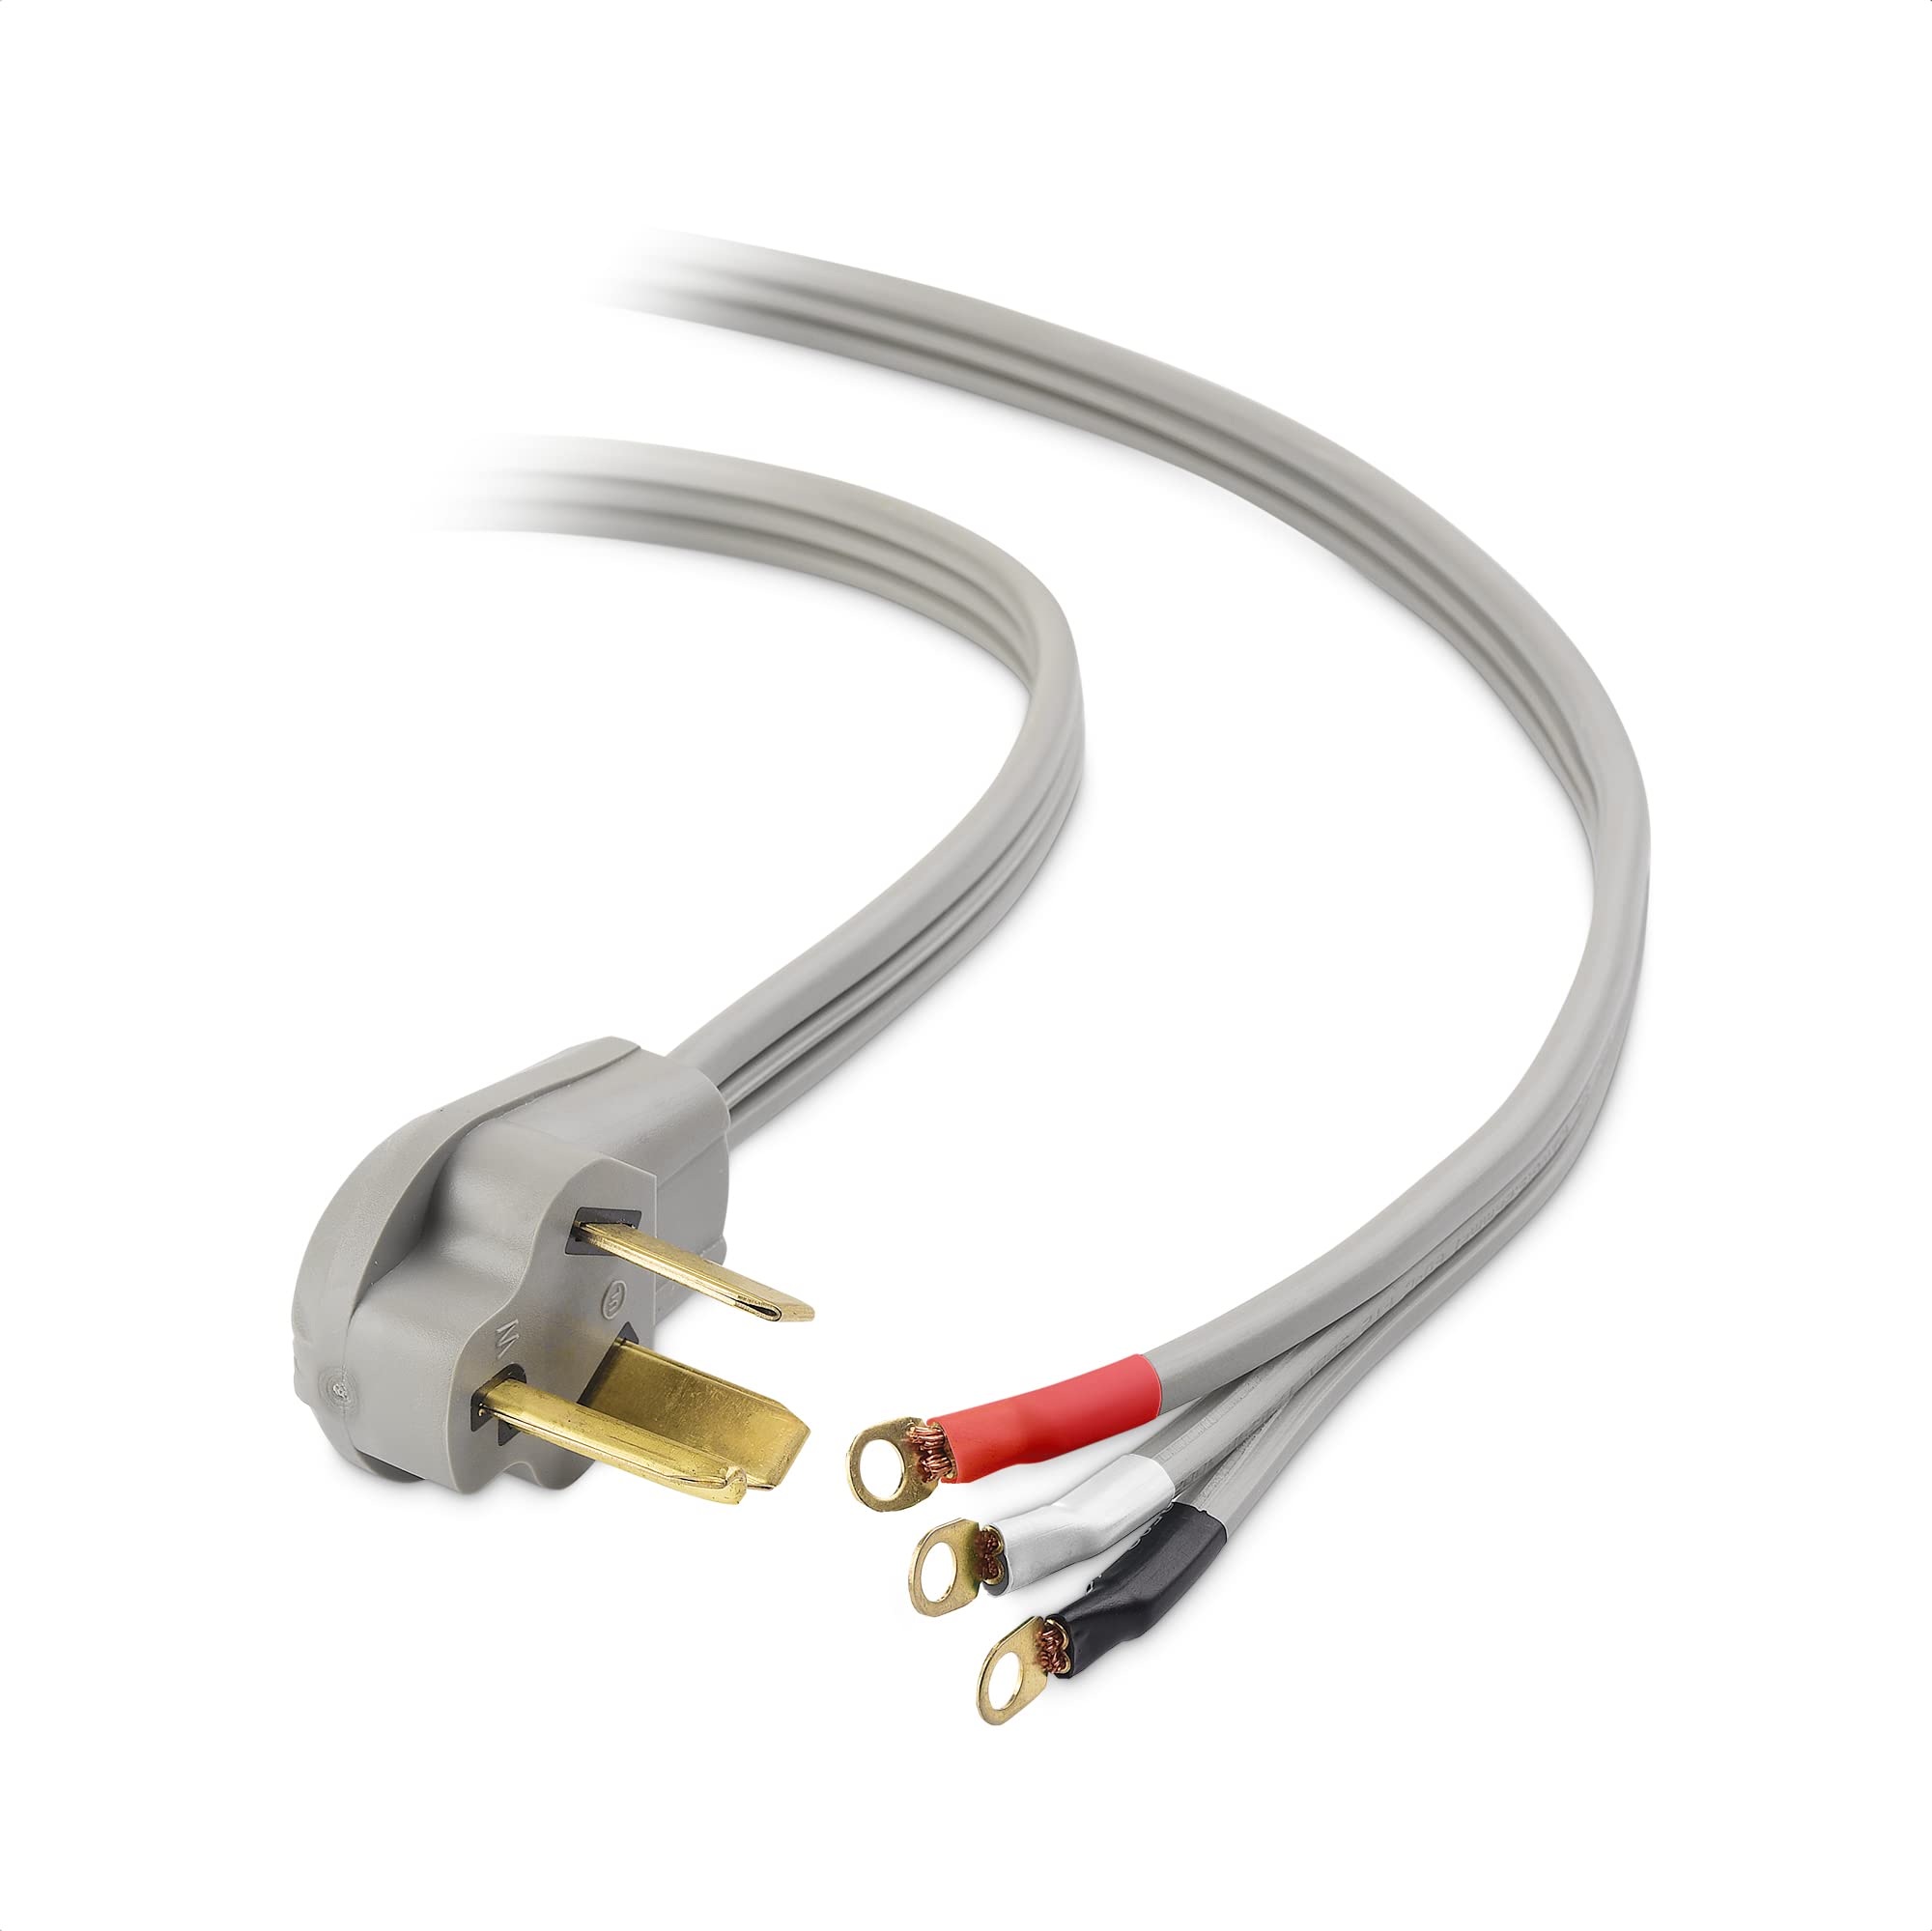
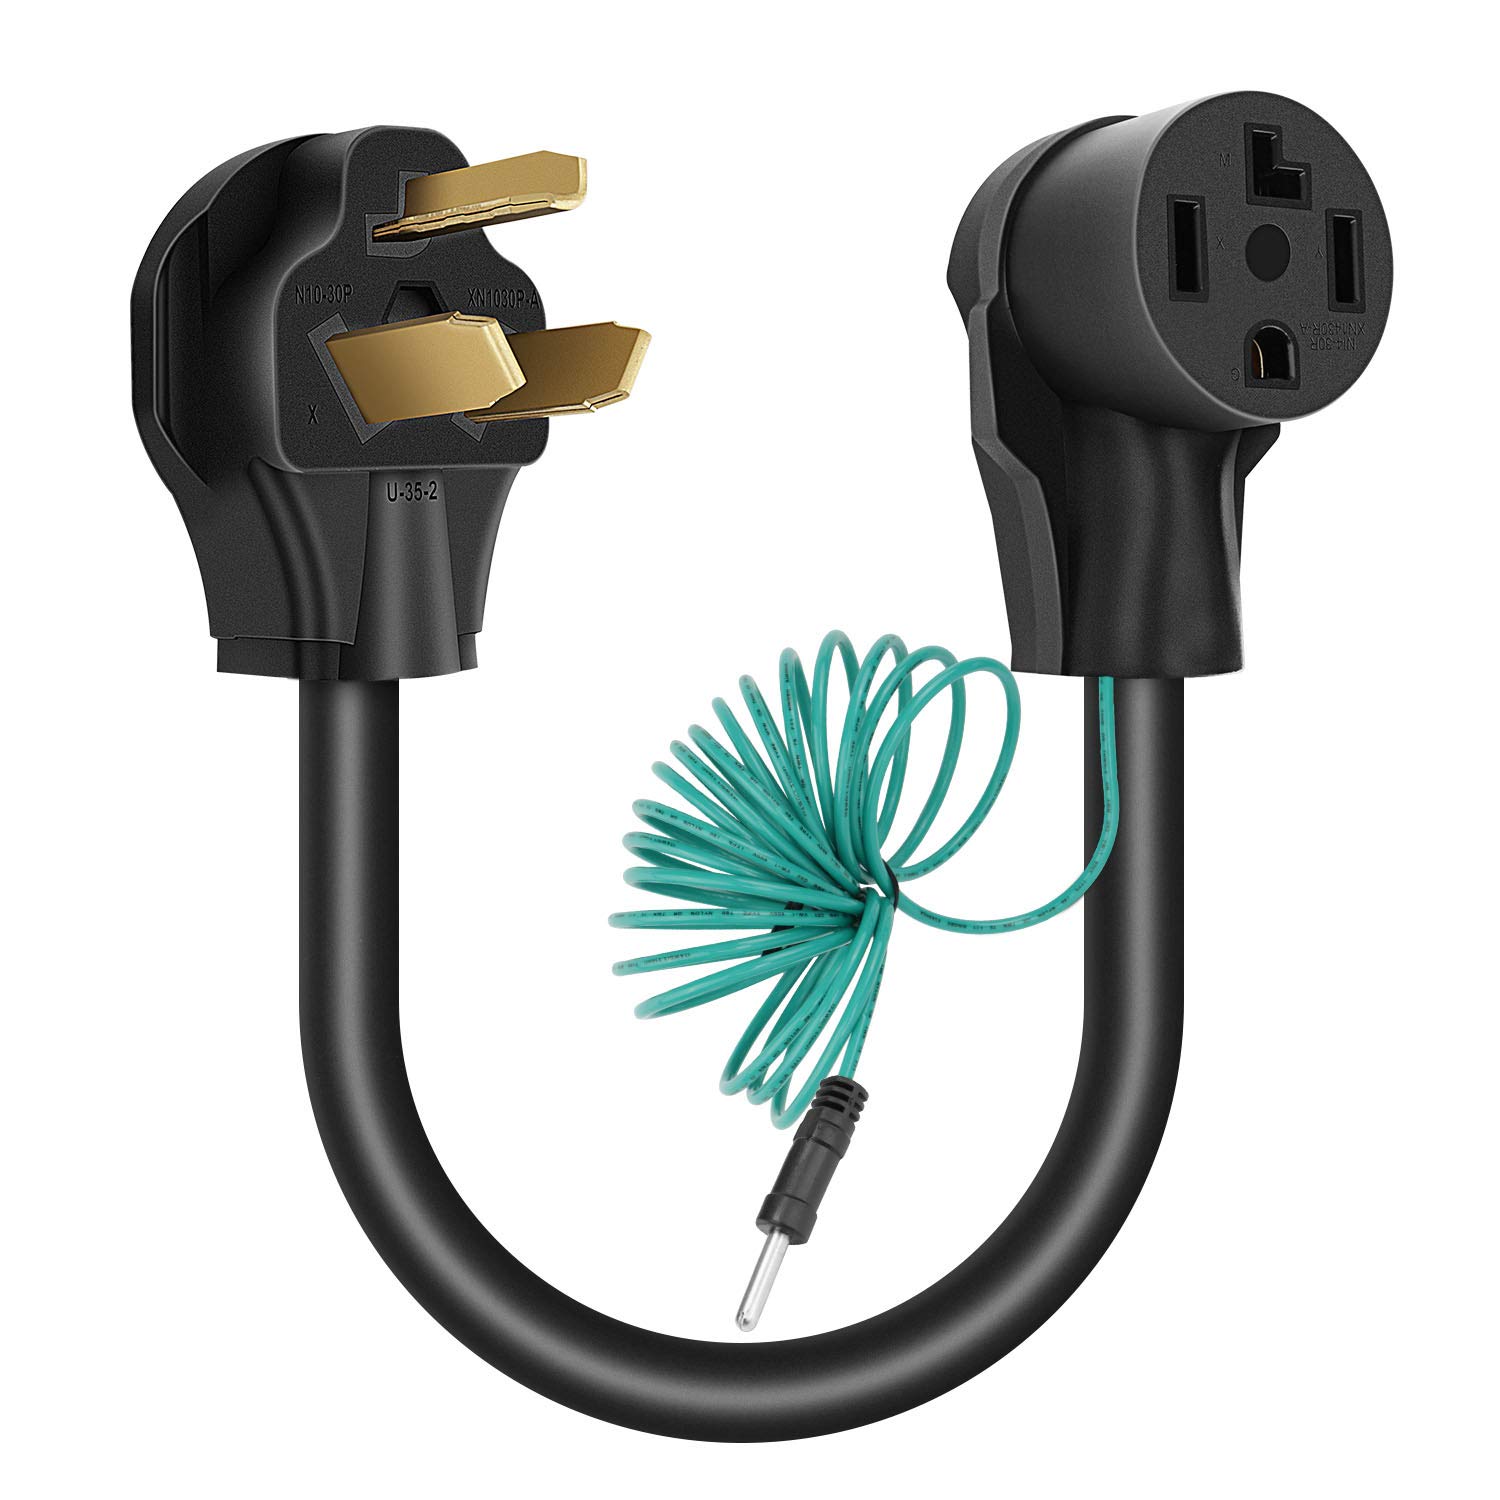
When wiring a dryer plug, make sure to use a 4-prong plug for newer dryers and a 3-prong plug for older models. Follow the manufacturer’s instructions and ensure the wires are securely connected to the correct terminals. Always turn off the power before starting the wiring process.
Step 5: Connect the Wires to the Dryer Plug
Now that you have prepared the wires, it’s time to connect them to the new dryer plug. Follow these steps to complete this task:
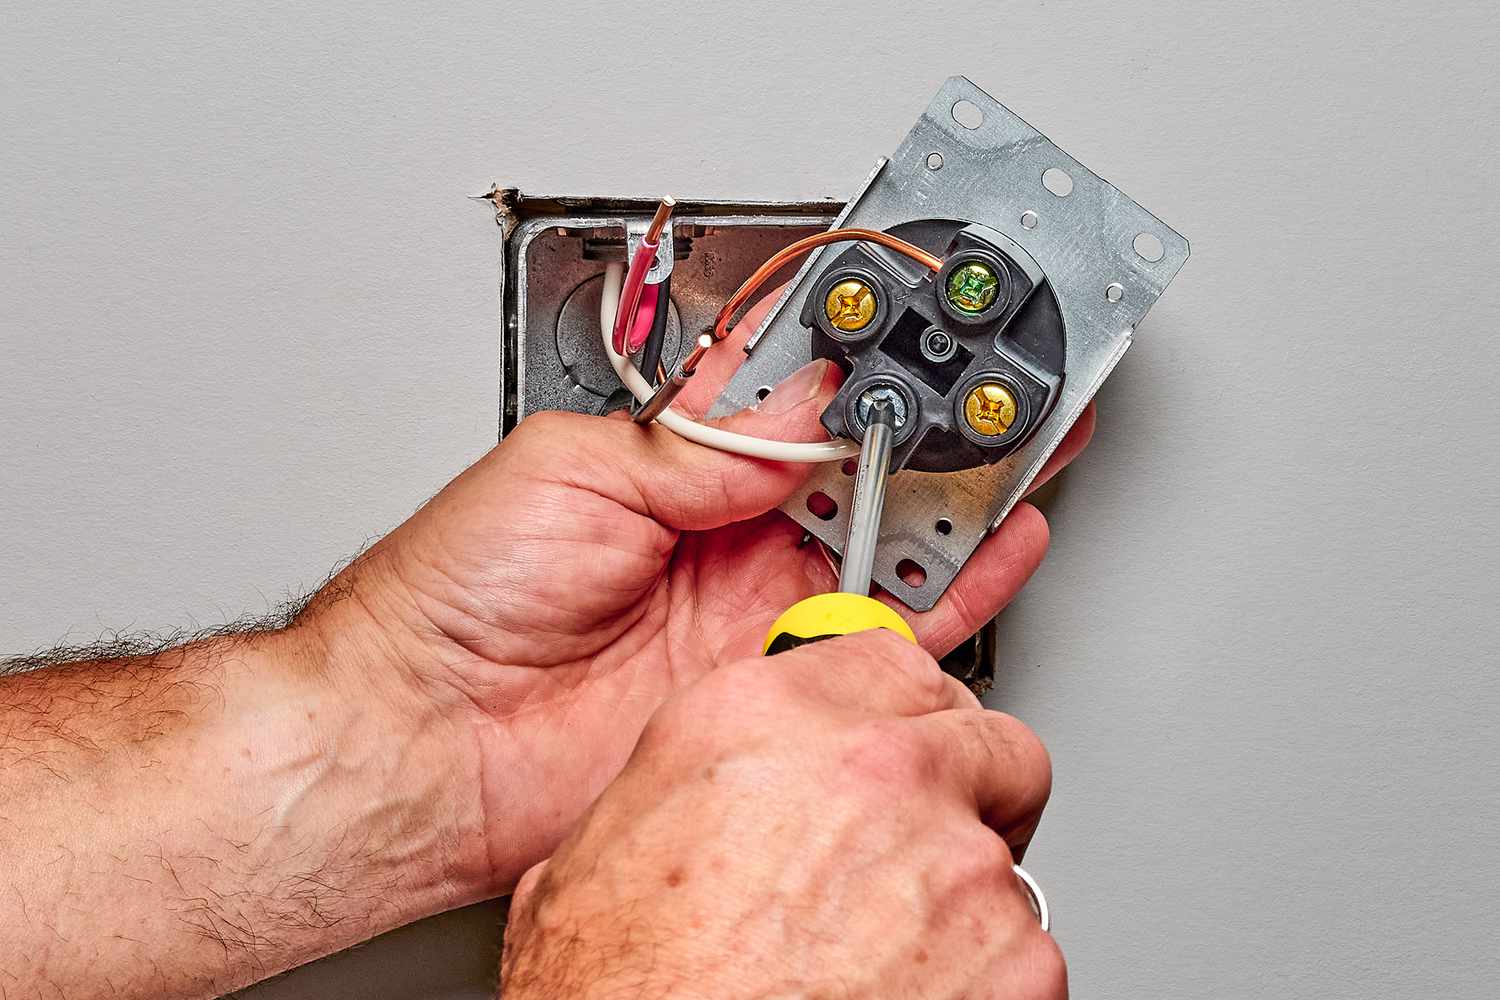
- Identify the terminal screws or slots on the new dryer plug: Different dryer plugs may have varying designs, but most will have clear labeling indicating the connection points. Typically, there will be screws or slots for the three wire colors: black, white, and green or bare copper.
- If your new dryer plug has screws for connection, refer to the wire color codes and connect the wires accordingly. Black wires connect to the brass or gold-colored screw, white wires connect to the silver-colored screw, and green or bare copper wires connect to the green screw or grounding slot.
- If your new dryer plug has slots for connection, simply insert the stripped wire ends into the appropriate slots. Refer to the wire color codes to ensure the correct placement. You may need to use a small flathead screwdriver to press down on the release tab while inserting the wire.
- Once the wires are connected to the dryer plug, tighten the terminal screws securely. If you are using slots for connection, gently tug on each wire to ensure they are firmly inserted.
It’s important to make sure the connections are secure to prevent any loose wires or potential electrical hazards. Take a moment to verify that each wire is correctly connected to the corresponding terminal on the new dryer plug. If everything looks in order, you can move on to the next step: insulating the connections.
Step 6: Insulate the Connections
After successfully connecting the wires to the new dryer plug, it’s crucial to insulate the connections to ensure safety and prevent any electrical mishaps. Follow these steps to properly insulate the connections:
- Inspect the connections: Take a close look at the connections you have made between the wires and the dryer plug. Ensure that there is no bare wire exposed or any signs of fraying.
- If there are any bare wire sections, trim them and strip a small amount of insulation to expose fresh copper wire.
- Wrap each connection with electrical tape: Starting from the base of the dryer plug where the wires meet the terminals, wrap each connection tightly with electrical tape. Begin a few inches away from the connection and continue wrapping a few inches past the point of connection to provide ample coverage.
- Ensure all wires are individually wrapped: Make sure that each wire and connection is individually wrapped with electrical tape. Avoid overlapping the tape on different wires to prevent short circuits.
- Tug on the electrical tape: After wrapping the connections, gently tug on the electrical tape to ensure it is secure and there are no loose ends.
The insulation provided by electrical tape helps to protect the connections from any accidental contact, ensuring that the electrical current flows safely. Inspecting and insulating the connections is an important step in the installation process, and it brings us closer to completing the task. Let’s move on to step 7: reinstalling the dryer plug.
Step 7: Reinstall the Dryer Plug
With the connections insulated, it’s time to reinstall the new dryer plug. Follow these steps to complete this task:
- Position the new dryer plug near the opening on the back of the dryer.
- Align the plug with the screw holes on the dryer and gently push it into place.
- Using the screws you set aside earlier, secure the new dryer plug to the back of the dryer. Tighten the screws firmly, but be cautious not to overtighten and damage the plug or the dryer.
Make sure the plug is securely attached to the dryer, ensuring stability and a proper connection. Double-check that the wires are still properly connected to the corresponding terminals or slots on the plug.
With the new dryer plug successfully installed, you’re almost done! But before testing the connection, there’s one more important step to complete: testing the connection.
-
Read also: 15 Best Electrical Wire Plug for 2025
Step 8: Test the Connection
With the dryer plugged in and the power to the dryer circuit switched back on, it’s time to test the connection. Follow these steps to ensure everything is working correctly:
- Turn on the dryer and check if it powers up and operates as expected.
- Verify that the control panel and display are functioning properly.
- Run a short drying cycle to confirm that the dryer is heating and drying clothes effectively.
If everything is working as it should, congratulations! You have successfully wired and installed a new dryer plug. If any issues arise or the dryer does not function properly, double-check the connections and consult a professional electrician if necessary.
By following these steps, you have safely and effectively wired a new dryer plug. Remember, if you ever have doubts or concerns about electricity or wiring, it’s best to seek the assistance of a qualified professional.
With this project completed, you can now enjoy the convenience of a properly functioning dryer!
Step 8: Test the Connection
With the dryer plugged in and the power to the dryer circuit switched back on, it’s important to test the connection to ensure everything is working properly. Follow these steps to perform a thorough test:
- Turn on the dryer: Set the dryer to a short, timed drying cycle and turn it on. This will allow you to check if the dryer powers up and operates as expected.
- Verify control panel functions: Take a look at the control panel and display on the dryer. Ensure that all buttons and features are working properly. Check that the display shows the correct settings and that you can adjust them accordingly.
- Inspect for heating: During the drying cycle, pay attention to see if the dryer heats up. You can do this by feeling the air that vents from the dryer or placing a small load of damp laundry inside to check if it begins to dry.
- Monitor the drying process: Allow the dryer to run through a full drying cycle while monitoring its performance. Check for any unusual noises, vibrations, or other issues that may indicate a problem.
If everything is functioning as it should during the test, congratulations! You have successfully wired and installed a new dryer plug. Your dryer is now ready to be used for efficient and effective drying of your laundry.
However, if you encounter any problems or the dryer does not operate as expected, it’s important to troubleshoot the issue. Double-check the connections to ensure they are secure and properly aligned. Consult the dryer’s manual for troubleshooting guidance, or consider contacting a professional electrician or the manufacturer for further assistance.
With the connection successfully tested, you can have peace of mind that your appliance is safely and correctly wired. Enjoy the convenience of a functional dryer and the confidence of a job well done!
That concludes the step-by-step guide for wiring a dryer plug. By following these instructions, you have completed a task that will enhance the functionality and efficiency of your dryer. Remember, it’s always important to prioritize safety and consult professional help if needed.
Conclusion
Wiring a dryer plug may seem like a daunting task, but with the right tools, knowledge, and precautions, it can be successfully accomplished. By following the steps outlined in this guide, you can safely and effectively wire a new dryer plug.
Throughout the process, we emphasized the importance of safety. Always remember to turn off the power to the dryer circuit before starting any work and wear appropriate protective gear. If you have any doubts about your abilities or encounter any issues, it’s best to consult a professional electrician.
From gathering the necessary tools and materials to removing the old dryer plug, preparing the wires, and connecting them to the new plug, each step plays a vital role in ensuring a secure and functional connection. Insulating the connections and properly reinstalling the dryer plug are important final touches before testing the connection.
Speaking of testing, don’t forget to thoroughly test the connection once everything is installed. Check if the dryer powers up, verify the control panel functions, and ensure that the dryer heats up and performs well during a drying cycle.
By successfully wiring a new dryer plug, you will enjoy the benefits of a properly functioning dryer, ensuring efficient and effective drying of your laundry. However, always remain vigilant and aware of any potential issues that may arise. Troubleshoot any problems and seek professional assistance if needed.
Remember, this guide serves as a general overview and may not cover all the specific details you may encounter in your particular situation. Always refer to your dryer’s manufacturer specifications and consult professional electricians when necessary.
With this guide, you have gained the knowledge and confidence to safely and correctly wire a dryer plug. Enjoy the convenience and peace of mind that comes with a job well done!
Frequently Asked Questions about How To Wire A Dryer Plug
Was this page helpful?
At Storables.com, we guarantee accurate and reliable information. Our content, validated by Expert Board Contributors, is crafted following stringent Editorial Policies. We're committed to providing you with well-researched, expert-backed insights for all your informational needs.


0 thoughts on “How To Wire A Dryer Plug”