Articles
How To Wire An Extension Cord Plug
Modified: August 27, 2024
Learn how to wire an extension cord plug with our informative articles. Get step-by-step instructions and safety tips to ensure a proper connection.
(Many of the links in this article redirect to a specific reviewed product. Your purchase of these products through affiliate links helps to generate commission for Storables.com, at no extra cost. Learn more)
Introduction
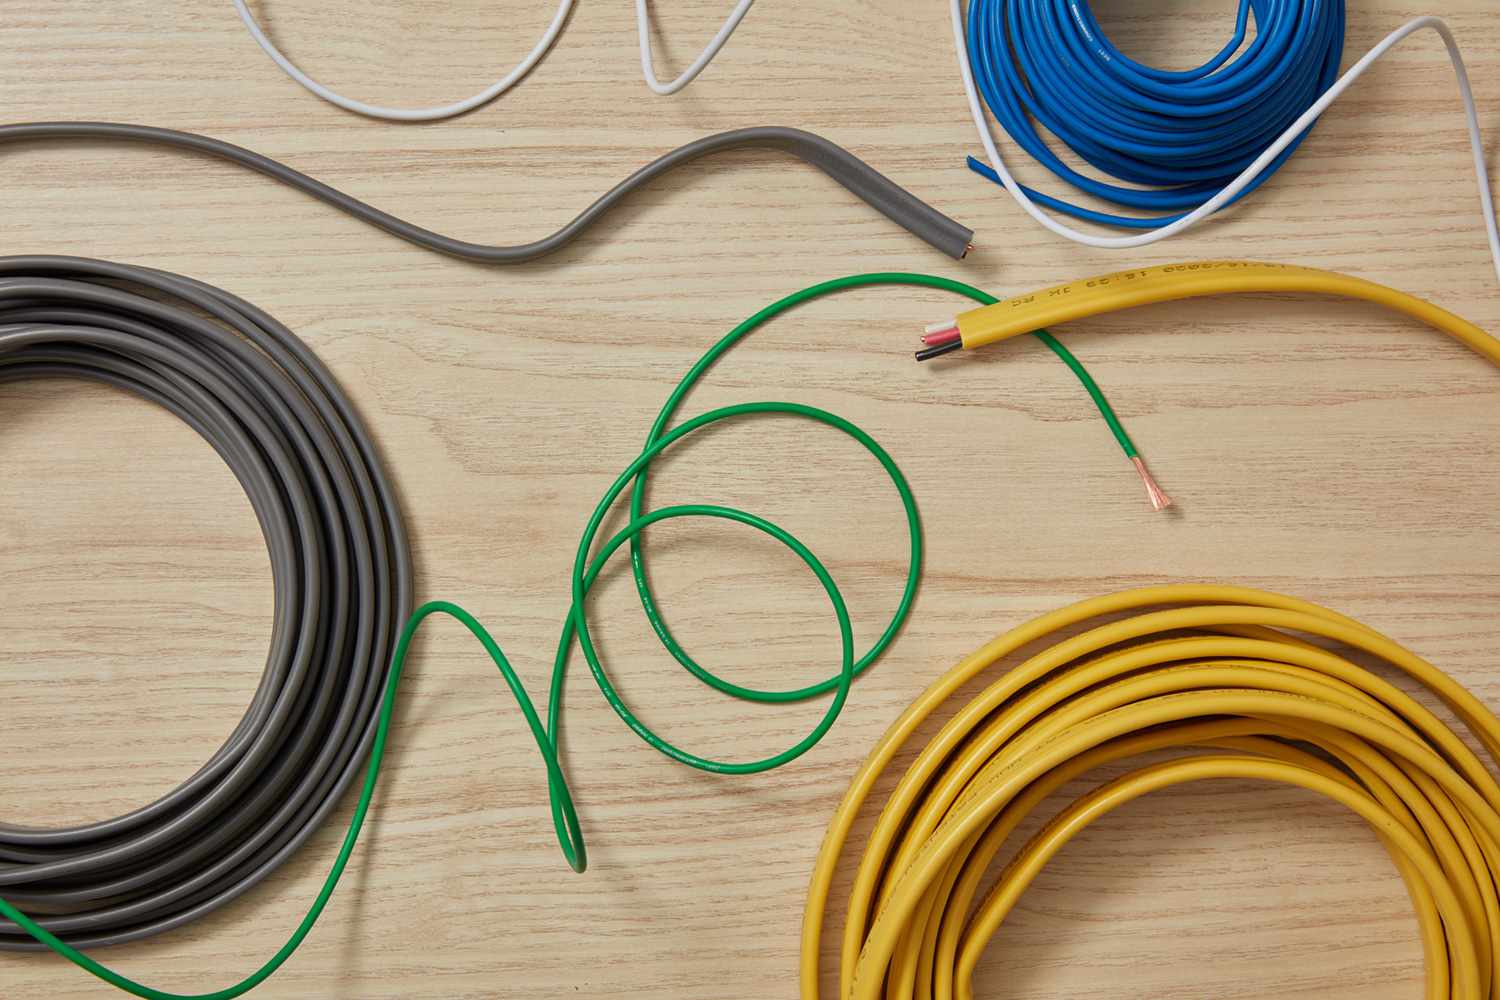
Wiring an extension cord plug may seem like a daunting task, but with the right tools and a little know-how, it can be a straightforward process. Whether you need to replace a damaged plug or customize the cord length for your specific needs, learning how to wire an extension cord plug can save you time and money.
In this guide, we will take you through the step-by-step process of wiring an extension cord plug. We will discuss the tools and materials you will need, as well as the safety precautions to keep in mind. So, let’s get started on this DIY electrical project!
Key Takeaways:
- DIY wiring an extension cord plug is manageable with the right tools and materials. Prioritize safety, choose the correct plug, and follow step-by-step instructions for a customized and reliable power solution.
- Testing the connection is crucial for safety. Ensure proper power flow, secure wire connections, and functional devices before using the newly wired extension cord.
Read more: How To Replace Plug On Extension Cord
Tools and Materials Needed
Before you begin wiring an extension cord plug, gather the following tools and materials:
- Extension cord
- Wire stripper
- Utility knife
- Wire cutters
- Wire connectors
- Electrical tape
- Marker or label maker
It is essential to have the correct tools and materials for this project to ensure a safe and successful outcome. Make sure that you have these items ready before you start working on your extension cord.
It is also important to note that the size of the wire connectors should match the gauge of the wires in your extension cord. This will ensure a secure and reliable connection.
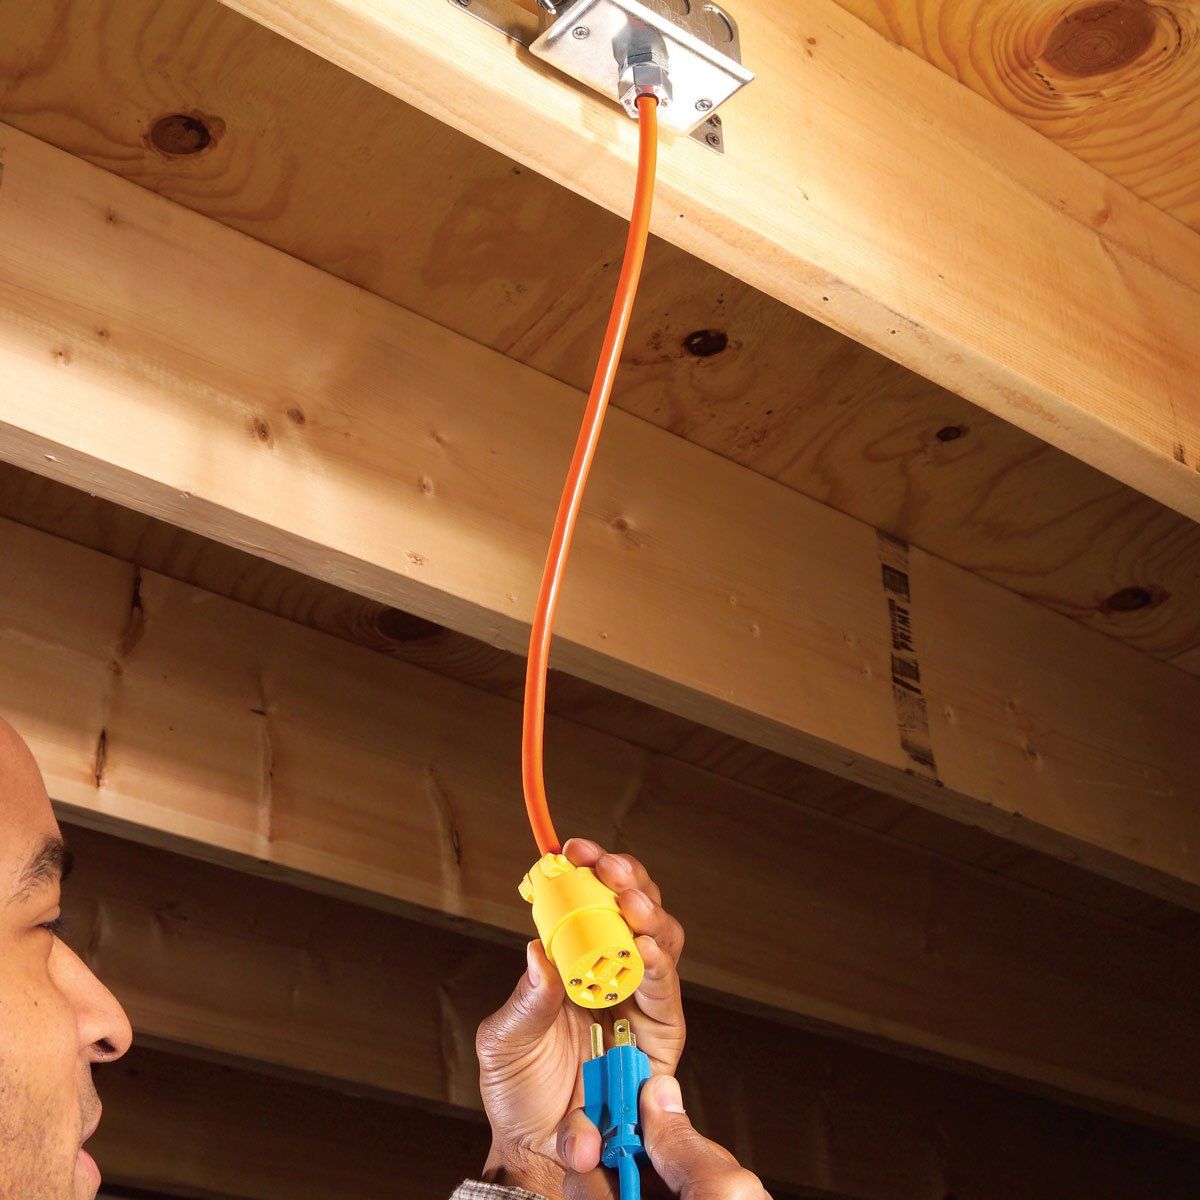
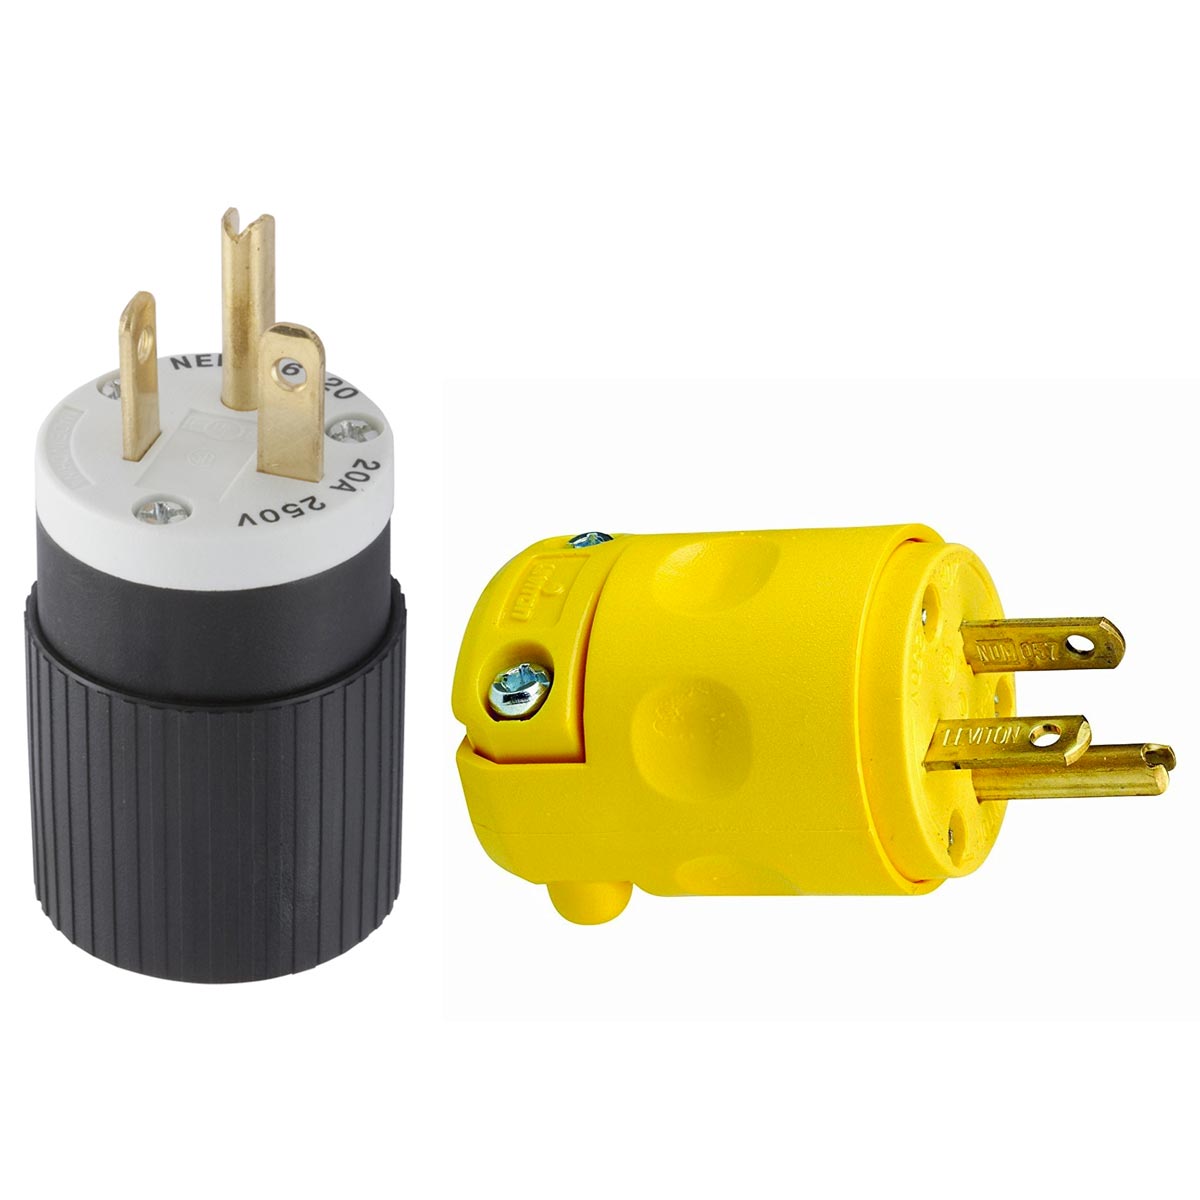
Step 1: Choosing the Right Extension Cord Plug
Before you begin wiring an extension cord plug, it is important to choose the right plug for your needs. The plug you select should match the electrical requirements of the devices you plan to connect to the extension cord.
When choosing a plug, consider the voltage and amperage rating that your devices require. The voltage rating can typically be found on the label of your devices or in the user manual. The amperage rating is usually listed on the device’s power cord or in the product specifications.
Ensure that the plug you choose can handle the electrical load of your devices. If you are unsure, it is always best to select a plug with a higher amperage rating to avoid any potential issues. It is important never to exceed the amperage rating of the plug to prevent overheating and electrical hazards.
Additionally, consider the type of plug required for your specific application. There are various types of extension cord plugs available, such as three-prong plugs, twist-lock plugs, and specialized plugs for specific devices. Make sure to choose the plug that is compatible with your devices and meets the safety requirements of your electrical system.
Once you have selected the appropriate plug, you are ready to move on to the next step: preparing the extension cord.
Step 2: Preparing the Extension Cord
After choosing the right extension cord plug, it’s time to prepare your extension cord for wiring. Here’s how to do it:
- Unplug the extension cord: Make sure the cord is not connected to any power source before you begin working on it.
- Inspect the cord for damage: Check the entire length of the cord for any signs of wear, fraying, or damage. If you notice any issues, it is best to replace the cord altogether to ensure safety during the wiring process.
- Measure and cut the cord, if necessary: If you need to shorten the length of your extension cord, carefully measure and mark the desired length using a marker or label maker. Use a utility knife to cut the cord at the marked point.
- Strip the outer insulation: Use a wire stripper to remove approximately 1-2 inches of the outer insulation from the cut end of the extension cord. Be cautious not to cut into the inner wires.
By properly preparing your extension cord, you ensure a clean and safe wiring process. Inspecting and addressing any damage beforehand helps prevent potential hazards down the line. Taking accurate measurements and cutting the cord to the desired length provides a tidy and customized result. Lastly, stripping the outer insulation exposes the inner wires and prepares the cord for the next step of wiring.
Now that your extension cord is prepared, it’s time to move on to the next step: stripping the wires.
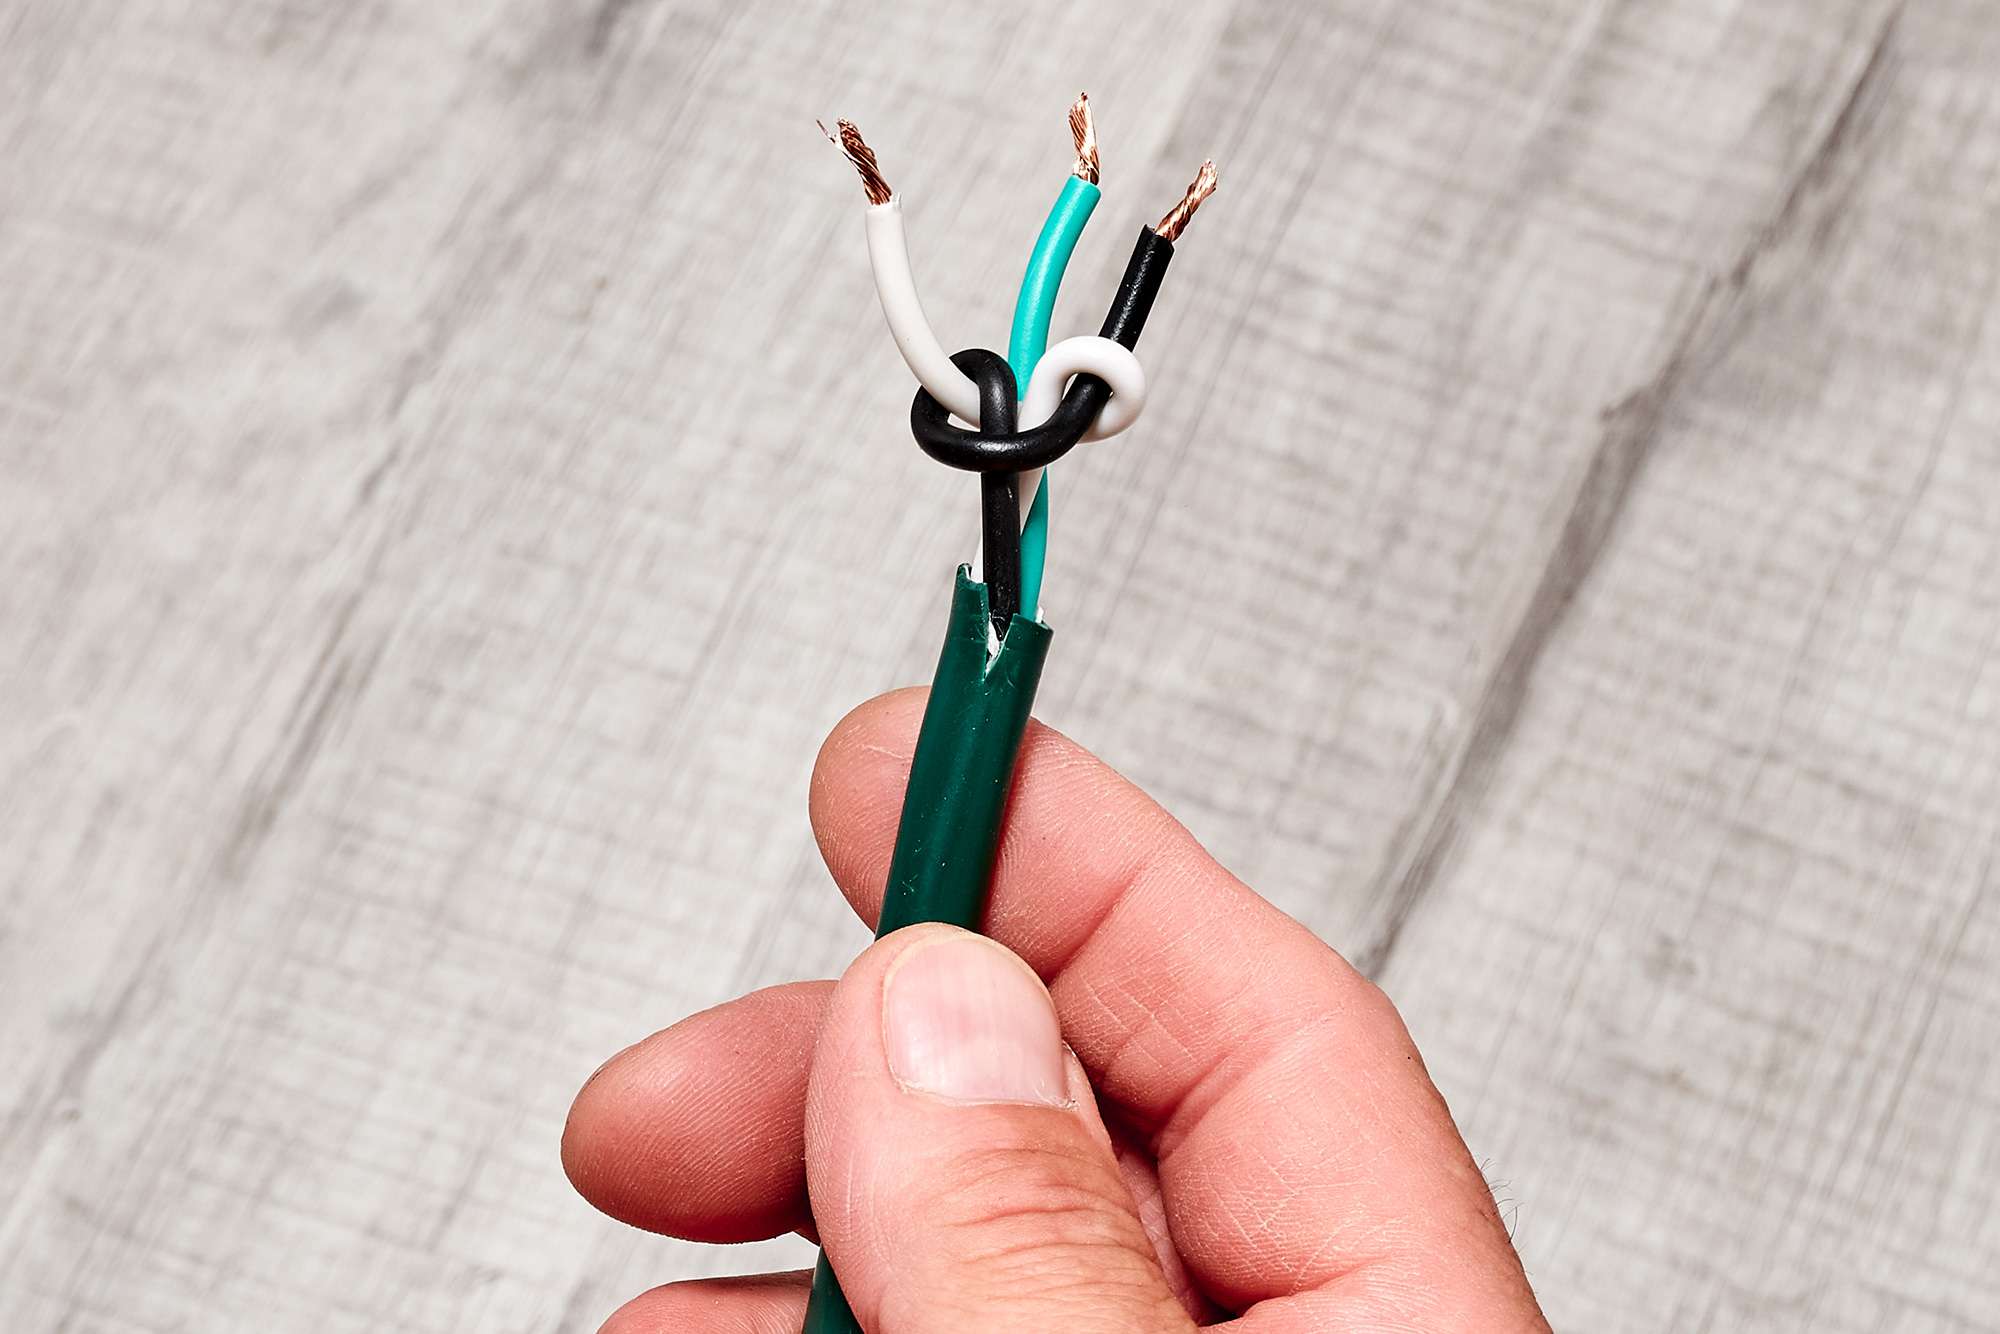
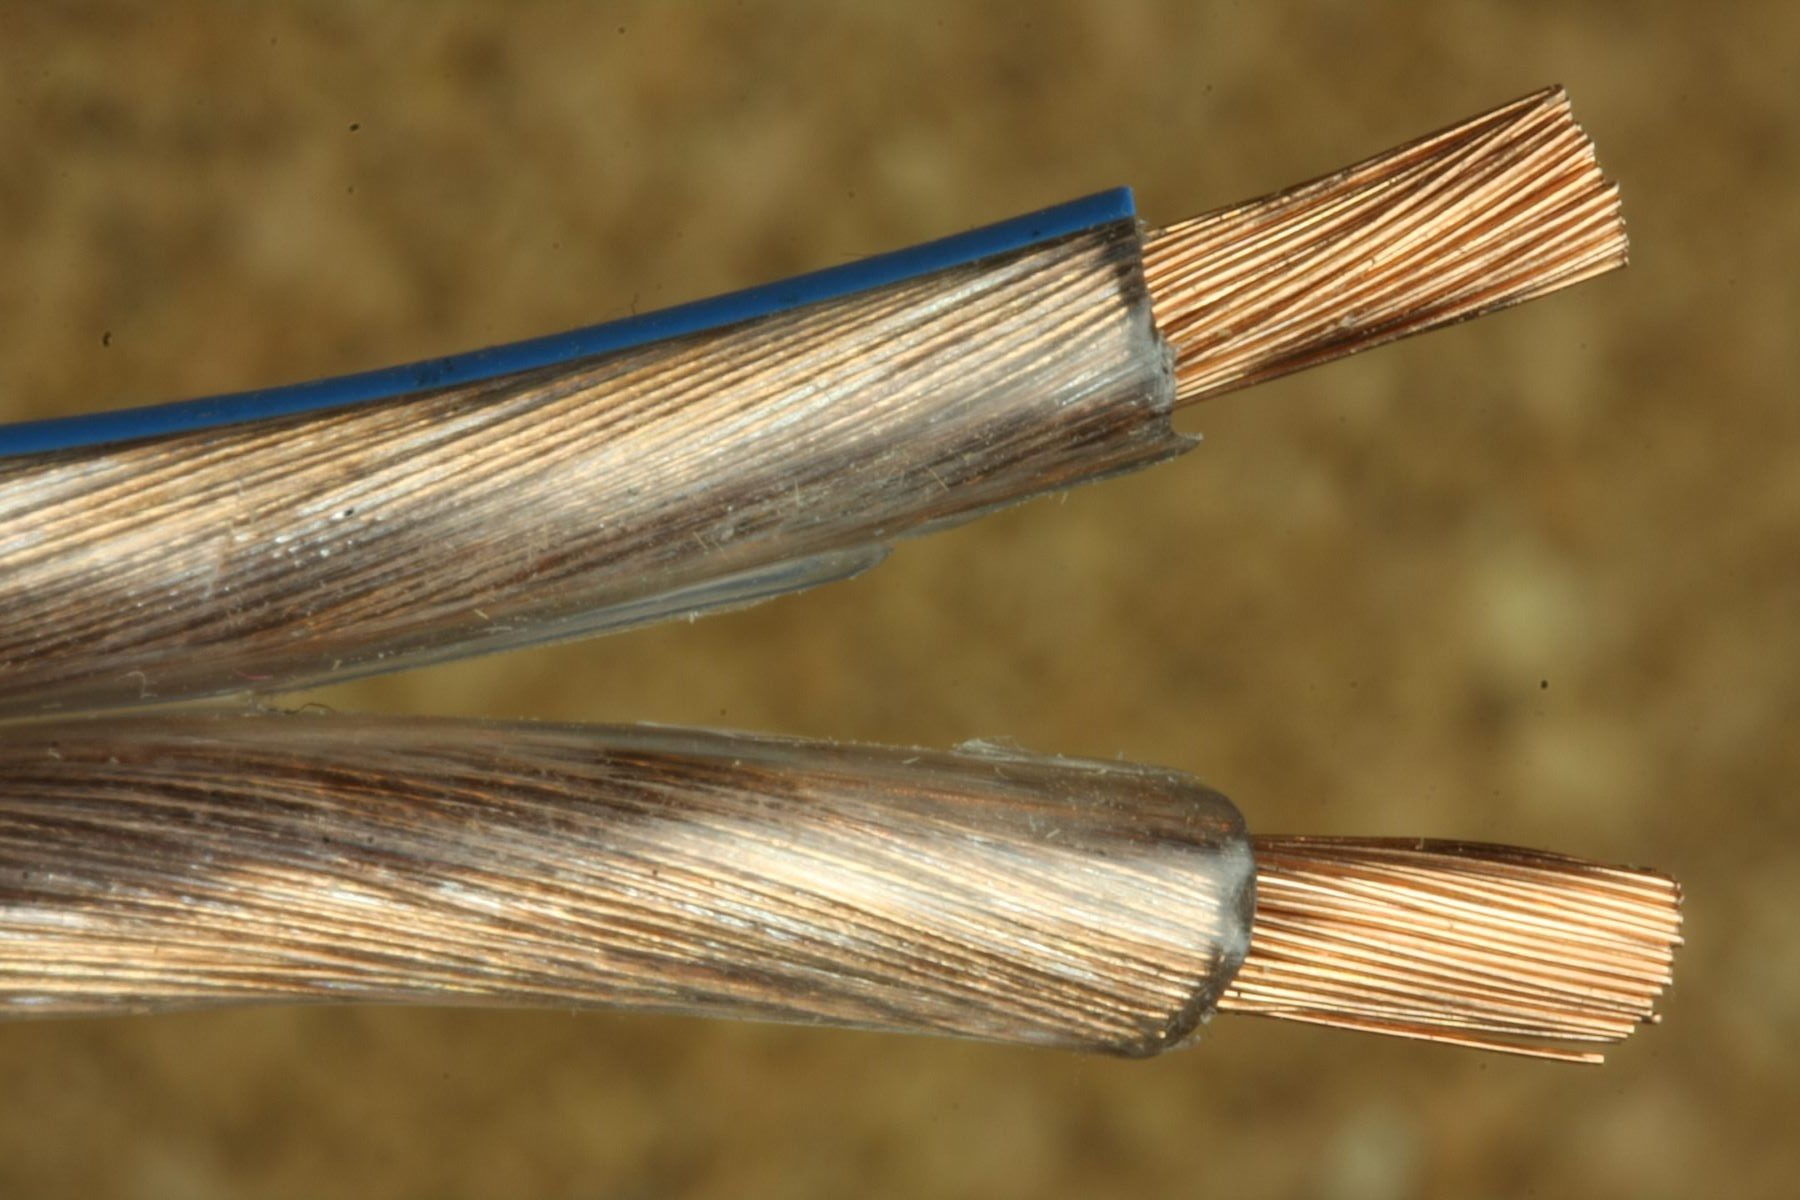
Step 3: Stripping the Wires
Once you’ve prepared your extension cord, the next step is to strip the wires. Here’s how to do it:
- Identify the wires: The extension cord will have two or three wires inside, depending on whether it is a two-prong or three-prong cord. The wires are typically color-coded: black for hot, white for neutral, and green or bare copper for ground.
- Separate the wires: Carefully separate the wires to have better access to each one. Use your fingers or wire cutters to gently untangle any twisted or overlapping wires.
- Strip the insulation: Using a wire stripper, select the appropriate gauge size for your wires and strip off approximately 1/2 inch to 3/4 inch of insulation from the end of each wire. Be careful not to damage the underlying copper strands.
When stripping the wires, ensure that the exposed copper strands are clean and intact. Trim any frayed or damaged ends to ensure a smooth and secure connection. Take extra care not to strip off too much insulation, as this can lead to exposed wires touching each other or creating an unsafe electrical connection.
Now that you have successfully stripped the wire ends, you’re ready to move on to the next step: connecting the wires to the plug.
When wiring an extension cord plug, make sure to match the wire gauge with the plug’s amperage rating. Use a wire stripper to remove the insulation, and connect the wires to the appropriate terminals (hot, neutral, ground) following the manufacturer’s instructions. Always double-check your connections before using the cord.
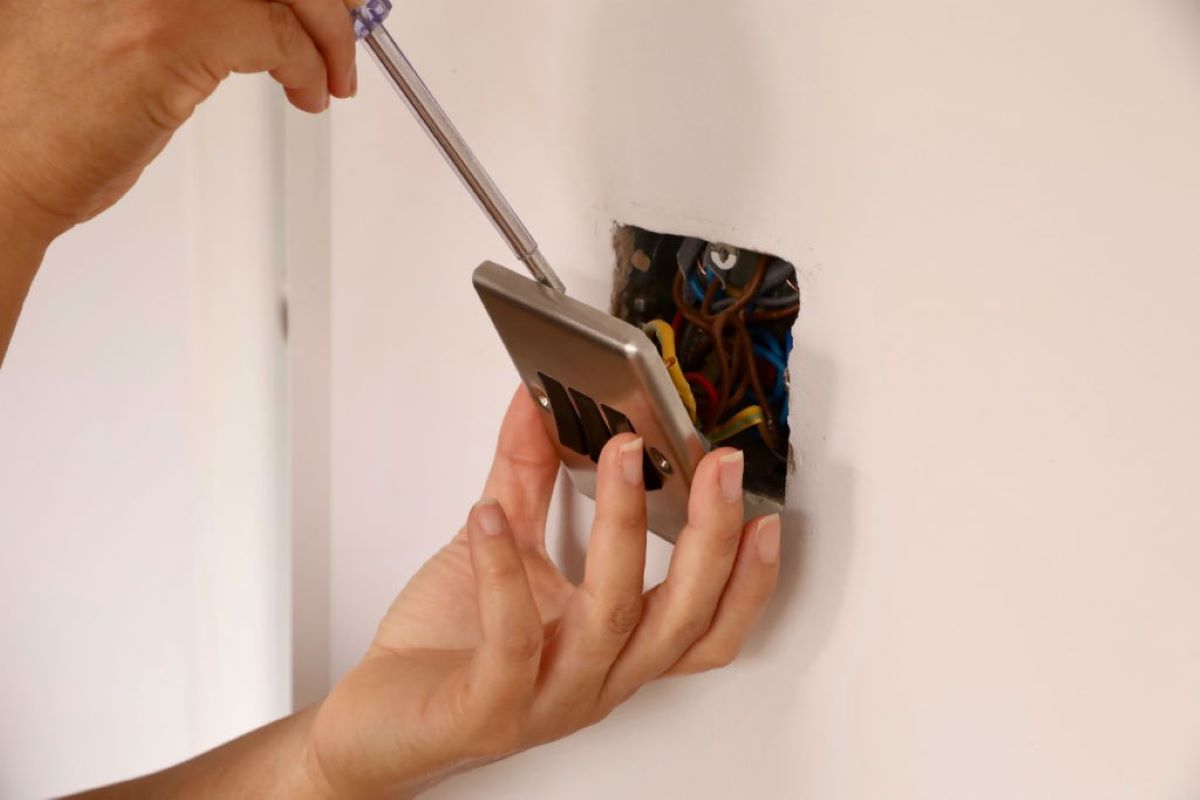
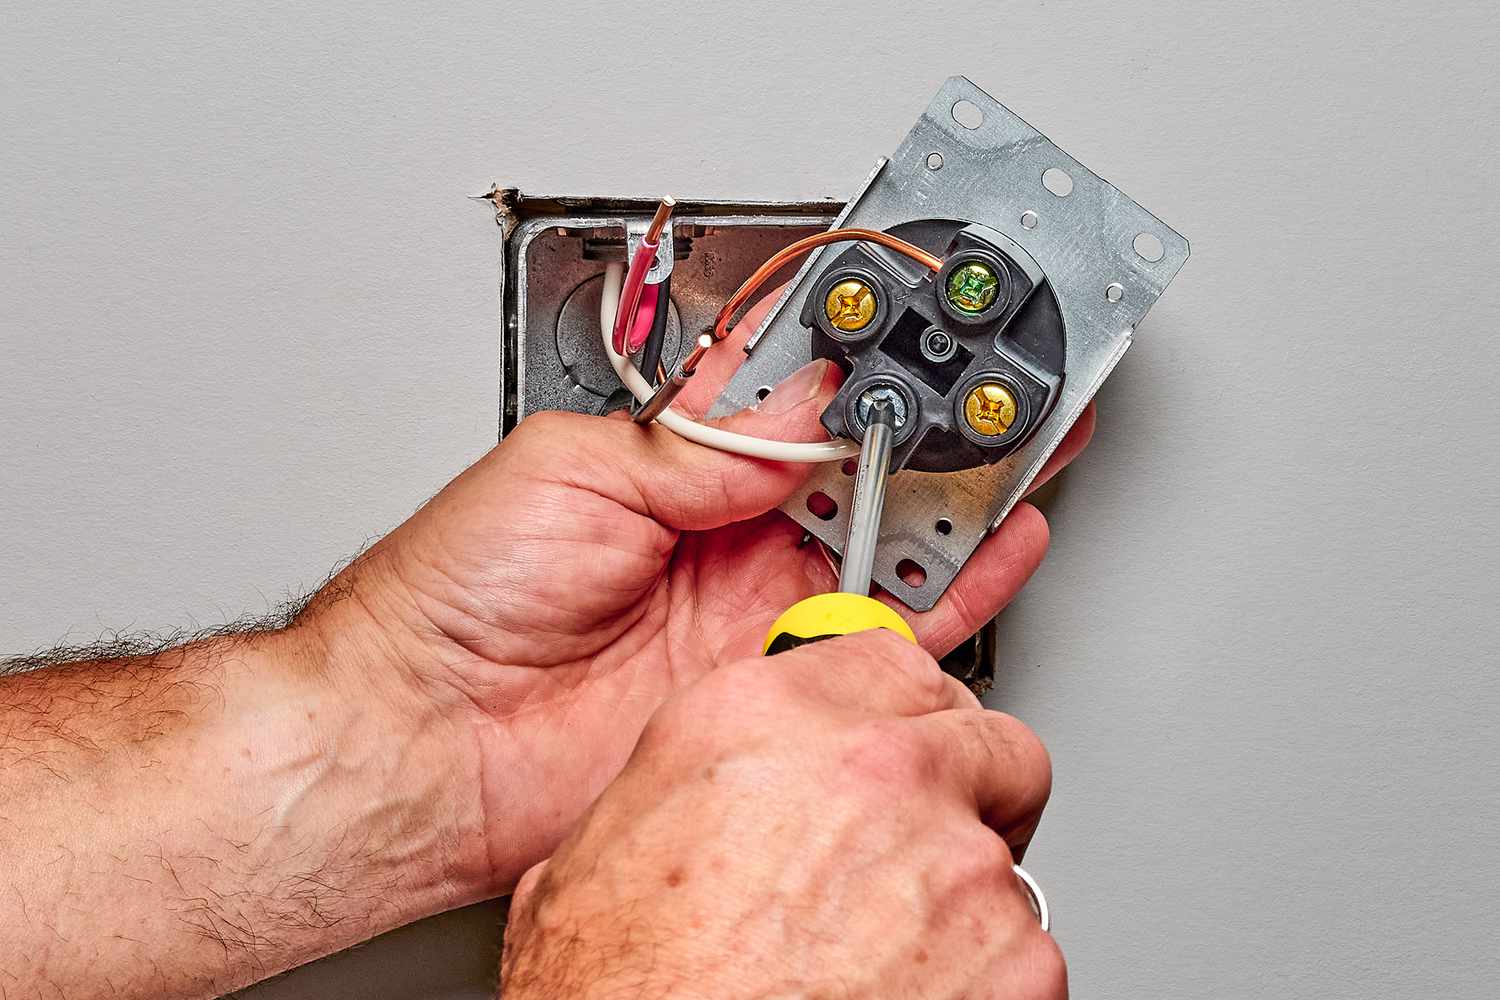
Step 4: Connecting the Wires to the Plug
Now that you’ve stripped the wires, it’s time to connect them to the plug. Follow these steps to ensure a proper connection:
- Identify the terminal screws: The plug will have two or three terminal screws, each labeled with the corresponding wire (hot, neutral, and ground).
- Attach the wires: Start with the black (hot) wire and wrap it clockwise around the brass (gold) screw terminal. Use a screwdriver to tighten the screw securely. Repeat this process for the white (neutral) wire, attaching it to the silver screw terminal. If your extension cord has a green or bare copper wire for grounding, attach it to the green screw terminal.
- Double-check the connections: Give each wire a gentle tug to ensure that they are securely attached to the plug terminals. Check for any loose connections or exposed wires that may pose a safety risk.
It is important to make sure that the wires are wrapped around the terminal screws in a clockwise direction. This way, when the screws are tightened, they pull the wire tighter onto the terminal, providing a more secure connection.
Remember to use an appropriate screwdriver to tighten the terminal screws, ensuring that they are snug but not over-tightened. Over-tightening can damage the wires or the plug, potentially causing a connection failure or electrical hazard.
Now that the wires are properly connected to the plug, it’s time to move on to the next step: securing the wires and plug housing.
Step 5: Securing the Wires and Plug Housing
After connecting the wires to the plug, it’s important to secure them properly and protect the wiring connection. Follow these steps to ensure a secure and safe housing for the wires:
- Wrap electrical tape around the individual wires: Start by wrapping electrical tape around each wire connection. This provides an additional layer of insulation and helps prevent any accidental contact between the wires.
- Bundle the wires together: Gather the wires and bundle them neatly together, ensuring they are not twisted or tangled. Use a zip tie or electrical tape to secure the wires and keep them organized.
- Place the plug housing over the wires: Slide the plug housing over the wires, ensuring that it covers the wire connections completely. The plug housing should fit securely onto the plug body.
- Secure the plug housing: Depending on the design of the plug, use screws or clips to secure the plug housing in place. Make sure it fits tightly and there is no movement or play in the housing.
The electrical tape provides an extra layer of protection, preventing any accidental contact with the live wires. Bundling the wires together helps to prevent them from pulling apart or getting tangled, making the extension cord more manageable. Finally, the secure placement of the plug housing ensures that the wires and connections are protected and reduces the risk of any damage or exposure.
Now that the wires are secured and the plug housing is in place, it’s time to move on to the final step: testing the connection.
Step 6: Testing the Connection
Once you have completed the wiring and secured the plug, it is crucial to test the connection to ensure it is functioning correctly and poses no electrical hazards. Follow these steps to test the connection:
- Make sure the extension cord is unplugged from any power source.
- Inspect the entire cord: Check for any visible damage, loose connections, or exposed wires. If you notice any issues, immediately disconnect the cord and address the problem before proceeding.
- Plug the extension cord into a properly grounded outlet.
- Verify power flow: Use a voltage tester or a device that you know works to check if there is proper power flow through the extension cord. Ensure that the voltage matches the requirements of the devices you intend to use.
- Test your devices: Connect your devices to the extension cord and double-check that they are receiving power as expected. Pay attention to any signs of abnormalities or flickering that may indicate a loose connection.
If everything is functioning normally and you are confident in the connection, congratulations! You have successfully wired an extension cord plug. However, if you encounter any issues during testing, it is essential to disconnect the cord immediately and review the wiring steps to identify and rectify the problem.
Remember, safety is paramount when working with electricity. Always follow proper procedures, use the appropriate tools, and take the necessary precautions to ensure a safe and reliable electrical connection.
Now that you have tested the connection and confirmed its functionality, you can use your newly wired extension cord with confidence.
Conclusion
Wiring an extension cord plug may seem intimidating at first, but with the right tools, materials, and step-by-step guidance, it is a manageable DIY project. By following the steps outlined in this guide, you can successfully wire an extension cord plug and customize it to meet your specific needs.
When undertaking this project, always prioritize safety. Ensure you have the necessary tools on hand, carefully prepare the extension cord, and accurately strip the wires. Take your time to connect the wires securely to the plug terminals, and be diligent in securing the wires and plug housing. Lastly, always test the connection and check for proper power flow before using the extension cord with your devices.
By learning how to wire an extension cord plug, you have gained a valuable DIY skill that can save you time and money. Whether you need to replace a damaged plug or customize the cord length for your specific needs, you now have the knowledge to do it safely and effectively.
Remember, if you ever feel unsure or uncomfortable working with electricity, it is always best to consult a qualified electrician. They have the expertise and experience to handle electrical tasks safely and efficiently.
Now, armed with this knowledge, go ahead and confidently wire your own extension cord plug for a reliable and customized power solution.
Frequently Asked Questions about How To Wire An Extension Cord Plug
Was this page helpful?
At Storables.com, we guarantee accurate and reliable information. Our content, validated by Expert Board Contributors, is crafted following stringent Editorial Policies. We're committed to providing you with well-researched, expert-backed insights for all your informational needs.


0 thoughts on “How To Wire An Extension Cord Plug”