Articles
How To Wire A Range Hood To A Plug
Modified: August 31, 2024
Learn how to easily wire a range hood to a plug with this informative article. Find step-by-step instructions and expert tips to complete the job efficiently.
(Many of the links in this article redirect to a specific reviewed product. Your purchase of these products through affiliate links helps to generate commission for Storables.com, at no extra cost. Learn more)
Introduction
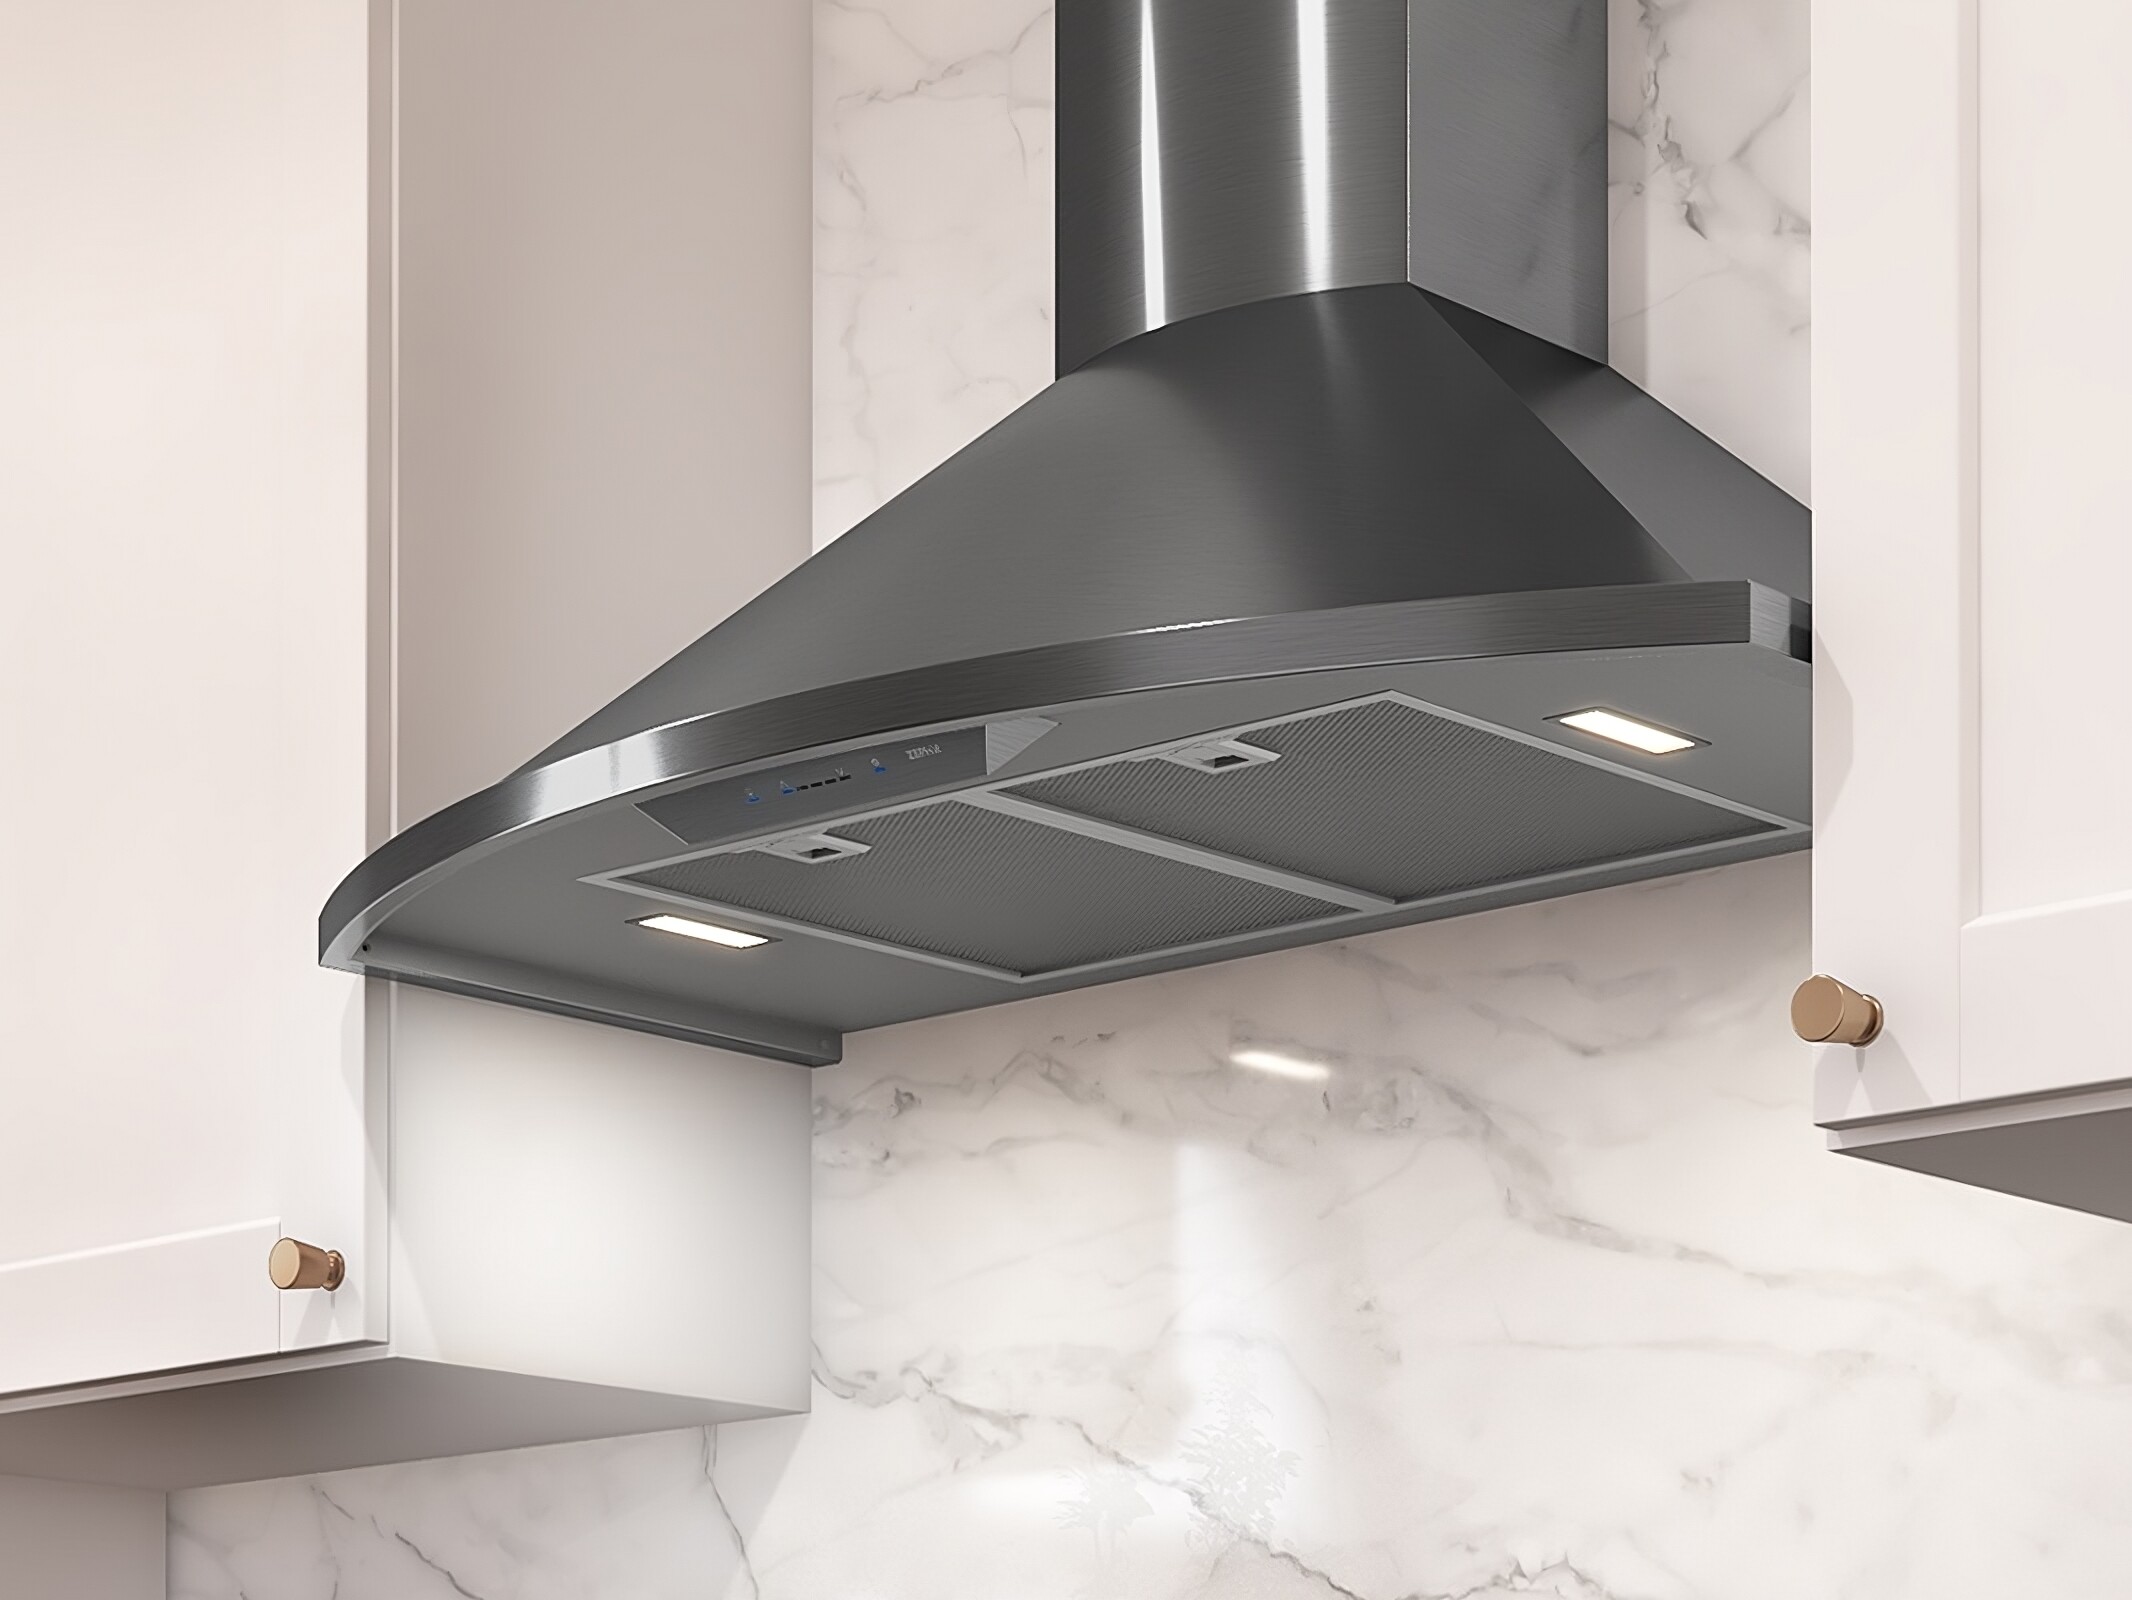
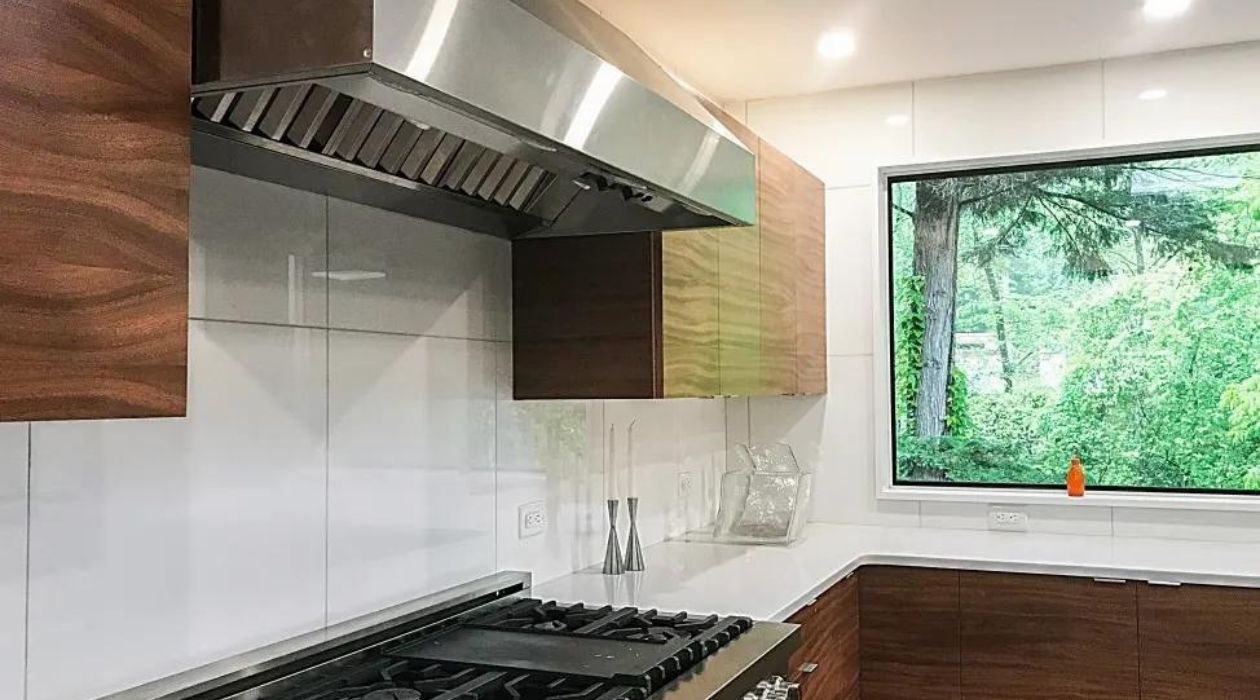
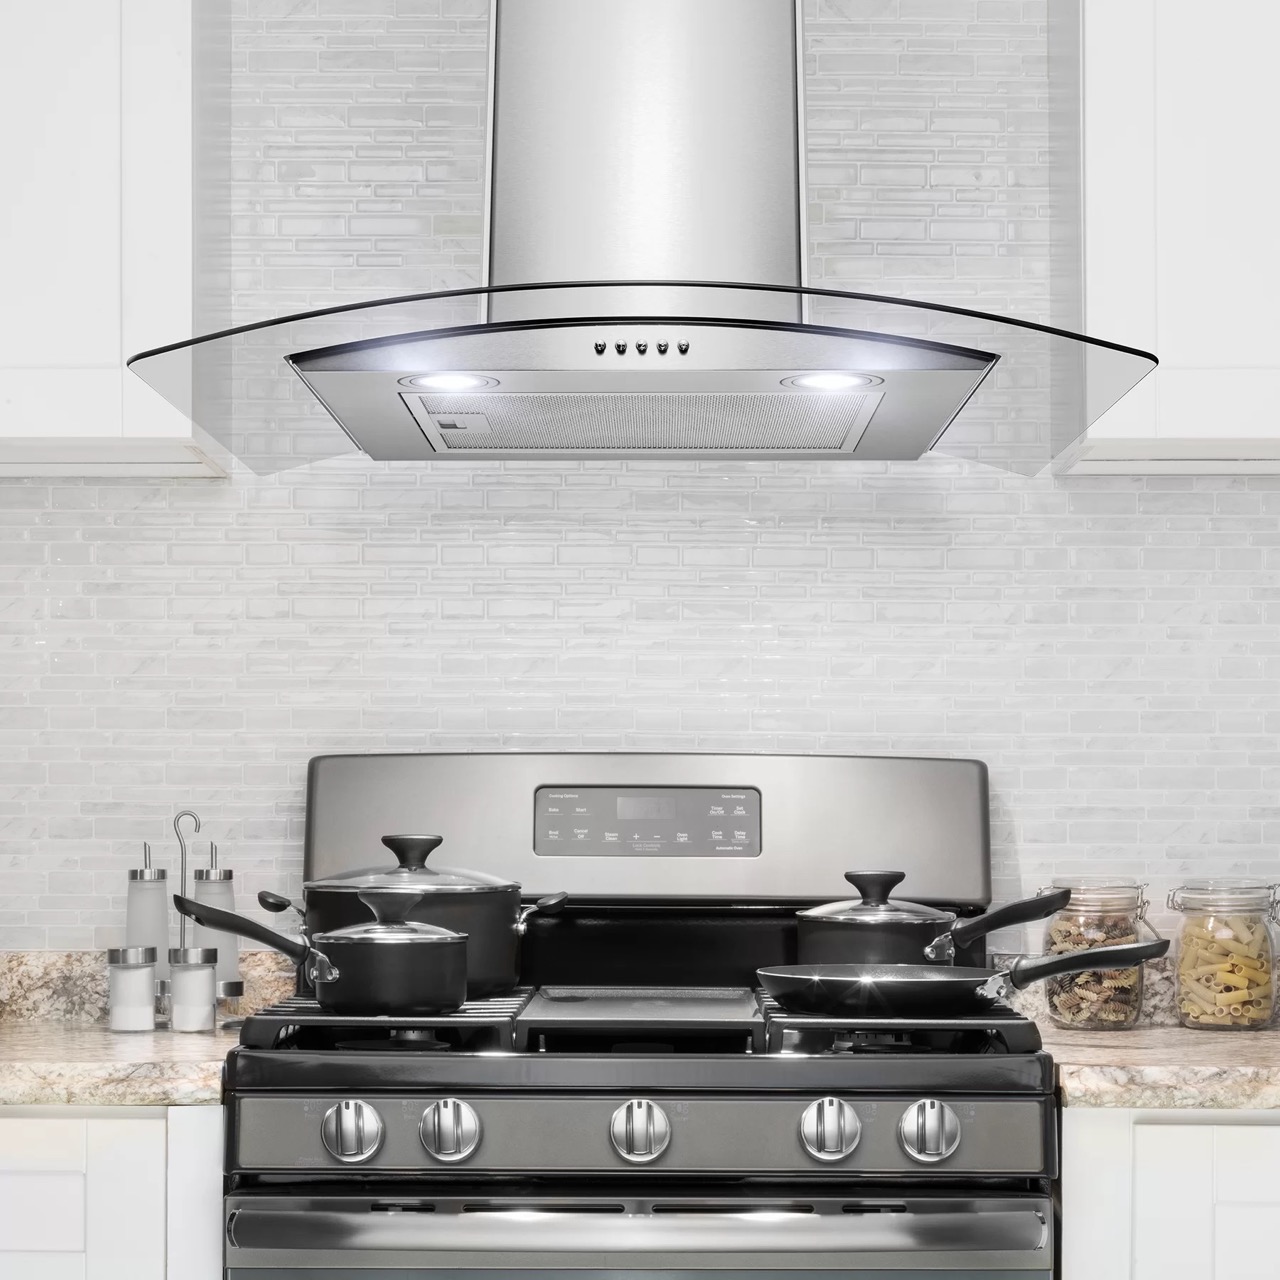
When it comes to kitchen renovations or upgrades, installing a range hood can greatly improve the ventilation and air quality in your cooking space. Whether you’re replacing an old range hood or installing a new one, wiring it to a plug is a convenient and practical option. This allows for easier installation and flexibility if you ever need to move or replace the range hood in the future.
In this guide, we will walk you through the step-by-step process of wiring a range hood to a plug. While it may seem like a daunting task, with the right tools and a little bit of know-how, you can complete this project successfully.
Before you begin, it’s essential to prioritize safety. Always ensure that the power supply is turned off before starting any electrical work. If you’re not confident in your electrical skills, it’s advisable to consult a professional electrician to ensure the job is done correctly.
Now, let’s gather our tools and materials and get started on wiring your range hood to a plug.
Key Takeaways:
- Wiring a range hood to a plug is a practical and convenient option for improved ventilation. Prioritize safety, gather tools, and follow the step-by-step guide for a successful installation.
- Ensure power supply is turned off, test connections, and seek professional help if needed. Enjoy the benefits of a properly functioning range hood for a fresh and comfortable cooking environment.
Read more: What Is A Range Hood
Step 1: Gather the necessary tools and materials
Before you begin the wiring process, it’s important to gather all the necessary tools and materials. Having everything you need on hand will make the installation process much smoother. Here’s a list of what you’ll need:
- Wire cutters
- Wire strippers
- Electrical tape
- Screwdriver (either Phillips or flathead, depending on the screws on your range hood)
- Wire connectors
- Extension cord with a three-prong plug (make sure the cord is long enough to reach the nearest electrical outlet)
- Range hood (make sure it is compatible with a plug connection)
- Electrical tester or multimeter (to ensure the power is turned off before starting)
- Personal protective equipment, such as safety goggles and gloves
Once you have gathered all these tools and materials, you’re ready to move on to the next step: turning off the power supply.
Step 2: Turn off the power supply
Before you begin any electrical work, it’s crucial to ensure that the power supply to the area where you’ll be working is turned off. This step is essential for your safety and to prevent any electrical accidents.
Locate the circuit breaker or fuse box in your home. Look for the circuit that supplies power to the range hood or the kitchen area. Flip the corresponding circuit breaker to the “off” position or remove the fuse that corresponds to the range hood circuit. To be extra cautious, use an electrical tester or multimeter to verify that there is no power running through the wires.
Double-check that the power is indeed turned off before proceeding to the next steps. This will reduce the risk of electric shock or damage to the range hood during the installation process.
Once you’re sure that the power supply is disabled, you can safely proceed to the next step: removing the old range hood.
Step 3: Remove the old range hood
Now that the power supply is turned off, it’s time to remove the old range hood. Carefully follow these steps:
- Start by turning off the range hood if it has any controls or switches.
- Use a screwdriver to remove any screws or bolts that are securing the range hood to the cabinet or wall. Set the screws aside for later use.
- If your range hood is ducted, carefully disconnect the ductwork from the hood and remove it completely.
- Gently detach any electrical wires that are connected to the range hood. Take note of how they are connected and ensure that they are not damaged during the process.
- Once all the connections are detached, carefully lift the range hood from its mounting brackets or support, and set it aside.
Make sure to keep track of any additional parts or accessories that were attached to the old range hood, such as filters or covers. These may be needed for the installation of the new range hood.
With the old range hood removed, you’re now ready to prepare the range hood for wiring. This is the next step in the process.
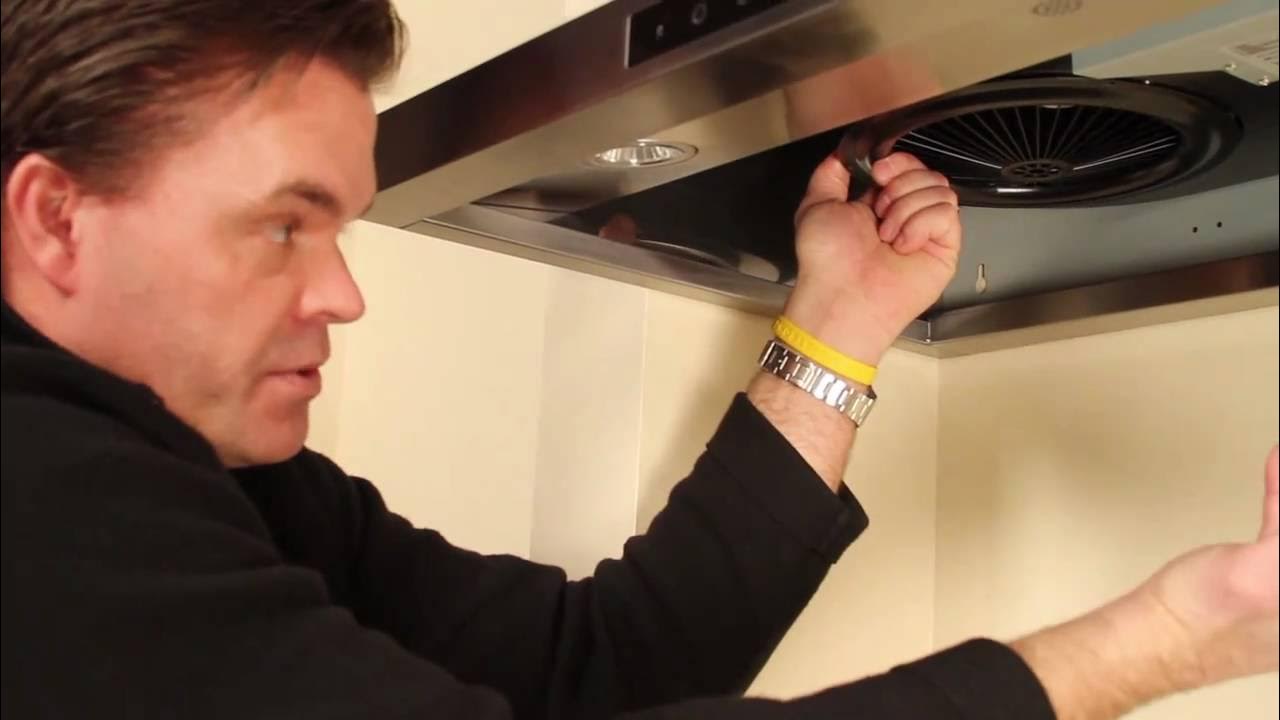
Step 4: Prepare the range hood for wiring
With the old range hood removed, it’s time to prepare the new range hood for wiring. Follow these steps to ensure a smooth installation:
- Inspect the new range hood to familiarize yourself with its components and electrical connections. Refer to the manufacturer’s instructions for any specific guidelines or precautions.
- If the range hood requires any assembly, follow the provided instructions to properly assemble it before proceeding.
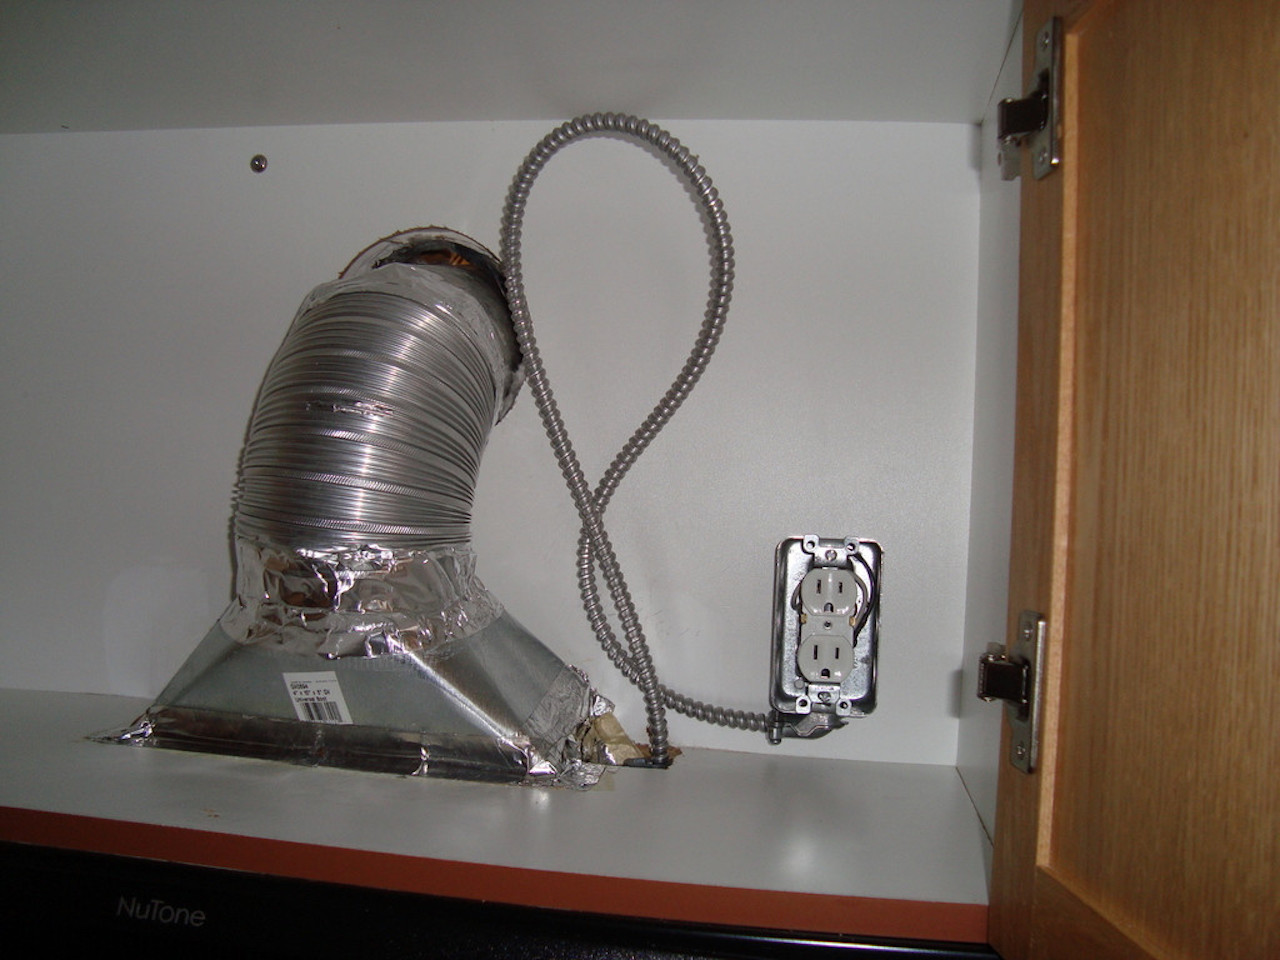
- Locate the access panel or knockout hole on the back of the range hood. This is where the electrical wiring will be connected.
- Using wire cutters and strippers, strip approximately 1/2 inch of insulation from the end of each wire that will be connected. This will expose the conductive copper wire.
- If the range hood has a ground wire, ensure that it is connected to the range hood’s grounding terminal or screw. This will provide a safety ground for the unit.
- Referencing the manufacturer’s instructions, identify the wires for connecting to the electrical supply. These wires are typically color-coded, with black (hot), white (neutral), and green or bare (ground) wires.
Once the range hood is properly prepared, it’s time to move on to the next step: wiring the range hood to a plug.
When wiring a range hood to a plug, make sure to use a grounded, three-prong plug and follow the manufacturer’s instructions for proper installation. It’s important to ensure that the wiring is done safely and securely to prevent any electrical hazards.
Read more: How To Build A Range Hood
Step 5: Wire the range hood to a plug
Now that the range hood is prepared, it’s time to wire it to a plug. Follow these steps carefully:
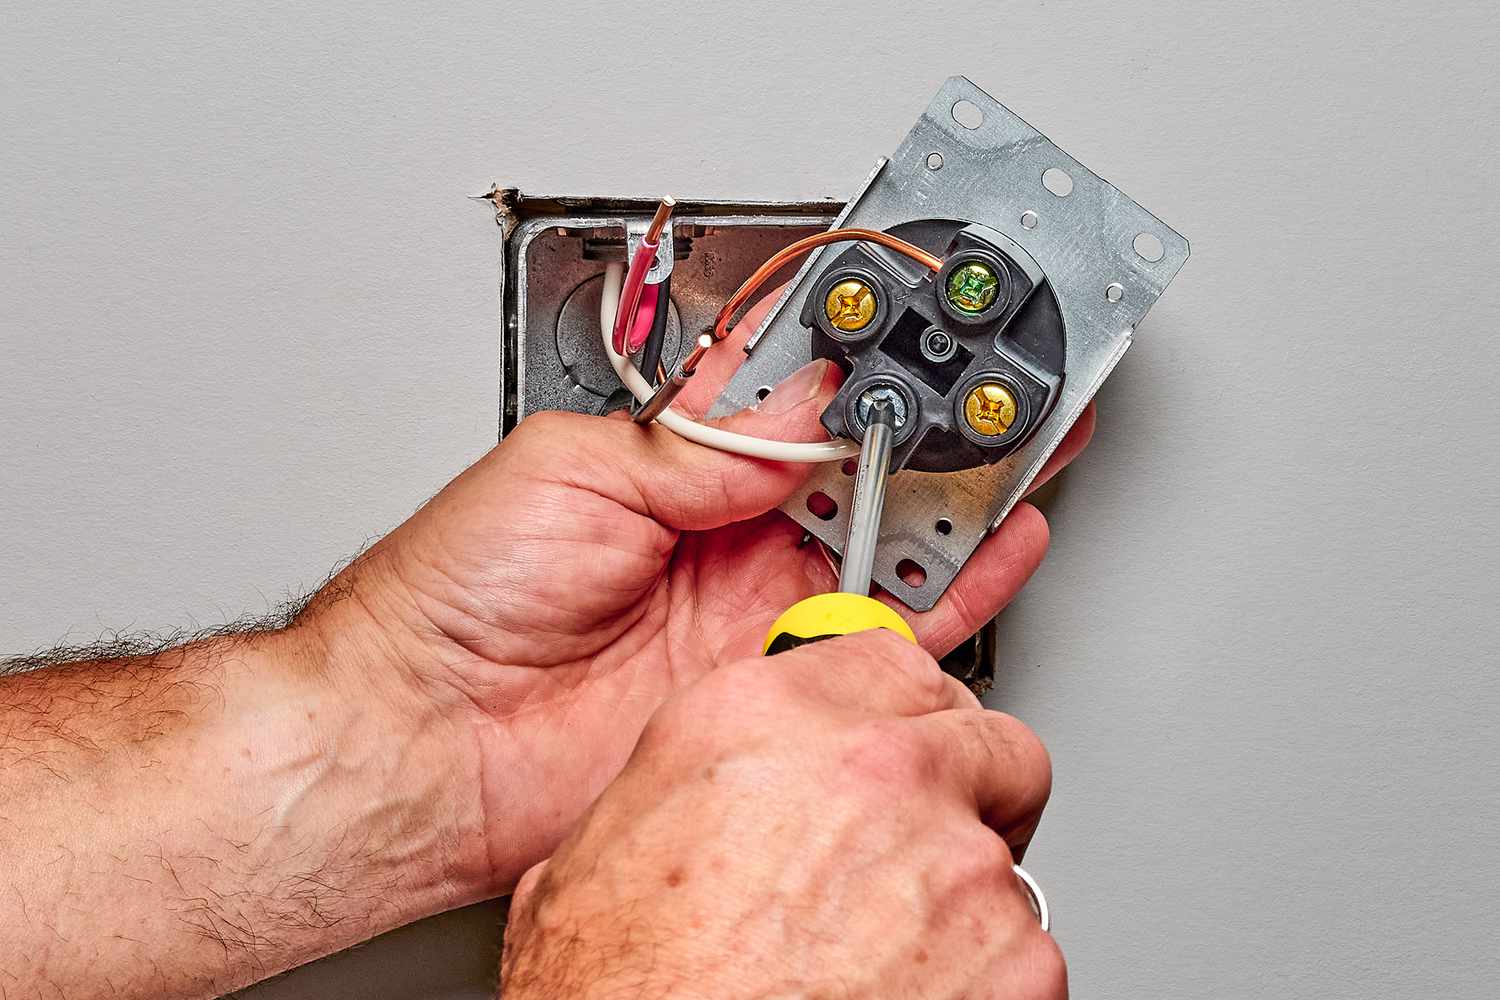
- Start by cutting a length of electrical wire to connect the range hood to the plug. Measure the distance from the range hood to the nearest electrical outlet and cut the wire accordingly. Make sure to leave enough slack for ease of installation.
- Strip approximately 1/2 inch of insulation from the end of each wire that will be connected. This will expose the conductive copper wire.
- Using wire connectors, connect the black (hot) wire from the range hood to the black wire of the electrical cord. Secure the connection tightly to ensure proper electrical conductivity.
- Next, connect the white (neutral) wire from the range hood to the white wire of the electrical cord. Again, ensure a secure connection.
- If there is a green or bare wire on the range hood (the ground wire), connect it to the green or bare wire of the electrical cord. This will provide a safety ground connection.
- Once all the connections are securely made, cover each connection with electrical tape for added safety and to protect against any potential short circuits.
Double-check all the connections to ensure they are tight and secure. Inspect the wires for any signs of damage or fraying. If everything looks good, you’re ready to move on to the next step: testing the connection.
Step 6: Test the connection
After wiring the range hood to the plug, it’s important to test the connection before proceeding with the installation. This will ensure that everything is properly connected and functioning correctly. Follow these steps to test the connection:
- Double-check that the power supply to the range hood is still turned off. This is crucial to prevent any accidents or electric shock during the testing process.
- Plug the range hood’s electrical cord into a nearby electrical outlet. Ensure that the plug fits securely and that there are no loose connections.
- Turn on the power supply to the range hood by flipping the relevant circuit breaker or inserting the corresponding fuse.
- Switch on the range hood and test all its functions, such as lights, fan speed, and any other features it may have. Ensure that everything is operating smoothly and as expected.
- Check for any unusual noises, sparks, or signs of overheating during the testing process. If you notice any abnormalities, immediately turn off the power supply and recheck your wiring connections.
If the range hood passes the testing phase without any issues, you can proceed to the next step: mounting the range hood.
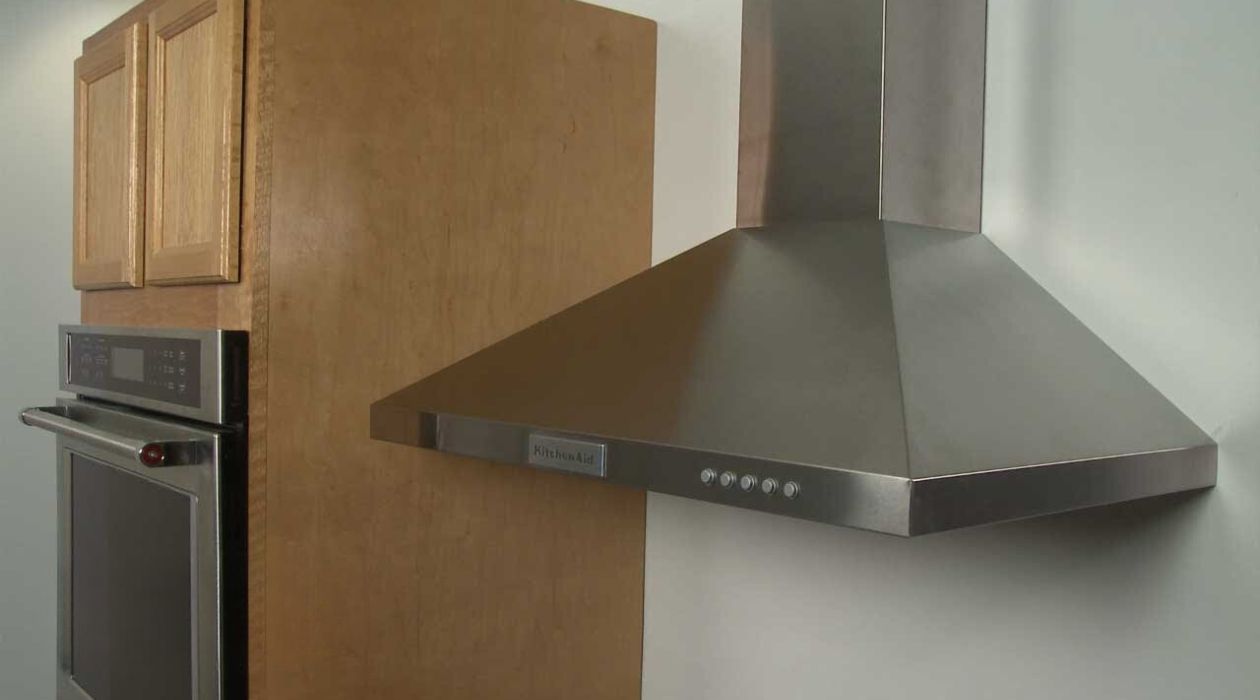
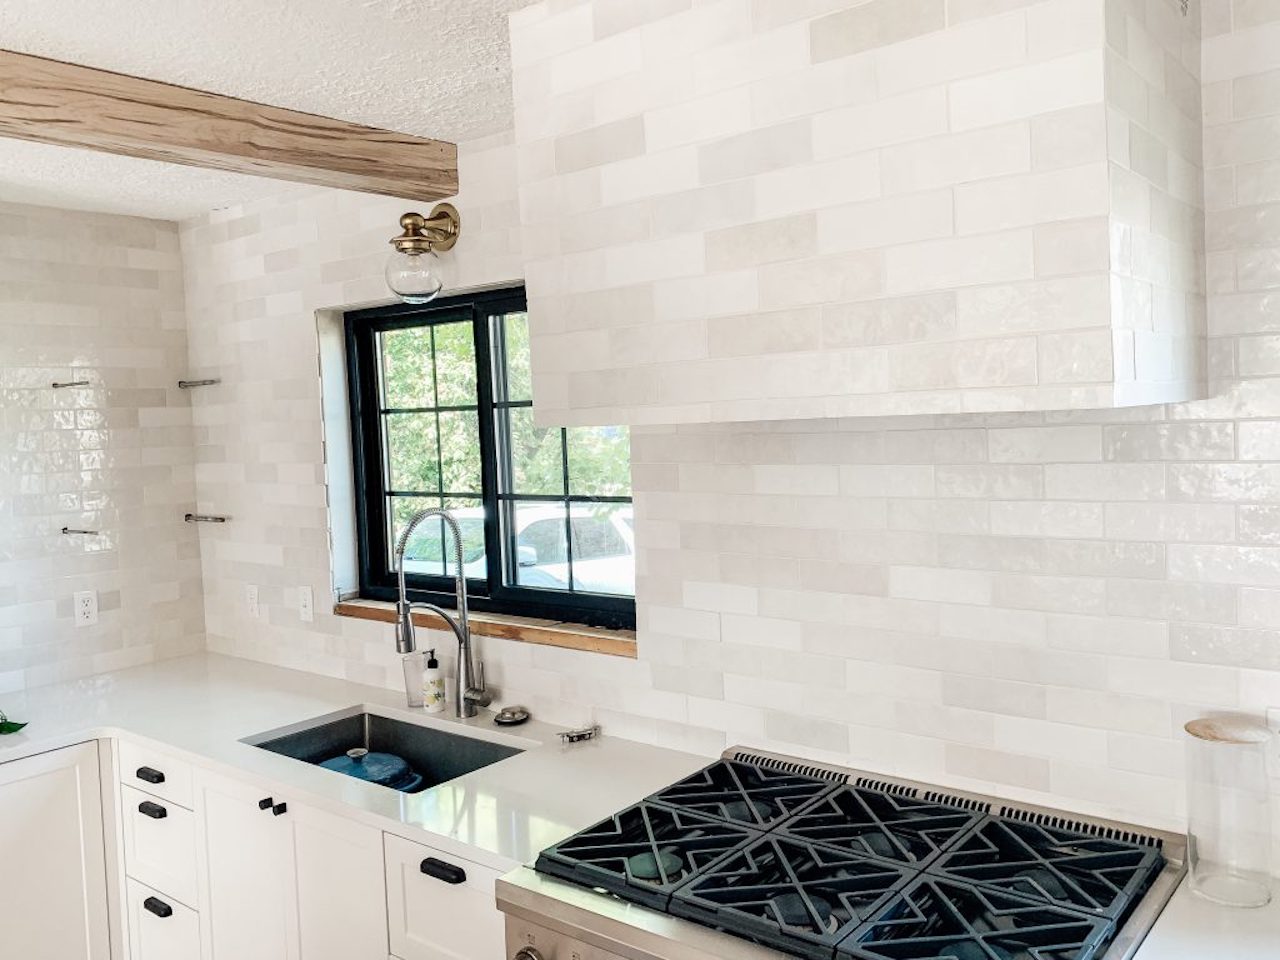
Step 7: Mount the range hood
With the range hood properly wired and tested, it’s time to mount it in place. Follow these steps to securely install the range hood:
- Refer to the manufacturer’s instructions to determine the specific mounting method for your range hood. This may involve using mounting brackets, screws, or other hardware.
- Hold the range hood up to the desired location on the wall or under the cabinet. Ensure that it is level and centered appropriately.
- Mark the mounting holes on the wall or cabinet using a pencil or marker.
- Depending on the mounting method, use a drill to create pilot holes for your screws or brackets. Ensure that the holes are drilled accurately and securely.
- Attach the mounting brackets or screws to the range hood, aligning them with the previously marked holes.
- Carefully lift the range hood and position it on the wall or under the cabinet, aligning the mounting brackets or screws with the pilot holes.
- Securely tighten the screws or brackets to secure the range hood in place. Double-check that the range hood is level and properly mounted.
With the range hood mounted, you’re almost done. The final step is to reconnect the power supply to ensure the range hood is fully functional.
Step 8: Reconnect the power supply
Now that the range hood is securely mounted, it’s time to reconnect the power supply to ensure it can operate properly. Follow these steps to complete the installation:
- Double-check that the power supply to the range hood is turned off.
- Locate the circuit breaker or fuse box that supplies power to the range hood or the kitchen area.
- Flip the corresponding circuit breaker to the “on” position or reinsert the fuse that corresponds to the range hood circuit.
- Once the power supply is restored, test the range hood by switching it on. Ensure that all the functions, such as lights and fan speed, are working correctly.
- Check for any unusual noises, sparks, or signs of overheating. If you notice anything out of the ordinary, immediately switch off the power supply and recheck your connections.
- Finally, give the range hood a thorough visual inspection to ensure that it’s securely mounted and aligned properly.
Congratulations! You have successfully wired your range hood to a plug and completed the installation. Enjoy the benefits of improved ventilation and air quality in your kitchen space!
Remember, if you’re not confident in your electrical skills or if you encounter any difficulties during the installation process, it’s always best to consult a professional electrician for assistance.
Thank you for following this step-by-step guide. We hope it has been helpful in guiding you through the process of wiring your range hood to a plug.
Read more: How To Paint Range Hood
Conclusion
Wiring a range hood to a plug can be a practical and convenient solution for installation and flexibility. With the right tools, materials, and knowledge, you can successfully complete this project and enjoy the benefits of a properly functioning range hood in your kitchen.
Throughout this step-by-step guide, we’ve provided you with the necessary instructions to gather tools and materials, turn off the power supply, remove the old range hood, prepare the new range hood for wiring, wire the range hood to a plug, test the connection, mount the range hood, and reconnect the power supply.
It’s important to prioritize safety at every step of the process. Always ensure the power supply is turned off before starting any electrical work, and double-check all connections to ensure they are secure and properly installed.
If you’re unsure or uncomfortable with any part of the process, don’t hesitate to seek professional assistance. Hiring a licensed electrician can provide peace of mind and ensure the job is done correctly.
By following these steps and using caution, you can successfully wire your range hood to a plug and enhance the ventilation and air quality in your kitchen space. Enjoy the benefits of a fresh and comfortable cooking environment!
Thank you for reading this guide, and best of luck with your range hood installation!
If you found wiring your range hood a breeze, why stop there? Extend your DIY prowess by mastering more electrical skills, like running overhead wires to your garage. Not only will you keep your spaces connected, but you'll also save on professional costs. Ready for another kitchen upgrade? Dive into our guide on fitting under cabinet range hoods for a sleeker, more efficient cooking space. Both guides promise practical steps and useful tips to elevate your home improvement skills.
Frequently Asked Questions about How To Wire A Range Hood To A Plug
Was this page helpful?
At Storables.com, we guarantee accurate and reliable information. Our content, validated by Expert Board Contributors, is crafted following stringent Editorial Policies. We're committed to providing you with well-researched, expert-backed insights for all your informational needs.


0 thoughts on “How To Wire A Range Hood To A Plug”