Articles
How To Wire A Ceiling Fan With 3 Wires
Modified: October 20, 2024
Learn how to wire a ceiling fan with 3 wires in this detailed article. Our step-by-step guide will make the process easy and safe.
(Many of the links in this article redirect to a specific reviewed product. Your purchase of these products through affiliate links helps to generate commission for Storables.com, at no extra cost. Learn more)
Introduction
A ceiling fan is a valuable addition to any space, providing both comfort and energy efficiency. Whether you’re replacing an old fan or installing a new one, it’s essential to know how to properly wire it. In this article, we will guide you through the process of wiring a ceiling fan with three wires.
Understanding the wiring of a ceiling fan is crucial as it ensures the fan functions safely and operates correctly. The three wires commonly found in a typical ceiling fan installation are the ground wire, neutral wire, and hot wire. Each wire serves a specific purpose and must be properly connected for the fan to work effectively.
Before proceeding with the wiring process, ensure that you have the necessary tools and materials on hand. Having these ready will save you time and make the installation process smoother. The tools you will need include a voltage tester, wire stripper, wire cutter, pliers, and a screwdriver. Additionally, gather the necessary materials such as wire nuts, electrical tape, and a fan mounting bracket.
Now that you are equipped with the necessary knowledge and tools, let’s dive into the step-by-step process of wiring a ceiling fan with three wires. Following these steps carefully will help you complete the installation successfully and enjoy the benefits of a properly functioning ceiling fan.
Key Takeaways:
- Properly wiring a ceiling fan with three wires is essential for safety and functionality. Understanding the purpose of each wire, gathering the right tools, and following step-by-step instructions ensures a successful installation.
- Prioritizing safety, turning off the power, and securing connections are crucial during the installation process. A well-installed ceiling fan not only adds comfort but also enhances energy efficiency and lighting in a space.
Read more: How To Wire Hunter Ceiling Fan
Understanding the Three Wires in a Ceiling Fan
Before we delve into the wiring process, let’s take a closer look at the three wires involved in a typical ceiling fan installation.
1. Ground Wire: The ground wire is typically green or bare copper. Its purpose is to provide a safe pathway for electrical currents in the event of a fault or short circuit. The ground wire connects to the metal parts of the fan and ensures that any excess electrical charge is safely discharged, protecting you from electric shock.
2. Neutral Wire: The neutral wire is usually white or gray. It functions as the return path for electrical current and is essential for completing the electrical circuit. The neutral wire carries the current back to the source, balancing the electrical load and providing a path for excess current to return safely to the main electrical panel.
3. Hot Wire: The hot wire is often black or red and carries the electrical current from the power source to the fan. It is the wire responsible for powering the fan, allowing it to operate. The hot wire connects the fan’s motor and controls to the power supply, enabling you to control the fan’s speed and functionality.
It’s vital to have a clear understanding of the purpose and function of these three wires before attempting to wire a ceiling fan. Properly connecting these wires ensures the fan operates safely and efficiently. Incorrect wiring can lead to malfunctions, electrical hazards, and potentially damage the fan.
Now that we have a solid understanding of the three wires involved in a ceiling fan installation, let’s move on to the step-by-step process of wiring the fan with these wires.
Tools and Materials Needed
Before you begin wiring your ceiling fan with three wires, it’s important to gather the necessary tools and materials. Having everything prepared will make the installation process smoother and more efficient. Here are the tools and materials you’ll need:
Tools:
- Voltage tester: A voltage tester is crucial for ensuring that the power is turned off before starting any electrical work. It helps identify if there is any live electrical current present.
- Wire stripper: A wire stripper is used to remove the insulation from the wires, allowing for proper connection.
- Wire cutter: A wire cutter is necessary to trim the wires to the appropriate length.
- Pliers: Pliers help with gripping and bending wires, making it easier to secure connections.
- Screwdriver: A screwdriver is essential for loosening and tightening screws when connecting wires and mounting the fan.
Materials:
- Wire nuts: Wire nuts are used to securely connect wires together. They ensure a safe and reliable connection.
- Electrical tape: Electrical tape provides an extra layer of insulation and protection for wire connections.
- Fan mounting bracket: The fan mounting bracket is needed to securely mount the fan to the ceiling.
- Ceiling fan: Select a ceiling fan that suits your needs and preferences. Ensure it comes with the necessary wiring and installation instructions.
Having these tools and materials readily available will save you time and make the installation process more efficient. It’s important to work with caution, especially when dealing with electrical connections. Always follow the manufacturer’s instructions and adhere to safety guidelines to minimize the risk of accidents or damage.
Now that you have gathered the necessary tools and materials, you’re ready to proceed to the step-by-step process of wiring your ceiling fan with three wires.
Step 1: Turn off the Power
Before you begin any electrical work, it is crucial to turn off the power to the circuit you will be working on. This step ensures your safety and prevents any accidental electrical shocks or short circuits.
To turn off the power, follow these steps:
- Locate the main circuit breaker or fuse box in your home. This is usually found in the utility room, basement, or garage.
- Open the circuit breaker/fuse box panel. You may need to use a screwdriver to remove the panel cover.
- Look for the breaker or fuse labeled for the room or area where you will be working. This may be labeled as “ceiling fan,” “bedroom,” or a similar description.
- Flip the switch of the corresponding breaker to the “OFF” position. If you have fuses, carefully remove the fuse from its socket.
- Use a voltage tester to confirm that the power is off. Place the voltage tester against the wires or outlets to ensure there is no electrical current running through them. If the voltage tester does not indicate any current, it is safe to proceed.
It is important to double-check and ensure that the power is completely turned off before continuing with the installation. Working with live electrical circuits can be extremely dangerous and should be avoided at all costs.
Once you have confirmed that the power is off, you can proceed with confidence to the next steps of wiring your ceiling fan with three wires.
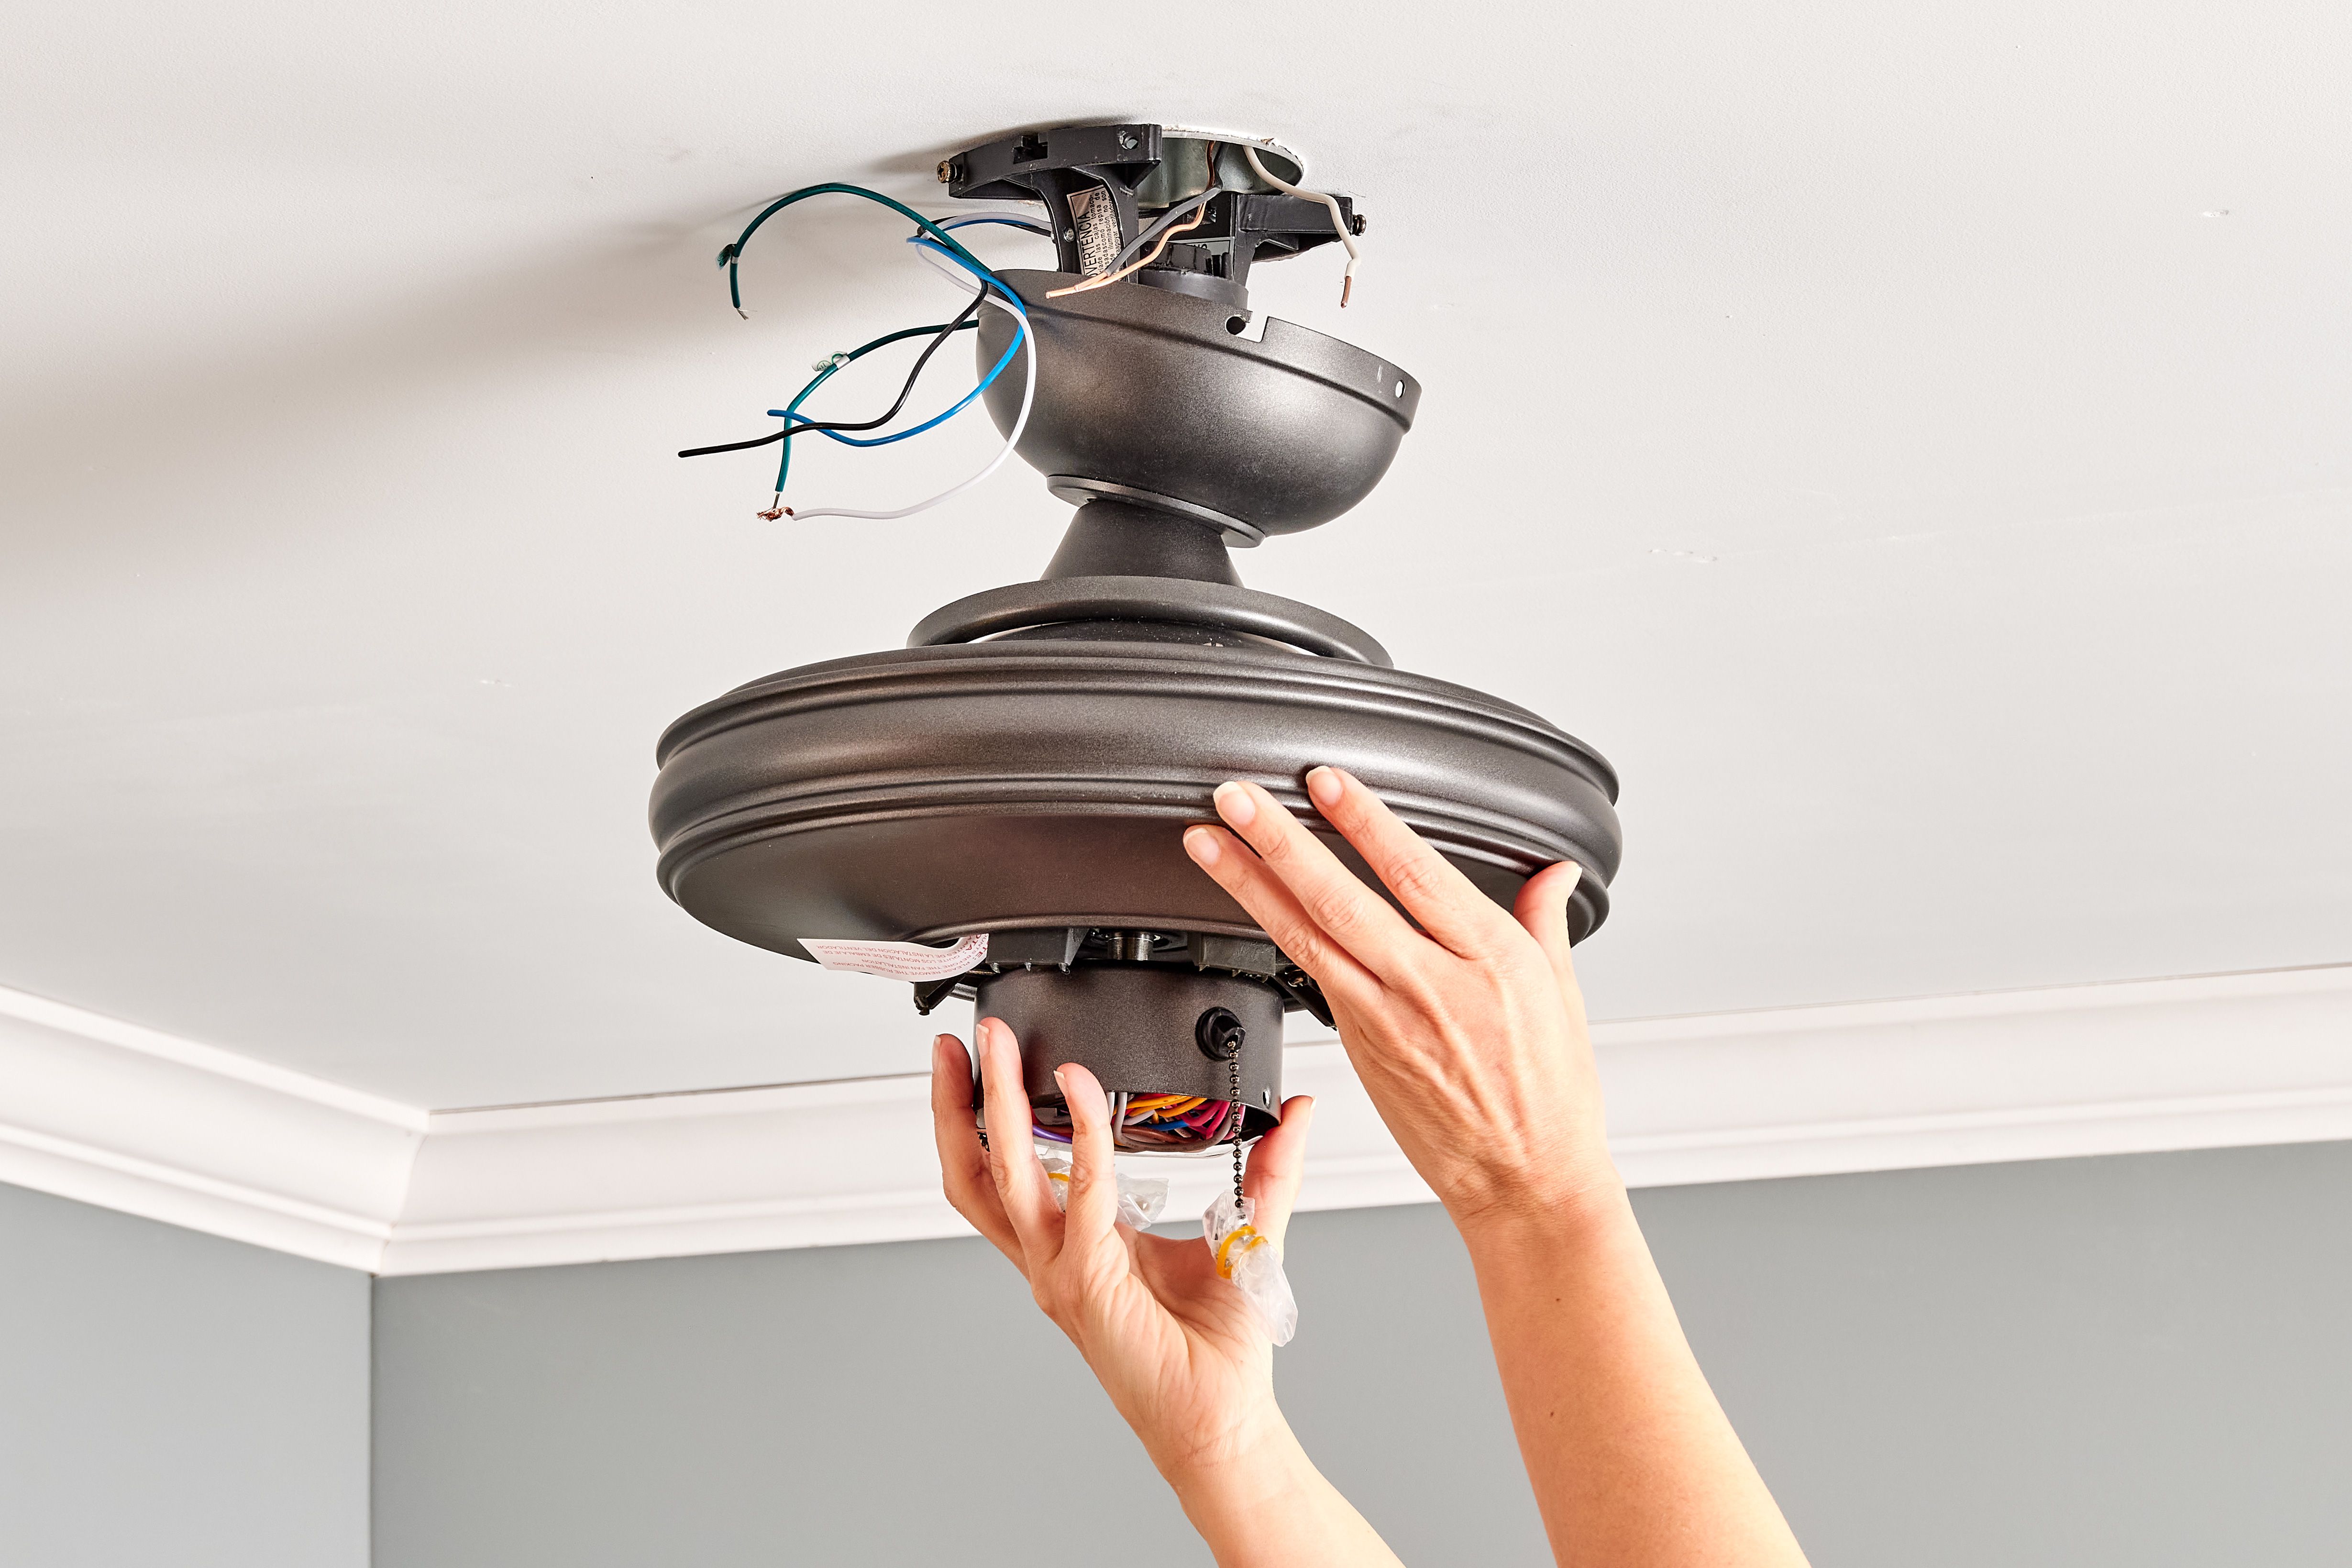
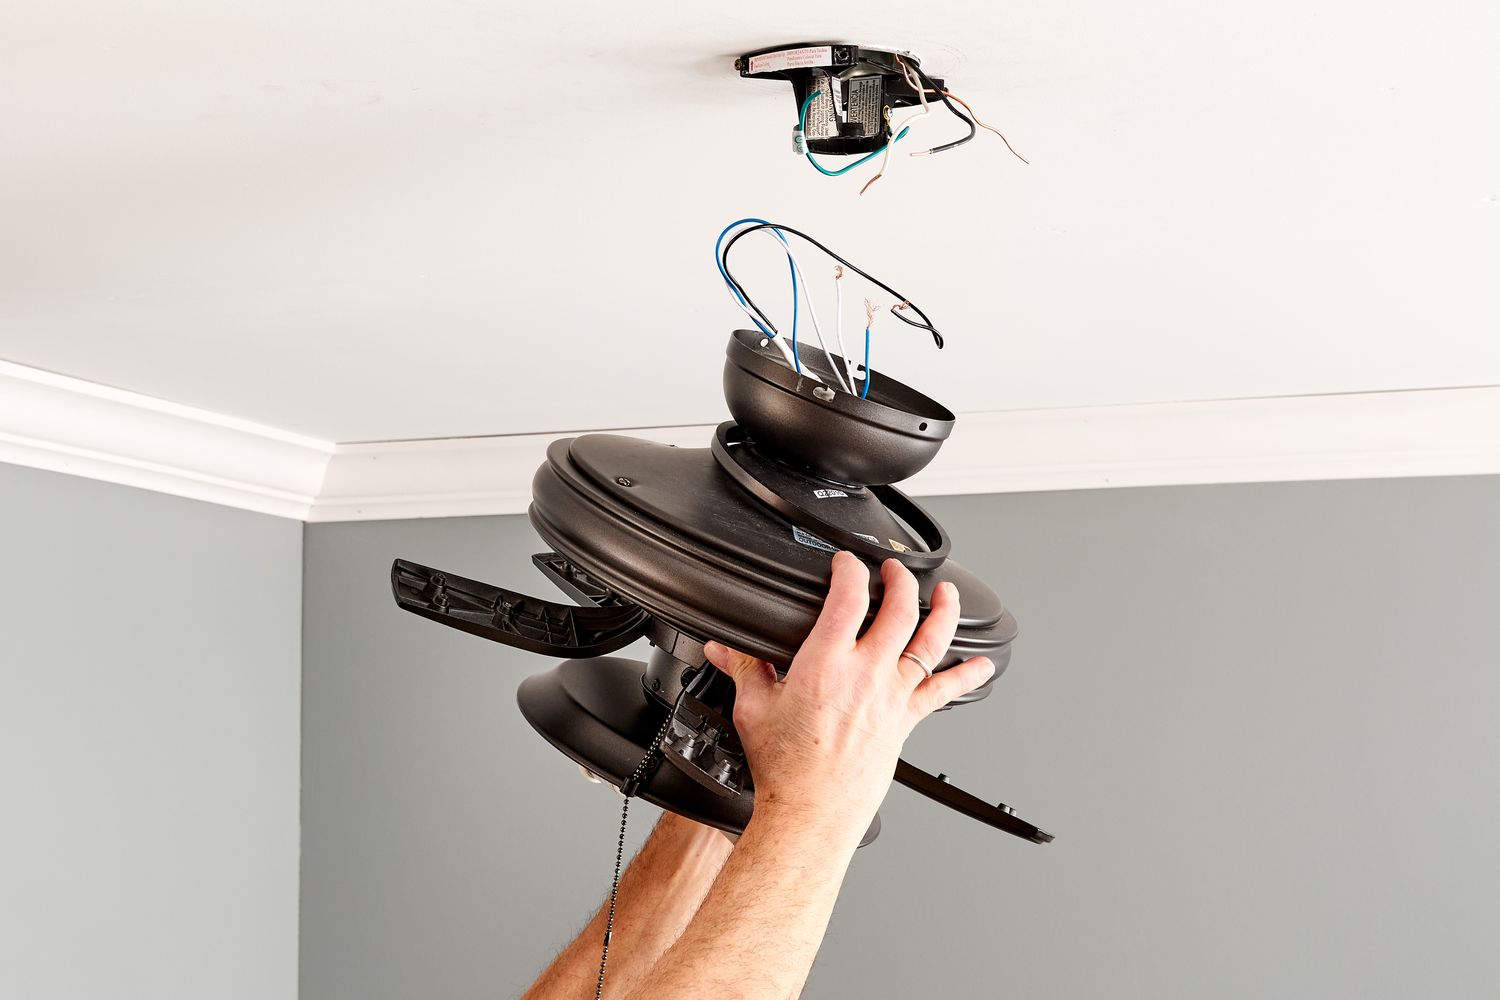
Step 2: Remove the Old Ceiling Fan
Before you can install a new ceiling fan, you’ll need to remove the old one. This step ensures a clean and smooth installation process. Follow these steps to remove the old ceiling fan:
- Turn off the wall switch that controls the fan. This adds an extra layer of safety and prevents any accidental operation of the fan while you’re working on it.
- Locate the screws or bolts holding the fan to the ceiling mounting bracket or electrical box. These are usually on the sides or bottom of the fan housing.
- Using a screwdriver or a drill with the appropriate bit, remove the screws or bolts that secure the fan to the mounting bracket.
- Once the screws or bolts are removed, carefully lower the old fan down and disconnect any electrical connections.
- Take note of how the wires are connected to the old fan. This will help you when installing the new fan later.
- If there is a light kit attached to the old fan, disconnect any wiring connections associated with it as well.
- Once all the wiring connections are disconnected, remove the old ceiling fan from the mounting bracket or electrical box.
It’s essential to work with caution and care during this step. Ceiling fans can be heavy, so ensure you have someone to assist you in safely removing it from the mounting bracket.
After removing the old ceiling fan, you may need to install a new mounting bracket if the existing one is outdated or incompatible with the new fan. Follow the manufacturer’s instructions provided with the new fan for guidance on installing the mounting bracket.
With the old ceiling fan removed and the area cleared, you’re now ready to move on to the next step: identifying the wiring for the new fan.
Read more: How To Wire A Ceiling Fan With A Remote
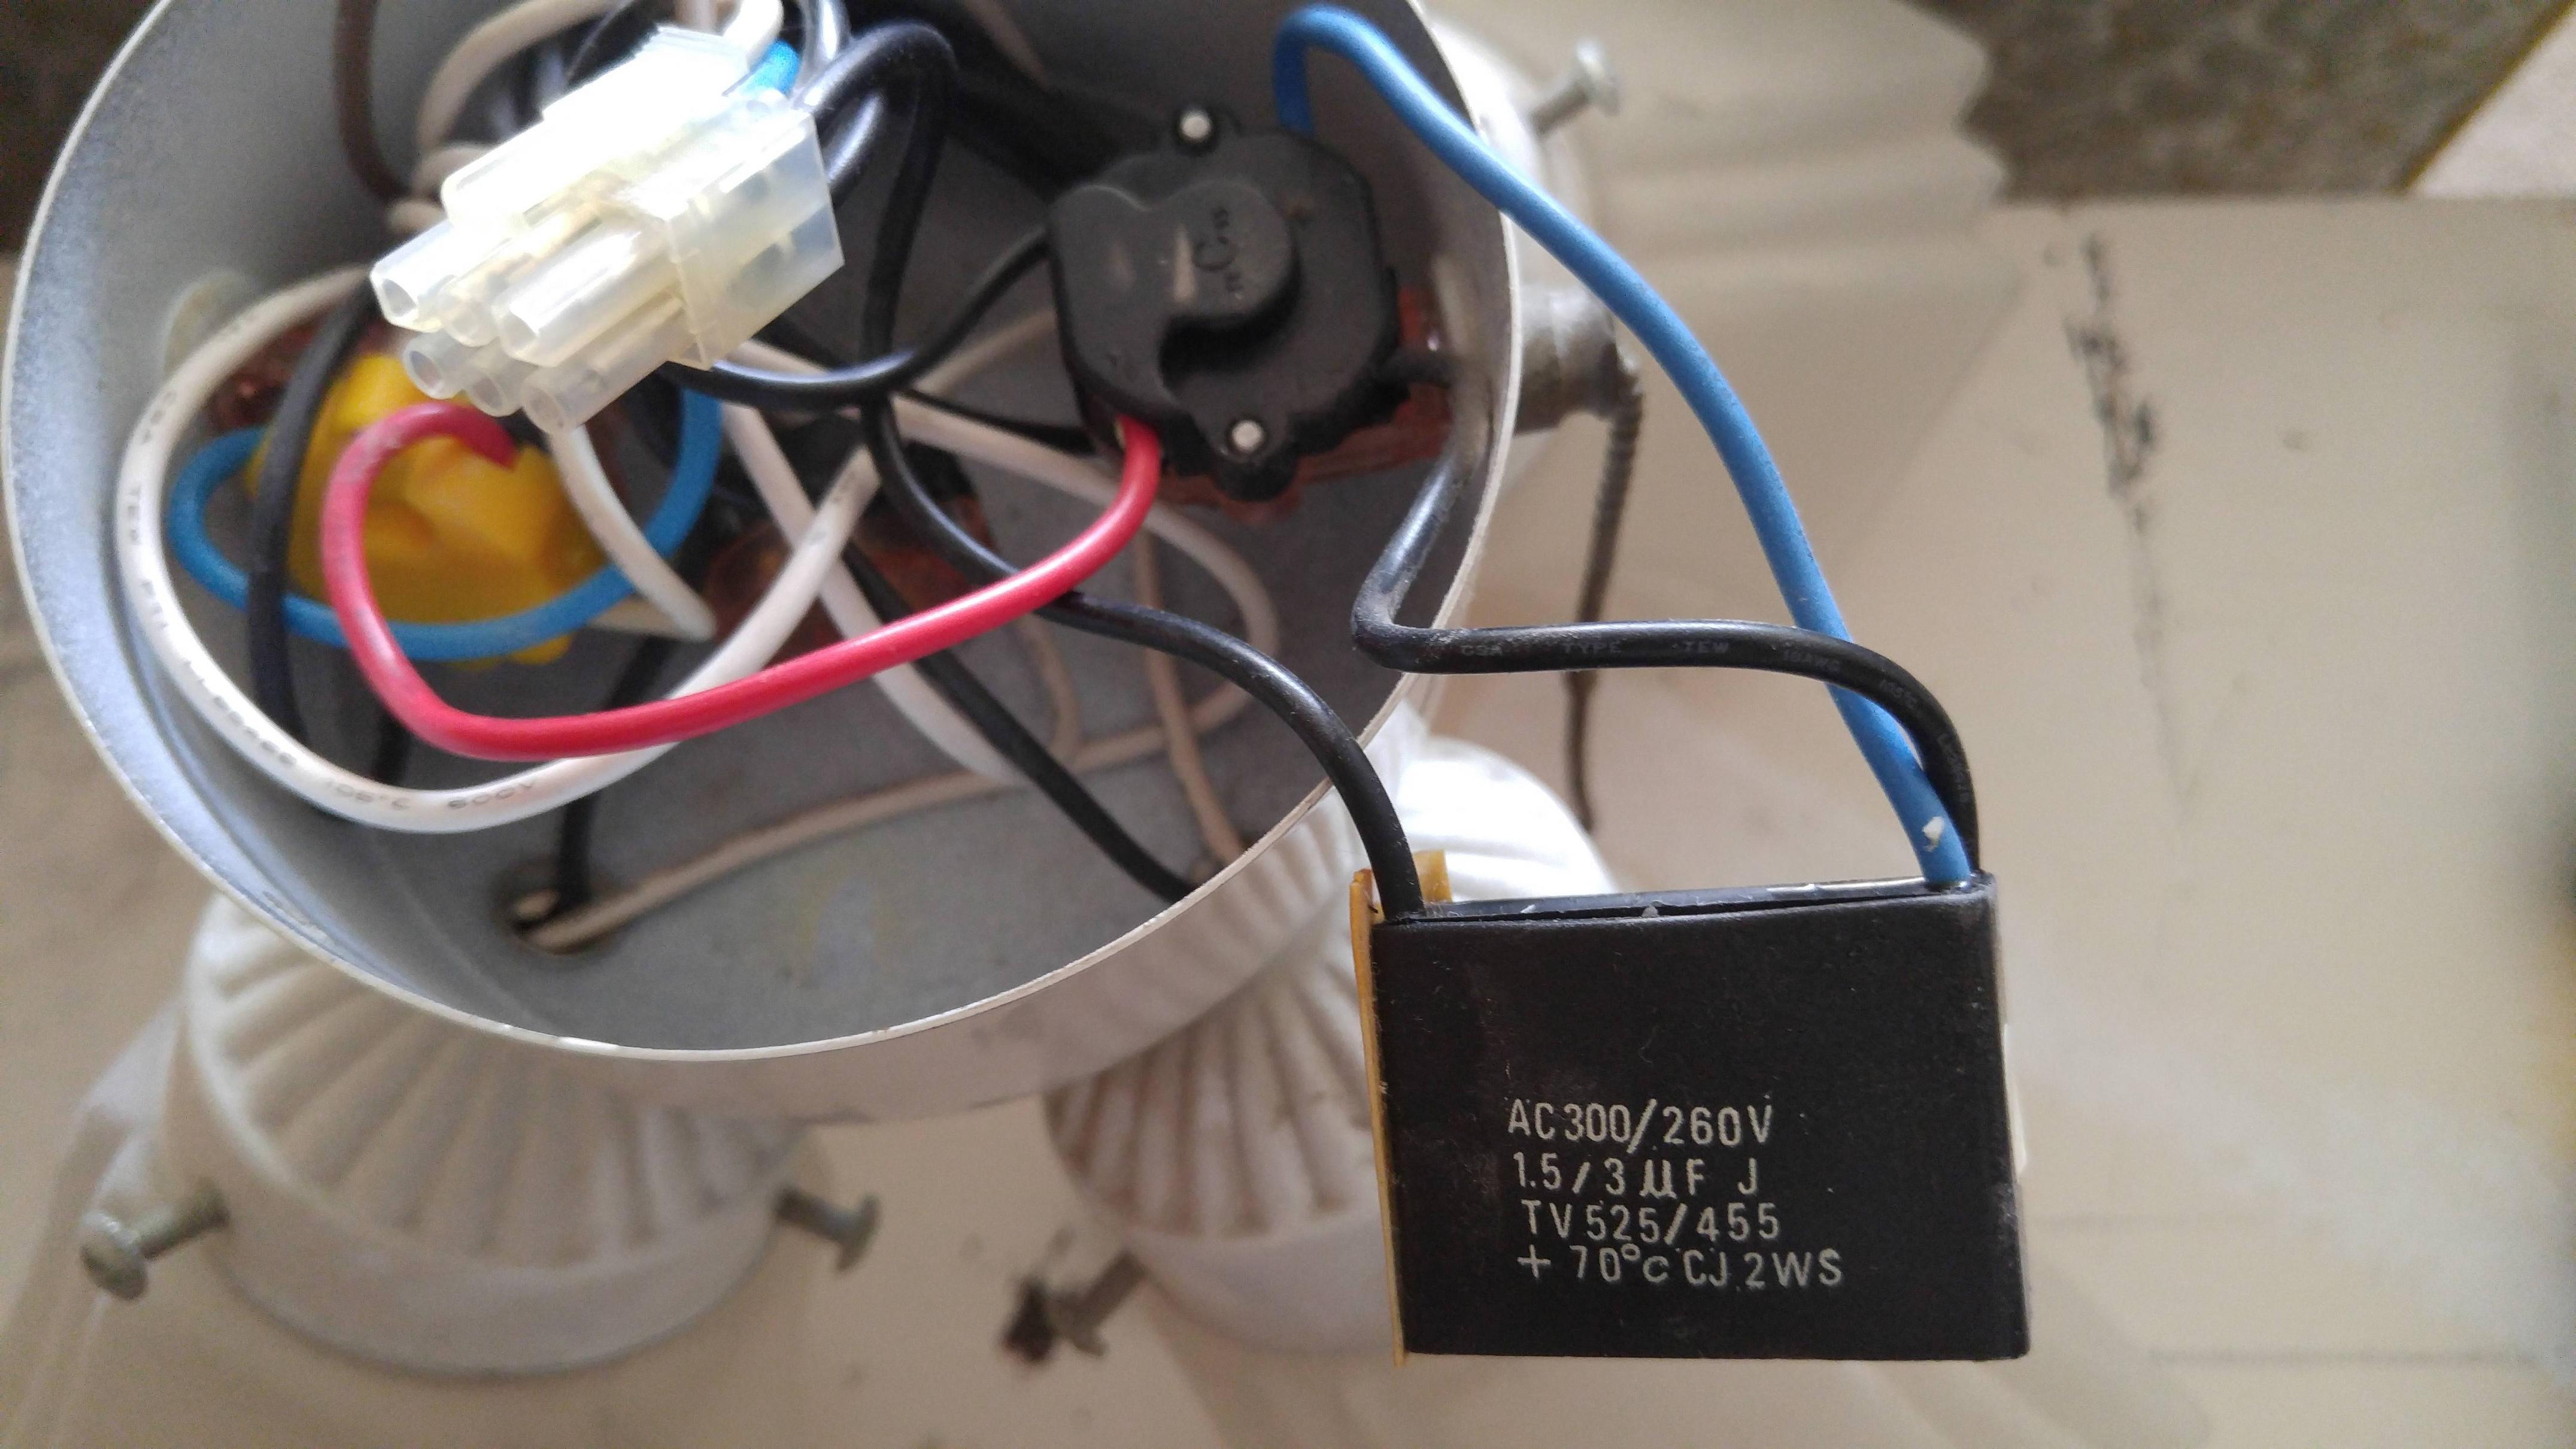
Step 3: Identify the Wiring
Identifying the wiring is a crucial step in installing a new ceiling fan. It ensures that you understand the electrical connections and can properly connect the new fan. Here’s what you need to do:
- Examine the wires inside the electrical box in the ceiling where the old fan was installed.
- Identify the three main wires: the ground wire, neutral wire, and hot wire.
- The ground wire is usually bare copper or green and is connected to the metal casing or grounding screw in the electrical box.
- The neutral wire is typically white or gray and may have a marking or ribbing to distinguish it from other wires.
- The hot wire is often black or red and is the wire that supplies power to the fan.
- Take note of the wires’ locations and how they were connected to the old fan. This will help when connecting the new fan.
It’s important to exercise caution during this step, as some electrical boxes may have multiple sets of wires if there are multiple switches controlling the fan or additional fixtures in the room. Ensure that you identify the correct set of wires associated with the fan.
If the wiring is not clearly labeled, you may need to use a voltage tester to identify the hot wire. Place the voltage tester near each wire while the power is off to determine which wire is live. Be sure to follow safety guidelines and precautions while using a voltage tester.
Once you have identified and understood the wiring, you’re ready to proceed to the next step: connecting the wires of the new ceiling fan.
Step 4: Connect the Ground Wire
Connecting the ground wire is an important step in wiring your new ceiling fan. The ground wire provides a safe pathway for electrical currents and helps protect against electrical shocks. Follow these steps to connect the ground wire:
- Locate the ground wire from the electrical box in the ceiling. This wire is usually bare copper or green.
- Locate the ground wire from the new ceiling fan. It is typically also green or bare copper.
- Twist the ends of the ground wires together in a clockwise direction.
- Secure the connection by twisting a wire nut over the twisted wires. Make sure the wire nut is tight and secure.
- If the new fan has a grounding screw, you may need to attach the ground wire to it. Follow the manufacturer’s instructions provided with the fan for guidance on this.
It’s important to ensure that the ground wire is properly connected to provide a safe electrical connection. This connection helps prevent electrical hazards, especially in the event of a fault or short circuit.
After connecting the ground wire, double-check the connection to ensure it is secure and tight. Take care not to overtighten the wire nut, as this can damage the wires.
Once the ground wire is securely connected, you can proceed to the next step: connecting the neutral wire.
When wiring a ceiling fan with 3 wires, make sure to connect the black wire to the fan’s black or blue wire, the white wire to the fan’s white wire, and the green or bare wire to the fan’s green wire for grounding. Always turn off the power before starting the wiring process.
Step 5: Connect the Neutral Wire
Connecting the neutral wire is an essential step in wiring your new ceiling fan. The neutral wire carries the electrical current back to the source and completes the electrical circuit. Follow these steps to connect the neutral wire:
- Locate the neutral wire from the electrical box in the ceiling. This wire is typically white or gray.
- Locate the neutral wire from the new ceiling fan. It should also be white or gray.
- Twist the ends of the neutral wires together in a clockwise direction.
- Secure the connection by twisting a wire nut over the twisted wires. Ensure the wire nut is tight and secure.
Connecting the neutral wire properly is crucial for the safe and efficient operation of the ceiling fan. This connection allows for the proper flow of electrical current and ensures the fan functions as intended.
After connecting the neutral wire, double-check the connection to ensure it is secure and tight. Ensure there are no loose or exposed wires, as this can lead to electrical issues.
It’s important to note that some ceiling fans may have separate wires for the fan and light functions. In this case, you may need to connect the neutral wires for each separately, following the manufacturer’s instructions provided with the fan.
Once the neutral wire is securely connected, you can proceed to the next step: connecting the hot wire.
Step 6: Connect the Hot Wire
Connecting the hot wire is a crucial step in wiring your new ceiling fan. The hot wire is responsible for supplying power to the fan, enabling it to operate. Follow these steps to connect the hot wire:
- Locate the hot wire from the electrical box in the ceiling. This wire is typically black or red.
- Locate the hot wire from the new ceiling fan. It should also be black or red.
- Twist the ends of the hot wires together in a clockwise direction.
- Secure the connection by twisting a wire nut over the twisted wires. Ensure the wire nut is tight and secure.
Connecting the hot wire properly is crucial for the safe and efficient operation of the ceiling fan. This connection allows the fan to receive the necessary power to function effectively.
After connecting the hot wire, double-check the connection to ensure it is secure and tight. Verify that there are no loose wires or exposed connections.
It’s important to note that some ceiling fans may have separate wires for the fan and light functions. In this case, you may need to connect the hot wires for each separately, following the manufacturer’s instructions provided with the fan.
Once the hot wire is securely connected, you can proceed to the next step: securing the connections.
Read more: What Size Wire for a Ceiling Fan
Step 7: Secure the Connections
Securing the electrical connections is a critical step in the wiring process to ensure the safety and proper functioning of your ceiling fan. Follow these steps to secure the connections:
- Double-check that all the wire connections (ground, neutral, and hot) are properly twisted together.
- Once the wires are twisted together, place a wire nut over each connection.
- Tighten each wire nut firmly, ensuring that the twisted wires are completely enclosed inside the wire nut.
- After securing each wire nut, gently tug on the wires to test the strength of the connections. They should be firmly held together.
Securing the connections is essential to prevent any loose or exposed wires, which could lead to electrical hazards or malfunctioning of the ceiling fan. Properly secured connections guarantee a reliable and safe electrical connection.
If necessary, use electrical tape to further secure the wire nuts by wrapping it around the base of the wire nuts and the wires. This extra layer of insulation helps prevent any accidental contact with the live wires.
Additionally, it is crucial to ensure that no bare copper or exposed wires are outside the wire nuts. Trim any excess wire length if necessary to prevent any potential contact or short circuits.
Once you have securely connected and tightened all the electrical connections, you can proceed to the next step: attaching the fan blades.
Step 8: Attach the Fan Blades
Attaching the fan blades is an exciting step in the installation process as it brings your ceiling fan to life. Follow these steps to attach the fan blades:
- Locate the fan blade brackets provided with your ceiling fan.
- Attach the fan blade brackets to the motor housing using the screws provided. Ensure that the brackets are securely fastened.
- Take note of the fan blade positioning. Most ceiling fans have specified labels indicating the correct blade orientation, such as “Top” or “Up.” Ensure that the leading edges of the blades are facing the same direction.
- Align the holes on the fan blades with the holes on the fan blade brackets.
- Insert and tighten the screws through the holes in the blades into the brackets. Use a screwdriver or the appropriate tool provided to secure the blades tightly.
- Repeat this process for each fan blade, ensuring that they are all securely attached.
During this step, it’s important to handle the fan blades with care to avoid any damage or bending. Make sure the fan blades are evenly spaced and balanced for optimal performance and aesthetics.
Double-check that all the screws are tightened securely to prevent any wobbling or movement of the fan blades while in operation. Loose blades can cause unnecessary noise, vibration, and even damage to the fan.
Once you have attached all the fan blades securely, you’re now ready to move on to the next step: installing the light kit (if applicable).
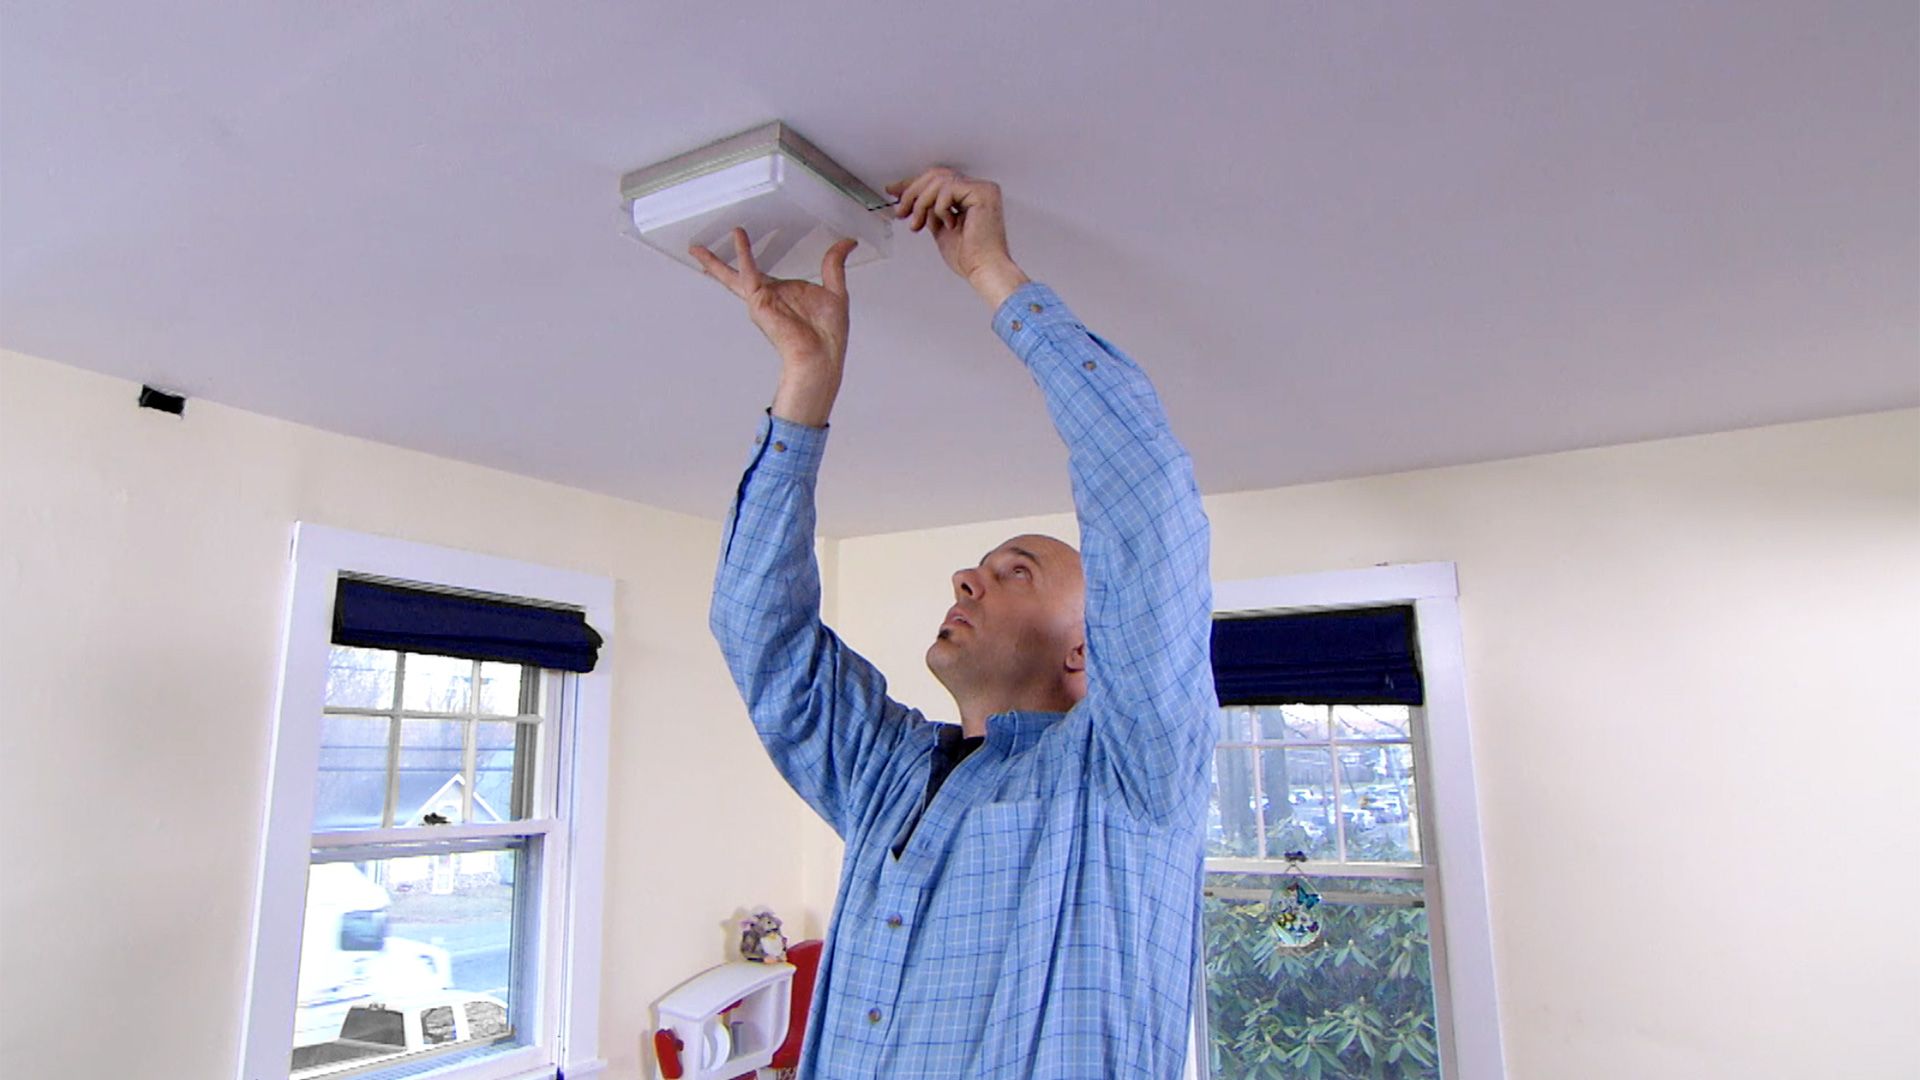
Step 9: Install the Light Kit (if applicable)
If your ceiling fan includes a light kit or if you have purchased one separately, you can install it in this step. Not all ceiling fans come with a light kit, so you can skip this step if it doesn’t apply to your installation. Follow these steps to install the light kit:
- Locate the light kit included with your ceiling fan or the separate light kit that you purchased.
- Identify the wiring in the light kit and match it with the wiring in the ceiling fan.
- Connect the light kit wires to the corresponding wires in the ceiling fan. This typically involves connecting the neutral (white) wire to the neutral wire and the hot (black) wire to the hot wire.
- Secure the connections with wire nuts and ensure that they are tight and secure.
- Attach the light kit to the designated area on the ceiling fan, following the manufacturer’s instructions. This may involve aligning screw holes and tightening screws.
- If the light kit includes a light shade or cover, install it according to the instructions provided.
When installing the light kit, be sure to follow the manufacturer’s instructions specific to your ceiling fan model. Different fans may have slight variations in the installation process.
Once the light kit is installed, check that all the connections are secure and properly insulated. Ensure that the light shade or cover is securely fastened to the light kit and aligned properly.
It’s important to note that if you’re installing any light bulbs in the light kit, choose bulbs that are compatible with the specifications provided by the manufacturer. Always follow safety guidelines when handling and installing light bulbs.
With the light kit installed (if applicable), you’re ready for the final step: turning on the power and testing the fan.
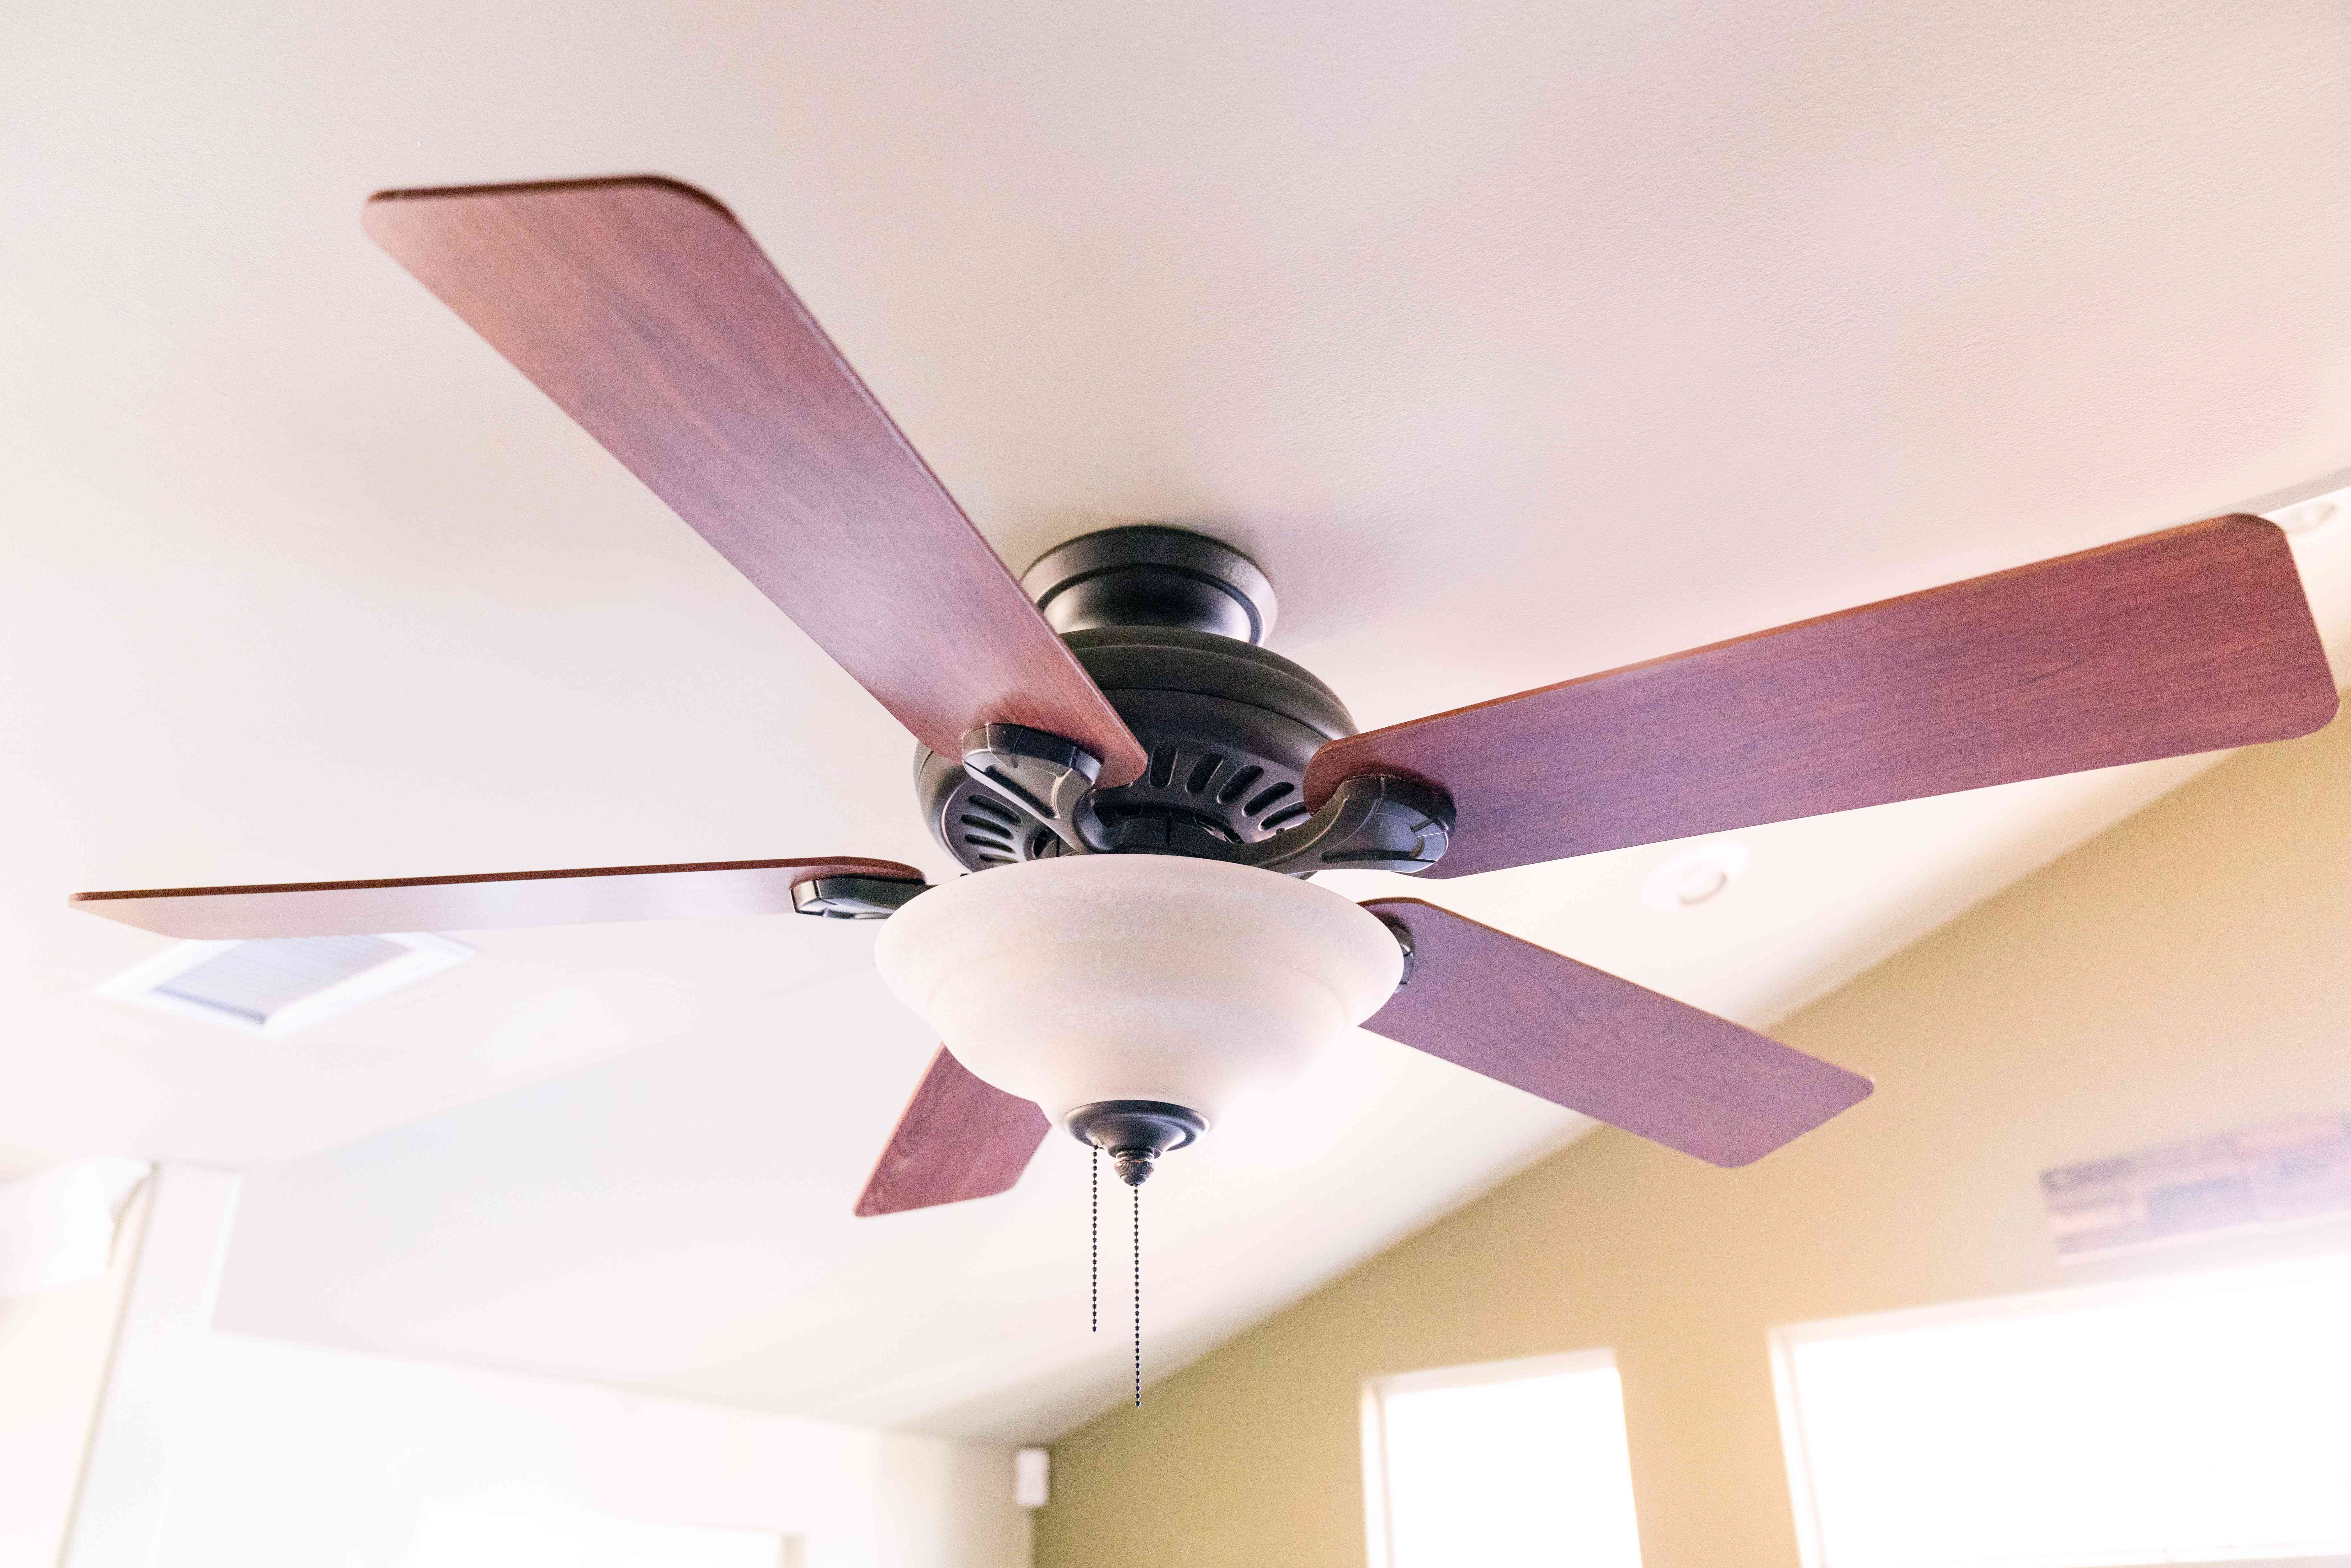
Step 10: Turn on the Power and Test the Fan
Now that you have successfully wired and installed your ceiling fan, it’s time to turn on the power and test its functionality. Follow these steps to complete the installation process:
- Go back to the main circuit breaker or fuse box where you previously turned off the power.
- Locate the breaker or fuse corresponding to the room or area where the ceiling fan is installed.
- Flip the switch of the corresponding breaker to the “ON” position or carefully insert the fuse back into its socket.
- Wait for a moment to allow the fan to receive power and start functioning.
- Turn on the fan using the wall switch or remote control, if provided.
- Observe the fan blades to ensure they are rotating smoothly and without any wobbling.
- If your ceiling fan has a light kit, turn on the lights to verify that they are functioning properly.
- Listen for any unusual noises or vibrations from the fan or light kit.
During this testing phase, make sure to stay vigilant and check for any signs of malfunction or irregularities. If you notice any issues such as excessive noise, wobbling, or flickering lights, turn off the power immediately and inspect the connections to ensure everything is properly secured.
If the fan is operating smoothly and the lights are functioning as expected, congratulations! You have successfully installed and tested your ceiling fan.
Keep in mind that regular maintenance and cleaning of your ceiling fan will help maintain its performance and longevity. Refer to the manufacturer’s instructions for any specific cleaning recommendations.
Now, sit back, relax, and enjoy the comfort and airflow provided by your newly installed ceiling fan!
If you encounter any difficulties during the installation process or are unsure about any step, it is recommended to consult a professional electrician for assistance.
Read more: What Is The Blue Wire For On A Ceiling Fan
Conclusion
Wiring a ceiling fan with three wires can seem like a daunting task, but with the right knowledge and steps, it can be a straightforward process. By understanding the purpose of each wire, gathering the necessary tools and materials, and following the step-by-step instructions, you can successfully install a ceiling fan in your space.
Throughout the installation process, it is crucial to prioritize safety. Always remember to turn off the power before beginning any electrical work and use caution when handling wires and making connections. Double-check your work to ensure all connections are secure and wires are properly insulated.
Installing a ceiling fan not only adds comfort to your home but also helps improve energy efficiency by circulating air and reducing the reliance on air conditioning. Additionally, incorporating a light kit can enhance the lighting in the room, making it a versatile and valuable addition.
If you ever feel unsure or encounter any difficulties during the installation process, it is always a good idea to consult a professional electrician. They can provide guidance and ensure that the installation is done correctly and safely.
Remember to regularly maintain and clean your ceiling fan to keep it in optimal condition. This includes dusting the blades, tightening any loose screws, and inspecting the wiring connections periodically.
With the correct wiring and installation, your ceiling fan will provide you with years of comfort, energy savings, and aesthetic appeal. So, take the time to follow the steps outlined in this article, and soon you’ll be enjoying the benefits of a well-installed and functioning ceiling fan.
Excited about your newly wired ceiling fan? Why stop there? If you're looking to upgrade another room, our guide on ceiling fan installation shows you how to replace a simple light fixture with a fan. For those expanding their space, learn the essentials of electrical wiring to extend power to your garage safely. And for the hands-on homeowner, our comprehensive steps in DIY home improvement offer practical advice to enhance your living space without breaking the bank. Step up your home projects today!
Frequently Asked Questions about How To Wire A Ceiling Fan With 3 Wires
Was this page helpful?
At Storables.com, we guarantee accurate and reliable information. Our content, validated by Expert Board Contributors, is crafted following stringent Editorial Policies. We're committed to providing you with well-researched, expert-backed insights for all your informational needs.


0 thoughts on “How To Wire A Ceiling Fan With 3 Wires”