Articles
How To Wire A 4 Prong Dryer Outlet
Modified: August 27, 2024
Learn how to properly wire a 4 prong dryer outlet with this step-by-step guide. Our articles provide detailed instructions and tips to ensure a safe and efficient installation.
(Many of the links in this article redirect to a specific reviewed product. Your purchase of these products through affiliate links helps to generate commission for Storables.com, at no extra cost. Learn more)
Introduction
Wiring a 4-prong dryer outlet is a common task that many homeowners may need to undertake. Whether you’re installing a new dryer or upgrading an old outlet, this guide will walk you through the process step by step. With the right tools and materials, you can safely and efficiently wire a 4-prong dryer outlet in no time.
Before we dive into the wiring process, it’s essential to understand the importance of proper electrical installation. Working with electricity can be dangerous, so it’s crucial to follow all safety precautions and consult a professional if you have any doubts or concerns.
In this guide, we will cover the necessary tools and materials, the steps to follow, and how to ensure the outlet is functioning correctly at the end.
Note: Before starting any electrical work, always turn off the power to the circuit that you will be working on. This can be done by locating the main electrical panel and switching off the circuit breaker for the dryer outlet.
Now, let’s get started on wiring your 4-prong dryer outlet!
Key Takeaways:
- Prioritize safety and gather the necessary tools and materials before wiring a 4-prong dryer outlet. Always turn off the power, follow proper installation steps, and consult a professional if unsure.
- Securely install the new outlet, turn on the power, and test its functionality. Stay cautious, tidy up loose wires, and enjoy the convenience of a safe and efficient dryer connection.
Step 1: Gather the necessary tools and materials
Before you begin wiring a 4-prong dryer outlet, it’s essential to gather all the necessary tools and materials. This will ensure that you have everything you need to complete the task efficiently and safely. Here’s a list of what you’ll need:
- Wire stripper: This tool is used to remove the insulation from the electrical wires, exposing the copper conductor.
- Electrical tape: It is used to secure the wires and provide insulation.
- Screwdriver: Depending on the type of screws used in the outlet, you may need a flathead or Phillips screwdriver.
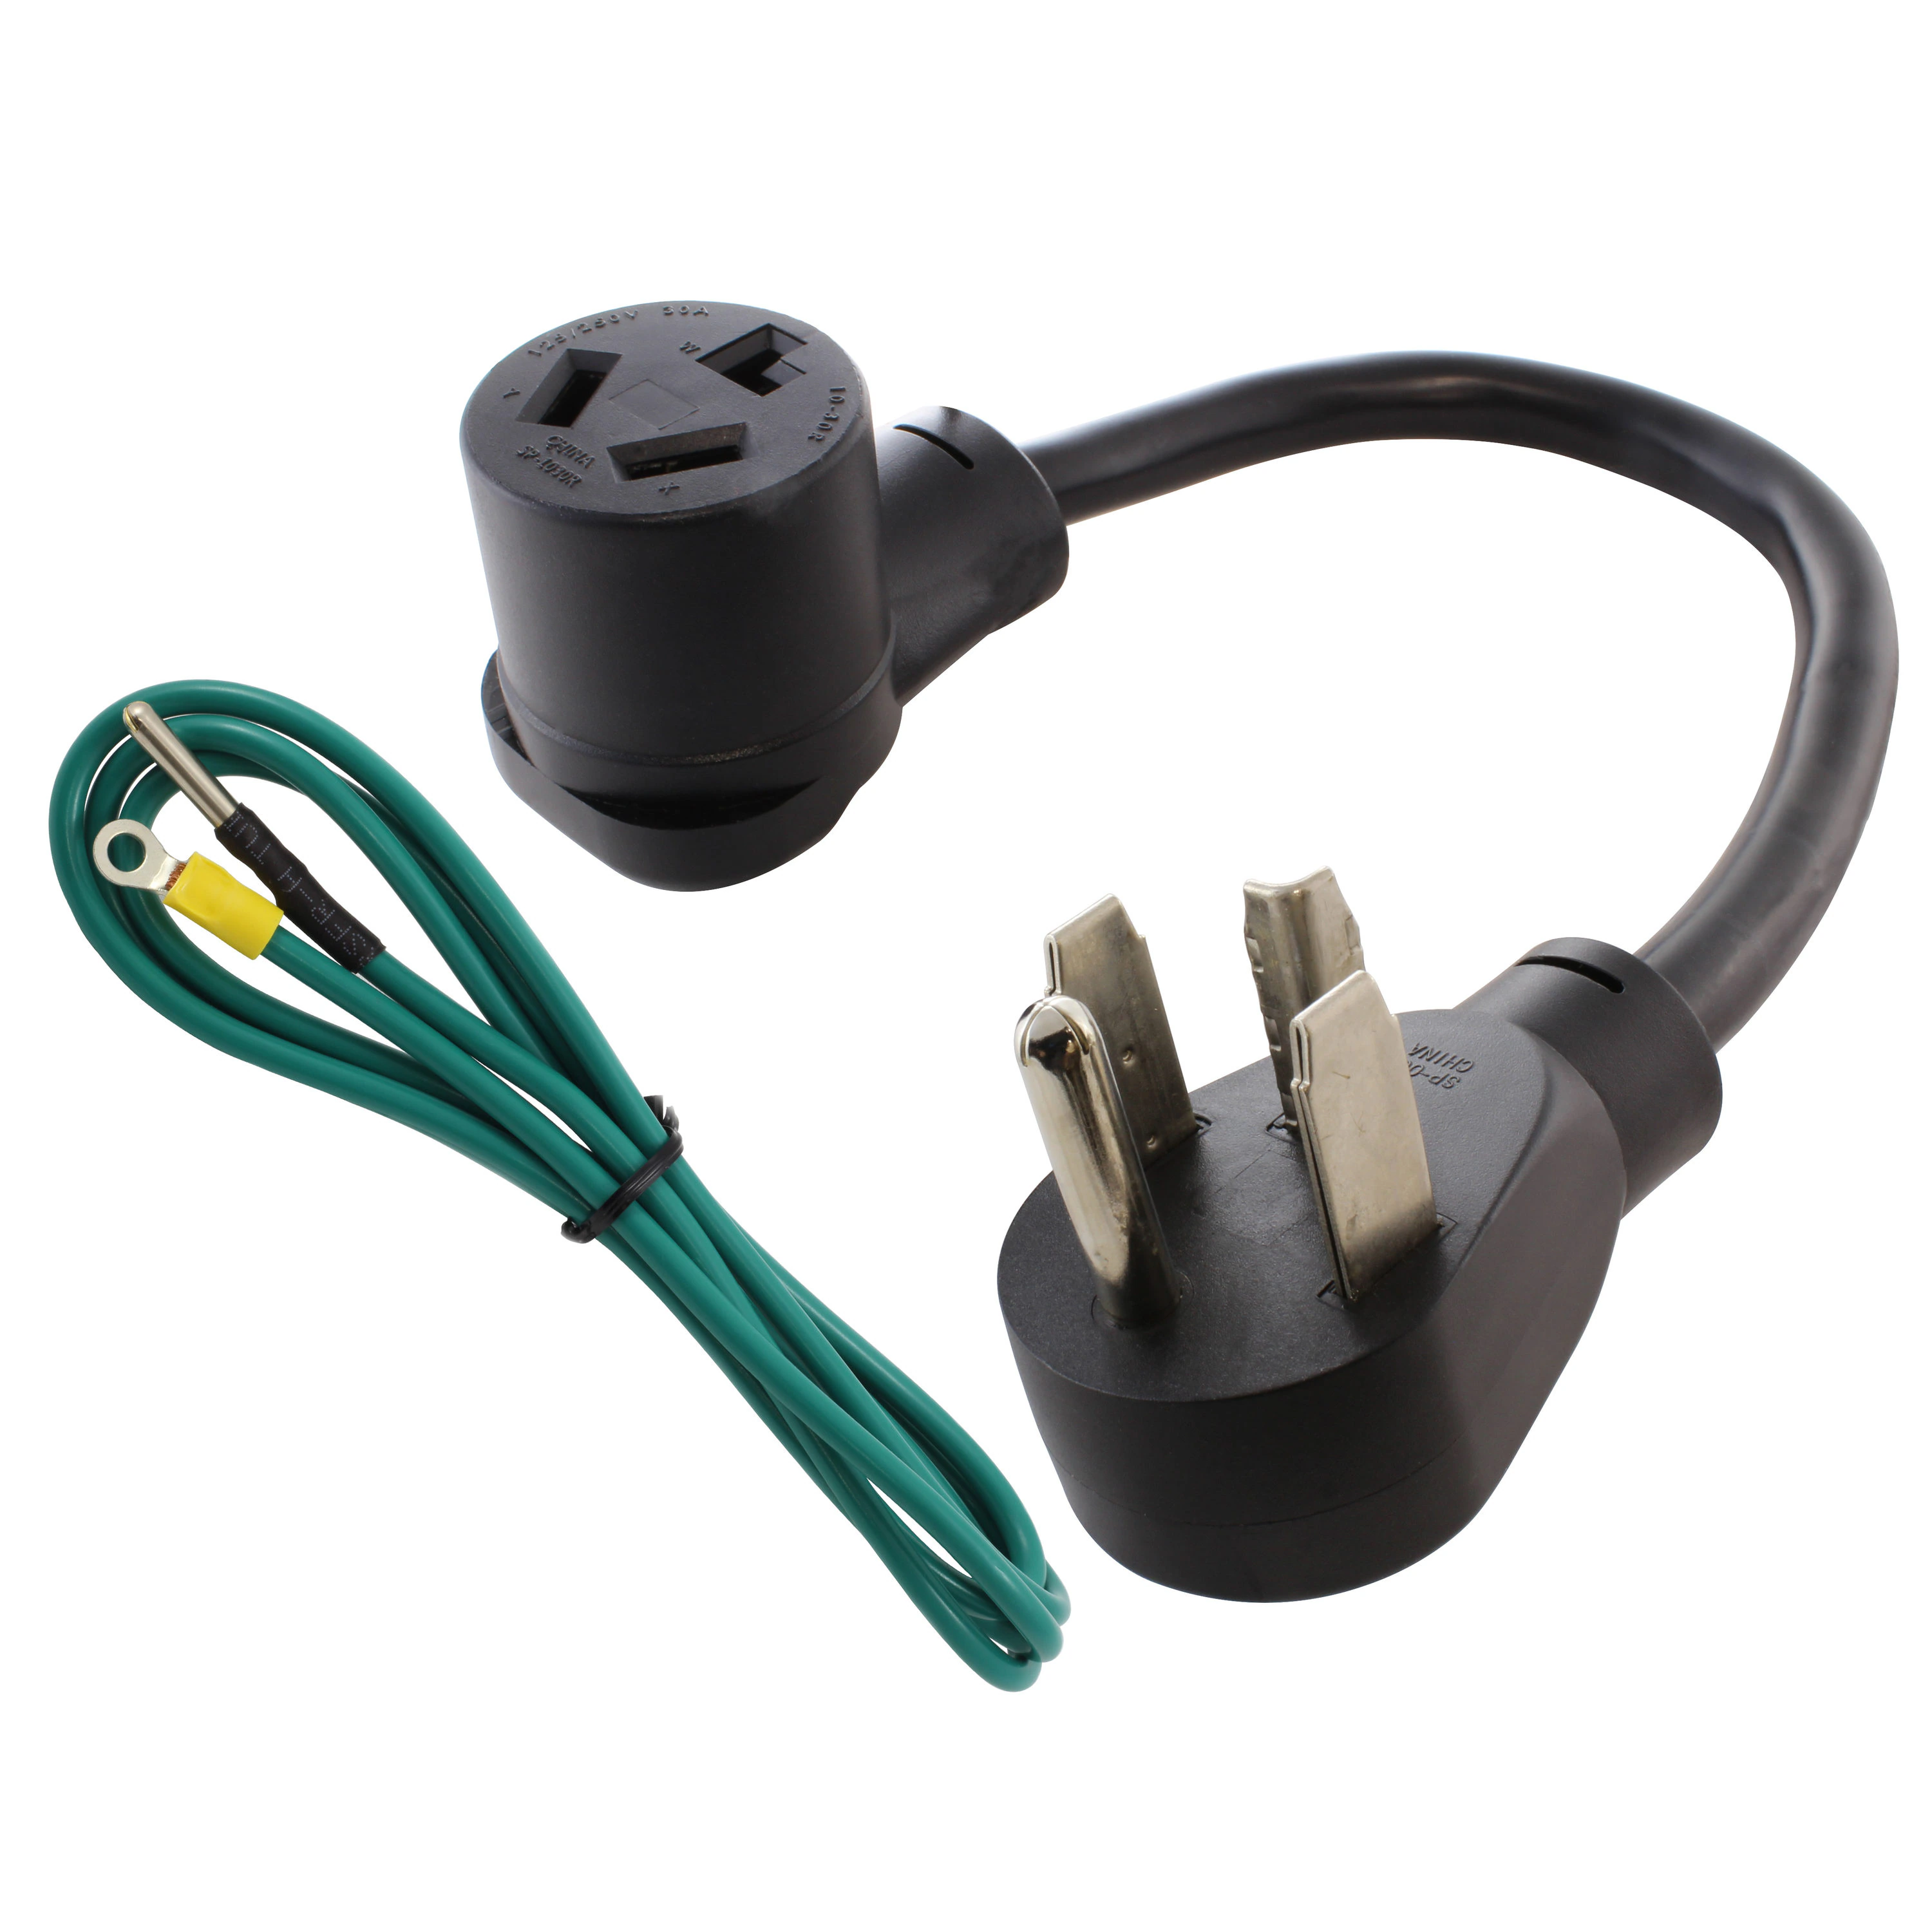
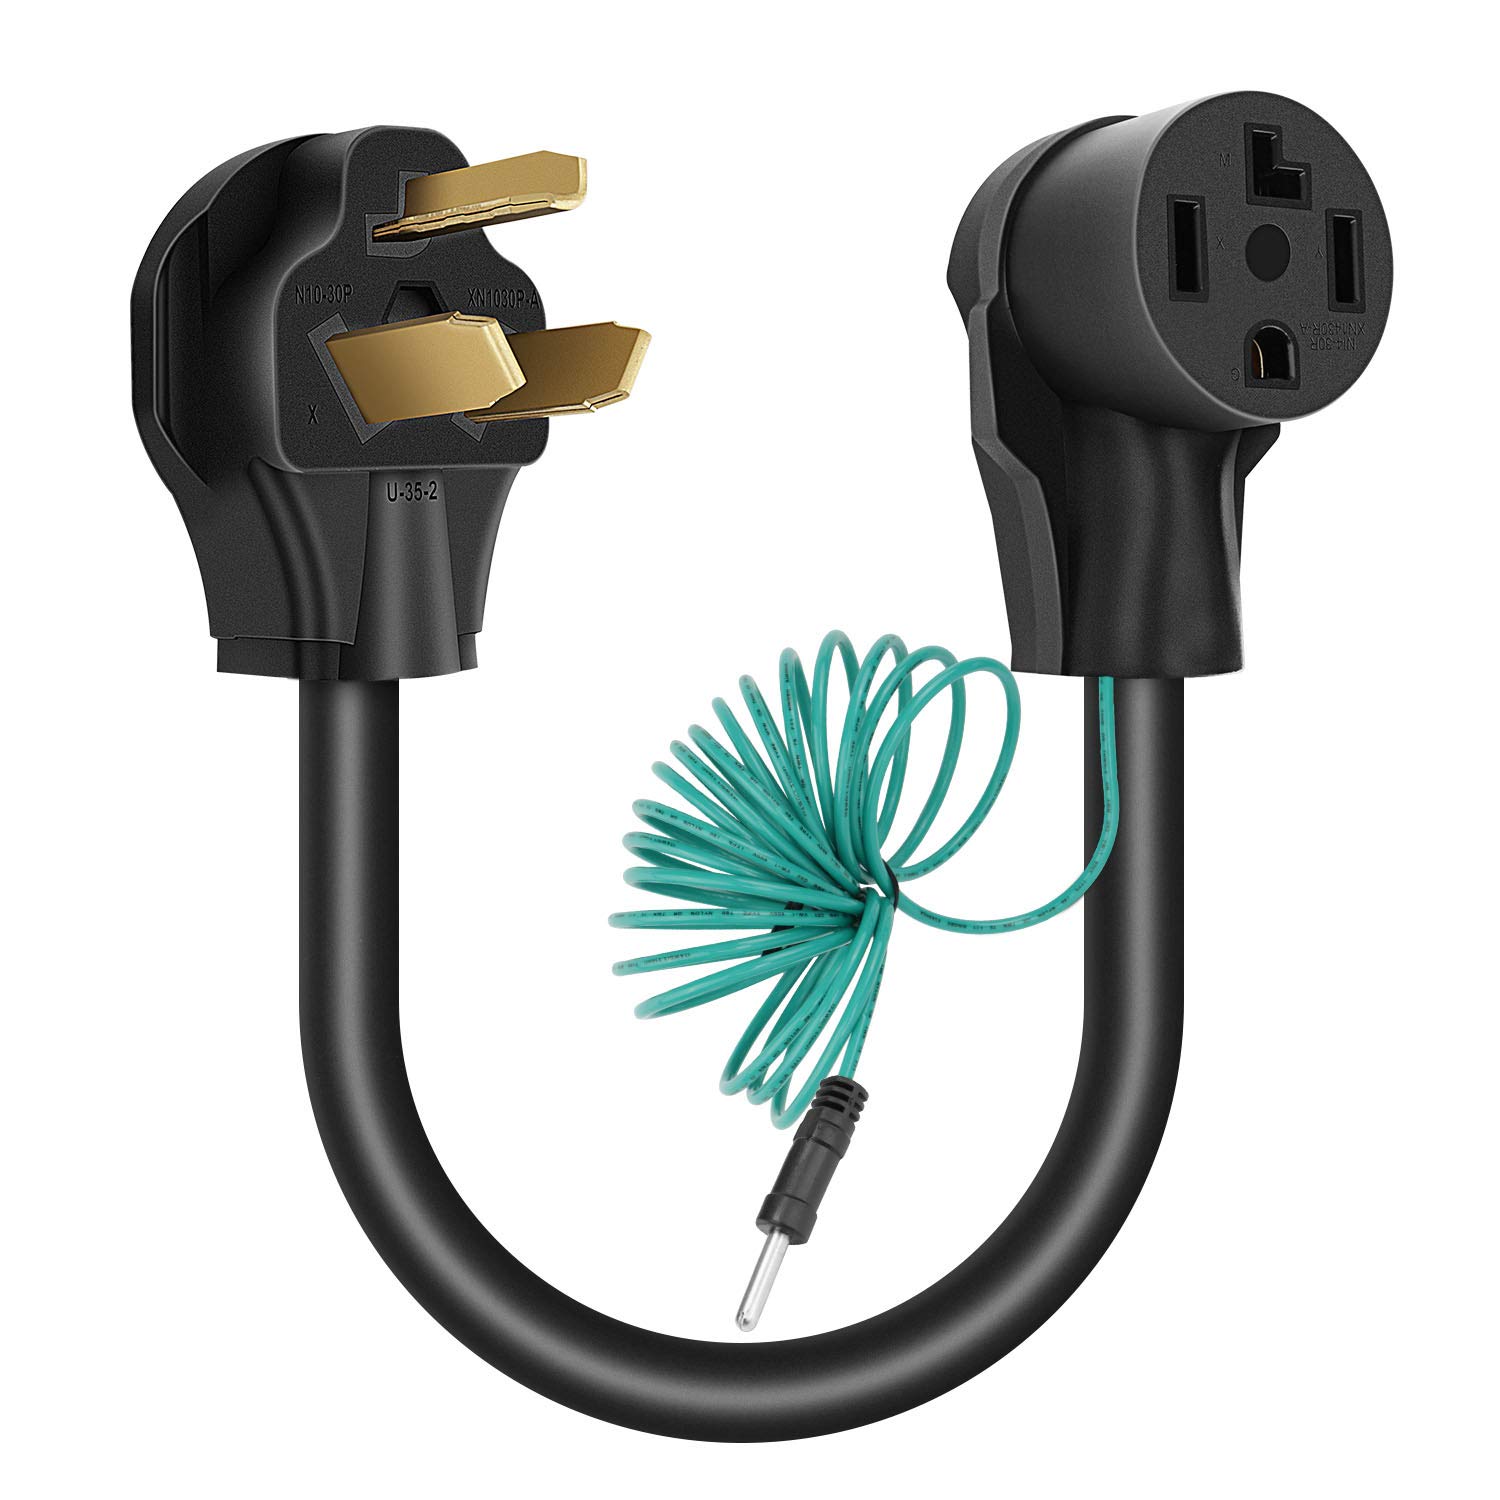
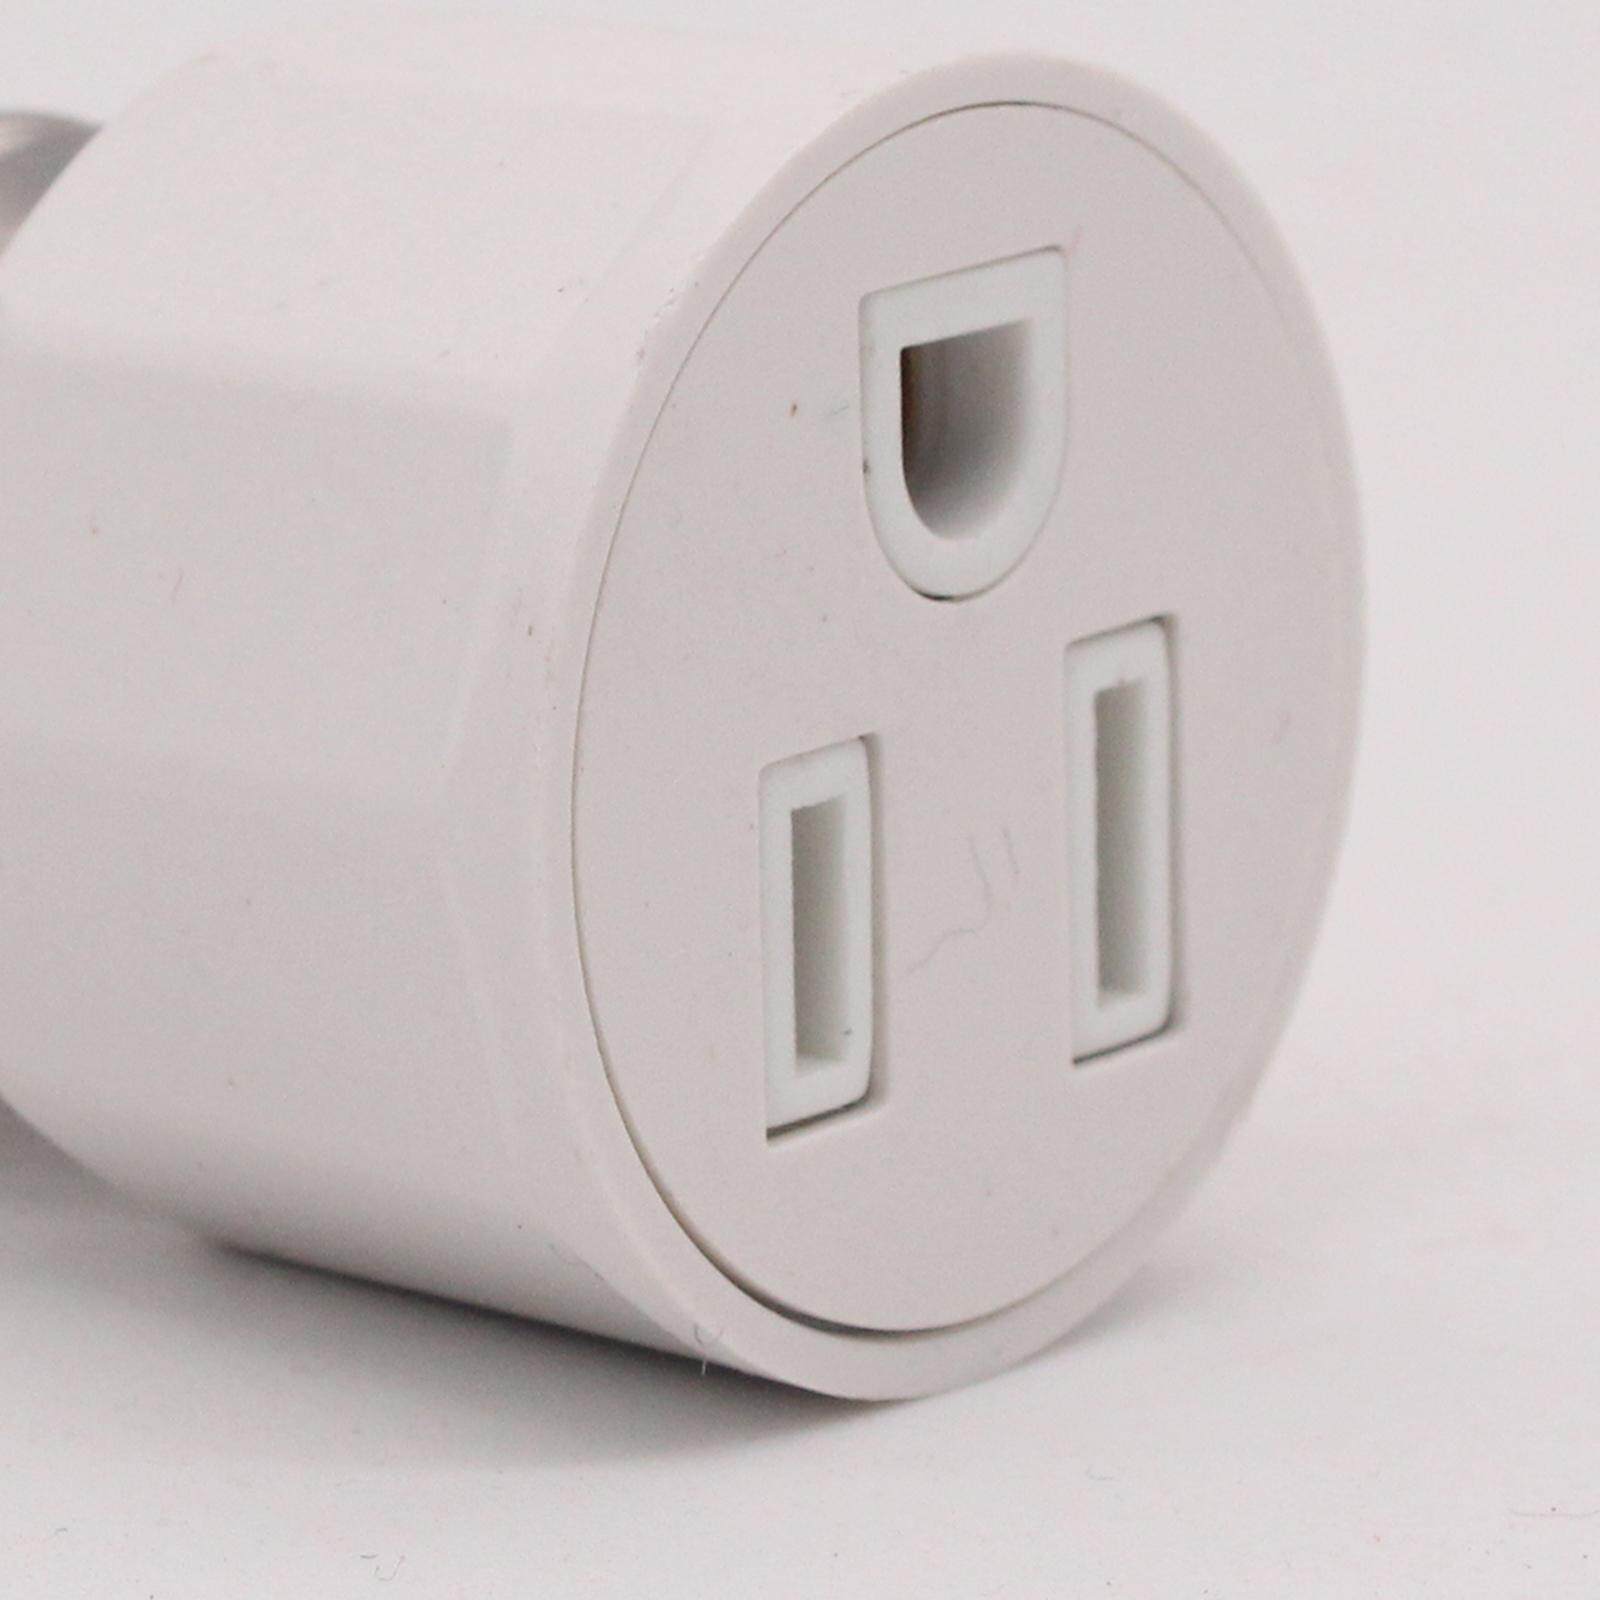
- 4-prong dryer outlet: This is the main component of the wiring process. Ensure that you have the correct type of outlet for your dryer.
- Electrical wire: You will need electrical wire of the appropriate gauge and length to connect the outlet to the electrical panel.
Having these tools and materials ready before you start will streamline the process and minimize any potential delays or interruptions. It’s always a good idea to check the compatibility of the outlet with your dryer and consult the manufacturer’s instructions for any specific requirements.
Note: When selecting the electrical wire, ensure that it meets the necessary safety standards and is rated for use with dryer outlets. It’s essential to use the correct gauge wire to prevent overheating and ensure proper electrical flow.
Now that you have all the necessary tools and materials prepared, you’re ready to move on to the next step: turning off the power.
Step 2: Turn off the power
Before you begin any electrical work, it’s crucial to turn off the power to the circuit you will be working on. This ensures your safety and prevents any electrical accidents or shocks. Here’s what you need to do:
1. Locate the main electrical panel: The main electrical panel is typically located in the basement, garage, or utility room. It houses all the circuit breakers or fuses that control the electricity flow to different areas of your home.
2. Locate the circuit breaker for the dryer outlet: Once you’ve found the main electrical panel, look for the breaker that controls the power supply to the dryer outlet. The breakers are usually labeled, so it should be easy to identify the one you need to switch off.
3. Switch off the circuit breaker: Once you’ve located the appropriate breaker, flip it to the off position. This will cut off the power supply to the dryer outlet. Double-check that the power is indeed off by testing the outlet with a voltage tester.
Note: It’s important to ensure that the power is completely off before proceeding with any electrical work. This will help prevent any accidental electrical shocks or injuries.
With the power turned off, you can now move on to the next step: disconnecting the old dryer outlet.
Step 3: Disconnect the old dryer outlet
Now that you have turned off the power, it’s time to disconnect the old dryer outlet. Follow these steps to safely remove the outlet:
1. Remove the cover plate of the outlet: Start by removing the cover plate of the outlet. This can usually be done by unscrewing the screws that hold it in place. Set the cover plate aside in a safe place.
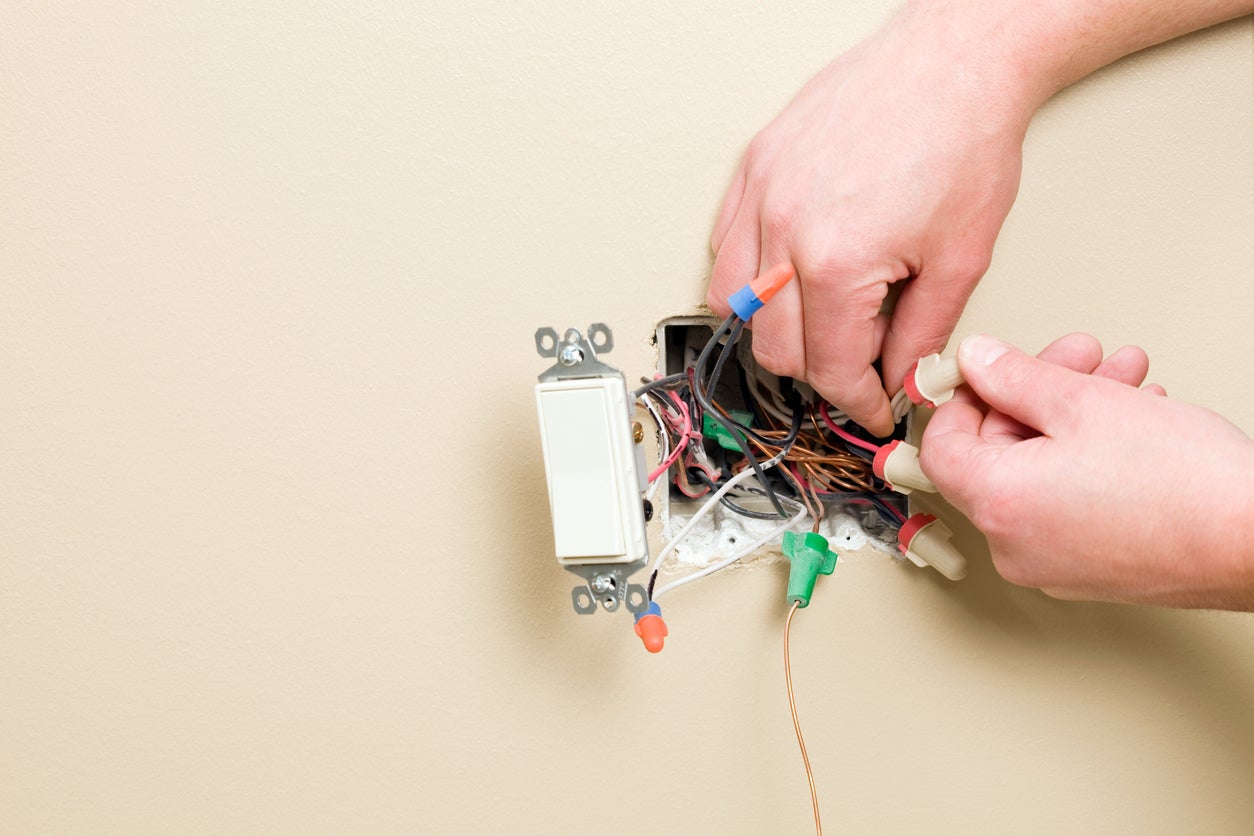
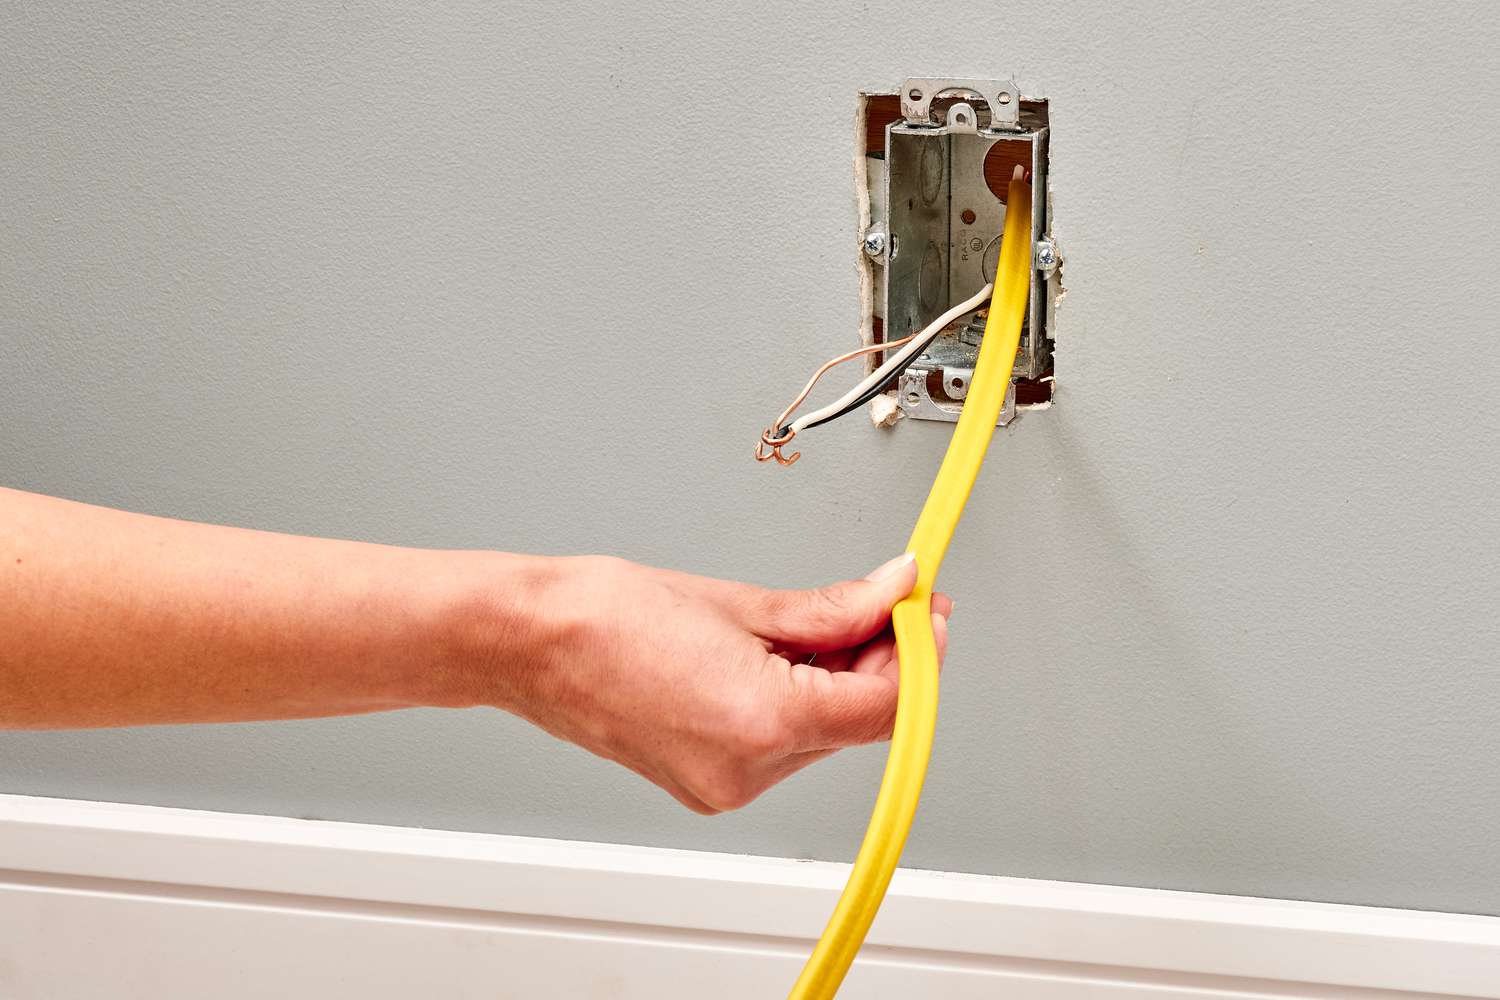
2. Unscrew the outlet from the electrical box: With the cover plate removed, you will see the outlet itself. Use a screwdriver to loosen and remove the screws that secure the outlet to the electrical box. Pay attention to how the wires are connected to the outlet terminals for easier re-installation later.
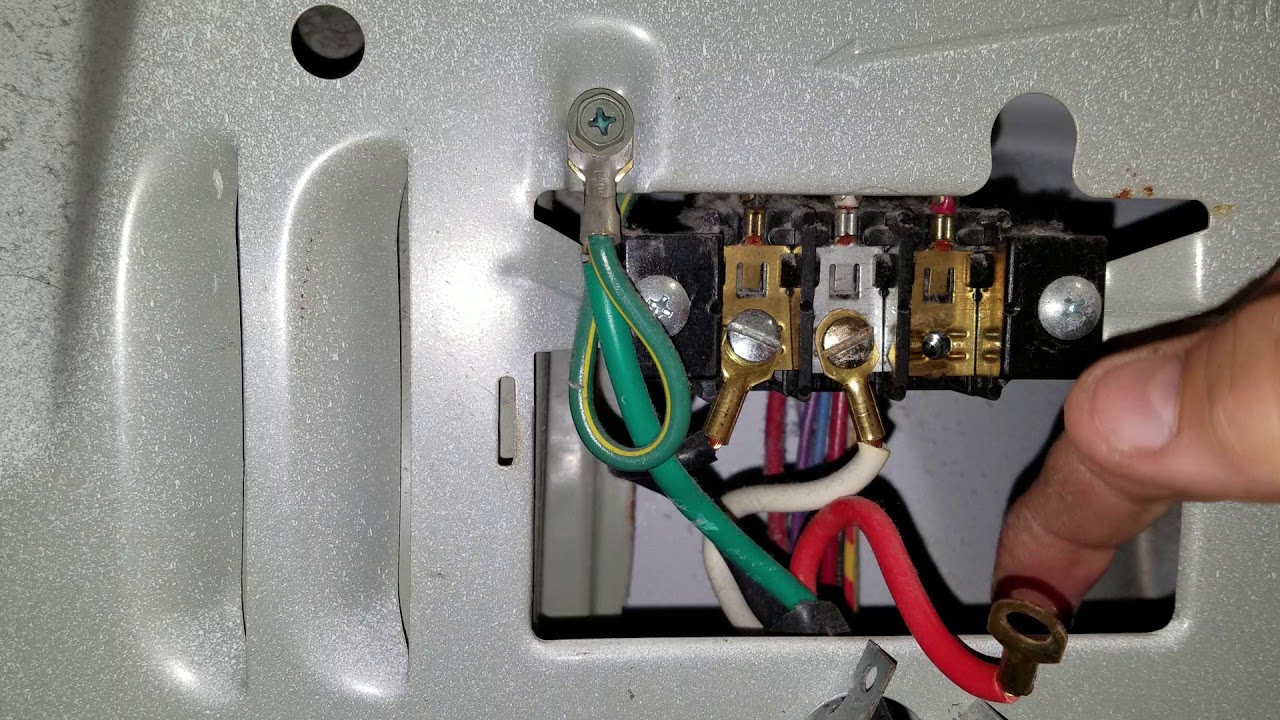
3. Disconnect the wires from the outlet terminals: Once the screws are removed, carefully detach the wires from the outlet terminals. Depending on the type of outlet, you may need to loosen terminal screws or release wire clamps to free the wires. Take note of the wire colors and their corresponding terminals for the new outlet.
Note: It’s essential to handle the wires with care and avoid touching any exposed copper. If you notice any damaged or frayed wires, it is recommended to consult a professional electrician for assistance.
With the old dryer outlet disconnected, you’re now ready to prepare the new 4-prong dryer outlet for installation.
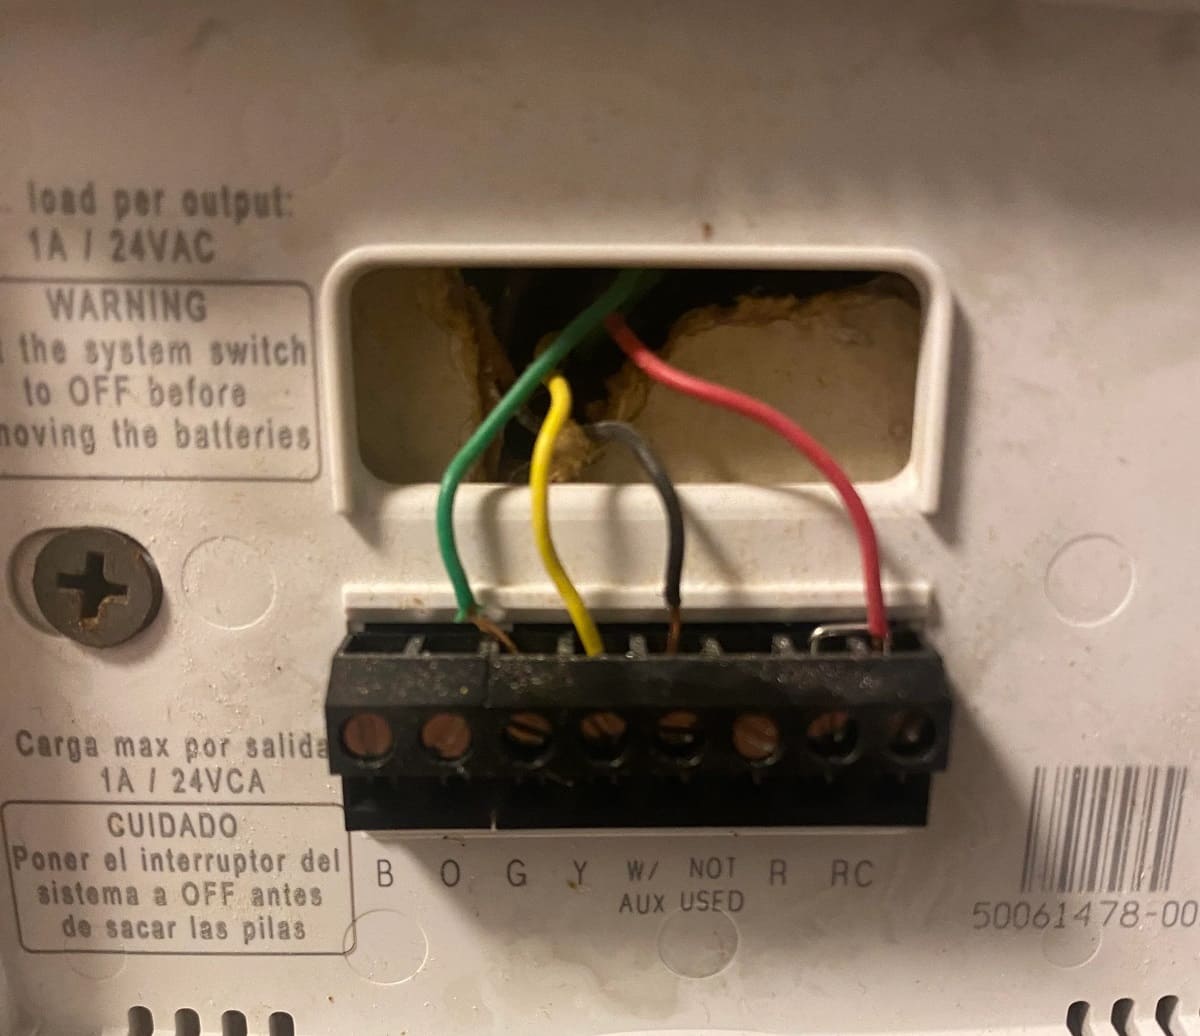
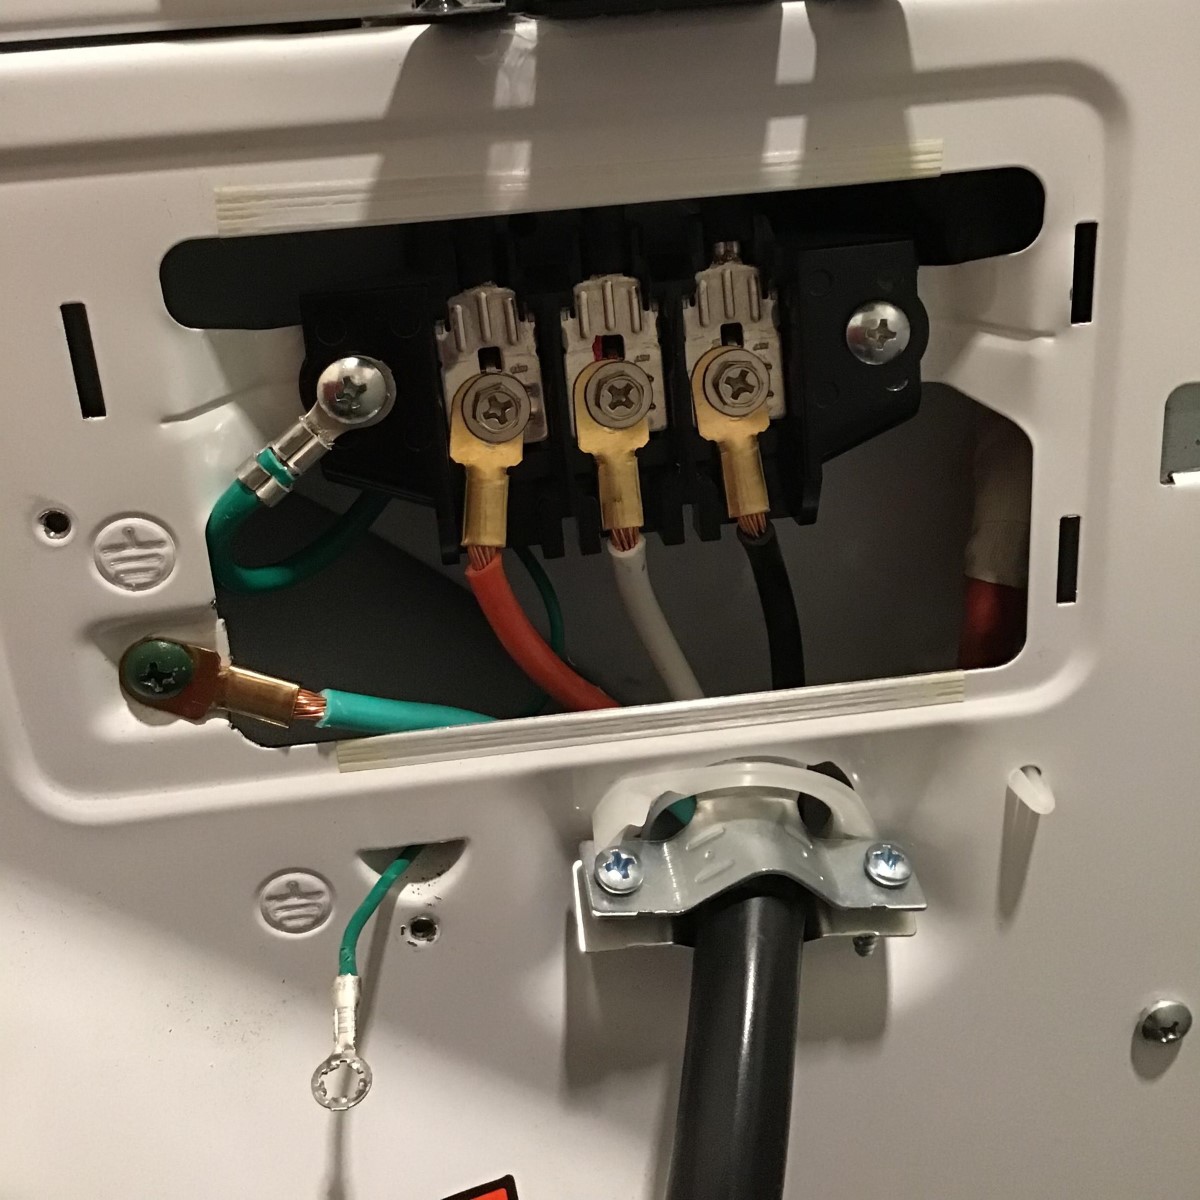
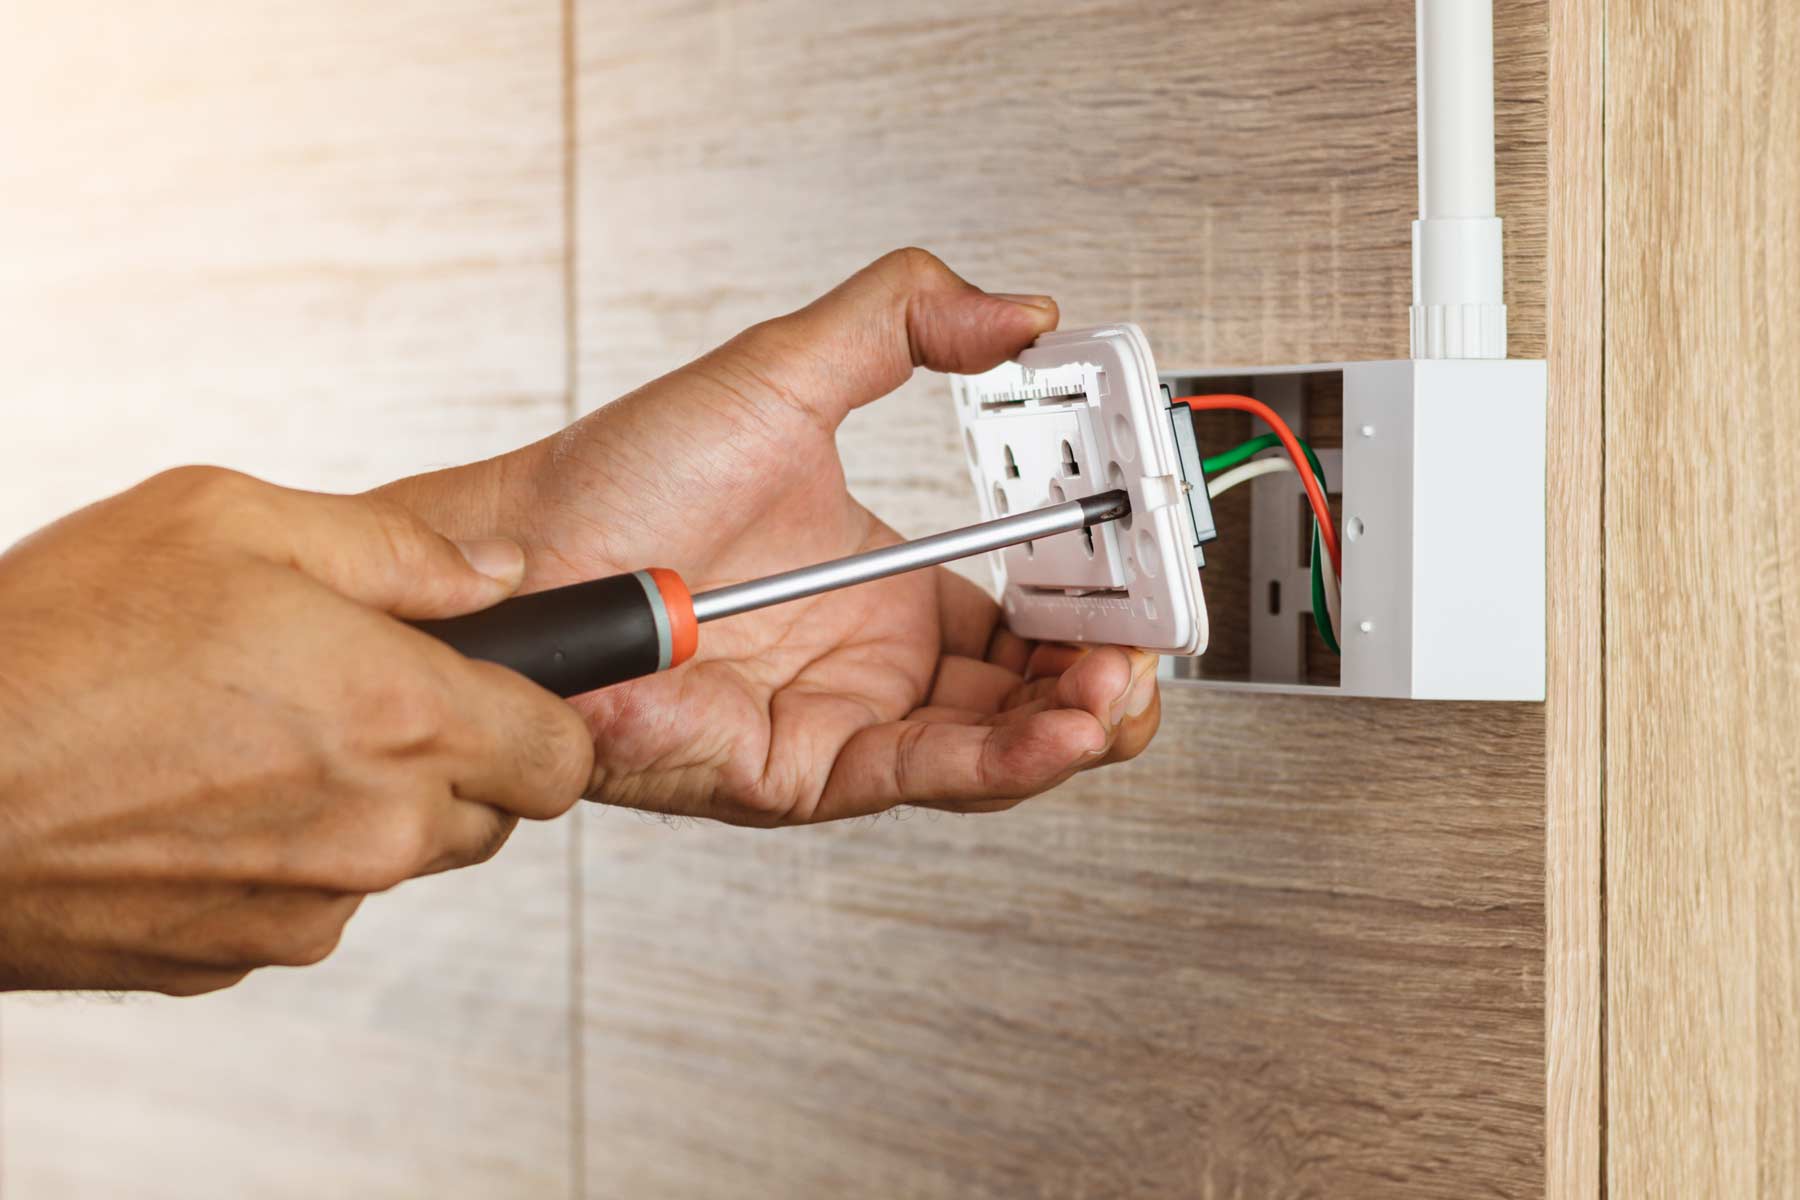
When wiring a 4 prong dryer outlet, make sure to connect the green ground wire to the grounding screw, the white neutral wire to the center terminal, and the two hot wires to the outer terminals. Always follow the manufacturer’s instructions and local electrical codes.
Step 4: Prepare the new 4-prong dryer outlet
With the old dryer outlet disconnected, it’s time to prepare the new 4-prong dryer outlet for installation. Follow these steps to ensure a proper and secure connection:
1. Identify the different terminal screws: Examine the new 4-prong dryer outlet and locate the different terminal screws. There should be four screws, each labeled with a specific designation such as “L1,” “L2,” “N,” and “G.” These labels indicate the terminals for the different wires.
2. Strip the insulation from the wires: Use a wire stripper to remove the insulation from the ends of the wires. Strip approximately 1/2 inch of insulation from each wire to expose the copper conductor. This will ensure a good electrical connection.
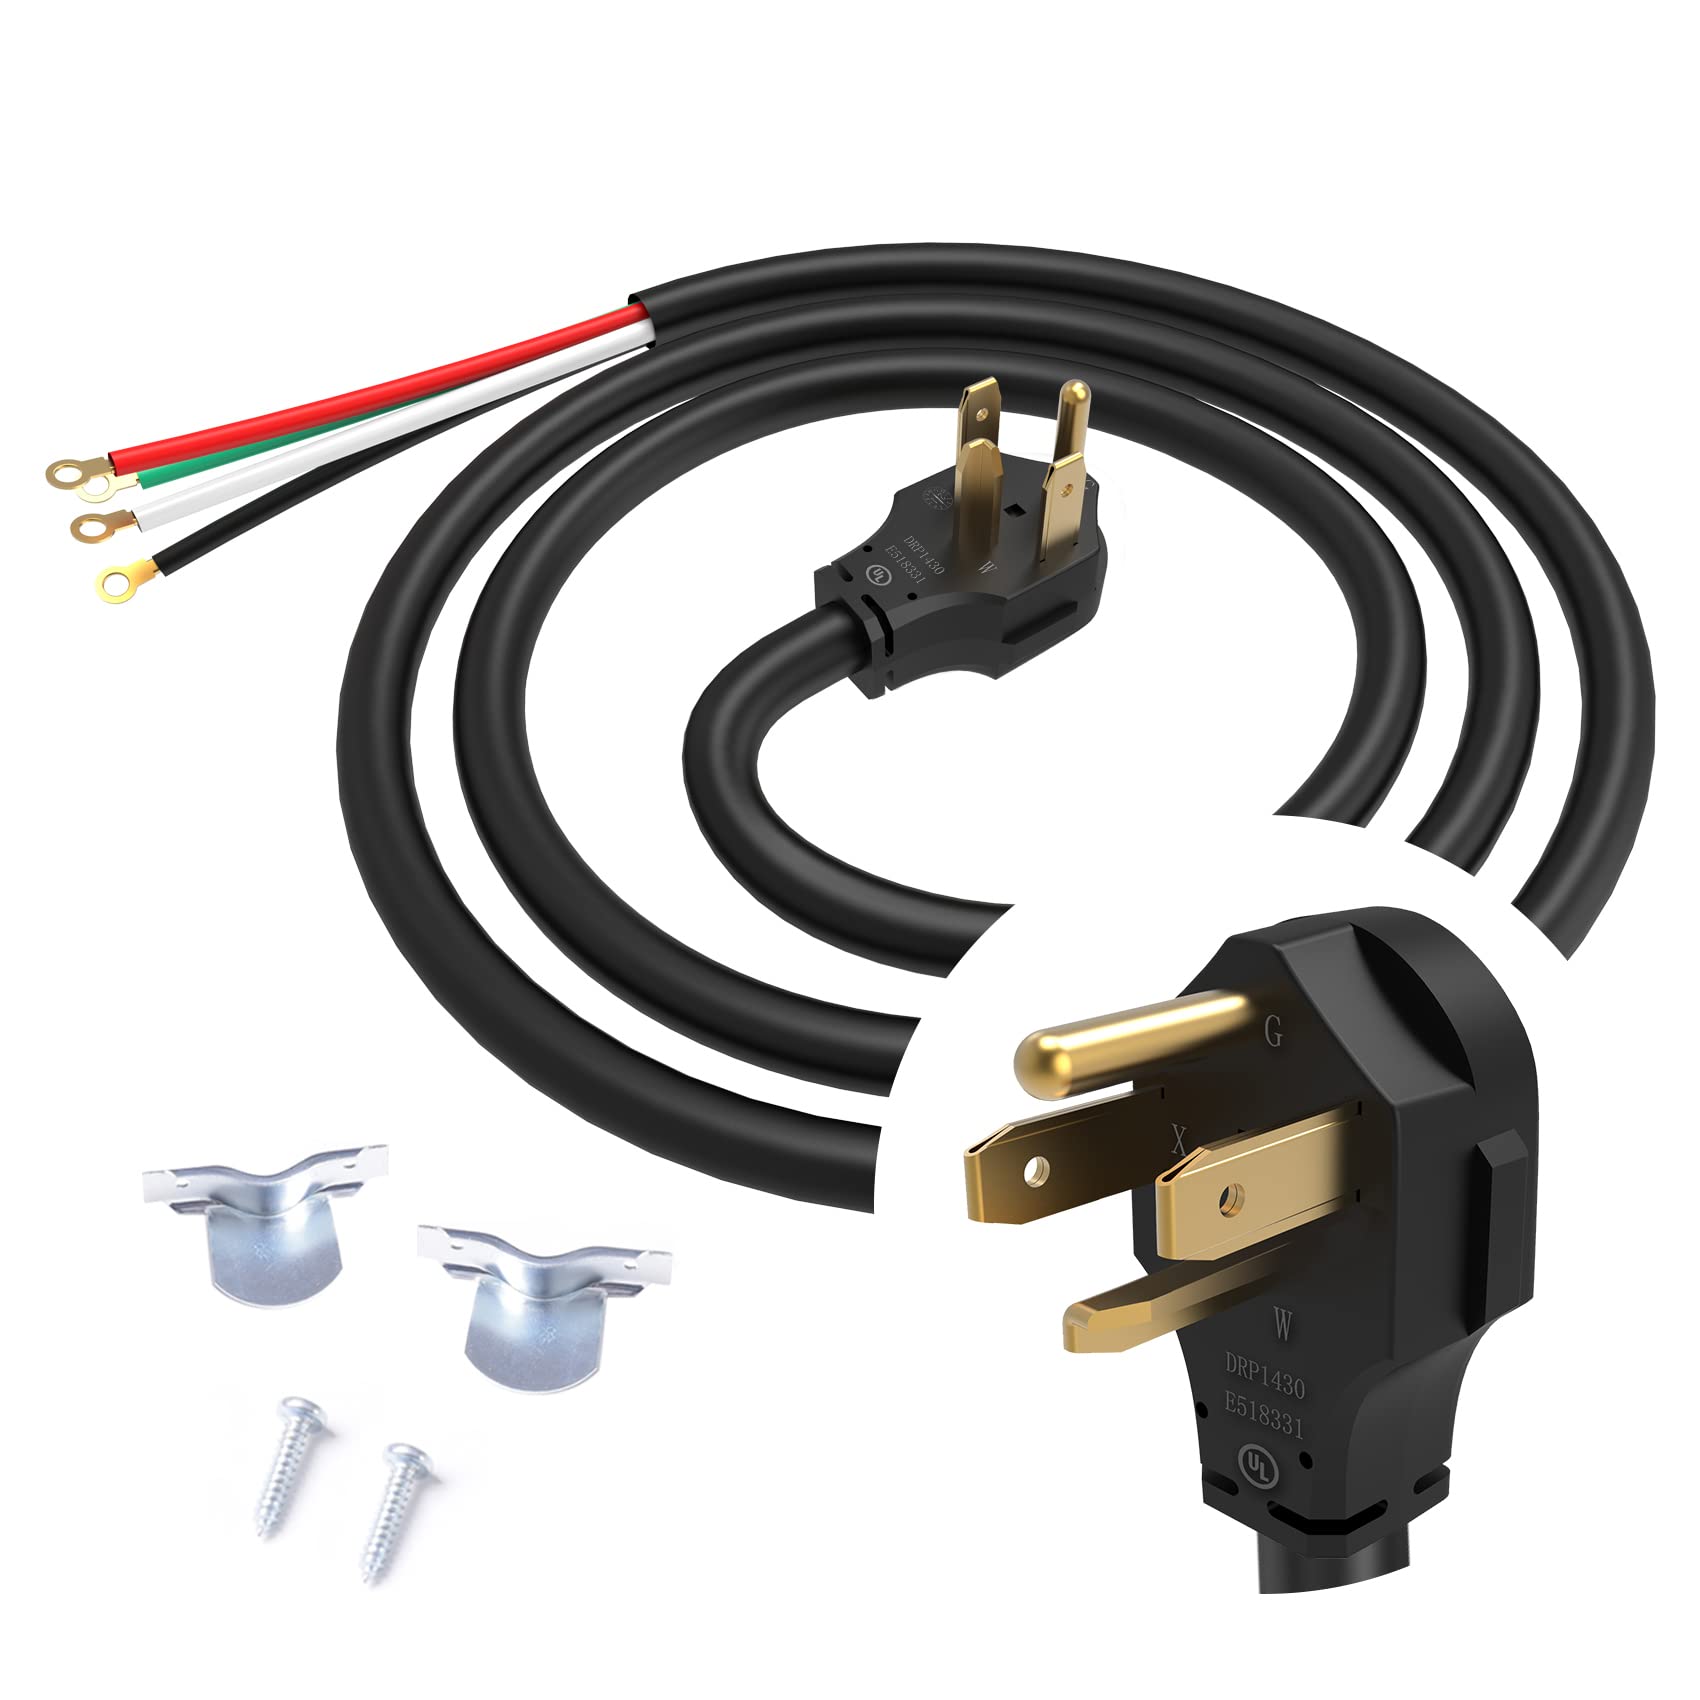
3. Attach the wires to the corresponding terminals: Once the wires are stripped, attach them to their respective terminal screws. Typically, the black and red wires are connected to the “L1” and “L2” terminals, the white wire to the “N” terminal, and the green or bare copper wire to the “G” terminal. Follow the manufacturer’s instructions for any specific wiring configuration.
4. Tighten the screws securely: After attaching the wires, use a screwdriver to tighten the terminal screws securely. Ensure that the wires are held firmly in place, but be careful not to overtighten and damage the wires.
Note: It’s important to double-check the wiring connections to ensure they are correct. Mistakes in the wiring can lead to electrical hazards or dryer malfunctions.
With the wires securely attached, you’re now ready to move on to the next step: securing the outlet in the electrical box.
Step 5: Secure the outlet in the electrical box
With the new 4-prong dryer outlet wired and ready, it’s time to secure it in the electrical box. Follow these steps to ensure a safe and stable installation:
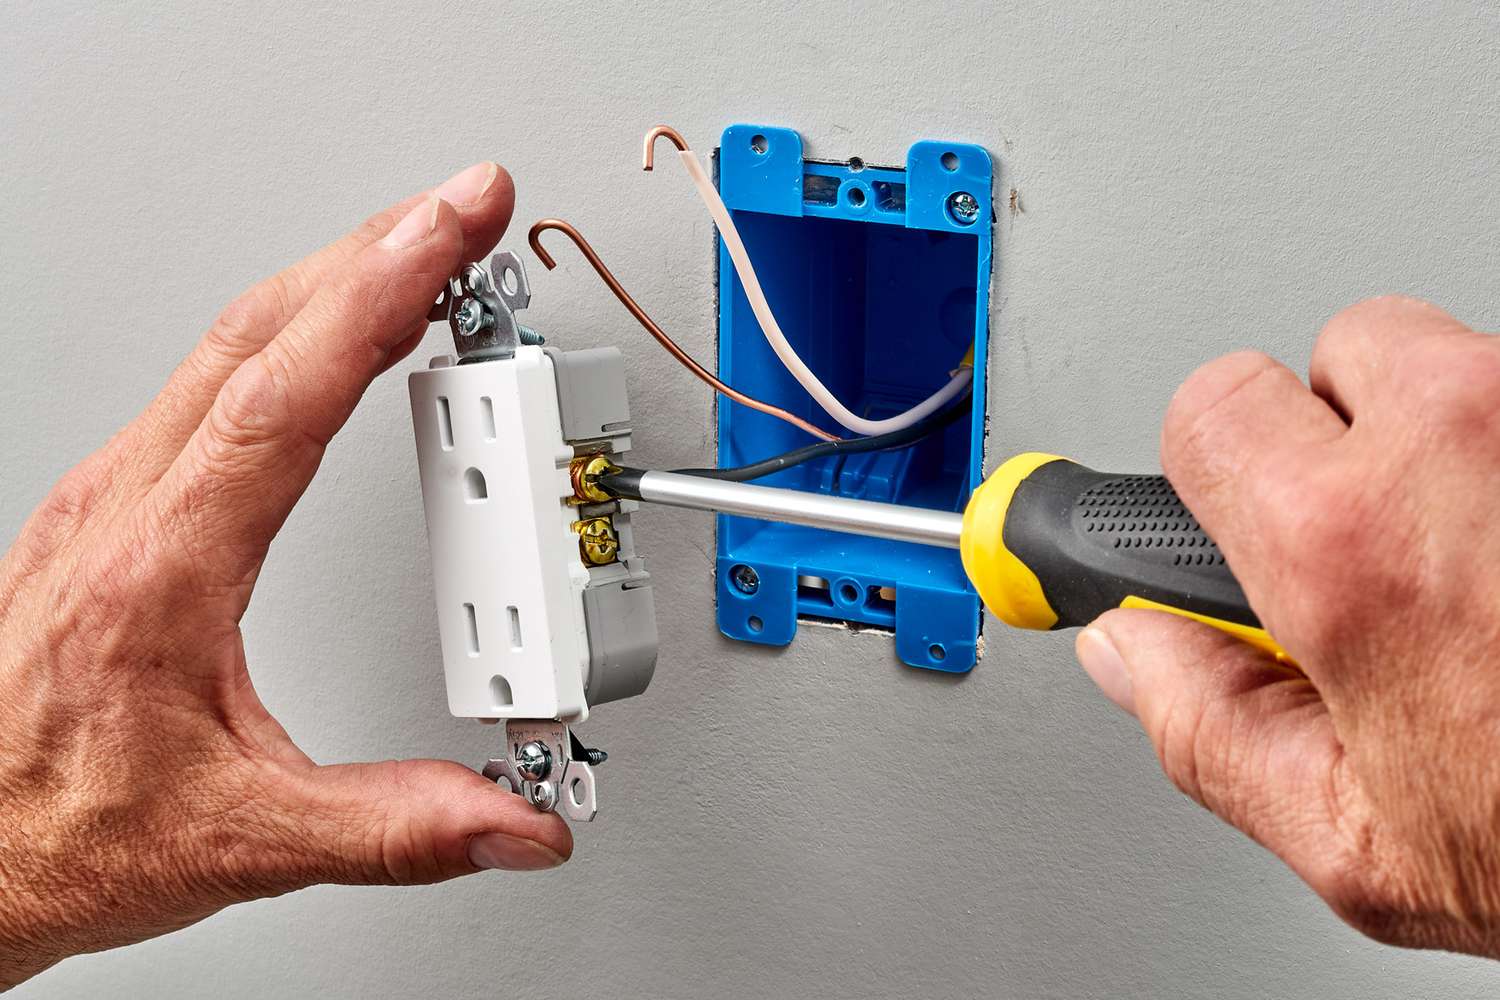
1. Carefully insert the outlet into the electrical box: Take the wired outlet and carefully insert it into the electrical box. Make sure the wires are not being pinched or strained in the process. The outlet should fit snugly against the back of the box.
2. Align the screw holes and attach the outlet with screws: Look for the screw holes on the outlet and align them with the corresponding holes in the electrical box. Once aligned, use a screwdriver to attach the outlet to the box by tightening the screws. Ensure that the outlet is securely fastened without any wobbling or movement.
3. Replace the cover plate: After securing the outlet, it’s time to replace the cover plate. Line up the screw holes on the cover plate with the corresponding holes on the outlet. Use a screwdriver to tighten the screws and securely attach the cover plate to the outlet.
Note: It’s important to ensure that the outlet is properly secured and that there are no exposed wires or terminals. Any loose connections or exposed wires can be a safety hazard and may cause electrical issues.
With the outlet securely installed and the cover plate in place, you’re one step away from completing the process. Let’s move on to the final step: turning on the power and testing the outlet.
Step 6: Turn on the power and test the outlet
Once you’ve securely installed the new 4-prong dryer outlet, it’s time to turn on the power and test its functionality. Follow these steps to ensure everything is working properly:
1. Return to the main electrical panel: Go back to the main electrical panel where you turned off the power earlier. Take caution as you work around the panel and ensure that you’re following all safety practices.
2. Switch on the circuit breaker for the dryer outlet: Locate the circuit breaker that controls the power supply to the dryer outlet. Flip the breaker back to the on position. This will restore power to the outlet.
3. Plug in the dryer and test its functionality: Once the power is turned on, plug in your dryer to the newly installed 4-prong outlet. Ensure that the dryer is properly plugged in and that the plug is secure. Then, turn on the dryer and check if it powers up and functions correctly. You can run a short drying cycle to confirm that the outlet is supplying power as intended.
Note: If you experience any issues or notice any abnormal behavior with the dryer or the outlet, immediately turn off the power and consult a professional electrician to evaluate the situation.
Congratulations! You’ve successfully wired and tested your new 4-prong dryer outlet. Make sure to tidy up any loose wires, secure the electrical box, and take a moment to appreciate your accomplishment.
Remember, always prioritize safety when working with electricity. If you’re unsure about any aspect of the wiring process or encounter any challenges, it’s best to consult a professional electrician for assistance.
With the proper tools, materials, and steps in mind, you can confidently wire a 4-prong dryer outlet and enjoy the efficiency and convenience it offers.
Stay safe and enjoy your newly installed dryer outlet!
Conclusion
Wiring a 4-prong dryer outlet may seem like a daunting task, but with the right tools, materials, and knowledge, it can be a manageable DIY project. By following the steps outlined in this guide, you can successfully wire a 4-prong dryer outlet and enjoy the benefits of a safe and efficient electrical connection for your dryer.
Remember, safety should always be your top priority when working with electricity. Before starting any electrical work, turn off the power at the main electrical panel and take the necessary precautions to protect yourself from potential electrical hazards.
Throughout the process, it’s important to pay attention to the details. Ensure that you gather all the necessary tools and materials beforehand, including a wire stripper, electrical tape, screwdriver, 4-prong dryer outlet, and electrical wire. Additionally, take the time to properly prepare the new outlet, identify the terminal screws, strip the wire insulation, and attach the wires securely to the corresponding terminals.
Once the new outlet is securely installed in the electrical box, remember to turn on the power at the main electrical panel and test the outlet’s functionality. Plug in your dryer and make sure it powers up and operates as expected. If you encounter any issues, immediately turn off the power and seek professional assistance.
By following these steps and exercising caution, you can confidently wire a 4-prong dryer outlet and ensure the efficient and safe operation of your dryer. However, if you have any doubts or concerns about your electrical skills, it’s always best to consult a professional electrician for assistance.
Stay safe, enjoy your newly wired 4-prong dryer outlet, and make laundry day a breeze!
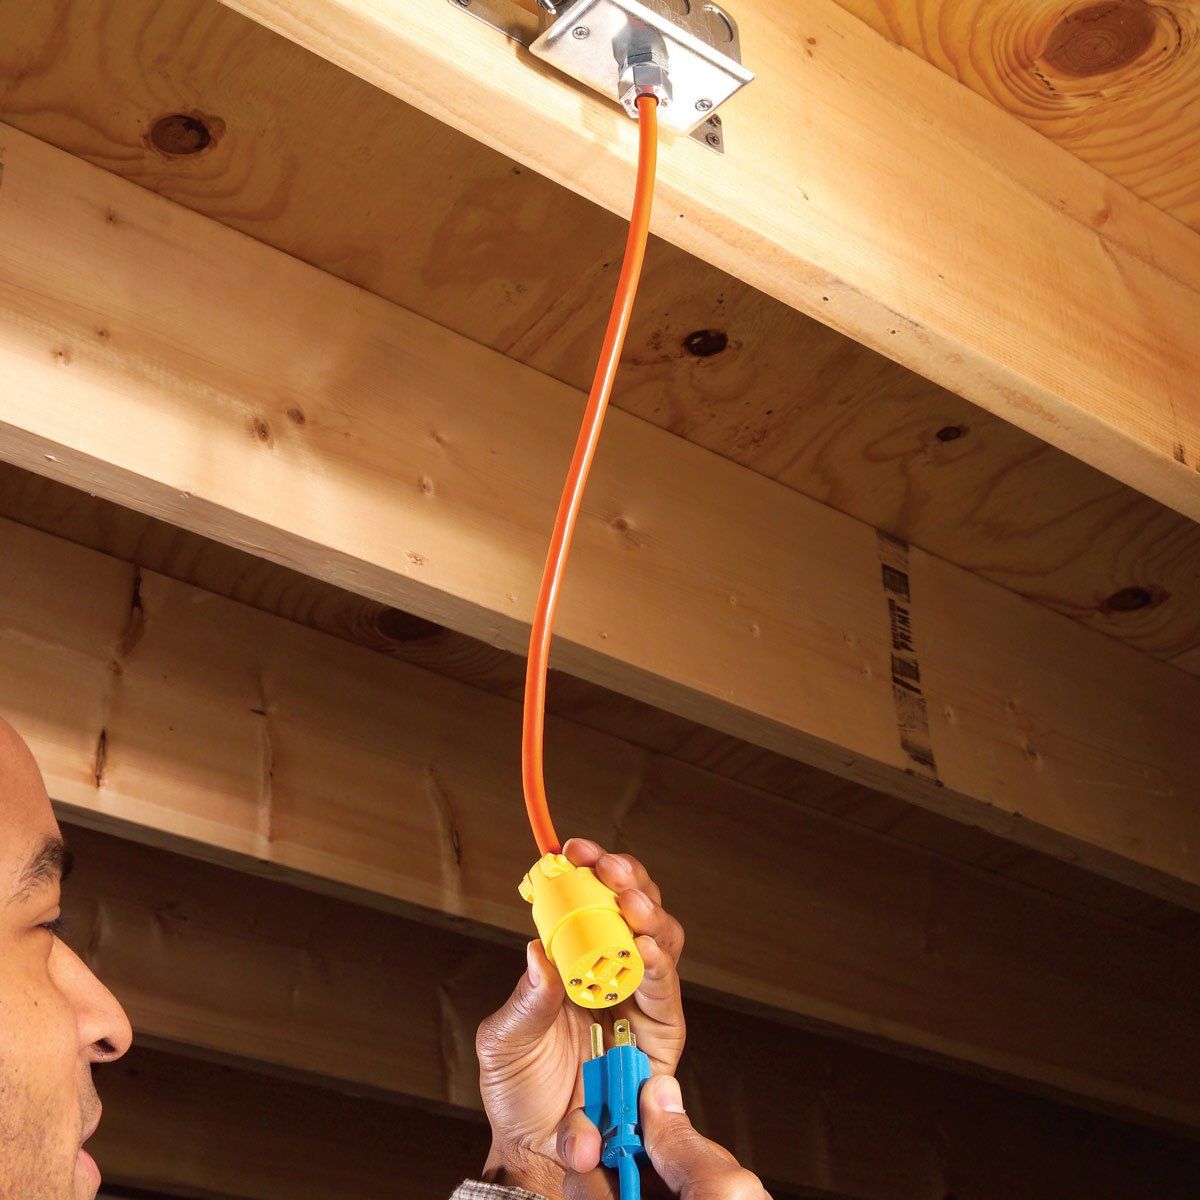
Feeling handy after wiring that 4-prong dryer outlet? Your next challenge awaits with a guide on running overhead electrical wire to your garage, perfect for extending your home's functionality. Or, if you're curious about the perks of doing it yourself, check out why diving into DIY projects can be so rewarding. Both articles are packed with practical tips and inspiring ideas to fuel your next home improvement adventure.
Frequently Asked Questions about How To Wire A 4 Prong Dryer Outlet
Was this page helpful?
At Storables.com, we guarantee accurate and reliable information. Our content, validated by Expert Board Contributors, is crafted following stringent Editorial Policies. We're committed to providing you with well-researched, expert-backed insights for all your informational needs.


0 thoughts on “How To Wire A 4 Prong Dryer Outlet”