Articles
How To Drain Ice Maker
Modified: August 18, 2024
Learn how to drain your ice maker with these helpful articles. Get step-by-step instructions and tips to keep your ice maker functioning properly.
(Many of the links in this article redirect to a specific reviewed product. Your purchase of these products through affiliate links helps to generate commission for Storables.com, at no extra cost. Learn more)
Introduction
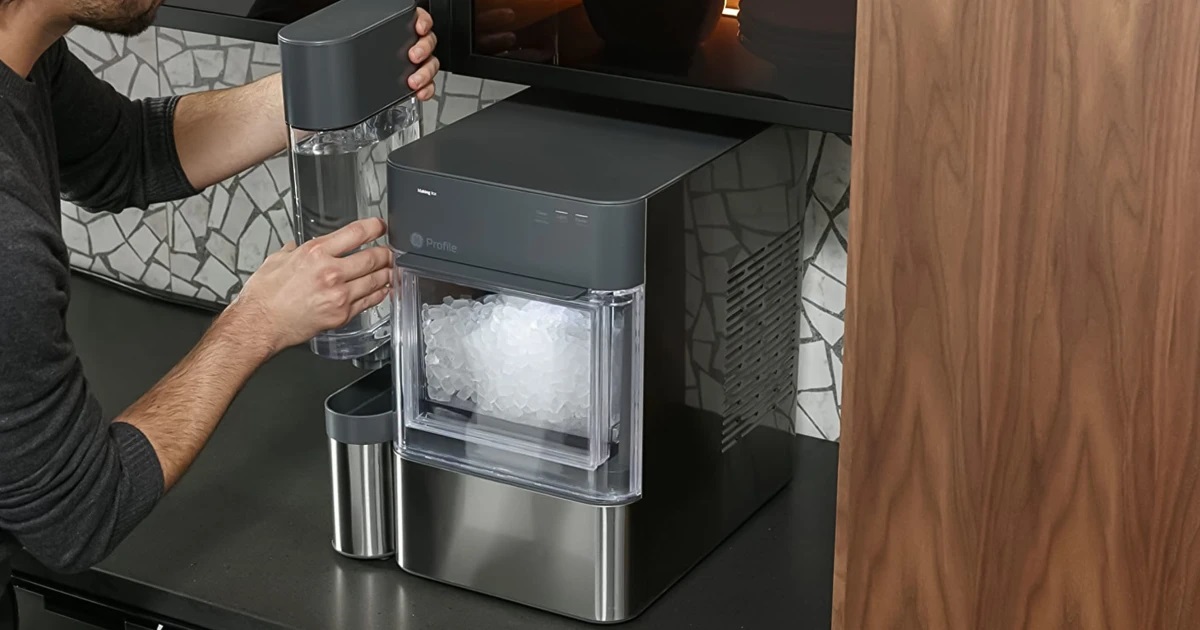
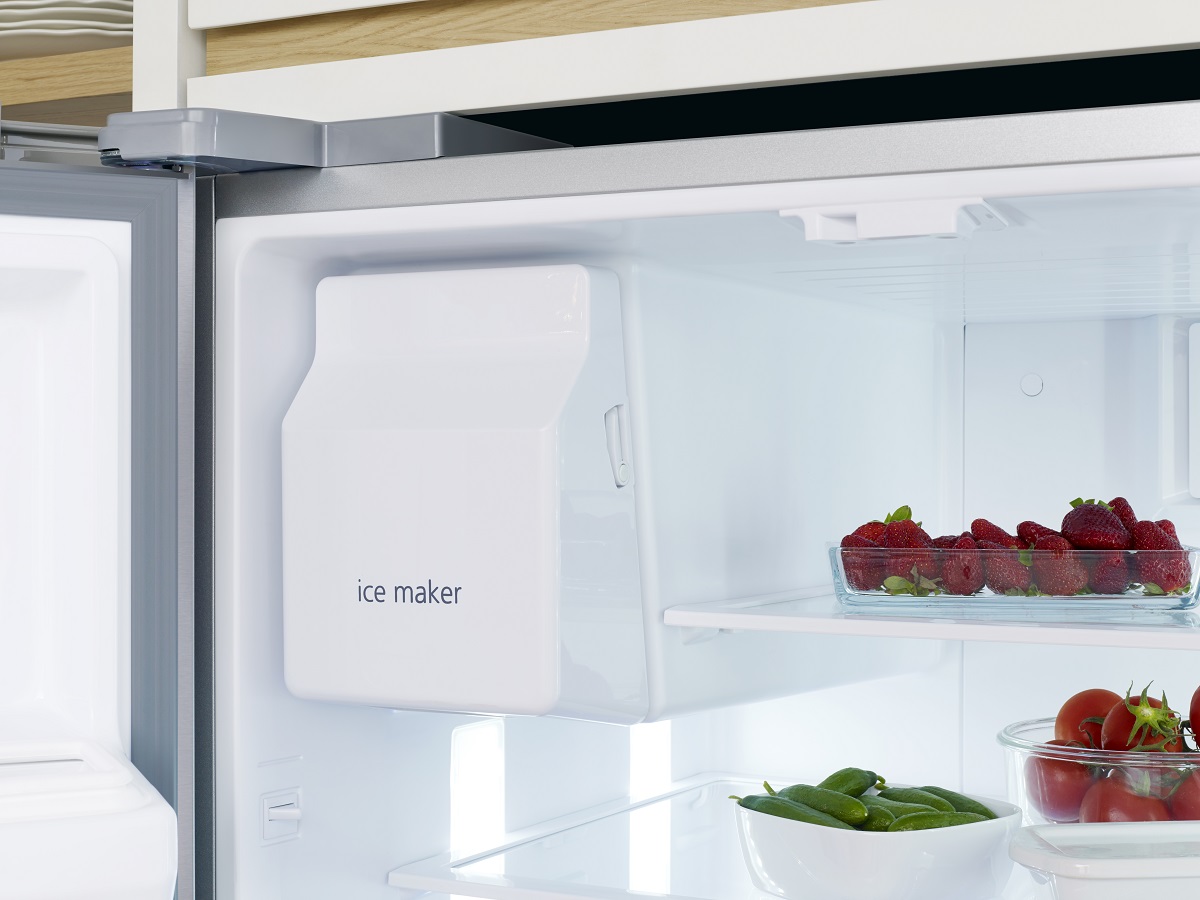
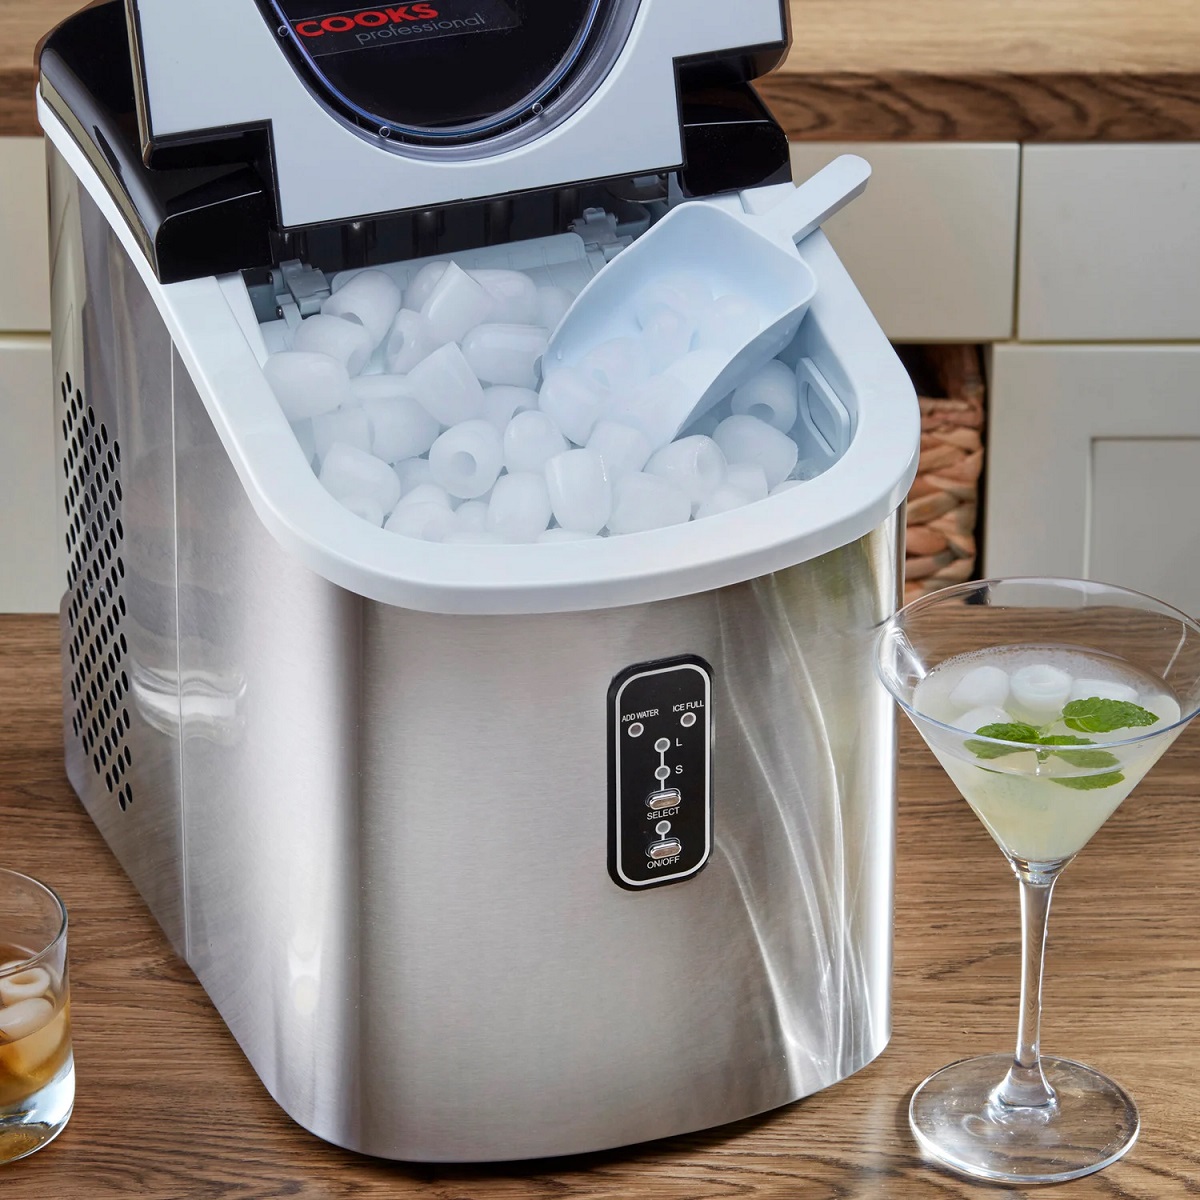
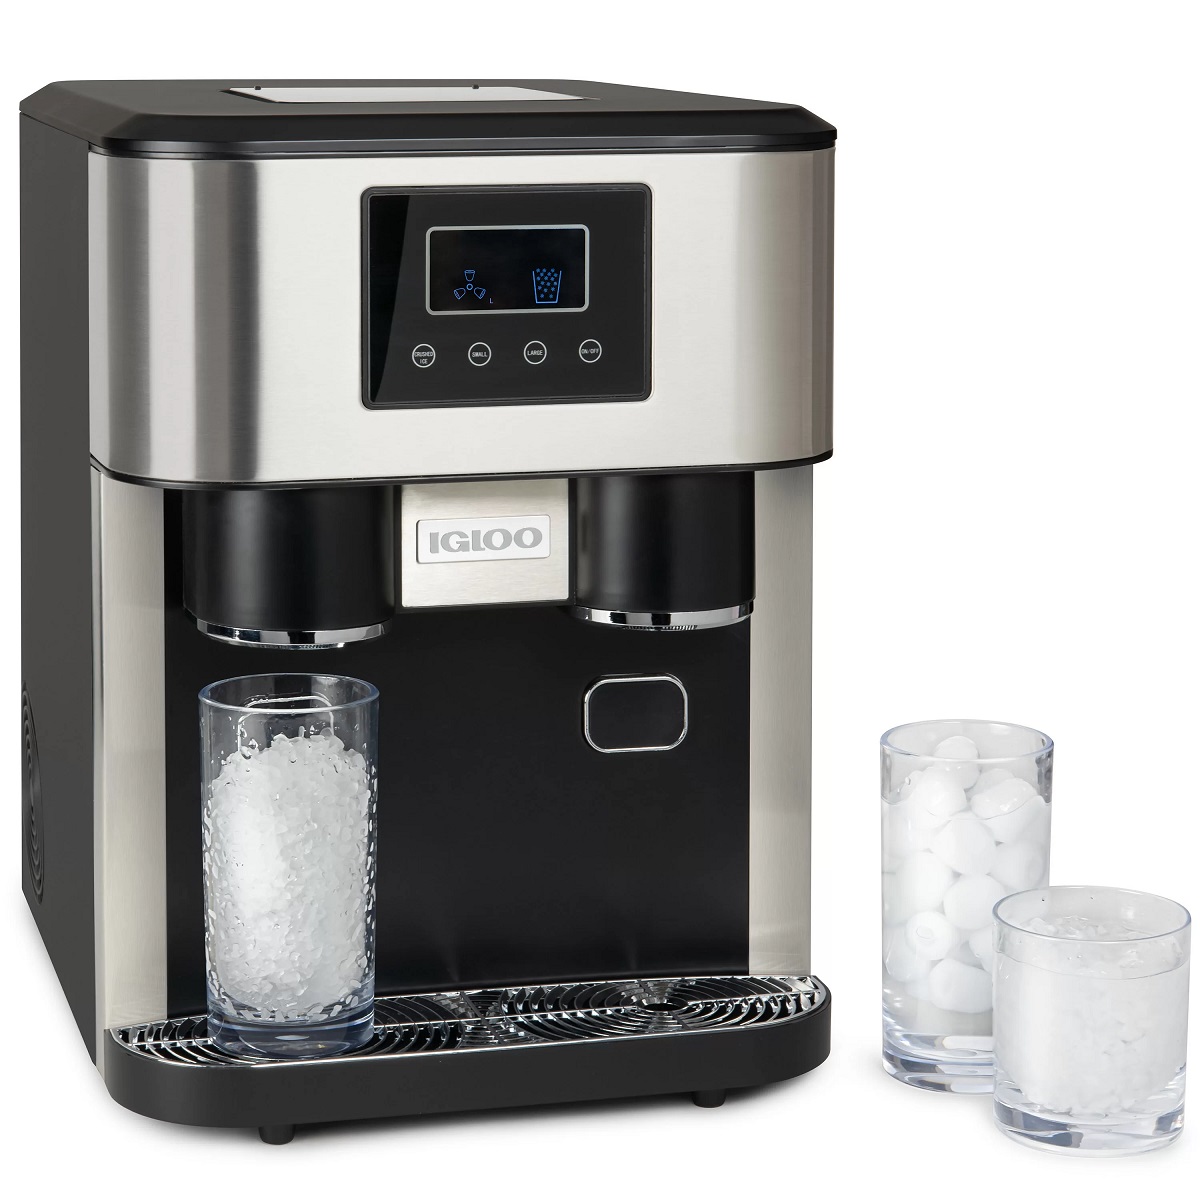
Welcome to this comprehensive guide on how to drain an ice maker. If you’re experiencing issues with your ice maker or simply want to clean it out, draining the water is an essential step. Whether you have a standalone ice maker or an ice maker integrated into your refrigerator, this step-by-step tutorial will walk you through the process.
Draining your ice maker not only helps to maintain its performance but also prevents the buildup of impurities and bacteria in the water reservoir. By following these instructions, you can ensure that your ice maker continues to produce clean and high-quality ice cubes.
Before we get started, it is important to note that different ice makers may have slight variations in their design and functionality. It is always recommended to consult the manufacturer’s manual for specific instructions for your model. With that said, let’s dive into the steps to drain your ice maker.
Key Takeaways:
- Prioritize safety by following the recommended precautions and consulting the manufacturer’s manual for specific instructions. Regularly draining and cleaning your ice maker ensures high-quality ice production and prevents the buildup of impurities.
- Draining an ice maker is a straightforward process that is essential for maintaining optimal performance and cleanliness. By following the step-by-step instructions outlined in this guide, you can easily ensure the longevity of your ice maker.
Read more: How To Make Ice in Frigidaire Ice Maker
Safety Precautions
Before you begin the process of draining your ice maker, it’s crucial to prioritize your safety. Follow these safety precautions to prevent accidents and ensure a smooth draining process:
- Turn off the power: Before handling any electrical components of the ice maker, make sure to turn off the power supply. This will help prevent the risk of electric shock.
- Use protective gear: Wear protective gloves to protect your hands from any sharp edges or potential contaminants.
- Read the manufacturer’s manual: Familiarize yourself with the specific safety instructions provided by the ice maker’s manufacturer. Different models may have different safety measures in place.
- Work in a well-ventilated area: Ensure that the area you’re working in is well-ventilated to minimize exposure to any fumes that may be released during the draining process.
- Handle with care: Be gentle while removing any components to avoid damaging the equipment or injuring yourself.
By following these safety precautions, you can minimize the risk of accidents and ensure a successful and safe draining process. Now that we have covered the safety measures, let’s move on to the step-by-step instructions to drain your ice maker.
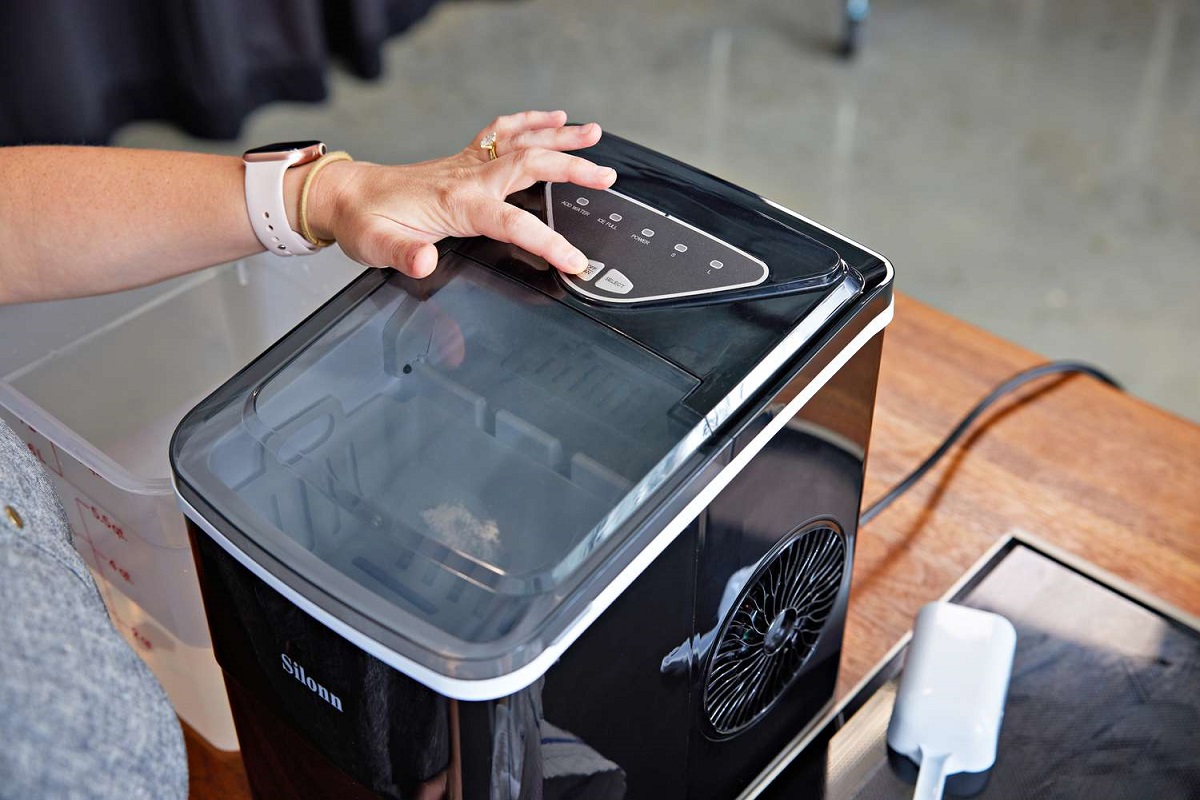
Step 1: Turn off the Ice Maker
The first step in draining your ice maker is to turn it off. This ensures that no ice production or water flow occurs during the draining process. Here’s how to do it:
- Locate the power switch or lever: Depending on the model of your ice maker, the power switch or lever may be located on the front panel, inside the freezer compartment, or on the back of the unit.
- Switch off the power: Turn the power switch to the “Off” position or flip the lever to the “Off” position to disable the ice maker.
By turning off the ice maker, you prevent it from cycling and producing more ice, allowing you to drain the water with ease. Once the ice maker is turned off, you can proceed to the next step in the draining process.
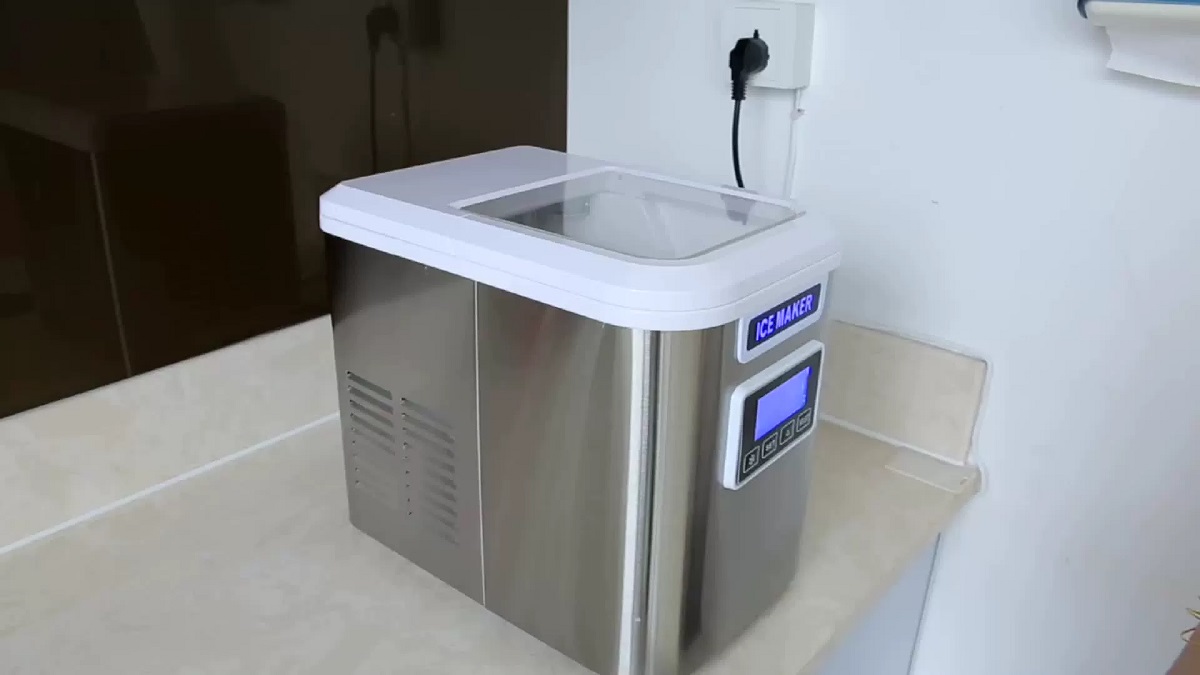
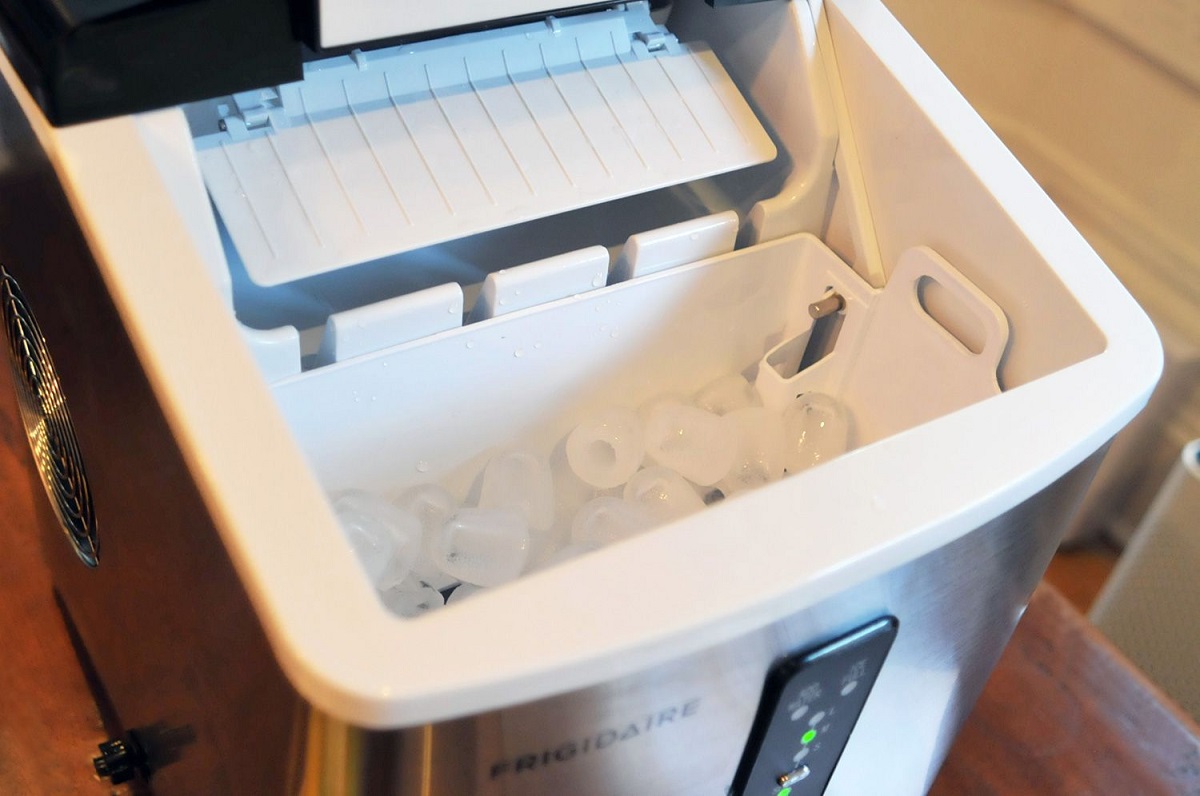
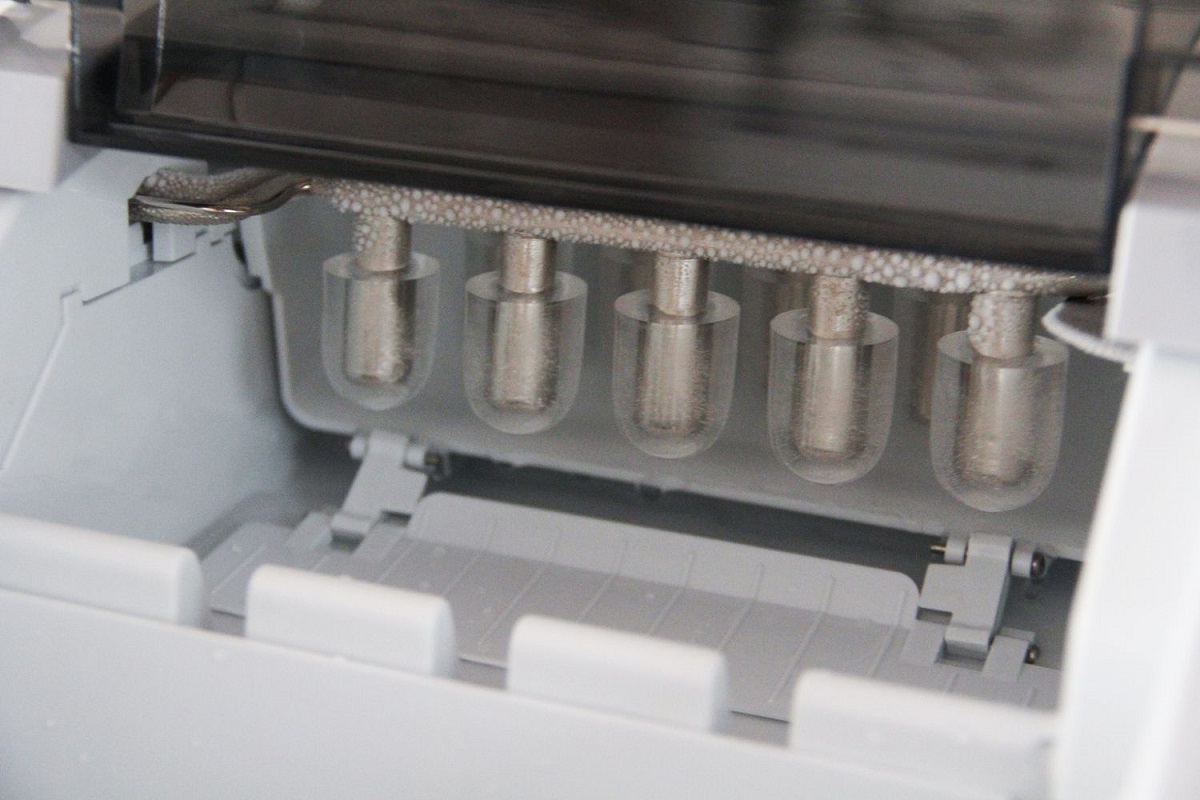
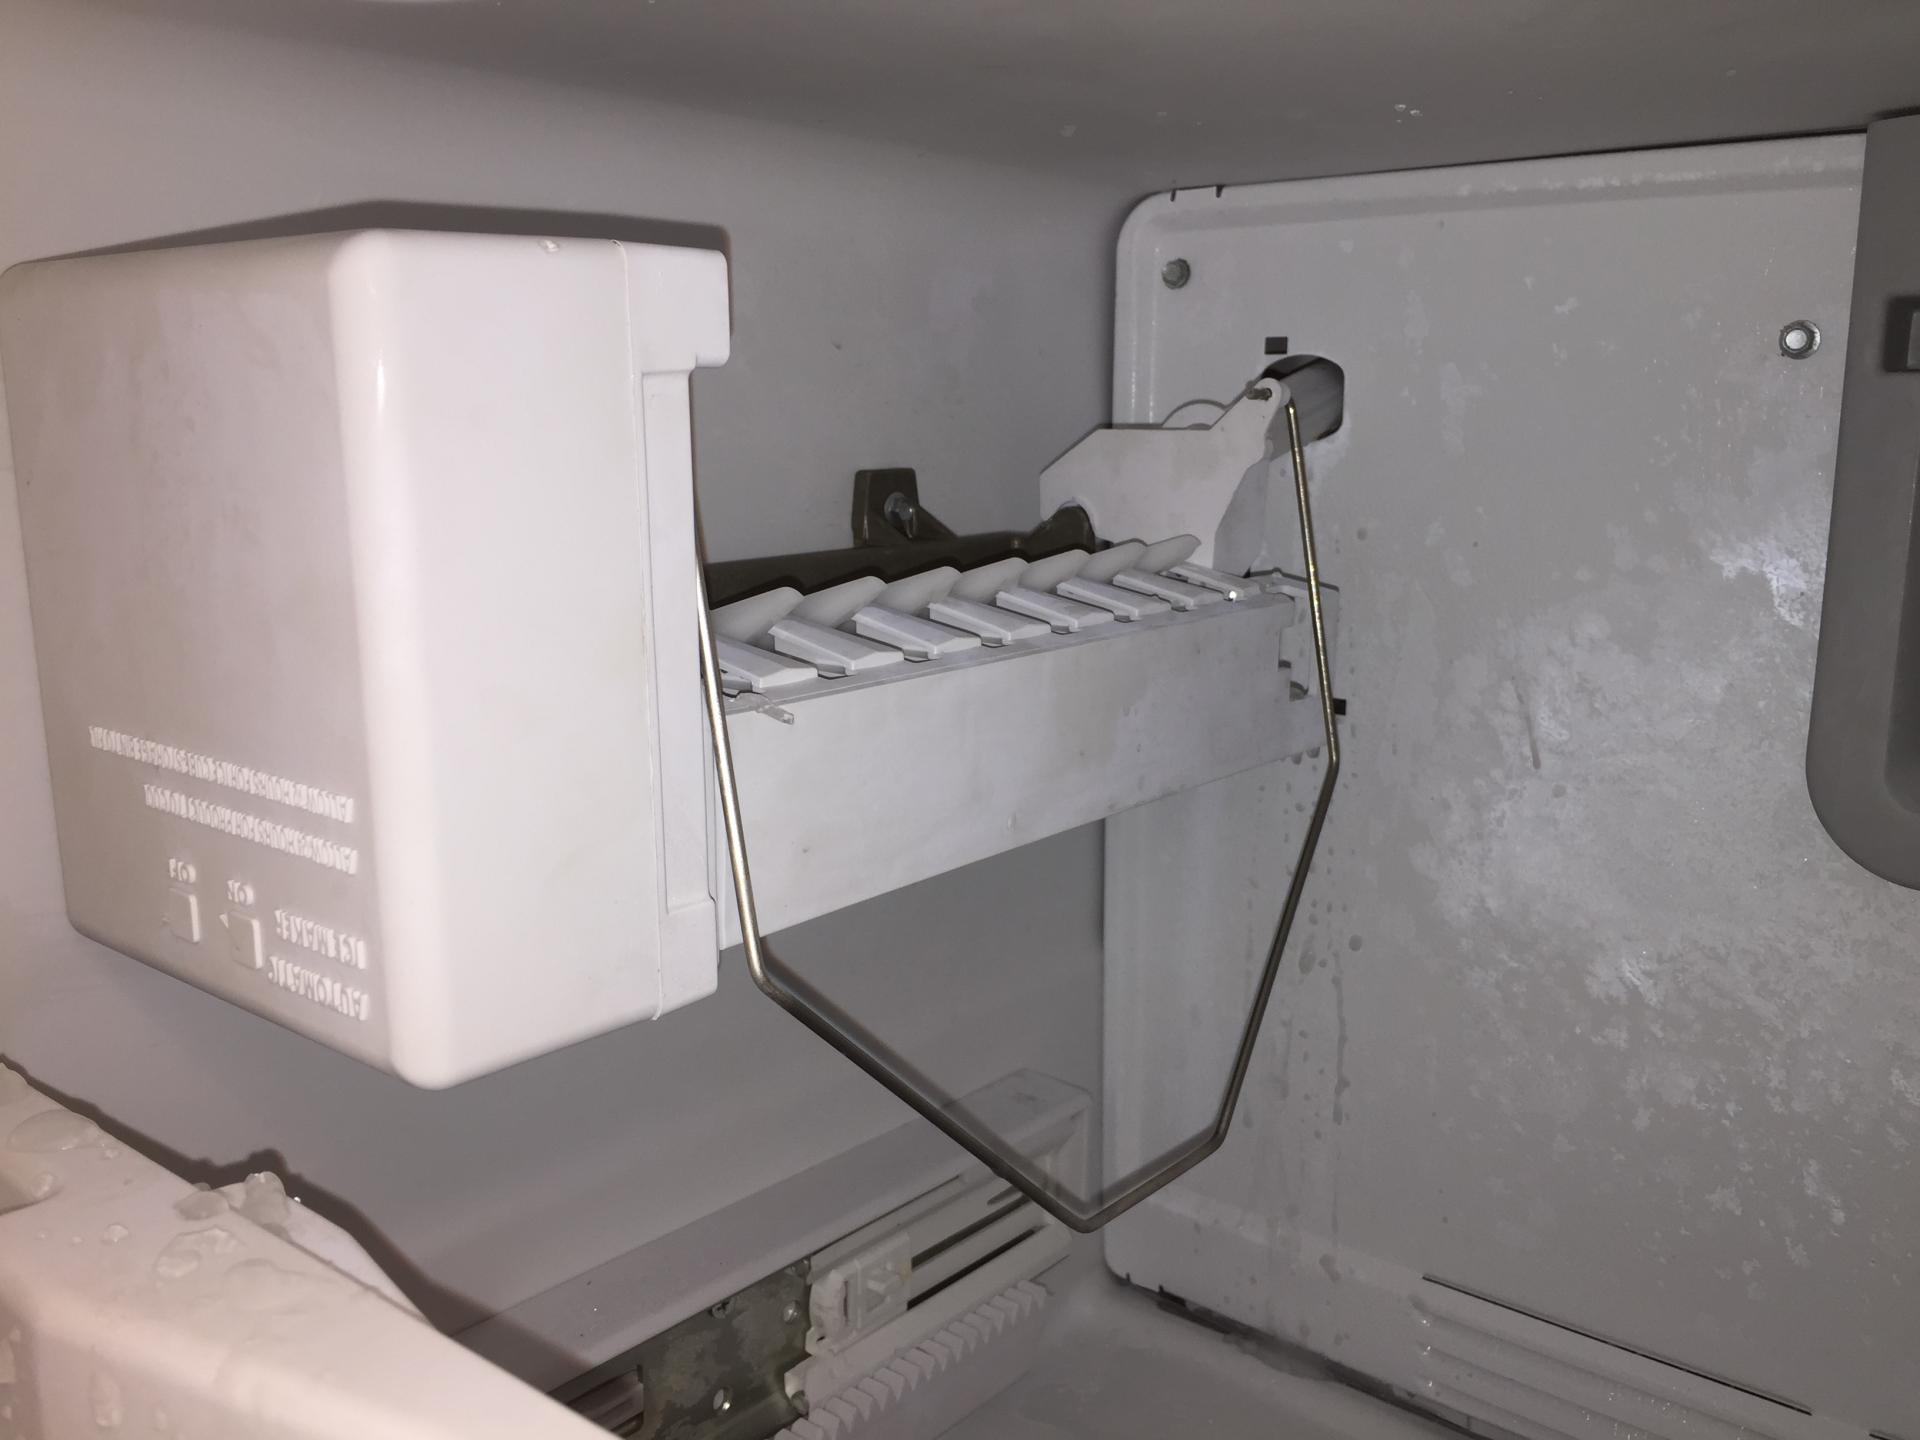
Step 2: Locate the Drain Plug
After turning off the ice maker, the next step is to locate the drain plug. The drain plug is typically located at the bottom or rear of the ice maker. Follow these steps to find it:
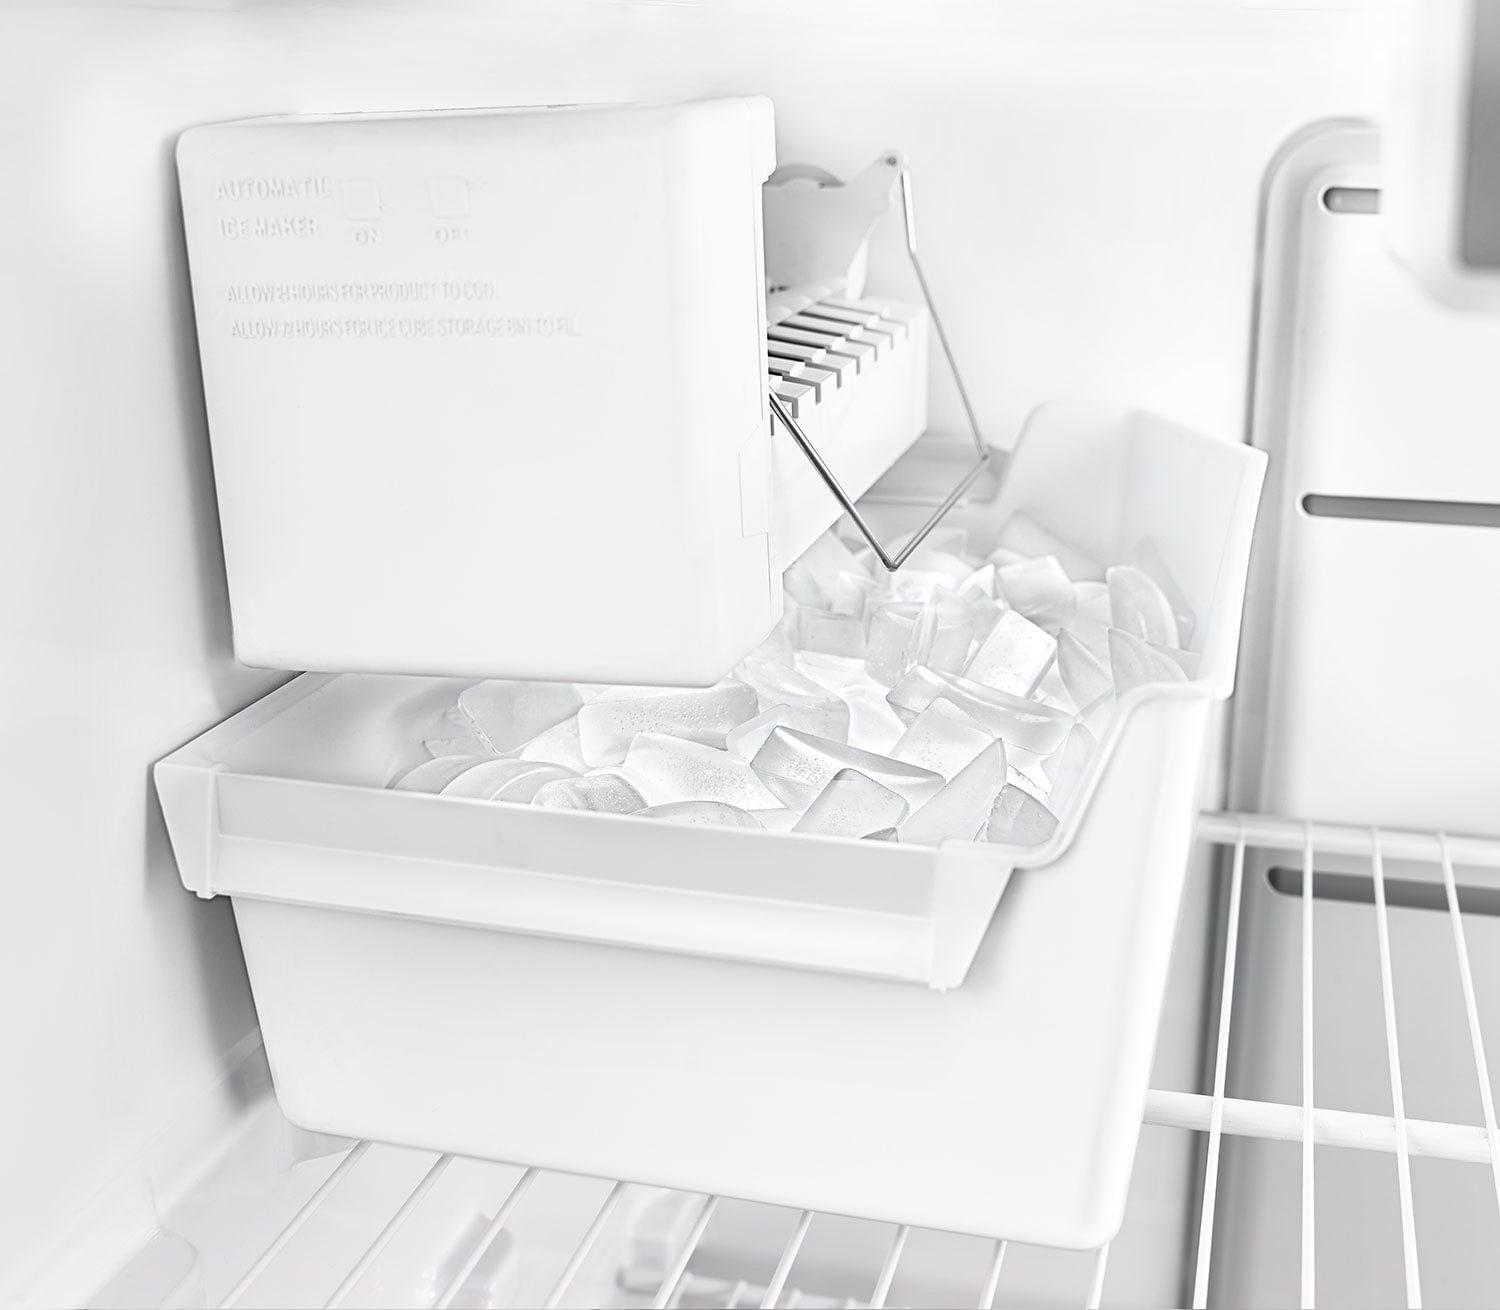
- Remove any ice or stored items: If there is any ice or items stored in the ice maker, remove them to reveal the drain plug.
- Inspect the bottom or rear of the ice maker: Look for a small plug or cap at the bottom or rear of the ice maker. It may be labeled as “Drain” or have a distinct shape or color.
Some ice makers may not have a visible drain plug. In that case, consult the manufacturer’s manual or reach out to customer support for guidance on how to drain the water from your specific model.
Once you have located the drain plug, you are ready to move on to the next step of removing it and draining the water from the ice maker.
Step 3: Remove the Drain Plug
With the drain plug located, it’s time to remove it to initiate the water draining process. Follow these steps to safely remove the drain plug:
- Prepare a catch basin: Place a shallow container or a towel underneath the ice maker to catch the water that will be released during the draining process.
- Get a wrench or pliers: Depending on the type of drain plug, you may need a wrench or pliers to loosen and remove it. If the plug is easily removable by hand, you can skip this step.
- Gently loosen and unscrew the drain plug: Using the wrench or pliers, apply gentle pressure to loosen the drain plug in a counterclockwise direction. Once it is loose enough, unscrew it completely by hand.
Be cautious while removing the drain plug to avoid damage to the plug or the ice maker itself. If you encounter any resistance or difficulty, refer to the manufacturer’s manual or seek assistance to prevent any unintended mishaps.
Now that the drain plug has been successfully removed, you are ready to move on to the next step: draining the water from your ice maker.
To drain an ice maker, locate the drain plug or tube at the bottom of the unit. Remove the plug or disconnect the tube to allow any excess water to drain out. This can help prevent the buildup of mold and mildew.
Read more: New Ice Maker How Long To Make Ice
Step 4: Drain the Water
With the drain plug removed, you can now begin the process of draining the water from your ice maker. Follow these steps to ensure a thorough drainage:
- Allow the water to flow out: As you remove the drain plug, you will notice water starting to flow out of the ice maker. Allow the water to drain completely into the catch basin or towel.
- Check for any clogs or blockages: While the water is draining, inspect the opening where the drain plug was located. Clear out any debris, ice, or blockages that may hinder the water flow.
- Tilt the ice maker if necessary: To enhance the water drainage, you may need to gently tilt the ice maker forward or to the side. This can help to remove any remaining water trapped inside.
- Be patient: Depending on the amount of water in your ice maker, it may take a few minutes for all the water to drain completely. Be patient and allow sufficient time for the draining process.
Ensure that there is no water remaining in the ice maker before you move on to the next step. Once you are confident that the water has been drained, you can proceed to the next step of cleaning the ice maker.
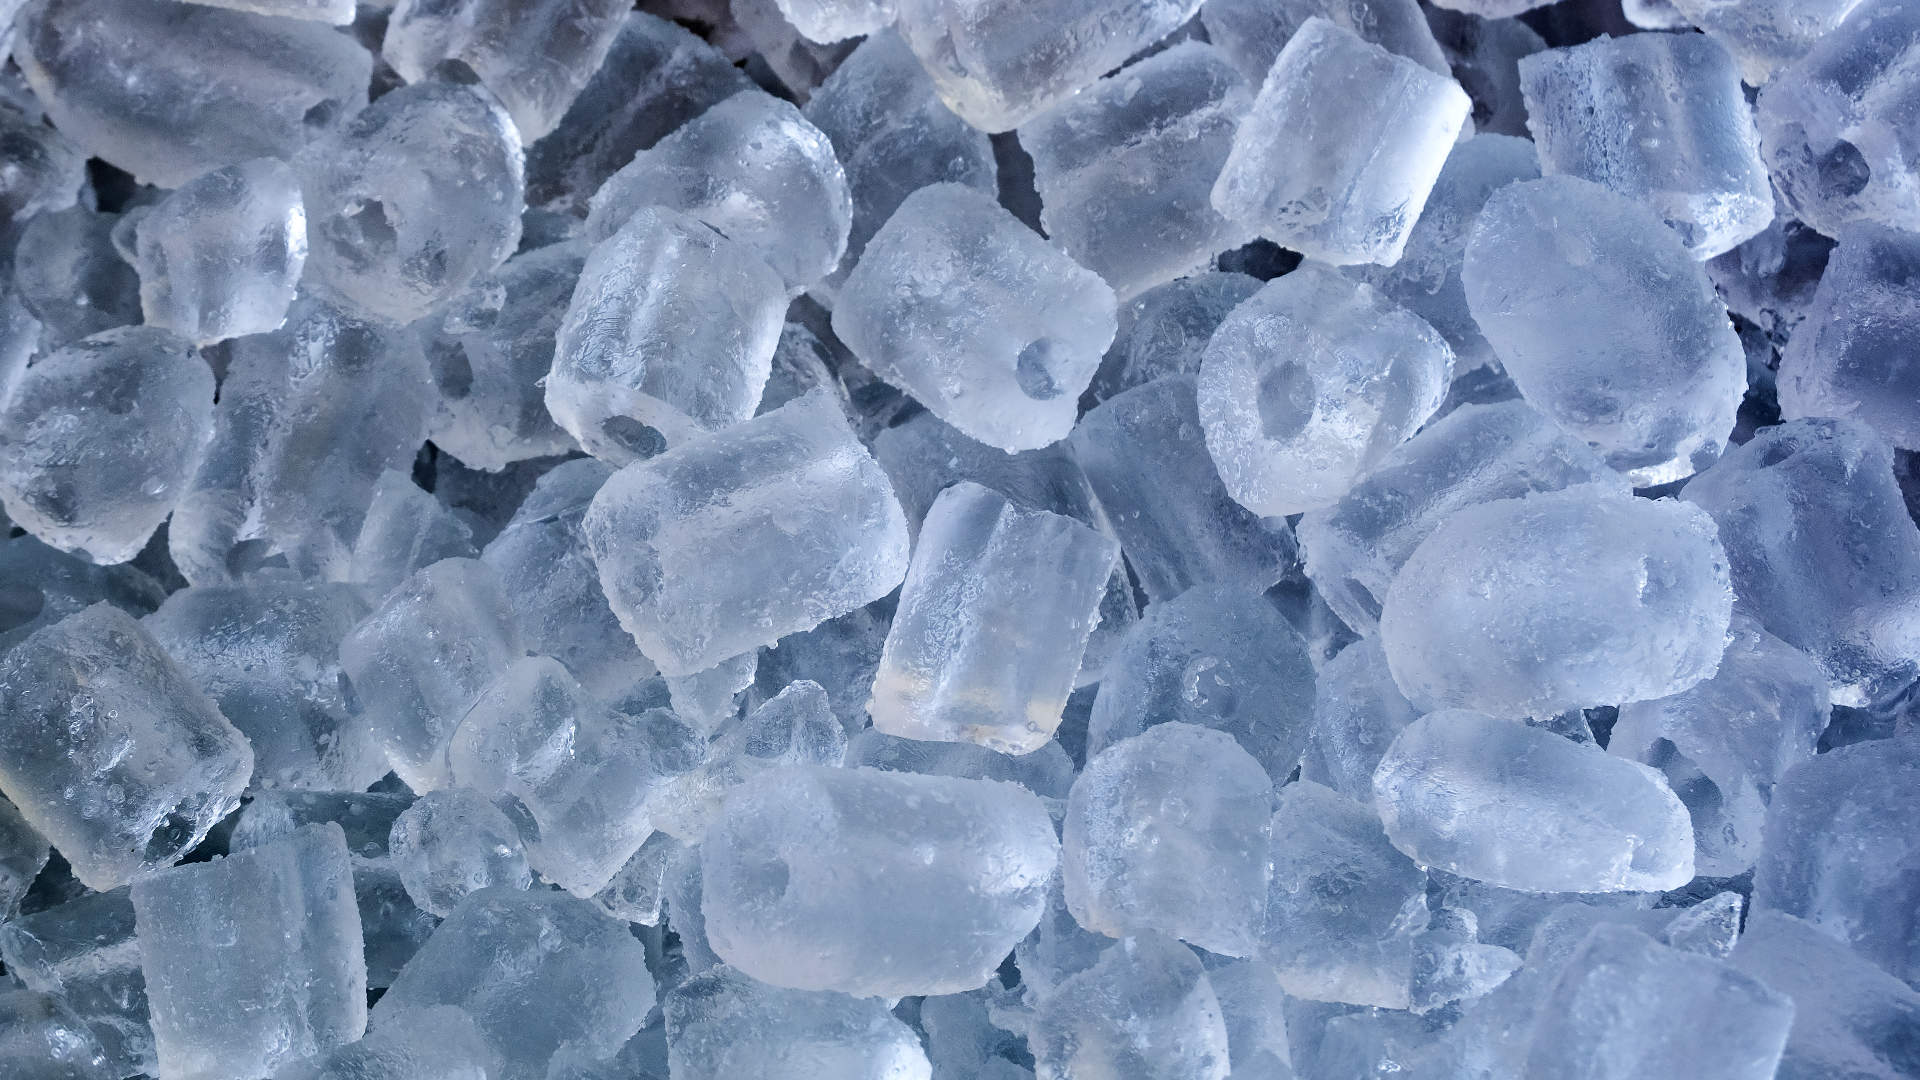
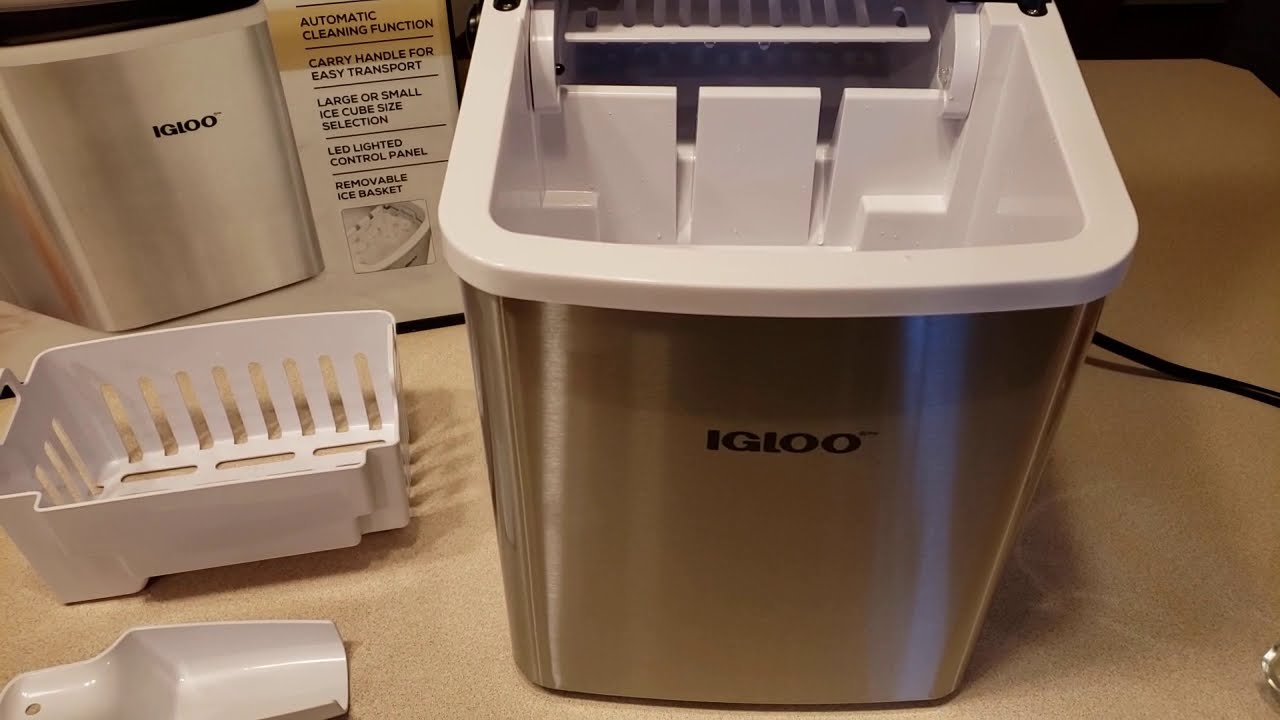
Step 5: Clean the Ice Maker
Now that the water has been drained, it’s time to clean your ice maker to maintain its performance and ensure hygienic ice production. Follow these steps to effectively clean your ice maker:
- Prepare a cleaning solution: In a bowl or container, mix a solution of warm water and mild dish soap. This gentle cleaning solution will help to remove any residue or impurities from the ice maker.
- Dip a cloth or sponge into the cleaning solution: Immerse a soft cloth or sponge into the cleaning solution and wring out any excess liquid. The cloth should be damp, not dripping wet.
- Wipe down the interior surfaces: Carefully wipe down the interior surfaces of the ice maker, including the walls, shelves (if applicable), and the ice storage bin. Pay attention to any areas where dirt or grime may have accumulated.
- Clean the drain plug: If the drain plug has any debris or residue on it, clean it with the damp cloth or sponge. Ensure that it is thoroughly clean before reinstalling it.
- Rinse with clean water: After cleaning, rinse the interior surfaces of the ice maker with clean water. This will remove any soap residue and ensure that your ice maker is ready for use.
- Dry the ice maker: Use a clean, dry cloth or towel to dry the interior surfaces of the ice maker. Make sure that there is no moisture left behind as it can lead to mold or mildew growth.
By cleaning your ice maker regularly, you can maintain its performance and ensure that the ice it produces is clean and safe for consumption. Once you have completed the cleaning process, you can move on to the next step: replacing the drain plug.
Step 6: Replace the Drain Plug
After cleaning your ice maker, it’s time to reassemble it by replacing the drain plug. Follow these steps to ensure a proper reinstallation:
- Inspect the drain plug: Before replacing the drain plug, check for any damage or wear. If necessary, replace it with a new one to ensure a secure fit.
- Position the drain plug: Align the drain plug with the opening where it was originally located. Make sure it is positioned correctly to prevent any leaks.
- Screw in the drain plug: Using your hand, gently screw the drain plug back into place. Tighten it securely but be cautious not to overtighten to avoid damaging the threads or the ice maker.
- Test for leaks: Once the drain plug is securely in place, run a quick test to check for any leaks. Pour a small amount of water into the ice maker and observe whether there are any signs of water leakage around the drain plug area.
If you notice any leaks, double-check the positioning of the drain plug and tighten it as necessary. It’s important to ensure a watertight seal to prevent any water damage.
With the drain plug successfully replaced, you’re almost done! Just one more step remains: turning on the ice maker.
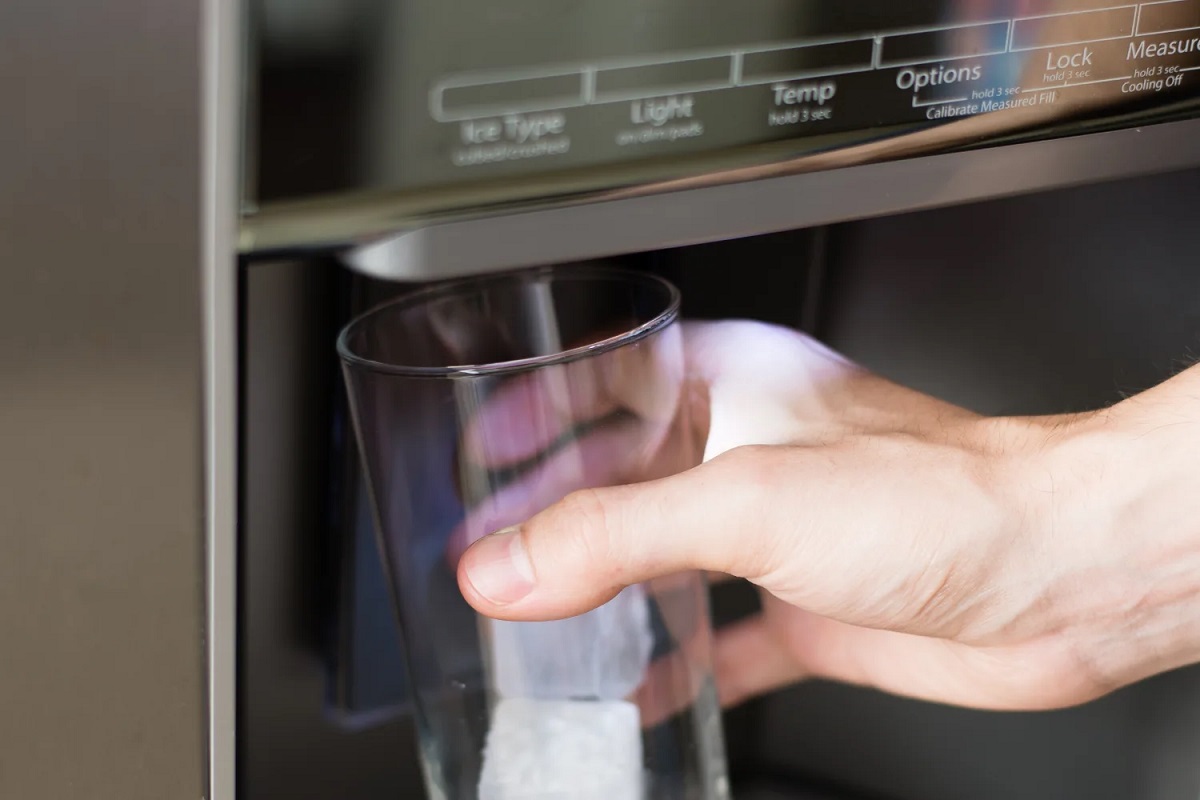
Step 7: Turn on the Ice Maker
Now that you have completed the process of draining, cleaning, and replacing the drain plug, it’s time to turn on your ice maker and resume ice production. Follow these steps to safely turn on your ice maker:
- Ensure the drain plug is secure: Double-check that the drain plug is tightened securely to prevent any water leakage.
- Locate the power switch or lever: Refer to your ice maker’s manual to find the power switch or lever.
- Switch on the power: Turn the power switch to the “On” position or flip the lever to the “On” position to activate the ice maker.
- Allow time for ice production: It may take some time for the ice maker to start producing ice again. Be patient and give it some time to freeze the new batch of ice.
Once your ice maker is turned on, you can enjoy the convenience of having fresh ice cubes readily available again. Remember to monitor the ice production and regularly clean your ice maker to maintain its performance and ensure clean ice.
Congratulations! You have successfully drained your ice maker, cleaned it, and restored it to working condition. By following these steps, you can ensure optimal performance and longevity of your ice maker.
Read more: Why Is My Ice Maker Not Dropping Ice
Conclusion
Draining an ice maker is a straightforward process that is essential for maintaining optimal performance and cleanliness. By following the step-by-step instructions outlined in this guide, you can easily drain your ice maker, clean it, and ensure the production of high-quality ice cubes.
Remember to prioritize safety by following the recommended precautions and consulting the manufacturer’s manual for specific instructions related to your ice maker model. By doing so, you can minimize the risk of accidents and ensure a smooth draining process.
Regularly draining and cleaning your ice maker not only improves its efficiency but also helps to prevent the buildup of impurities and bacteria in the water reservoir. With a clean and functional ice maker, you can enjoy refreshing beverages and entertain guests with ease.
So, the next time you notice any issues with your ice maker or simply want to perform routine maintenance, follow the steps outlined in this guide to drain and clean your ice maker effectively. By taking care of your ice maker, you can ensure its longevity and continue to enjoy ice-cold drinks year-round.
Thank you for reading and happy ice making!
Frequently Asked Questions about How To Drain Ice Maker
Was this page helpful?
At Storables.com, we guarantee accurate and reliable information. Our content, validated by Expert Board Contributors, is crafted following stringent Editorial Policies. We're committed to providing you with well-researched, expert-backed insights for all your informational needs.

0 thoughts on “How To Drain Ice Maker”