Articles
How To Run Electrical Wire In A House
Modified: October 19, 2024
Learn how to run electrical wire in a house with our informative articles. Get step-by-step instructions and expert tips for safe and efficient installation.
(Many of the links in this article redirect to a specific reviewed product. Your purchase of these products through affiliate links helps to generate commission for Storables.com, at no extra cost. Learn more)
Introduction
Running electrical wire in a house is an essential skill for any homeowner or electrician. Whether you’re adding new outlets, installing new lighting fixtures, or renovating a space, knowing how to properly run electrical wire is crucial for ensuring safety and functionality in your electrical systems.
In this article, we will guide you through the step-by-step process of running electrical wire in a house. From planning and preparation to connecting wires to devices, we will cover everything you need to know to successfully complete the task. So, grab your tools and let’s get started!
Before we begin, it’s important to mention that working with electricity can be dangerous if not done correctly. If you’re not familiar with electrical work or don’t feel confident in your abilities, it’s always best to hire a licensed electrician to handle the job. Safety should always be the top priority.
Now, let’s talk about the tools and materials you’ll need before getting started with running electrical wire in your house.
Key Takeaways:
- Planning and preparation are crucial when running electrical wire in a house. From identifying the wiring path to ensuring safety measures, careful consideration and attention to detail are essential for a successful and safe installation.
- Properly securing the wire, installing electrical boxes, and testing connections are vital steps in the process. Following these steps and adhering to safety precautions will ensure a professional and functional electrical wiring installation.
Read more: How To Run Outdoor Electrical Wire
Tools and Materials Needed
Before you begin running electrical wire in your house, make sure you have the following tools and materials on hand:
- Electrical wire: Choose the appropriate gauge and type of wire for your specific electrical needs. Common types include Romex or NM (Non-Metallic) cable.
- Tape measure: Use a tape measure to accurately measure the lengths of wire you will need.
- Wire strippers: These tools are used to remove the insulation from the ends of the electrical wire.
- Fish tape: A fish tape is helpful for pulling wire through walls and ceilings.
- Drill: Use a drill to create holes in walls or floors for running the wire.
- Screwdriver: Have a variety of screwdrivers on hand for removing electrical covers and securing electrical boxes.
- Pliers: Pliers are useful for bending and twisting wires together.
- Voltage tester: This tool allows you to check if a circuit is live or not, ensuring your safety.
- Electrical boxes: These are necessary for mounting switches, outlets, and other electrical devices.
- Fasteners: Depending on the surface you’re working with, you may need screws, anchors, or clamps to secure the electrical wire and boxes.
- Electrical tape: Use electrical tape to secure wire connections and provide insulation.
Having these tools and materials readily available will help you complete the job efficiently and effectively. Now that you have everything you need, let’s move on to the planning and preparation stage.
Planning and Preparation
Before you start running electrical wire in your house, it’s important to plan and prepare carefully. This will ensure that the process goes smoothly and that you meet all safety regulations. Here are the key steps to follow:
- Identify the specific areas where you need to run electrical wire. This could be for new outlets, lighting fixtures, or any other electrical devices you’re adding or relocating.
- Create a detailed plan of the wiring path. Consider factors such as accessibility, proximity to existing electrical components, and any obstacles you may encounter.
- Determine the appropriate type and gauge of electrical wire you’ll need for each specific circuit. Refer to local electrical codes and consult with a professional if you’re unsure.
- Check the load capacity of the circuit breaker or fuse box to ensure it can handle the additional electrical load.
- Consult local building codes and regulations to ensure compliance.
- Make a list of all the necessary tools and materials needed for the job.
- Shut off power to the area where you’ll be working. Locate the main electrical panel and turn off the breaker or fuse corresponding to the circuits you’ll be working on. Use a voltage tester to confirm that the power is off.
- Inspect the area where you’ll be running the wire for any potential hazards or obstructions. Remove any obstacles or clear a path if needed.
- Put on personal protective equipment (PPE), such as safety goggles and gloves, to protect yourself from any potential hazards.
- Finally, gather all the tools and materials you’ll need and have them easily accessible before starting the actual wiring process.
By carefully planning and preparing before you start running electrical wire, you’ll minimize the chances of encountering problems or making mistakes along the way. Taking these steps will also help ensure that your wiring project is up to code and completed safely.
Safety Precautions
When it comes to electrical work, safety should always be the top priority. Taking the necessary precautions will help protect you from electrical hazards and ensure a smooth and successful wiring project. Here are important safety measures to take:
- Turn off the power: Before you start working on any electrical wiring, always turn off the power to the area you’ll be working in. Locate the main electrical panel and switch off the corresponding breaker or remove the fuse. Use a voltage tester to double-check that the power is indeed off.
- Use personal protective equipment (PPE): Wear appropriate PPE, such as safety goggles, gloves, and non-slip footwear, to protect yourself from potential injuries and electrical shocks.
- Work in a well-lit area: Ensure that you have adequate lighting when working on electrical wiring. This will help you see clearly and prevent accidents.
- Avoid working alone: Whenever possible, have a helper or someone nearby who can assist you or provide assistance in case of an emergency.
- Inspect tools and equipment: Before use, inspect all tools and equipment for any damage or defects. Faulty tools can pose a safety hazard and should not be used.
- Do not overload circuits: Be mindful of the electrical load on each circuit. Do not exceed the circuit’s capacity as it can lead to overheating and electrical fires. Distribute the load evenly across multiple circuits if necessary.
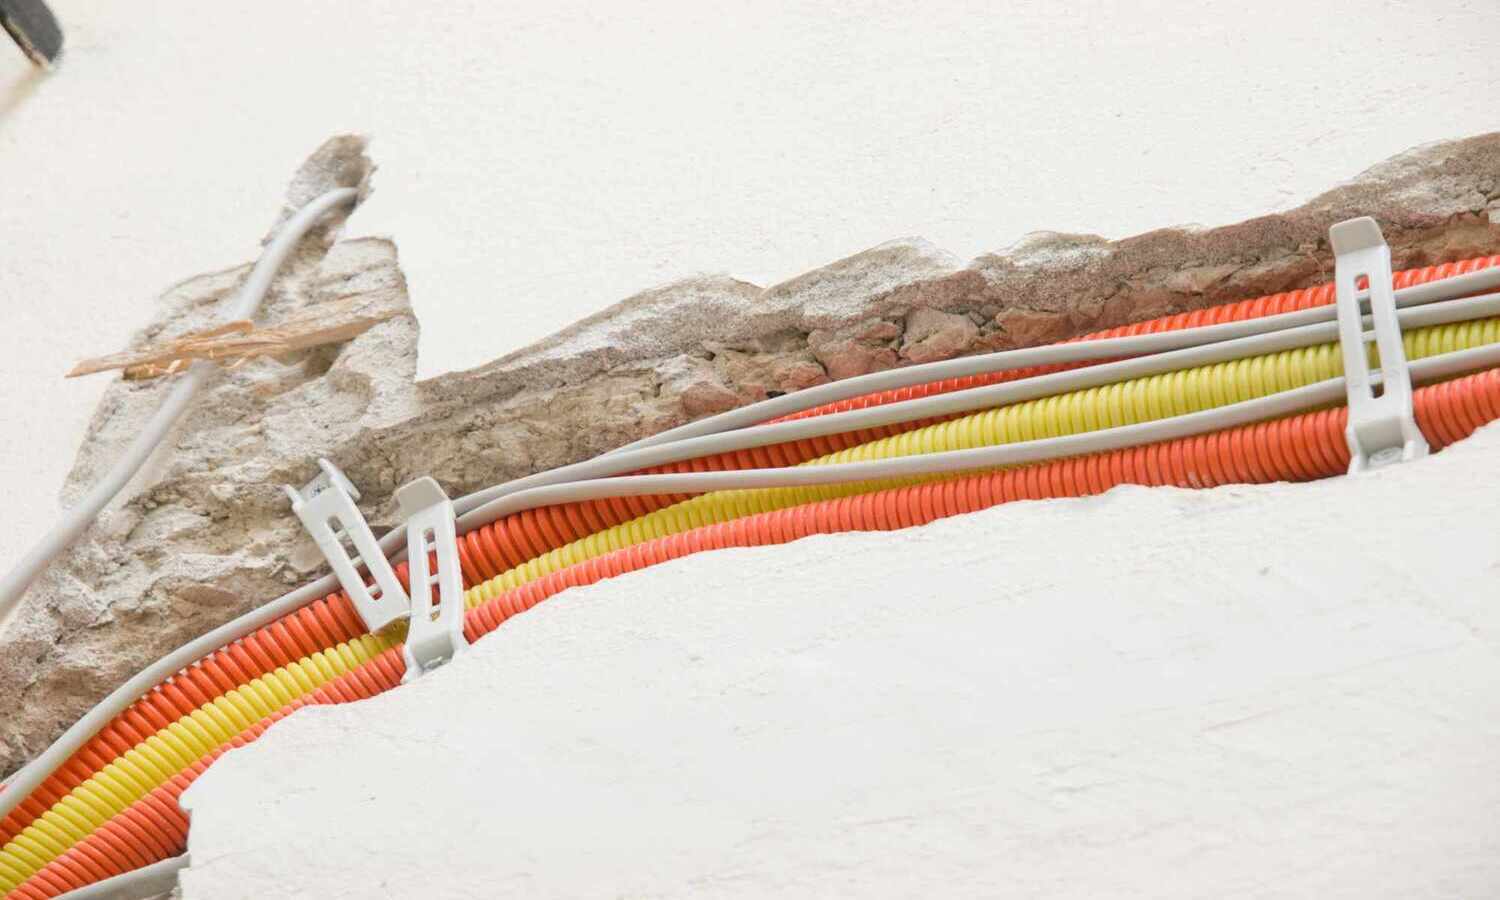
- Secure loose or exposed wires: Make sure that all wires are properly secured and not left hanging or exposed. Use appropriate fasteners and cable clamps to keep the wires in place and prevent accidental damage.
- Avoid water contact: Keep electrical wiring away from moisture, water, and other liquids. Wet conditions can increase the risk of electrical shocks.
- Never touch live wires: Avoid touching any exposed live wires, as this can result in severe electrical shocks. Always assume that every wire is live until proven otherwise.
- Consult a professional if unsure: If you’re uncertain or uncomfortable with any aspect of the electrical wiring, consult a licensed electrician for assistance. It’s better to seek professional help than to put yourself and others at risk.
Always prioritize your safety and follow these precautions when running electrical wire in a house. Taking proactive measures will ensure not only the success of your wiring project but also your well-being.
Step 1: Determine the Path for the Electrical Wire
Before you start running the electrical wire, you need to carefully plan and determine the path it will take. This involves identifying the shortest and most direct route between the power source (usually an electrical panel) and the desired location for the outlet, switch, or electrical device.
Here are the key considerations for determining the path of the electrical wire:
- Accessibility: Choose a path that provides easy access for running the wire. Avoid routes that require excessive drilling through walls or other obstacles.
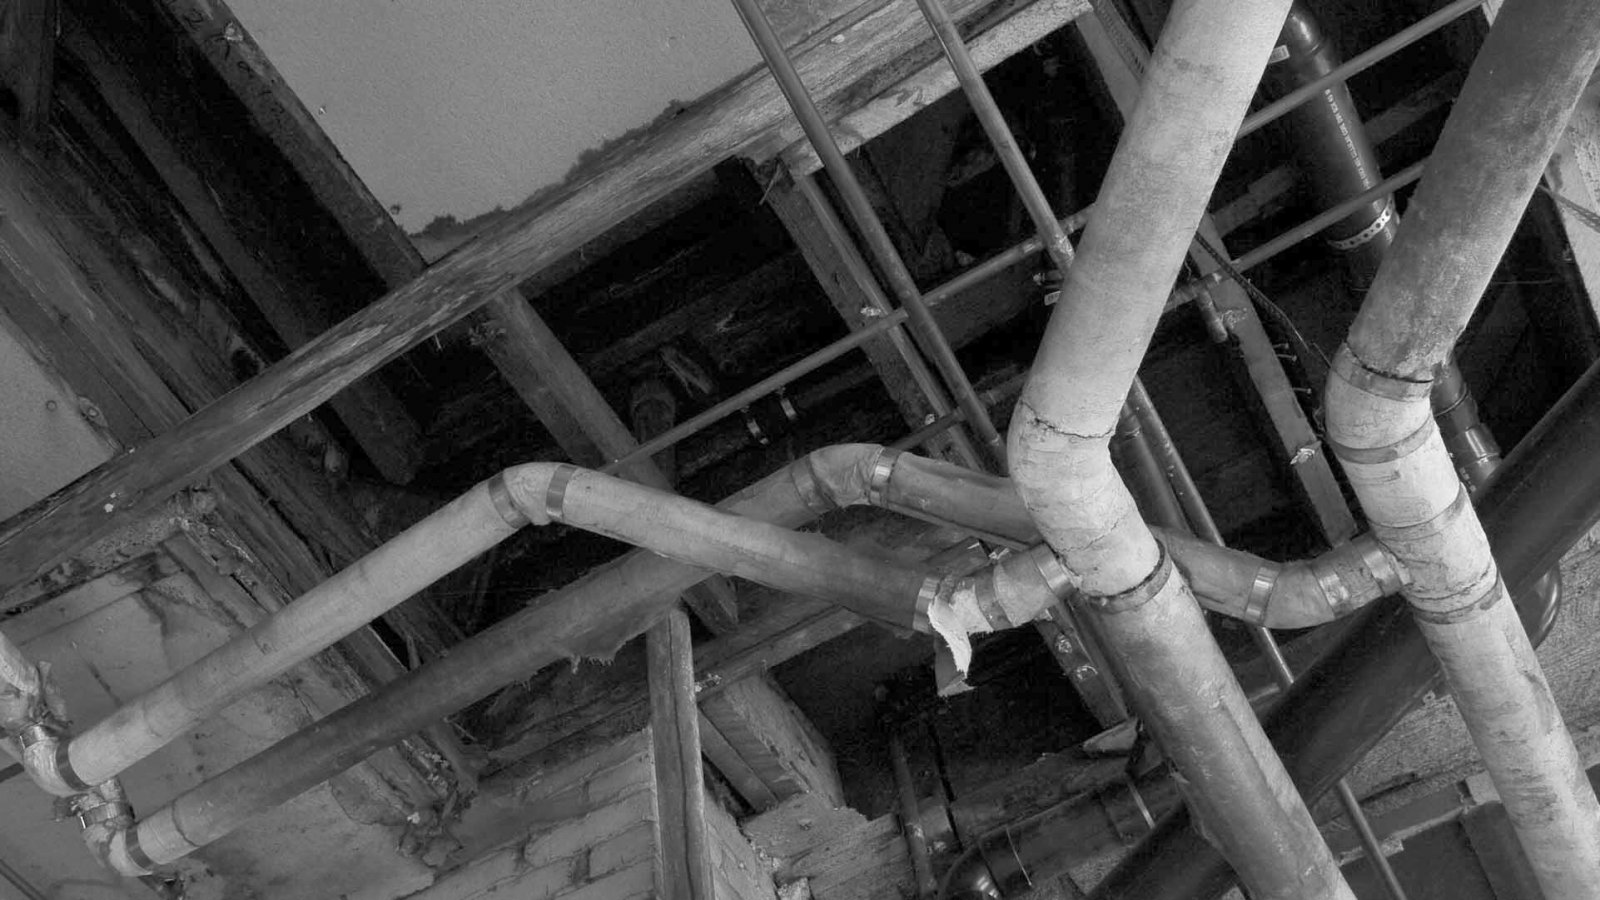
- Obstructions: Identify any potential obstructions, such as insulation, pipes, ductwork, or other wires, that may impede the wire’s path. Adjust the route accordingly to avoid these obstacles.
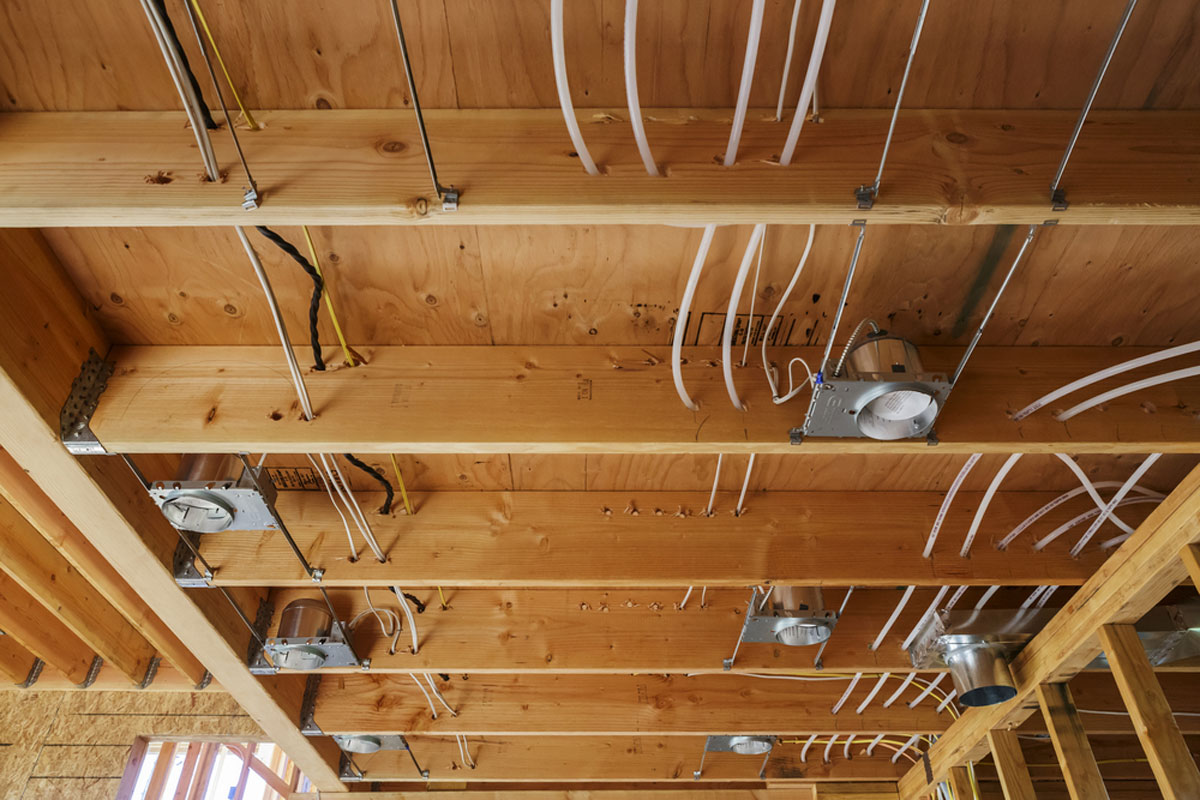
- Structural components: Take into account the structural components of your house, such as studs, joists, and beams. Running the wire along these components can provide additional support and protection.
- Electrical codes: Refer to local electrical codes and regulations to ensure compliance with the required clearance and spacing requirements for running electrical wire.
- Safety: Consider any safety concerns, such as avoiding areas that may be exposed to excessive heat or moisture.
- Future plans: If you anticipate future electrical expansions or renovations, plan the route with potential future wiring needs in mind. This will save you the hassle of rewiring later on.
Once you have determined the path for the electrical wire, mark the locations where you will need to drill holes or make openings for passing the wire. It’s important to be precise in marking the spots to avoid unnecessary damage to walls or other surfaces.
Remember, it’s always a good idea to consult with a licensed electrician or refer to electrical wiring guides for specific guidelines and best practices when determining the path for electrical wire.
Read more: What Electrical Wire To Run Underground
Step 2: Turn Off the Power
Before you begin any electrical work, it is crucial to turn off the power to the area where you’ll be running the wire. This ensures your safety and prevents any potential electrical accidents. Here’s how to safely turn off the power:
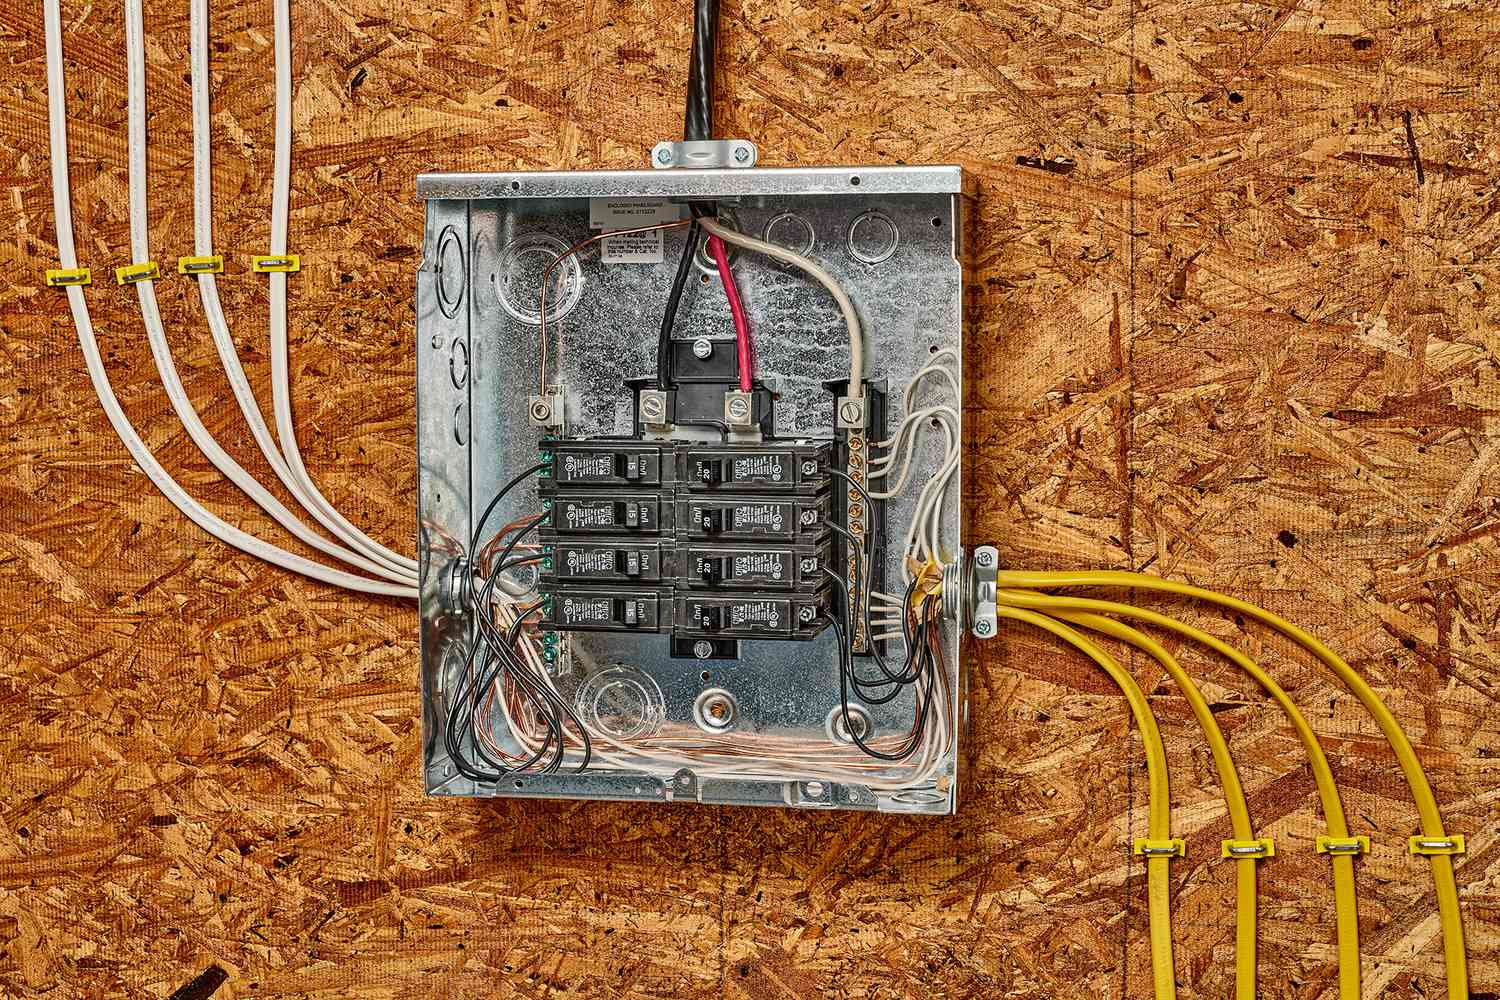
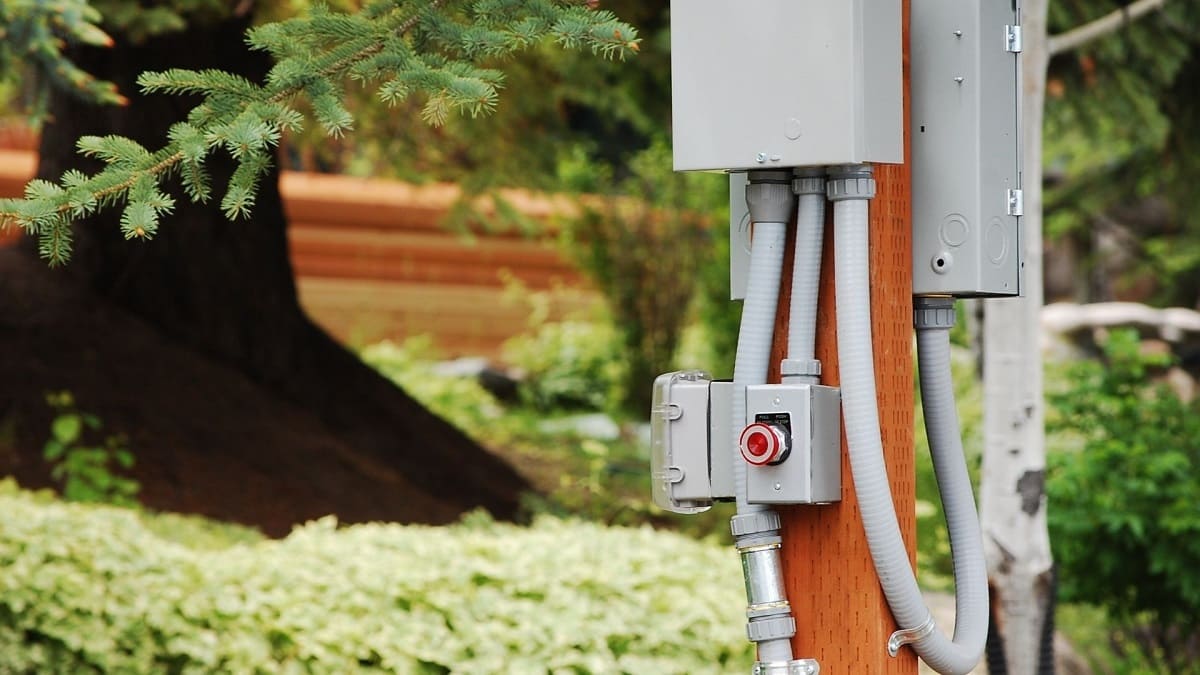
- Locate the main electrical panel: The main electrical panel is usually found in a basement, utility room, garage, or exterior area. It houses the circuit breakers or fuses that control the flow of electricity throughout your house.
- Familiarize yourself with the panel: Open the panel door and look for the circuit breakers or fuses. Each breaker or fuse corresponds to a specific electrical circuit in your home.
- Identify the circuit to be turned off: Identify the circuit or circuits that you’ll be working on. This may require referring to your electrical plan or consulting with a licensed electrician.
- Turn off the breaker or remove the fuse: Flip the switch of the respective breaker to the “off” position or remove the fuse associated with the circuit. This interrupts the flow of electricity to that particular area.
- Double-check the power: Use a voltage tester to confirm that the power to the circuit is off. This small handheld device will indicate if there is any electrical current present. Test both the wires you’ll be working with and nearby outlets or switches to ensure they are not live.
- Tag the breaker or fuse: Once you have verified that the power is off, it’s a good practice to tag or label the breaker or fuse with a note indicating that you are working on that circuit. This prevents someone else from accidentally turning it back on while you’re working.
Remember, safety is paramount when working with electricity. Always double-check that the power is off before proceeding with any electrical work.
With the power safely turned off, you can now proceed to the next step: removing existing electrical covers.
Step 3: Remove Existing Electrical Covers
Once you have turned off the power to the area where you’ll be running the electrical wire, the next step is to remove the existing electrical covers. These covers may include outlet covers, switch plates, or any other covers that are currently in place. Here’s how to remove them:
- Prepare your tools: Gather a screwdriver that matches the type of screws used to secure the electrical covers.
- Inspect the electrical covers: Take a close look at the covers to identify the type of screws used. There are typically two common types: flathead screws and Phillips head screws.
- Choose the appropriate screwdriver: Select the correct screwdriver based on the type of screws. A flathead screwdriver is used for flathead screws, while a Phillips head screwdriver is used for Phillips head screws.
- Loosen and remove the screws: Insert the screwdriver into the screw head and turn counterclockwise to loosen the screws. Once the screws are loose, remove them completely from the electrical cover.
- Remove the electrical covers: Once the screws are removed, gently pull the electrical covers away from the wall, exposing the electrical box behind it. Be cautious not to apply excessive force to prevent damage to the electrical box or the wiring inside.
- Set aside the screws: Place the screws in a safe location so that they can be easily found and reused when reinstalling the electrical covers later.
Repeat this process for all the existing electrical covers within the area you’ll be working on. Remove covers from outlets, switches, junction boxes, or any other electrical devices that require access to the wiring.
With the electrical covers removed, you now have clear access to the electrical boxes. In the next step, we will discuss drilling holes to create pathways for the electrical wire.
Step 4: Drill Holes
After removing the existing electrical covers, the next step in running electrical wire is to drill holes to create pathways for the wire. These holes will allow you to run the wire through walls, floors, or ceilings to connect the various electrical devices. Here’s how to drill the necessary holes:
- Assess the location: Determine where you need to drill the holes based on your electrical plan and the path you’ve determined for the wire.
- Choose the appropriate drill bit: Select a drill bit that matches the size of the holes you need to create. The size will depend on the gauge of the electrical wire and the type of connectors or fittings you’ll be using.
- Mark the drill points: Use a pencil or marker to mark the precise locations where you will be drilling the holes. Make sure the marks are clearly visible.
- Put on safety gear: Wear safety goggles and protective gloves to protect yourself from any potential debris or chippings during the drilling process.
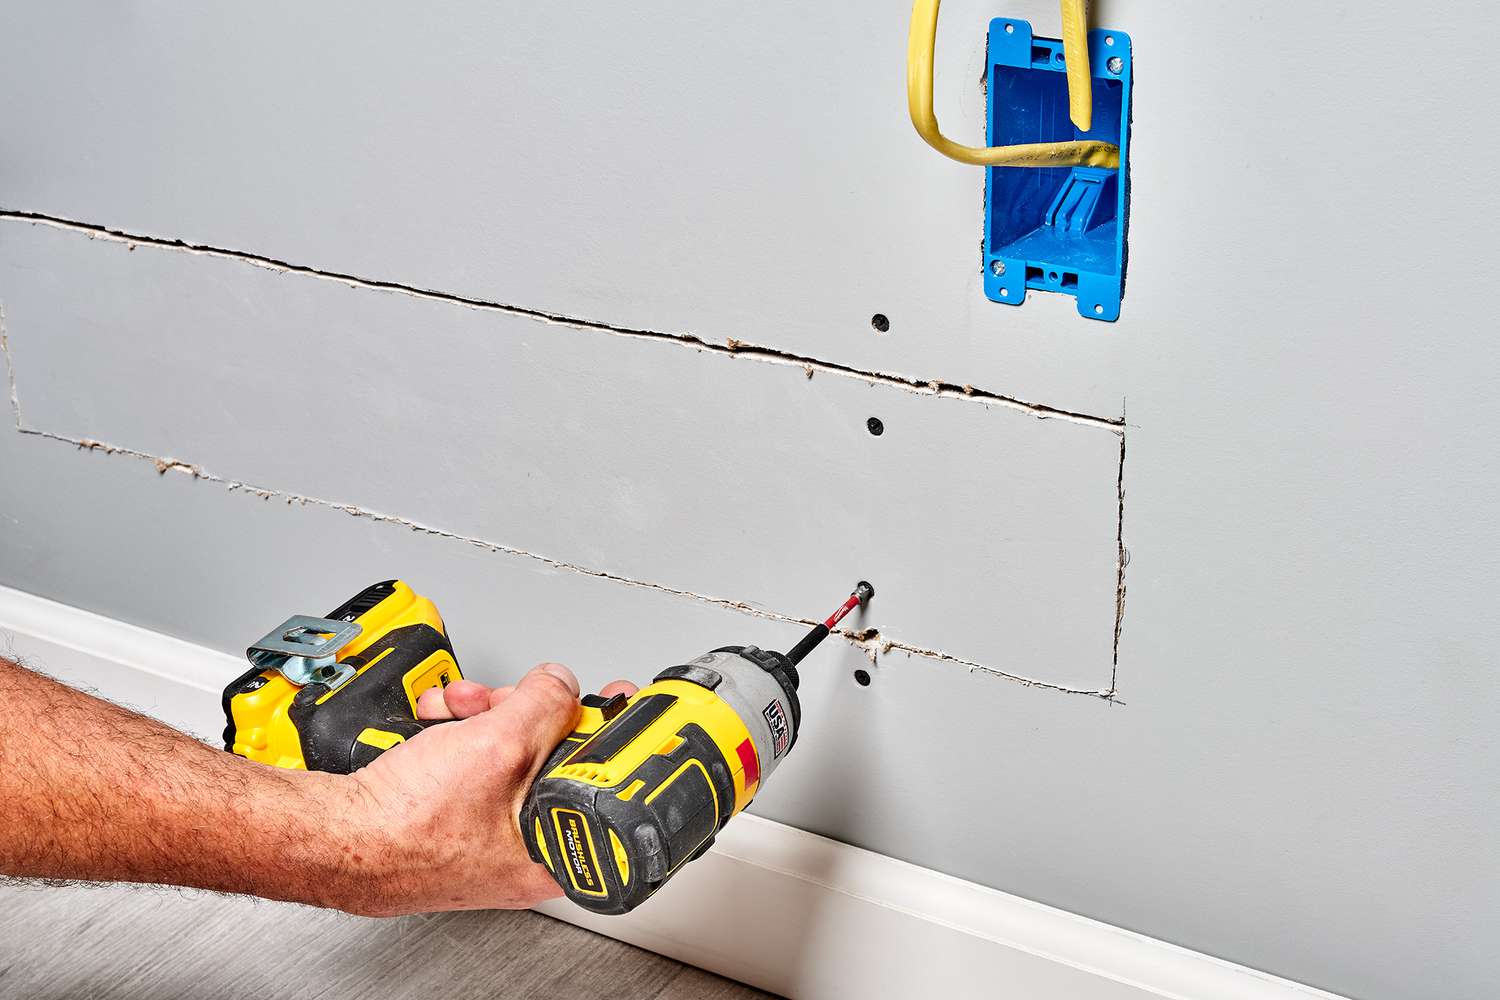
- Drill the holes: Align the drill bit with the marked drill points and slowly start drilling. Apply gentle pressure to avoid damaging the surrounding surfaces. If you’re drilling through a wall, drill straight in without angling the drill.
- Monitor the depth: As you drill, be mindful of the depth. Drill deep enough to accommodate the wire and any necessary connectors or fittings, but avoid drilling too deep to prevent damaging other components or wires behind the surface.
- Clear debris: After drilling each hole, use a brush or a vacuum to remove any debris or dust from the hole. This will ensure a clean and smooth pathway for the wire.
- Repeat for all necessary holes: Continue drilling holes at each designated location, following the same process as outlined above.
Remember to be cautious and patient while drilling holes, ensuring that you don’t rush or apply excessive pressure. Take breaks when needed and do not hesitate to seek professional help if you encounter any challenges or uncertainties.
With the holes drilled, you’re now ready to move on to the next step: running the electrical wire through the designated paths.
When running electrical wire in a house, always use the correct gauge wire for the intended purpose and make sure to secure the wire properly to prevent any potential hazards.
Step 5: Run the Wire
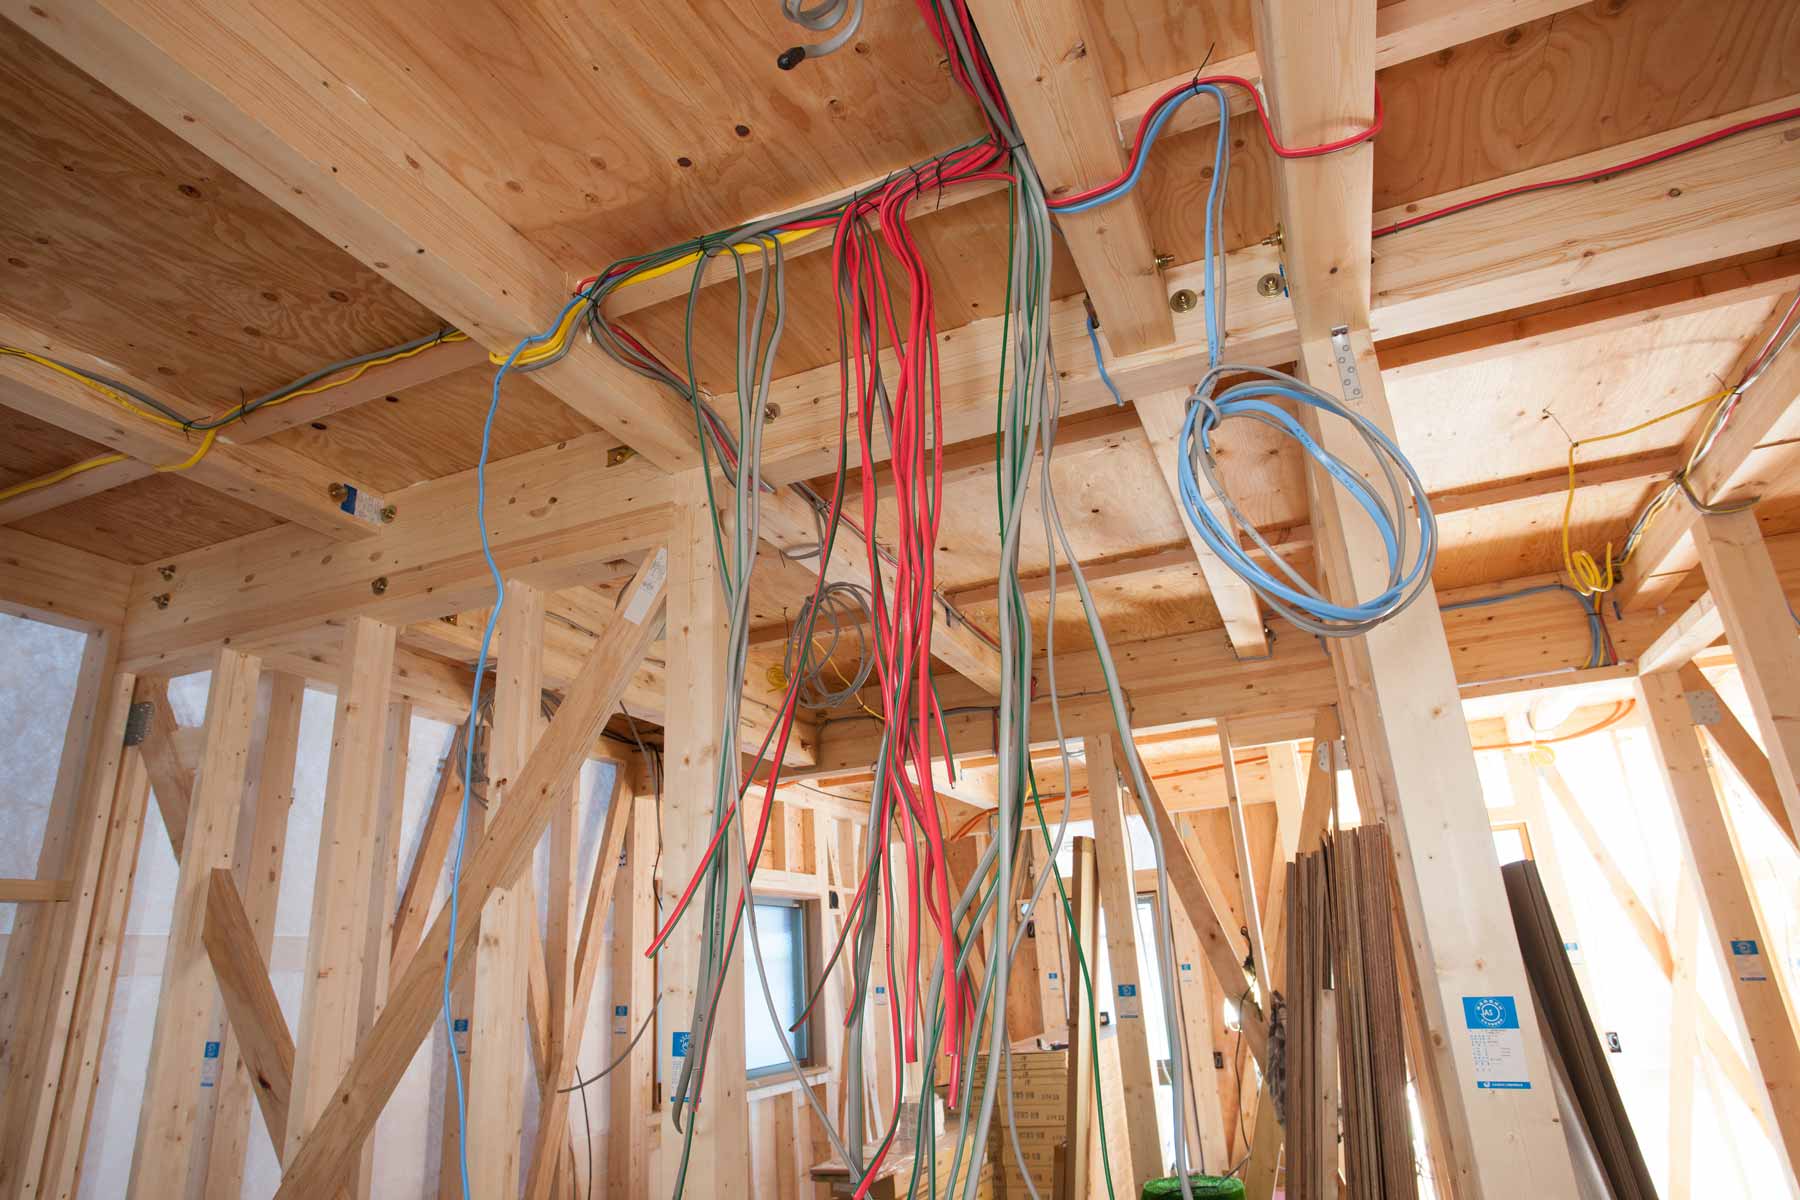
With the holes drilled, it’s time to run the electrical wire through the designated paths. Running the wire involves carefully feeding it through the holes you’ve created, ensuring it follows the planned path. Here are the steps to run the wire:
- Prepare the wire: Measure and cut the electrical wire to the appropriate length, leaving some extra length for connections at both ends.
- Start at the electrical panel: Begin at the electrical panel where the power source is located. Identify the correct breaker or fuse for the circuit you’ll be working on, and use fish tape to guide the wire from the panel to the first hole or opening. Be careful not to damage the insulation or expose the wire to sharp edges.
- Feed the wire through the holes: Insert the end of the wire into the first hole or opening, and carefully guide it through the pathway you’ve planned. Use the fish tape if needed to help navigate the wire through complex or tight spaces.
- Pull the wire through: As you feed the wire through the holes, gently pull it from the other end to ensure it’s properly routed and securely placed along the path. Take care not to put excessive strain on the wire or cause it to kink or bend excessively.
- Straighten any bends or kinks: If the wire becomes bent or kinked during the process, straighten it out carefully. Bends or kinks in the wire can cause future issues, so ensure it’s in a uniform and smooth condition.
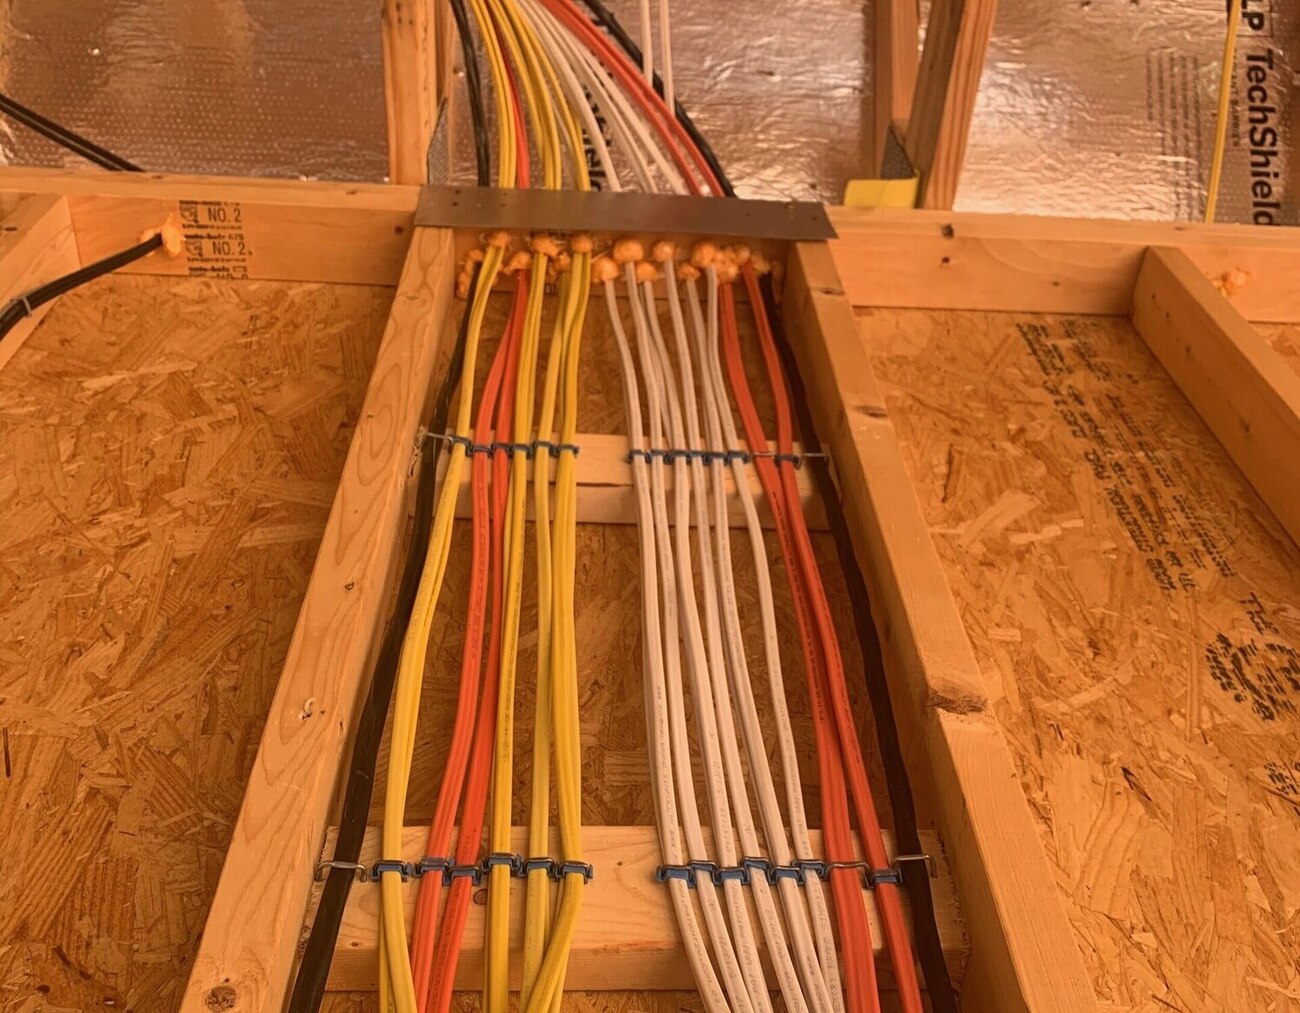
- Continue running the wire: Repeat the process of feeding and pulling the wire through each hole or opening until you reach the destination location.
- Use cable staples or clamps: Along the route, use cable staples or clamps to secure the wire in place and prevent it from moving or sagging. Space the staples or clamps according to local codes and recommendations.
- Be mindful of fire blocking: If you’re running wire between floors or through walls, be aware of fire blocking requirements. Fire blocking is designed to prevent the spread of fire within the structure, and you may need to make provisions for the wire to pass through or around these fire blocking barriers.
While running the wire, pay attention to the positioning and routing to ensure that it remains hidden and protected within the walls, floors, or ceilings. Be careful not to damage any existing wires, plumbing, or other structural components during the process.
With the wire successfully run, the next step is to secure it in place using electrical boxes. This will be covered in the following step.
Read more: How To Run Electrical Wire Through Walls
Step 6: Secure the Wire
Once the electrical wire is properly routed through the designated path, it’s important to secure it in place to ensure stability and prevent any potential damage. Securing the wire involves using appropriate fasteners and techniques to keep the wire fixed and supported. Here’s how to secure the wire:
- Prepare the wire for securing: Ensure that the wire is positioned neatly and straight along its route. Remove any excess slack or loops to create a clean and organized appearance.
- Choose the right fasteners: Select the appropriate fasteners based on the surface you’re working with. For drywall, use cable staples or clamps specially designed for electrical wires. For wooden surfaces, use insulated staples or nail-on plastic clamps.
- Space the fasteners correctly: Follow local electrical codes and guidelines to determine the appropriate spacing for securing the wire. Typically, for non-metallic sheathed cable (Romex), staples should be placed every 4-6 feet for horizontal runs and every 12 inches for vertical runs.
- Avoid over-tightening: When securing the wire, be careful not to over-tighten the fasteners, as this can damage the insulation or cause deformation. The fasteners should grip the wire firmly without crushing or pinching it.
- Secure the wire in electrical boxes: When the wire reaches an electrical box, use cable clamps or other appropriate methods to secure it in place. The clamps should hold the wire securely and prevent it from accidentally being pulled out.
- Avoid excessive tension or strain: Make sure that the wire is not pulled tightly, stressed, or kinked when securing it. Leave enough slack to allow for connections and flexibility within the system.
- Check for adequate support: Inspect the entire length of the wire, ensuring that it is properly supported and held in place. Adjust and install additional fasteners as needed.
Properly securing the wire is essential to maintain a neat and organized appearance, prevent damage or disconnection, and comply with electrical safety standards. Take your time to ensure that the wire is securely fastened, and make any necessary adjustments before proceeding to the next step.
Next, we will cover the installation of electrical boxes, which provide housing and protection for electrical devices.
Step 7: Install Electrical Boxes
After securing the electrical wire in place, the next step is to install electrical boxes. Electrical boxes provide a secure housing for switches, outlets, and other electrical devices. Here’s how to install them:
- Select the appropriate type of electrical box: Choose the type of electrical box based on the intended use and the specific electrical device that will be installed. Common types include standard outlet boxes, switch boxes, and junction boxes.
- Identify the installation location: Determine where the electrical box needs to be installed based on your electrical plan and the desired placement of switches, outlets, or other devices.
- Mark the box location: Use a pencil or marker to mark the exact placement of the box on the wall or ceiling. Ensure that the box is positioned correctly and level.
- Prepare the installation area: Clear away any debris or obstructions from the installation area. If there’s paint or wallpaper, carefully remove it to ensure a flush installation surface.
- Position the electrical box: Hold the electrical box against the marked location and align it properly. Make sure the box is flush with the surface and centered within the cutout or hole.
- Secure the box: Use screws or nails appropriate for the material you’re mounting the box on to secure it in place. Insert the screws or nails through the provided holes in the flanges or brackets on the box.
- Tighten securely: Ensure that the box is firmly attached to the wall or ceiling by tightening the screws or nails. However, be cautious not to over-tighten and risk damaging the box or the mounting surface.
- Make provisions for wire entry: Depending on the box type, you may need to use knockout holes or cable clamps to create openings for the electrical wire entry. Follow the instructions specific to the box you’re installing.
- Repeat for additional boxes: If you have multiple electrical boxes to install, follow the same process for each of them, making sure they are evenly spaced and aligned.
It’s important to ensure that the electrical boxes are securely installed, as they provide the foundation for electrical devices and help protect the wiring connections inside. Double-check the positioning and stability of each box before proceeding to the next step.
Next, we will discuss how to connect the electrical wire to devices such as switches and outlets.
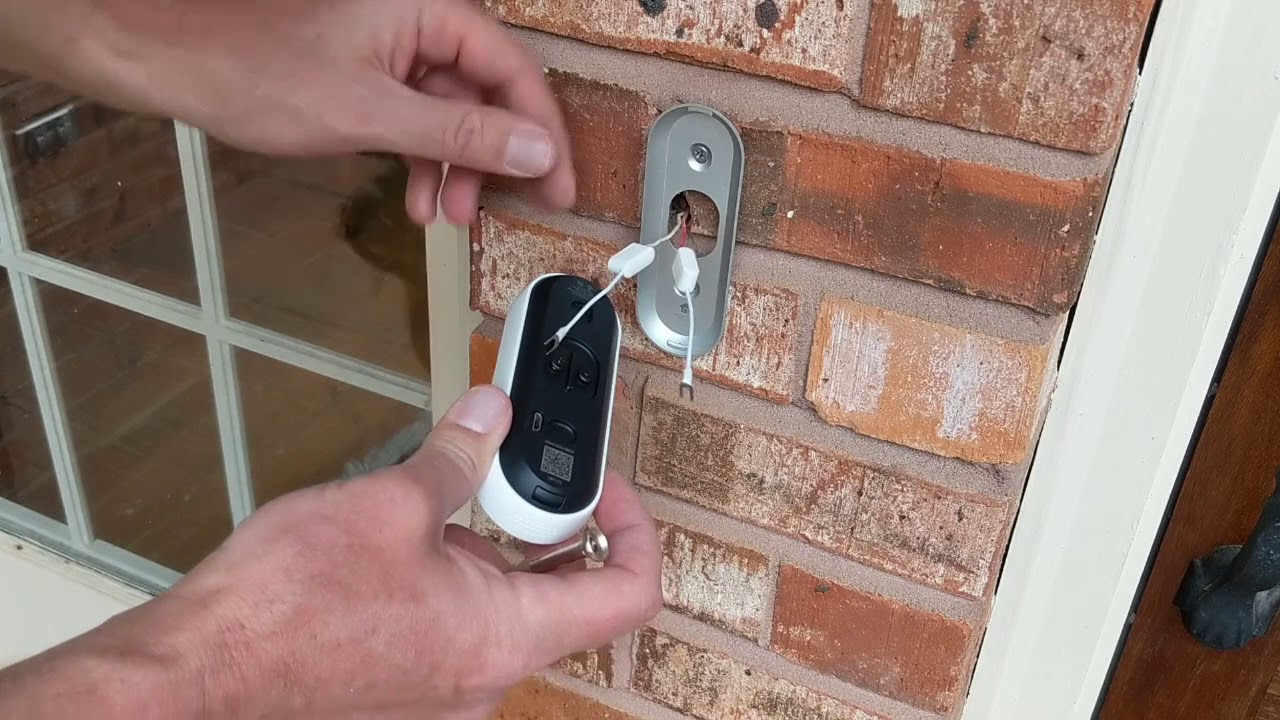
Step 8: Connect the Wire to Devices
After installing the electrical boxes, the next step is to connect the electrical wire to the devices such as switches, outlets, or other electrical components. This ensures that the electrical circuit is completed and allows for the safe and reliable operation of these devices. Here’s how to connect the wire to devices:
- Gather the necessary tools: Before starting the connections, ensure that you have the appropriate tools such as wire strippers, pliers, and screwdrivers readily available.
- Prepare the wire: Strip off approximately ¾ inch of insulation from the end of the wire using wire strippers. This will expose the conductors inside the wire.
- Follow device-specific instructions: Each type of device may have different wiring instructions, so it’s important to consult the manufacturer’s instructions or follow the appropriate wiring diagram for the specific device you’re installing.
- Connect the wires: Identify the wires inside the electrical box that correspond to the device. This typically includes black (hot), white (neutral), and sometimes green or bare copper (ground) wires.
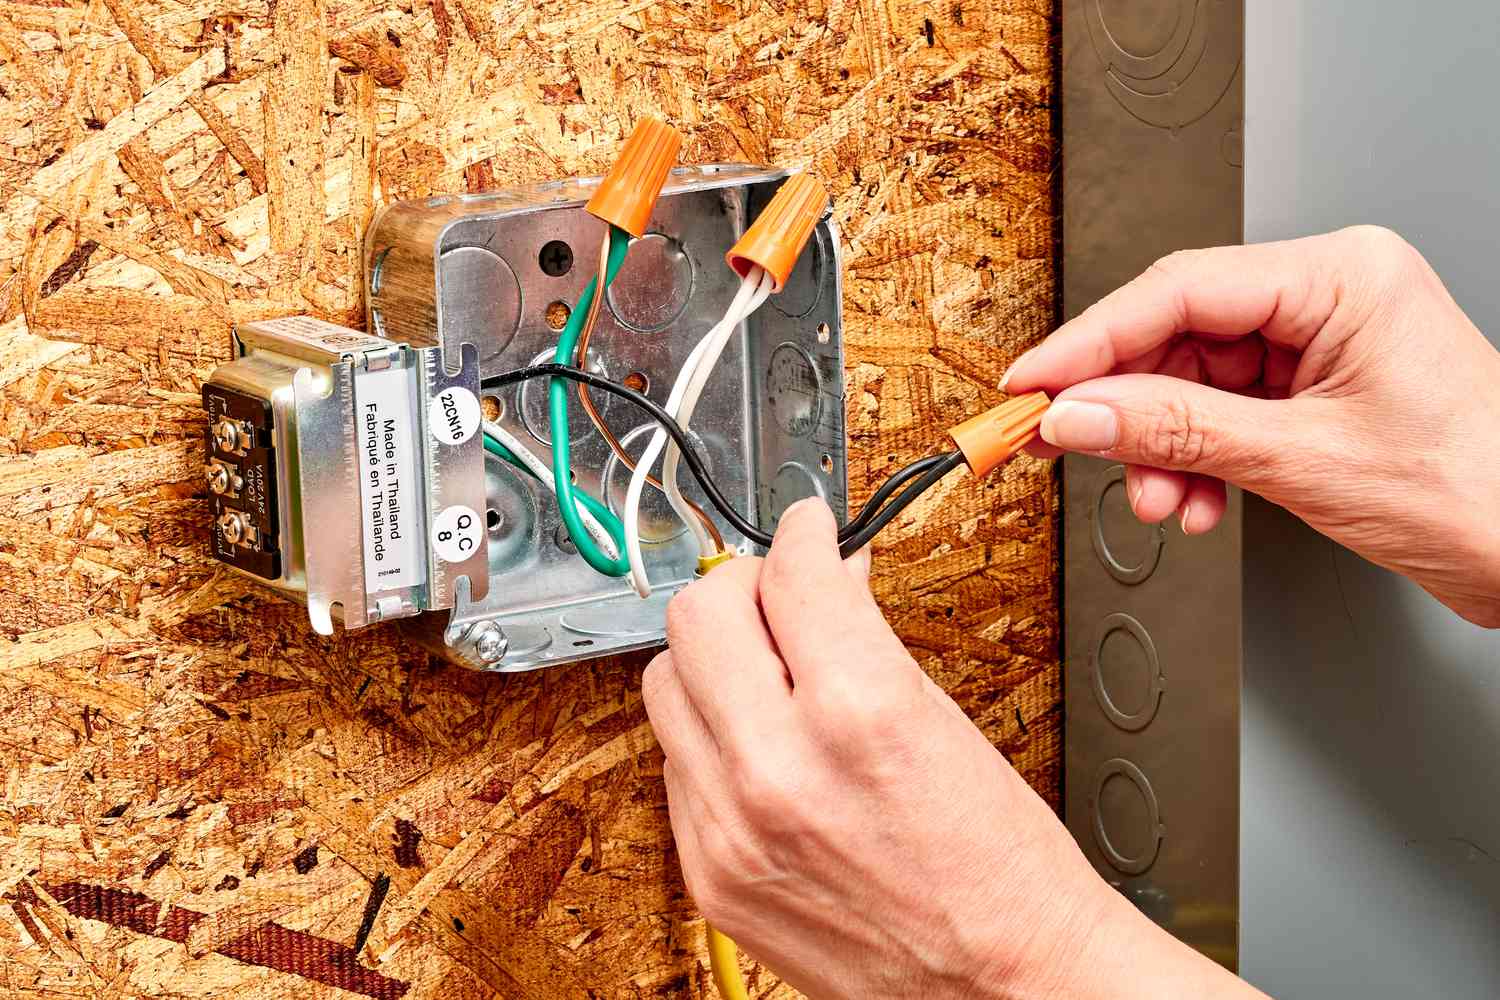
- Make wire connections: Using wire connectors or twist-on wire nuts, connect the corresponding wires from the device to the wires in the box. Typically, black wires will be connected together, white wires will be connected together, and ground wires will be connected together if present.
- Follow the color coding: To ensure consistency and accuracy, it’s best to follow standard color coding for wire connections. For example, black wires are usually connected to gold-colored screws on switches or brass-colored screws on outlets.
- Tighten the connections: Once the wires are connected, tighten any screws or screws on the device to secure the wires in place. Ensure that the connections are tight, but be careful not to overtighten and risk damaging the device or the wire.
- Check for secure connections: After making the connections, gently tug on the wires to confirm that they are securely and firmly attached. This will help prevent loose connections that can lead to electrical issues later on.
- Arrange the wires in the box: Arrange the wires neatly within the electrical box, making sure they are not folded or crammed to allow ample space for installing the device and covering the box.
- Repeat for other devices: Repeat the above steps for each additional device you’re connecting within the electrical circuit.
It’s important to follow proper wiring practices and ensure that all connections are made securely. If you have any doubts or concerns, consult a licensed electrician for guidance or assistance.
Next, we will discuss how to test the electrical connections to ensure they are functioning properly.
Step 9: Test the Electrical Connections
After connecting the electrical wire to devices, it is essential to test the electrical connections to ensure everything is functioning properly and there are no issues with the circuit. Testing the connections will help identify any potential wiring problems or faulty connections that need to be addressed before finalizing the installation. Here’s how to test the electrical connections:
- Double-check the power: Make sure that the power to the circuit you’ve been working on is still turned off at the main electrical panel.
- Inspect the connections visually: Take a moment to visually inspect all the connections you made. Ensure that the wires are securely attached and that there are no loose or exposed wires.
- Turn on the power: Go to the main electrical panel and switch on the breaker or reinsert the fuse for the circuit you’ve been working on.
- Test the devices: Test each device by operating the switches or plugging in a test device (e.g., a lamp or small appliance) into the outlets. Confirm that the devices are functioning as expected.
- Check for proper grounding: Use a voltage tester to check for proper grounding. This involves testing the voltage between the hot wire and the ground wire or ground terminal of each device. Ensure that there is no voltage detected.
- Verify correct operation: Test each switch and outlet to ensure they are properly wired. For switches, make sure they control the intended lighting or devices. For outlets, use a receptacle tester to confirm proper wiring and polarity.
- Verify continuity: Using a multimeter or continuity tester, check the continuity of each wire throughout the circuit. This will confirm that there are no breaks or interruptions in the wiring.
- Address any issues: If any problems are detected during the testing, such as non-functioning devices or wiring inconsistencies, troubleshoot and rectify the issue before proceeding.
Testing the electrical connections is a critical step in the installation process. It ensures that the wiring is correct, devices are working properly, and the electrical circuit is safe. If you encounter any issues during the testing or if something does not seem right, consult a licensed electrician for assistance.
Once you have verified that the electrical connections are functioning properly, it’s time to move on to the final step: installing new electrical covers.
Step 10: Install New Electrical Covers
After completing all the necessary electrical work and ensuring that the connections are tested and functional, the final step is to install new electrical covers. Electrical covers provide a protective barrier and a finished look to the electrical devices and wiring behind them. Here’s how to install new electrical covers:
- Gather the covers: Make sure you have the appropriate electrical covers for each device, such as outlet covers or switch plates. Ensure that the covers match the style and color scheme of your home.
- Position the cover: Align the cover with the electrical box, making sure the screw holes on the cover line up with the corresponding holes on the device.
- Insert the screws: Insert the screws into the pre-drilled holes on the cover and turn them clockwise to tighten. Use a screwdriver to avoid over-tightening and damaging the cover or device.
- Secure the cover: Tighten the screws until the cover sits snugly against the wall or surface. Make sure the cover is level and flush with the surrounding area.
- Repeat for all devices: Install covers for all the electrical devices that you have connected during the wiring process. Ensure a consistent and uniform appearance throughout your space.
- Inspect the covers: Take a moment to inspect each installed cover for any visible damage or imperfections. Replace any damaged covers to maintain a clean and polished look.
- Turn on the power: Return to the main electrical panel and switch on the breaker or replace the fuse for the circuit you have been working on. Verify that everything is still functioning correctly.
- Finalize the installation: Once the power is restored and tested, examine the entire installation area to ensure everything looks tidy and well-organized. Address any remaining minor issues or touch-ups as needed.
Installing new electrical covers is the final touch to completing your electrical wire installation project. It not only enhances the safety of the electrical devices but also adds a neat and professional appearance to your space.
Ensure that all covers are securely fastened and free from any gaps or misalignment. If you notice any issues or concerns during the installation, it’s important to address them promptly or consult a licensed electrician for assistance.
Congratulations! You have successfully run electrical wire in your house and completed the installation process. Remember to always follow safety guidelines and local electrical codes when working with electrical systems. If you are unsure or uncomfortable with any aspect, it’s best to seek professional help to ensure the job is done safely and correctly.
Now, you can enjoy the benefits of your newly installed electrical wiring, providing power and functionality to your home.
Conclusion
In conclusion, running electrical wire in a house is a fundamental skill for homeowners and electricians alike. With proper planning, preparation, and execution, you can successfully complete this task and ensure the safety and functionality of your electrical systems.
Throughout this article, we have discussed the step-by-step process, starting from determining the path for the wire to the final installation of electrical covers. By following these steps and taking the necessary safety precautions, you can confidently run electrical wire in your house.
We have emphasized the importance of careful planning and preparation, including identifying the path for the wire and understanding local electrical codes. Safety precautions, such as turning off the power and using personal protective equipment, should always be a priority to prevent accidents and ensure your well-being.
We have also covered key steps in the installation process, including drilling holes, securing the wire, installing electrical boxes, and connecting the wire to devices. Testing the electrical connections is crucial to verify proper operation and address any potential issues before finalizing the installation.
Lastly, installing new electrical covers adds the finishing touch to your project, providing a polished and professional appearance to your electrical devices and wiring.
Remember, if you’re unsure or uncomfortable with any aspect of running electrical wire, it’s always best to consult a licensed electrician who can provide guidance and expertise.
By following these guidelines and following local electrical codes, you can successfully run electrical wire in your house. Whether you’re adding new outlets, installing lighting fixtures, or completing a renovation, having a solid understanding of this process will give you the confidence to tackle your electrical projects.
Now, armed with this knowledge, you can enhance the electrical systems in your house and enjoy a safer and more functional living environment.
Ready to tackle more DIY electrical projects? Our next guide walks you through running overhead electrical wiring to your garage, ensuring every step is clear, safe, and efficient. Perfect for expanding your home workshop or garage setup, this article will equip you with all necessary insights to get the job done right. Don't miss out on mastering another essential skill in home improvement!
Frequently Asked Questions about How To Run Electrical Wire In A House
Was this page helpful?
At Storables.com, we guarantee accurate and reliable information. Our content, validated by Expert Board Contributors, is crafted following stringent Editorial Policies. We're committed to providing you with well-researched, expert-backed insights for all your informational needs.


0 thoughts on “How To Run Electrical Wire In A House”