Articles
How To Clean An Extension Cord
Modified: December 7, 2023
Learn how to clean an extension cord with these helpful articles. Discover useful tips and techniques to keep your cords in top condition.
(Many of the links in this article redirect to a specific reviewed product. Your purchase of these products through affiliate links helps to generate commission for Storables.com, at no extra cost. Learn more)
Introduction
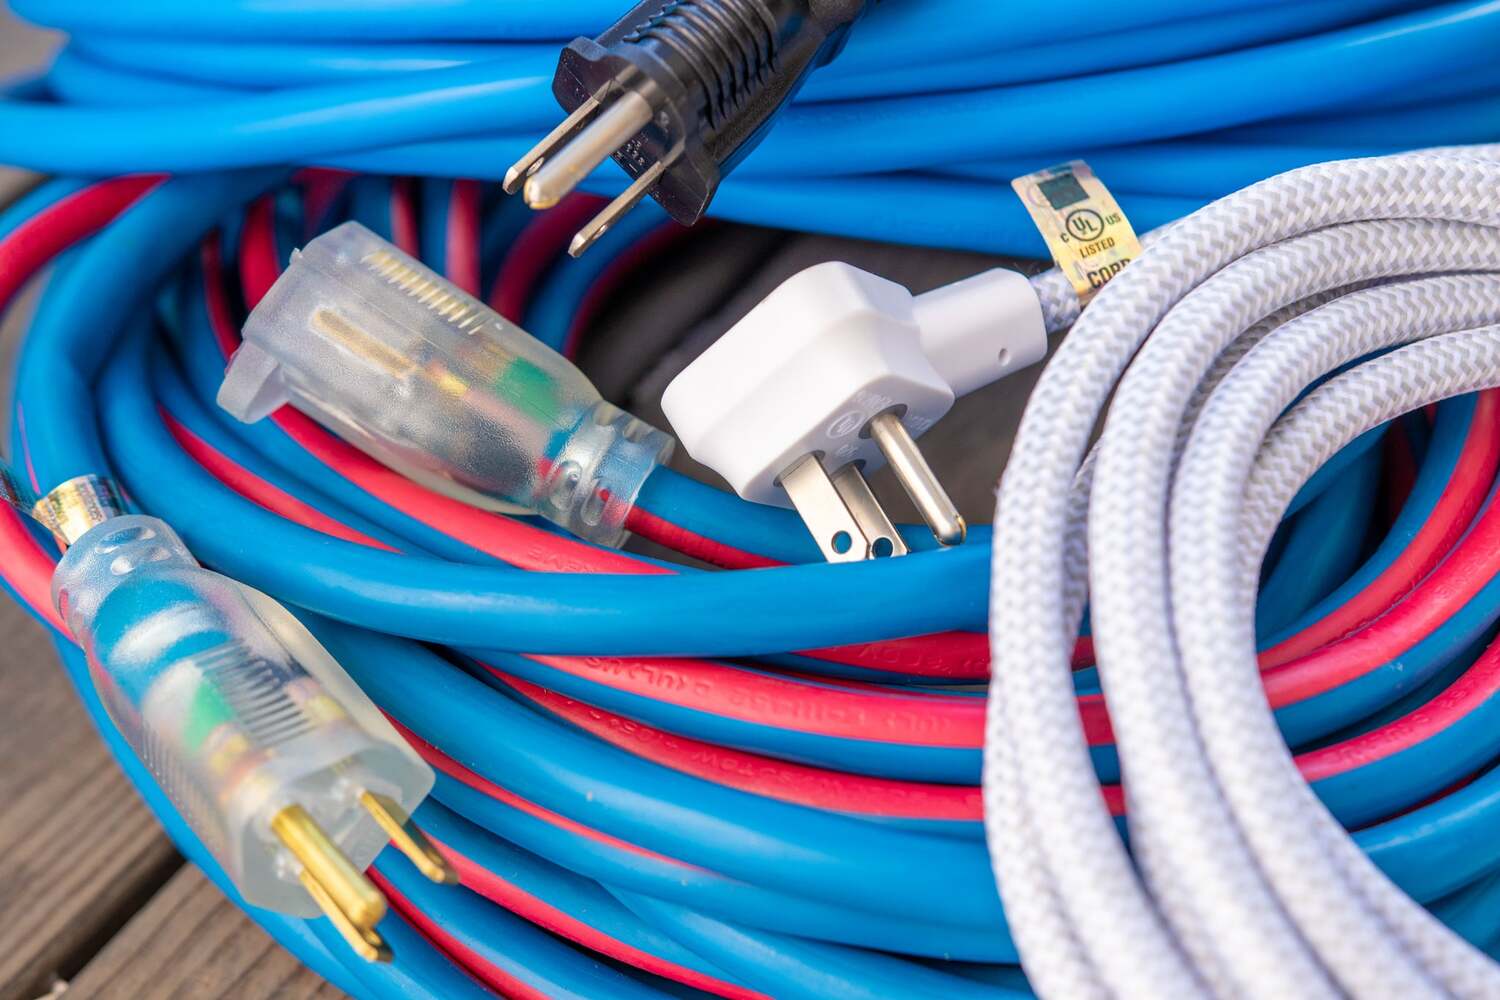
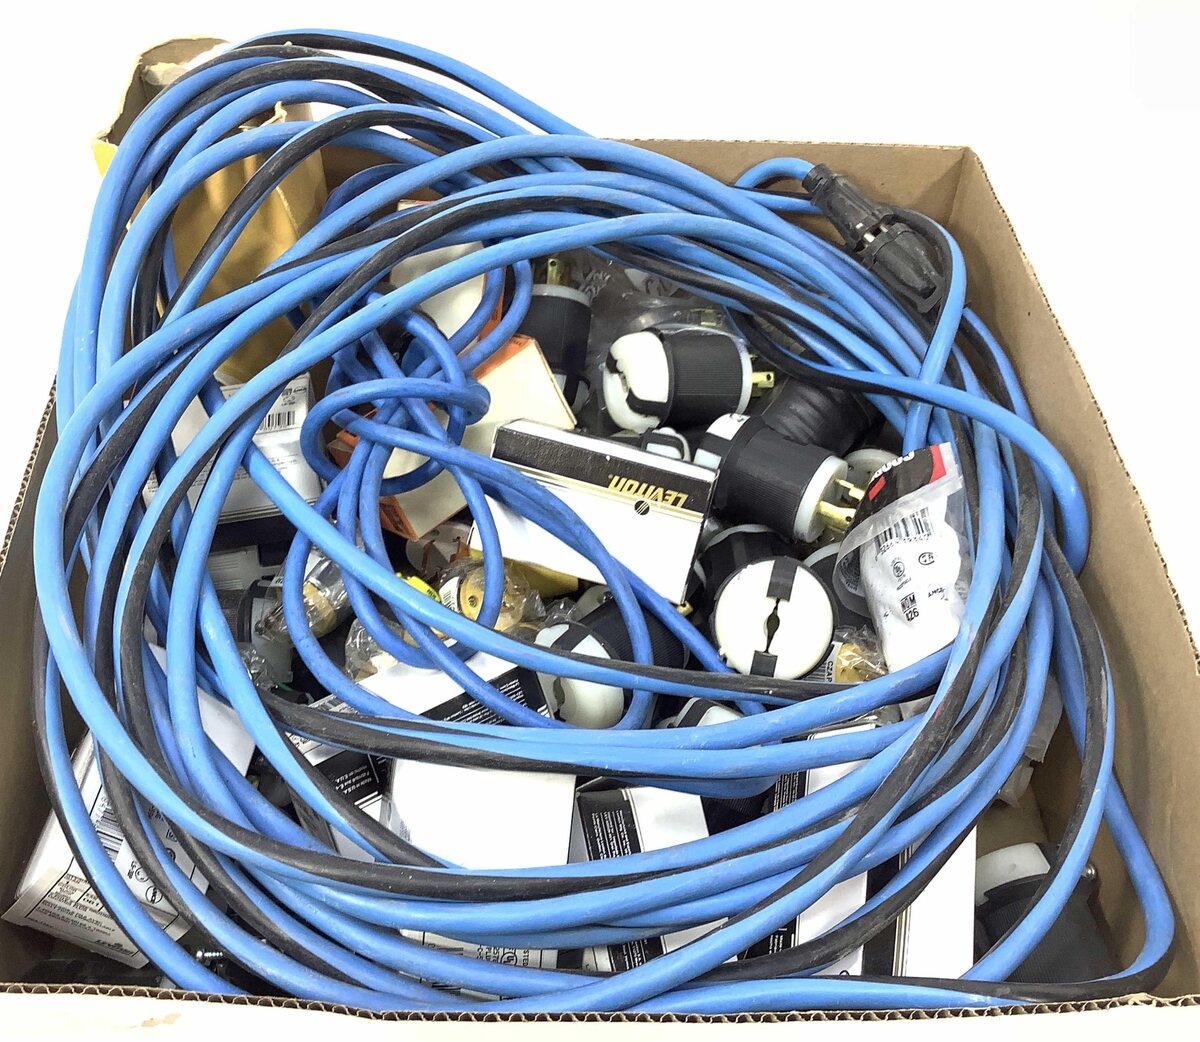
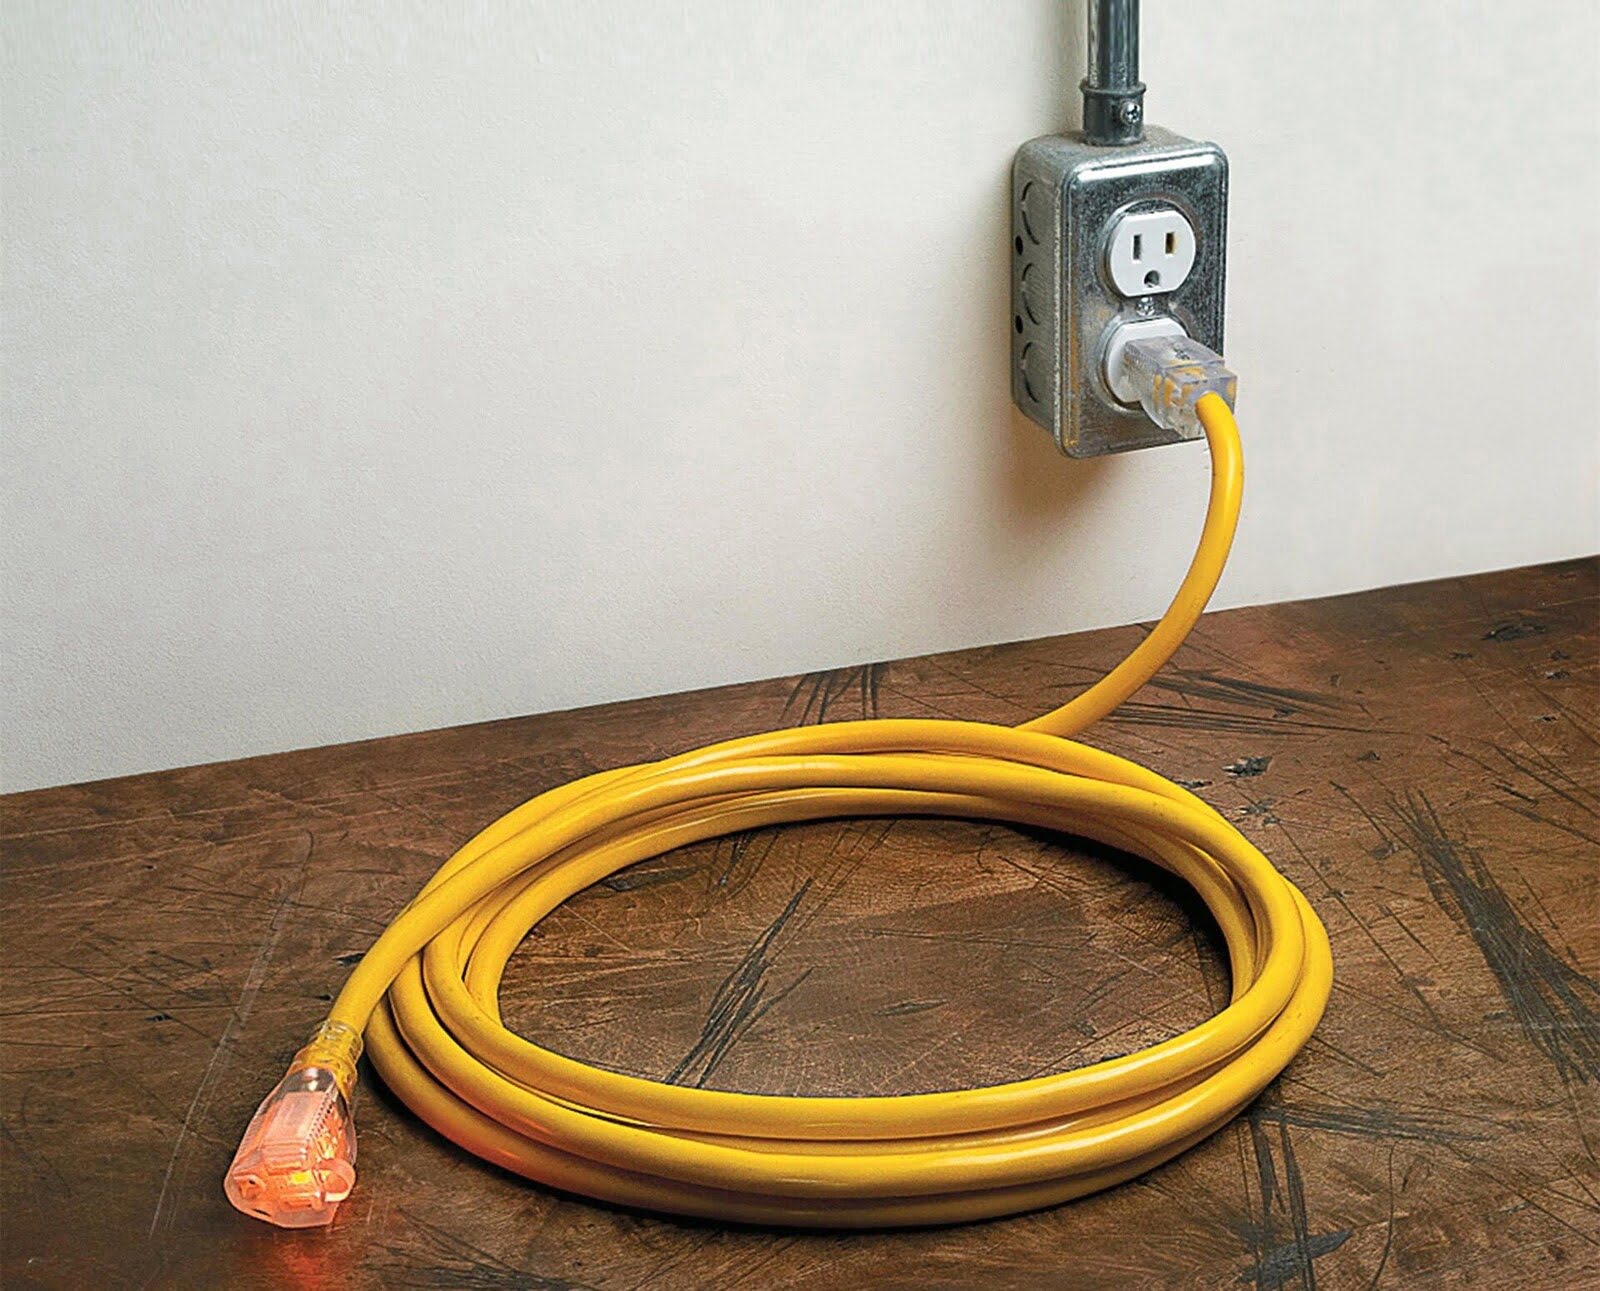
An extension cord is a handy tool that allows us to conveniently access power sources in various locations. Whether you’re using it for outdoor activities, DIY projects, or simply to extend the reach of your electrical devices, it’s important to keep your extension cord clean and well-maintained. Regular cleaning not only helps to extend its lifespan but also ensures safe and efficient operation. In this article, we’ll guide you on how to properly clean an extension cord to keep it in optimal condition.
Dirty extension cords can accumulate dust, dirt, and other debris over time, which can compromise their performance and pose a potential safety hazard. Cleaning them regularly not only improves their appearance but also removes any debris that could potentially cause electrical shorts or damage to the internal wiring.
Before we dive into the cleaning process, it’s essential to emphasize the importance of safety. Always remember to unplug the extension cord from the power source before attempting any cleaning or maintenance tasks. This will prevent the risk of electrocution or other accidents.
In the following sections, we’ll outline the step-by-step process for cleaning an extension cord, including necessary materials and precautions to take. By following these guidelines, you can ensure that your extension cord remains in top-notch condition for years to come. Let’s get started!
Key Takeaways:
- Regularly cleaning and maintaining your extension cord is crucial for safety and longevity. Gather materials, unplug, inspect, clean, dry, check for damage, and store properly to ensure reliable performance.
- Proper storage, thorough inspection, and gentle cleaning are essential for keeping your extension cord in optimal condition. Prioritize safety, follow the steps, and enjoy the convenience of a well-maintained cord.
Read more: How To Clean An Electrical Cord
Step 1: Gather Materials
Before you begin cleaning your extension cord, it’s important to gather the necessary materials. Having everything prepared beforehand will make the cleaning process more efficient. Here are the items you will need:
- Warm water
- Mild dish soap or all-purpose cleaner
- Sponge or soft cloth
- Old toothbrush or small brush
- Dry towel or cloth
- Rubber gloves (optional)
Warm water helps to remove dirt and grime effectively without damaging the cord’s insulation. Avoid using hot water as it may warp or melt the cord. The mild dish soap or all-purpose cleaner will help break down any stubborn grease or stains. Make sure to choose a gentle cleaner to prevent any harsh chemicals from damaging the cord’s exterior.
The sponge or a soft cloth will be used to wipe down the cord and remove dirt and debris. The old toothbrush or small brush is useful for cleaning hard-to-reach areas or removing stubborn dirt in crevices. The dry towel or cloth is for drying the cord after cleaning.
It’s worth noting that rubber gloves are optional but can provide an extra layer of protection for your hands, particularly if you have sensitive skin or are using a cleaner that may irritate your skin. They can also offer a better grip while handling the cord.
Once you have gathered all the necessary materials, you’re ready to move on to the next step: unplugging the extension cord.
Step 2: Unplug the Extension Cord
Before you begin cleaning your extension cord, it’s crucial to unplug it from the power source. This step is vital to ensure your safety throughout the cleaning process.
Some extension cords may have multiple outlets or power strips connected to them. Take the time to unplug each device from the extension cord as well. This will prevent accidental shocks or power surges while cleaning the cord.
Once all devices are unplugged, locate the plug of the extension cord itself. Firmly grasp the plug and pull it out from the power outlet. Make sure to hold onto the plug itself rather than pulling on the cord, as this can minimize strain on the cord’s internal wiring and connectors.
By ensuring that the extension cord is completely unplugged, you eliminate the risk of electric shock or accidentally turning on connected devices while cleaning.
Now that the extension cord is safely disconnected from the power source, you can proceed to the next step: inspecting the extension cord for any damage or issues.
Step 3: Inspect the Extension Cord
After unplugging the extension cord, it’s important to carefully inspect it for any visible damage or issues. Regular inspection helps to identify potential problems that may require repair or replacement.
Start by examining the entire length of the cord, including the plugs and connectors. Look for any signs of fraying, cuts, or exposed wires. These are indications of a damaged cord that should not be used and may need professional repair.
In addition to physical damage, check for any discoloration or burn marks on the cord’s insulation. These could indicate overheating or electrical arcing, which pose serious safety risks.
Inspect the plugs and connectors for any bent or misaligned prongs. These can affect the proper functioning of the extension cord and may need to be replaced if damaged.
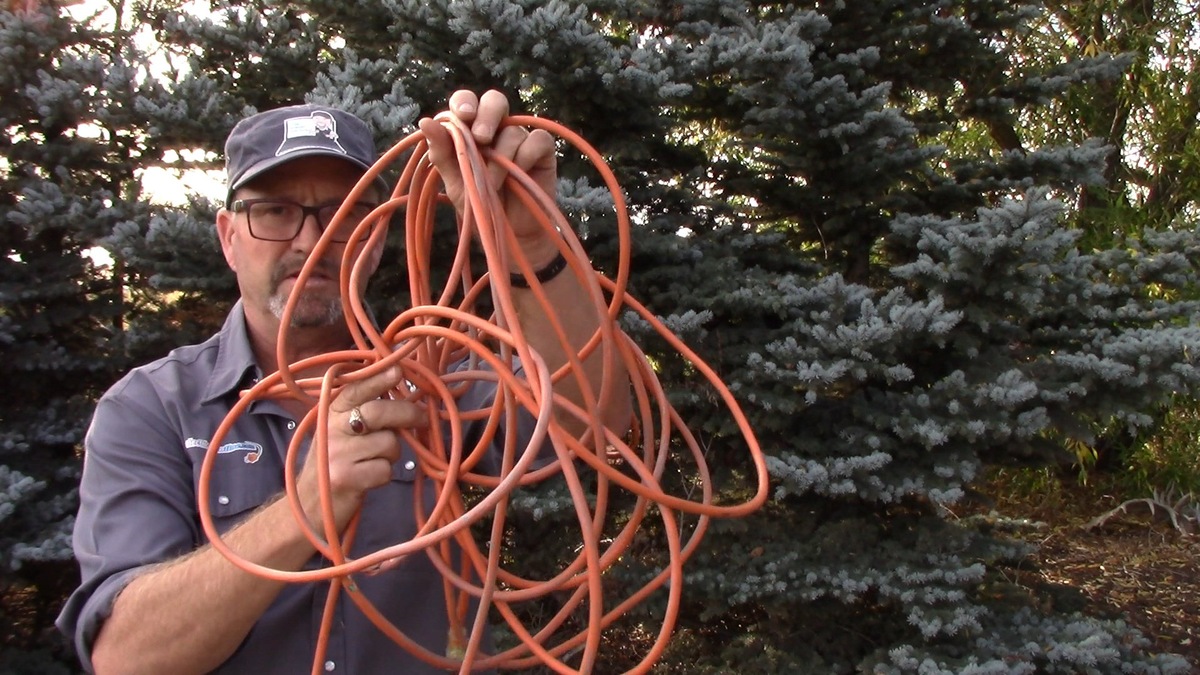
While inspecting, also take note of any knots or kinks in the cord. These can weaken the internal wires and lead to potential hazards. Unravel any knots or straighten out any kinks to ensure the cord is in its optimal condition.
If you come across any significant damage, it is advisable to replace the extension cord entirely. Using a damaged cord can increase the risk of electrical shock or fire hazards.
By thoroughly inspecting the extension cord, you can determine its overall condition and take necessary action to address any issues. Once you have assessed its condition, it’s time to move on to the next step: removing debris from the cord.
Step 4: Remove Debris
Now that you have inspected the extension cord for any visible damage, it’s time to remove any debris or dirt that may have accumulated on its surface.
Start by taking your brush, such as an old toothbrush or small brush, and gently brush along the length of the cord. This will help loosen any dirt, dust, or cobwebs that may be clinging to the cord’s exterior.
Next, use a damp cloth or sponge and wipe down the entire length of the cord. You can dampen the cloth or sponge with warm water and a small amount of mild dish soap or all-purpose cleaner if necessary. Gently rub the cloth or sponge along the cord, focusing on areas that are particularly dirty or stained.
If there are any stubborn stains or sticky residue on the cord, you can use a small amount of mild dish soap or all-purpose cleaner directly on the affected areas. Scrub gently with the damp cloth or sponge to remove the stains or residue.
It’s important to avoid saturating the extension cord with excessive water or cleaning solution. This can potentially damage the insulation or electrical components of the cord. Use a minimal amount of water and cleaner, and wring out the cloth or sponge well to remove any excess moisture.
Continue wiping down the entire length of the cord until all visible debris and stains have been removed. Pay close attention to any hard-to-reach areas or crevices where dirt may have accumulated.
By removing debris from the extension cord, you ensure that it is clean and free from any particles that could interfere with its performance. Once you have completed this step, it’s time to move on to drying the cord.
Unplug the extension cord and use a damp cloth to wipe down the entire length, removing any dirt or debris. Be sure to let it dry completely before using it again.
Read more: How To Splice Extension Cord
Step 5: Use a Damp Cloth
After removing debris from the extension cord, it’s time to give it a thorough wipe down using a damp cloth. This step helps to clean the cord further and remove any remaining residue or cleaning solution.
To begin, take a clean, damp cloth and wring out any excess water. Make sure the cloth is damp, not dripping wet, as excessive moisture can damage the insulation or electrical components of the cord.
Gently run the damp cloth along the entire length of the cord, applying light pressure. Wipe in a smooth, continuous motion to remove any remaining dirt, residue, or cleaning solution. Pay special attention to any areas that may still be visibly dirty.
If necessary, you can fold the cloth to create a smaller, more concentrated surface to tackle stubborn stains or areas that require extra cleaning. Apply a bit more pressure while you wipe these areas, but avoid using too much force, as this may cause damage to the cord.
Continue to wipe the entire length of the cord until it feels clean and free from any visible dirt or residue. If the cloth becomes excessively dirty during the cleaning process, rinse it out and squeeze out any accumulated debris or cleaning solution before proceeding.
It’s important to emphasize that the cloth should only be damp, not soaked. Excessive moisture can lead to electrical hazards or damage the insulation and internal wiring of the cord. Always exercise caution and be mindful of the amount of water you are using.
Once you have thoroughly wiped down the entire extension cord with a damp cloth, it’s time to move on to the next step: drying the cord.
Step 6: Dry the Extension Cord
After using a damp cloth to clean the extension cord, it’s essential to ensure that it is properly dried before use. This step helps to remove any remaining moisture and prevent potential electrical hazards.
To dry the extension cord, start by taking a clean, dry towel or cloth and gently patting it along the entire length of the cord. The towel will absorb any excess moisture and speed up the drying process.
Avoid vigorously rubbing the cord with the towel, as this can cause friction that may damage the cord’s insulation. Instead, use a gentle patting motion to absorb the moisture without putting excessive pressure on the cord.
If you have access to a well-ventilated area, you can also hang the extension cord in a safe and dry location. This will allow it to air dry naturally. Make sure to avoid direct sunlight or areas with high humidity, as these can prolong the drying time or potentially damage the cord.
It’s important to note that the extension cord should be completely dry before plugging it back into a power source. Even a small amount of moisture can cause electrical shorts or other hazards when electricity is flowing through the cord.
Ensure that both ends of the cord, including the plugs and connectors, are thoroughly dried as well. Check for any moisture in the prong slots or outlets and gently remove it with a dry cloth or towel.
By properly drying the extension cord, you reduce the risk of electrical accidents and ensure its safe and effective operation. Once the cord is completely dry, it’s time to move on to the next step: checking for any damage.
Step 7: Check for Damage
After cleaning and drying the extension cord, it’s crucial to perform a thorough check for any signs of damage or wear. Identifying and addressing potential issues can help prevent accidents and ensure the cord’s safe and reliable use.
Start by visually examining the entire length of the cord, paying close attention to its insulation and the integrity of the connectors. Look for any cuts, nicks, or fraying along the cord’s outer covering. These are indications of damage that may compromise the cord’s safety and effectiveness.
If you notice any exposed wires or loose connections, it’s essential to address the problem immediately. Exposed wires can lead to electrical shocks or sparks, while loose connections can cause power fluctuations or device malfunctions.
Check the plugs and connectors for any bent or damaged prongs. A bent prong may not make secure contact with the power source, resulting in an unstable or unsafe electrical connection.
In addition to visual inspection, consider conducting a functionality test by plugging the cord into a power source and connecting it to a device. Ensure that the power flows smoothly without any interruption or flickering.
If you detect any issues, it’s best to seek professional assistance or consider replacing the extension cord. Using a damaged or faulty cord can pose serious safety risks.
Regularly checking for damage after cleaning and maintenance is crucial to keep the extension cord in optimal condition. Once you have completed this step, it’s time to move on to the final step: storing the cord properly.
Step 8: Store Properly
After cleaning, inspecting, and ensuring the extension cord is in good condition, it’s important to store it properly to maintain its longevity and prevent any accidental damage.
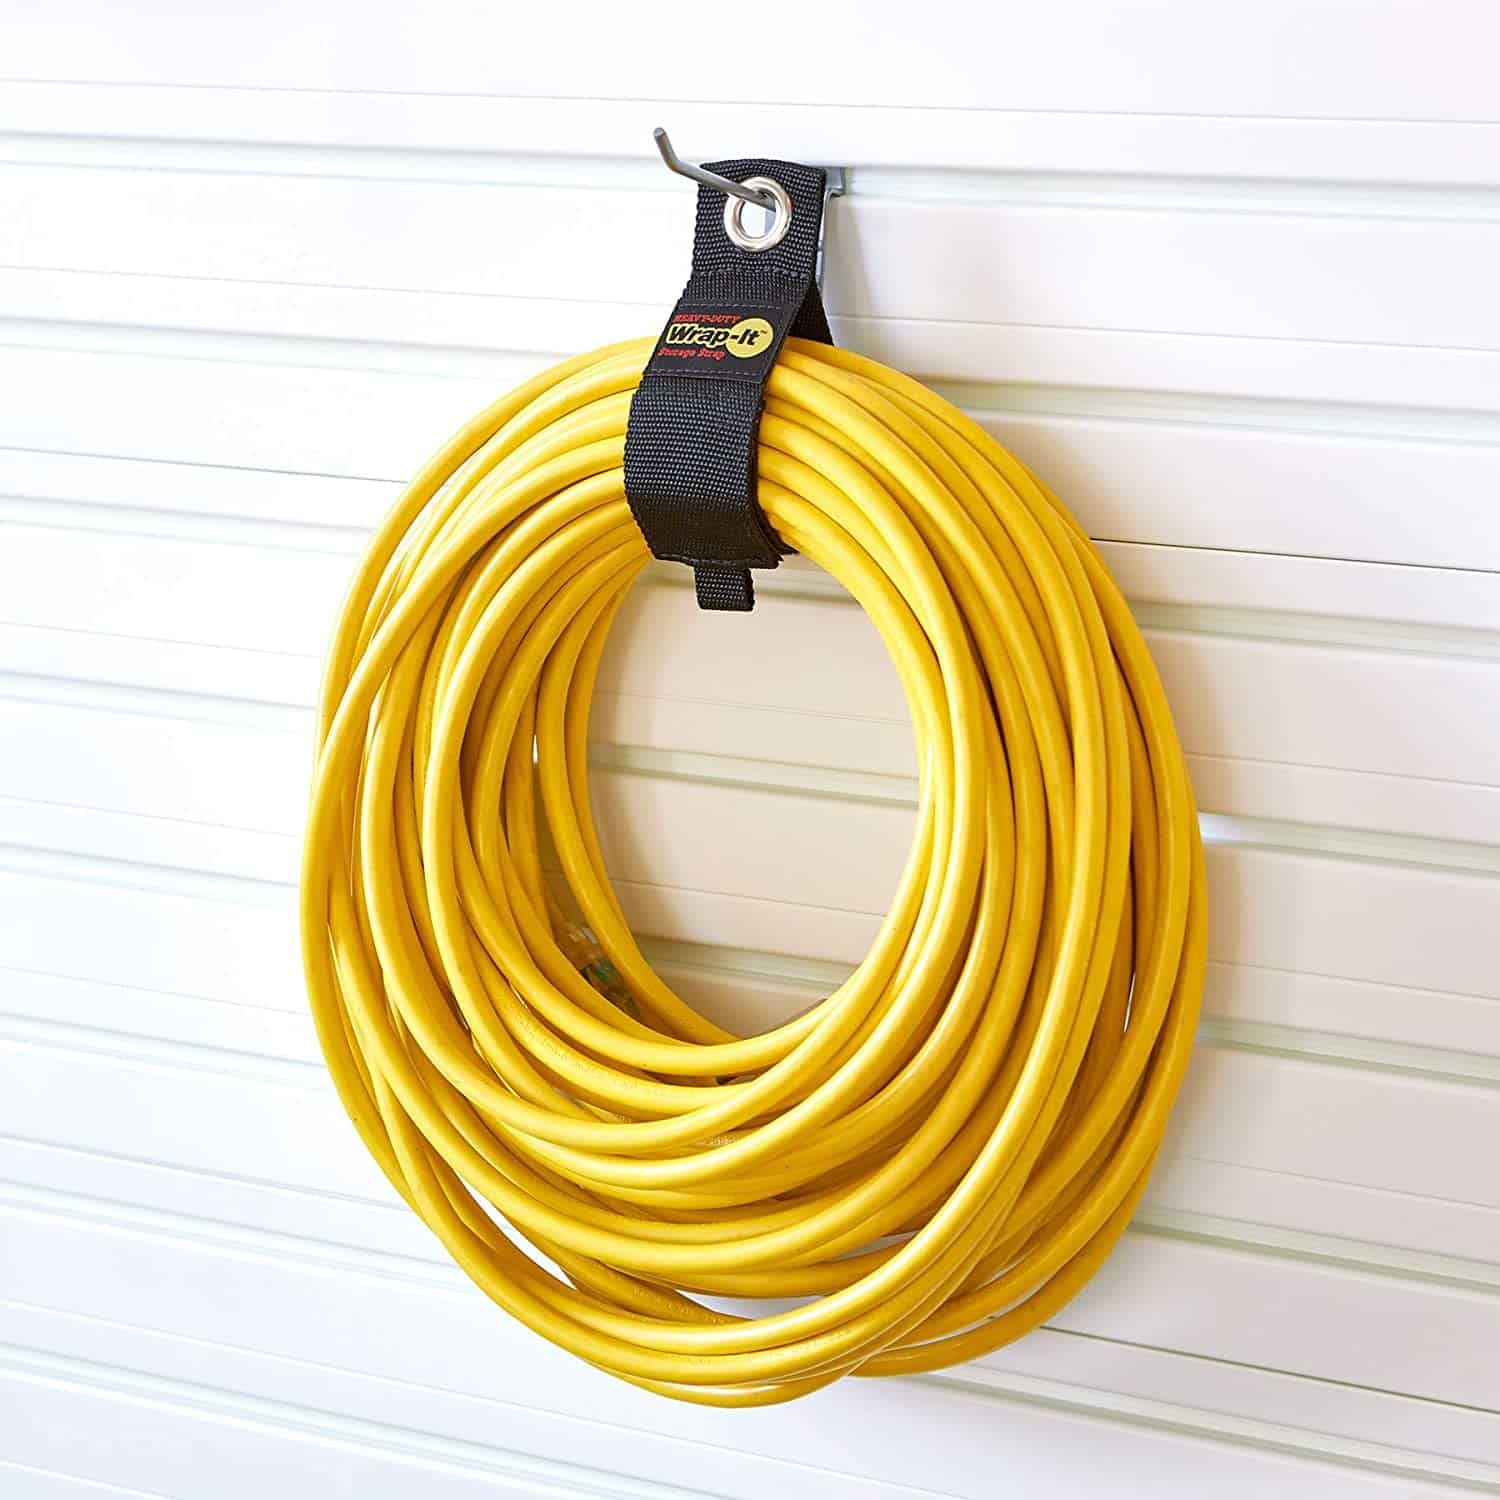
Start by neatly coiling the cord in a loop, taking care to avoid any sharp bends or kinks. Sharp bends can weaken the internal wires and reduce the cord’s lifespan. A loose and tangled cord can also be a tripping hazard and make it difficult to unravel when needed.
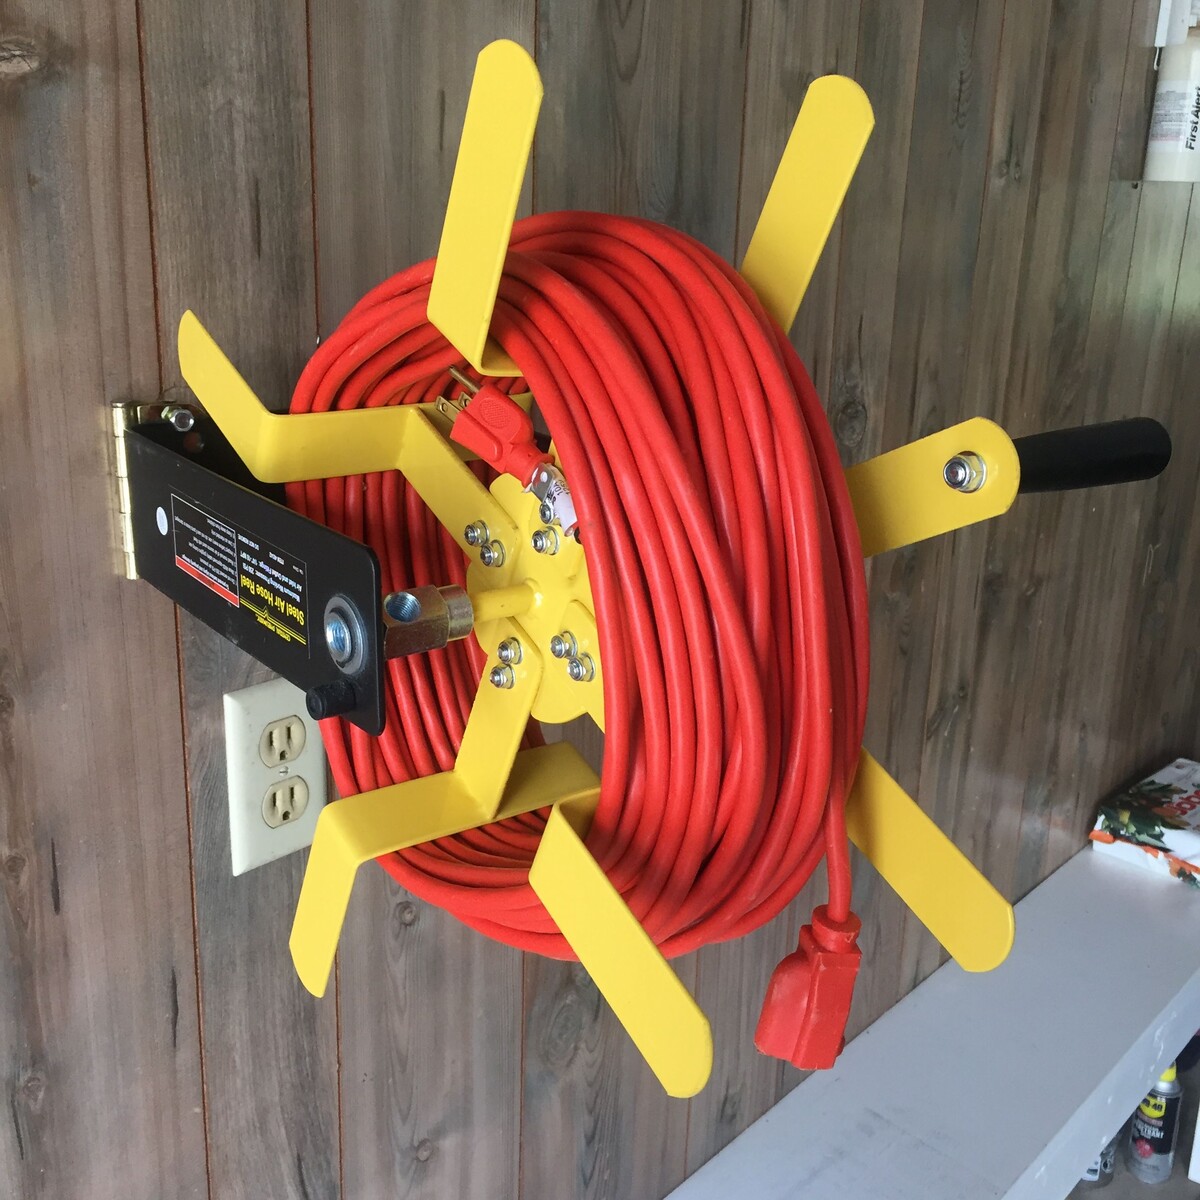
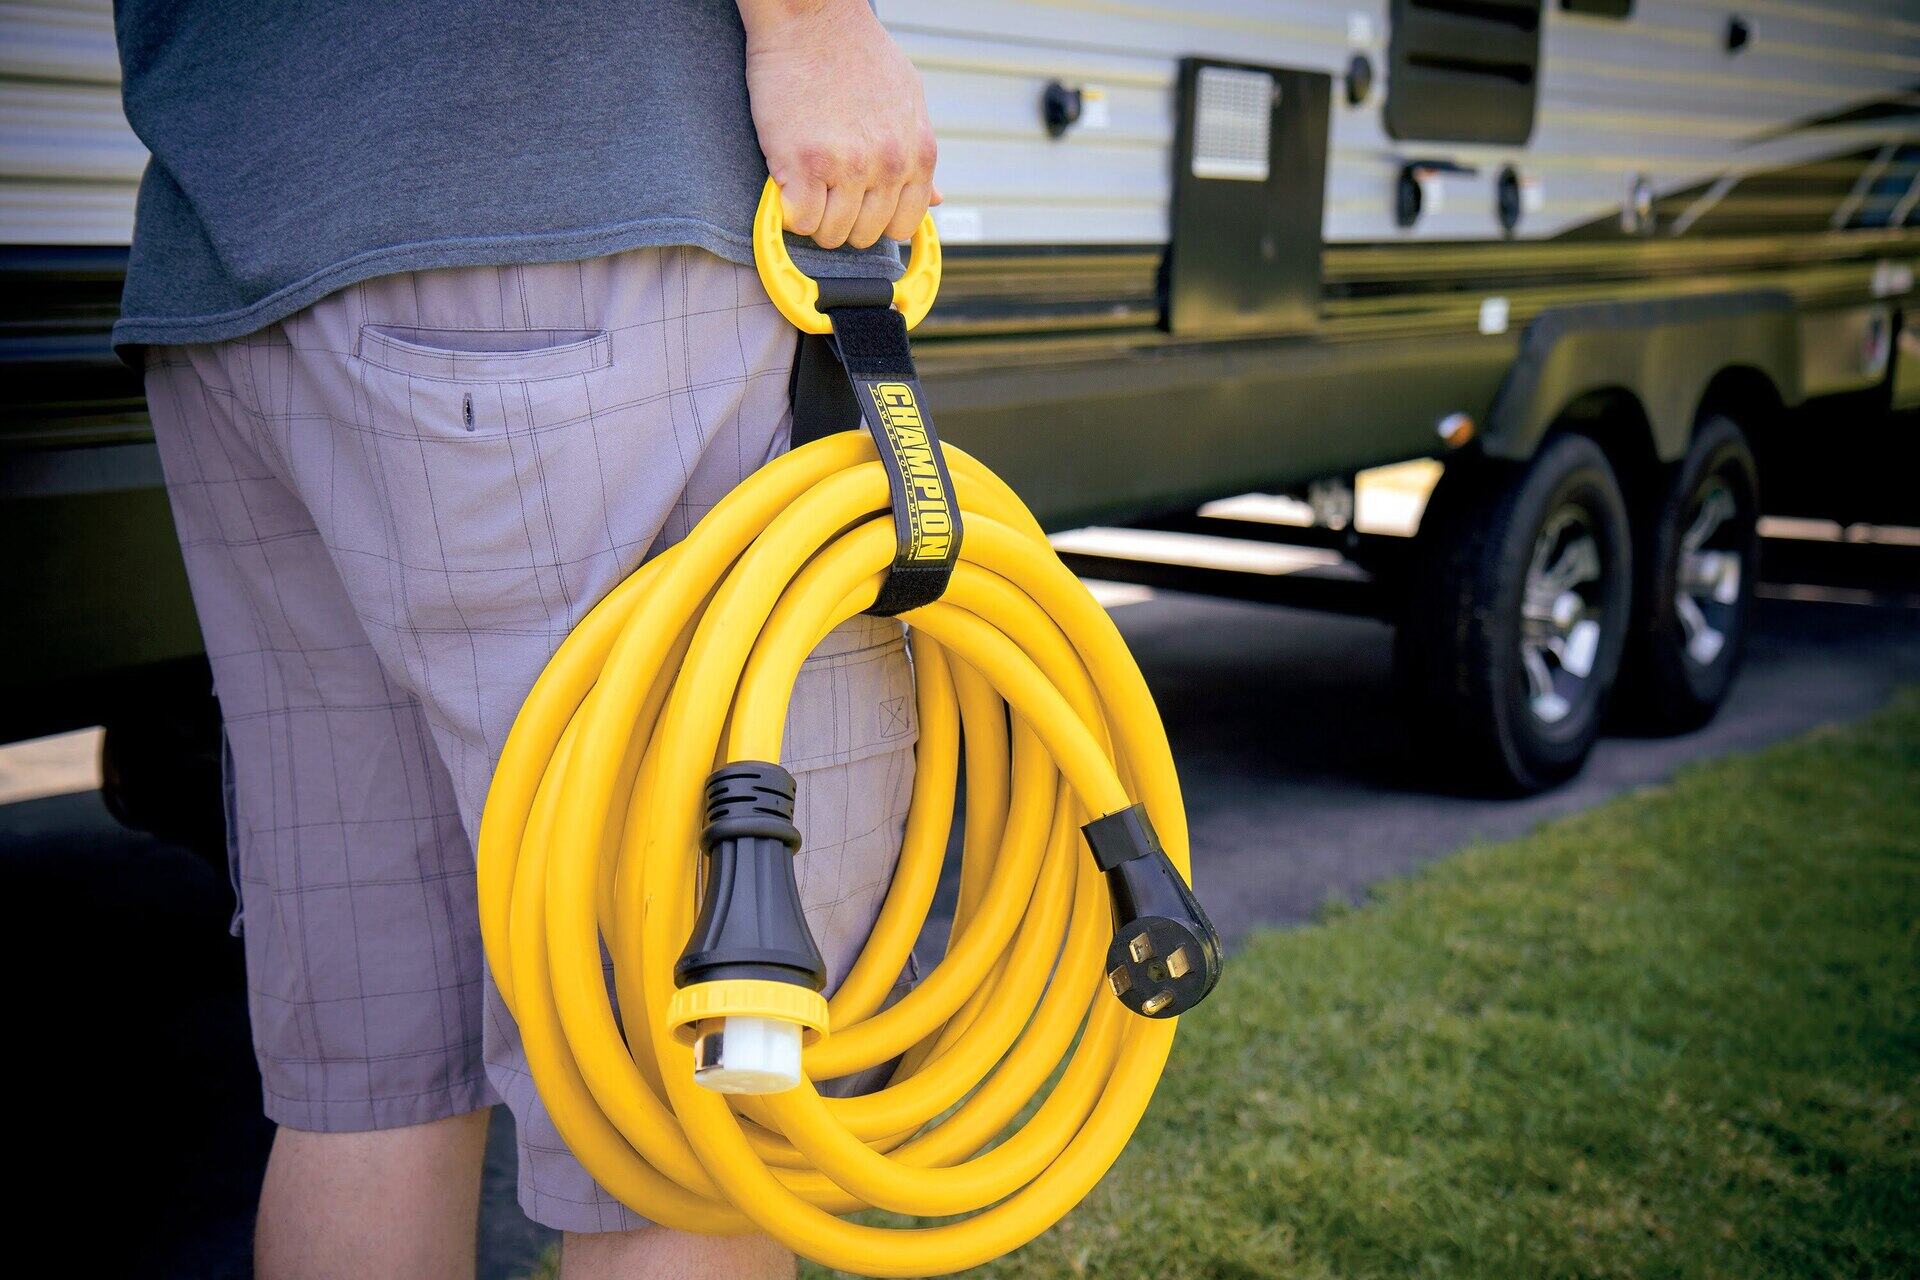
If the extension cord has a built-in reel or storage feature, utilize it to keep the cord organized and protected. Otherwise, you can secure the coiled cord with a Velcro strap or a twist tie to keep it neatly bundled.
Consider choosing a designated storage area that is clean, dry, and away from direct sunlight or extreme temperatures. Excessive heat or cold can degrade the cord’s insulation over time. Protect the cord from dust and debris by storing it in a sealed container or a cord organizer.
Label the cord or its storage container with any relevant information, such as its length or specific usage, to easily identify it in the future. This can be helpful, especially if you have multiple extension cords.
Lastly, always handle the stored extension cord with care when taking it out or putting it away. Avoid yanking or pulling forcefully, as this can cause damage to the cord.
By storing the extension cord properly, you help to maintain its quality and prolong its lifespan. This ensures that it will be ready for use whenever you need it.
With the completion of Step 8, you have successfully cleaned and stored your extension cord. By following these steps regularly, you can ensure a safe and well-maintained extension cord that will serve you reliably for years to come.
Remember, safety should always be a priority when working with electrical appliances and cords. Always unplug the extension cord from the power source before cleaning or performing any maintenance tasks, and exercise caution throughout the process.
Enjoy the convenience and peace of mind that comes with a clean and well-maintained extension cord!
Read more: How To Test Extension Cord With Multimeter
Conclusion
Cleaning and maintaining your extension cord is an essential part of ensuring its longevity, safety, and optimal performance. By following the steps outlined in this article, you can keep your extension cord clean and in excellent condition for years to come.
Remember to gather all the necessary materials before starting the cleaning process. Unplug the extension cord from the power source and carefully inspect it for any visible damage. Remove debris using a brush and wipe down the cord with a damp cloth. Ensure that the cord is thoroughly dried before checking for any signs of damage.
Properly storing the extension cord is crucial to prevent tangling and protect it from potential damage. Store it in a clean, dry location, and avoid exposing it to extreme temperatures or sunlight.
Regular maintenance and cleaning of your extension cord are important not only for its appearance but also for your safety. By keeping your extension cord clean and in good condition, you minimize the risk of electrical hazards and ensure its reliable performance.
Remember to always prioritize safety when working with electrical appliances and cords. Unplug the cord from the power source before cleaning or performing any maintenance tasks, and handle it with care to prevent any damage.
By following these guidelines, you can enjoy the convenience and peace of mind that comes with a well-maintained extension cord. So, grab your materials, unplug, inspect, clean, and store your extension cord properly to keep it in top-notch condition for all your power needs!
Frequently Asked Questions about How To Clean An Extension Cord
Was this page helpful?
At Storables.com, we guarantee accurate and reliable information. Our content, validated by Expert Board Contributors, is crafted following stringent Editorial Policies. We're committed to providing you with well-researched, expert-backed insights for all your informational needs.


0 thoughts on “How To Clean An Extension Cord”