Articles
How To Splice Extension Cord
Modified: May 6, 2024
Learn how to splice an extension cord with this informative article. Find step-by-step instructions and tips to safely and effectively splice extension cords.
(Many of the links in this article redirect to a specific reviewed product. Your purchase of these products through affiliate links helps to generate commission for Storables.com, at no extra cost. Learn more)
Introduction
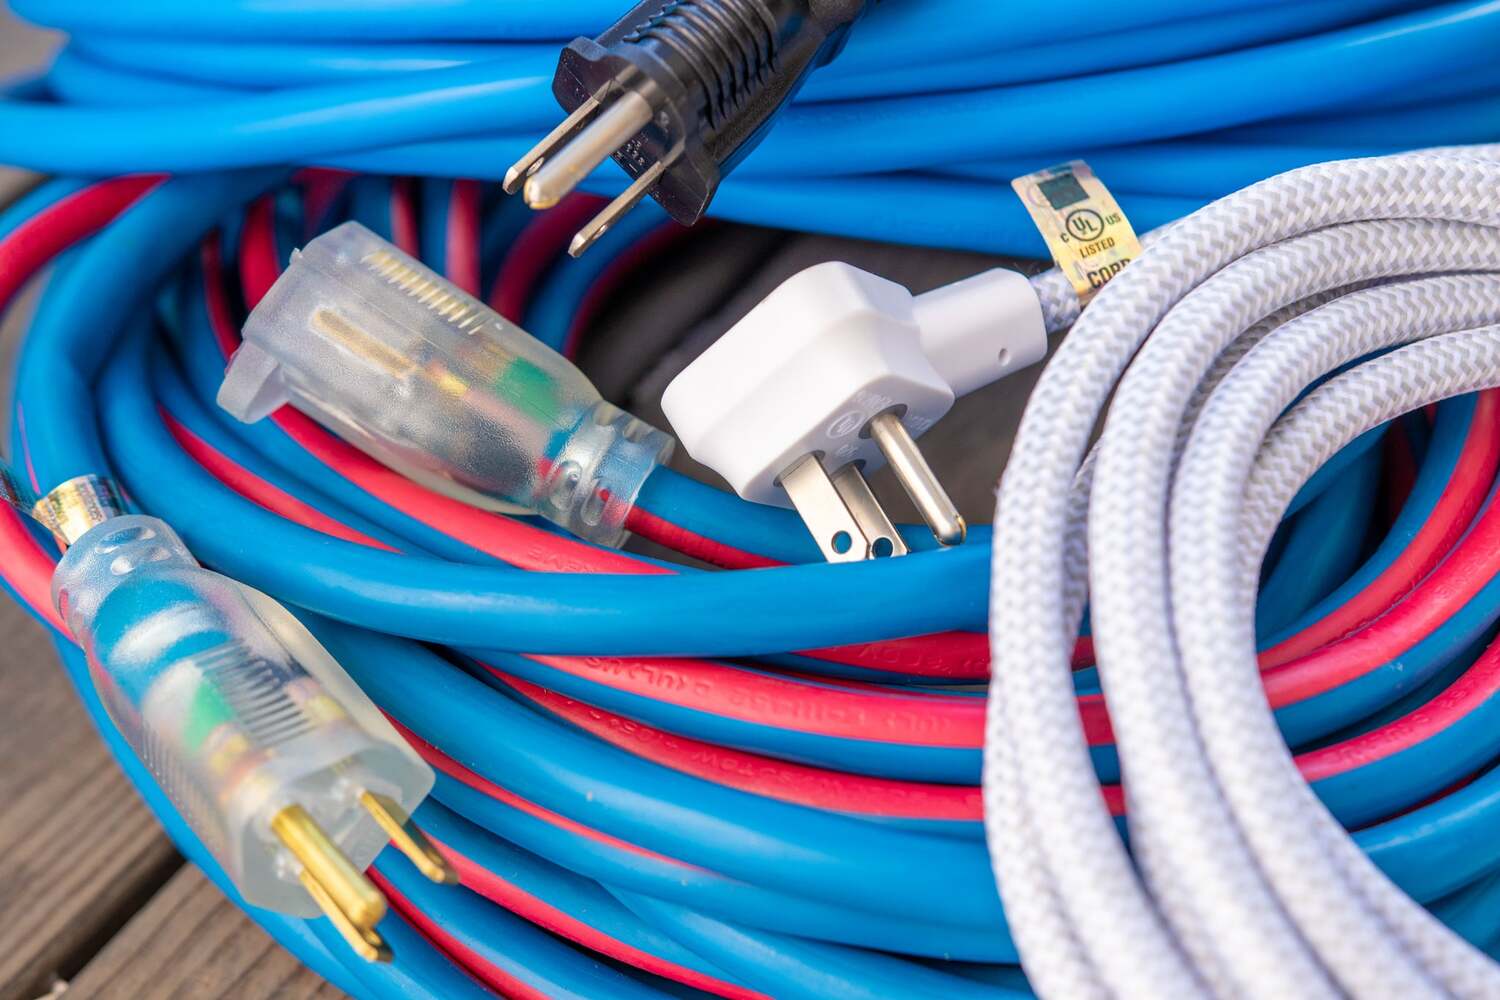
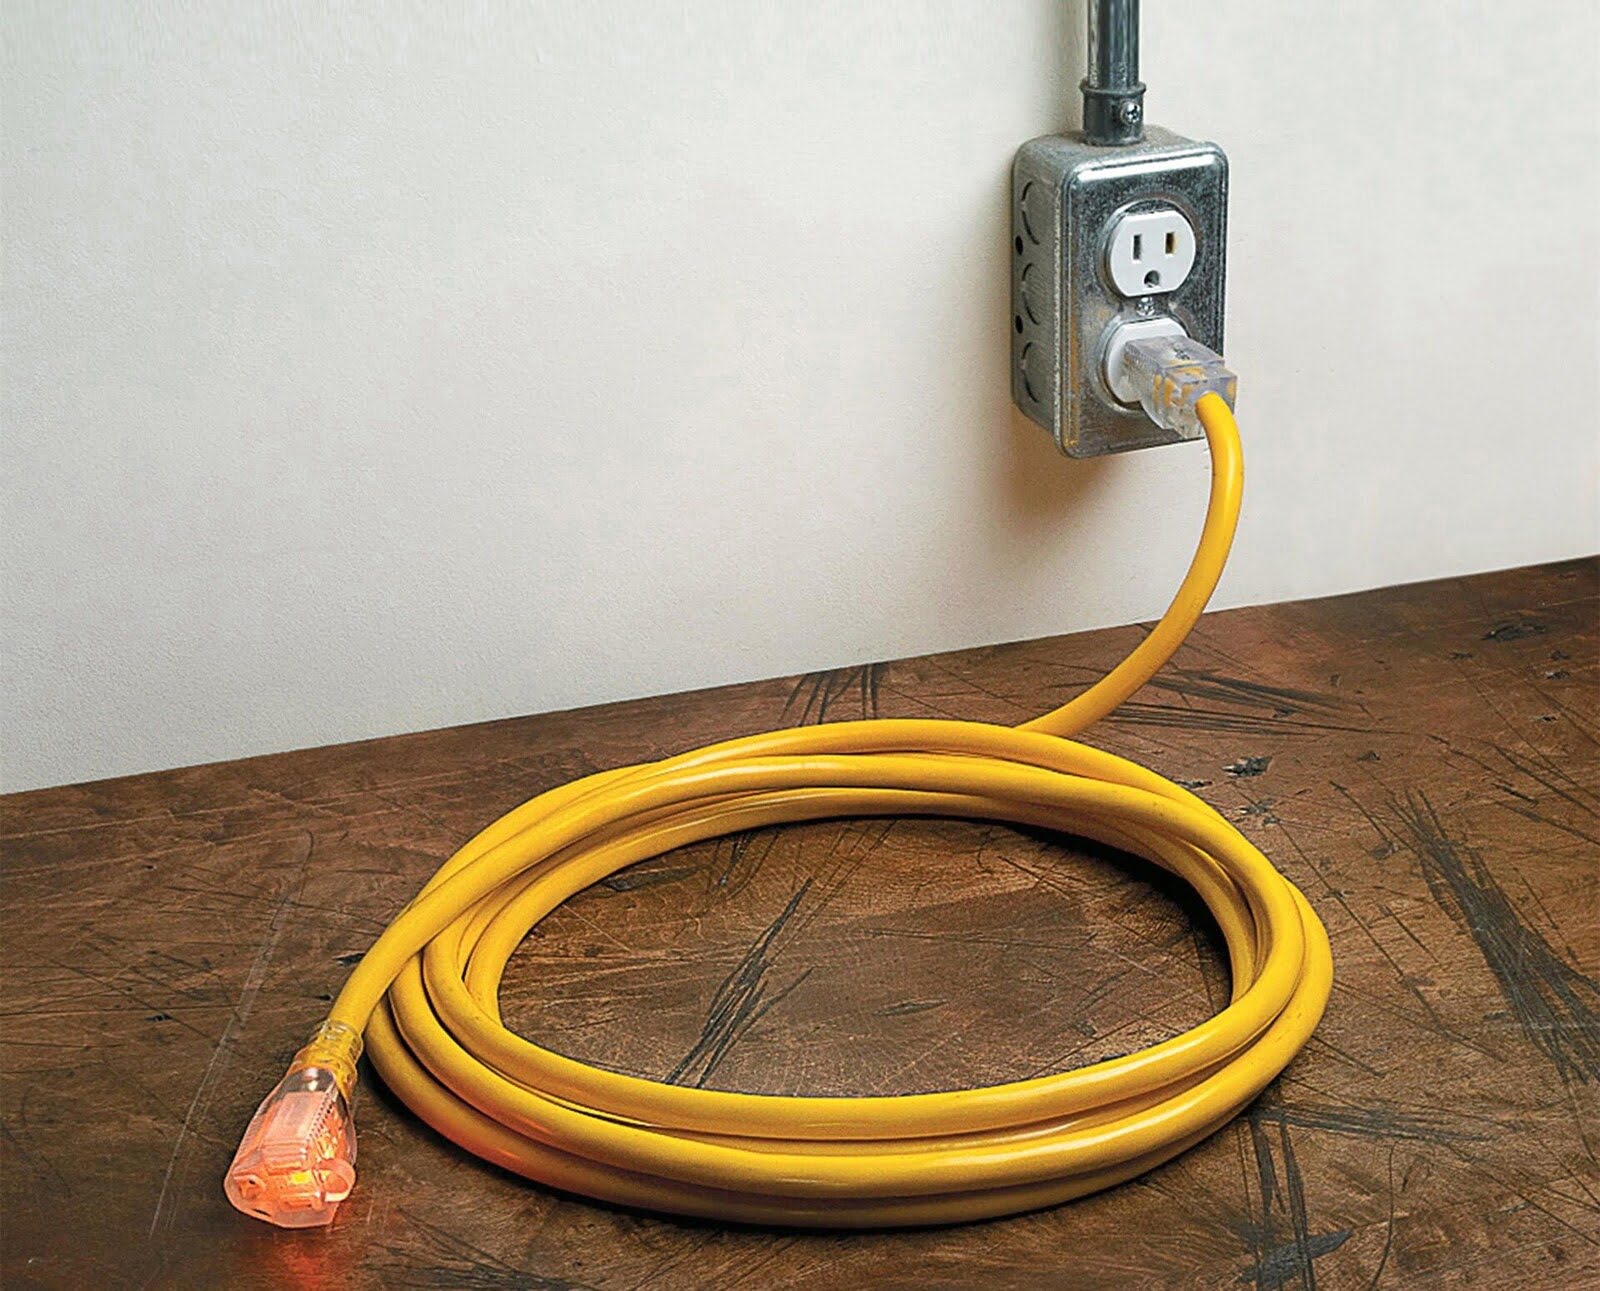
Extension cords are essential tools for providing power to various devices and appliances, especially in situations where the power source is not within reach. However, over time, extension cords can become worn or damaged, posing a safety risk. Rather than replacing the entire cord, splicing the extension cord may be a cost-effective solution.
In this article, we will provide a step-by-step guide on how to splice an extension cord properly. We will cover the materials needed, preparing the extension cord, splicing the wires, insulating the connection, testing the spliced extension cord, and safety precautions to follow during the process.
Before we proceed, it’s important to note that electrical work should only be performed by individuals who have the necessary knowledge and experience. If you’re unsure or uncomfortable with electrical work, it is highly recommended to seek the assistance of a professional electrician.
Now, let’s dive into the process of splicing an extension cord and ensure that you can safely and effectively restore power to your devices.
Key Takeaways:
- Properly splicing an extension cord requires gathering the right materials, preparing the cord, matching and twisting wires, and insulating the connection. Following safety precautions is crucial for a successful and safe splicing process.
- Testing the spliced extension cord with various devices is essential to ensure functionality and stability. Prioritizing safety, wearing protective gear, and seeking professional assistance if unsure are crucial for a successful splicing process.
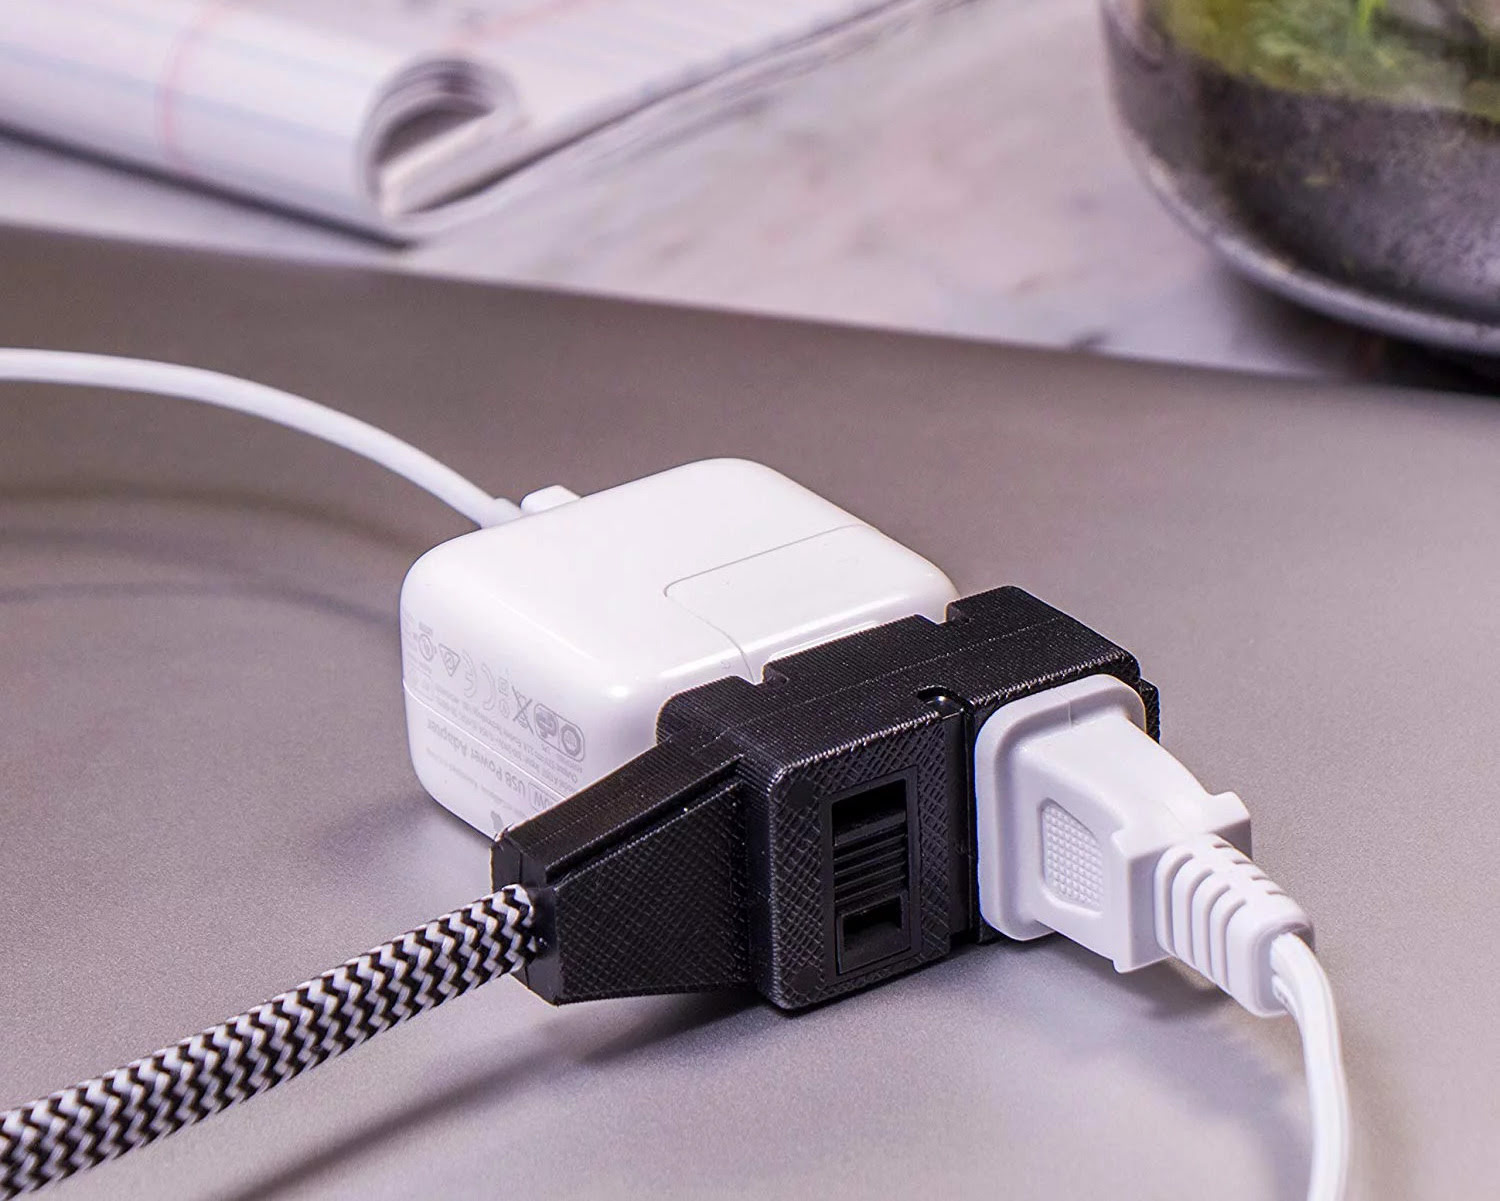
Read also: 8 Best Electrical Cord Splice for 2025
Materials Needed
Before you begin splicing your extension cord, gather the following materials:
- Utility knife or wire stripper
- Wire cutter or scissors
- Electrical tape
- Heat shrink tubing
- Electrical connectors (such as butt connectors or wire nuts)
- Heat source (such as a heat gun or lighter)
- Marker or pen
- Needle-nose pliers (optional, but handy for manipulating wires)
These materials will ensure that you have everything necessary to safely and efficiently complete the splicing process.
It’s important to use high-quality electrical materials to ensure a secure and durable splice. This will minimize the risk of electrical hazards and prevent future damage to the extension cord.
Now that you have gathered the necessary materials, let’s move on to preparing the extension cord for splicing.
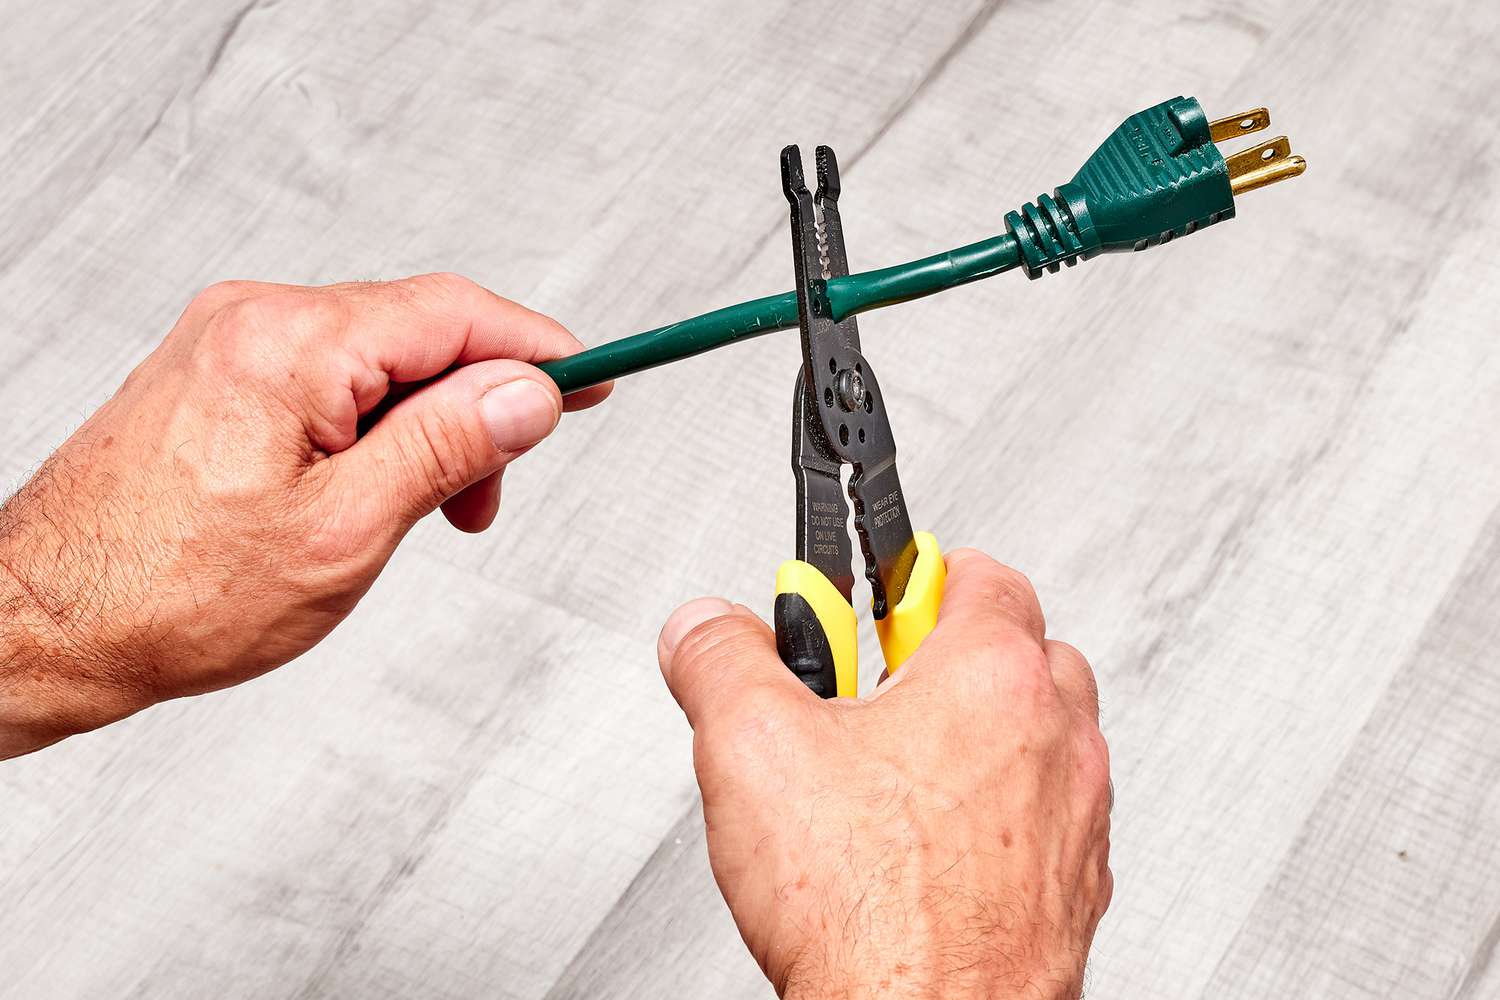
Preparing the Extension Cord
Before you can begin splicing the extension cord, it’s crucial to properly prepare it. Follow these steps to ensure a clean and safe work environment:
- Disconnect the extension cord: Unplug the extension cord from any power source or device to prevent the risk of electric shock.
- Inspect the cord for damage: Carefully examine the entire length of the extension cord for any signs of wear, fraying, or exposed wires. If there is significant damage, it’s best to replace the cord entirely to maintain safety.
- Measure and mark the cutting point: Determine the desired length for your spliced extension cord. Use a marker or pen to make a clear mark on both ends, ensuring that they align properly.
- Cut the cord: Using a utility knife or wire cutter, carefully cut through the insulation at the marked point. Make sure to follow a straight line and avoid damaging the inner wires.
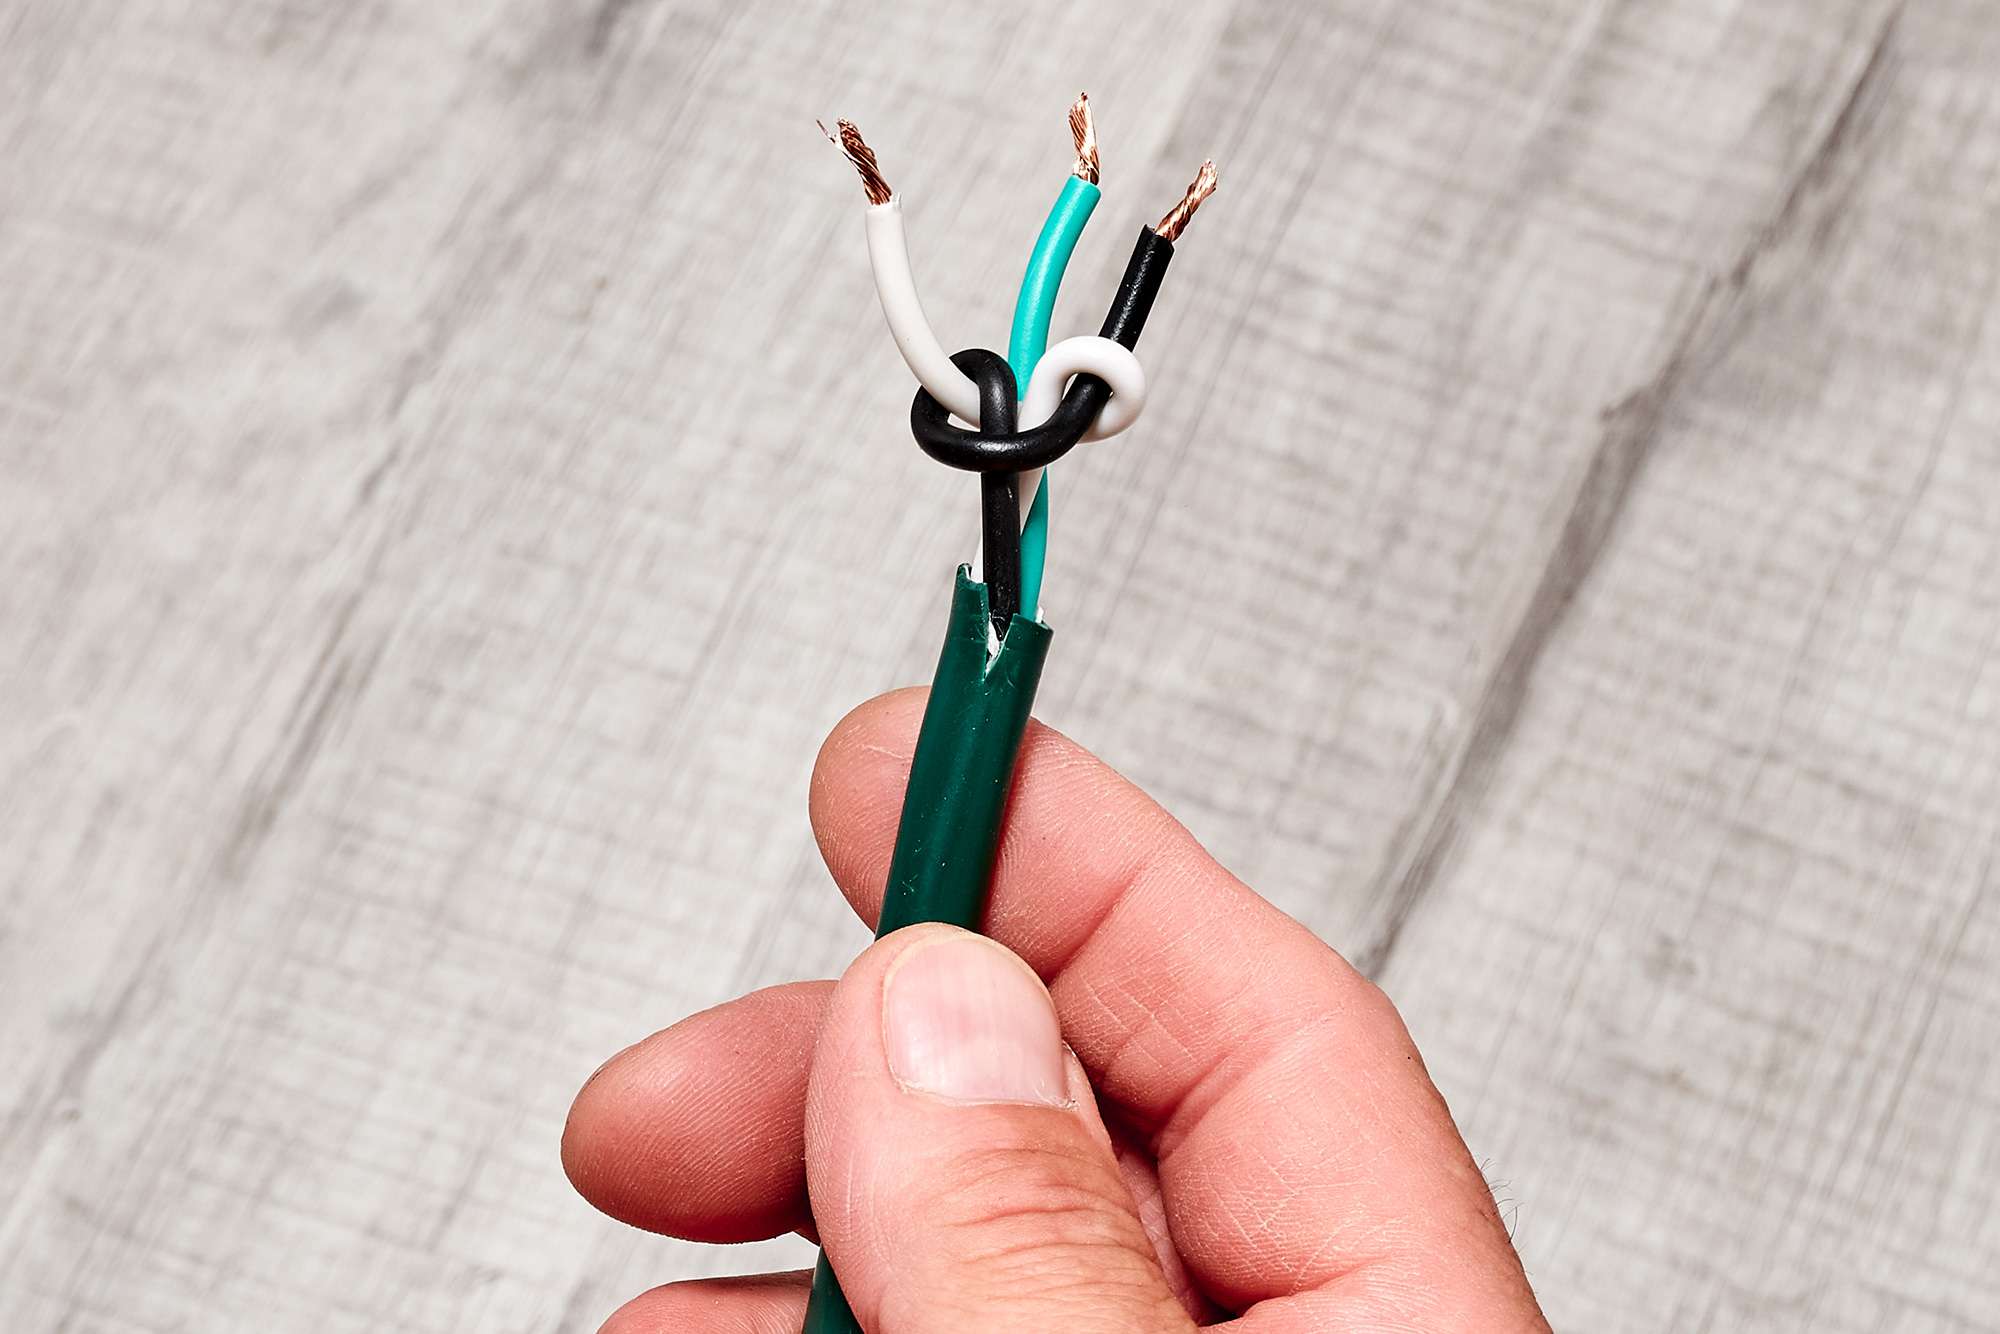
- Strip the insulation: Depending on the type of connector you plan to use, strip about 1-2 inches of the outer insulation from both ends of the cord. Be cautious not to nick or damage the inner wires during this process.
- Separate the wires: Once the insulation is stripped, separate the inner wires by gently pulling them apart. Straighten and align the wires to ensure a proper connection.
By properly preparing the extension cord, you create a solid foundation for splicing. This ensures that the splice will be secure, minimizing the risk of electrical hazards and maintaining a reliable connection.
Now that you have prepared the extension cord, it’s time to move on to splicing the wires.
Splicing the Wires
Now that you have prepared the extension cord, it’s time to splice the wires together. Follow these steps to ensure a secure and reliable connection:
- Match the wires: Identify the corresponding wires from each end of the cut extension cord. Match the colors or markings on the wires to ensure they are properly aligned.
- Twist the wires together: Once the wires are matched, twist them together in a clockwise direction. This twisting motion helps create a secure connection.
- Trim the twisted wires: Use wire cutters or scissors to trim the twisted wires, removing any excess length. Leave about 1/2 inch of twisted wire for better insulation and connection.
- Connect the wires: Depending on the type of electrical connectors you have chosen, follow the manufacturer’s instructions to connect the wires. This may involve using butt connectors, wire nuts, or other appropriate connectors.
- Crimp or twist the connectors: Use needle-nose pliers or appropriate tools to crimp or twist the connectors, ensuring a tight and secure connection. This step is crucial for safety and optimal performance.
Properly splicing the wires is essential for maintaining a stable electrical connection. It ensures that the current flows smoothly and minimizes the risk of electrical hazards.
Now that you have successfully spliced the wires, let’s move on to insulating the connection to ensure safety and durability.
When splicing an extension cord, make sure to match the wire gauge and use a waterproof splice connector. Insulate the connection with electrical tape for added safety.
Insulating the Connection
Insulating the connection is a crucial step in splicing an extension cord. It helps protect the wires from external elements, prevents electrical shock, and ensures the longevity of the splice. Follow these steps to effectively insulate the connection:
- Wrap the connection with electrical tape: Start by wrapping the entire connection with electrical tape. Begin a few inches away from the actual splice and continue wrapping until you reach a few inches past the splice on both ends. Make sure the tape is snug and overlaps itself to create a tight seal.
- Apply heat shrink tubing: Heat shrink tubing provides an added layer of insulation and protection. Slide a piece of heat shrink tubing over each end of the splice, ensuring it covers the entire connection. Leave a small portion of the tubing extending beyond the tape on both ends.
- Shrink the tubing: Apply heat to the tubing using a heat gun or a lighter, moving it evenly along the tubing. Be careful not to overheat or burn the tubing. As you apply heat, the tubing will shrink and adhere to the wires, creating a secure and waterproof seal.
- Check the insulation: Once the tubing has fully shrunk and cooled, visually inspect the entire connection. Ensure that there are no exposed wires and that the insulation is intact. If any areas appear compromised, reapply electrical tape or heat shrink tubing as necessary.
Properly insulating the connection is vital to maintaining a safe and reliable extension cord. It helps protect against moisture, abrasion, and other potential hazards that could compromise the electrical integrity of the splice.
Now that you have successfully insulated the connection, it’s time to move on to testing the spliced extension cord.
Read more: How To Splice A Lamp Cord
Testing the Spliced Extension Cord
Before putting the spliced extension cord to use, it’s crucial to test the connection to ensure everything is working properly. Follow these steps to test the spliced extension cord:
- Plug in a device: Choose a device with a lower power requirement, such as a lamp or a phone charger. Plug it into the spliced extension cord, ensuring a secure connection.
- Turn on the device: Switch on the device and verify that it is receiving power. Check if the device is functioning correctly.
- Verify stability: While the device is powered on, gently move the extension cord and check if the power supply remains stable. If the connection flickers or cuts off, there may be a problem with the splice, and you should redo the process.
- Repeat with other devices: Test the spliced extension cord with different devices to ensure compatibility and reliability across various power requirements.
Testing the spliced extension cord is essential to ensure that the connection is secure and that it can effectively power your devices. If any issues arise during testing, it’s important to revisit the splicing process and identify and resolve any problems.
Now that you have successfully tested the spliced extension cord, let’s move on to discussing some safety precautions to keep in mind during the splicing process.
Safety Precautions
When working with electricity, it is crucial to prioritize safety to prevent accidents or injuries. Keep the following safety precautions in mind when splicing an extension cord:
- Turn off the power: Before starting the splicing process, make sure to unplug the extension cord from any power source and ensure that the area is free from live electricity.
- Wear protective gear: To protect yourself from potential hazards, wear safety glasses and insulated gloves throughout the splicing process.
- Work in a well-ventilated area: Ensure that the area where you are working has proper ventilation to minimize the risk of inhaling fumes or gases released during the splicing process.
- Handle tools properly: Use tools and equipment that are specifically designed for electrical work. Inspect them for any damage and use them according to their intended purpose.
- Avoid water and moisture: Keep the splicing area dry, as water and moisture can increase the risk of electrical shock.
- Double-check connections: Before testing the spliced extension cord, double-check all connections to ensure they are secure. Loose connections can lead to faulty operation and potential hazards.
- Never exceed power ratings: Ensure that the devices you plan to connect to the spliced extension cord do not exceed the maximum power ratings indicated on the cord. Overloading the cord can cause overheating and damage.
- Consult a professional if unsure: If you are unsure or uncomfortable with any aspect of the splicing process, it is always best to consult a professional electrician.
Remember, safety should always be the top priority when working with electricity. By following these precautions, you can minimize the risk of accidents and ensure a secure and successful splicing process.
Now that you are aware of the safety precautions, let’s conclude our guide on splicing extension cords.
Conclusion
Splicing an extension cord can be a cost-effective solution to repair a damaged cord and restore power to your devices. By following the step-by-step process outlined in this article and adhering to the necessary safety precautions, you can successfully splice the wires and create a secure and reliable connection.
Remember to gather all the required materials, including a utility knife or wire stripper, wire cutter, electrical tape, heat shrink tubing, electrical connectors, heat source, marker or pen, and needle-nose pliers. These tools will enable you to complete the task effectively.
Properly preparing the extension cord, matching and twisting the wires together, and using appropriate connectors are crucial steps in ensuring a stable electrical connection. Insulating the connection with electrical tape and heat shrink tubing adds an extra layer of protection against moisture and other potential hazards.
It’s essential to test the spliced extension cord by plugging in various devices to ensure its functionality and stability. If any issues arise, revisit the splicing process and make any necessary adjustments.
Throughout the entire process, prioritize safety by turning off the power, wearing protective gear, working in a well-ventilated area, and double-checking connections. If you are unsure or uncomfortable with any aspect of splicing an extension cord, it is recommended to seek the assistance of a professional electrician.
Remember, when done properly, splicing an extension cord can extend the lifespan of the cord and save you money. However, if the damage to the cord is extensive or the splice does not hold up to testing, it’s best to replace the cord entirely to ensure safety and reliability.
Now that you have a comprehensive understanding of how to splice an extension cord, you can confidently undertake this task and provide power to your devices efficiently. Stay safe, follow the guidelines, and enjoy the benefits of a properly spliced extension cord.
Now that you've mastered splicing extension cords, why not upgrade your toolkit? Our article on the finest power tools will guide you in choosing reliable gadgets for any project. If you're planning bigger renovations, learning about electrical wiring techniques is essential, especially for tasks like running wires to a garage. Also, don't miss out on our roundup of the best options for extension cord repair to keep your tools in tip-top shape for 2024. These reads are packed with practical advice to help you enhance your home improvement skills.
Frequently Asked Questions about How To Splice Extension Cord
Was this page helpful?
At Storables.com, we guarantee accurate and reliable information. Our content, validated by Expert Board Contributors, is crafted following stringent Editorial Policies. We're committed to providing you with well-researched, expert-backed insights for all your informational needs.


0 thoughts on “How To Splice Extension Cord”