Articles
How To Secure Extension Cord To Wall
Modified: October 19, 2024
Learn how to secure your extension cord to the wall with these useful articles. Ensure safety and organization in your space.
(Many of the links in this article redirect to a specific reviewed product. Your purchase of these products through affiliate links helps to generate commission for Storables.com, at no extra cost. Learn more)
Introduction
When it comes to using extension cords, it is crucial to ensure they are secured properly to the wall. This not only helps to prevent accidents such as tripping hazards, but also keeps the cords organized and prevents them from becoming tangled. Whether you are using an extension cord temporarily or on a long-term basis, securing it to the wall is a simple yet effective solution.
In this article, we will guide you through the steps of how to secure an extension cord to the wall. We will provide you with the necessary materials and instructions to ensure a safe and efficient installation. By following these steps, you can easily keep your extension cords neatly in place, reducing the risk of accidents while maintaining a clutter-free and organized space.
Key Takeaways:
- Secure extension cords to the wall for safety and organization. Gather materials, identify mounting location, prepare wall surface, attach clips, and secure the cord. Test and adjust placement for convenience.
- Enjoy a clutter-free and hazard-free space by following simple steps to secure extension cords. Ensure safety, accessibility, and organization by properly mounting and adjusting the cord placement.
Read more: How To Hang An Extension Cord On The Wall
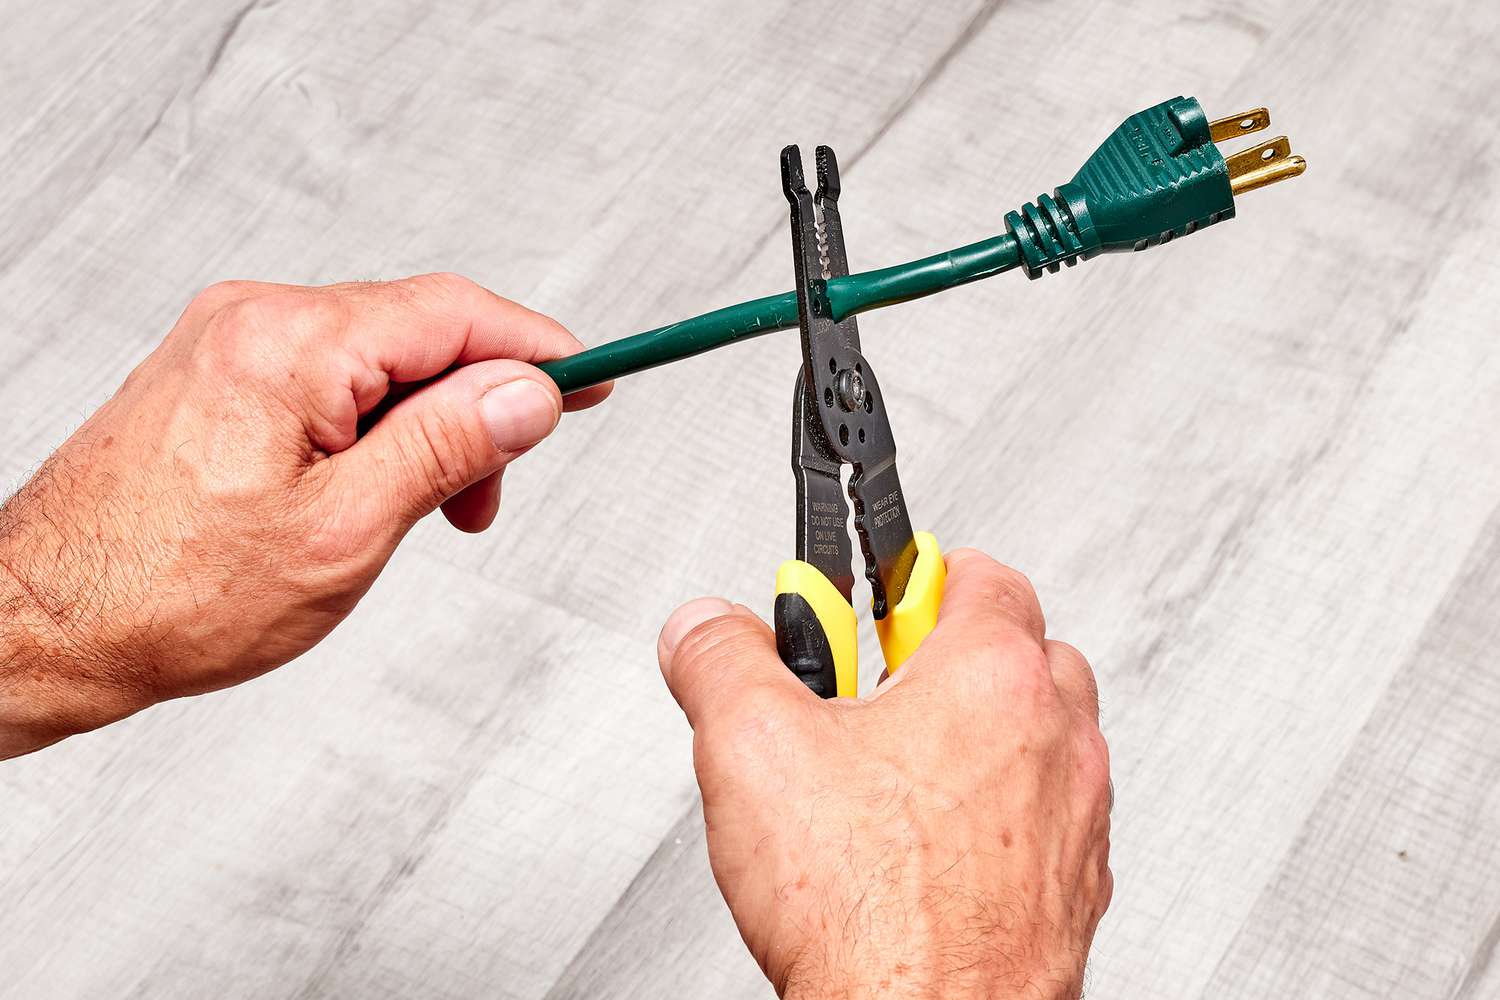
Step 1: Gather Materials
Before you begin securing your extension cord to the wall, it’s important to have all the necessary materials at hand. Here’s a list of items you’ll need:
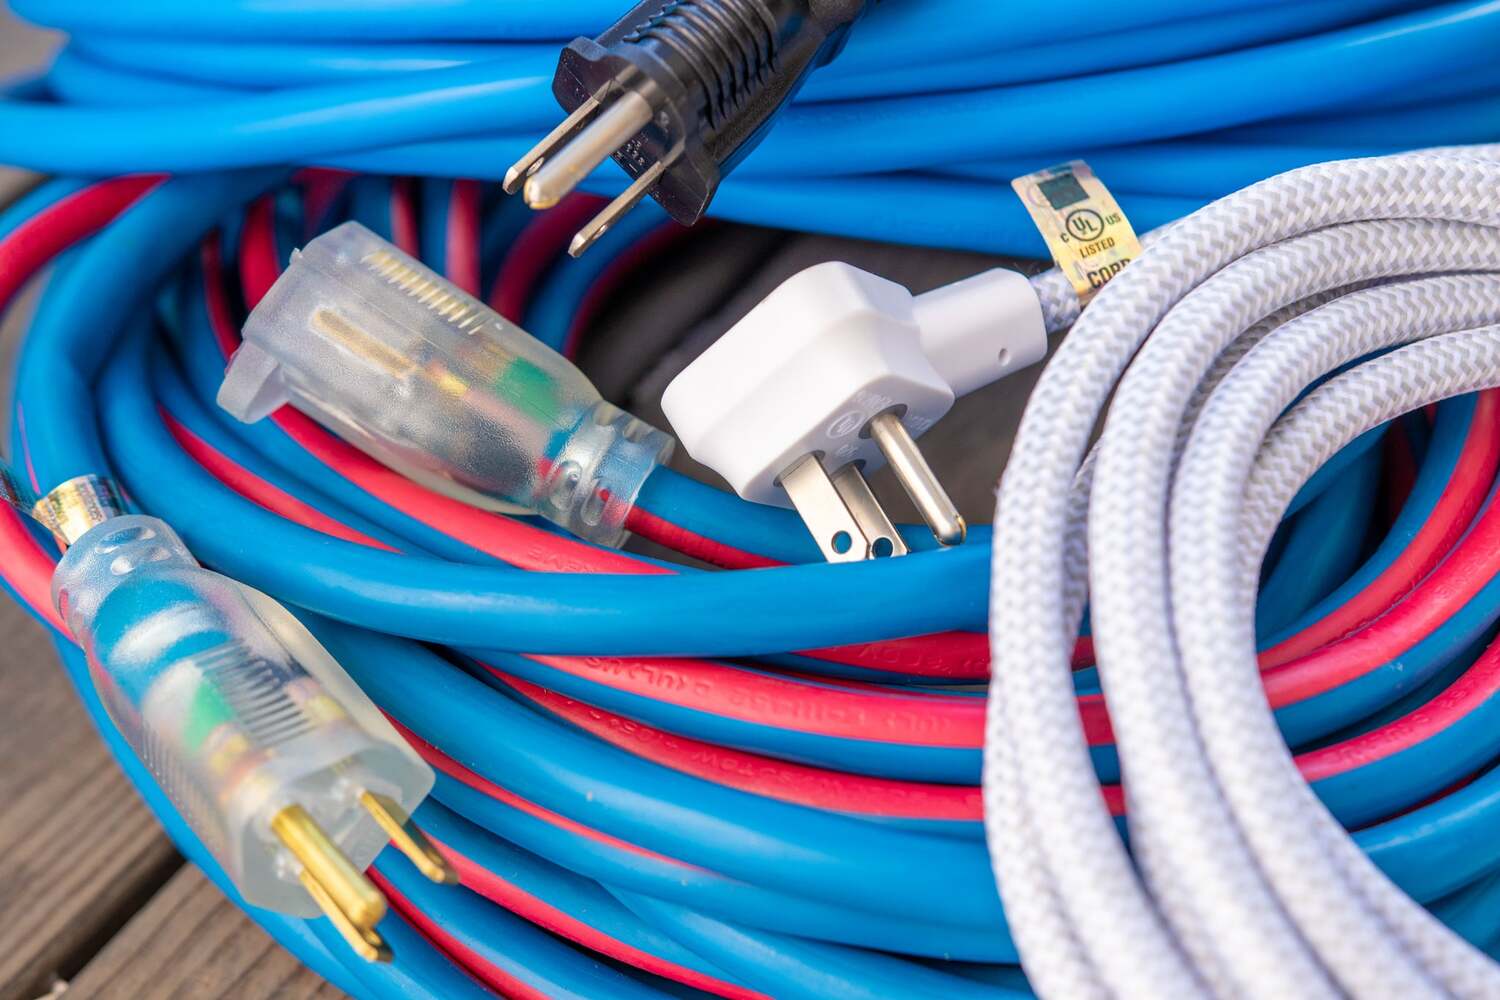
- Extension cord: Choose a cord that is long enough to reach your desired location.
- Wall mounting clips: These can be adhesive-backed clips or screw-in clips, depending on your preference.
- Electric drill (if using screw-in clips): This will be necessary for drilling pilot holes into the wall.
- Screws (if using screw-in clips): Make sure to choose screws that are suitable for the type of wall you have.
- Measuring tape: This will help you accurately measure the distance between the clips and ensure proper placement.
- Pencil: Use a pencil to mark the positions where you will attach the clips.
- Optional: Cable ties or Velcro straps: These can be used to further secure the extension cord and keep it organized.
Once you’ve gathered all the necessary materials, you’re ready to move on to the next step and start securing your extension cord to the wall.
Step 2: Identify the Mounting Location
The next step in securing your extension cord to the wall is to identify the most suitable mounting location. This will depend on your specific needs and the layout of the area where you’ll be using the cord. Consider the following factors when choosing the mounting location:
- Accessibility: Select a location that is easily accessible and within reach of the devices or appliances you’ll plug into the extension cord. Ensure that it’s not obstructed by furniture or other objects.
- Visibility: Choose a spot where the extension cord will be visible and easy to locate. This will help prevent accidental tripping or damage to the cord.
- Wall surface: Evaluate the type of wall surface you’ll be attaching the cord to. This will impact the method you’ll use to secure it, such as adhesive-backed clips for smooth walls or screw-in clips for more durable surfaces.
- Power source: Depending on the location of the power outlet, you may need to plan the route of the extension cord accordingly. Avoid creating a trip hazard by keeping the cord away from high traffic areas.
Once you’ve chosen the ideal mounting location, use a measuring tape to determine the distance between the clips. This will help ensure even spacing and a neat appearance. Use a pencil to mark the positions on the wall where you’ll attach the clips. You’re now ready to move on to the next step and prepare the wall surface for installation.
Step 3: Prepare the Wall Surface
Before attaching the wall mounting clips, it’s important to prepare the wall surface to ensure proper adhesion or installation. Follow these steps to prepare the wall surface for securing your extension cord:
- Clean the wall: Use a clean, damp cloth to wipe away any dirt, dust, or debris from the area where you’ll be attaching the clips. This will ensure a clean surface for maximum adhesion or screwing.
- Smooth out the surface: If there are any rough spots or imperfections on the wall, use sandpaper or a sanding block to smooth them out. A smooth surface will provide better contact for adhesive-backed clips.
- Remove any loose paint or wallpaper: If the wall has peeling or flaking paint or wallpaper, gently scrape it off using a scraper or putty knife. This will create a clean and flat surface for mounting the clips.
- Fill any holes or cracks: If there are any noticeable holes or cracks in the wall, fill them in with spackling compound or putty. Smooth out the surface with a putty knife and allow it to dry completely before moving on to the next step.
By preparing the wall surface, you’ll ensure a secure attachment for the wall mounting clips. This step is especially important if you’re using adhesive-backed clips, as they require a clean and smooth surface for proper adhesion. Once you’ve prepared the wall surface, you’re ready to proceed with attaching the clips in the next step.
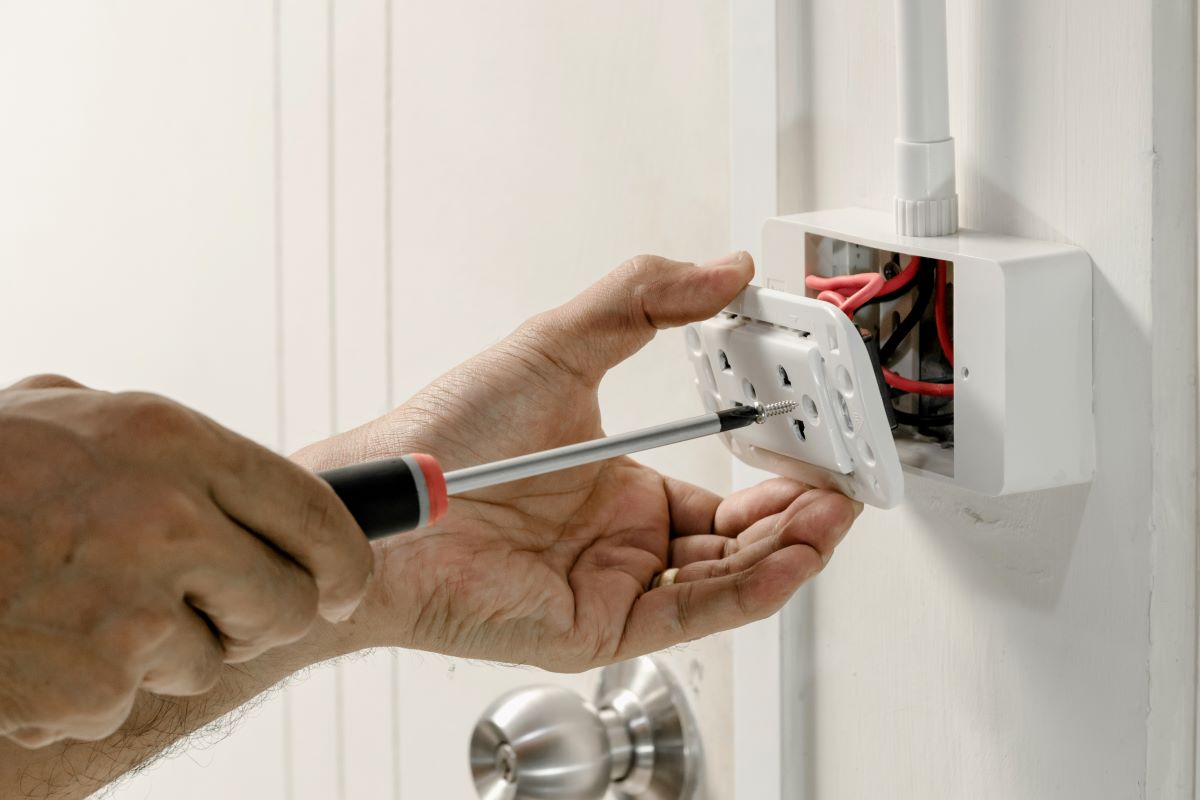
Step 4: Attach Wall Mounting Clips
Now that the wall surface is prepared, it’s time to attach the wall mounting clips. The type of clips you use will depend on your preference and the compatibility with your wall surface. Follow these steps to securely attach the clips:
- Adhesive-backed clips: If you’re using adhesive-backed clips, peel off the backing paper to expose the adhesive side. Align the clip with the marked positions on the wall and firmly press it against the surface. Hold it in place for a few seconds to ensure proper adhesion. Repeat this step for all the clips along the intended path of the extension cord.
- Screw-in clips: If you’re using screw-in clips, use an electric drill to create pilot holes at the marked positions on the wall. Make sure the drill bit is slightly smaller than the screws you’ll be using to prevent the holes from being too large. Insert the screws into the pilot holes and tighten them securely. Repeat this step for all the clips.
It’s important to follow the manufacturer’s instructions when attaching the wall mounting clips, as the process might vary slightly depending on the specific clip design. Ensure that the clips are firmly attached and can support the weight of the extension cord. Once you’ve successfully attached the clips, you’re ready to move on to the next step and secure the extension cord to the wall.
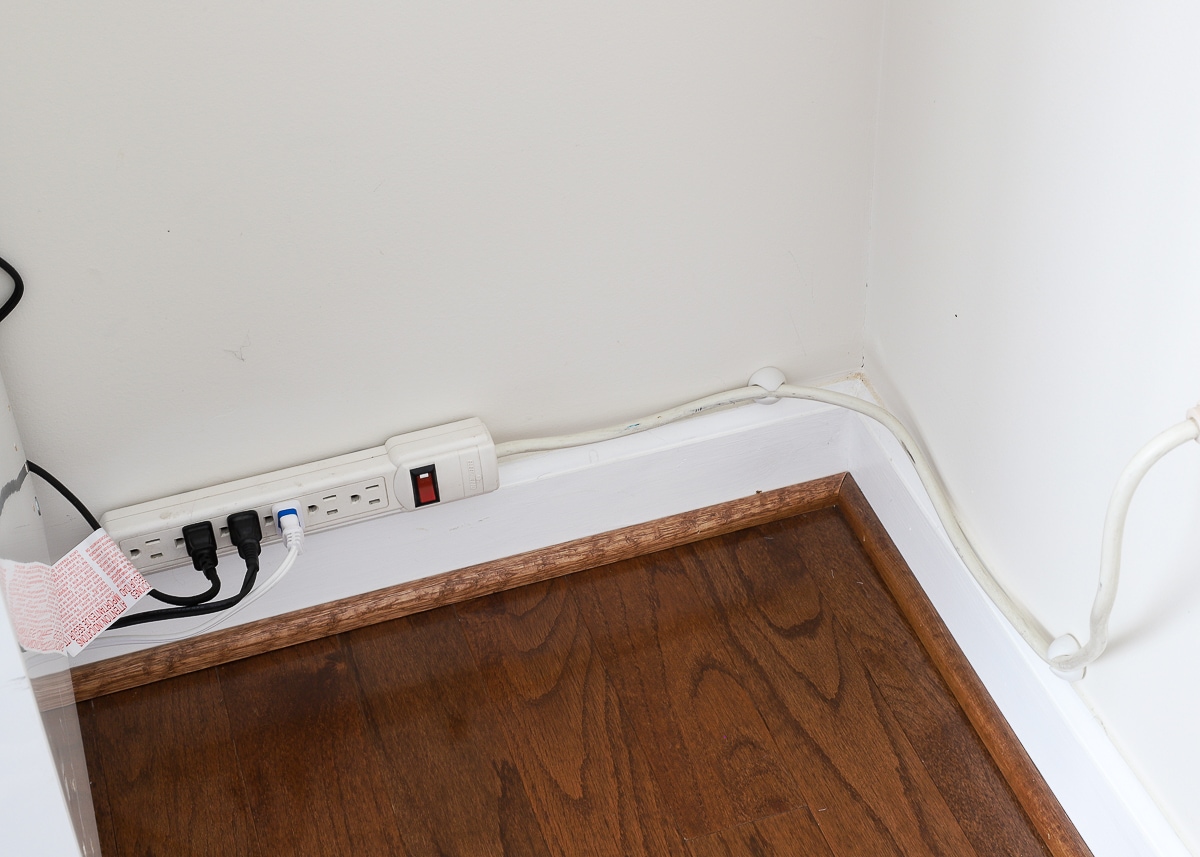
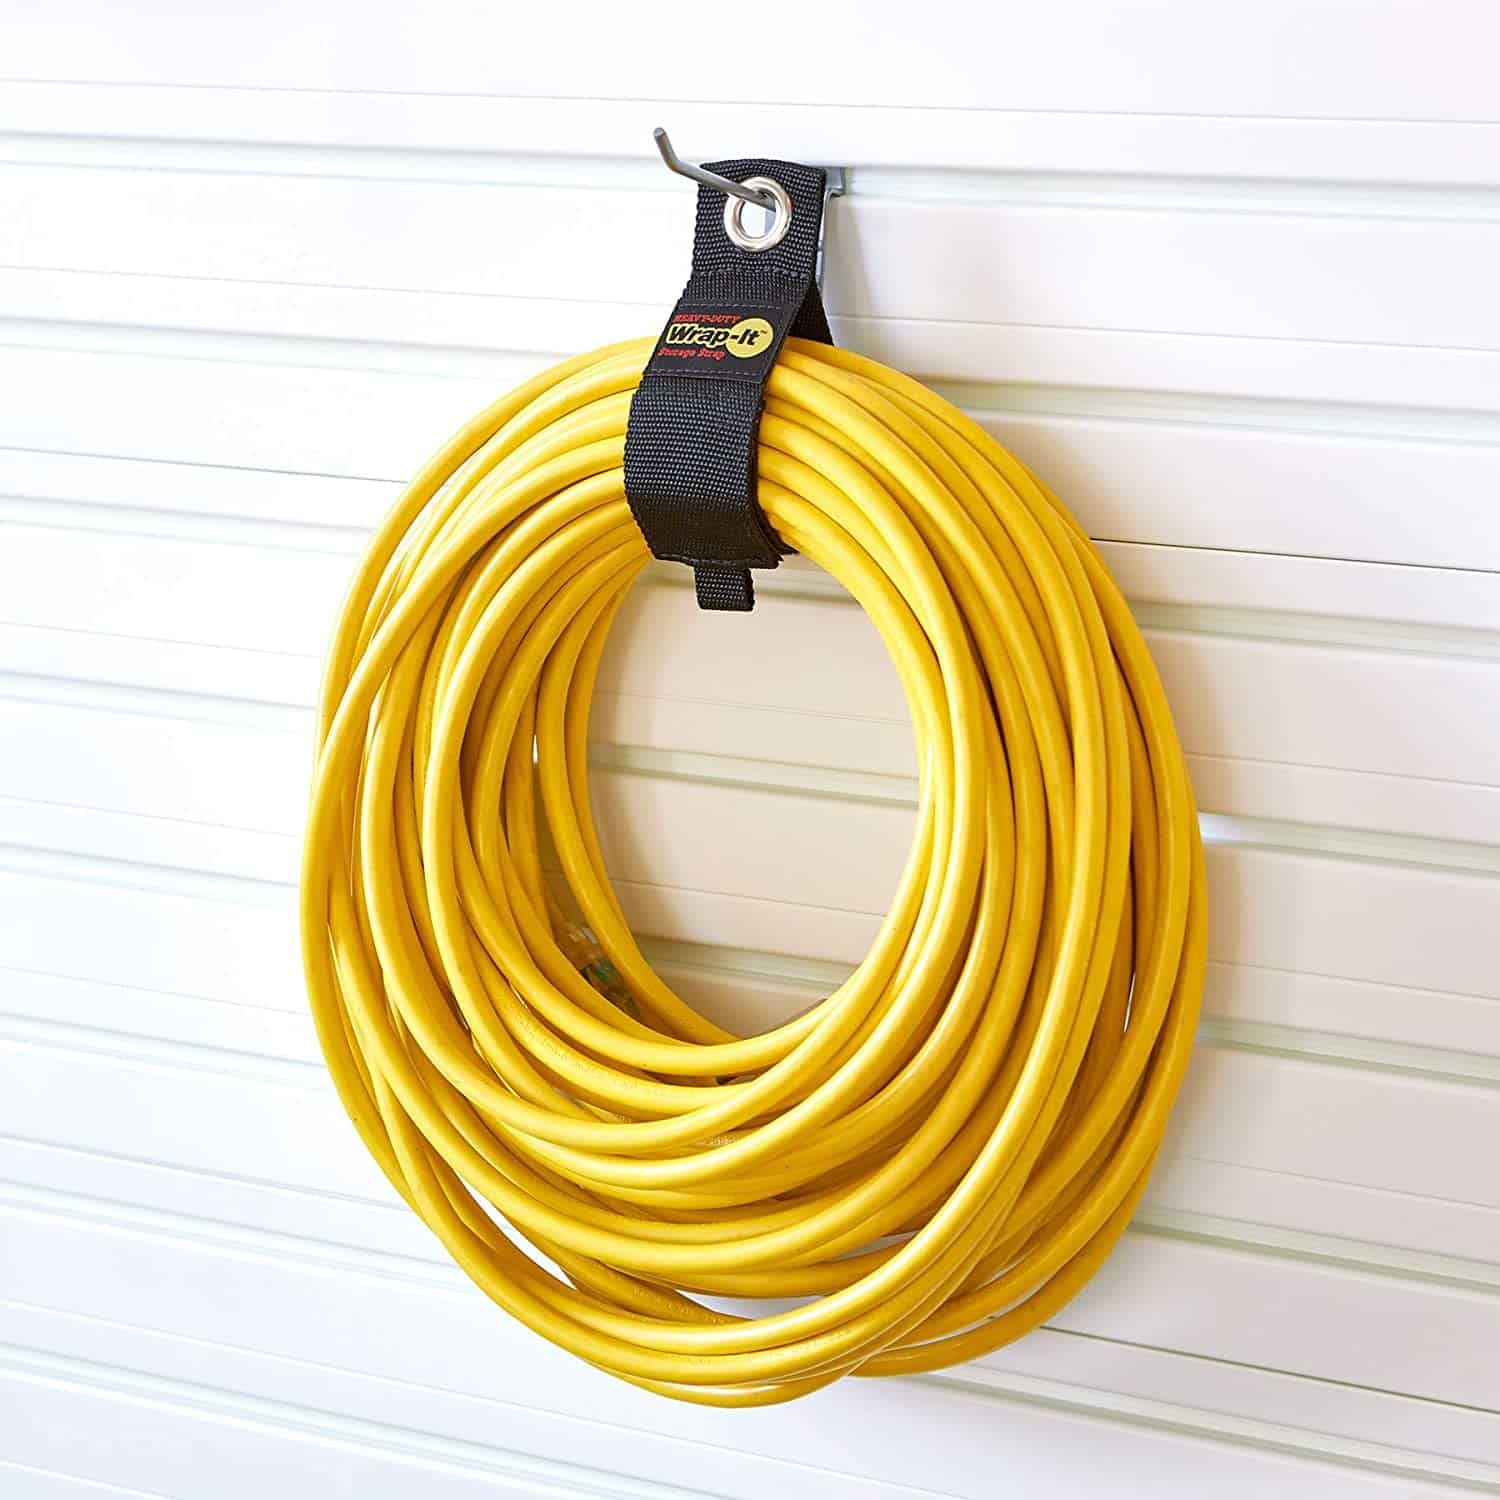
Use adhesive-backed cable clips or hooks to secure the extension cord along the baseboard or wall. This will keep the cord out of the way and reduce the risk of tripping or damage.
Read more: How To Hide Electrical Cord On Wall
Step 5: Secure Extension Cord to Wall
With the wall mounting clips securely in place, it’s time to secure the extension cord to the wall. Follow these steps to ensure a tidy and safe installation:
- Start at one end: Begin by positioning the end of the extension cord at one of the wall mounting clips. Carefully guide the cord into the clip, making sure it fits snugly. This will serve as the starting point for securing the cord along the wall.
- Route the cord: Gently guide the extension cord along the intended path, following the marked positions of the wall mounting clips. Insert the cord into each clip along the way, ensuring it is held securely in place.
- Tuck excess cord: If there is excess cord between the clips, neatly tuck it behind furniture or along the baseboards to keep it out of the way. By keeping the cord neatly tucked, you prevent tripping hazards and maintain an organized appearance.
- Optional: Use cable ties or Velcro straps: For added security and organization, you can use cable ties or Velcro straps to bundle and secure the extension cord at various points along the route. This will keep the cord in place and prevent it from sagging or becoming tangled.
By securing the extension cord to the wall, you eliminate the risk of tripping over loose cords and keep your space tidy and organized. Make sure the cord is held securely within each wall mounting clip and adjust the routing as needed to achieve a clean and neat installation.
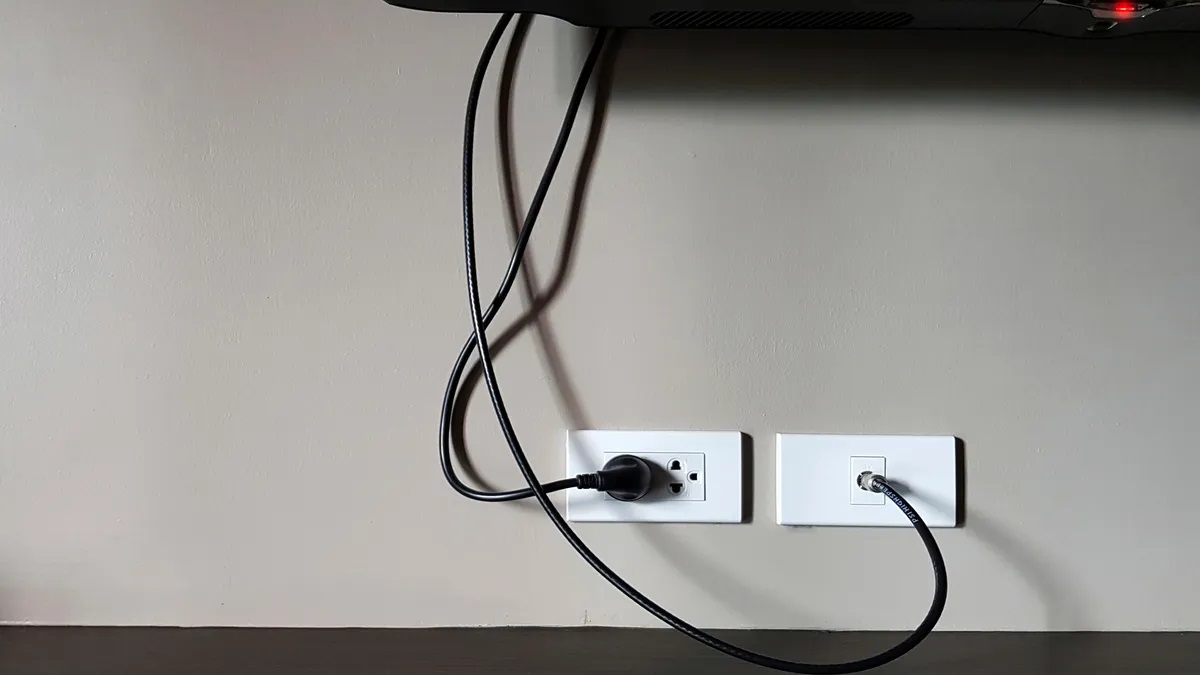
Step 6: Test and Adjust Placement
After securing the extension cord to the wall, it’s important to test its placement and make any necessary adjustments. Follow these steps to ensure that the cord is positioned optimally:
- Plug in devices: Plug in the devices or appliances that will be using the extension cord. Ensure that they are functioning properly and receiving power from the cord.
- Check for accessibility: Confirm that the extension cord is easily accessible for plugging and unplugging devices. If it is difficult to reach or obstructed by furniture, consider adjusting the placement of both the cord and the furniture to improve accessibility.
- Inspect for tripping hazards: Walk around the area where the cord is installed and carefully inspect for any tripping hazards. Make sure the cord is secured tightly and not hanging loose in high traffic areas. Adjust the placement or use additional clips if necessary to eliminate any hazards.
Testing the placement of the extension cord is crucial to ensure safety and convenience. By verifying that the cord is easily accessible and free from tripping hazards, you can prevent accidents and ensure a hassle-free user experience. If adjustments are needed, take the time to make the necessary changes before finalizing the installation.
Step 7: Finalize Installation
Once you have tested and adjusted the placement of the extension cord, it’s time to finalize the installation. Follow these steps to complete the process:
- Secure any loose cords: If there are any sections of the extension cord that are not attached to the wall, use additional wall mounting clips or adhesive-backed clips to secure them. This will ensure a consistent and tidy appearance.
- Tighten screws (if using screw-in clips): If you have used screw-in clips, double-check that the screws are tightened securely. This will prevent the clips from loosening over time and ensure a stable installation.
- Inspect the installation: Take a step back and inspect the overall installation. Look for any areas where the cord might still be hanging loose or not secured properly. Make any necessary adjustments to ensure a clean and organized installation.
- Clean up and organize: Once you are satisfied with the installation, tidy up the surrounding area and remove any tools or materials used during the process. Ensure that the extension cord and any excess lengths are neatly arranged and out of the way.
By finalizing the installation, you can enjoy the benefits of a secure and organized extension cord. This not only enhances safety but also improves the overall aesthetic of your space. Regularly check the installation to ensure that the cord remains secure and adjust as needed to maintain its integrity over time.
ConclusionSecuring an extension cord to the wall is a simple yet important step to ensure safety, organization, and accessibility. By following the steps outlined in this article, you can securely attach your extension cord and enjoy the benefits of a clutter-free and hazard-free space.
By gathering the necessary materials, identifying the mounting location, preparing the wall surface, attaching the wall mounting clips, and then securing the extension cord to the wall, you can create a neat and organized setup. Testing the placement and making any necessary adjustments is crucial to prevent accidents and ensure convenience.
A securely attached extension cord not only reduces the risk of tripping hazards but also keeps the cord organized and easily accessible. With the cord safely in place, you can plug in your devices and appliances without worrying about loose cables or messy tangles.
Remember to periodically inspect the installation to ensure that the cord remains tightly secured and adjust as needed. Additionally, adhere to any manufacturer instructions or safety guidelines to ensure proper usage and minimize any potential risks.
By taking the time to properly secure your extension cord to the wall, you can create a safer and more efficient environment. So go ahead, gather your materials, follow the steps, and enjoy the benefits of a securely mounted extension cord!
Now that you've mastered securing extension cords to walls, why not tidy up further? Our guide on effective cord management offers smart solutions to streamline your space, making safety and functionality priorities. For those looking to add an extra layer of protection and aesthetic, check out our recommendations on the best cord covers available. Both articles provide practical advice for maintaining an organized and hazard-free environment.
Frequently Asked Questions about How To Secure Extension Cord To Wall
Was this page helpful?
At Storables.com, we guarantee accurate and reliable information. Our content, validated by Expert Board Contributors, is crafted following stringent Editorial Policies. We're committed to providing you with well-researched, expert-backed insights for all your informational needs.


0 thoughts on “How To Secure Extension Cord To Wall”