Articles
How Would You Test A Toaster
Modified: October 20, 2024
Looking for articles on how to test a toaster? Discover expert tips and techniques for ensuring your toaster functions perfectly with this informative guide.
(Many of the links in this article redirect to a specific reviewed product. Your purchase of these products through affiliate links helps to generate commission for Storables.com, at no extra cost. Learn more)
Introduction
When it comes to testing a toaster, you might think it’s a fairly straightforward process. After all, its primary function is to toast bread, right? While that may be true, testing a toaster involves more than just checking if it can produce crispy and perfectly browned toast. It requires a comprehensive evaluation of various factors, including the toasting function, heating elements, safety features, durability, user experience, and any additional features it may have.
In this article, we will guide you through the process of testing a toaster to ensure that it meets the necessary standards of performance, safety, and usability. Whether you’re a consumer looking to purchase a new toaster or a manufacturer aiming to produce high-quality products, understanding how to test a toaster effectively is crucial.
Before we dive into the testing process, let’s take a moment to understand the basic functions of a toaster and the factors that contribute to its overall performance.
Key Takeaways:
- Thoroughly testing a toaster involves evaluating its toasting function, heating elements, safety features, and user experience to ensure optimal performance and reliability.
- Understanding the various factors involved in testing a toaster, from toasting function to additional features, is crucial for making informed purchasing decisions and ensuring high-quality toaster production.
Read more: How To Test A Broken Toaster
Understanding the Toaster and Its Functions
A toaster is a kitchen appliance designed to toast bread slices and provide a quick and convenient way to enjoy a crispy and warm breakfast. While the basic function of a toaster may seem simple, modern toasters often come equipped with various features and settings to enhance the toasting experience.
The primary function of a toaster is to apply heat to bread slices, transforming them from fresh, soft slices to golden brown and crispy toast. This is achieved through the use of heating elements, typically made of nichrome wire, which produce the necessary heat to toast the bread. These heating elements are positioned inside the toaster and come in different configurations, such as dual-sided or single-sided, depending on the toaster model.
In addition to the toasting function, many toasters offer customizable settings to accommodate personal toasting preferences. This includes controlling the level of browning, allowing users to achieve lighter or darker toast based on their preferences. Some toasters also have wider slots to accommodate thicker bread slices or even bagels, offering versatility in toasting options.
Furthermore, modern toasters often feature additional functions such as defrosting, reheating, and canceling. The defrost function allows you to thaw frozen bread before toasting it, while the reheating function warms up previously toasted bread without further browning. The cancel function, as the name suggests, stops the toasting process if you need to interrupt it.
Understanding these various functions and features is essential when testing a toaster. By familiarizing yourself with the toaster’s capabilities, you can properly evaluate its performance and determine if it meets your needs and expectations.
Now that we have a basic understanding of the toaster and its functions, let’s move on to the testing process to ensure that it delivers optimal performance.
Testing the Toasting Function
The toasting function is the core feature of any toaster, and it is crucial to thoroughly test this aspect to ensure that it performs effectively. Here are some steps to follow when testing the toasting function of a toaster:
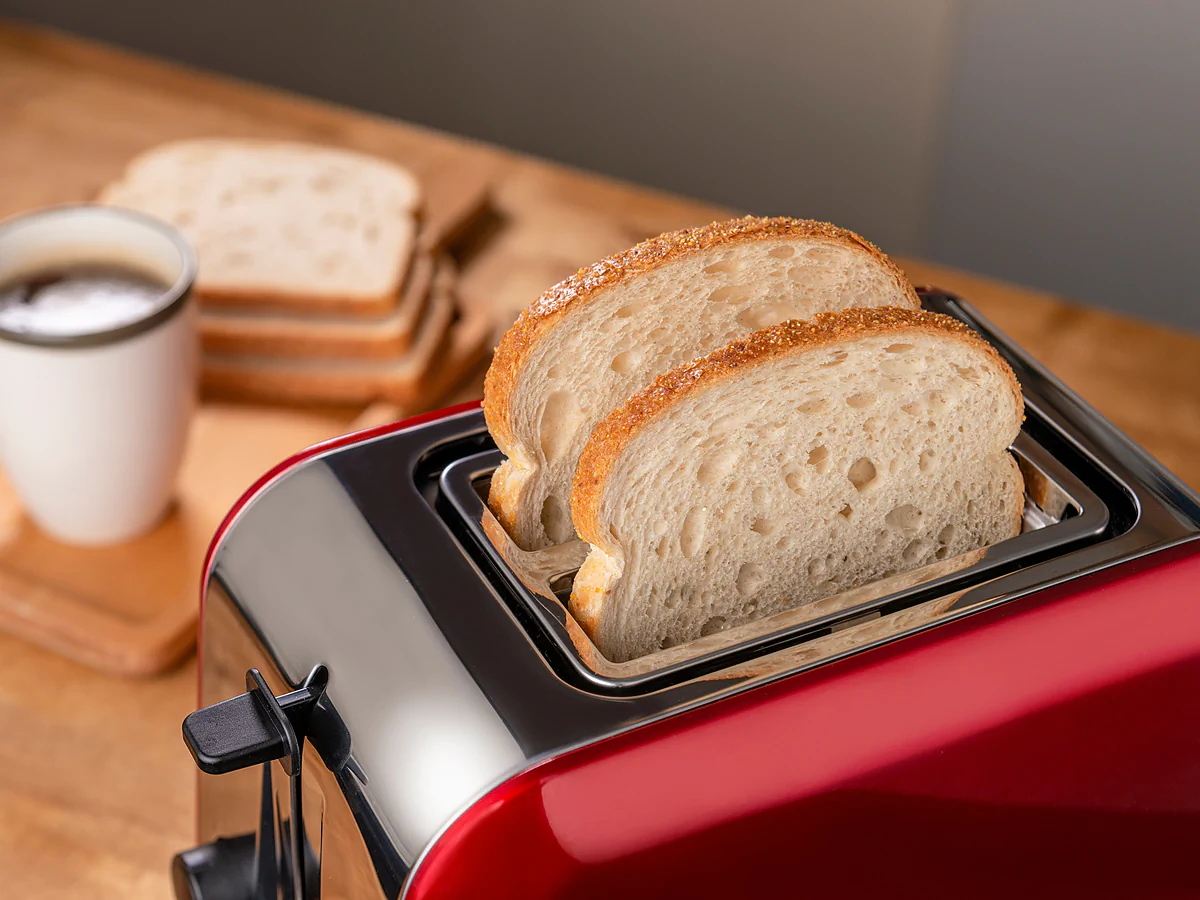
- Toast Preparation: Start by preparing slices of bread of different thicknesses. It is important to test how well the toaster can accommodate various bread types.
- Load the Bread: Insert the bread slices into the toaster’s slots, making sure they are positioned evenly and not overcrowded. Overcrowding the toaster may lead to uneven toasting.
- Select Browning Level: Choose the desired browning level based on personal preference. Most toasters have a dial or button to adjust the browning level.
- Activate the Toaster: Press the start or toast button to activate the toasting process. Keep an eye on the bread slices to ensure they are toasting evenly.
- Observe Toasting Time: Note the time it takes for the bread to reach the desired level of toasting. A good toaster should provide consistent and uniform toasting within a reasonable time frame.
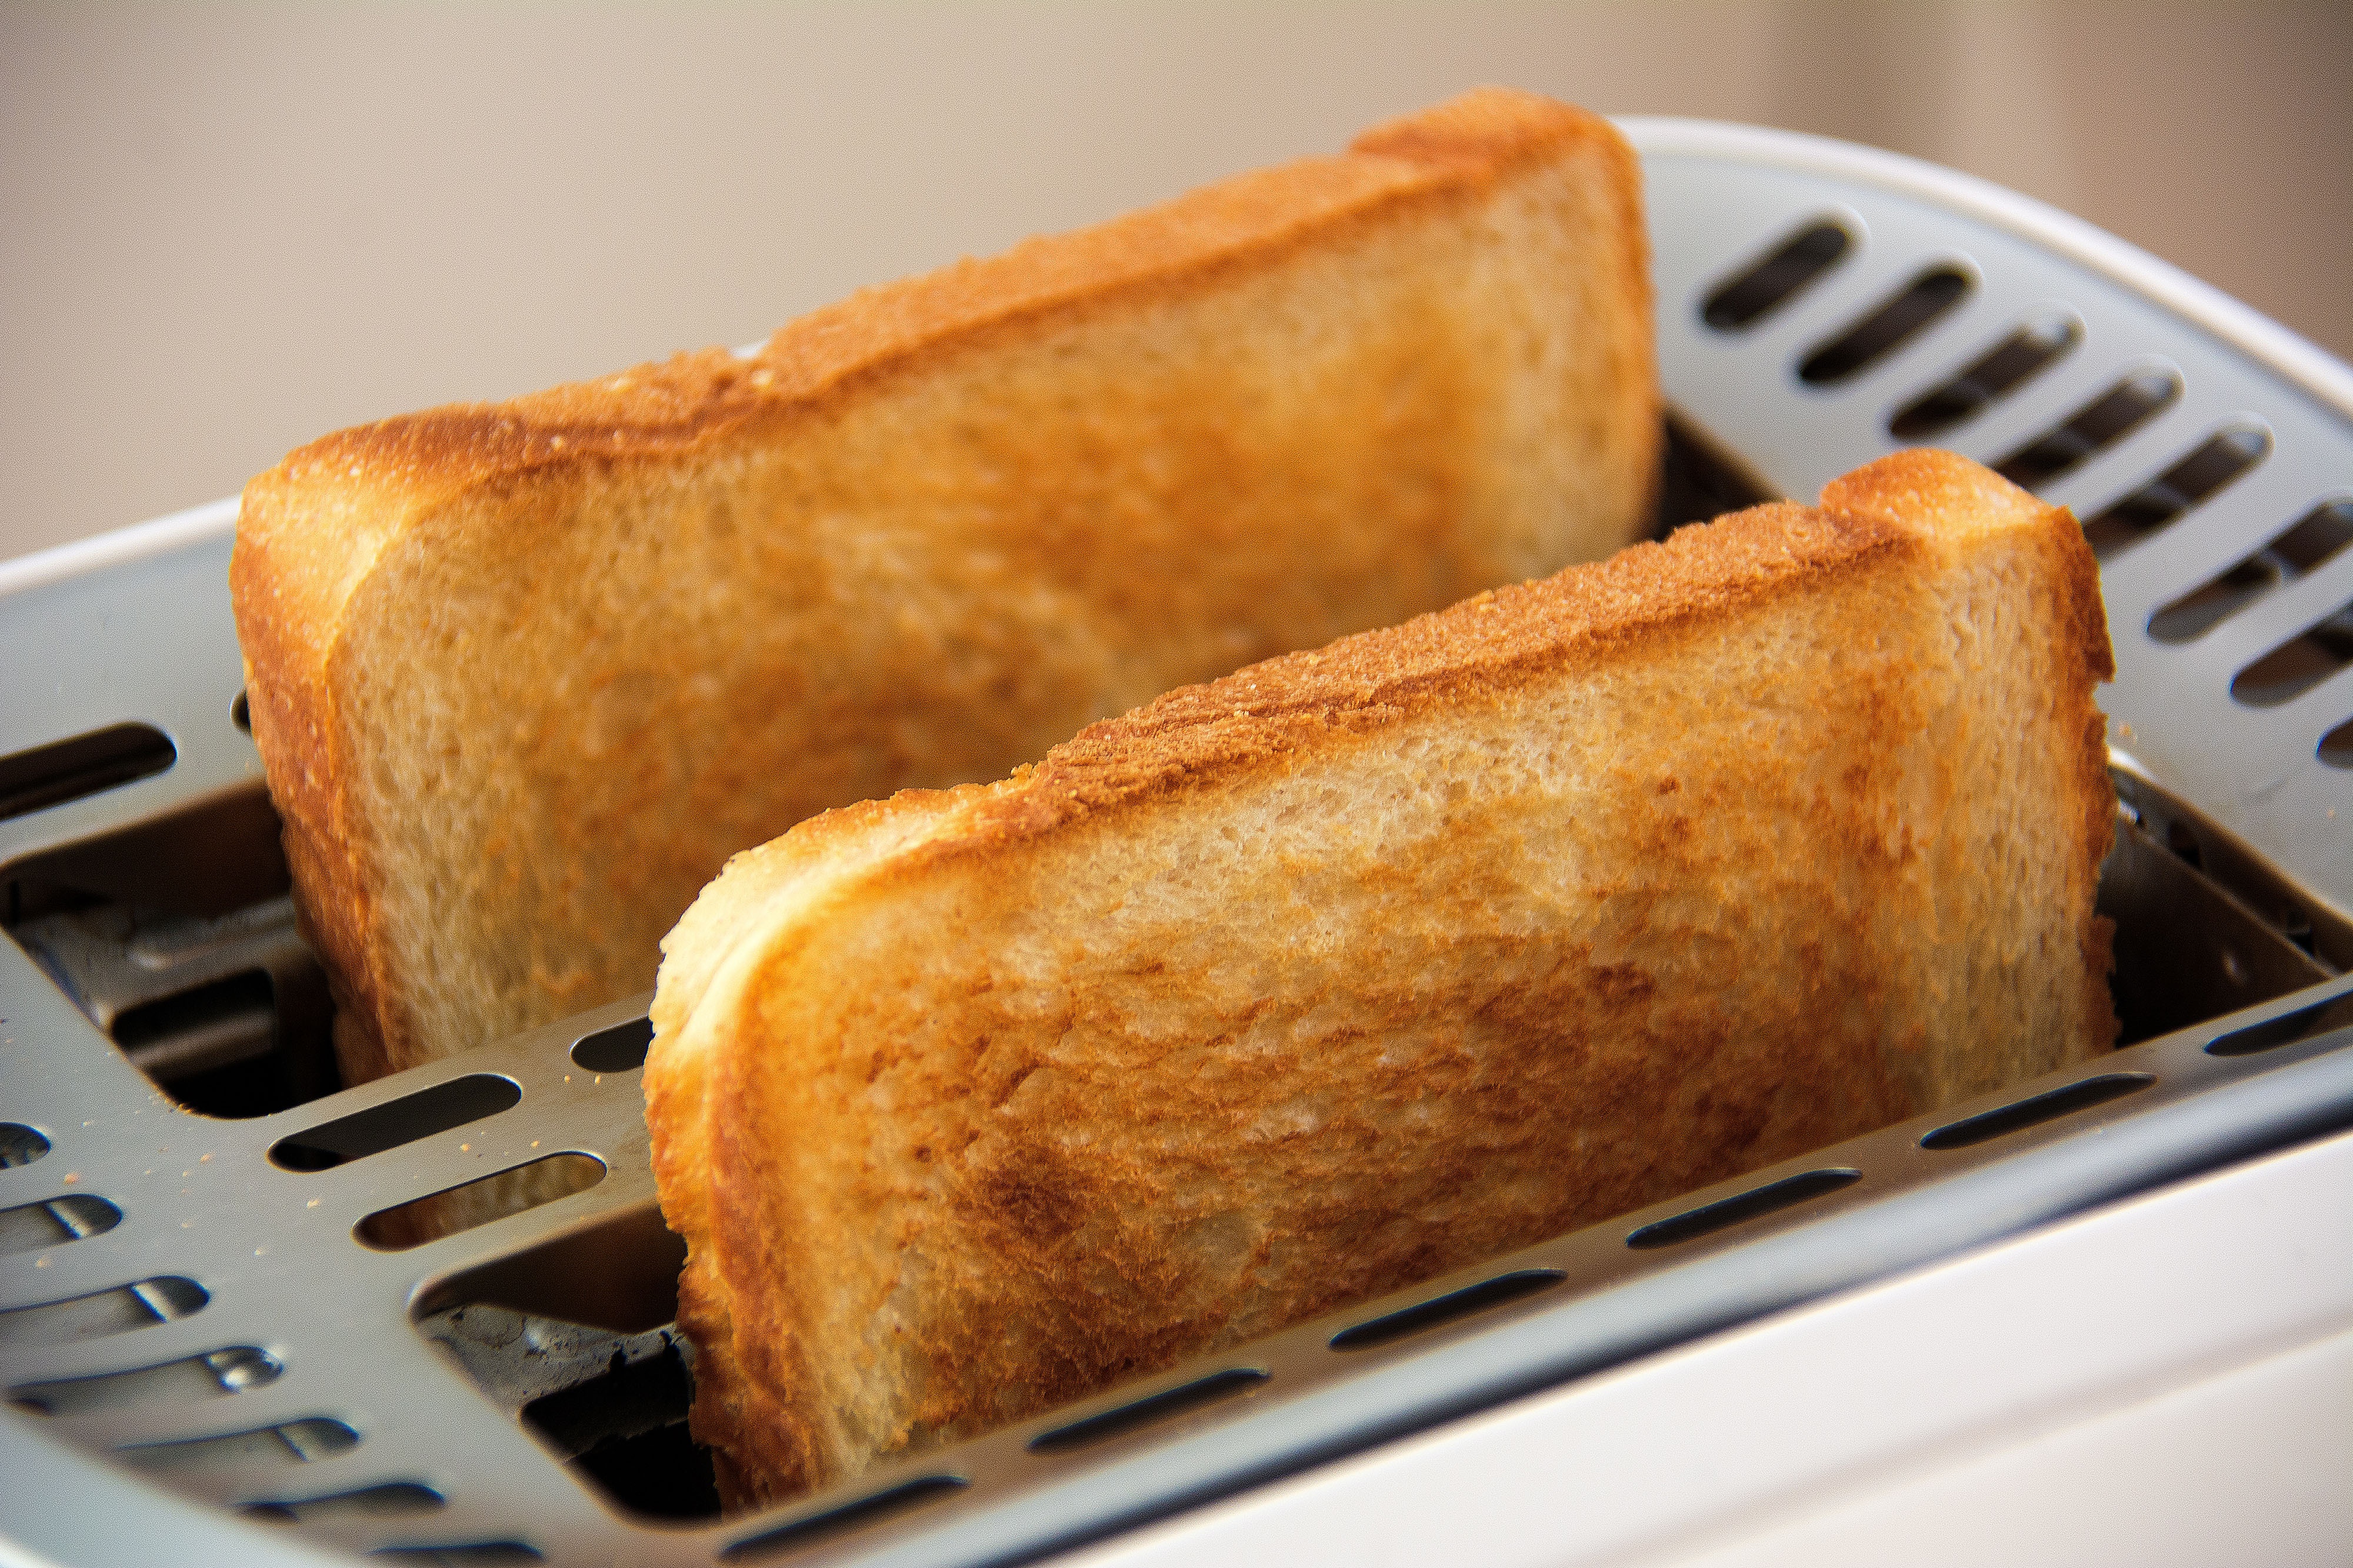
- Evaluate Evenness: After the toasting cycle is complete, carefully remove the bread and examine the evenness of the toasting. Ideally, the toast should be evenly browned on both sides.
- Taste Test: Lastly, perform a taste test to assess the texture and flavor of the toasted bread. A good toaster should produce toast that is crispy on the outside and soft on the inside.
By following these steps, you can ensure that the toasting function of the toaster produces consistently toasted bread slices with the desired browning level. If you notice any issues such as uneven toasting, excessive charring, or underwhelming browning, it may indicate a flaw in the toaster’s performance. These factors should be taken into consideration when evaluating the overall quality of the toaster.
Now that we have examined the toasting function, let’s move on to testing the heating elements to ensure they are functioning optimally.
Testing the Heating Elements
The heating elements of a toaster are responsible for generating the heat necessary to toast the bread. It is essential to test these elements to ensure they are functioning correctly and providing consistent and even heat distribution. Here are some steps to follow when testing the heating elements:
- Visual Inspection: Start by visually inspecting the heating elements to ensure there are no signs of damage or wear. Look for any broken wires or discoloration, which could indicate a faulty element.
- Even Heat Distribution: To test the evenness of heat distribution, place a few slices of bread in the toaster, making sure to cover all slots. Monitor the toasting process and observe if the bread slices in different slots toast evenly. Uneven toasting may indicate a problem with the heating elements.
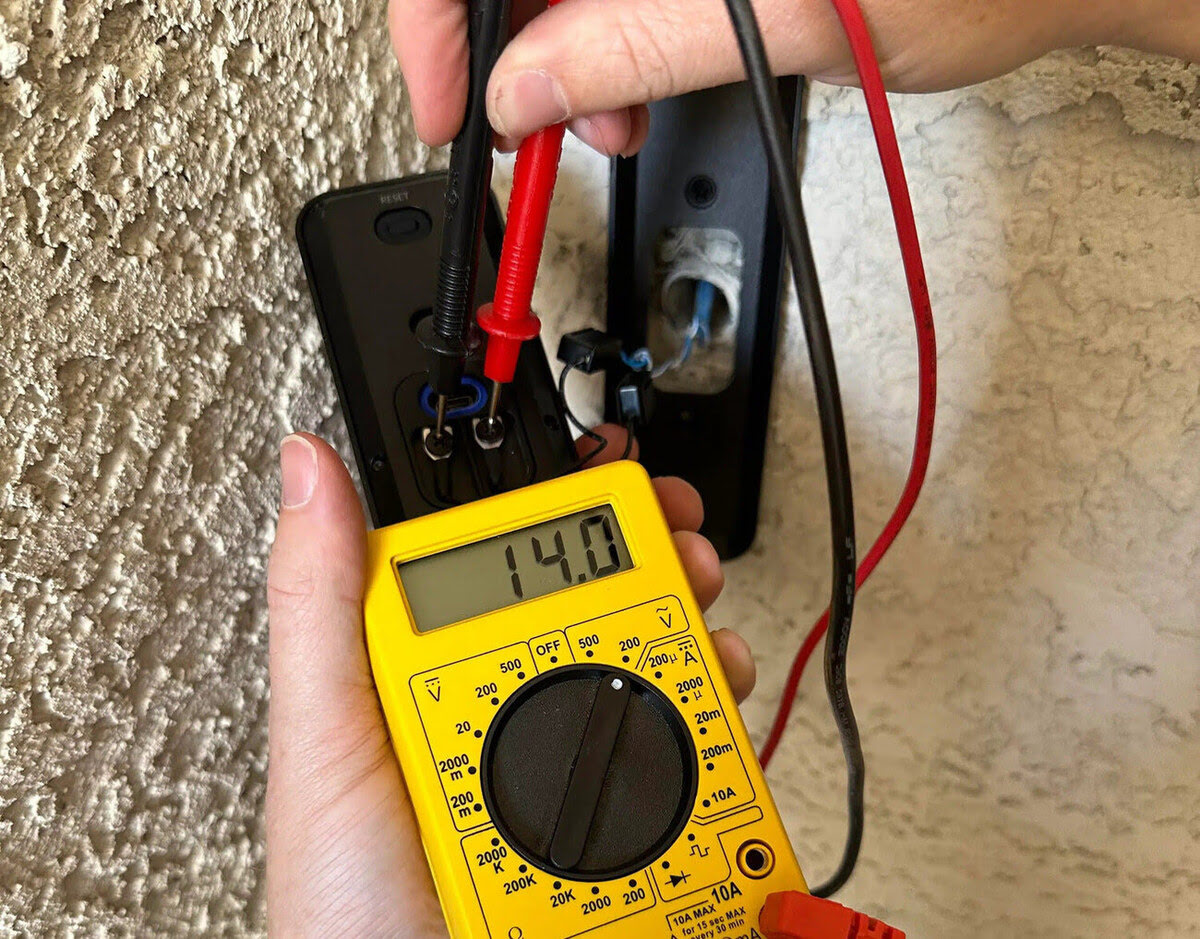
- Temperature Test: Use a digital thermometer and carefully measure the temperature of the toaster during the toasting process. Make sure the temperature remains consistent and within safe limits. Significant temperature fluctuations may indicate issues with the heating elements.
- Recovery Time: After consecutive toasting cycles, observe how quickly the toaster recovers its heating power. A good toaster should regain its optimal temperature for toasting within a reasonable timeframe.
By following these steps, you can ensure that the heating elements of the toaster are working effectively and providing consistent heat distribution. If you notice any issues such as uneven toasting or temperature fluctuations, it may indicate a problem with the heating elements that needs to be addressed.
Now that we have tested the toasting function and the heating elements, let’s move on to checking the toasting settings to ensure they are accurate and reliable.
Checking the Toasting Settings
The toasting settings of a toaster allow users to customize the level of browning according to their preferences. It is essential to check these settings to ensure they are accurate, reliable, and able to consistently produce the desired toast. Here are some steps to follow when checking the toasting settings:
- Browning Level Range: Evaluate the range of browning levels offered by the toaster. Ideally, it should provide options for both light and dark toasting, accommodating a wide range of preferences.
- Consistency: Test the consistency of the toasting settings by selecting the same browning level multiple times. Verify if the toast consistently achieves the desired level of browning with each toasting cycle.
- Setting Accuracy: Use a kitchen timer or stopwatch to time how long it takes for the toaster to achieve the desired browning level. Compare this time with the manufacturer’s indicated time for the chosen setting. The toaster should closely match the indicated time.
- Setting Memory: If the toaster offers a memory function, test its ability to remember and replicate previous browning levels. This feature can be convenient for users who have specific preferences.
By checking the toasting settings, you can ensure that the toaster provides accurate and reliable options for achieving the desired level of browning. Inconsistent settings or inaccurate browning levels may indicate a flaw in the toaster’s performance or its control mechanism.
Now that we have examined the toasting settings, let’s move on to verifying the safety features of the toaster to ensure it meets the necessary safety standards.
When testing a toaster, make sure to check the heating elements for even heat distribution, test the timer for accuracy, and evaluate the consistency of toast color across multiple cycles.
Read more: Who Would You Invite To A Dinner Party?
Verifying Safety Features
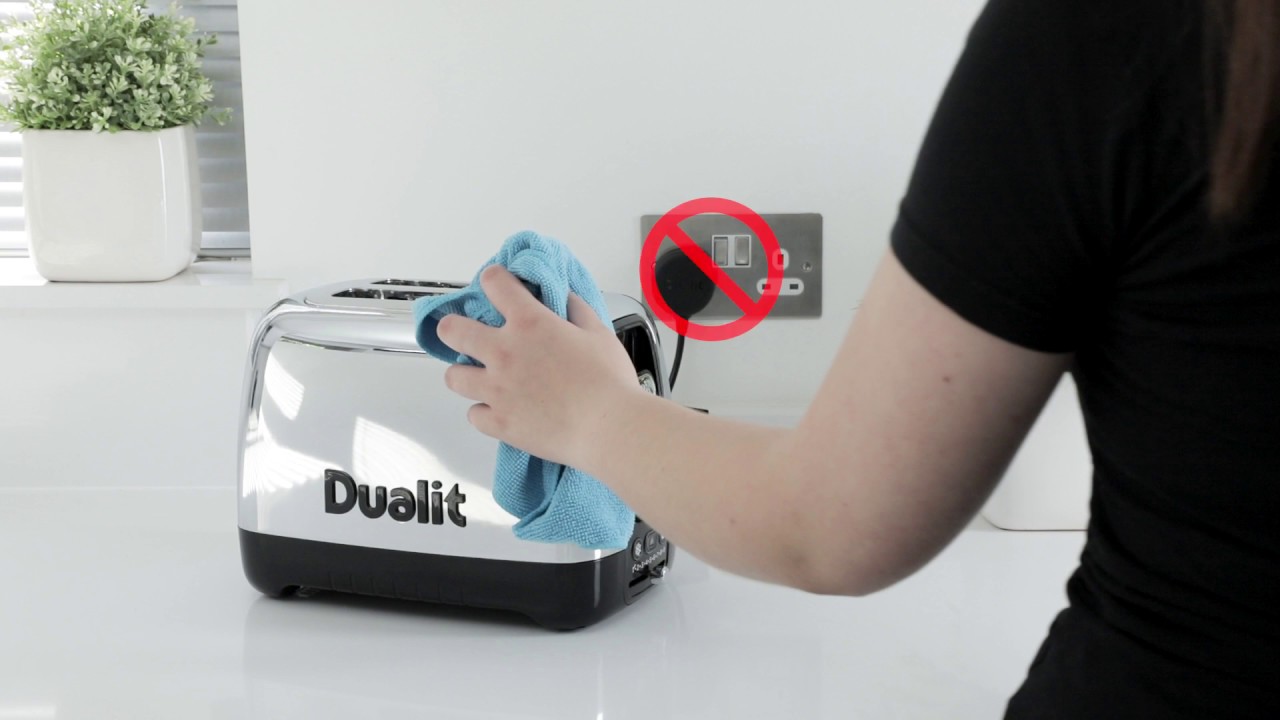
Safety is a paramount concern when it comes to any electrical appliance, and a toaster is no exception. It is crucial to verify the safety features of a toaster to ensure it provides a secure and hazard-free toasting experience. Here are some safety features to check and verify:
- Automatic Shut-off: Confirm if the toaster has an automatic shut-off feature that stops the toasting process once the bread reaches the desired level of browning. This feature prevents the bread from overcooking or burning, reducing the risk of fire hazards.
- Cool-Touch Exterior: Check if the toaster’s exterior remains cool during operation, even when toasting at higher temperatures. This feature prevents accidental burns or injuries when handling the toaster.
- Cord Storage: Ensure that the toaster has a designated cord storage area to avoid any tripping hazards or entanglements.
- Stable Base: Verify that the toaster has a stable and non-slip base to prevent it from tipping over during use, reducing the risk of accidents.
- Crumb Tray: Examine if the toaster has a removable crumb tray for easy cleaning. This feature helps prevent the buildup of crumbs, reducing the risk of a potential fire hazard.
- Overheat Protection: Check if the toaster has an overheat protection mechanism that automatically shuts off the toaster if it detects excessive heat or malfunction, preventing any potential damage or accidents.
By verifying these safety features, you can ensure that the toaster prioritizes user safety and minimizes the risk of accidents or hazards. It is essential for a toaster to meet safety standards and provides peace of mind to users.
Now that we have examined the safety features, let’s move on to evaluating the durability and build quality of the toaster.
Evaluating the Durability and Build Quality
The durability and build quality of a toaster play a significant role in its performance and longevity. It is important to evaluate these factors to ensure that the toaster is well-built and capable of withstanding regular use. Here are some aspects to consider when evaluating the durability and build quality of a toaster:
- Materials: Assess the materials used in the construction of the toaster. Look for high-quality materials that are heat-resistant and durable, such as stainless steel or sturdy plastic.
- Construction: Examine the overall construction of the toaster. Check for any loose parts, flimsy components, or potential areas of weakness. A well-built toaster should feel solid and sturdy.
- Heat Insulation: Verify if the toaster is adequately insulated to prevent the exterior from getting too hot during operation. This promotes user safety and protects surrounding surfaces from heat damage.
- Quality of Controls: Evaluate the quality and responsiveness of the toaster’s controls. Buttons or knobs should feel sturdy and should not be overly sensitive or prone to malfunctions.
- Stability: Test the stability of the toaster by gently applying pressure from different angles. It should remain stable and not wobble or topple easily during use.
- Warranty: Check for any warranties offered by the manufacturer. A longer warranty period indicates the manufacturer’s confidence in the toaster’s durability and build quality.
By evaluating the durability and build quality of the toaster, you can ensure that it is built to last and withstand regular use. A toaster with solid construction and high-quality materials will provide better longevity and a more reliable toasting experience.
Now that we have examined the durability and build quality, let’s move on to assessing the ease of use and user experience of the toaster.
Assessing the Ease of Use and User Experience
The ease of use and user experience of a toaster are crucial factors to consider, as they directly impact the overall satisfaction and convenience of using the appliance. Here are some aspects to assess when evaluating the ease of use and user experience of a toaster:
- Control Layout: Check the layout and design of the controls. They should be intuitive, easy to understand, and labeled clearly for effortless operation.
- Slot Size and Bread Centering: Evaluate the size and depth of the toaster slots. They should be wide enough to accommodate different bread types and should have guides or mechanisms to help center the bread slices for even toasting.
- Lever Mechanism: Examine the lever mechanism used to lower and lift the bread slices. It should operate smoothly and provide a secure grip on the bread without causing any tearing or damage.
- Toast Removal: Assess the ease of removing the toast from the toaster. The toaster should have a high-lift lever or a toast removal feature to ensure safe and easy retrieval without the risk of burning fingers.
- Indicator Lights: Check if the toaster has clear and visible indicator lights to indicate when the toaster is in operation or when the toast is ready. This helps in monitoring the toasting process.
- Crumb Tray Accessibility: Evaluate how easily accessible and removable the crumb tray is for cleaning. The crumb tray should slide out effortlessly for convenient maintenance.
- Noise Level: Pay attention to the noise level produced by the toaster during the toasting process. A quieter operation enhances the overall user experience.
By assessing the ease of use and user experience of the toaster, you can ensure that it is user-friendly, convenient, and enhances the overall toasting experience. An easy-to-use toaster with thoughtful design features makes the process more efficient and enjoyable for the user.
Now, if applicable, let’s move on to testing any additional features that the toaster may have.
Testing Additional Features (if applicable)
Some toasters come equipped with additional features that enhance the toasting experience or offer increased functionality. If your toaster has any of these additional features, it is important to test them to ensure they work as intended. Here are a few examples and corresponding testing methods:
- Defrost Function: If your toaster has a defrost function, test it by placing frozen bread slices into the toaster and activating the defrost setting. Verify if the toaster effectively thaws and toasts the bread without any issues.
- Reheat Function: To test the reheat function, use previously toasted bread and activate the reheat setting. Check if the toaster warms up the bread without further browning or overcooking.
- Bagel Setting: If your toaster offers a bagel setting, test it by toasting a bagel. Ensure that the toaster evenly toasts the cut side of the bagel while gently warming the outer side.
- Countdown Timer: If your toaster has a countdown timer feature, test its accuracy by setting the desired toasting time and noting if the toaster stops at the designated moment consistently.
Testing these additional features will help determine if they function properly and provide the intended benefits. If any issues arise during the testing process, it is important to note them and consider their impact on the overall performance and value of the toaster.
Now that we have covered the testing of additional features (if applicable), let’s conclude our article.
Conclusion
Testing a toaster is essential to ensure that it meets the necessary standards of performance, safety, and usability. By following the steps outlined in this article, you can thoroughly evaluate the toasting function, heating elements, toasting settings, safety features, durability, and user experience of a toaster. By doing so, you can make an informed decision when purchasing a new toaster or ensure that your manufactured toasters meet the highest quality standards.
When testing the toasting function, pay attention to evenness, toasting time, and the taste of the toast. Verify the performance and consistency of the heating elements to ensure that they distribute heat evenly. Assess the accuracy and reliability of the toasting settings to achieve the desired browning level. Confirm that the toaster incorporates essential safety features such as automatic shut-off, cool-touch exterior, and overheat protection.
Additionally, evaluate the durability and build quality of the toaster, ensuring that it is well-constructed using high-quality materials. Consider the ease of use and user experience, examining factors such as control layout, slot size, toast removal, and indicator lights. If applicable, test any additional features the toaster may have, like defrost or bagel settings, to ensure they work effectively.
Remember, striking the right balance between functionality, performance, safety, durability, and user experience is key to finding the perfect toaster for your needs.
By following these testing practices and considering the various factors mentioned, you can confidently choose or produce a toaster that delivers perfectly toasted bread and provides a reliable and enjoyable toasting experience for years to come.
Frequently Asked Questions about How Would You Test A Toaster
Was this page helpful?
At Storables.com, we guarantee accurate and reliable information. Our content, validated by Expert Board Contributors, is crafted following stringent Editorial Policies. We're committed to providing you with well-researched, expert-backed insights for all your informational needs.


0 thoughts on “How Would You Test A Toaster”