
Articles
How To Test An LED Bulb
Modified: December 7, 2023
Looking for articles on how to test an LED bulb? Learn the step-by-step process and ensure your LED bulbs are functioning properly.
(Many of the links in this article redirect to a specific reviewed product. Your purchase of these products through affiliate links helps to generate commission for Storables.com, at no extra cost. Learn more)
Introduction
Welcome to our comprehensive guide on how to test an LED bulb. As LED (Light Emitting Diode) technology continues to advance and gain popularity, it has become essential to know how to properly test these bulbs to ensure they are functioning correctly. Whether you are a homeowner wanting to verify the quality of your LED bulbs or a professional in the lighting industry, this article will provide you with the necessary information to confidently test LED bulbs.
LED bulbs have revolutionized the lighting industry with their energy efficiency, long lifespan, and versatility. They are widely used in various applications, including residential lighting, commercial spaces, automotive lighting, and even in electronic devices. However, like any electrical equipment, LED bulbs may encounter issues or defects over time, which can affect their performance and lifespan.
By learning how to test LED bulbs, you can identify any potential problems early on, such as dimming, flickering, or issues with the color temperature. Testing LED bulbs will not only help you determine their functionality but also assist you in troubleshooting common issues and making informed decisions when purchasing LED bulbs.
In this guide, we will walk you through the step-by-step process of testing an LED bulb. We will also discuss the tools and equipment you will need for the testing, as well as how to interpret the test results. Additionally, we will provide troubleshooting tips for common LED bulb issues.
Whether you are a DIY enthusiast or a professional electrician, this article will equip you with the knowledge and skills necessary to confidently test LED bulbs and ensure optimal performance in your lighting setups. So, let’s dive into the world of LED bulb testing and unravel the mysteries of these innovative lighting solutions.
Key Takeaways:
- Testing LED bulbs is crucial for identifying issues early on, ensuring optimal performance, and making informed purchasing decisions. Proper preparation, accurate testing, and interpretation of results are essential for maintaining efficient lighting setups.
- Troubleshooting common LED bulb issues such as flickering, color inconsistencies, and overheating can help prolong their lifespan and ensure reliable performance. Seeking professional assistance when needed is advisable for addressing specific problems.
Read more: How To Test An LED Bulb With A Multimeter
Understanding LED Bulbs
Before we delve into the testing process, it’s important to have a basic understanding of how LED bulbs work. LED bulbs are different from traditional incandescent or fluorescent bulbs in their construction and functioning.
An LED bulb consists of a semiconductor diode that emits light when an electric current passes through it. This process is known as electroluminescence. The diode is made up of layers of different materials, including a semiconductor material (usually gallium nitride) and a phosphor coating.
When an electrical current flows through the diode, it energizes the electrons within the semiconductor material. As these energized electrons release energy, they produce photons, which are the particles of light. The phosphor coating helps to convert some of the blue light emitted by the semiconductor into different colors, giving us the wide range of color options available in LED bulbs.
LED bulbs offer several advantages over traditional lighting options. They consume significantly less energy, resulting in energy savings and reduced electricity bills. LED bulbs also have a longer lifespan, often lasting up to 25 times longer than incandescent bulbs. Additionally, LED bulbs produce instant and directional light, allowing for more focused and efficient lighting solutions.
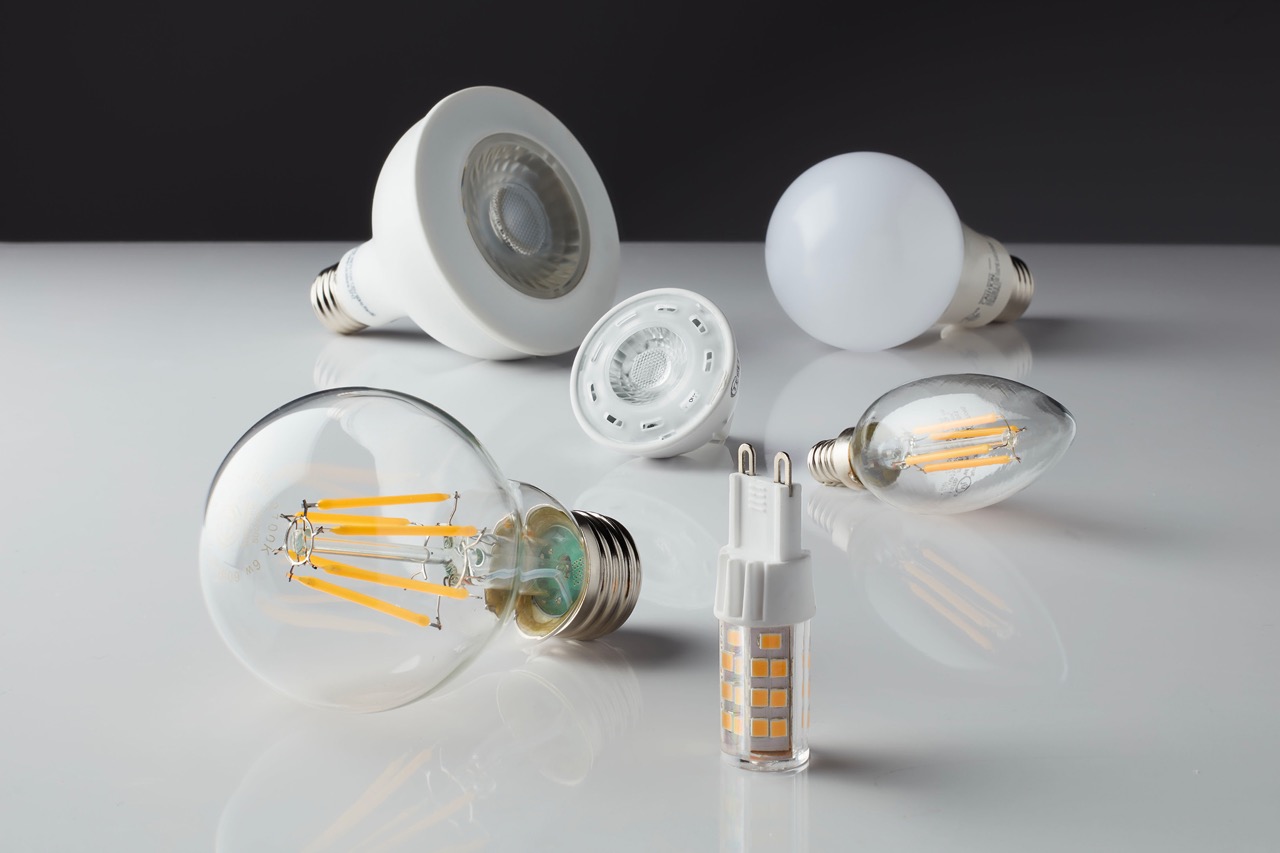
LED bulbs are available in various shapes, sizes, and wattages to suit different applications. It’s important to choose the right LED bulb for your specific needs and ensure compatibility with your existing lighting fixtures. LEDs can be found in standard screw-in base formats (such as E26 or E27) or plug-in formats (such as GU10 or MR16).
Now that we have a basic understanding of LED bulbs, let’s move on to the tools and equipment needed for testing.
Testing Tools and Equipment Needed
Testing LED bulbs requires a few essential tools and equipment to ensure accurate results. Here are the items you will need:
- LED Bulb Tester: A specialized LED bulb tester is highly recommended for accurate testing. These testers are designed to provide precise measurements of voltage, current, and other parameters specific to LED bulbs. LED bulb testers can be purchased online or from electrical supply stores.
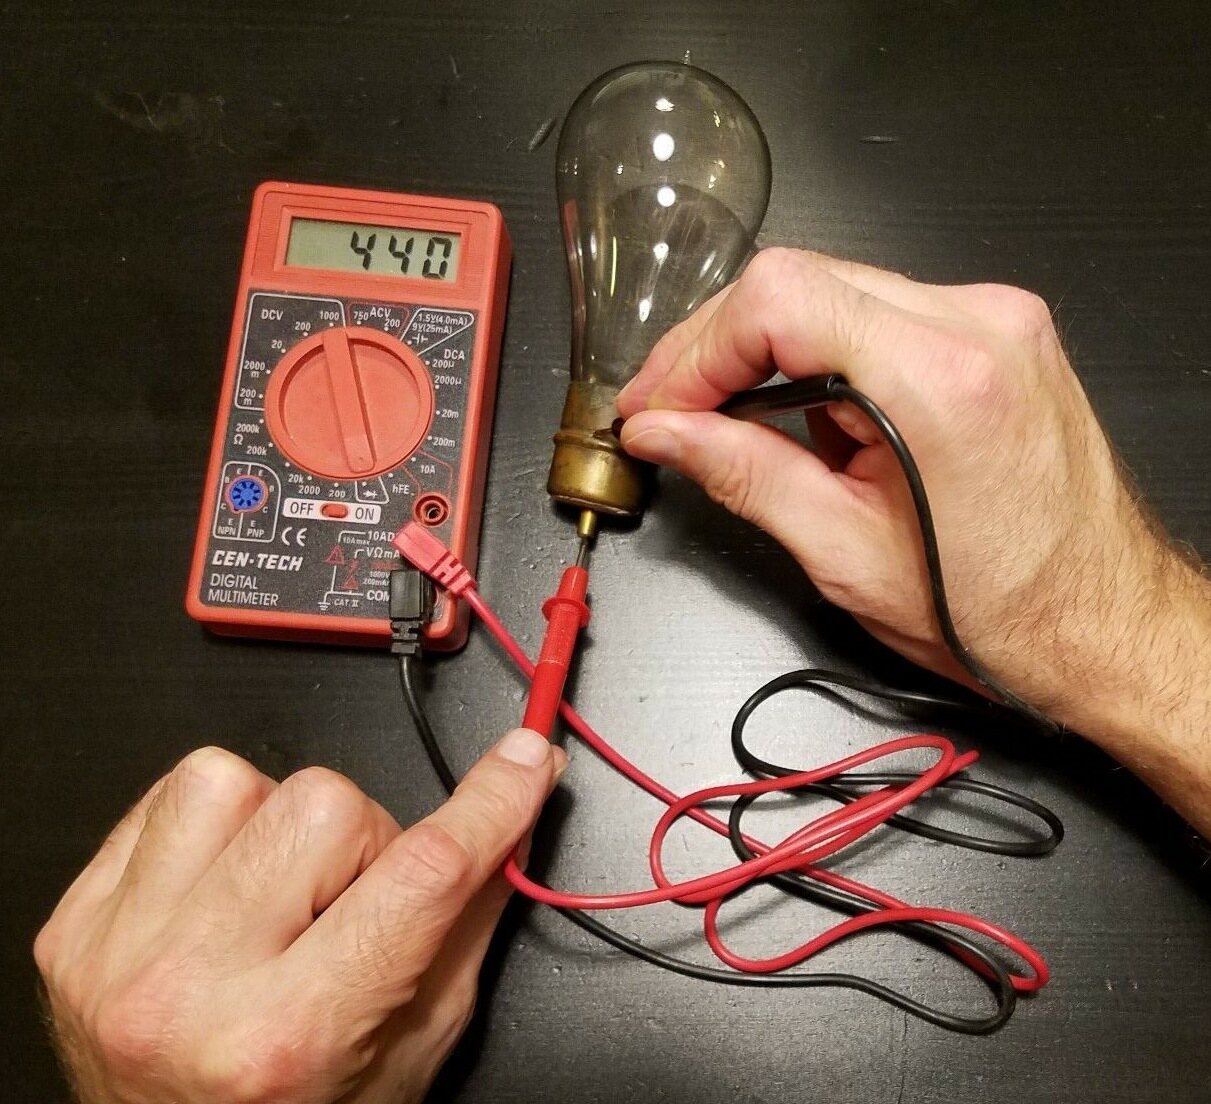
- Digital Multimeter: If you don’t have access to an LED bulb tester, a digital multimeter can be used as an alternative. This versatile tool measures voltage, current, and resistance and can be used for testing LED bulbs. Make sure the multimeter is set to the appropriate range for measuring voltage (typically DC voltage).
- Power Source: You will need a power source to provide electricity for the LED bulb during testing. This can be a socket with the appropriate voltage (e.g., 120V for residential applications) or a power supply specifically designed for LED bulb testing.
- Safety Equipment: Whenever dealing with electricity, safety should be your top priority. Make sure to wear insulated gloves and safety glasses to protect yourself from potential electrical hazards.
Having the proper testing tools and equipment is essential to obtain accurate results and ensure your safety during the testing process. Now that we have the necessary tools ready, let’s move on to preparing for the test.
Preparing for the Test
Before you begin testing an LED bulb, it’s important to take a few preparatory steps to ensure accurate results and avoid any potential safety hazards. Here’s what you need to do to prepare for the test:
- Turn off the Power: Ensure that the power supply to the socket or power source you will be using for testing is switched off. This will prevent any electrical shocks or accidents during the testing process.
- Inspect the LED Bulb: Before testing, carefully examine the LED bulb for any visible signs of damage or defects. Check for any broken or loose connections, damaged wires, or physical deformities. If you notice any issues, it’s best to replace the bulb rather than attempting to test it.
- Check the Specifications: Refer to the manufacturer’s specifications or documentation to familiarize yourself with the correct voltage and current ratings for the LED bulb you are testing. This information will help you determine if the bulb is operating within the expected parameters during the test.
- Clean the Bulb: Wipe the LED bulb with a clean, lint-free cloth to remove any dirt, dust, or fingerprints. This will ensure that the test results are not affected by external factors.
- Secure the Bulb: Make sure the LED bulb is securely inserted into the socket or connected to the power supply. Loose connections can lead to inaccurate readings or even damage the bulb during testing.
- Take Safety Precautions: Ensure you are wearing insulated gloves and safety glasses to protect yourself from any potential electrical hazards. Avoid touching exposed wires or metal parts during the testing process.
By following these preparation steps, you can ensure a safe and accurate testing process for your LED bulb. Now that you’re ready, let’s move on to the actual testing of the LED bulb.
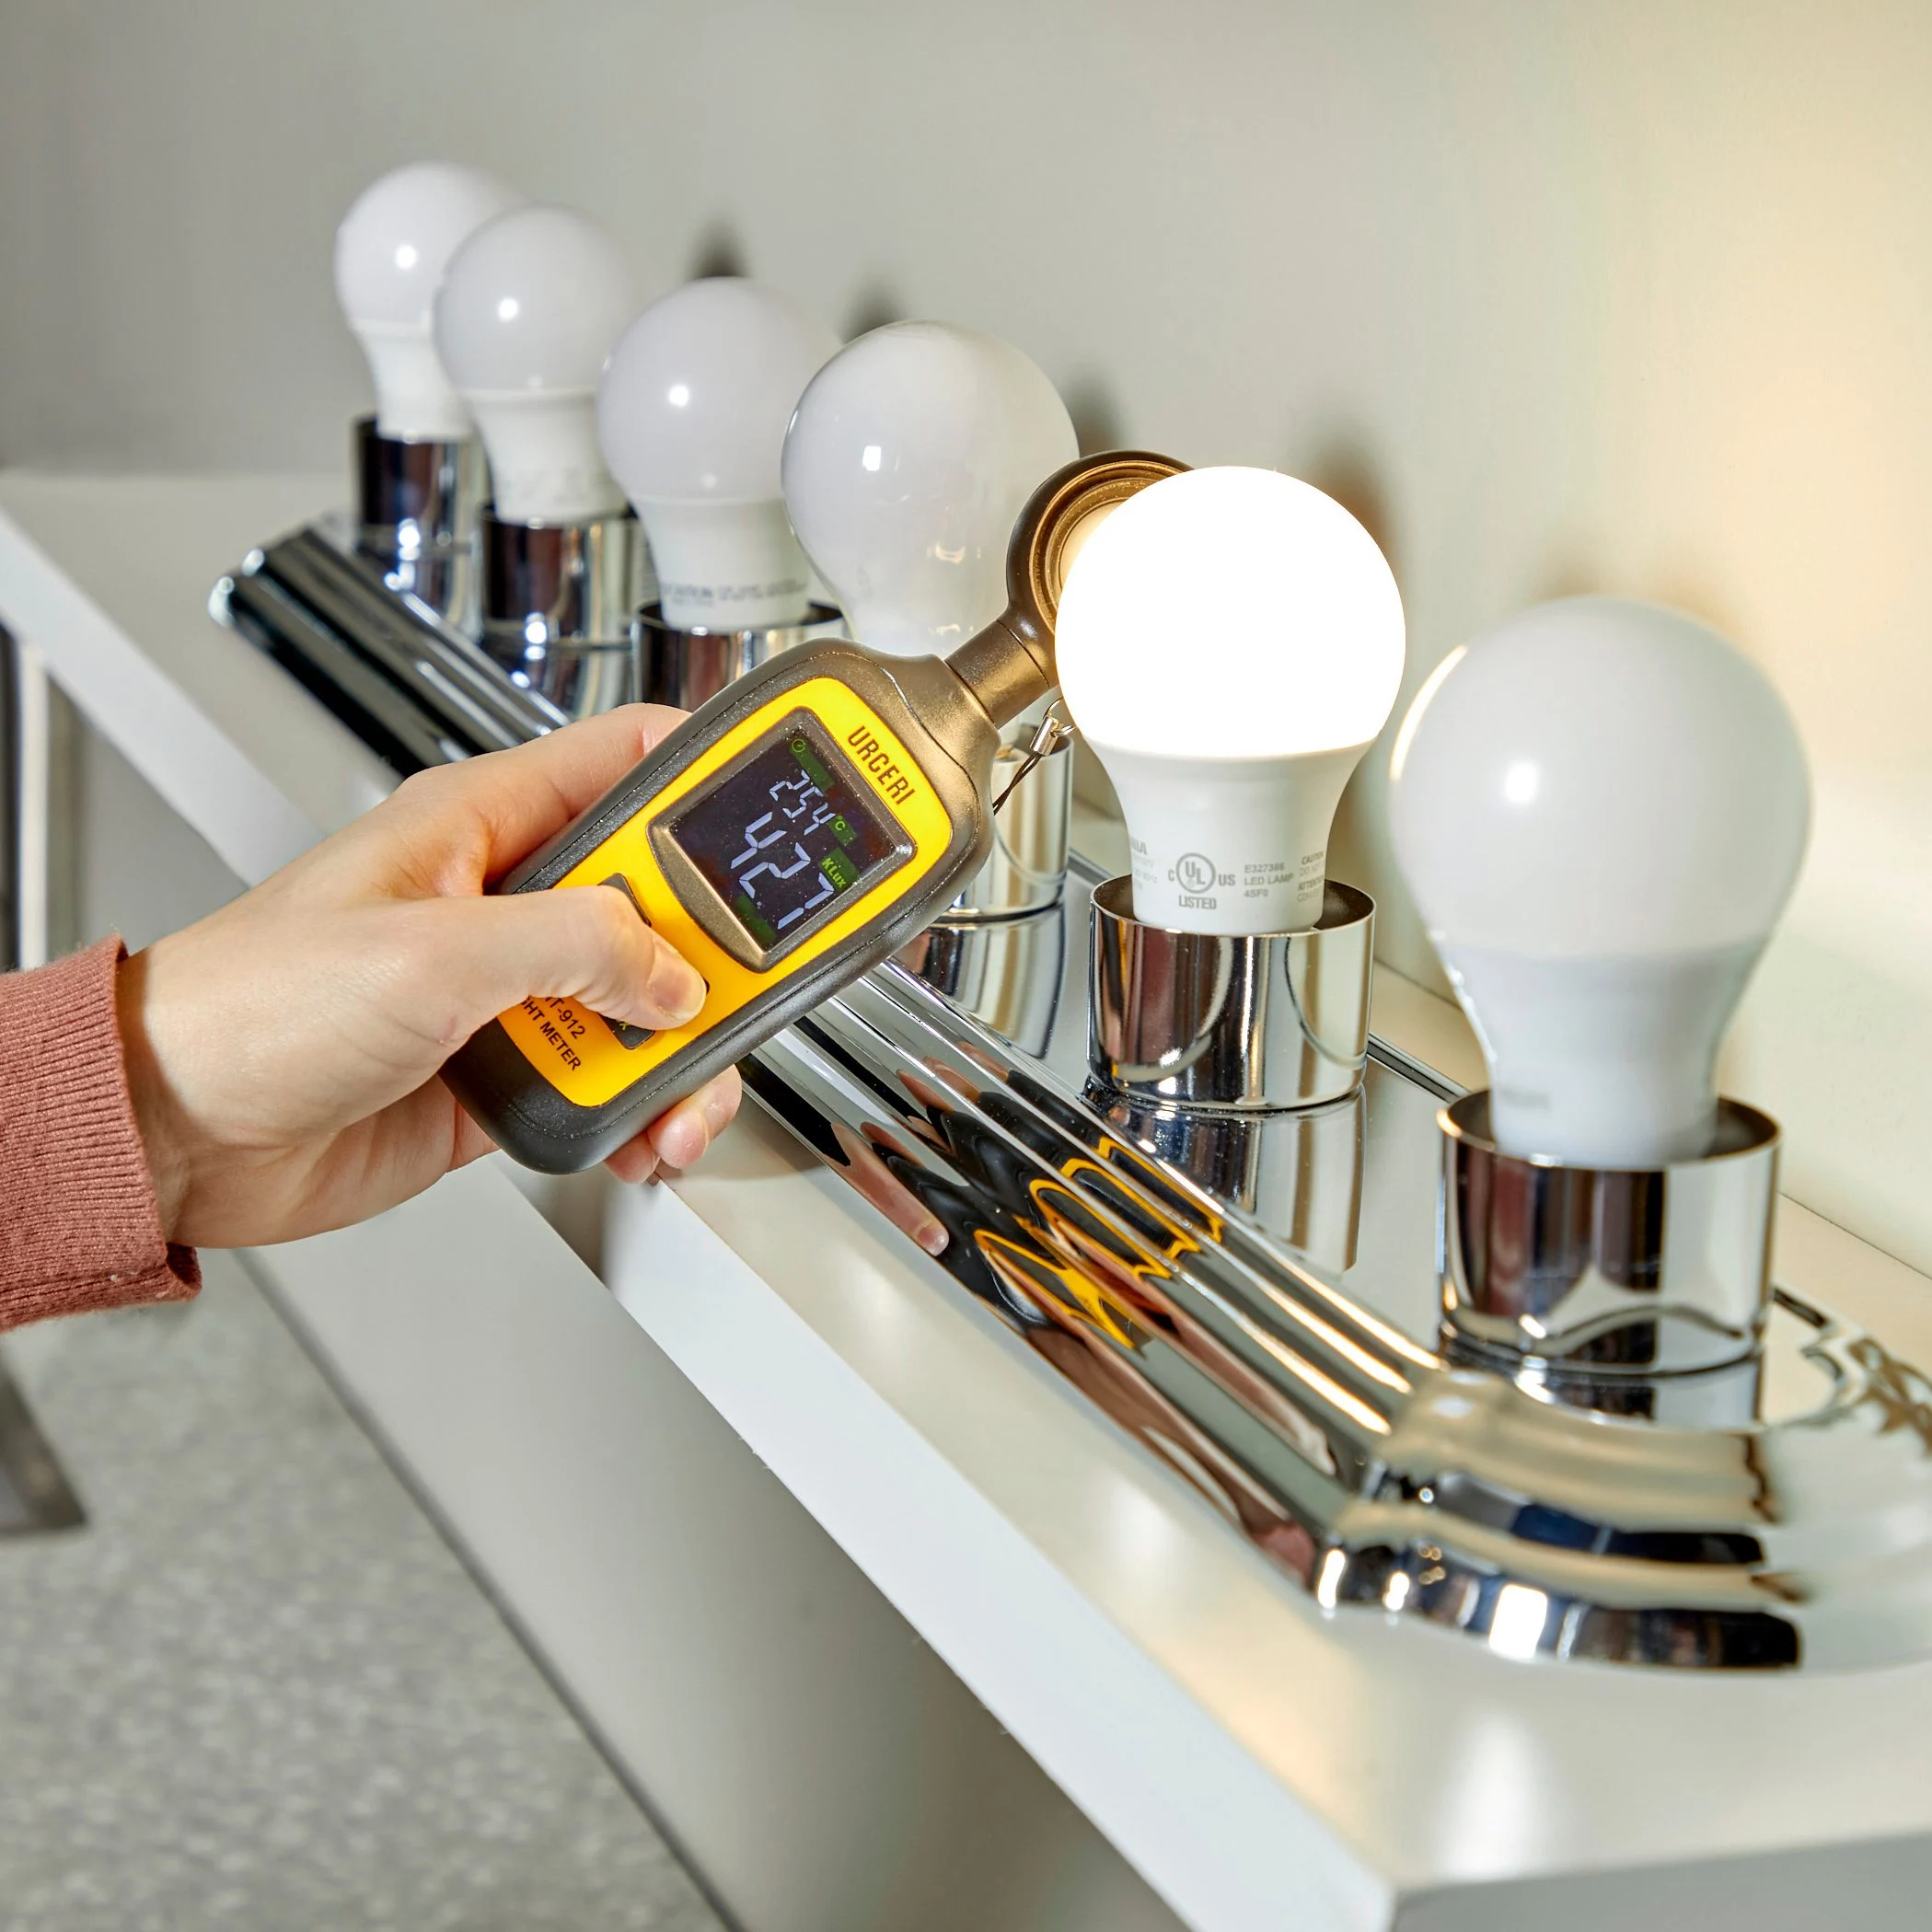
When testing an LED bulb, use a multimeter to check the voltage and current. Ensure the power supply matches the bulb’s requirements and look for any flickering or dimming during operation.
Testing the LED Bulb
Now that you’re prepared, it’s time to test the LED bulb. Follow these steps to accurately test the functionality and performance of the LED bulb:
- Turn on the Power: Ensure that the power supply to the socket or power source is switched on.
- Verify Illumination: Observe whether the LED bulb emits light when powered on. A working LED bulb should produce a bright, steady light without any flickering or dimming.
- Check for Correct Color: LED bulbs are available in various color temperatures, ranging from warm white to cool white. Verify that the color emitted by the LED bulb matches the specified color temperature or the desired lighting ambiance.
- Measure Voltage: Using an LED bulb tester or a digital multimeter, measure the voltage across the LED bulb. Ensure that the measured voltage matches the manufacturer’s specifications. If the voltage is significantly higher or lower, it may indicate an issue with the power supply or the LED bulb itself.
- Measure Current: Similarly, measure the current flowing through the LED bulb using the LED bulb tester or multimeter. Compare the measured current with the recommended current rating for the LED bulb. If the current is too high or too low, it could indicate a problem with the bulb or the circuitry.
- Record the Test Results: Document the voltage and current readings obtained during the test. This information will be helpful for future reference or troubleshooting purposes.
During the testing process, pay attention to any abnormalities or irregularities in the performance of the LED bulb. This can include flickering, dimming, color distortion, or any signs of overheating. Such issues may indicate a faulty bulb or a compatibility problem with the power supply or the lighting fixture.
Remember to exercise caution while testing, especially when dealing with electrical current and connections. If you encounter any unexpected issues or if the LED bulb fails the test, it’s best to consult a professional electrician or contact the manufacturer for further guidance.
Now that you’ve tested the LED bulb, let’s move on to interpreting the test results.
Interpreting the Test Results
After testing the LED bulb, it’s time to interpret the results to determine the overall functionality and performance. Here’s how you can interpret the test results:
- Proper Illumination: If the LED bulb emits a bright and steady light without any flickering or dimming, it indicates that the bulb is functioning correctly. This is a positive result, indicating that the LED bulb is in good condition.
- Correct Color Temperature: Verify that the color emitted by the LED bulb matches the specified color temperature or the desired lighting ambiance. If the color appears as intended, it suggests that the bulb is producing the correct color output.
- Matching Voltage: Compare the measured voltage with the manufacturer’s specifications. If the voltage reading falls within the recommended range, it indicates that the LED bulb is receiving the appropriate amount of voltage and is operating as intended.
- Appropriate Current: Similarly, compare the measured current with the recommended current rating for the LED bulb. If the current reading is within the acceptable range, it suggests that the bulb is drawing the right amount of current and is working efficiently.
If the LED bulb passes all the tests and meets the expected parameters, it indicates that the bulb is functioning properly. However, if any of the test results are outside the recommended ranges or if you notice any anomalies during the testing process, it may indicate a problem with the LED bulb or the electrical circuitry.
If you encounter any issues or inconsistencies in the test results, it’s advisable to consult a professional electrician or the manufacturer for further assistance. They will be able to provide insights, troubleshooting tips, or suggest replacement options if necessary.
Remember that interpreting the test results is essential for determining the overall quality and performance of the LED bulb. Accurate interpretation can help you identify potential issues early on and take appropriate action to ensure optimal functionality and longevity of the LED bulb.
Now that we have discussed how to interpret the test results, let’s move on to troubleshooting common issues with LED bulbs.
Troubleshooting Common Issues
While LED bulbs are known for their reliability, they can still encounter certain issues that may affect their performance. Here are some common issues you may encounter with LED bulbs and suggested troubleshooting steps:
- Flickering or Dimming: If you notice that an LED bulb flickers or dims intermittently, it could be due to a poor connection or compatibility issues with the dimmer switch. Try tightening the bulb in the socket or replacing the dimmer switch with one specifically designed for LED bulbs.
- Color Inconsistency: In some cases, LED bulbs may exhibit variations in color between different batches or even within the same batch. This can be due to manufacturing differences or variations in the phosphor coating. If color consistency is important, consider purchasing LED bulbs from a reputable brand that ensures color uniformity.
- Overheating: LED bulbs are designed to produce significantly less heat compared to traditional incandescent bulbs. However, if an LED bulb becomes excessively hot to touch, it may indicate a ventilation issue or an incompatible fixture. Make sure the bulb is properly ventilated and check for any obstructions around the fixture. If the problem persists, contact the manufacturer for further assistance.
- Short Lifespan: LED bulbs are known for their long lifespan. However, if an LED bulb fails prematurely, it may be due to poor quality components or excessive heat buildup. Ensure that the LED bulb is compatible with the fixture and that it is not operating in high-temperature environments. Consider purchasing LED bulbs from trusted brands with a proven track record of reliability.
- Incompatibility with Dimmer: Not all LED bulbs are compatible with traditional incandescent dimmer switches. If an LED bulb flickers or does not dim properly, it may indicate an incompatibility issue. Switch to a dimmer switch specifically designed for LED bulbs or purchase dimmable LED bulbs that are labeled as compatible with dimmer switches.
If you encounter any other issues or if troubleshooting doesn’t resolve the problem, it’s advisable to seek professional assistance or contact the manufacturer for support. They will have the expertise to diagnose and address specific issues related to their products.
Remember, troubleshooting common issues with LED bulbs can help prolong their lifespan and ensure optimal performance. Regular maintenance, proper installation, and using high-quality LED bulbs are key to enjoying the benefits of LED lighting for years to come.
With these troubleshooting tips in mind, we can now conclude our guide on how to test an LED bulb.
Conclusion
Congratulations! You have now learned how to test an LED bulb successfully. By understanding the inner workings of LED bulbs, gathering the necessary tools, and following the testing process, you can ensure the proper functionality and performance of these energy-efficient lighting solutions.
LED bulbs have revolutionized the lighting industry with their longevity, energy efficiency, and versatility. Through proper testing, you can identify any issues or defects early on and take appropriate measures to resolve them. Whether you are a homeowner, a DIY enthusiast, or a professional in the lighting industry, having the knowledge and skills to test LED bulbs is essential for maintaining optimal lighting conditions and making informed purchasing decisions.
Remember to prepare for the testing process by turning off the power, inspecting the bulb for any visible damage, and cleaning the bulb to ensure accurate results. Use the specialized LED bulb tester or a digital multimeter to measure voltage and current, and interpret the test results to determine the bulb’s functionality and performance.
If you encounter any issues during testing or notice any common problems such as flickering, color inconsistencies, or overheating, consult the troubleshooting tips provided to help address these issues effectively. In case troubleshooting doesn’t solve the problem, it is advisable to seek professional assistance or contact the manufacturer for further guidance.
By properly testing LED bulbs and addressing any potential issues, you can enjoy the benefits of efficient and reliable lighting in your home, workplace, or any other environment where LED bulbs are used. Remember to prioritize safety during the testing process and follow the manufacturer’s guidelines for the specific LED bulbs you are working with.
Thank you for joining us on this journey to learn how to test an LED bulb. We hope that this comprehensive guide has empowered you with the knowledge and confidence to test LED bulbs effectively. Embrace the world of LED lighting and enjoy the many advantages these innovative bulbs have to offer!
Frequently Asked Questions about How To Test An LED Bulb
Was this page helpful?
At Storables.com, we guarantee accurate and reliable information. Our content, validated by Expert Board Contributors, is crafted following stringent Editorial Policies. We're committed to providing you with well-researched, expert-backed insights for all your informational needs.



0 thoughts on “How To Test An LED Bulb”