
Articles
How To Install Sink Vanity
Modified: February 22, 2024
Learn how to install a sink vanity with this comprehensive guide. Articles covering all aspects of the installation process.
(Many of the links in this article redirect to a specific reviewed product. Your purchase of these products through affiliate links helps to generate commission for Storables.com, at no extra cost. Learn more)
Introduction
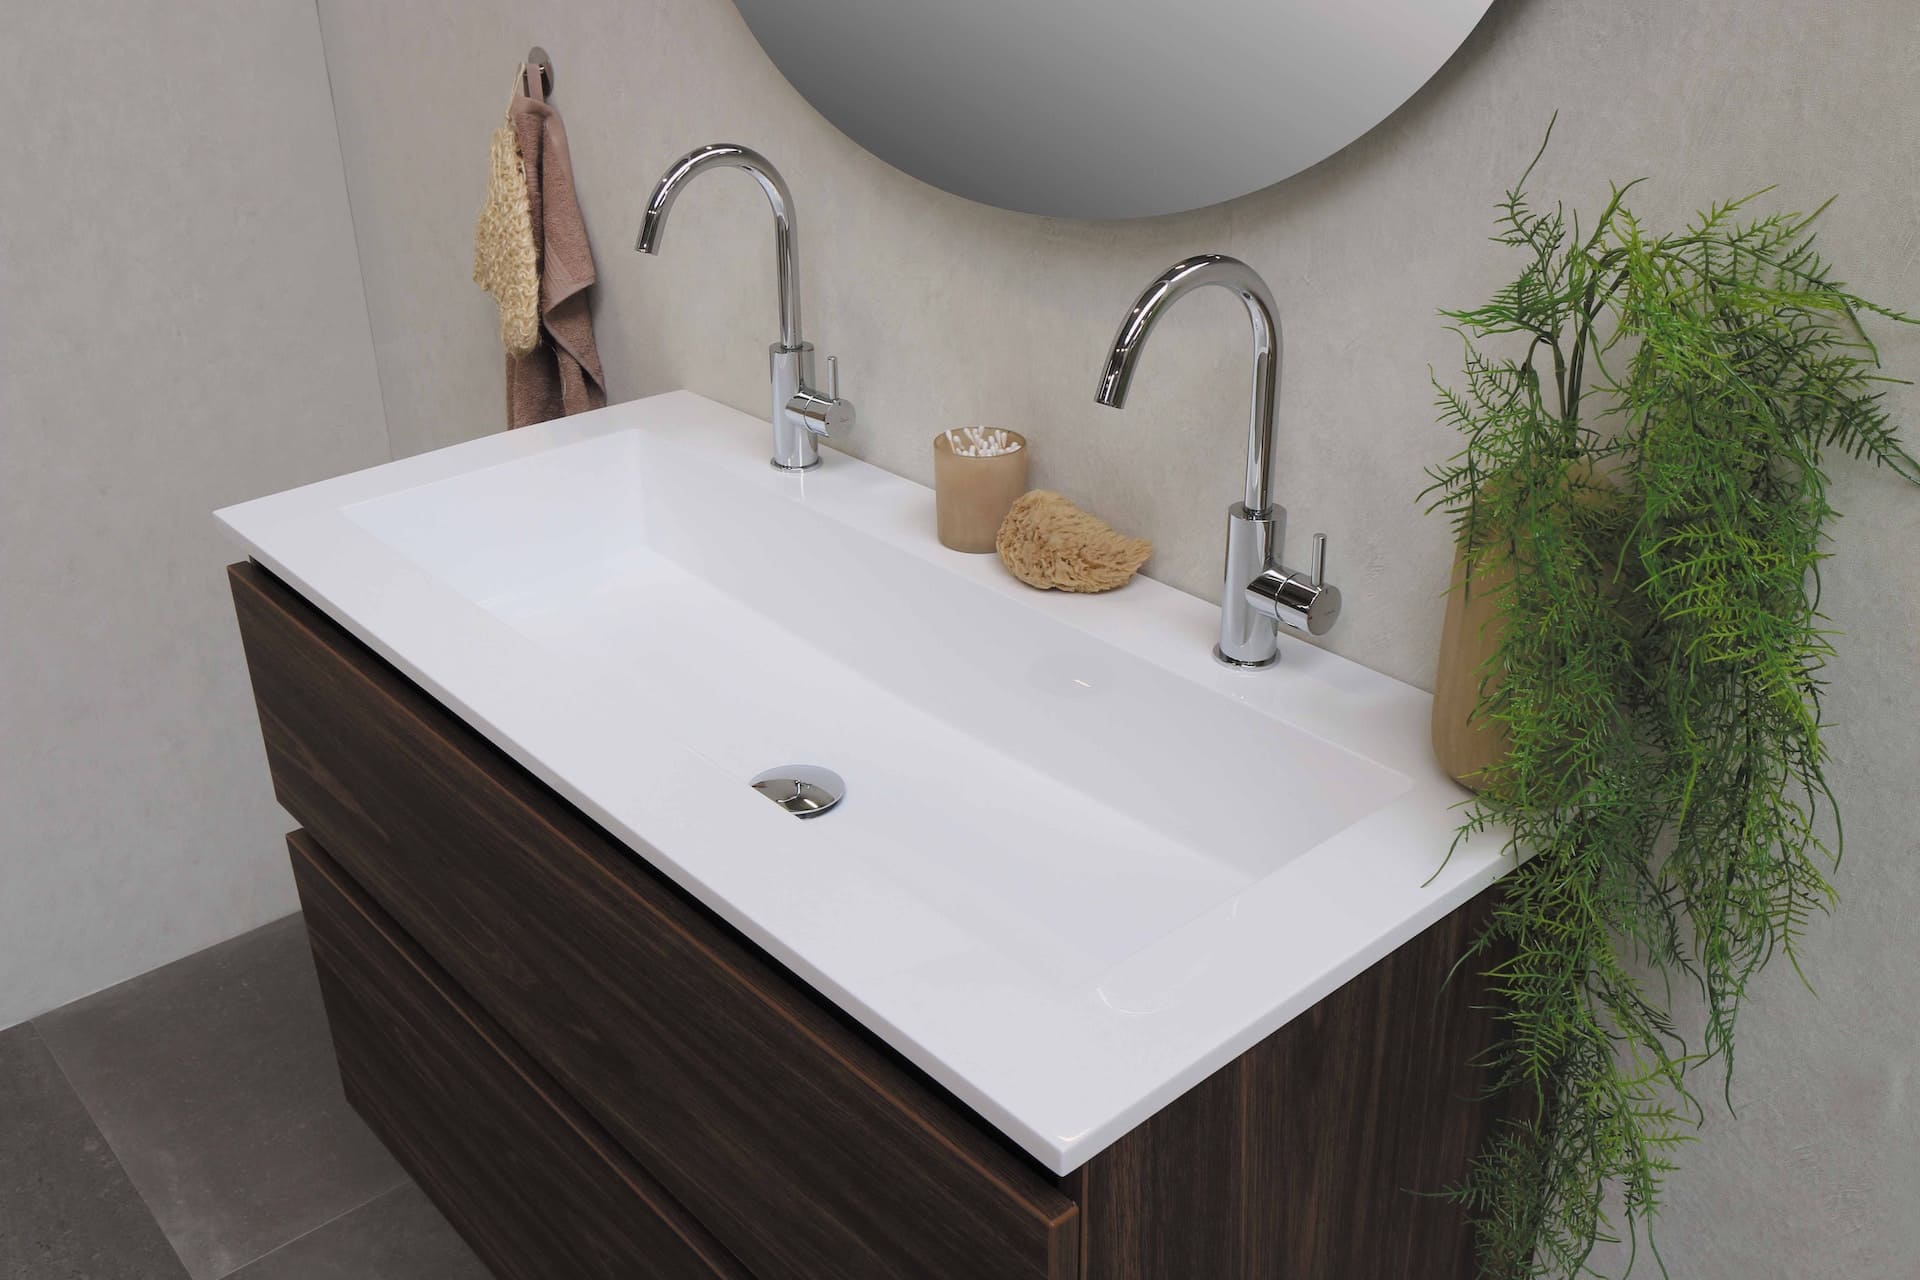
Installing a sink vanity in your bathroom can not only enhance the functionality of the space but also add a touch of style and elegance to your bathroom decor. Whether you’re renovating your bathroom or simply replacing an old vanity, installing a sink vanity can be a rewarding DIY project that saves you money and gives you a sense of accomplishment.
In this article, we will guide you through the step-by-step process of installing a sink vanity in your bathroom. From measuring the area to connecting the plumbing, we will cover everything you need to know to ensure a successful installation.
Before we dive into the installation process, it’s important to note that every bathroom layout is unique, and some steps may vary depending on your specific situation. It’s always a good idea to consult the manufacturer’s instructions and seek professional assistance if you encounter any difficulties.
Now, let’s get started on transforming your bathroom with a stunning new sink vanity!
Key Takeaways:
- Transform your bathroom with a stunning new sink vanity by following the step-by-step installation process. From measuring the area to checking for leaks, create a functional and stylish addition to your space.
- Carefully select the right sink vanity that fits your style and functional needs. Ensure a successful installation by turning off the water supply, disconnecting existing plumbing, and making necessary adjustments for a leak-free and stylish bathroom upgrade.
Read more: How To Install A Double Sink Vanity
Step 1: Measure the Area
The first step in installing a sink vanity is to accurately measure the area where you plan to place it. This is essential to ensure that the vanity fits properly and aligns with other fixtures in your bathroom.
Here’s how to measure the area:
- Clear the area: Remove any objects or obstructions from the space where the vanity will be installed. This includes toiletries, towels, and other bathroom accessories.
- Measure the width: Use a tape measure to determine the width of the space. Measure from wall to wall or any existing fixtures that the vanity will be adjacent to, such as a toilet or bathtub. Note down the measurement.
- Measure the depth: Measure the depth of the available space, ensuring that there is enough room for the vanity and countertop to extend comfortably. Again, record the measurement.
- Measure the height: Measure the height from the floor to the desired height of the vanity. Keep in mind factors such as the height of the sink and the comfort level for users. Note down this measurement as well.
- Consider plumbing and electrical connections: Take into account the location of existing plumbing and electrical connections. Make sure there is sufficient clearance and access for these connections when installing the vanity.
Once you have gathered all the measurements, it’s a good idea to double-check them to ensure accuracy. This will help you select a sink vanity that fits perfectly in your bathroom and eliminates the need for major alterations during the installation process.
Remember, accuracy is key when measuring the area for your sink vanity. Taking the time to measure correctly will save you from potential headaches later on.
Step 2: Purchase the Sink Vanity
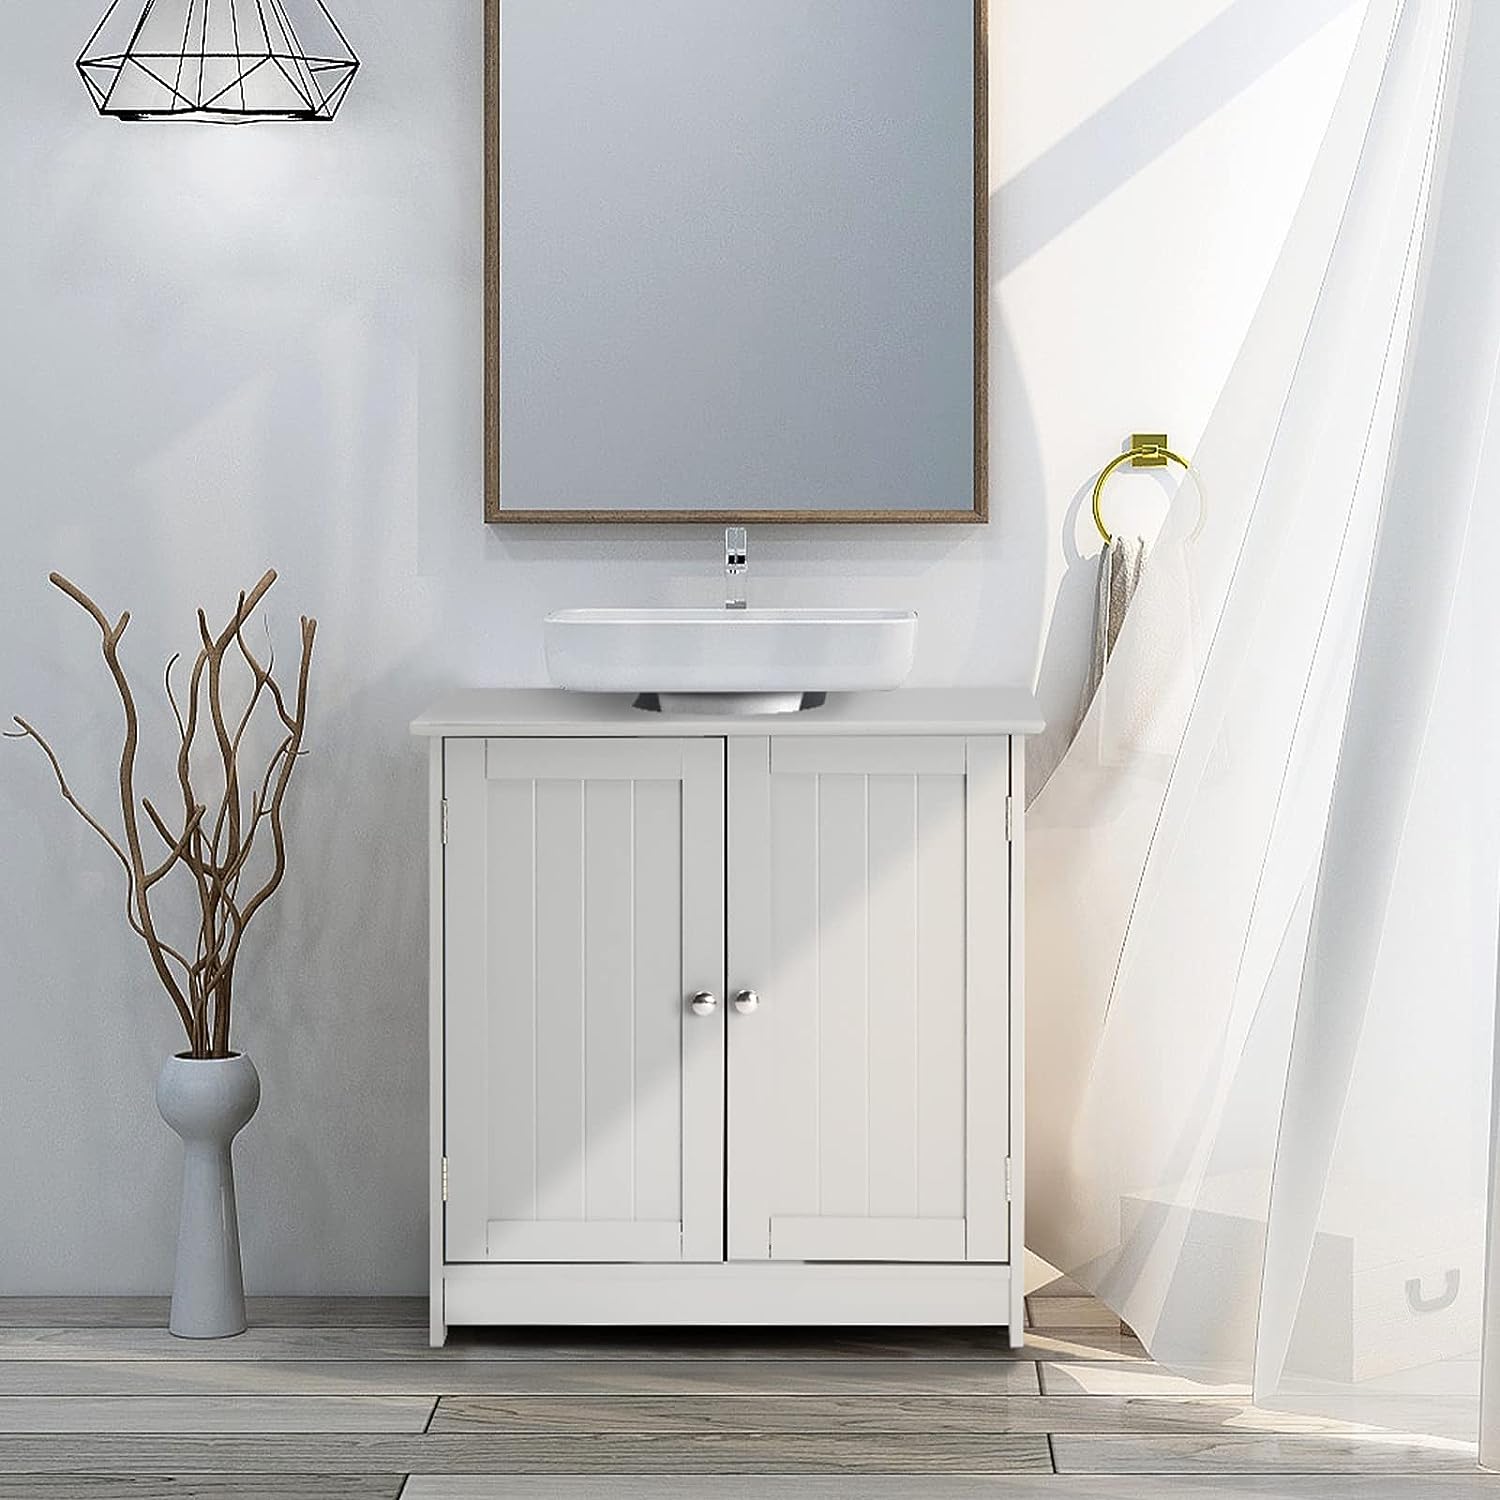
Once you have measured the area and determined the exact dimensions for your sink vanity, it’s time to go shopping! Finding the right sink vanity that fits your style preferences and meets your functional needs is an important step in the installation process.
Here are some factors to consider when purchasing a sink vanity:
- Size: Choose a sink vanity that matches the dimensions you measured in the previous step. Opt for a vanity that fits comfortably within the available space without obstructing other fixtures or pathways in your bathroom.
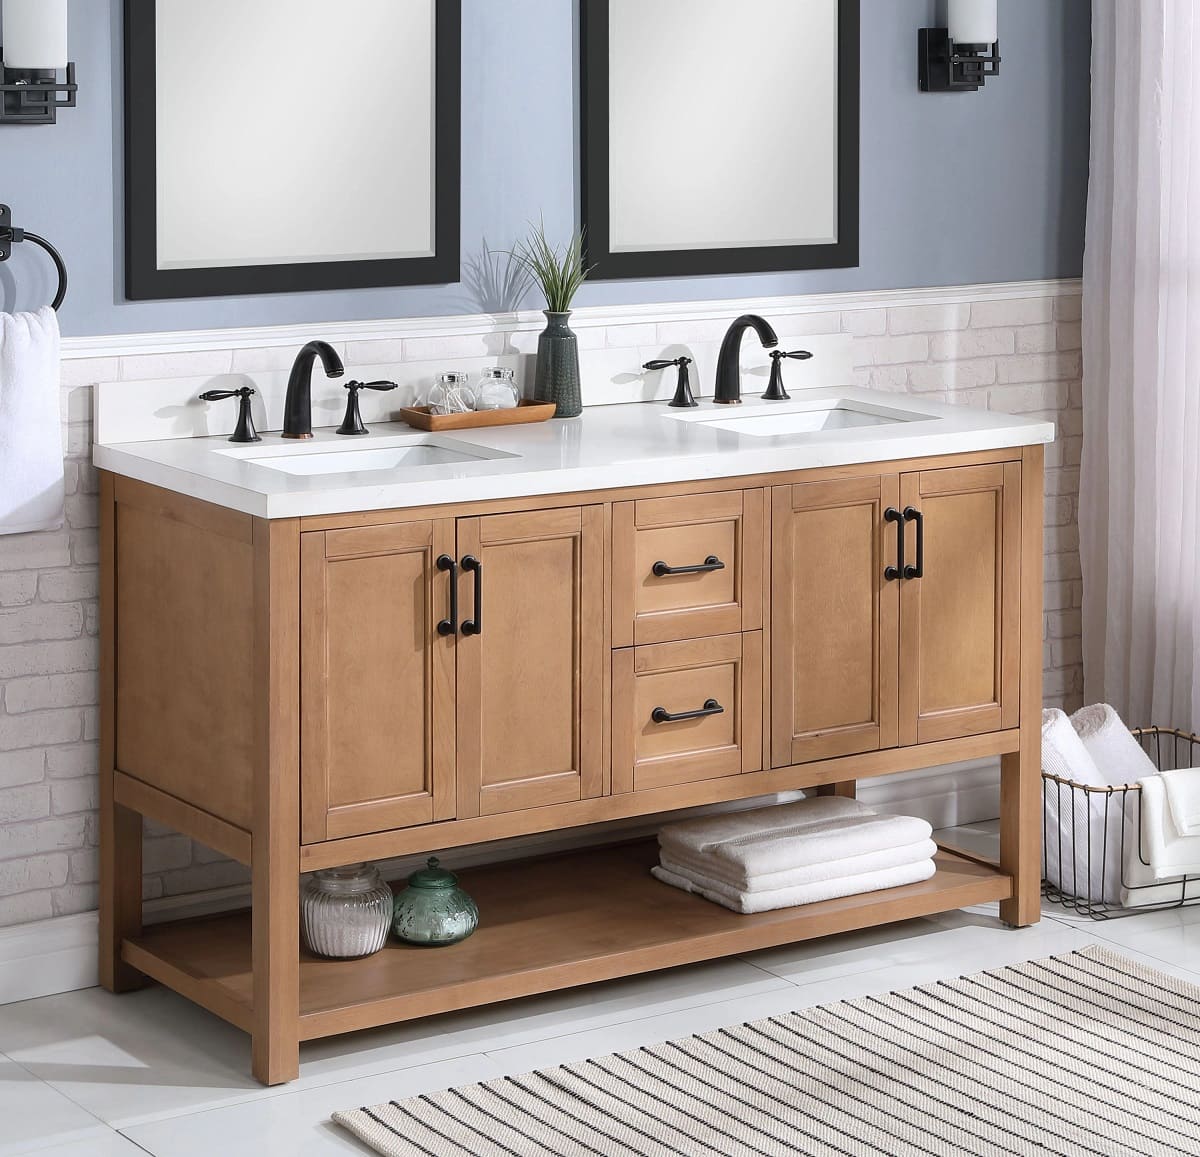
- Style: Consider the overall design and style of your bathroom. Look for a sink vanity that complements the existing decor and aesthetic. Whether you prefer a modern, traditional, or transitional style, there are numerous options available to suit your taste.
- Material: Sink vanities are made from a variety of materials such as wood, laminate, or glass. Consider the durability, maintenance requirements, and longevity of different materials before making your selection.
- Storage: Determine the amount of storage space you need. Decide whether you prefer a vanity with drawers, cabinets, or open shelving to accommodate your toiletries, towels, and other bathroom essentials.
- Budget: Establish a budget for your sink vanity. Consider both the upfront cost of purchasing the vanity and any additional costs for installation or plumbing adjustments that may be required.
When shopping for a sink vanity, it’s also a good idea to research different brands and read customer reviews to ensure you’re purchasing a quality product. Additionally, don’t forget to check the warranty and return policy offered by the manufacturer or retailer.
By taking the time to carefully select the right sink vanity, you can transform your bathroom into a stylish and functional space that meets your needs and reflects your personal style.
Step 3: Turn Off the Water Supply
Before you can begin the installation of your new sink vanity, it’s important to turn off the water supply to avoid any mishaps or leaks during the process. Here’s how to do it:
- Locate the shut-off valves: In most cases, the shut-off valves for the bathroom sink are located beneath the sink itself. Look for two small valves—one for hot water and one for cold water.
- Turn off the valves: Using a clockwise motion, turn the shut-off valves to the closed position. This will stop the flow of water to the sink area.
- Test the water supply: Turn on the faucet to check if the water has been successfully shut off. If no water comes out, then the shut-off valves have been properly closed. If there is still water flow, double-check that the valves are fully closed.
Turning off the water supply is a crucial step to prevent any water damage or accidents while installing your sink vanity. It ensures that you can work on the plumbing connections without encountering any water flow.
Remember to inform other household members that the water supply in the bathroom will be temporarily shut off. This will prevent any confusion or frustration when they try to use the sink during installation.
With the water supply turned off, you’re ready to move on to the next steps in the installation process and start creating your brand-new bathroom oasis!
Step 4: Disconnect Existing Plumbing
Now that you’ve turned off the water supply, it’s time to disconnect the existing plumbing connections to prepare for the installation of your new sink vanity. Here’s how to disconnect the plumbing:
- Clear the area: Remove any items stored under the sink and place a towel or bucket beneath the pipes to catch any water or debris that may be released during the disconnection process.
- Disconnect the supply lines: Using an adjustable wrench, loosen the nuts that connect the supply lines to the shut-off valves. Place a small container under the supply lines to catch any remaining water in the lines. Once the nuts are loosened, carefully remove the supply lines from the valves.
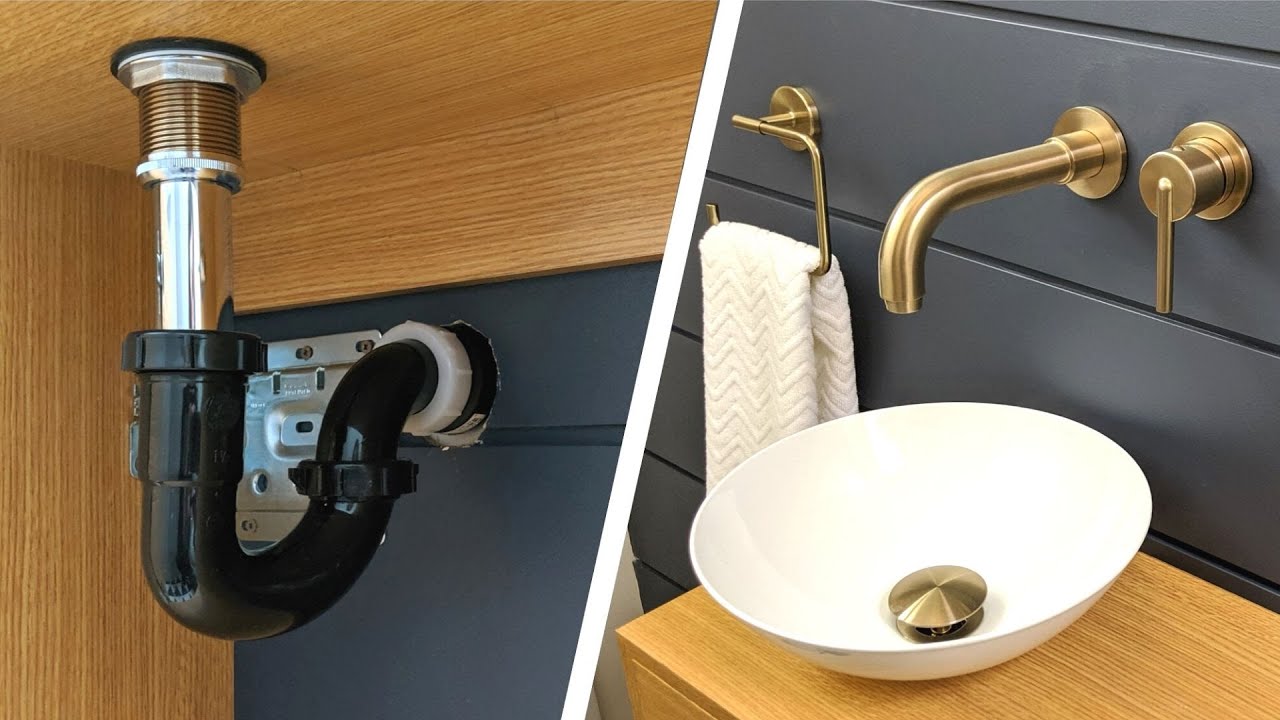
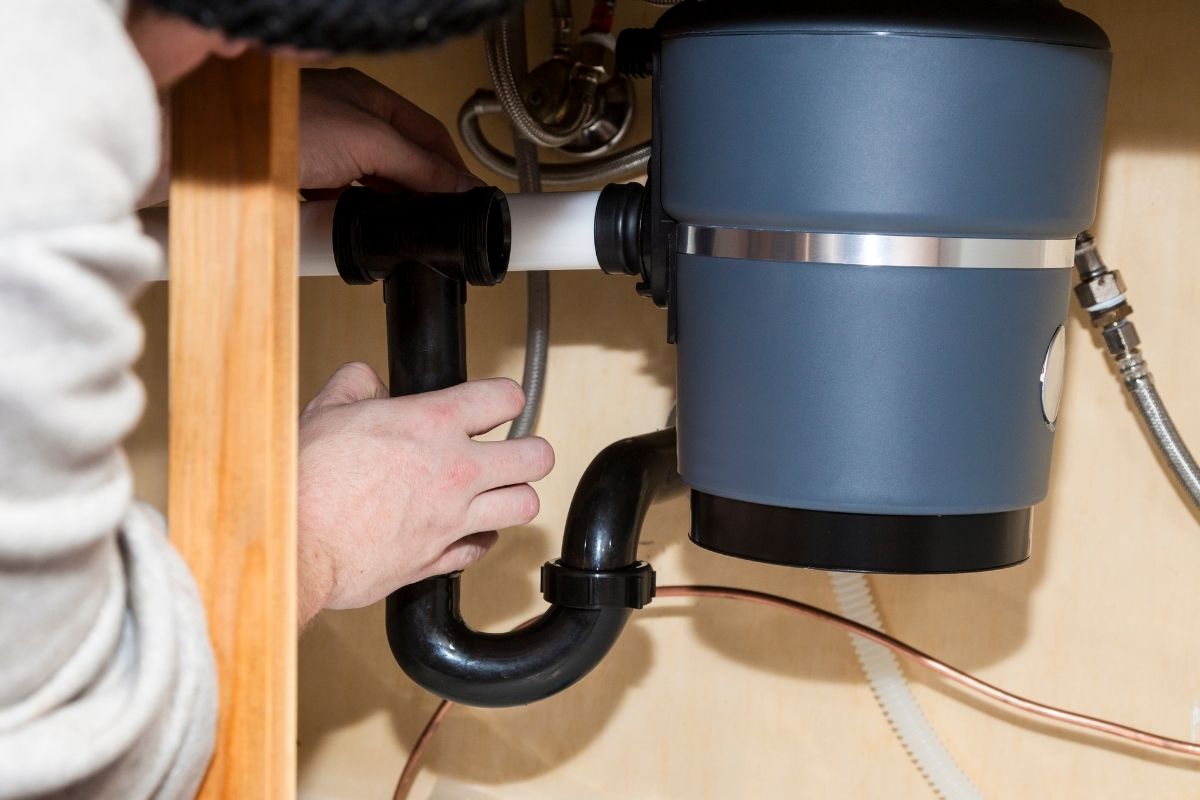
- Remove the drain pipe: Locate the drain pipe that connects the sink drain to the main drainpipe. Loosen the slip nut that connects the drain pipe to the sink drain using channel lock pliers or a pipe wrench. Carefully detach the drain pipe and allow any water or debris to drain into a container.
- Inspect the connections: After disconnecting the supply lines and drain pipe, inspect the connections for any signs of damage or corrosion. If any components appear worn or damaged, it is advisable to replace them to ensure a proper and leak-free installation.
By disconnecting the existing plumbing, you are preparing the space for the installation of the new sink vanity. This step is essential to ensure a smooth transition and to avoid any potential complications during the installation process.
Remember to take your time and be cautious when disconnecting the plumbing connections. If you are unsure or uncomfortable with this step, it is always recommended to seek the assistance of a qualified plumber to avoid any damage to the pipes or fixtures.
Once you have successfully disconnected the existing plumbing, you’re now ready to move on to the exciting part—installing your brand-new sink vanity!
Read more: How To Secure A Sink To A Vanity
Step 5: Remove Old Vanity
With the existing plumbing disconnected, it’s time to remove the old vanity and make way for your new sink vanity. Removing the old vanity requires careful handling to avoid any damage to the walls or flooring. Follow these steps to safely remove the old vanity:
- Clear the area: Remove any items stored in or on the old vanity. This includes toiletries, cleaning supplies, and any decorative items.
- Disconnect the countertop: If your old vanity has a countertop, it may be held in place with adhesive or clips. Carefully inspect and remove any screws or clips securing the countertop to the vanity. Use a putty knife to gently pry the countertop away from the vanity.
- Detach the vanity from the wall: Most vanities are secured to the wall with screws or nails. Locate and remove these fasteners using a screwdriver, drill, or hammer. Have someone assist you in holding the vanity steady as you detach it from the wall.
- Remove the vanity: Once the vanity is detached from the wall, carefully lift it away from the wall and set it aside. Take caution as vanities can be heavy and may require two or more people to safely remove. If there are any remaining plumbing fixtures attached to the vanity, place them aside as well.
- Clean the area: After removing the old vanity, clean the area by removing any leftover debris or adhesive. Use a scraper or sandpaper to remove any adhesive residue from the wall or floor. Wipe the area clean with a damp cloth.
Removing the old vanity is an essential step in the installation process, as it creates a clean canvas for your new sink vanity. Take your time and be careful during this step to avoid any damage to the surrounding surfaces.
Now that you have successfully removed the old vanity, you’re one step closer to transforming your bathroom with a sleek and functional new sink vanity.
When installing a sink vanity, make sure to measure the space accurately before purchasing the vanity to ensure it fits properly. Also, check for any plumbing or electrical connections that may need to be adjusted before installation.
Step 6: Install New Sink Vanity
Now that you have removed the old vanity, it’s time to install your new sink vanity and bring a fresh look to your bathroom. Follow these steps to ensure a successful installation:
- Prepare the installation area: Clean the installation area and ensure it is free from any debris. Measure and mark the position of the new vanity on the wall using the measurements you took earlier.
- Position the new vanity: Carefully place the new vanity in the designated area, aligning it with the marked measurements on the wall. Use a level to ensure that the vanity is perfectly horizontal and adjust as necessary.
- Secure the vanity to the wall: Once the vanity is aligned, secure it to the wall using screws or nails. Make sure to use appropriate wall anchors or brackets to provide stability and prevent the vanity from wobbling. Use a drill or screwdriver to securely fasten the vanity to the wall.
- Install the countertop: If your new vanity includes a countertop, carefully place it on top of the vanity base. Ensure that it is properly aligned and centered. Apply adhesive or use clips, as instructed by the manufacturer, to secure the countertop to the vanity base.
- Connect the plumbing: Reconnect the supply lines to the shut-off valves and tighten the nuts using an adjustable wrench. Attach the drain pipe to the sink drain, ensuring a snug fit. Use a wrench to tighten the slip nut and create a watertight connection. Double-check all connections to ensure they are properly tightened.
Ensure that the connections are secure but be careful not to overtighten them, as this can cause damage or leaks. It is also important to follow the manufacturer’s instructions for any specific plumbing requirements.
Once the vanity is securely attached to the wall and the plumbing connections are made, take a step back and admire your newly installed sink vanity. It’s a significant transformation that adds both style and functionality to your bathroom space.
Now that your new sink vanity is in place, it’s time to move on to the next step – reconnecting the plumbing.
Step 7: Reconnect Plumbing
With the new sink vanity installed, it’s time to reconnect the plumbing to ensure proper functionality. Follow these steps to reconnect the plumbing:
- Connect the supply lines: Take the supply lines and connect them to the corresponding shut-off valves. Hand-tighten the nuts, and then use an adjustable wrench to give them a final quarter-turn to ensure a snug fit. Be careful not to overtighten, as it can cause damage to the connections.
- Attach the drain pipe: Take the drain pipe and connect it to the sink drain. Use a slip nut and a washer to create a watertight seal. Tighten the slip nut with channel lock pliers or a wrench until it is secure. Again, be cautious not to overtighten.
- Check for leaks: Once all the connections are made, turn on the water supply at the shut-off valves. Carefully inspect all the newly connected plumbing for any signs of leaks. Look for any drips or moisture around the supply lines and drain pipe. Allow water to run through the sink and drain to ensure there are no leaks.
- Make adjustments if necessary: If you notice any leaks, tighten the connections slightly. If the leaks persist, you may need to replace the washers or consider seeking professional assistance.
It’s important to take your time during this step and double-check all the connections. Leaks can cause water damage and affect the functionality of your new sink vanity.
Once you have successfully reconnected the plumbing and ensured there are no leaks, congratulations! You’re almost done with the installation process.
Now, it’s time to move on to the final step – turning on the water supply and checking for any remaining leaks.
Step 8: Turn On Water Supply
With the plumbing reconnected and no visible leaks, it’s time to turn on the water supply and bring your new sink vanity to life. Here’s how to turn on the water supply:
- Locate the shut-off valves: The shut-off valves should be in the open position, allowing water to flow freely to the sink vanity. If you had turned them off earlier in the installation process, turn them counterclockwise to open them.
- Check for proper water flow: Turn on the faucet handles and let the water flow through the sink. Both hot and cold water should be flowing smoothly and without any issues. Check for proper water pressure and adjust the handles as needed.
It’s important to check for proper water flow and pressure to ensure that the plumbing connections are secure and functioning correctly. If you notice any issues, such as low water pressure or irregular flow, double-check the connections and make adjustments if necessary.
If everything seems to be in working order, congratulations! You have successfully installed your new sink vanity and reconnected the water supply.
Before moving on to the final step, take a moment to admire your newly installed sink vanity and enjoy the enhanced functionality and aesthetic it brings to your bathroom.
Read more: How To Attach Sink To Vanity
Step 9: Check for Leaks
After turning on the water supply and ensuring proper water flow, it’s crucial to thoroughly check for any potential leaks to prevent water damage and ensure the longevity of your newly installed sink vanity. Follow these steps to check for leaks:
- Inspect all connections: Carefully examine all the connections, including the supply lines and drain pipe, for any signs of water leakage. Run your fingers along the connections and feel for any moisture.
- Check underneath the sink: Place a dry towel or paper towel underneath the sink, specifically around the connections, and leave it for a few minutes. If any water droplets appear on the towel, there may be a leak that needs attention.
- Observe over time: Monitor the area around the sink vanity for any signs of persistent moisture or water stains. Leave the water running for a few minutes and check if any leaks develop during use.
- Tighten connections if necessary: If you notice any leaks, try tightening the connections slightly using an adjustable wrench. Be careful not to overtighten, as it can cause damage. If the leaks continue, you may need to replace washers or seek professional help.
Checking for leaks is a crucial step to ensure the integrity of your plumbing system and prevent any potential water damage. It’s essential to address any leaks promptly to avoid the risk of further complications.
By carefully inspecting all connections and monitoring the area over time, you can ensure that your new sink vanity is leak-free and functioning properly.
With step 9 complete, you have successfully installed your new sink vanity and ensured that there are no leaks. Congratulations on a job well done!
Conclusion
Installing a sink vanity can transform your bathroom, adding functionality and style to the space. By following the step-by-step process outlined in this article, you can successfully install a sink vanity and create a stunning focal point in your bathroom.
We began by measuring the area to ensure that the new vanity would fit perfectly. Then, we discussed the importance of purchasing a sink vanity that aligns with your bathroom’s style and meets your functional needs. Turning off the water supply and disconnecting the existing plumbing were essential steps to prepare for the installation process.
To remove the old vanity, we cleared the area and detached it from the wall, being mindful not to cause any damage. The installation of the new sink vanity required careful positioning and securing it to the wall. We also provided guidance on connecting the plumbing, ensuring a proper and leak-free installation.
Finally, we turned on the water supply, checked for leaks, and made necessary adjustments to ensure everything was working correctly. By following these steps, you have successfully installed your new sink vanity and created a functional and stylish addition to your bathroom.
As a final note, it’s important to remember that every bathroom may have unique elements or challenges, and it’s always a good idea to consult the manufacturer’s instructions and seek professional assistance if needed.
Now, sit back, relax, and enjoy your newly installed sink vanity – a beautiful and functional addition to your bathroom that you can be proud of.
Frequently Asked Questions about How To Install Sink Vanity
Was this page helpful?
At Storables.com, we guarantee accurate and reliable information. Our content, validated by Expert Board Contributors, is crafted following stringent Editorial Policies. We're committed to providing you with well-researched, expert-backed insights for all your informational needs.








0 thoughts on “How To Install Sink Vanity”