Articles
How To Attach Sink To Vanity
Modified: October 31, 2024
Learn how to attach a sink to a vanity with this informative guide. Explore step-by-step articles for easy installation and create a functional and beautiful bathroom space.
(Many of the links in this article redirect to a specific reviewed product. Your purchase of these products through affiliate links helps to generate commission for Storables.com, at no extra cost. Learn more)
Introduction
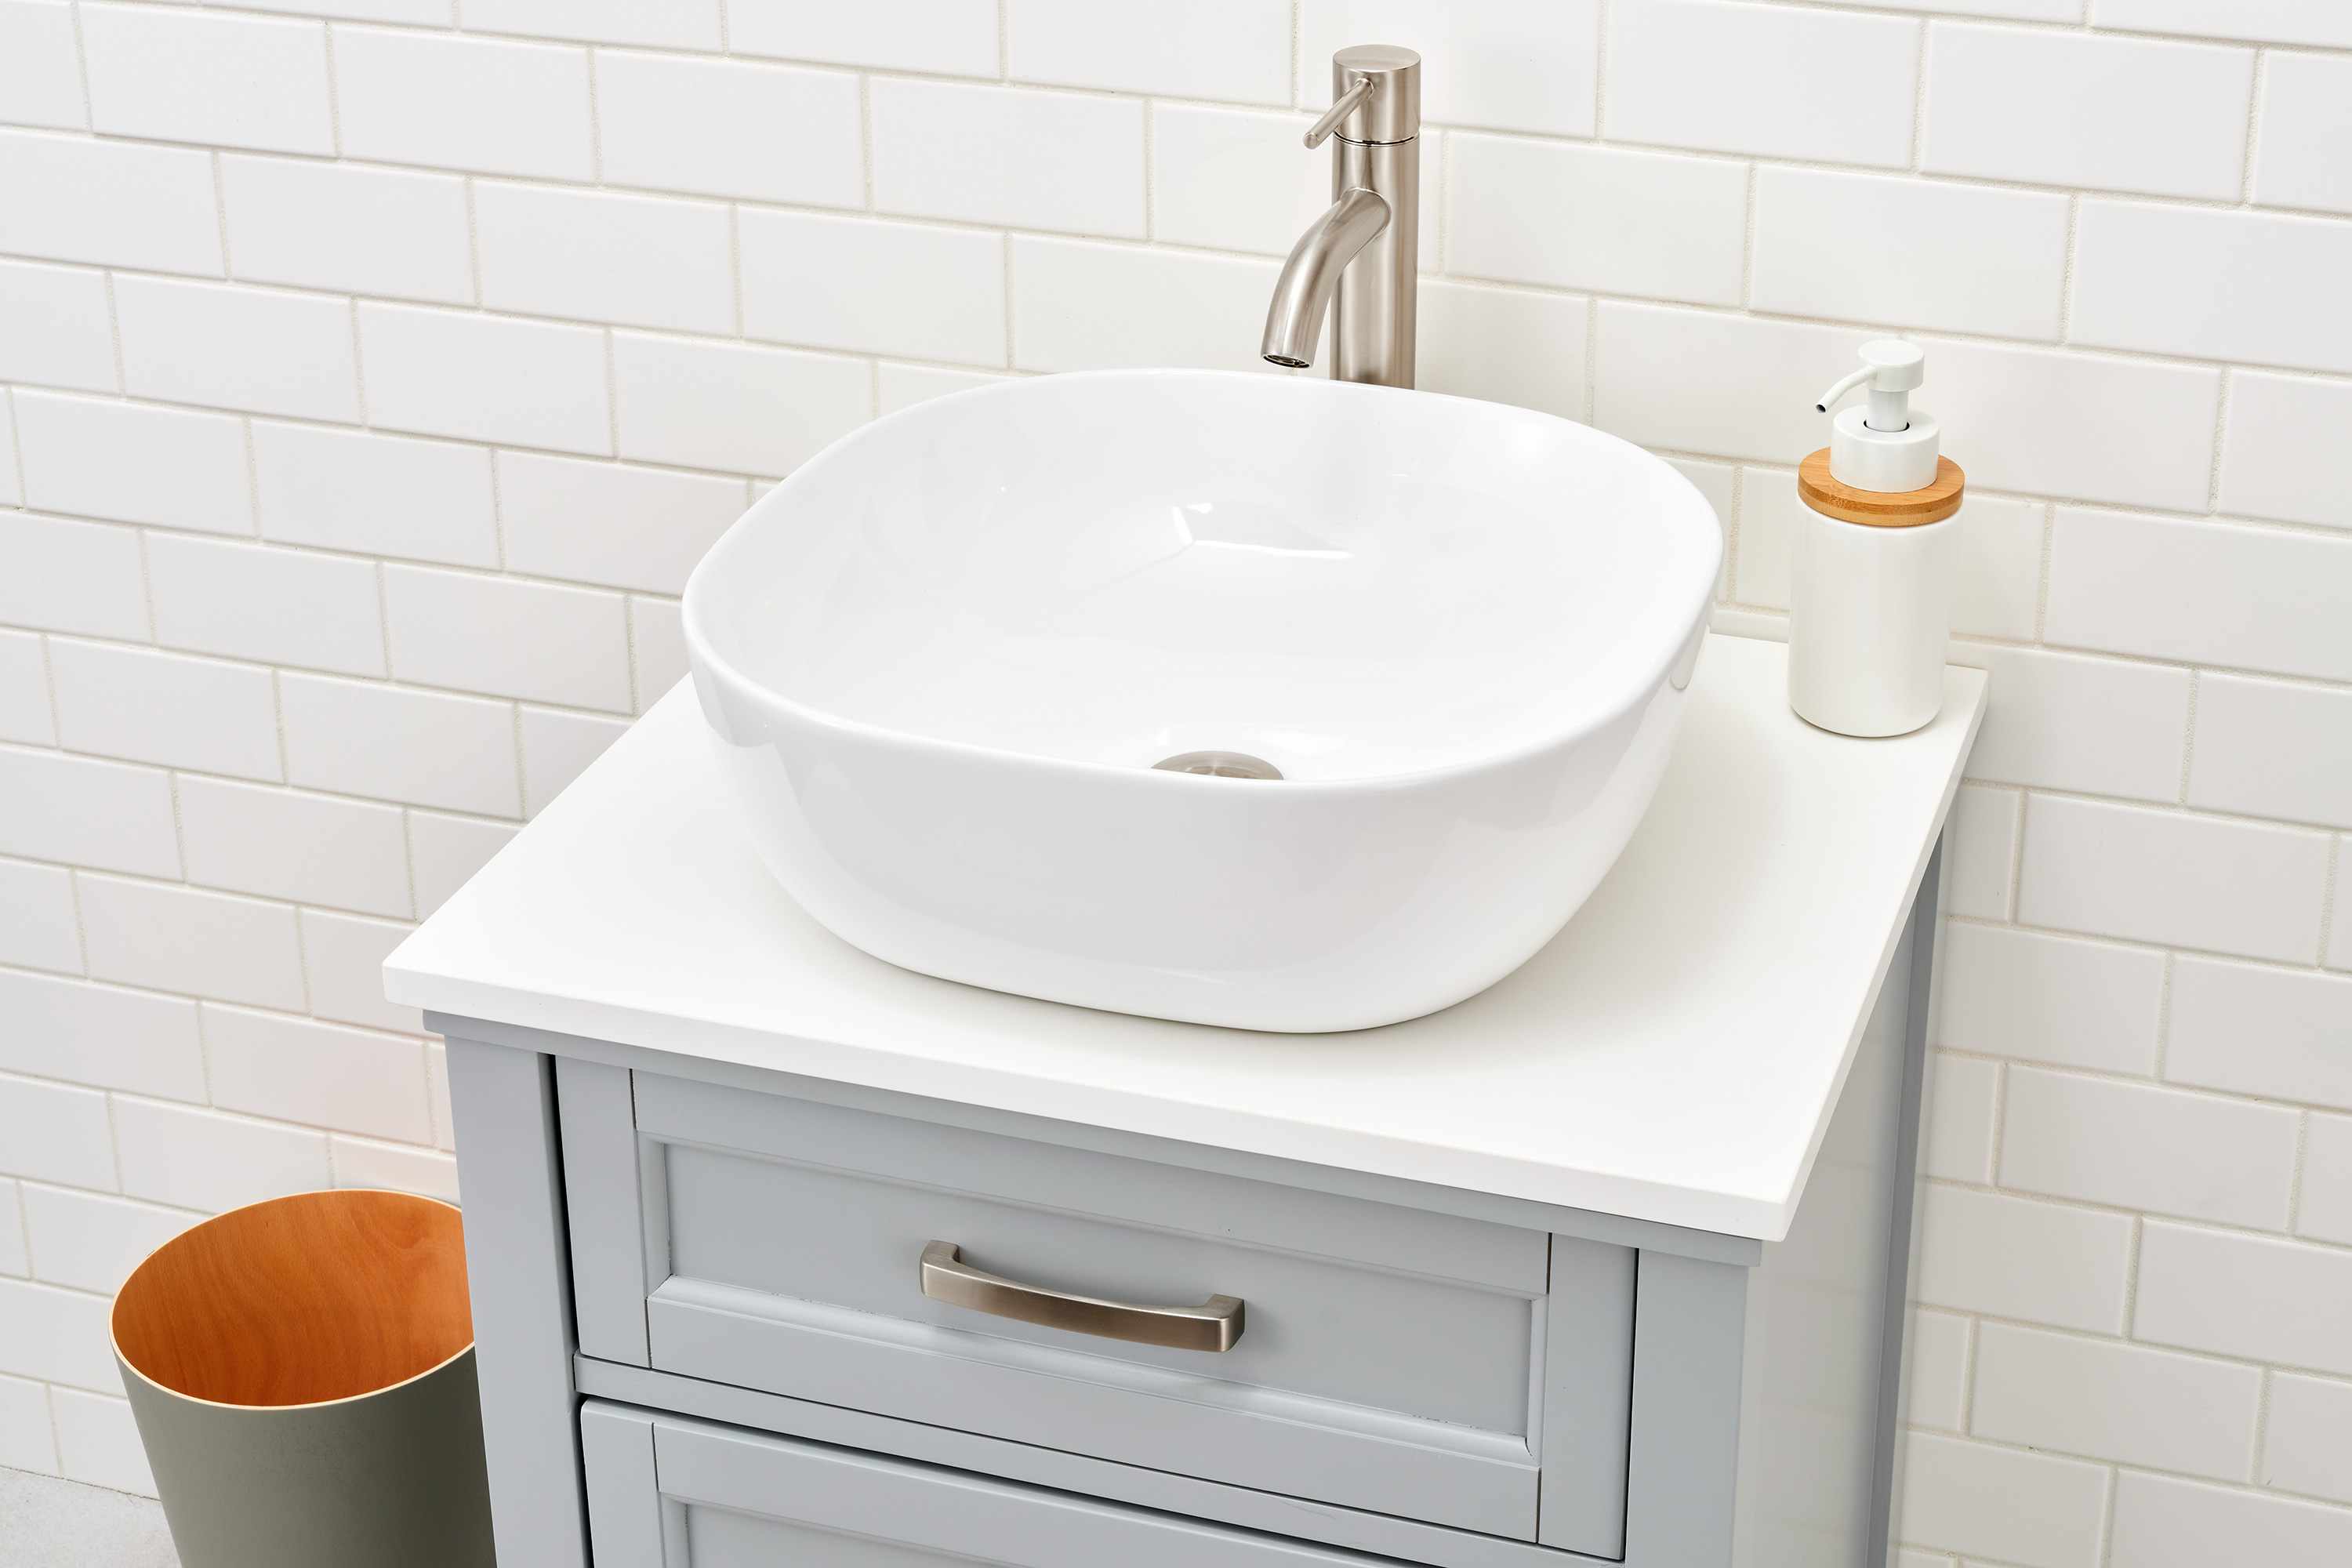
Attaching a sink to a vanity is a crucial step in any bathroom remodeling or installation project. A properly secured sink not only enhances the functionality of the vanity but also adds to the overall aesthetic appeal of the room. By following a few simple steps and using the right materials, you can successfully attach a sink to a vanity yourself.
In this article, we will guide you through the process of attaching a sink to a vanity, providing you with the necessary steps to ensure a secure and leak-free connection. Whether you are a DIY enthusiast or a novice homeowner, this step-by-step guide will assist you in completing the task with ease and confidence.
Before we begin, it’s important to note that the specific instructions may vary based on the type of sink and vanity you have. It’s always a good idea to consult the manufacturer’s instructions for your specific products to ensure proper installation. With that said, let’s dive into the steps!
Key Takeaways:
- Proper preparation, including cleaning the surfaces, measuring and marking, and applying Teflon tape, is crucial for a successful sink-to-vanity attachment. This sets the stage for a smooth and secure installation process.
- Thoroughly testing for leaks after completing the installation is essential to ensure the long-term functionality and durability of the sink and vanity. Addressing any leaks promptly can prevent potential water damage in the future.
Read more: How To Attach A Vanity Top
Materials Needed
Before you begin attaching the sink to the vanity, gather the following materials to ensure a smooth and efficient installation:
- A sink
- A vanity
- Silicone caulk
- A caulk gun
- A wrench or adjustable pliers
- Plumbing pipes and fittings
- Teflon tape
- A bucket or towel
- A screwdriver
- A level
- A pencil
Ensure that you have all the necessary materials on hand before starting the installation process. This will save you time and frustration, as you won’t have to pause the project to gather missing items. Now that you have your materials ready, let’s move on to the step-by-step instructions for attaching the sink to the vanity.
Step 1: Prepare the Vanity and Sink
The first step in attaching a sink to a vanity is to prepare both the vanity and the sink for installation. Follow these steps to ensure a smooth and successful process:
- Clean the surfaces: Start by thoroughly cleaning the top surface of the vanity as well as the bottom of the sink. Remove any dust, debris, or old caulk using a damp cloth or sponge.
- Measure and mark the placement: Measure the dimensions of your sink and mark the corresponding measurements on the top surface of the vanity. Use a level to ensure that the markings are straight and even.
- Apply Teflon tape to the plumbing connections: If your sink requires plumbing connections, such as a drain pipe and supply lines, wrap Teflon tape around the threaded ends of the connections. This will help create a watertight seal.
By preparing the vanity and sink ahead of time, you will streamline the installation process and minimize any potential issues or errors. Once you have completed these steps, you are ready to move on to the next step, which involves applying silicone caulk.
Step 2: Apply Silicone Caulk
Applying silicone caulk is a crucial step in attaching a sink to a vanity, as it helps to create a waterproof seal and prevent any water leakage. Follow these steps to apply silicone caulk effectively:
- Load the caulk gun: Insert the tube of silicone caulk into the caulk gun and cut the tip of the tube at a 45-degree angle. You can control the size of the caulk bead by cutting closer to the tip for a smaller bead or further back for a larger one.
- Start at the edges: Begin by applying a thin, even bead of silicone caulk along the edges of the marked area on the vanity. This will act as a barrier to prevent water from seeping into the cracks.
- Apply caulk to the sink opening: Apply another thin, even bead of silicone caulk along the perimeter of the sink opening on the vanity.
- Smooth out the caulk: Use your finger or a caulk smoothing tool to smooth out the silicone caulk and create a neat, professional finish. Wipe away any excess caulk with a damp cloth or sponge.
Allow the silicone caulk to dry and cure according to the manufacturer’s instructions. This will ensure a strong and secure bond between the sink and the vanity. Take care not to place any weight on the sink during this drying period.
Now that you have applied silicone caulk to the vanity and sink, you are ready to move on to the next step, which involves placing the sink onto the vanity.
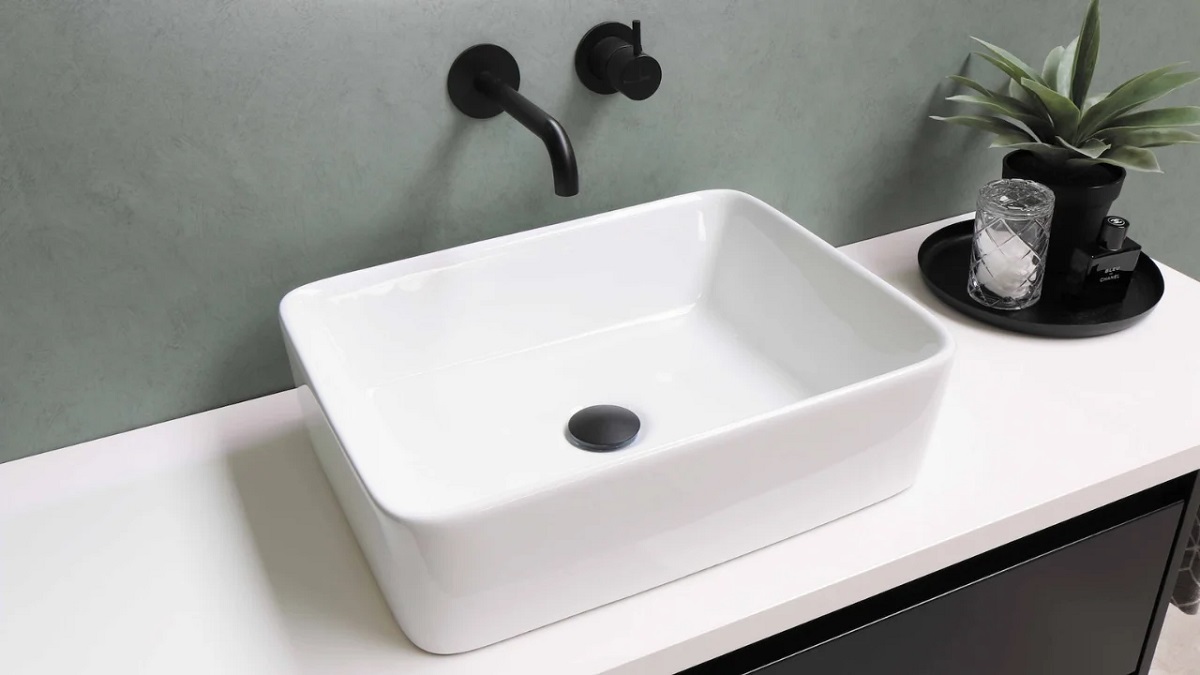
Step 3: Place the Sink onto the Vanity
Now that you have applied silicone caulk to the vanity, it’s time to position the sink onto the vanity. Follow these steps to ensure a proper and secure fit:
- Align the sink: Carefully lift the sink and align it with the marked placement on the vanity. Use the level to ensure that the sink is perfectly level and aligned with the vanity.
- Gently lower the sink: Slowly lower the sink onto the silicone caulk, making sure that it fits snugly into the sink opening on the vanity. Apply gentle pressure to ensure even contact between the sink and the caulk.
- Wipe away excess caulk: Use a damp cloth or sponge to wipe away any excess caulk that may have oozed out around the edges of the sink.
Take your time during this step to ensure that the sink is properly positioned and centered on the vanity. Adjust as needed until you are satisfied with the alignment and fit. Once the sink is securely placed, it’s time to move on to the next step: securing the sink to the vanity.
When attaching a sink to a vanity, use a silicone adhesive to create a watertight seal between the sink and the vanity top. This will prevent any water from leaking underneath the sink and causing damage to the vanity.
Read more: How To Attach Backsplash To Vanity
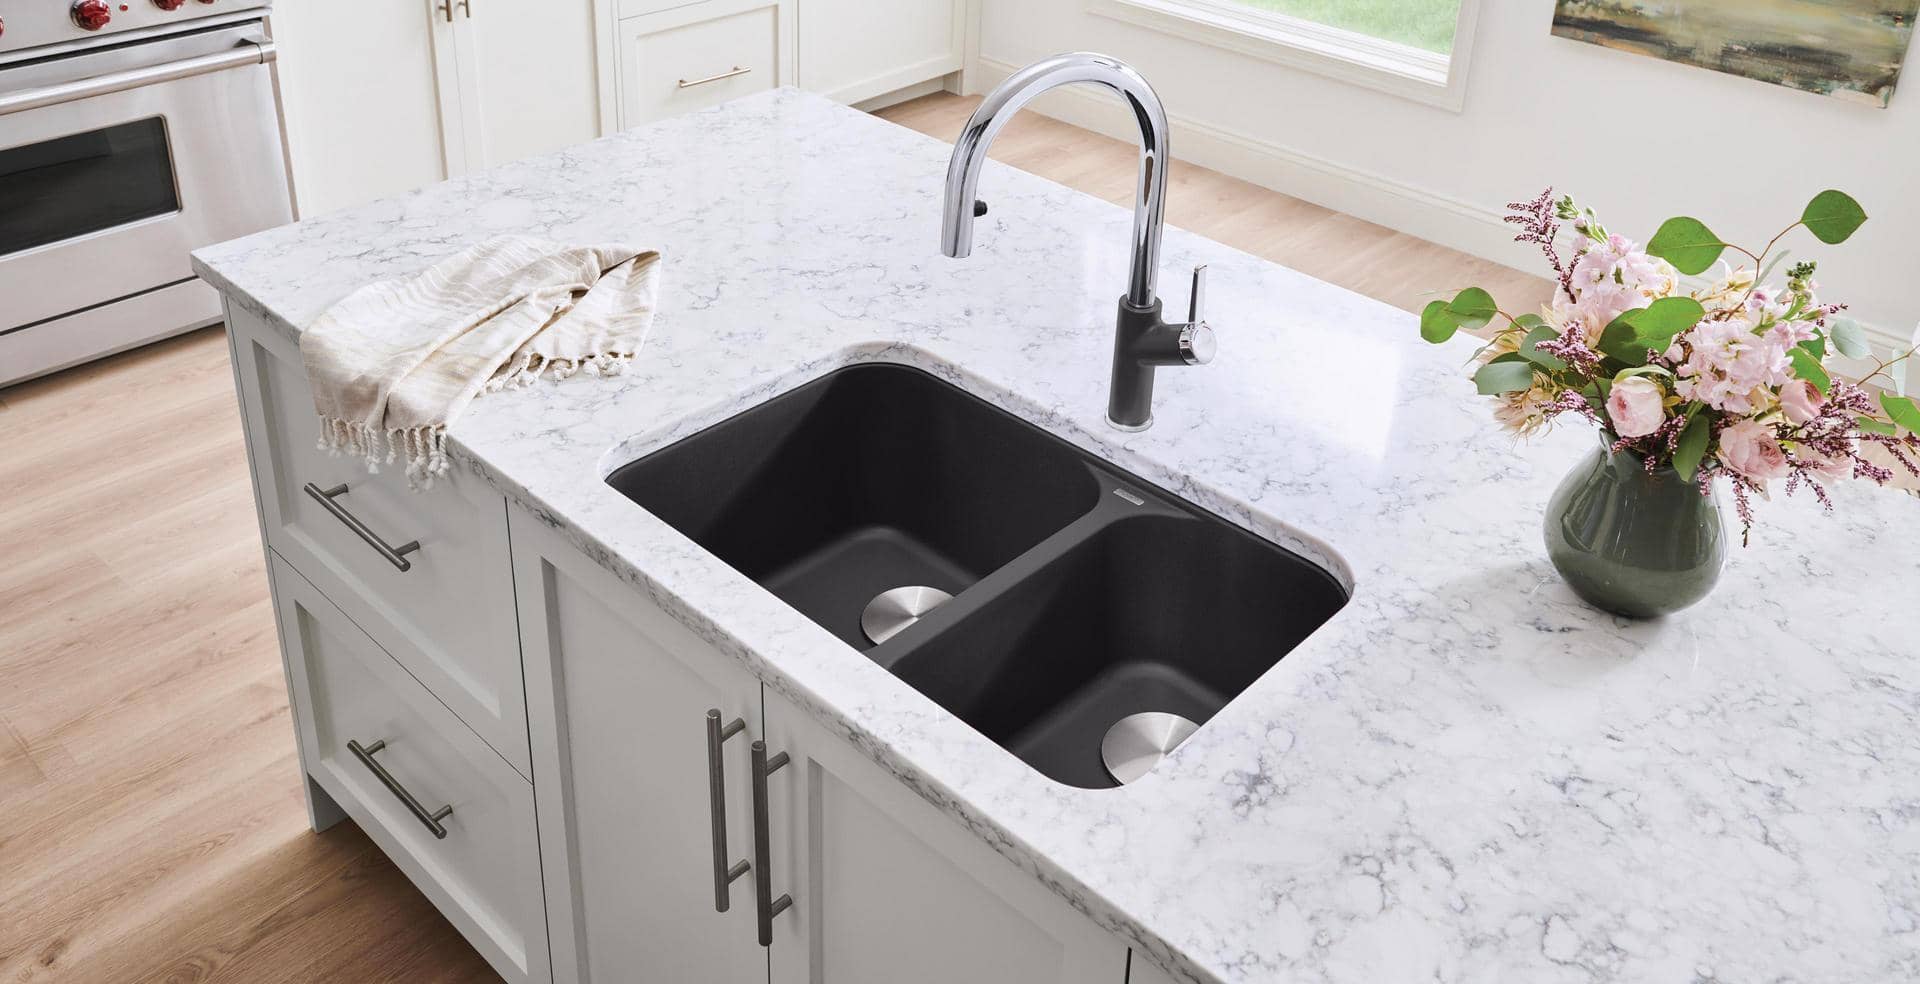
Step 4: Secure the Sink to the Vanity
Securing the sink to the vanity is an important step to ensure stability and prevent any movement or shifting over time. Follow these steps to securely attach the sink to the vanity:
- Locate the mounting brackets: Check if your sink comes with mounting brackets or clips. These are typically located underneath the sink and are used to secure it to the vanity.
- Position the brackets: Place the mounting brackets onto the underside of the sink in the designated positions. Make sure they align with the corresponding holes or slots on the vanity.
- Screw the brackets in place: Use a screwdriver to tighten the screws and secure the brackets to the vanity. Ensure that the sink is held firmly in place and doesn’t wobble or shift.
- Check for stability: Gently press down on the sink to check for any movement or instability. If necessary, adjust the position of the brackets or tighten the screws further to achieve a secure fit.
Once you have successfully secured the sink to the vanity, it’s time to move on to the next step: connecting the plumbing.
Note: If your sink does not come with mounting brackets or clips, consult the manufacturer’s instructions for alternative methods of securing the sink to the vanity.
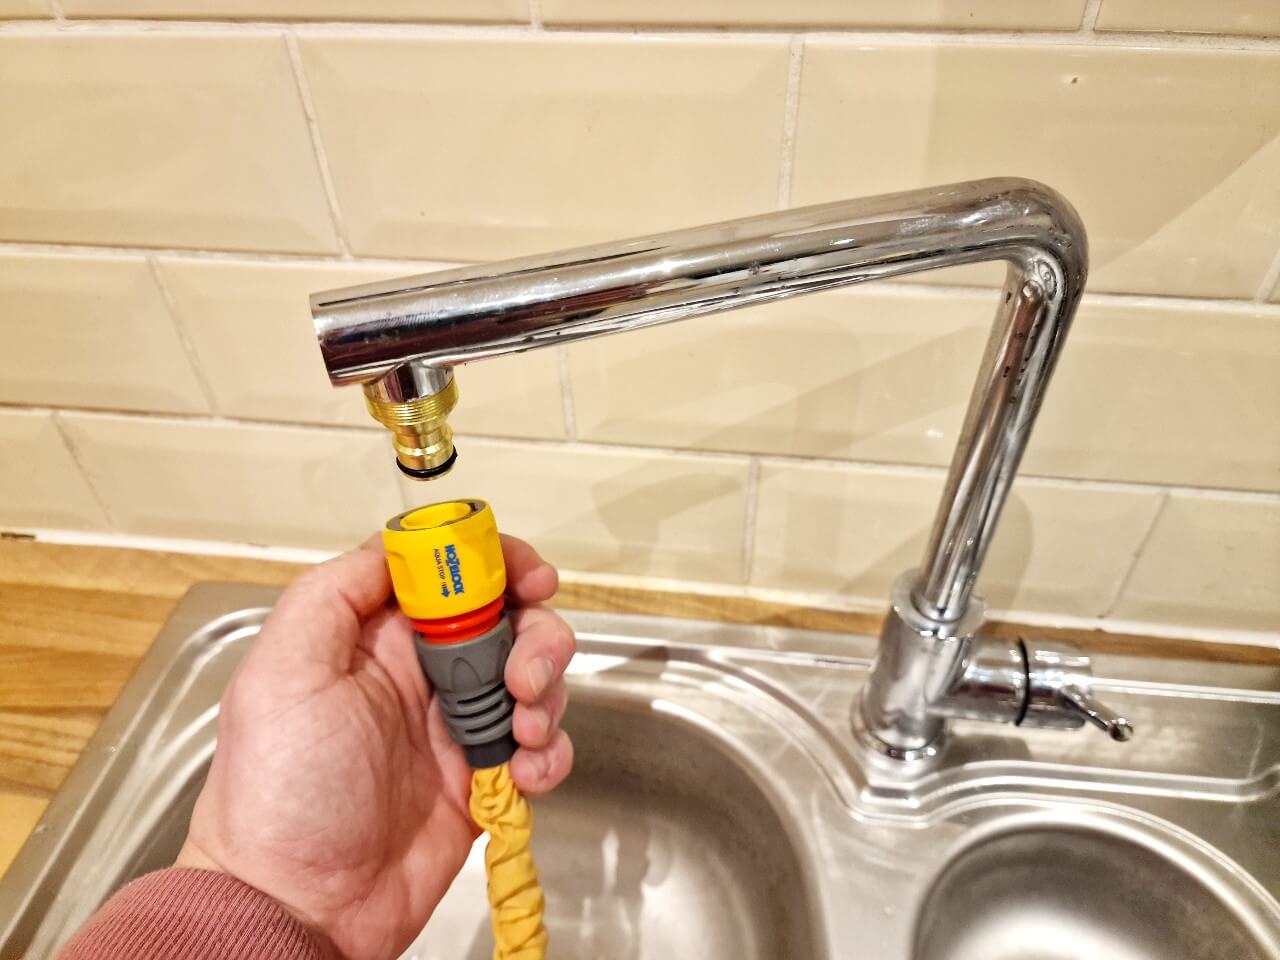
Step 5: Connect the Plumbing
Now that the sink is securely attached to the vanity, it’s time to connect the plumbing. Follow these steps to ensure a proper and leak-free plumbing connection:
- Connect the drain: Start by connecting the drain pipe to the sink’s drain opening. Apply plumber’s putty or silicone sealant to create a watertight seal. Screw the nut onto the drain pipe and tighten it with a wrench or adjustable pliers.
- Attach the water supply lines: Connect the water supply lines to the corresponding hot and cold water supply valves under the sink. Apply Teflon tape to the threaded ends of the supply lines to ensure a tight seal. Tighten the nuts using a wrench or adjustable pliers.
- Check for leaks: Once the plumbing connections are securely in place, turn on the water supply to test for any leaks. Observe the connections and check for any signs of water leakage. If you notice any leaks, tighten the connections further or use plumber’s tape if necessary.
Take your time during this step to ensure that the plumbing connections are properly aligned and securely tightened. It’s crucial to double-check for any leaks, as addressing them now will save you from potential water damage in the future.
With the plumbing successfully connected, you are almost done! The next and final step is to test for leaks.
Step 6: Test for Leaks
After completing the plumbing connections, it’s important to test for any potential leaks before considering the installation complete. Follow these steps to test for leaks and ensure a successful sink-to-vanity attachment:
- Turn on the water: Slowly turn on the water supply to fill the sink. Keep a close eye on the plumbing connections, especially around the drain pipe and water supply lines.
- Check for leaks: Inspect the connections and look for any signs of water leakage, such as dripping or puddling. Pay particular attention to the drain pipe, water supply lines, and any other visible plumbing connections.
- Address any leaks: If you notice any leaks during the testing process, immediately turn off the water supply and identify the source of the leak. Tighten any loose connections or replace damaged components as necessary.
- Re-test: After addressing any leaks, turn the water supply back on and re-test for leaks. Continue this process until you are confident that all connections are secure and there are no signs of leakage.
Testing for leaks is a crucial final step to ensure the long-term functionality and durability of your sink and vanity installation. It’s important to be thorough during this step, as even minor leaks can lead to significant water damage if left unaddressed.
Once you have completed the leak testing and are satisfied that there are no issues, you can consider the sink successfully attached to the vanity. Congratulations! Your sink installation is now complete.
Conclusion
Attaching a sink to a vanity is a manageable task that can greatly enhance the functionality and aesthetic appeal of your bathroom. By following the step-by-step instructions outlined in this article, you can successfully attach a sink to a vanity with confidence.
Remember to gather all the necessary materials before starting the installation process and consult the manufacturer’s instructions for specific product requirements. Preparation is key, so ensure that both the vanity and sink are clean and properly measured before applying silicone caulk.
Take your time to position the sink onto the vanity accurately and secure it with mounting brackets or clips. Connecting the plumbing is the next crucial step, making sure to tighten the drain and supply line connections to prevent any leaks.
Once everything is in place, it’s important to test for leaks thoroughly. Turning on the water and checking for any signs of leakage will help you identify and fix any issues before they cause further damage.
By following these steps and taking the necessary precautions, you can successfully attach a sink to a vanity and enjoy the benefits of a fully functional and visually pleasing bathroom fixture.
Now that you have the knowledge and guidance to complete this task, feel free to tackle your next bathroom remodeling or installation project with confidence and skill.
Frequently Asked Questions about How To Attach Sink To Vanity
Was this page helpful?
At Storables.com, we guarantee accurate and reliable information. Our content, validated by Expert Board Contributors, is crafted following stringent Editorial Policies. We're committed to providing you with well-researched, expert-backed insights for all your informational needs.


0 thoughts on “How To Attach Sink To Vanity”