
Articles
How To Make A Vanity Around A Pedestal Sink
Modified: September 1, 2024
Learn how to create a beautiful and functional vanity around a pedestal sink with our helpful articles. Transform your bathroom space with step-by-step guides and expert tips.
(Many of the links in this article redirect to a specific reviewed product. Your purchase of these products through affiliate links helps to generate commission for Storables.com, at no extra cost. Learn more)
Introduction
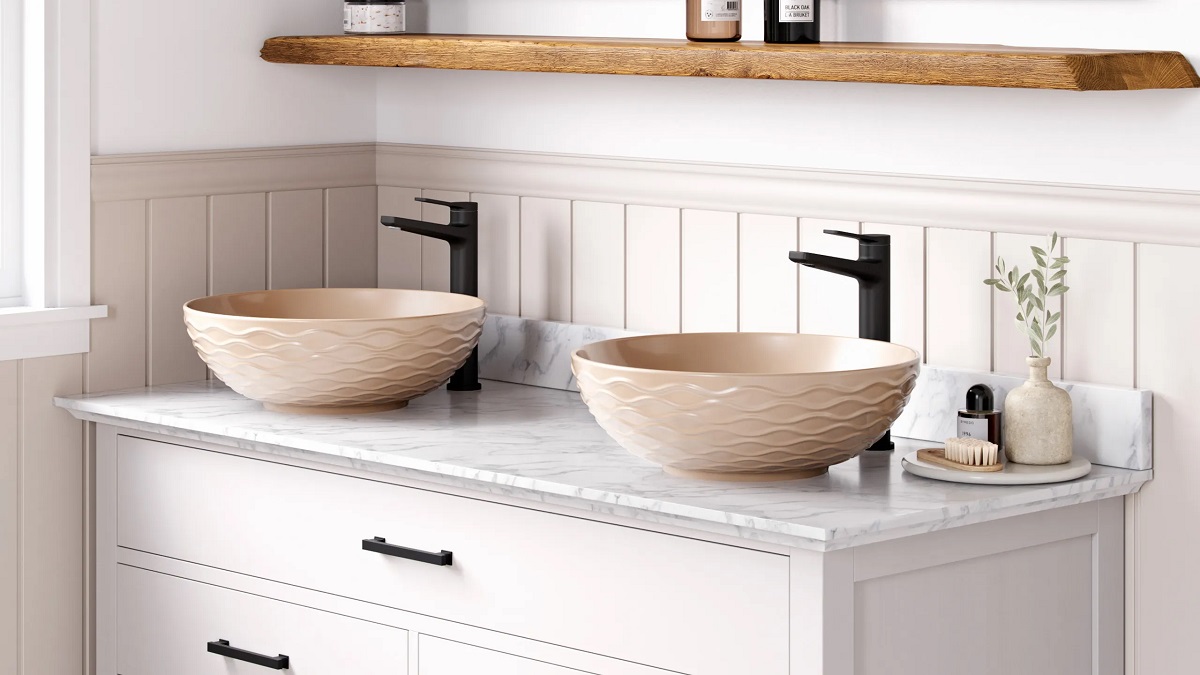
Adding a vanity around a pedestal sink is a great way to optimize the space in your bathroom while enhancing its aesthetic appeal. A pedestal sink on its own may lack storage and counter space, but by building a vanity around it, you can create a functional and stylish solution for your bathroom needs.
In this article, we will guide you through the step-by-step process of making a vanity around a pedestal sink. From gathering the necessary materials and tools to the finishing touches and decoration, you will learn everything you need to know to successfully complete this project.
Not only will a vanity around a pedestal sink provide you with additional storage and counter space, but it will also give your bathroom a more polished and cohesive look. Whether you have a small or large bathroom, this project can be customized to fit your specific needs and style preferences.
So, let’s get started and transform your bathroom by creating a beautiful and functional vanity around your pedestal sink.
Key Takeaways:
- Transform your bathroom with a custom vanity around a pedestal sink, adding storage, counter space, and style to enhance functionality and aesthetic appeal.
- Personalize your vanity project with decorative elements, hardware, and finishes to create a beautiful focal point that reflects your unique style and taste.
Read more: How To Replace Pedestal Sink With Vanity
Step 1: Gather the necessary materials and tools
Before you begin building the vanity around your pedestal sink, it is important to gather all the materials and tools you will need to complete the project successfully. Here is a list of what you will need:
Materials:
- Wood or plywood for the countertop and shelf
- 2×4 lumber for the framing
- Screws
- Wood glue
- Vanity cabinet or drawers (optional)
- Paint or stain
- Primer
- Countertop material (such as granite or marble)
- Drainage pipe and fittings
Tools:
- Measuring tape
- Saw (such as a circular saw or jigsaw)
- Drill
- Screwdriver
- Sandpaper
- Paintbrush or roller
- Caulking gun
- Level
Make sure to gather all the necessary materials and tools before starting the project. This will save you time and ensure a smoother construction process. Additionally, check if there are any additional materials or tools specific to your chosen design or customization.
Once you have gathered all the materials and tools, you are ready to move on to the next step and prepare the workspace for building the vanity around your pedestal sink.
Step 2: Prepare the workspace
Before you start building the vanity around your pedestal sink, it is essential to prepare your workspace properly. Here’s what you need to do:
1. Clear the area: Start by removing any items, such as toiletries or decorative objects, from the surrounding area of the pedestal sink. This will give you enough space to work comfortably and ensure that your materials and tools are easily accessible.
2. Protect the floor and surfaces: Use drop cloths or old sheets to cover the floor and nearby surfaces, such as countertops or cabinets. This will protect them from dust, debris, and any accidental spills during the construction process.
3. Ensure proper ventilation: If you are working indoors, make sure there is adequate ventilation in the room. Open windows and doors, or use fans to improve air circulation. This will help dissipate any fumes from paints, stains, or adhesives that you may use during the project.
4. Set up a workbench: If you have a workbench or a sturdy table, set it up in the workspace area. This will provide you with a stable surface to cut materials and assemble the vanity components. It will also help you stay organized by keeping your tools and materials within easy reach.
By taking the time to prepare your workspace, you can ensure a safe and efficient construction process. It will also help you maintain a clean and organized work environment, which is crucial for accurate measurements and precise cuts.
Once you have prepared your workspace, you are ready to move on to the next step: measuring and marking the area for the vanity.
Step 3: Measure and mark the area for the vanity
Before you start cutting any materials, it is important to accurately measure and mark the area where the vanity will be installed. Here’s how to do it:
1. Measure the width and depth: Use a measuring tape to determine the width and depth of the area where you plan to install the vanity. Measure from wall to wall, making sure to account for any obstacles such as pipes or baseboards that may affect the dimensions.
2. Mark the position of the sink: Take precise measurements of the pedestal sink and mark its position on the wall. This will help you determine where to cut the countertop and create a custom opening for the sink.
3. Consider clearance space: Make sure to leave enough clearance around the sink for comfortable use. Generally, a clearance of at least 4-6 inches on each side of the sink is recommended to provide ample space for washing hands and using the faucet.
4. Determine the height: Measure the height at which you want the countertop to be installed. Consider factors such as your own height and any specific requirements for accessibility. It is generally recommended to have the countertop height at around 32-36 inches, but adjust it based on your personal preference.
5. Mark the positions for the shelf and additional storage: If you plan to include a shelf or additional storage in your vanity design, measure and mark their positions accordingly. This will help you determine where to attach them during the construction process.
Remember to double-check your measurements to ensure accuracy. Use a level to ensure that your markings are straight and aligned correctly. Taking the time to measure and mark the area thoroughly will result in a vanity that fits perfectly and functions effectively.
Once you have measured and marked the area, you are ready to move on to the next step: cutting the countertop and shelf.
Step 4: Cut the countertop and shelf
Now that you have measured and marked the area for the vanity, it’s time to cut the countertop and shelf to fit your specific dimensions. Follow these steps to ensure accurate cuts:
1. Measure and mark the dimensions: Use the measurements you took in the previous step to mark the dimensions on the wood or plywood that you have selected for the countertop and shelf. Use a straightedge or square to create straight and precise lines.
2. Use a circular saw or jigsaw: Depending on the thickness and material of the countertop and shelf, you can use a circular saw or jigsaw to make the cuts. Make sure to use the appropriate blade for the type of material you are cutting (e.g., a fine-tooth blade for plywood).
3. Cut slowly and steadily: Take your time while cutting to ensure smooth and accurate results. If using a circular saw, guide the saw along the marked lines, applying steady pressure. If using a jigsaw, use a slow and controlled motion, following the marked lines.
4. Sand the edges: After cutting, use sandpaper to smooth any rough edges or splinters on the cut surfaces. This will prevent any potential injuries and improve the overall finish of the vanity.
5. Test the fit: Place the cut countertop and shelf in the designated positions to test how they fit around the pedestal sink. Make any necessary adjustments to ensure a snug fit. If needed, trim the edges slightly using a sander or hand plane.
Note: If you prefer a more professional finish, you can opt to purchase pre-cut countertops and shelves from home improvement stores, which will save you time and effort in cutting them yourself.
With the countertop and shelf successfully cut and fitted, you are now ready to move on to the next step: attaching the countertop to the wall.
When making a vanity around a pedestal sink, be sure to measure the space accurately and choose a vanity that complements the style and size of the sink. Consider using a floating or wall-mounted vanity to maximize space.
Step 5: Attach the countertop to the wall
With the countertop and shelf cut to fit, it’s time to securely attach the countertop to the wall. Follow these steps to ensure a strong and stable installation:
1. Locate the wall studs: Use a stud finder to locate the wall studs in the area where the countertop will be installed. Mark the position of the studs on the wall using a pencil or masking tape.
2. Position the countertop: Place the countertop in its intended position on the wall. Make sure it is level and aligns with the markings you made in Step 3.
3. Secure the countertop to the wall studs: Using a drill, drive screws into the wall studs through the back of the countertop. Ensure that the screws are long enough to penetrate both the countertop and the wall stud, providing a secure connection.
4. Add support brackets (if necessary): Depending on the size and weight of the countertop, you may need to add support brackets underneath for extra stability. Secure the brackets to the wall studs and the underside of the countertop using screws.
5. Check for levelness: Use a level to double-check that the countertop is level both vertically and horizontally. Make any necessary adjustments by tightening or loosening the screws as needed.
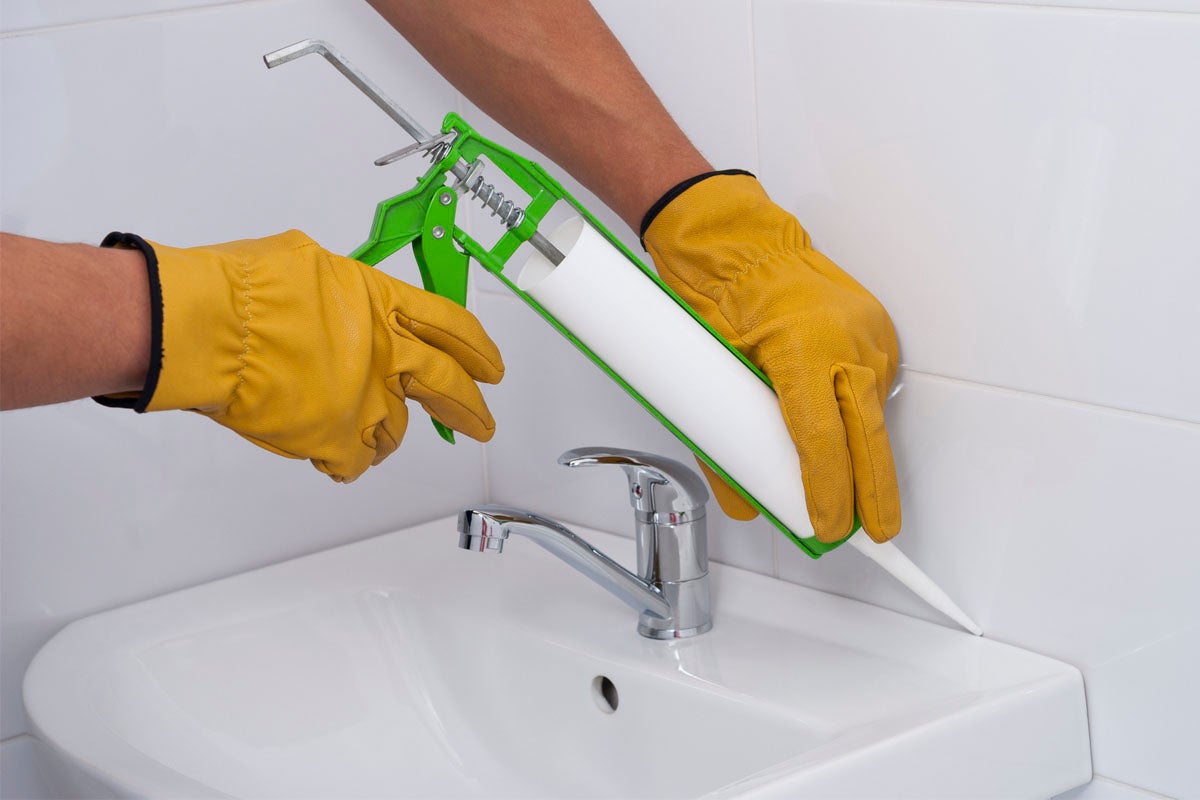
6. Seal any gaps: Fill any gaps between the countertop and the wall using a caulking gun and silicone caulk. This will help create a seamless and water-resistant seal.
By securely attaching the countertop to the wall, you ensure that it will be stable and capable of supporting the weight of the sink and any items placed on top. It is important to use proper screws and brackets for added reinforcement, especially for larger or heavier countertops.
With the countertop securely in place, you can now move on to the next step: installing the pedestal sink.
Step 6: Install the pedestal sink
Now that the countertop is securely attached to the wall, it’s time to install the pedestal sink. Follow these steps to ensure a proper and functional installation:
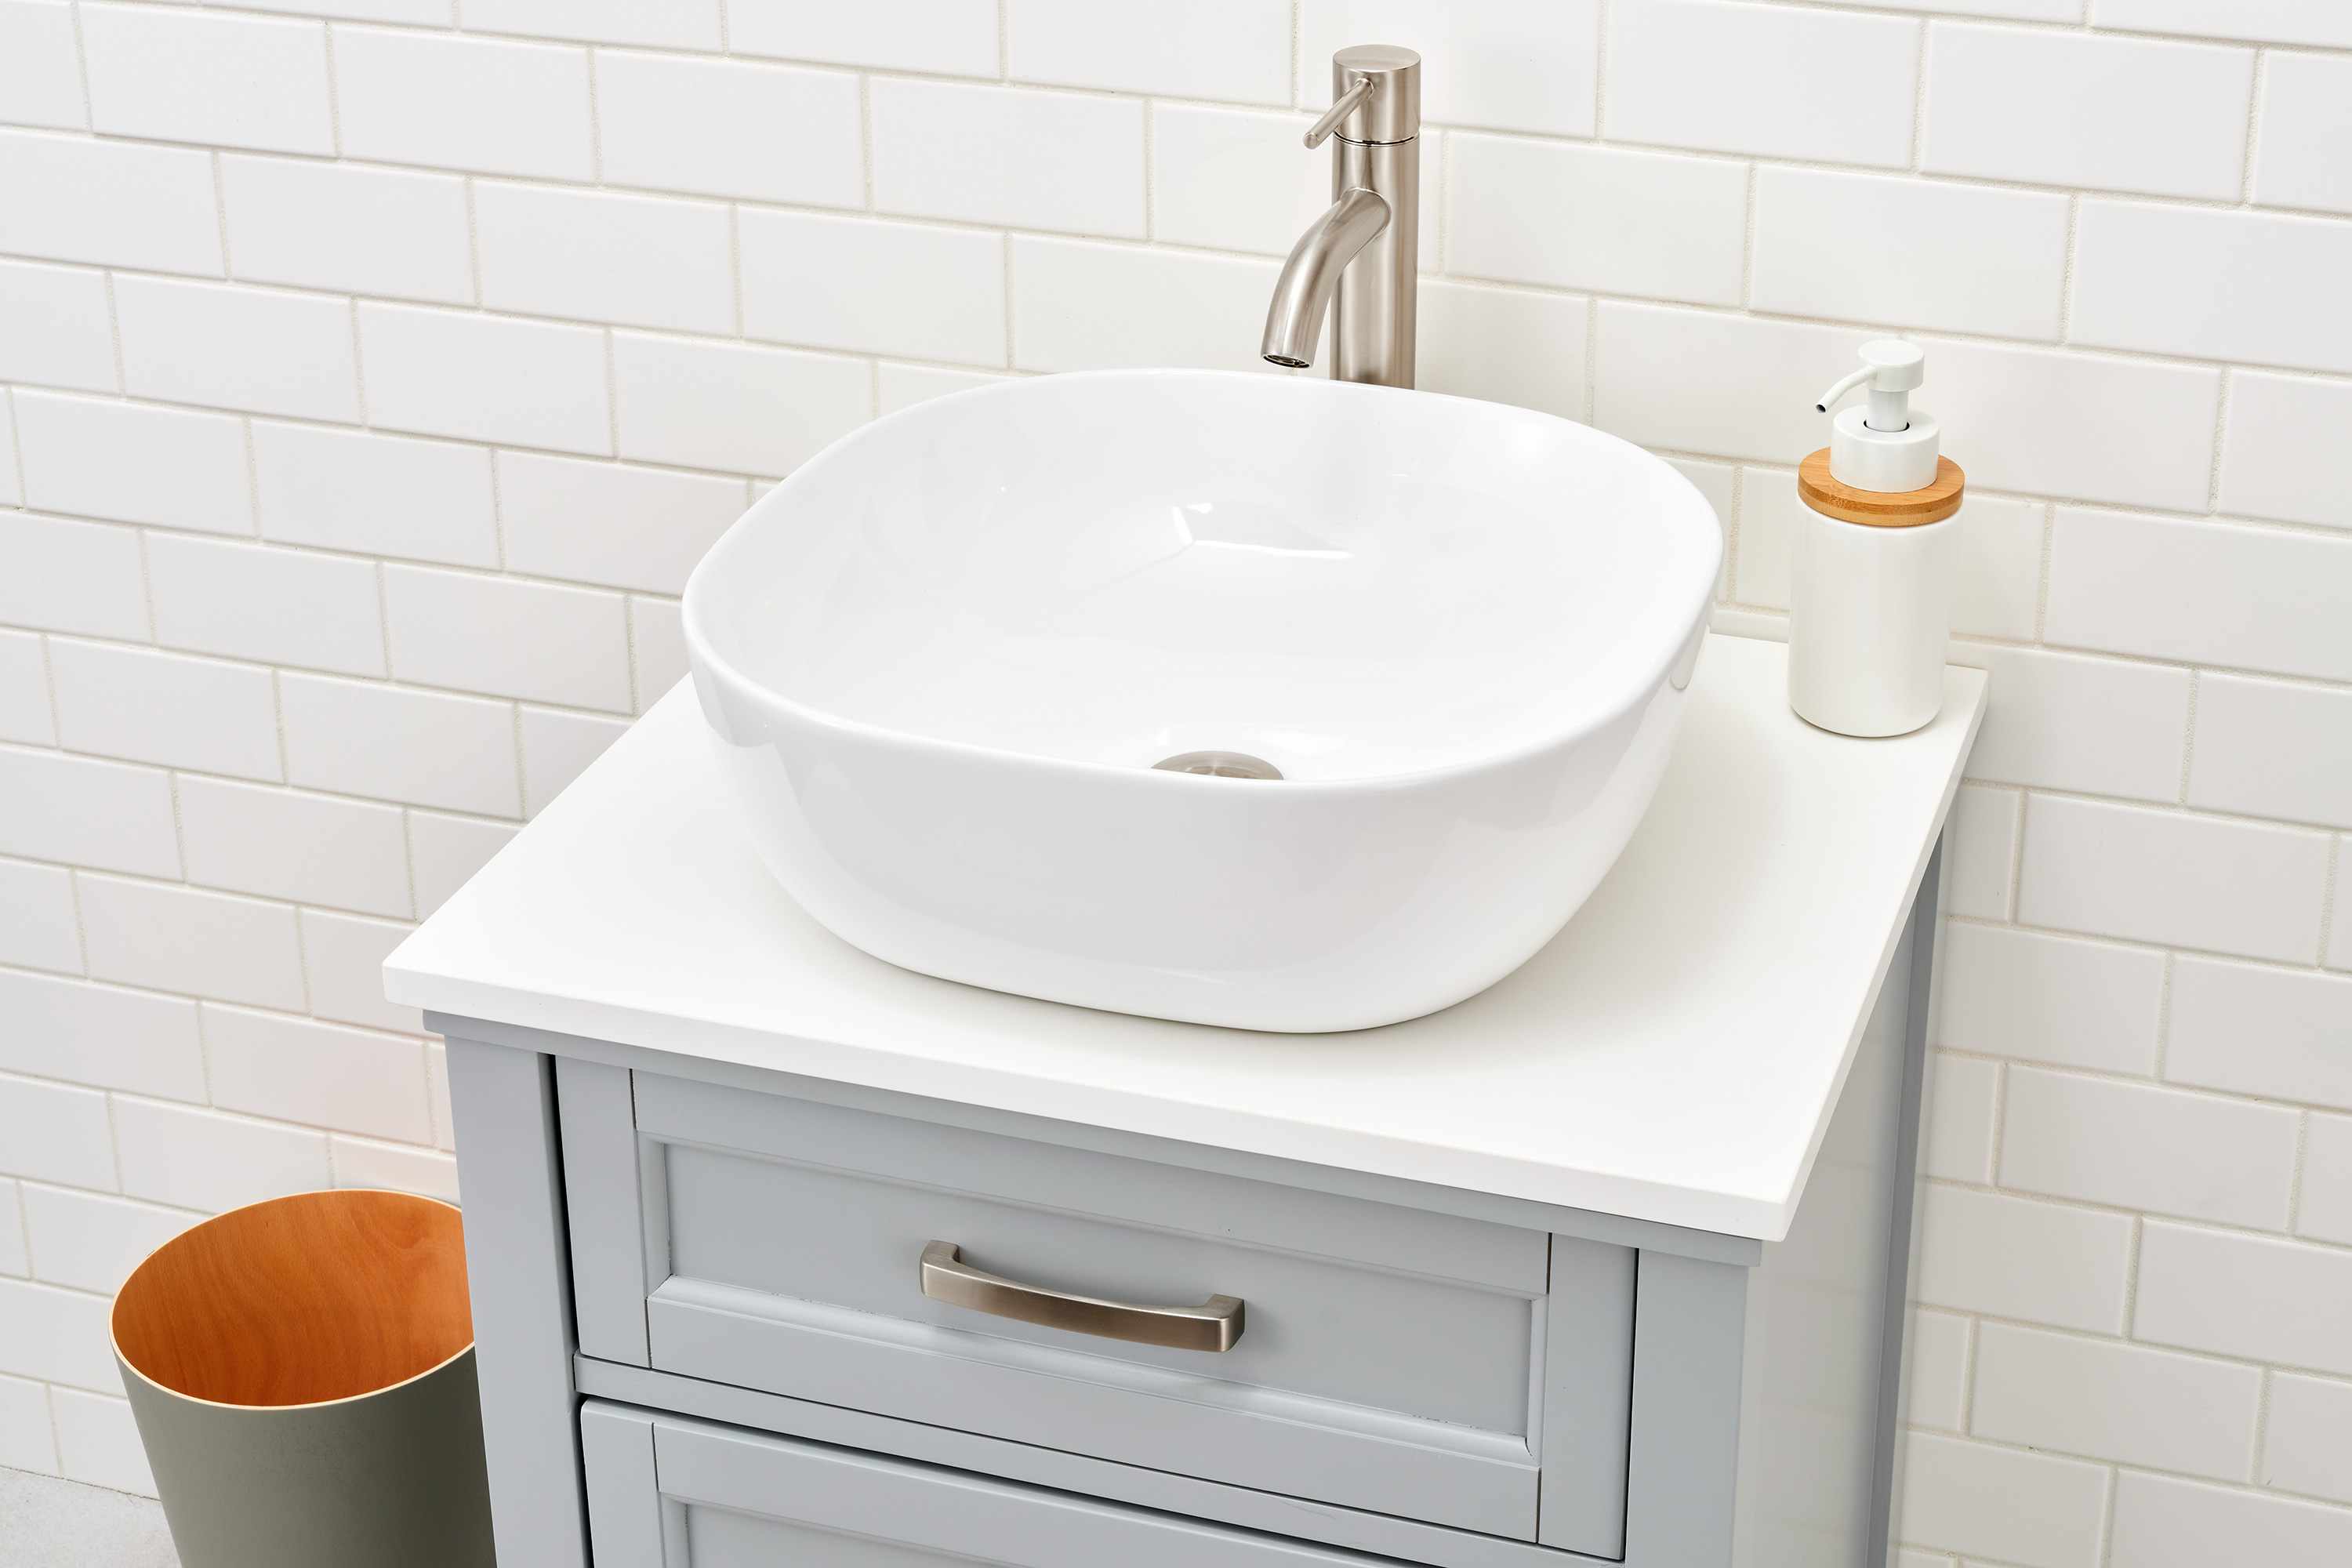
1. Position the sink: Carefully lift the pedestal sink and position it in the designated area on top of the countertop. Make sure it aligns with the pre-cut opening in the countertop and rests securely on the pedestal base.
2. Connect the plumbing: Attach the drain pipe and any additional fittings to the bottom of the pedestal sink. Follow the manufacturer’s instructions to ensure proper installation. Tighten the connections securely but avoid over-tightening to prevent damage to the sink or pipes.
3. Check for levelness: Use a level to check if the sink is level both horizontally and vertically. Make any necessary adjustments by shimmying the sink or adjusting the position on the pedestal base.
4. Secure the sink to the wall: Locate the mounting holes on the back of the pedestal sink. Use screws or bolts to secure the sink to the wall. Make sure to drive the screws or insert the bolts through the holes and into wall anchors or studs for maximum stability. Tighten the screws or bolts securely, but be careful not to overtighten and damage the sink.
5. Connect the water supply lines: Install the water supply lines to the corresponding hot and cold water valves. Use adjustable wrenches to tighten the connections securely, but again, avoid over-tightening to prevent leaks or damage.
6. Test for leaks: Slowly turn on the water supply valves and check for any leaks. Make sure all connections are tight and secure. If you spot any leaks, tighten the connections or reapply plumbing tape as necessary.
By properly installing the pedestal sink, you ensure its stability and functionality. Pay attention to the plumbing connections and make sure all fittings are properly tightened to prevent leaks. Once the sink is installed, you can move on to the next step: attaching the shelf and additional storage.
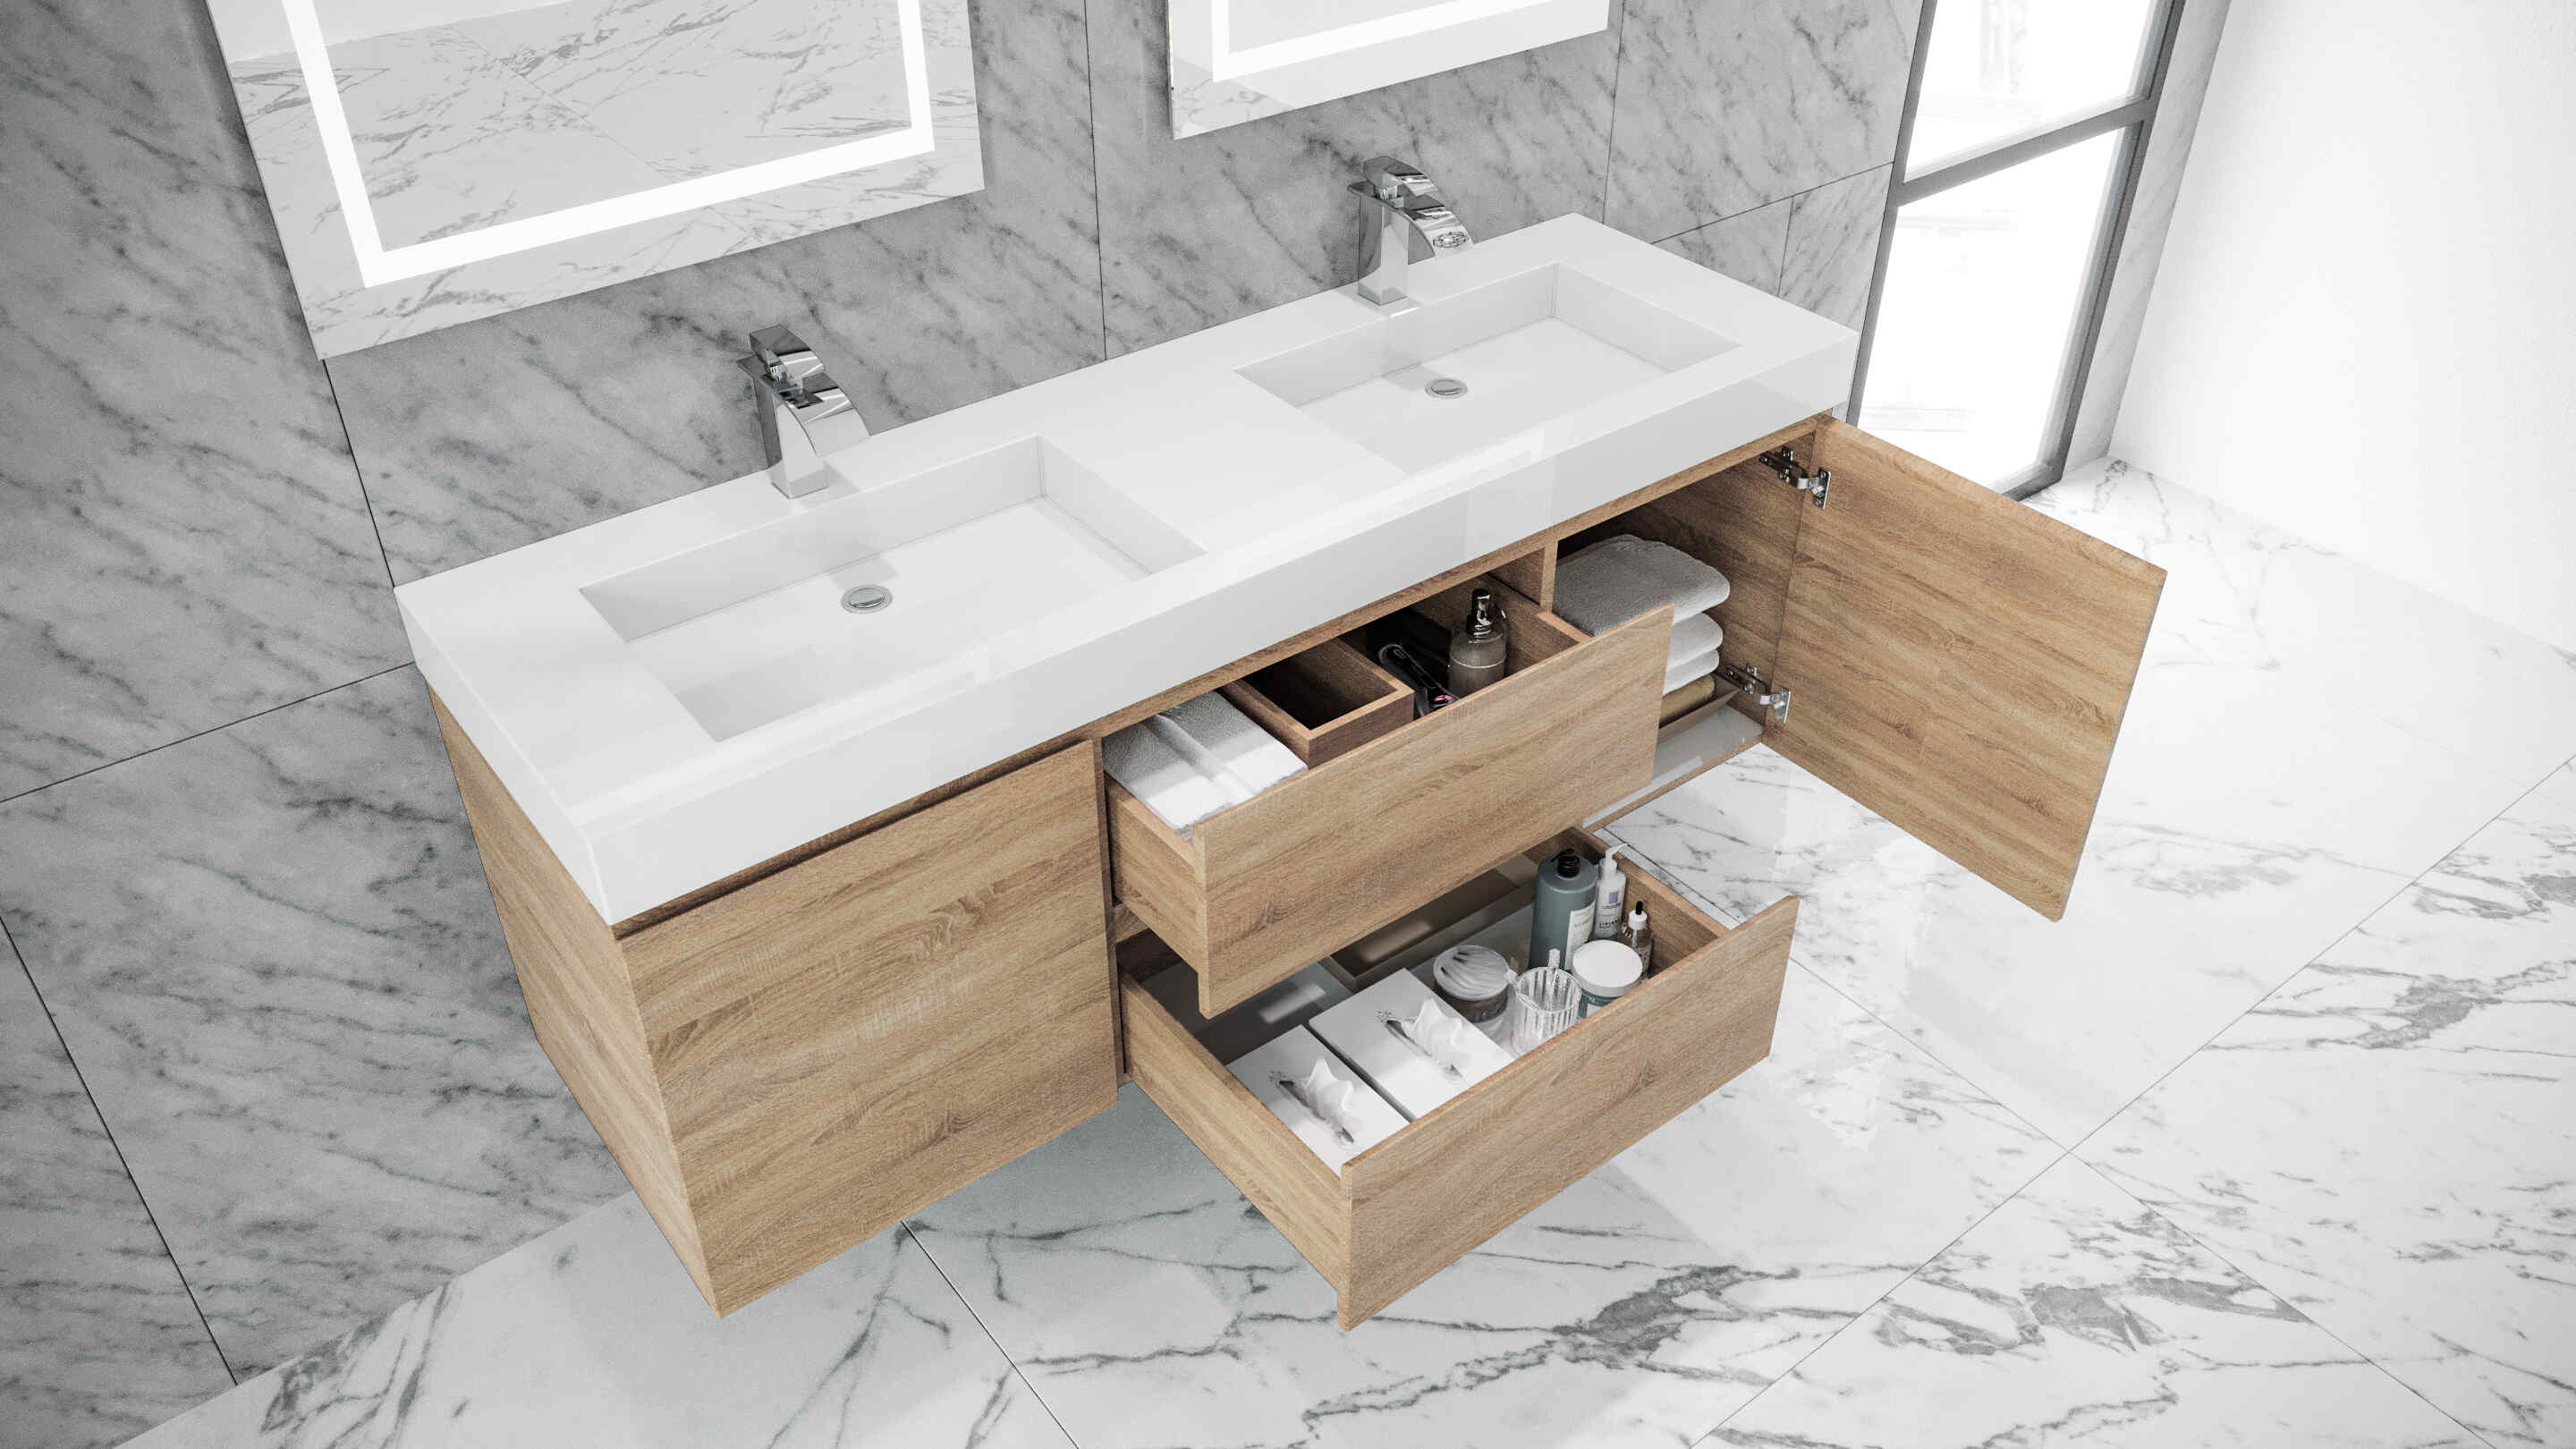
Step 7: Attach the shelf and additional storage
With the pedestal sink installed, it’s time to add the shelf and any additional storage components to your vanity. Follow these steps to complete this step of the project:
1. Position the shelf: Place the pre-cut shelf in its designated position underneath the countertop. Make sure it aligns with the markings you made in Step 3 and that it is level.
2. Secure the shelf: Use screws and a drill to secure the shelf to the wall. Drive the screws through the back of the shelf and into the wall studs for maximum stability. Make sure the shelf is sturdy and can support the weight of items placed on top of it.
3. Add additional storage components: If you plan to include additional storage components, such as drawers or a vanity cabinet, position them in their designated spots. Secure them to the wall or shelf using screws or brackets, following the manufacturer’s instructions.
4. Test for stability: Once the shelf and additional storage components are attached, give them a gentle shake to test for stability. Make any necessary adjustments or reinforce the installation if needed.
5. Apply finishes: If desired, apply paint or stain to the shelf and additional storage components to match the overall aesthetic of your bathroom. Allow the finishes to dry completely before proceeding to the next step.
By attaching the shelf and any additional storage components, you enhance the functionality and storage capacity of your vanity. Make sure these components are securely installed and can withstand the weight of items you plan to store on them.
Once the shelf and additional storage are in place, you’re almost done! The final step is to add the finishing touches and decorative elements to complete your vanity project.
Step 8: Finishing touches and decoration
With the main construction of your vanity complete, it’s time to add the finishing touches and decorative elements to enhance its overall appearance. Follow these steps to bring your vanity project to a stunning finish:
1. Sand and smooth: Use sandpaper to lightly sand any rough edges or surfaces of the vanity. This will ensure a smooth finish and create a polished look. Remove any dust or debris with a cloth or vacuum.
2. Prime and paint or stain: Apply a coat of primer to the surfaces of the vanity. Once the primer is dry, you can then apply your chosen paint or stain. Use a paintbrush or roller for an even application. Consider using a water-resistant paint or sealant for added protection in the bathroom environment.
3. Install hardware: Choose and install the hardware, such as drawer pulls or cabinet handles, that complements your vanity design. Measure and mark the desired positions for the hardware, then use a drill or screwdriver to attach them securely.
4. Install backsplash (optional): If desired, you can install a backsplash behind the sink to protect the wall from water splashes. Measure and cut the backsplash material to fit, then attach it to the wall using adhesive or screws. Make sure the backsplash aligns with the style and color scheme of your vanity.
5. Add decorative elements: Personalize your vanity by adding decorative elements such as framed mirrors, wall sconces, or artwork. These elements will enhance the overall aesthetic of the vanity and reflect your personal style.
6. Organize and style: Arrange items on the vanity to create an organized and visually appealing display. Use decorative baskets or containers for storing toiletries and towels. Add plants or decorative accessories to bring life and character to the space.
By paying attention to the finishing touches and incorporating decorative elements, you can elevate the appearance of your vanity and create a beautiful focal point in your bathroom.
With the finishing touches and decorations complete, step back and admire your newly built vanity around the pedestal sink. You have successfully transformed your bathroom, creating a functional and stylish space that meets your needs and matches your personal style.
Congratulations on completing this project! Enjoy the beauty and functionality of your new vanity for years to come.
Read more: How To Remove A Pedestal Sink
Conclusion
Building a vanity around a pedestal sink is a rewarding project that can transform your bathroom into a more functional and aesthetically pleasing space. By following the step-by-step process outlined in this article, you have learned how to create a custom vanity that provides storage, counter space, and a stylish design.
From gathering the necessary materials and tools to attaching the countertop, installing the pedestal sink, and adding the finishing touches, each step was crucial in creating a vanity that meets your specific needs and style preferences.
By incorporating your creativity and personal preferences, you have successfully transformed a simple pedestal sink into a centerpiece that enhances the overall functionality and visual appeal of your bathroom.
Remember to take accurate measurements, properly secure the components, and pay attention to the fine details such as finishes and decorative elements. These elements will not only improve the durability and functionality of your vanity but also create a space that reflects your unique style and taste.
Whether you have a small bathroom that demands efficient storage or a spacious one that allows for extravagant customization, this project can be adapted to accommodate your specific requirements.
Now that you have completed building your vanity around a pedestal sink, take a moment to appreciate your hard work and enjoy the seamless integration of style and functionality in your bathroom. Embrace the additional storage, counter space, and personalized touch that your new vanity brings to your daily routine.
Congratulations on successfully completing this project and creating a vanity that not only adds value to your bathroom but also contributes to your own enjoyment and satisfaction.
Frequently Asked Questions about How To Make A Vanity Around A Pedestal Sink
Was this page helpful?
At Storables.com, we guarantee accurate and reliable information. Our content, validated by Expert Board Contributors, is crafted following stringent Editorial Policies. We're committed to providing you with well-researched, expert-backed insights for all your informational needs.


0 thoughts on “How To Make A Vanity Around A Pedestal Sink”